All Projects


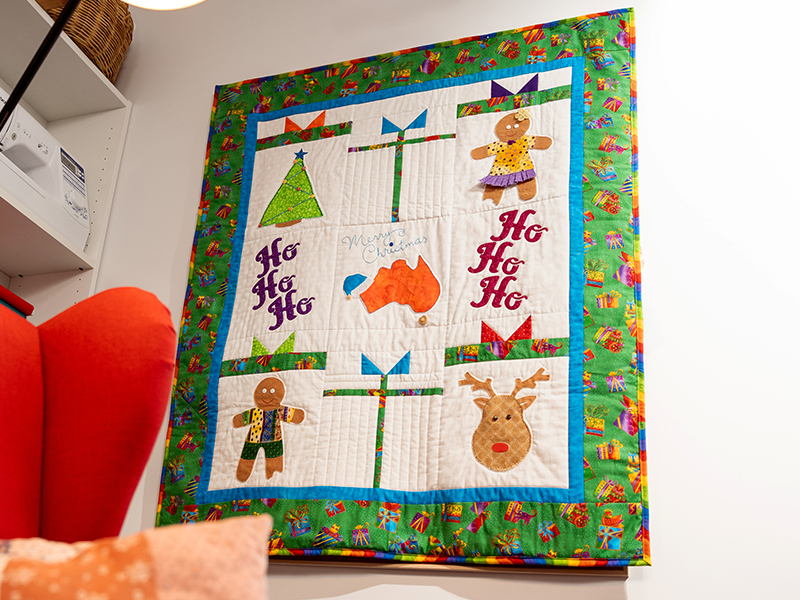
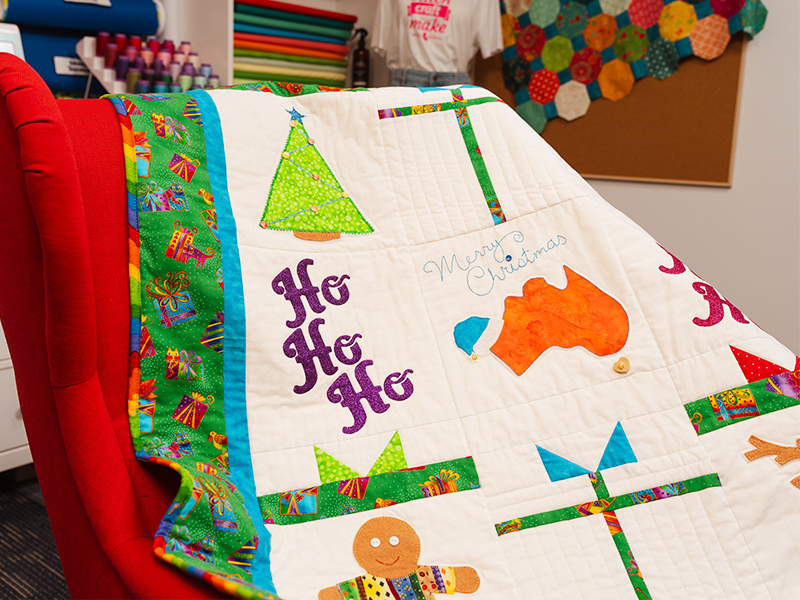
Chrissy Spirit Wall Hanging
Date Posted:1 November 2024
This Chrissy Spirit Wall Hanging is the perfect festive sewing machine applique project to create for yourself or as a gift to someone else! It is extremely fun to make and ideal for sewing enthusiasts of all skill levels, from beginner to advanced.
With the use of applique, quilting, heat transfer vinyl, and embellishments, this project has all the elements needed to create the perfect wall hanging that everyone will gush over.
Materials & Supplies
- 1 x Gingerbread Felt
- 1 x White Felt
- Rotary Cutter
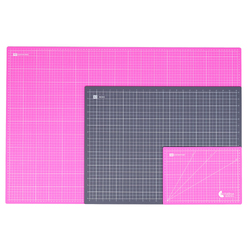
- Cutting Mat
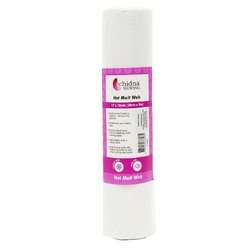
- Hot Melt Web
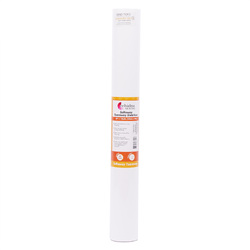
- Softaway/Tearaway
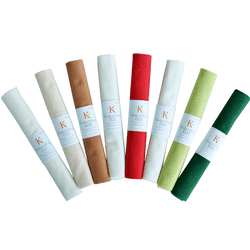
- Threads to match Applique (we used Hemingworth Embroidery Thread)
- Corespun Thread or Rasant for piecing
- Fabric Marking Pen
- Light box
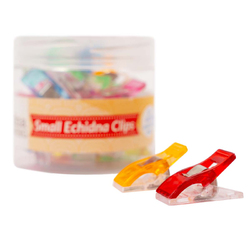
- Echidna Clips or Pins
- Variety of buttons for eyes and embellishments
- Cording or ribbon for embellishments
- Pencil
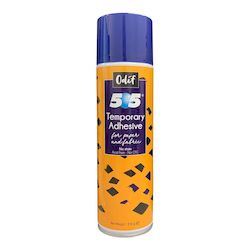
- 505 Spray
- Iron or mini iron
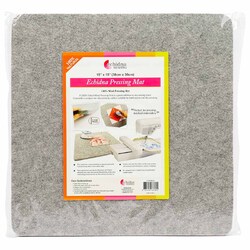
- Wool Pressing mat
- Red DMC Thread for hand stitching
- Hand needles
- Sewing machine
- Open toe foot
- ¼” foot
- Walking foot
- Dynamic walking foot
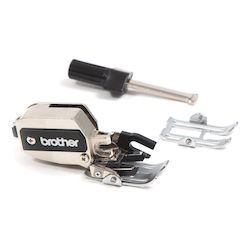
- Brother Compact Dual Feed MuVit Foot
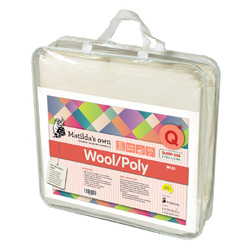
- Wool 60/Poly 40 quilt batting
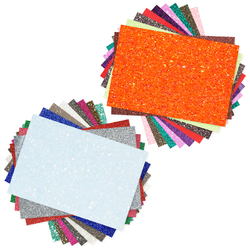
- Heat Transfer Vinyl
Fabric & Batting
- Variety of fat quarters to create Applique Shapes (Try to match the colours to your feature fabric)
- 1 x metre white applique background fabric
- .25cm blue frame
- 1 x metre Feature & Border fabric (You will need 1.2 metres if the fabric is directional)
- 42" x 49" Backing Fabric
- 42 " x 49" Batting Wool 60/Poly 40 quilt batting
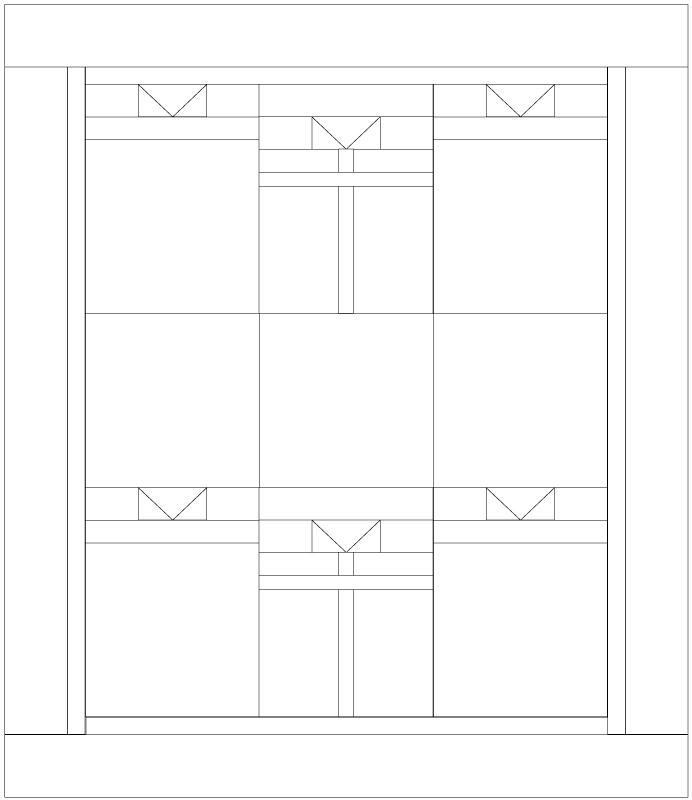
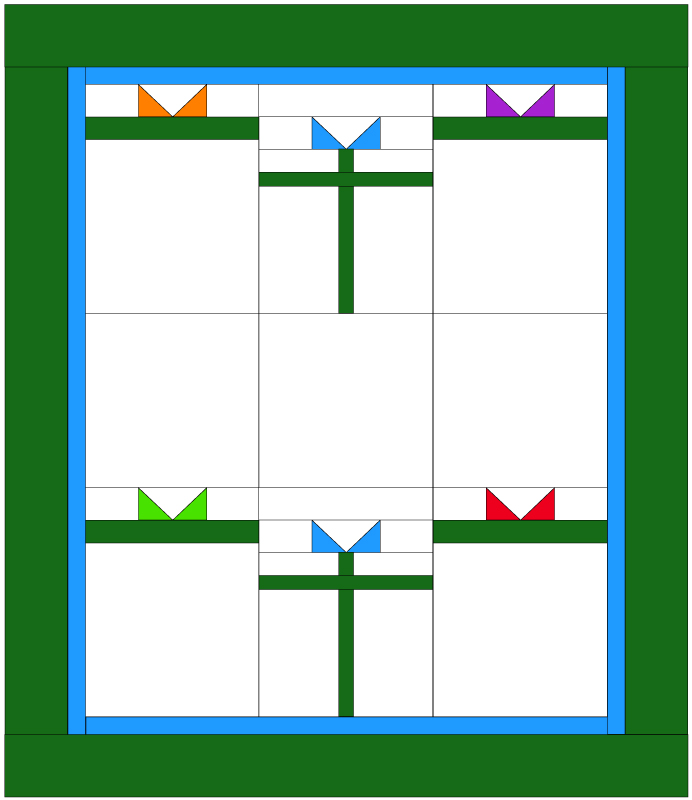
Layout:
Designs:
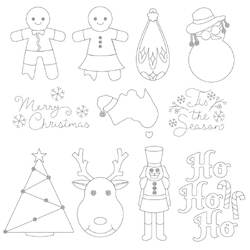
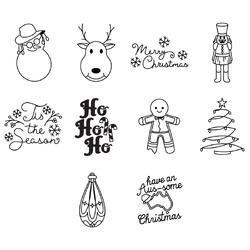
- Chrissy Spirit Sewing Applique
- Chrissy Spirit SVG for Heat Transfer Vinyl (HoHoHo-Layered.SVG)
Fabric Cutting
Applique Blocks
Referring to each applique pattern, choose the fabric you will use for each character or shape. Place in individual plastic bags and keep together. Set aside until you are ready to begin the applique process (refer to instructions below).
White Fabric
- Cut nine 10½” x 10½” squares
- Cut twelve 3½” x 2½” rectangles
- Cut two 2½” x 10½” strips
½ Square Triangles
- Select 6 x fabrics from the fat quarters for the triangles.
- Cut one 3.5” x 3.5” square from each of these different fabrics.
- Cut six 3.5” x 3.5” squares of the white background fabric.
Frame
- Cut four strips of 1.5” x WOF
Feature & Border Fabric
- Cut four strips of 2.5” x 10.5”
- Cut four strips of 1" x 10.5”
- Cut four strips of 4.5” x WOF
Instructions
All seam allowances are ¼” unless stated otherwise.
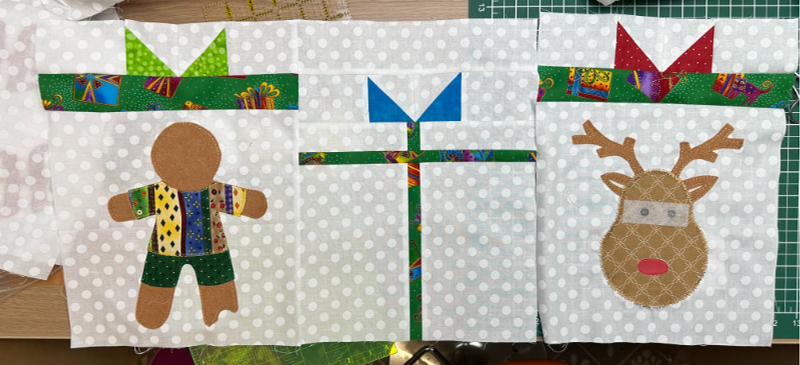
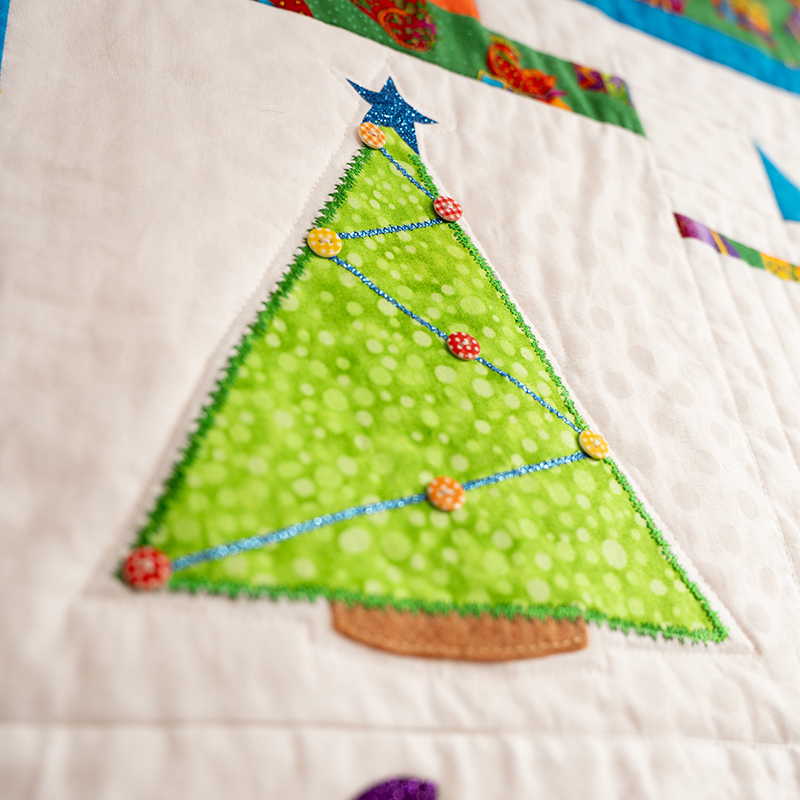
- Choose the applique patterns you wish to include in your hanging and print the A4 sheets. We have used 4 patterns and repeated the Gingerbread character twice, creating a total of five applique blocks. Follow these instructions to Applique →
- Take one 10.5” x 10.5” background square, position the applique onto the square, iron in place. Repeat this process until all the appliques have been fixed to the background squares. Set them aside. Watch our video on how to create sewing machine applique →
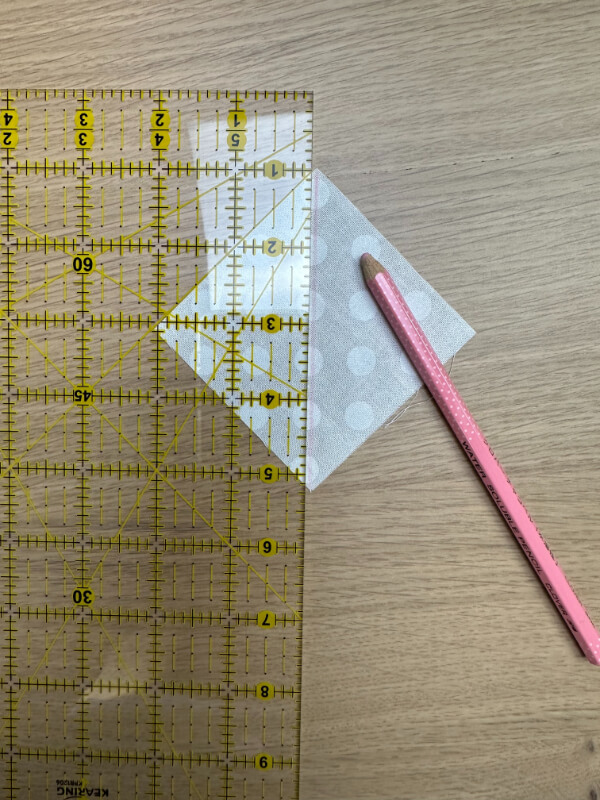
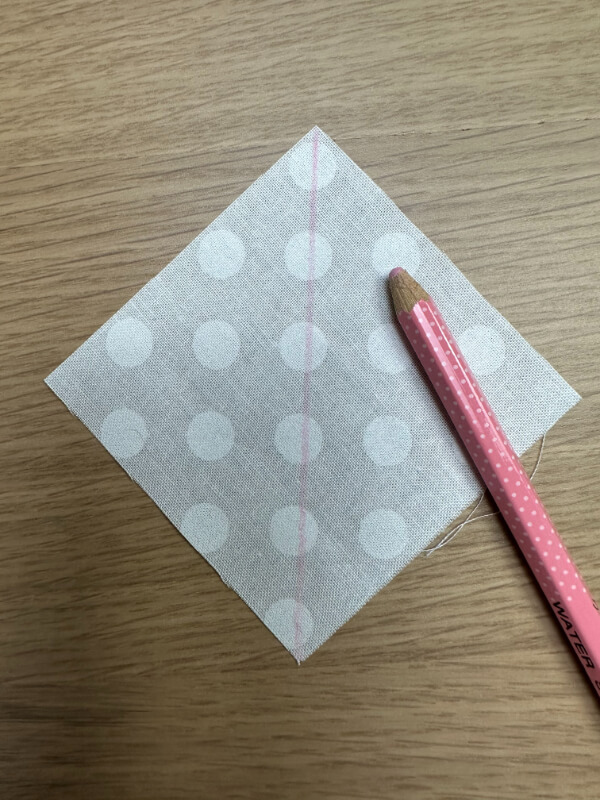
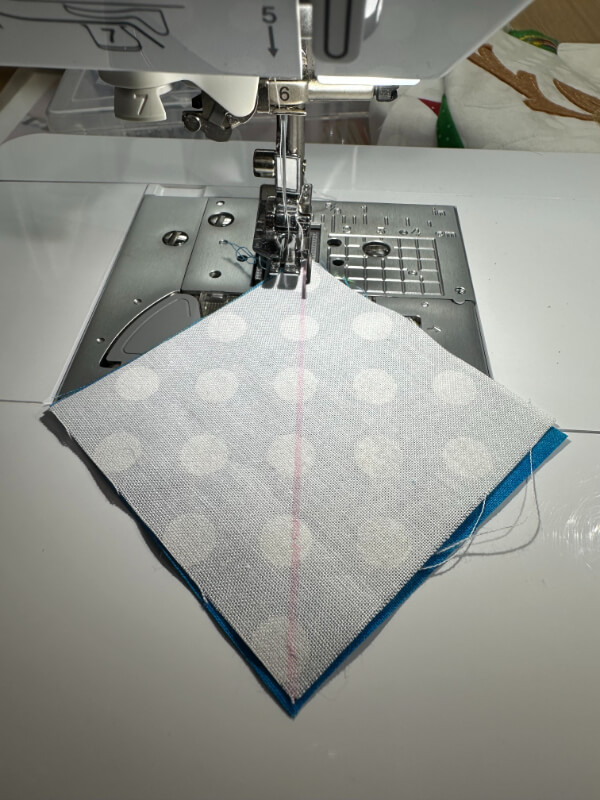
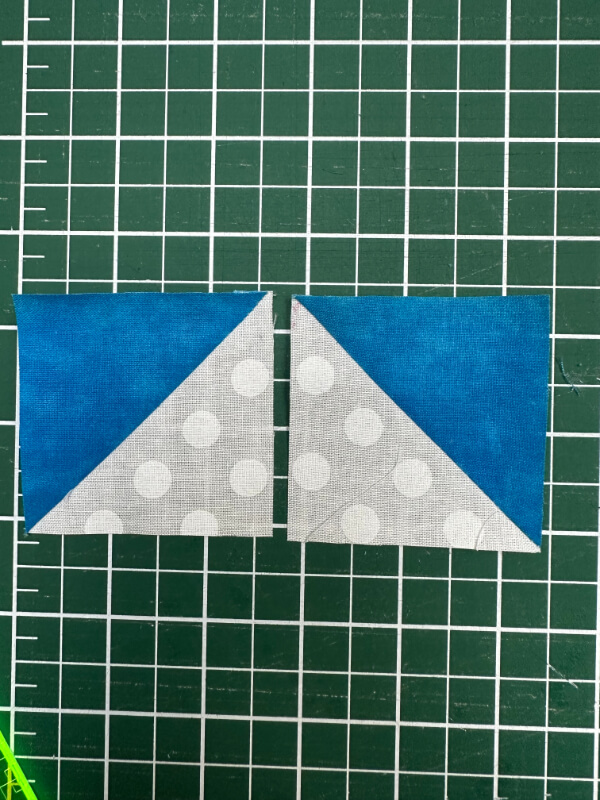
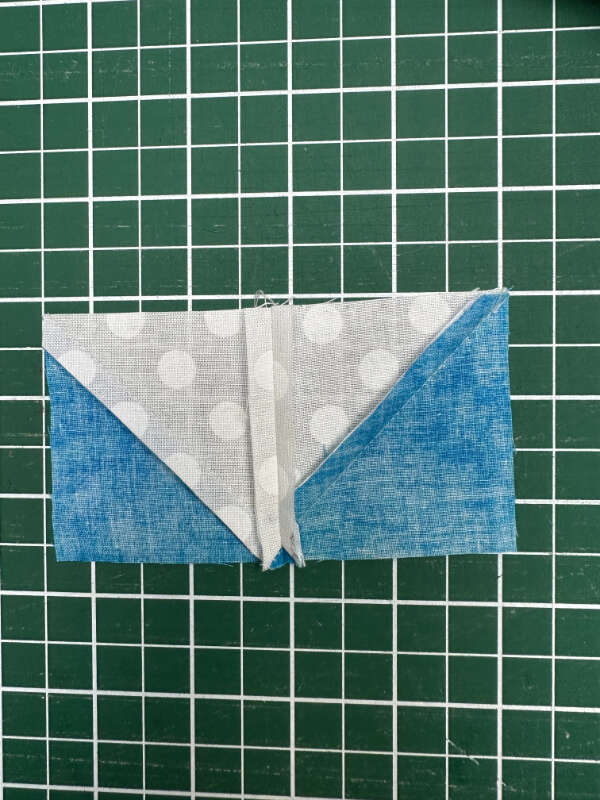
- To make the ½ square triangles take the 6 x precut white and coloured squares and pair one white square and one coloured square with right sides together. Using a pencil, draw a line from corner to corner on the wrong side of the white fabric. This is a cutting line and will not be seen.

- Stitch ¼” along each side of the diagonal line, repeat for the 6 squares.
- To make the ½ square triangles take the 6 x precut white and coloured squares and pair one white square and one coloured square with right sides together. Using a pencil, draw a line from corner to corner on the wrong side of the white fabric. This is a cutting line and will not be seen.
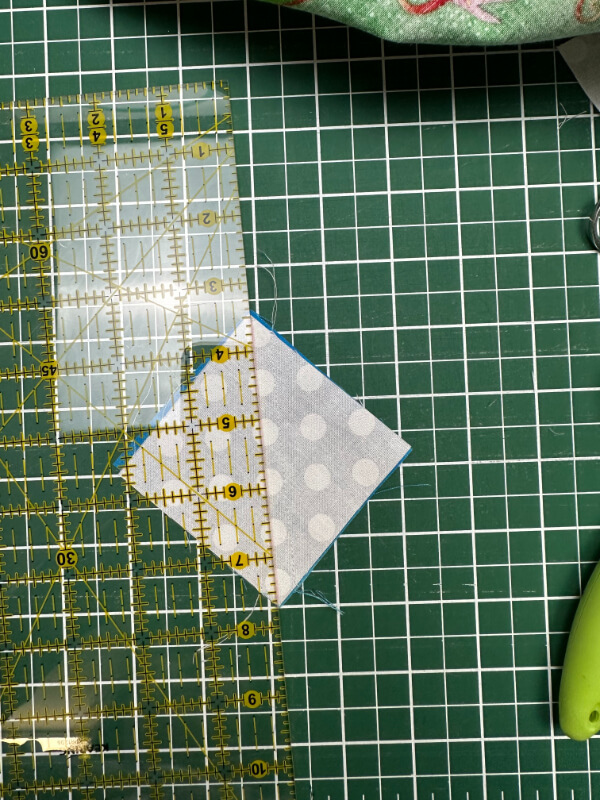
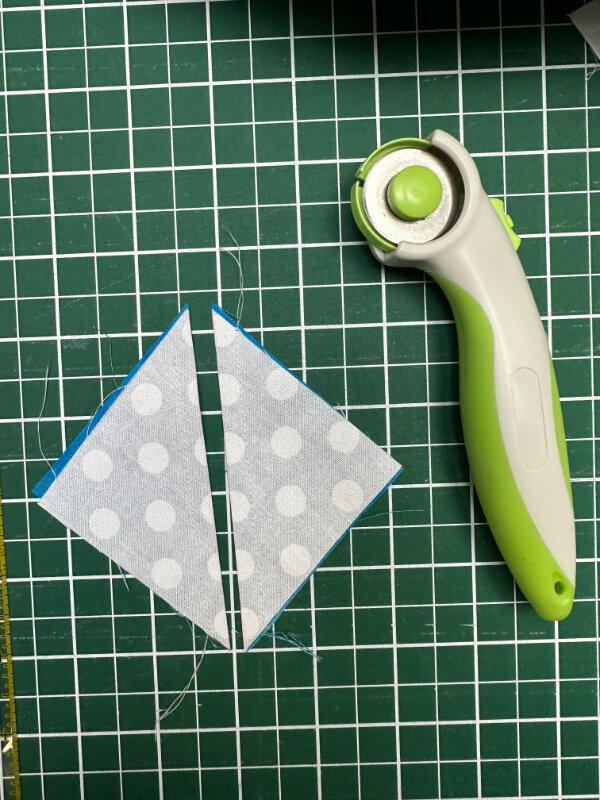
- Using your patchwork ruler, square up the half square triangles to measure 2.5” x 2.5”. Set aside. Repeat until you have 12 x ½ square triangles for each present box. Set aside.
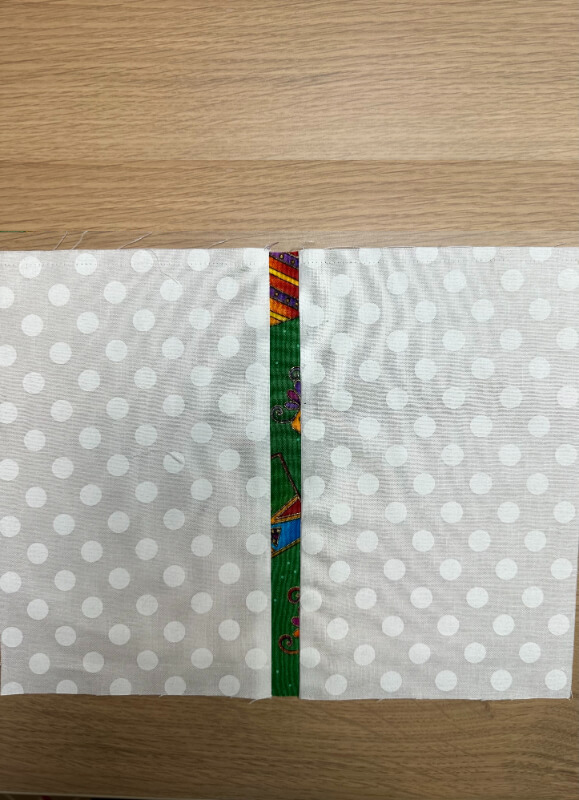
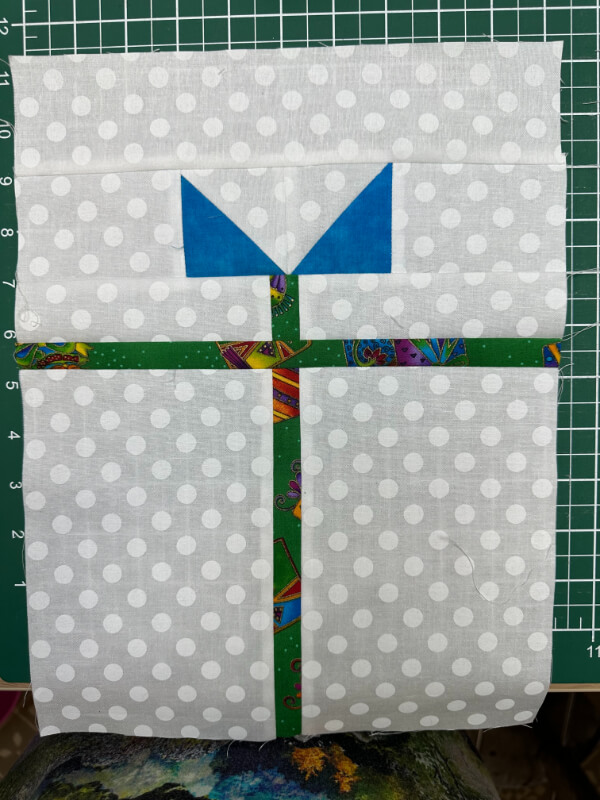
- Begin to create the Applique Square “present box” by stitching one strip of the 2.5” x 10 ½” feature fabric to the top of the applique square. Set aside.
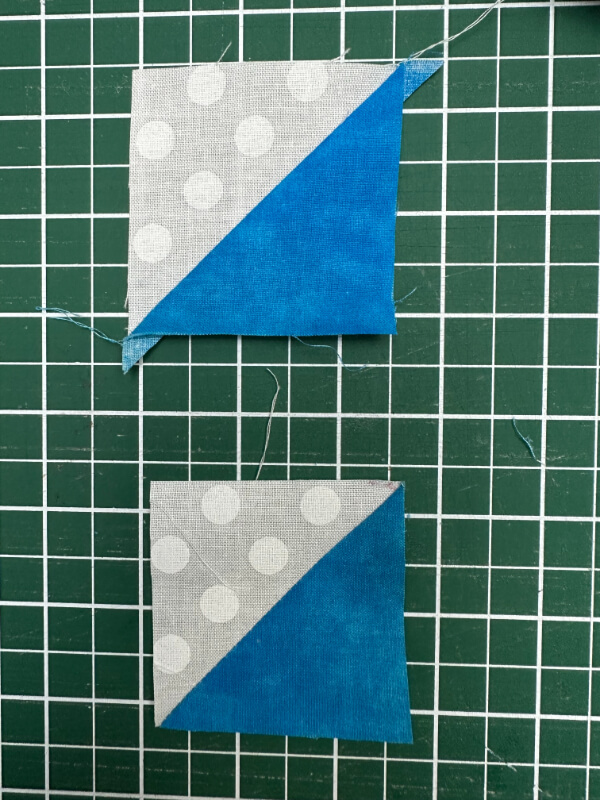
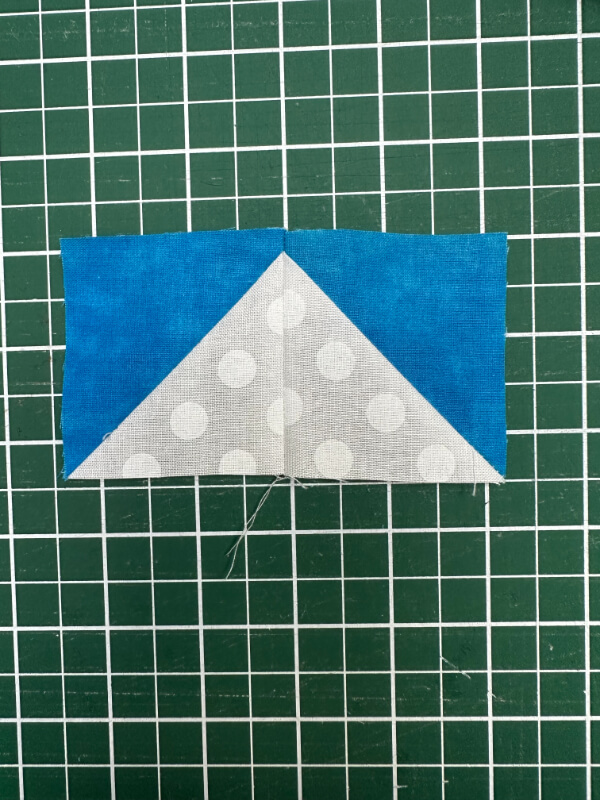
- To create the bow strip (above the feature fabric strip) stitch two of the previously squared ½” square triangles with white sides together, press the seam open.
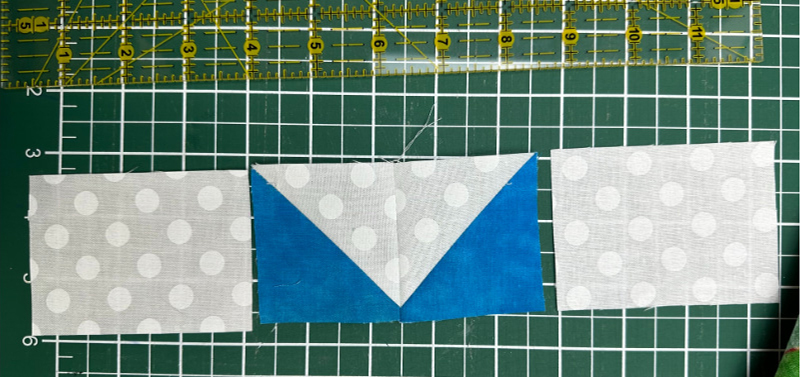
- Take two 3½” x 2½” rectangles and with right sides together, stitch onto each end of the half square triangles. Repeat this step until you have 7 x bow strips.
- Sew each row onto the top of the feature fabric from step 7 for the 5 x applique blocks.
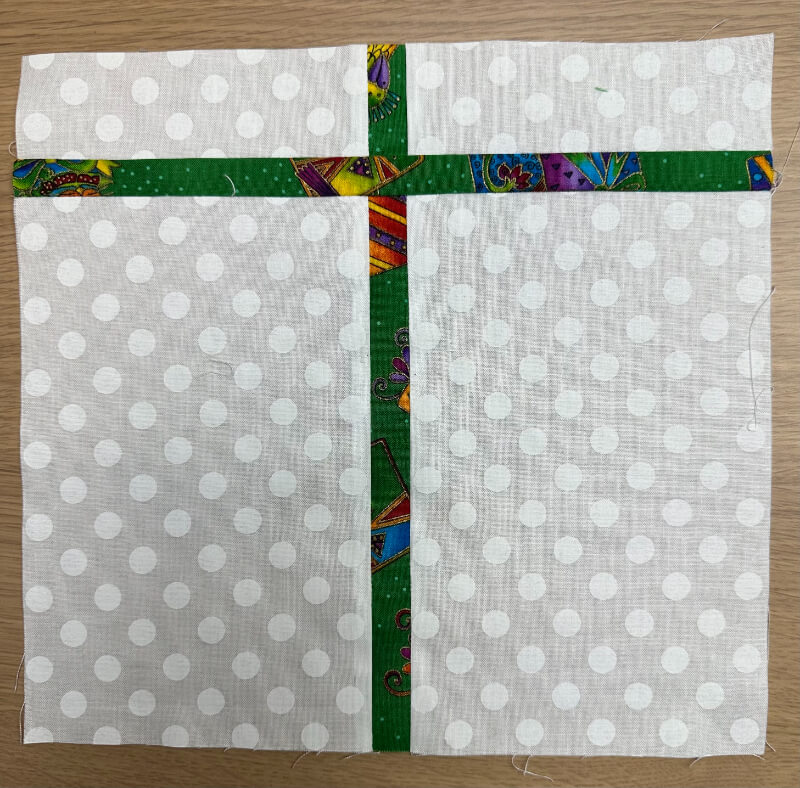
- To create the “present box” without applique, take one 10½” x 10½” square and cut it in half.
- Sew one strip of the 1” x 10½ ” feature fabric to one piece of the previously cut square. Attach the second piece of white fabric to the other side of the feature fabric. Press.
- Using a rotary cutter, cut a 1½” strip from the top of the reconstructed square. Sew a 1” x 10½” strip of feature fabric to the top of the square. Attach the previously cut 1½” x 10½” strip to the feature fabric, and press.
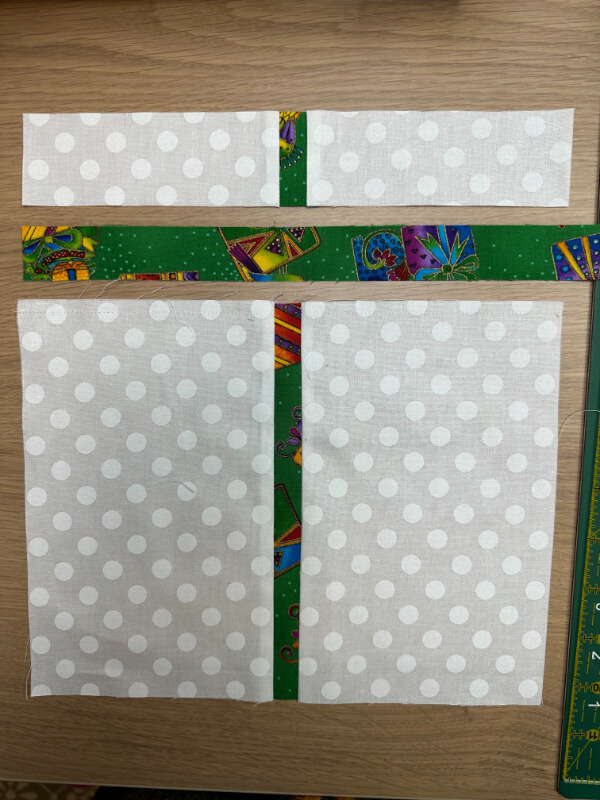
- Square up the block so it measures 10½“ wide x 9¾” high.
- Stitch a bow strip from step 9 to the top of the 2½” x 10½” strip on your present box.
- Stitch a white strip 2½” x 10½” to the top of the present block above the bow, the block should measure 10½” x 14”. Repeat these steps to create one more “present box”. Set both blocks aside.
- Check the size of each of the 4 x applique and 2 x present blocks - they should measure 10½” x 14”.
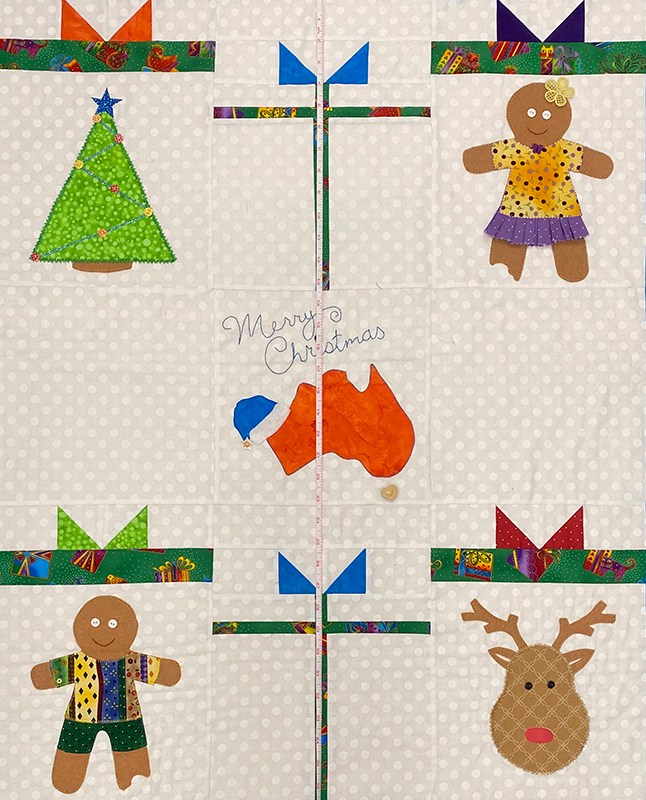
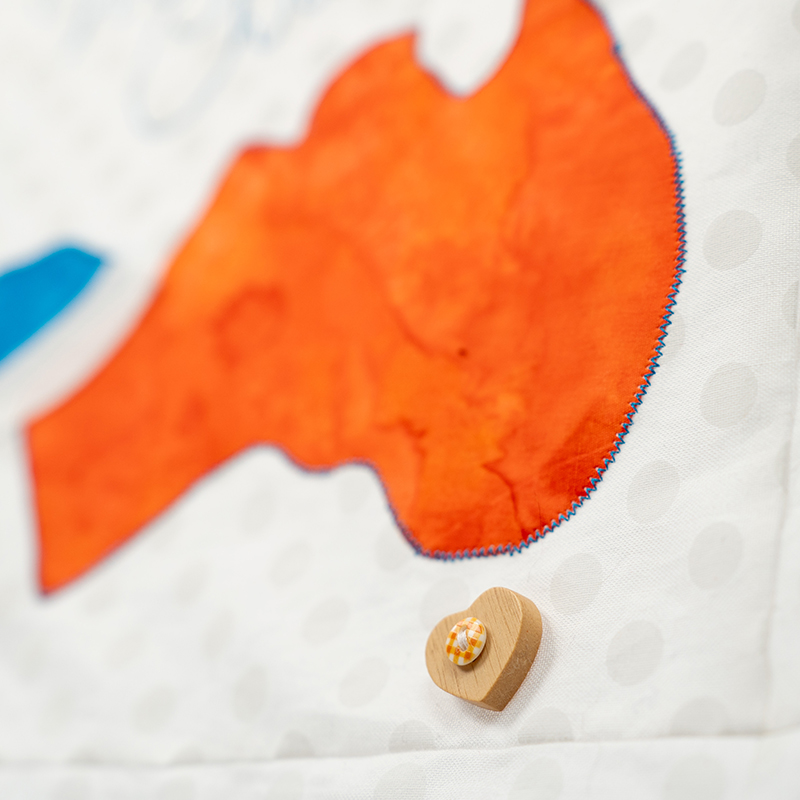
- Place each block into three rows of three. The centre row will be the remaining two 10½” x 10½” white squares and the single applique block (we chose Australia with Santa Hat) without any present bow on top.
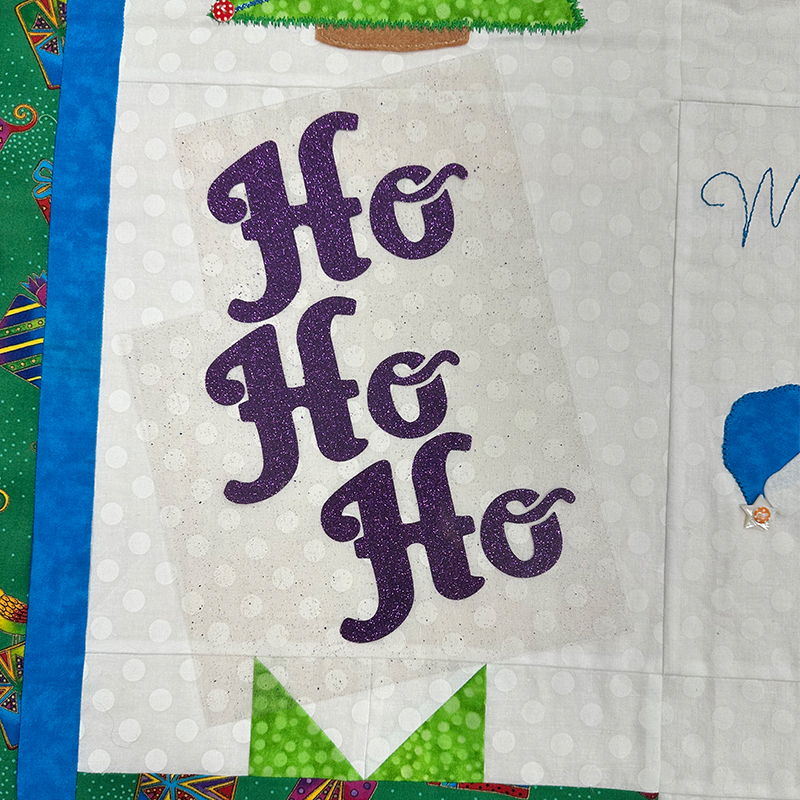
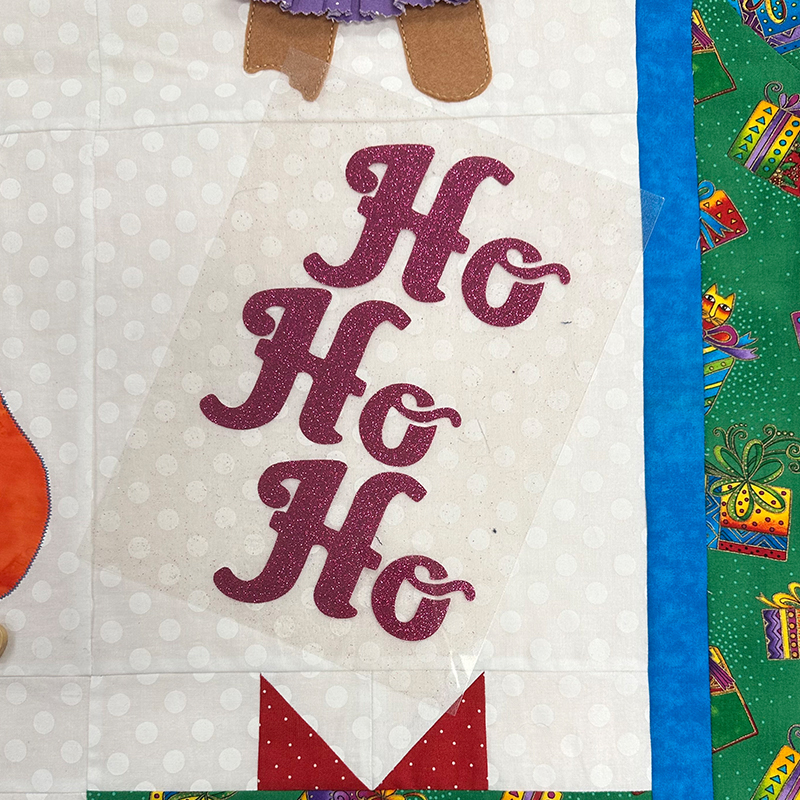
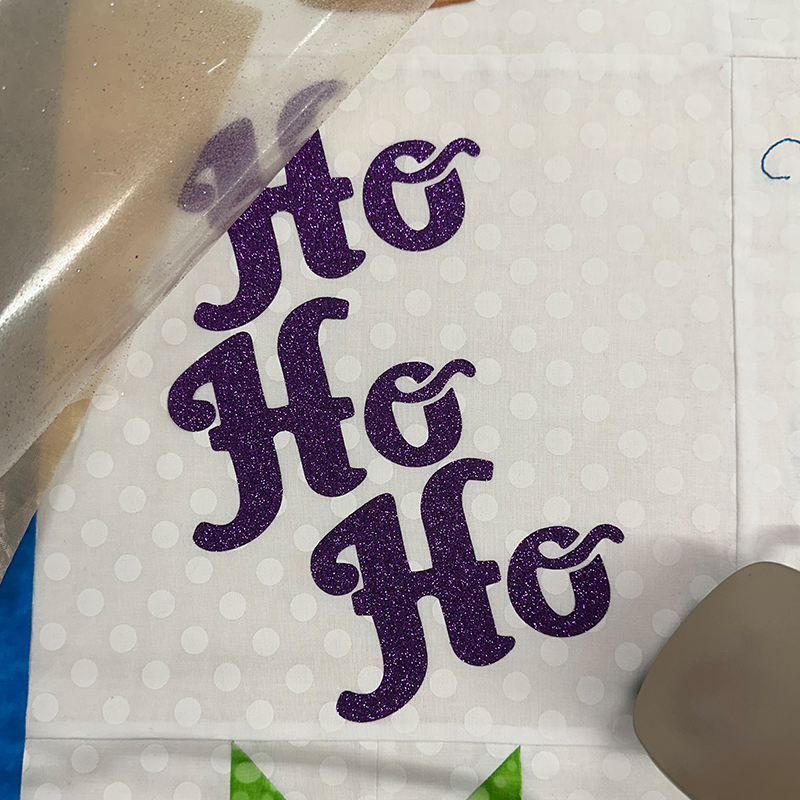
- The two white blocks will have the “Ho Ho Ho” pressed onto them with Heat Transfer Vinyl once the wall hanging has been quilted.
- Stitch each block into a row, press the seams to one side so they will nest together.
- Stitch the three rows together until you have a completed square.
- Measure through the centre of each of the rows vertically from top to bottom. You should have 3 measurements. Add them together, and divide by 3 to get an equal measurement. This will be the size of the frame fabric for the sides of the big square.
- Cut two strips of frame fabric to the measurement from step 22.
- Stitch both frames onto the side of the wallhanging.
- To get the correct size of the frame for the top and bottom of the square, measure through the 3 x blocks horizontally and repeat steps 22-24 to have a fully framed wall hanging.
- Add the borders, repeating the measuring, cutting and sewing steps from steps 22-24 with the frame now included.
- Your wall hanging top is now complete!
- The next step is to sandwich the quilt together, and choose your method of quilting. Quilt the three layers together.
- Press “Ho Ho Ho” onto the two white blocks with Heat Transfer Vinyl. Find out how to use Heat Transfer Vinyl →

- Now it is time to use your imagination, get creative and embellish the Applique blocks.
- Your wall hanging is complete!
DONATE SOME TO A CHARITY
These quilts can also be donated to charity. If you want to contribute to a great cause, the charities listed below accept handmade quilts for their patients. Just send your creations in to the mailing address provided.
Are you a charity that would accept this item? Contact us to have your details added here.
Victoria
South Eastern Centre Against Sexual Assault and Family Violence
Various locations
View contact details →
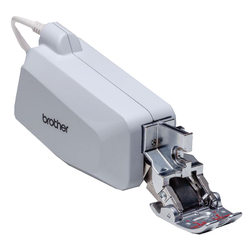
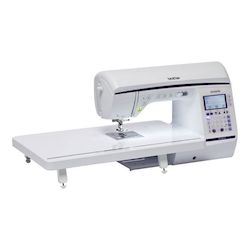
Products used:


Free Embroidery Designs
We're excited to offer our free Echidna designs available for download. These free designs are perfect for those at a beginner or an advanced level. Add these designs to your stash and create incredible embroidery!
View all free designs >
Sewing, Quilting and Embroidery Machines
Interested in learning how to sew, quilt or embroider? Take a look at the innovative Brother machines available for purchase at Echidna Sewing. Wherever possible we will beat any deal and you will always receive ongoing service and support!
Find out more >
Learn to Sew or Embroider with Echidna Sewing
Come along to our fun-filled classes to learn more about sewing, embroidery and crafting. Classes cater for all skill levels, whether you're just starting out or already have advanced knowledge.
Find out more >
Echidna project material/ fabric requirements are an indication only and can seem to be generous. This has been intentional. Should you make a cutting or embroidery mistake you will have sufficient fabric to rectify your error.


