All Projects


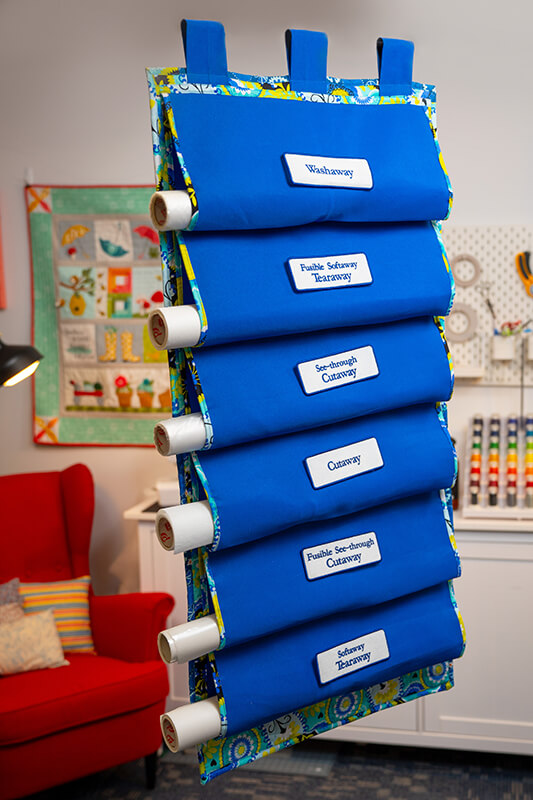
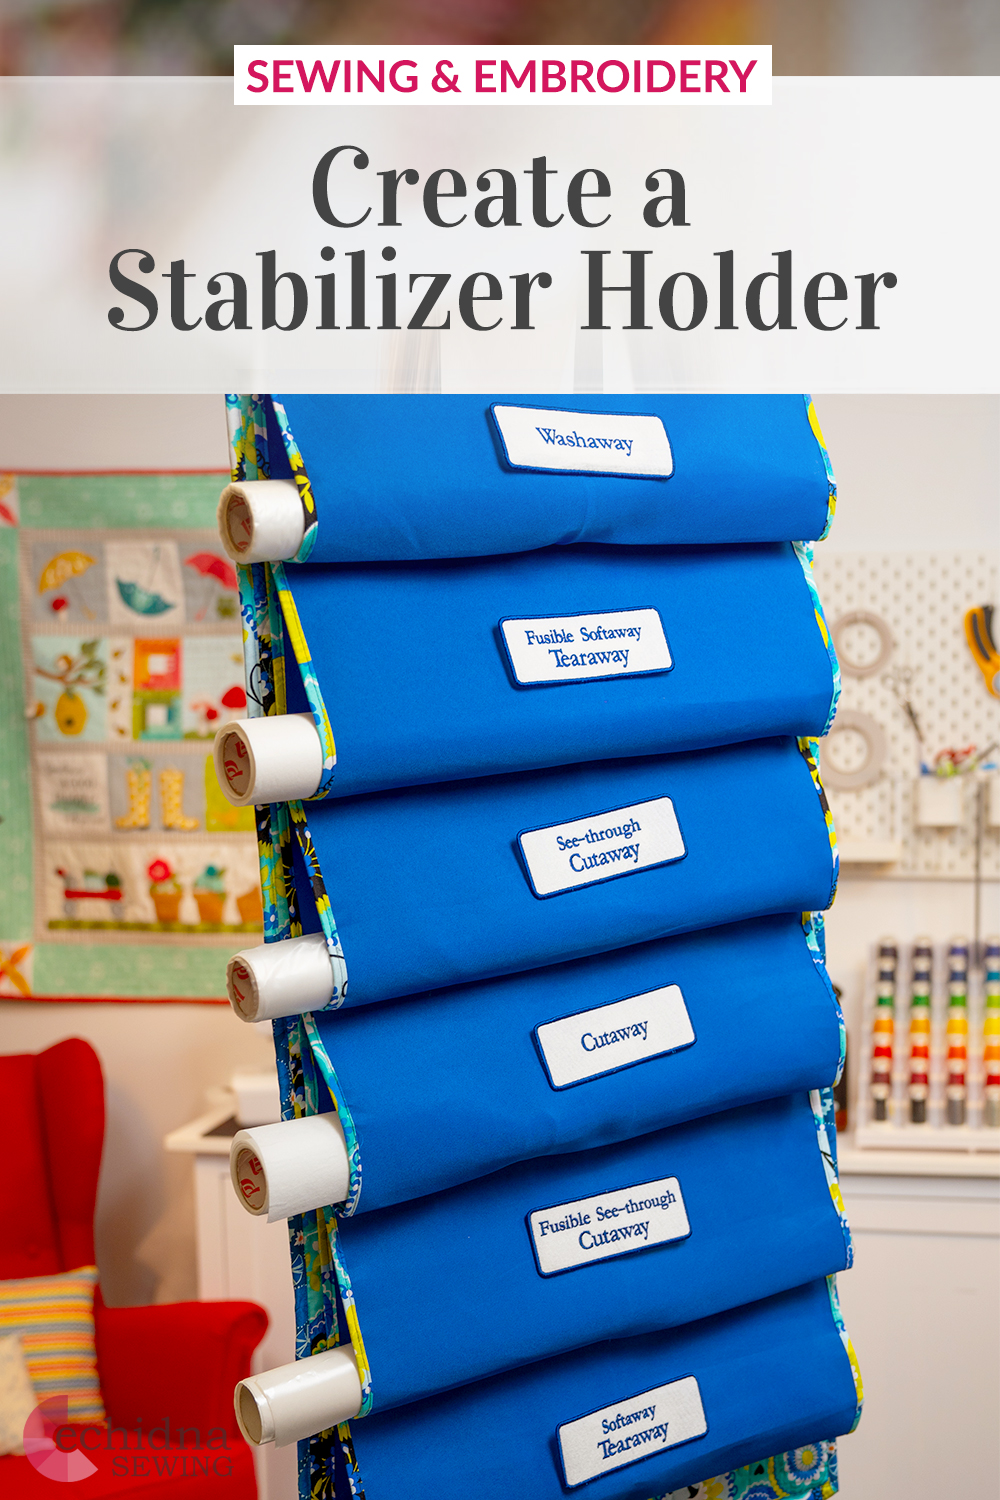
Stabilizer Holder
Date Posted:15 June 2025
Are you tired of your rolls of stabilizer cluttering up your sewing and embroidery workspace? Look no further! In this article, we will show you how to create a stylish and practical stabilizer holder using your sewing and embroidery machine. Not only will this holder help you keep your stabilizer rolls neatly organised, but it will also add a touch of personalised flair with embroidered badges for the labels.
Gone are the days of searching through stacks of stabilizer to find the right one for your project. With this innovative DIY solution, you'll have everything at your fingertips, making your sewing and embroidery process smoother and more efficient. So, grab your sewing machine and get ready to turn your workspace into a well-organised haven of creativity. Let's dive in and discover how to create your very own stabilizer holder that combines functionality with style!
Don’t forget to show us your finished projects on Instagram or Facebook #echidnasewing #madebyme
What you'll need:
Stabilizer Holder
- Sewing machine
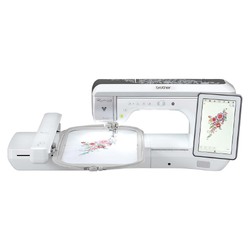
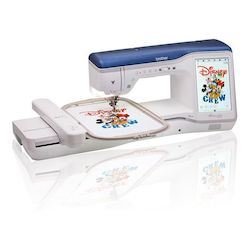
- Embroidery Machine (Minimum 5” x 7” hoop)
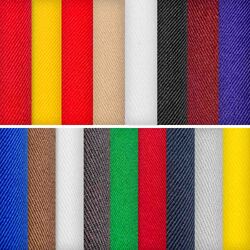
- 1.5m x width of fabric (WOF) of feature fabric
- 2 x packets of Polyester Twill Fabric to match feature fabric
- 1.5m Pellon
- Hemingworth Embroidery Thread
- Rasant to match your feature fabric
- Simplicity Bias Maker
- Basting spray/505 Temporary Adhesive Spray
- 6” x 24” Quilting Ruler
- Sticky hook and loop tape
Embroidered Badge Labels:
- Badge Embroidery Designs Download Files
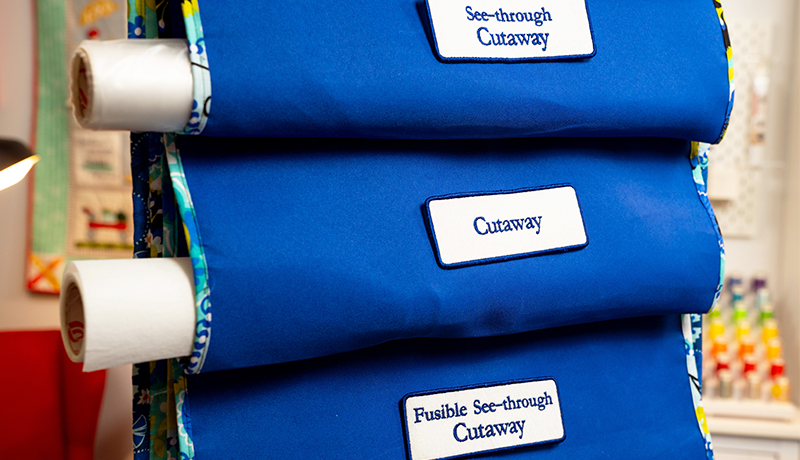
- Washaway Stabilizer
- Supersolv
- Embroidery bobbin thread or pre-wound bobbins
- Hemingworth Embroidery Thread
- Stiff Specialty felt
- Kimberbell paper tape
Shop online:


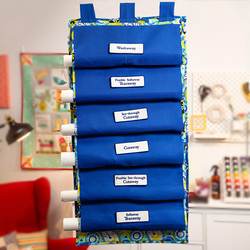
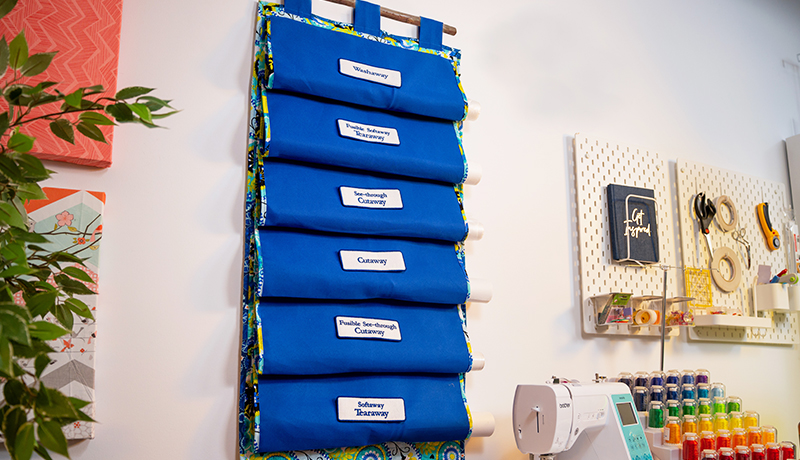
Finished size: 21½” x 43”
Minimum Hoop Size Required: 5” x 7” (130mm x 180mm)
Cutting instructions:
Fabric reference: backing fabric, backing feature fabric, hanging tabs, fabric pockets, binding
Feature fabric:
- Cut 30” x 51” for the backing feature fabric.
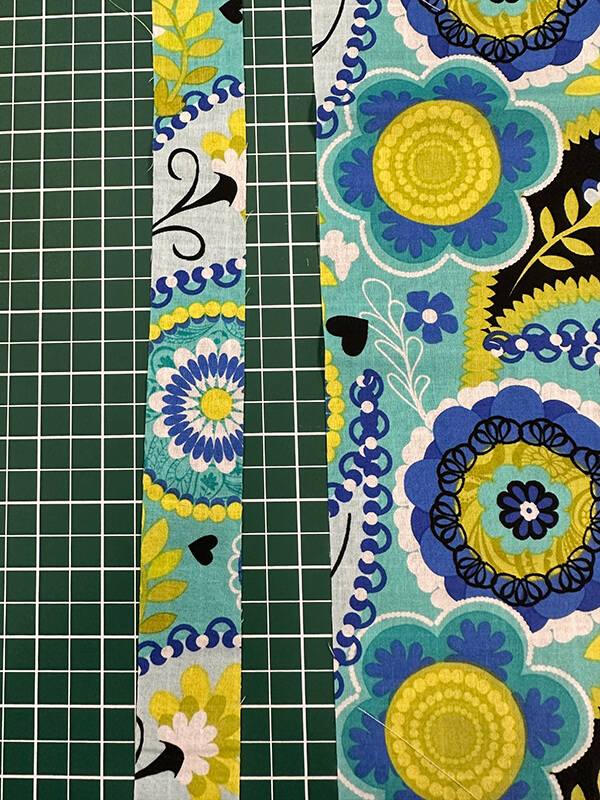
- Cut 6 strips across the width of fabric (WOF) x 1½” wide for the sides of each fabric pocket.
- Cut 4 strips of 2.5” x width of fabric (WOF) for the binding.
Pellon
Cut the same size as the backing feature fabric (30” x 51”).
Twill Fabric
Packet 1
Cut into 3 strips of 19½” x WOF, then cut each strip down to two pieces of 16.5” x 19½”. You should be left with 6 strips for the fabric pockets .
Packet 2
Cut a strip 25 ½” x 19 ½” for the hanging tabs. Cut the same size as the backing feature fabric 30” x 51” for the backing fabric.
Embroidered Badge Labels:
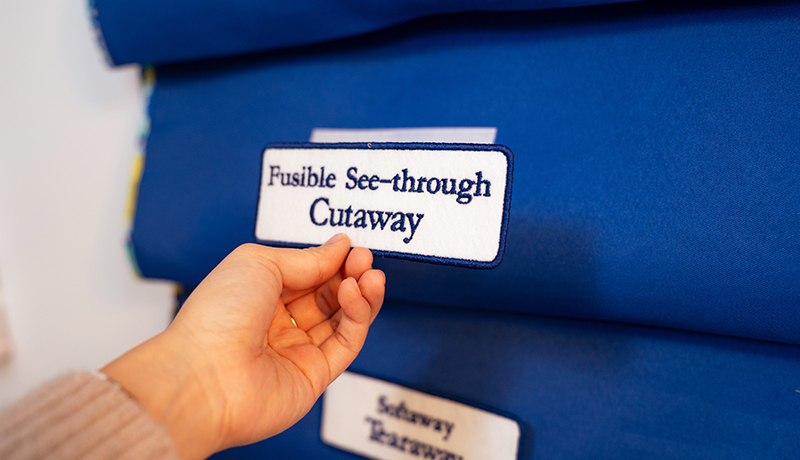
Cutting: Cut a 7” x 3” shape of Stiff Specialty felt for each badge you are making.
- Transfer the badge label designs onto a USB to move to your machine or if you have a Wi-Fi enabled Brother, you can use Brother Design Database Transfer.
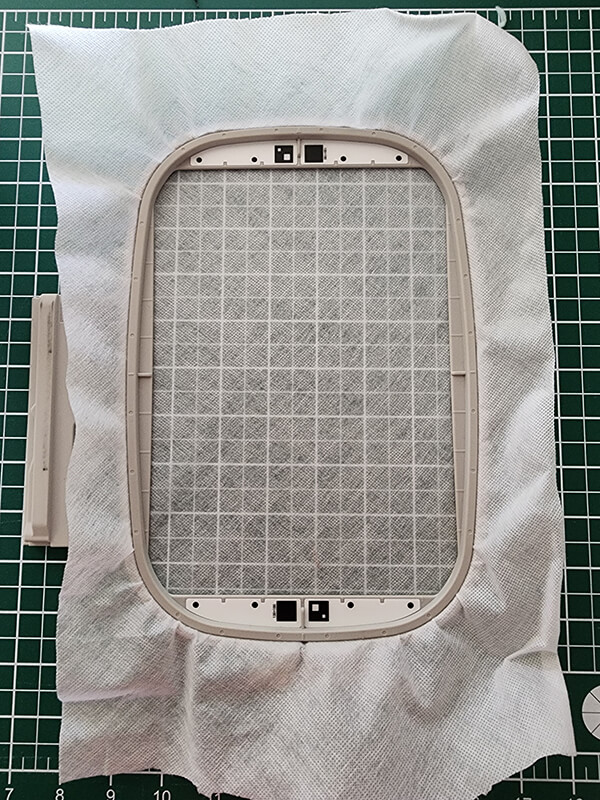
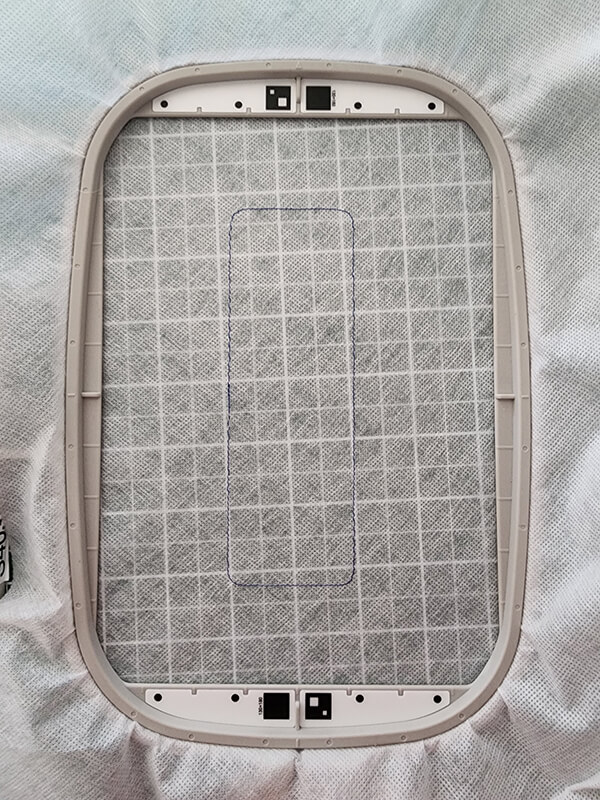
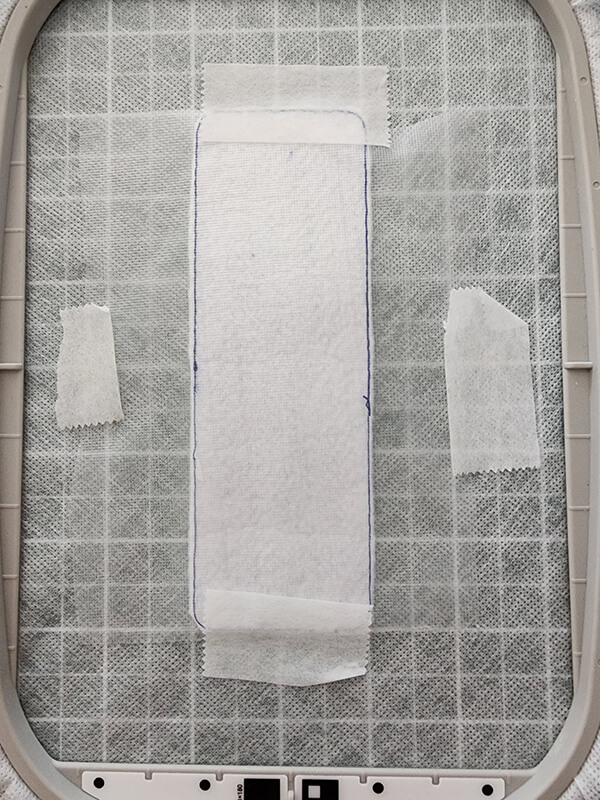
- Hoop a single layer of Washaway Stabilizer in your 130mm x 180mm (5" x 7") embroidery hoop.
- Load the chosen badge label design on your machine.
- Thread your machine with the chosen colour.
- Stitch out the placement line.
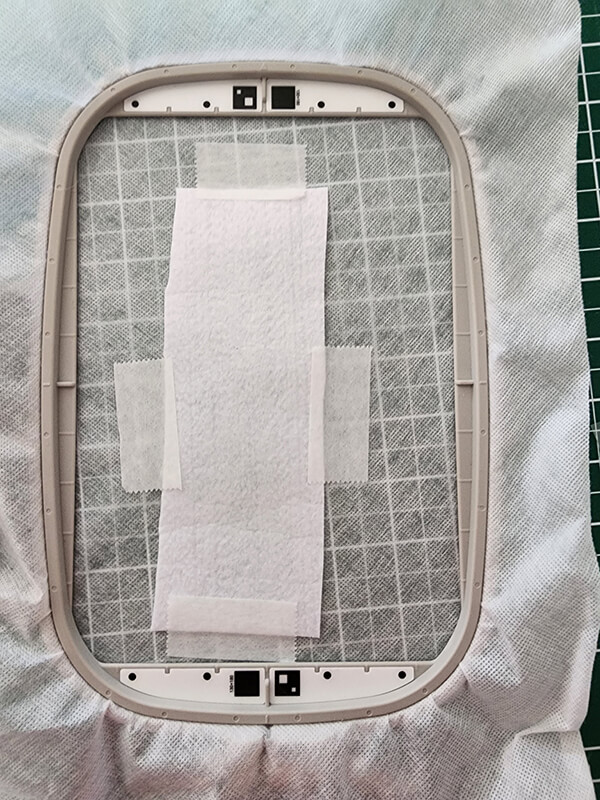
- Remove hoop from the machine and place the Stiff Felt on top of the placement line, tape in place.
- Return the hoop to the machine and stitch the tack down stitch.
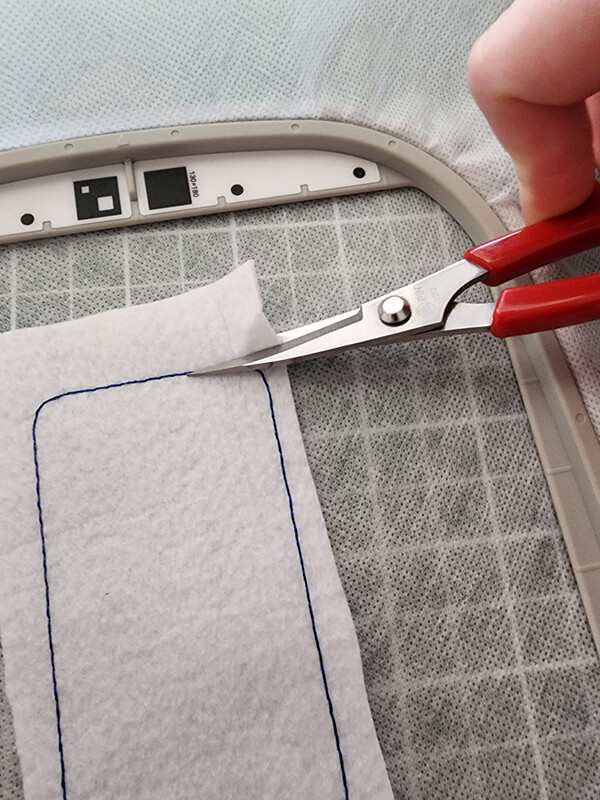
- Remove the hoop from the machine and trim the stiff felt back to ⅛” past the stitching line.
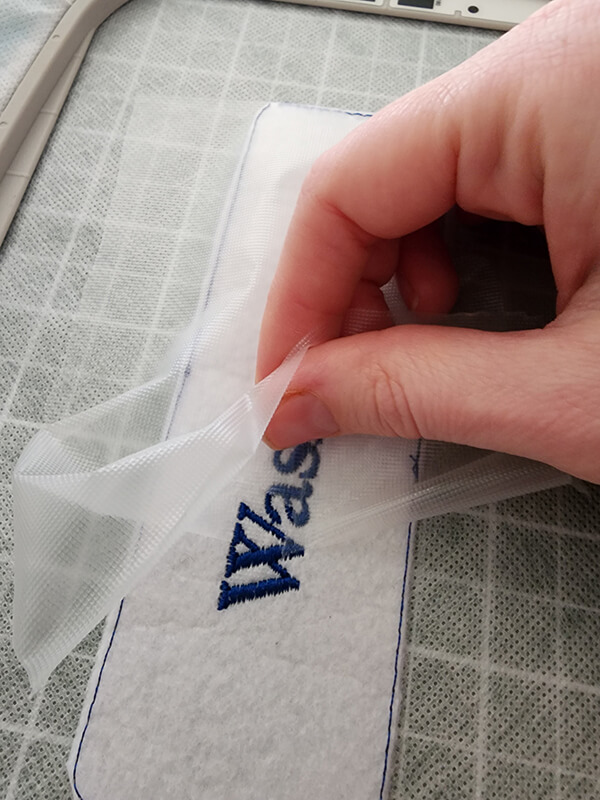
- Place a piece of Supersolv over the stiff felt and tape in place covering the label.
- Return the hoop to the machine and stitch out the badge name.
- Once completed pull the excess SuperSolv off.
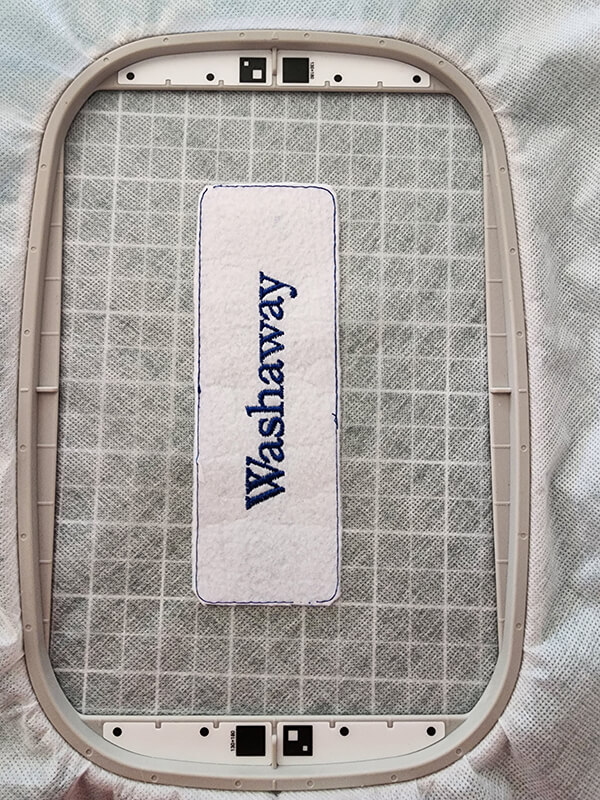
- Stitch out the final colour in the sequence to finish off the badge with a satin stitch edge.
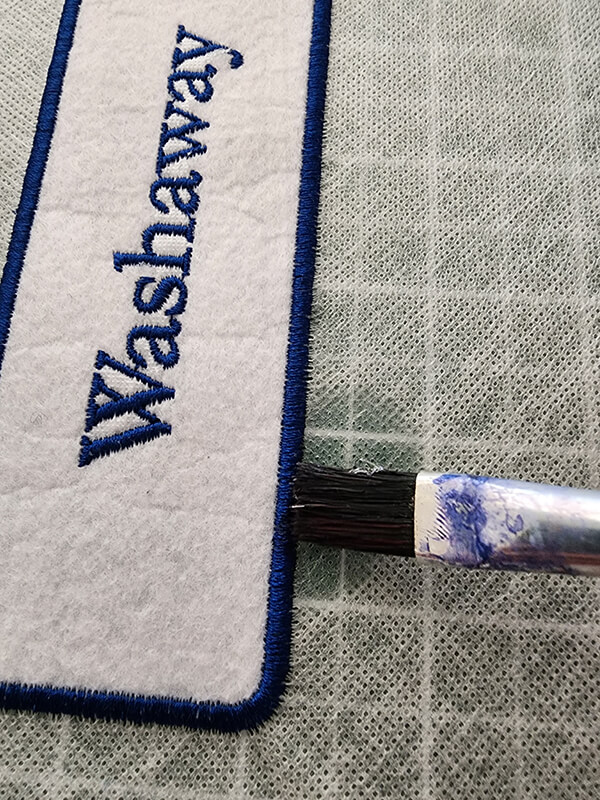
- Keep the badge in the hoop and use a paint brush with a bit of water and wet the washaway stabilizer around the edge of the badge, this will cause the washaway to dissolve and leave you with a badge.
- Make sure the badge is laid flat to dry. Attach the sticky back hook and loop tape onto the back of the badge ready to be added to your holder.
Construction:
- Iron the Pellon onto the wrong side of the backing feature fabric fabric.
- Pre-quilt the backing feature fabric fabric and the Pellon together using your chosen method. For this project we have quilted the background piece using a built-in design on the Brother Luminaire embroidery machine but you could use any quilting design, redwork design if you don’t have any designs built into your machine.
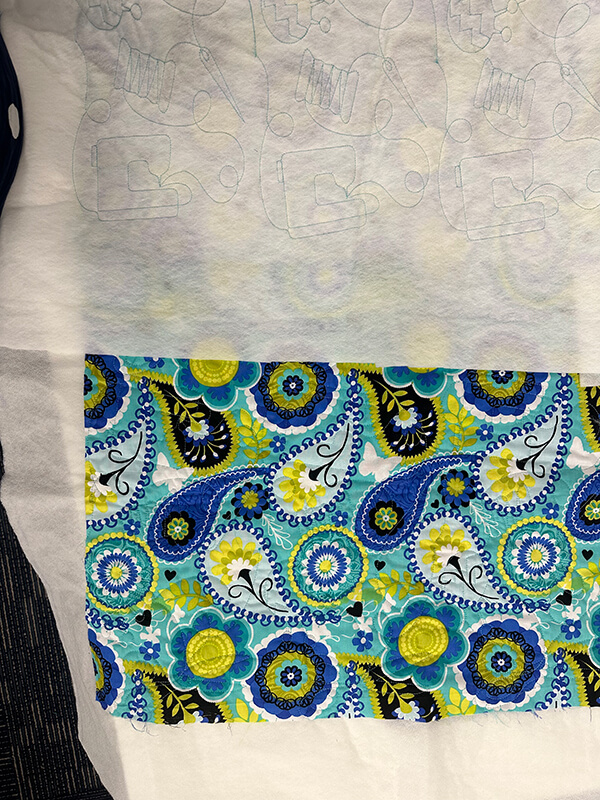
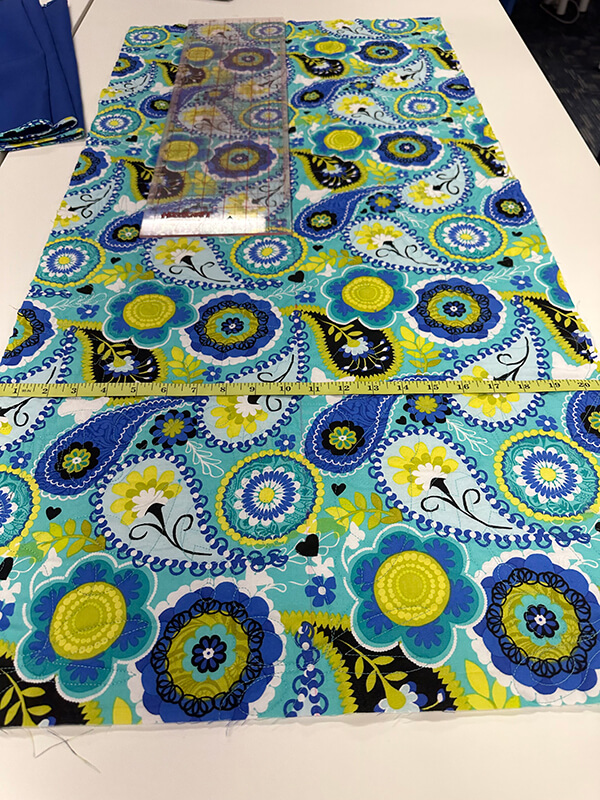
- Once quilted, fold the backing feature fabric in half lengthways, mark the centre of the quilted fabric using your quilting ruler and your choice of fabric marking pen. Set aside.
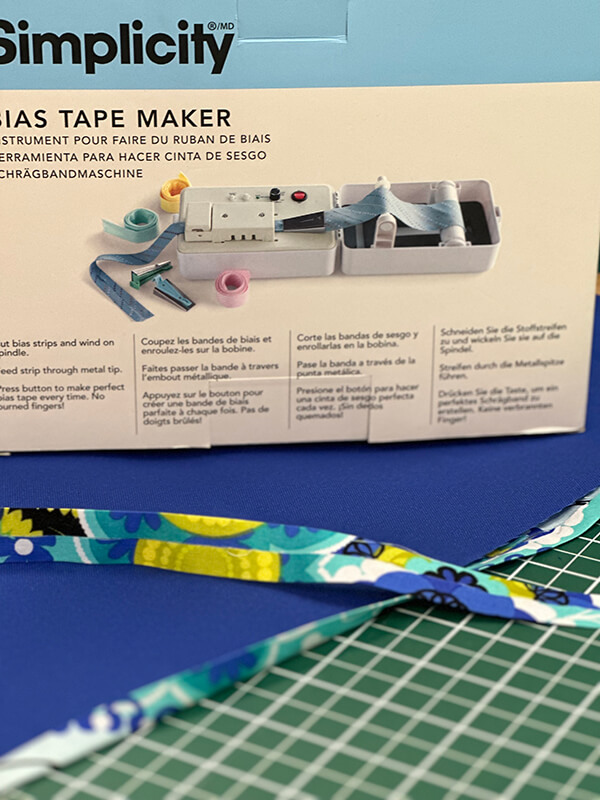
- Using the 6 x 1½” strips previously cut to make bias tape. These strips will be attached to the raw edges of each side of the fabric pockets. To make the bias strips we will be using the Simplicity Bias Tape Maker. Attach the 1” bias tip and create the binding using the Bias tape maker. Watch our video on how to use the Bias Tape Make →
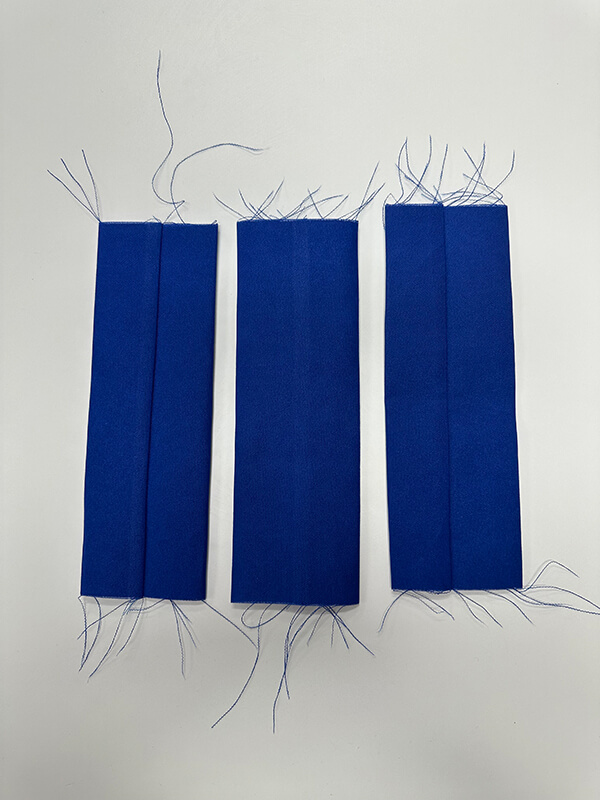
- You will end up with six lengths of bias tape, and each length will be cut down to twelve 16½” strips.
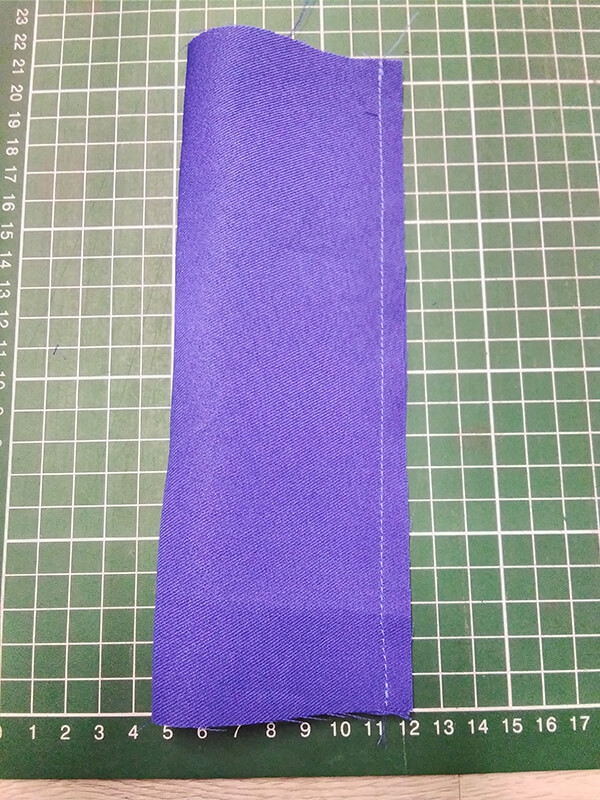
- Using your sewing machine attach the 1” binding strips to the two short sides of each of the six fabric pockets.
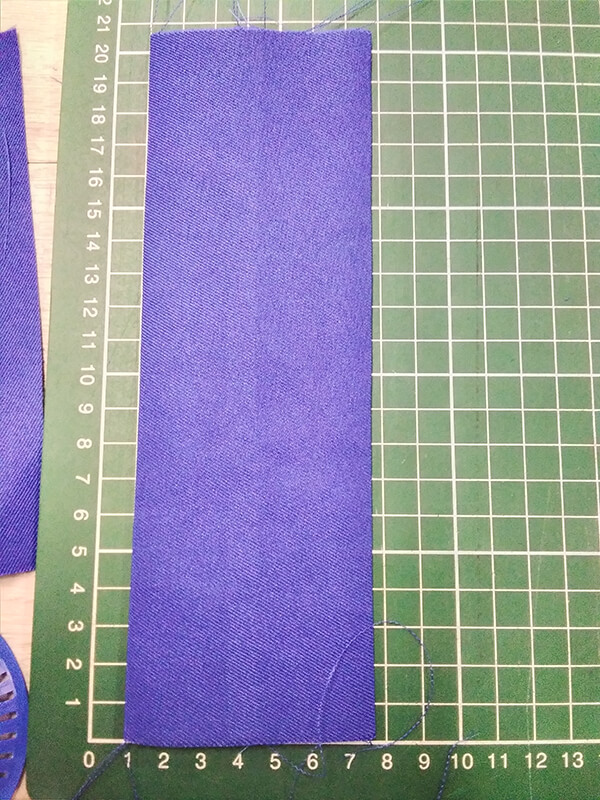
- Fold fabric pockets in half lengthwise and overlock or zigzag the two raw edges together.

- To create hanging tabs fold the tabs fabric strip in half lengthways with right sides together, and sew a ¼” seam. Turn, so the seam is on the inside of the tab.

- Iron the fabric strip with the seam in the centre of the tab.
- Cut into 3 equal lengths to create the hanging tabs for the top, set aside.
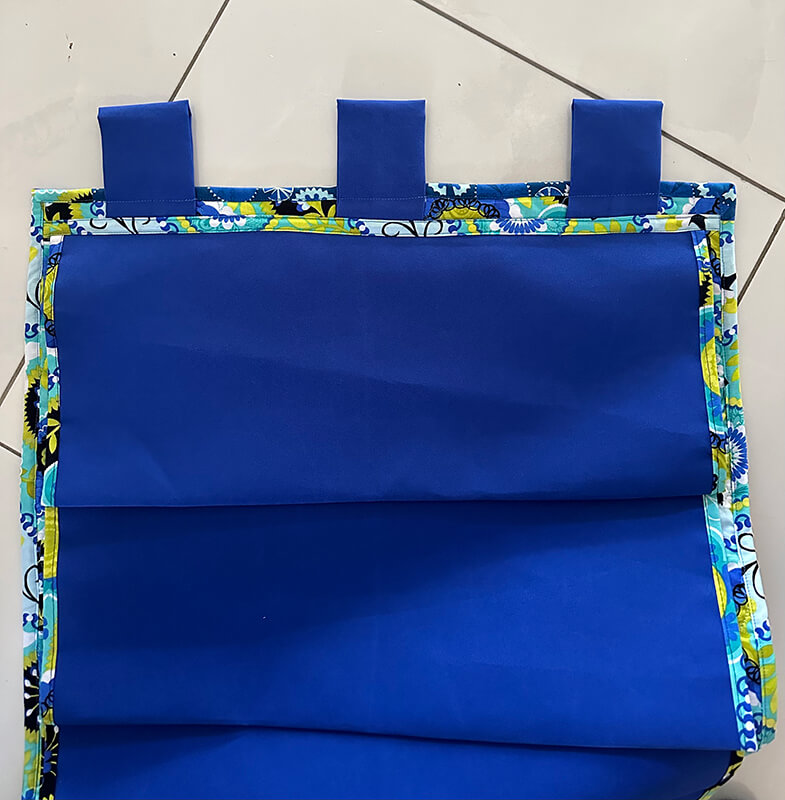
- Line up the first fabric pocket by placing it 1½” from the top raw edge of the backing feature fabric making sure the overlocked or zigzag edge of the fabric pocket is at the top.
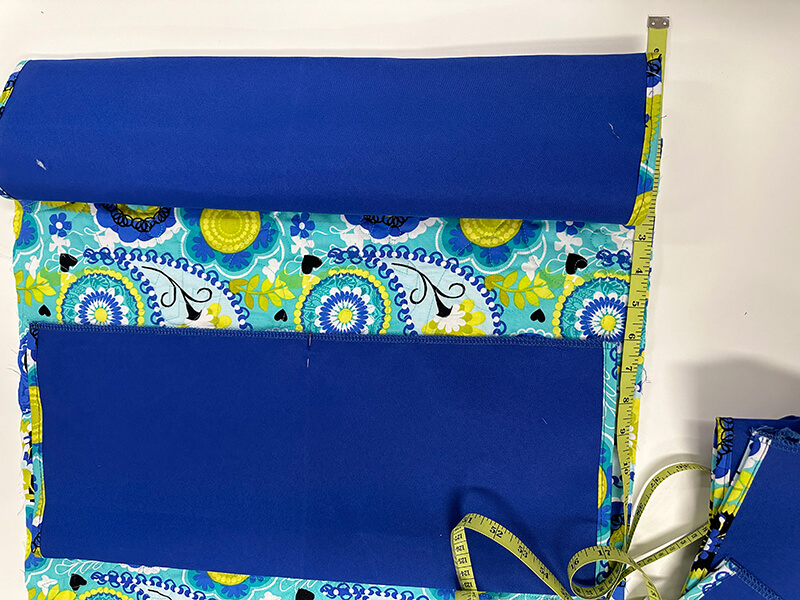
- Attach the hanging tabs to the top of the Stabilizer holder. Fold each of the hanging tabs in half and pin in place along the top of the Stabilizer Holder, making sure the raw edges overlap the top of the fabric pocket and the folded side is facing up. Start by placing the first tab in the centre along the top of the Stabilizer Holder and then attach the two remaining tabs so that they are 2½” in from each side of the holder.
- Using a walking foot, a straight stitch and a ¼” seam, stitch along the top of the pocket securing the tabs and pocket in place.
- To hide the overlocked/zigzag edge, use a piece of bias tape and stitch along the top of the pocket and tabs.
- Now we need to attach the remaining 5 fabric pockets. Fold the pockets in half and mark the centre with chalk. Using this mark, centre the pocket onto the backing feature fabric centre position (done in step 3), pin in place. Continue pinning the rest of the fabric pockets in place using a tape measure to ensure the top of the next fabric pocket is positioned 6” below the previous pocket. Stitch in place using a walking foot. Continue until you have stitched all 6 fabric pockets in place.
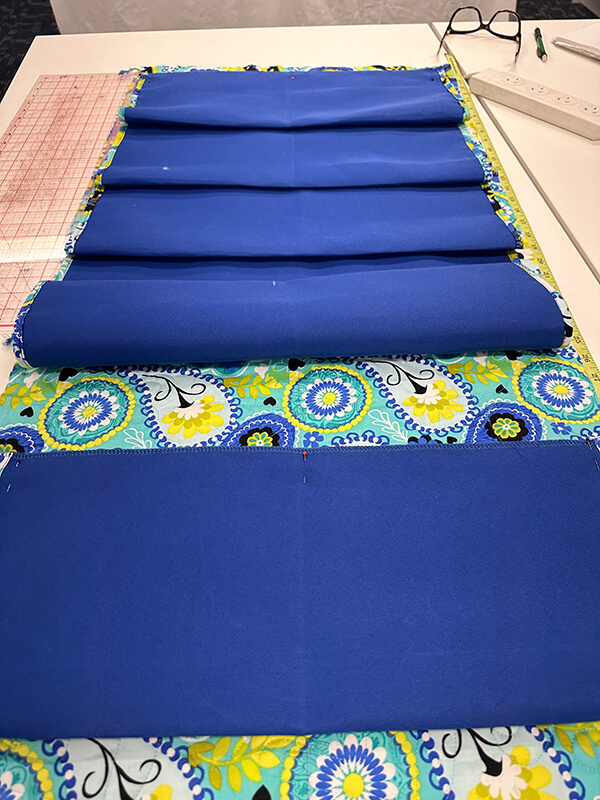
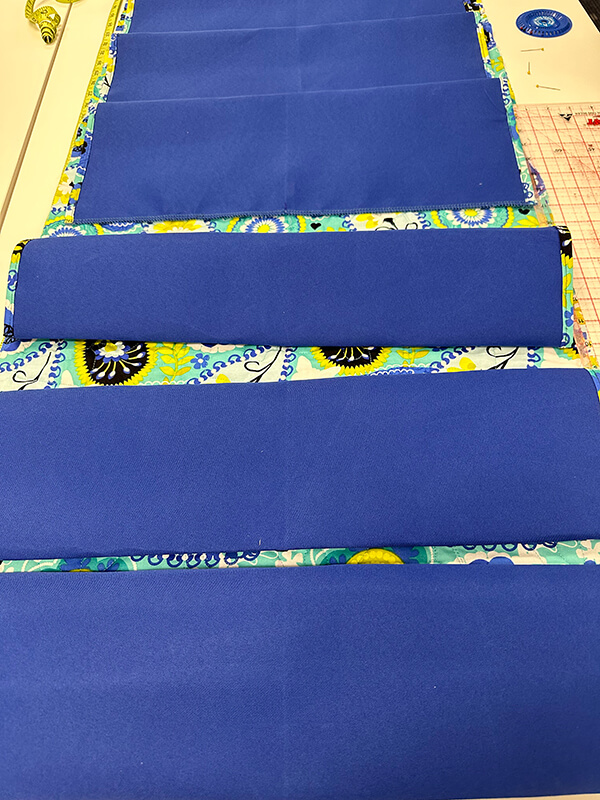
- Spray baste the wrong side of the backing fabric onto the back of the Pellon. Using a walking foot, stitch along the top of each pocket to quilt the three layers together.
- Make the binding by sewing the 4 x binding strips together to create one long length, fold in half and press. Attach the premade binding strip to the outer edge of the Stabiliser Holder and stitch in place.
Note: When approaching the top of the project, ensure the tabs are folded down towards the pockets so they don’t catch in the binding. Once the binding is attached fold the tabs up, and sew along the edge of the outside of the binding to reinforce the tabs to stand up.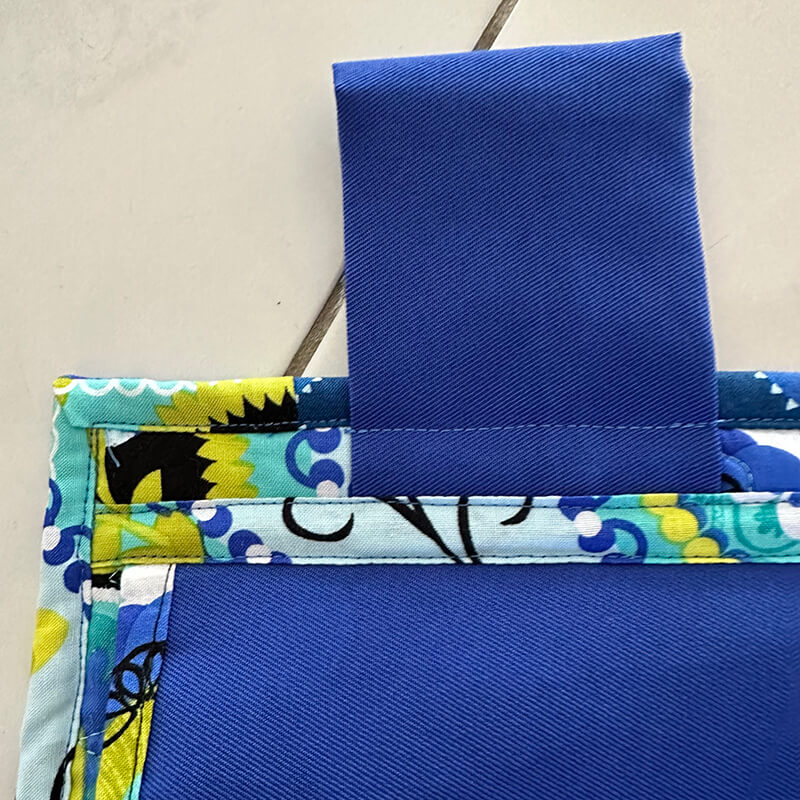
- Decide where you would like to place the embroidered badges and attach the hook and loop to each pocket.
- Hang up and fill with your stabilisers!
Don’t forget to show us your finished projects on Instagram or Facebook #echidnasewing #madebyme
Free Embroidery Designs
We're excited to offer our free Echidna designs available for download. These free designs are perfect for those at a beginner or an advanced level. Add these designs to your stash and create incredible embroidery!
View all free designs >
Sewing, Quilting and Embroidery Machines
Interested in learning how to sew, quilt or embroider? Take a look at the innovative Brother machines available for purchase at Echidna Sewing. Wherever possible we will beat any deal and you will always receive ongoing service and support!
Find out more >
Learn to Sew or Embroider with Echidna Sewing
Come along to our fun-filled classes to learn more about sewing, embroidery and crafting. Classes cater for all skill levels, whether you're just starting out or already have advanced knowledge.
Find out more >
Echidna project material/ fabric requirements are an indication only and can seem to be generous. This has been intentional. Should you make a cutting or embroidery mistake you will have sufficient fabric to rectify your error.

