All Projects


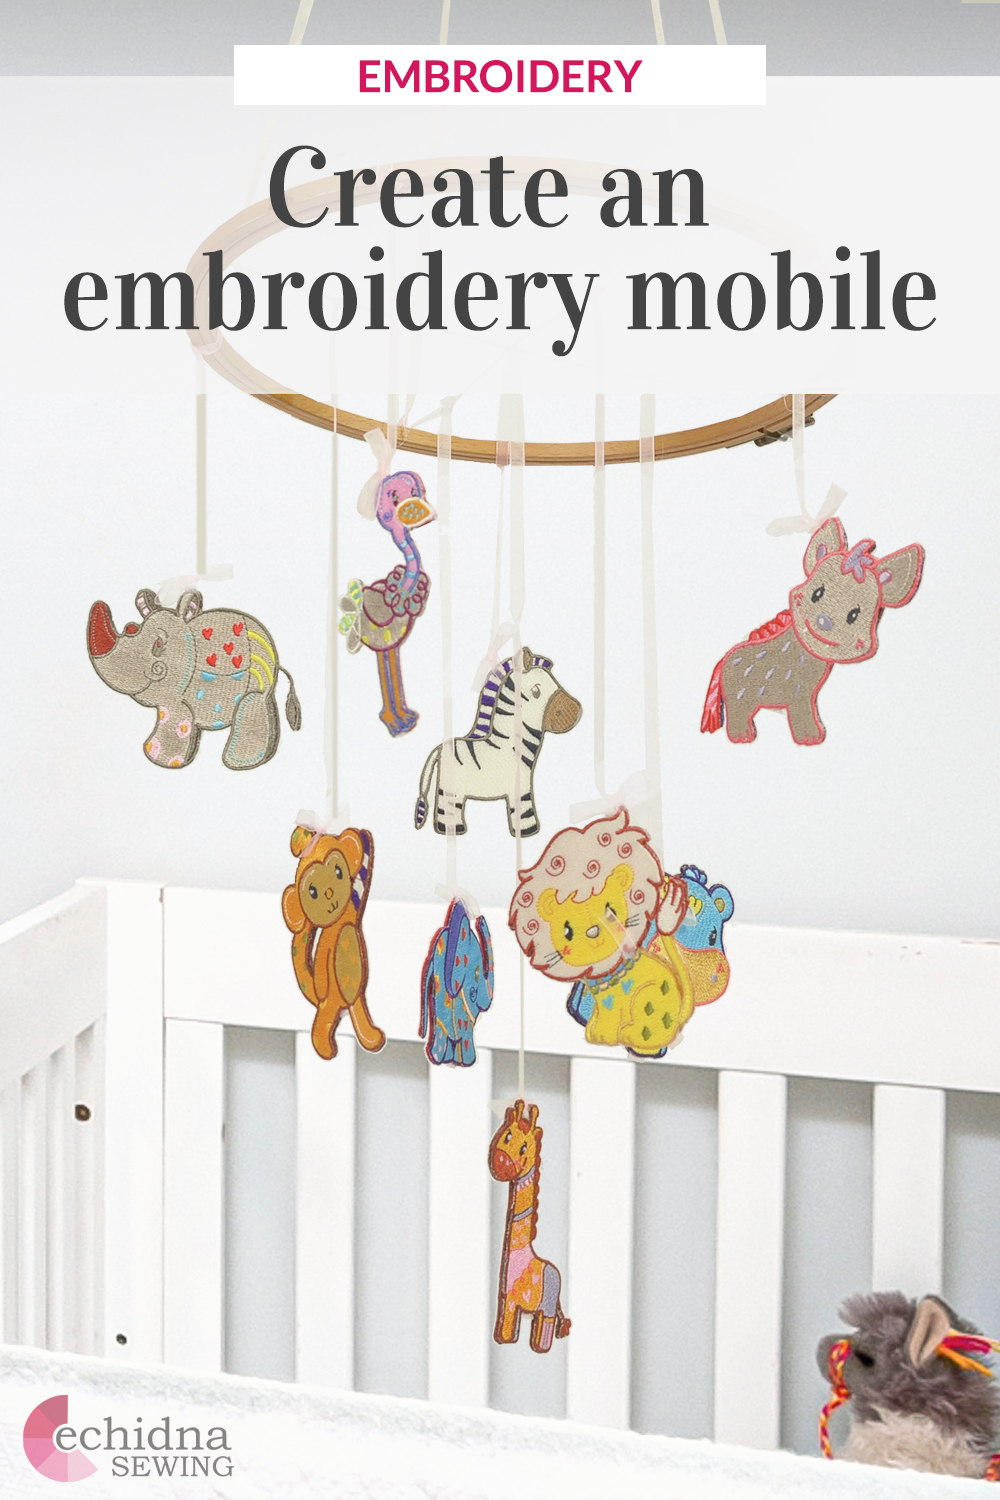
Embroidered Hanging Mobile
Date Posted:15 May 2022
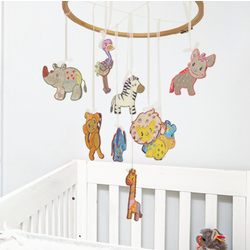
Complete any nursery with a beautiful embroidered hanging mobile. This project can make a lovely gift for expecting parents, or even your own bundle of joy.
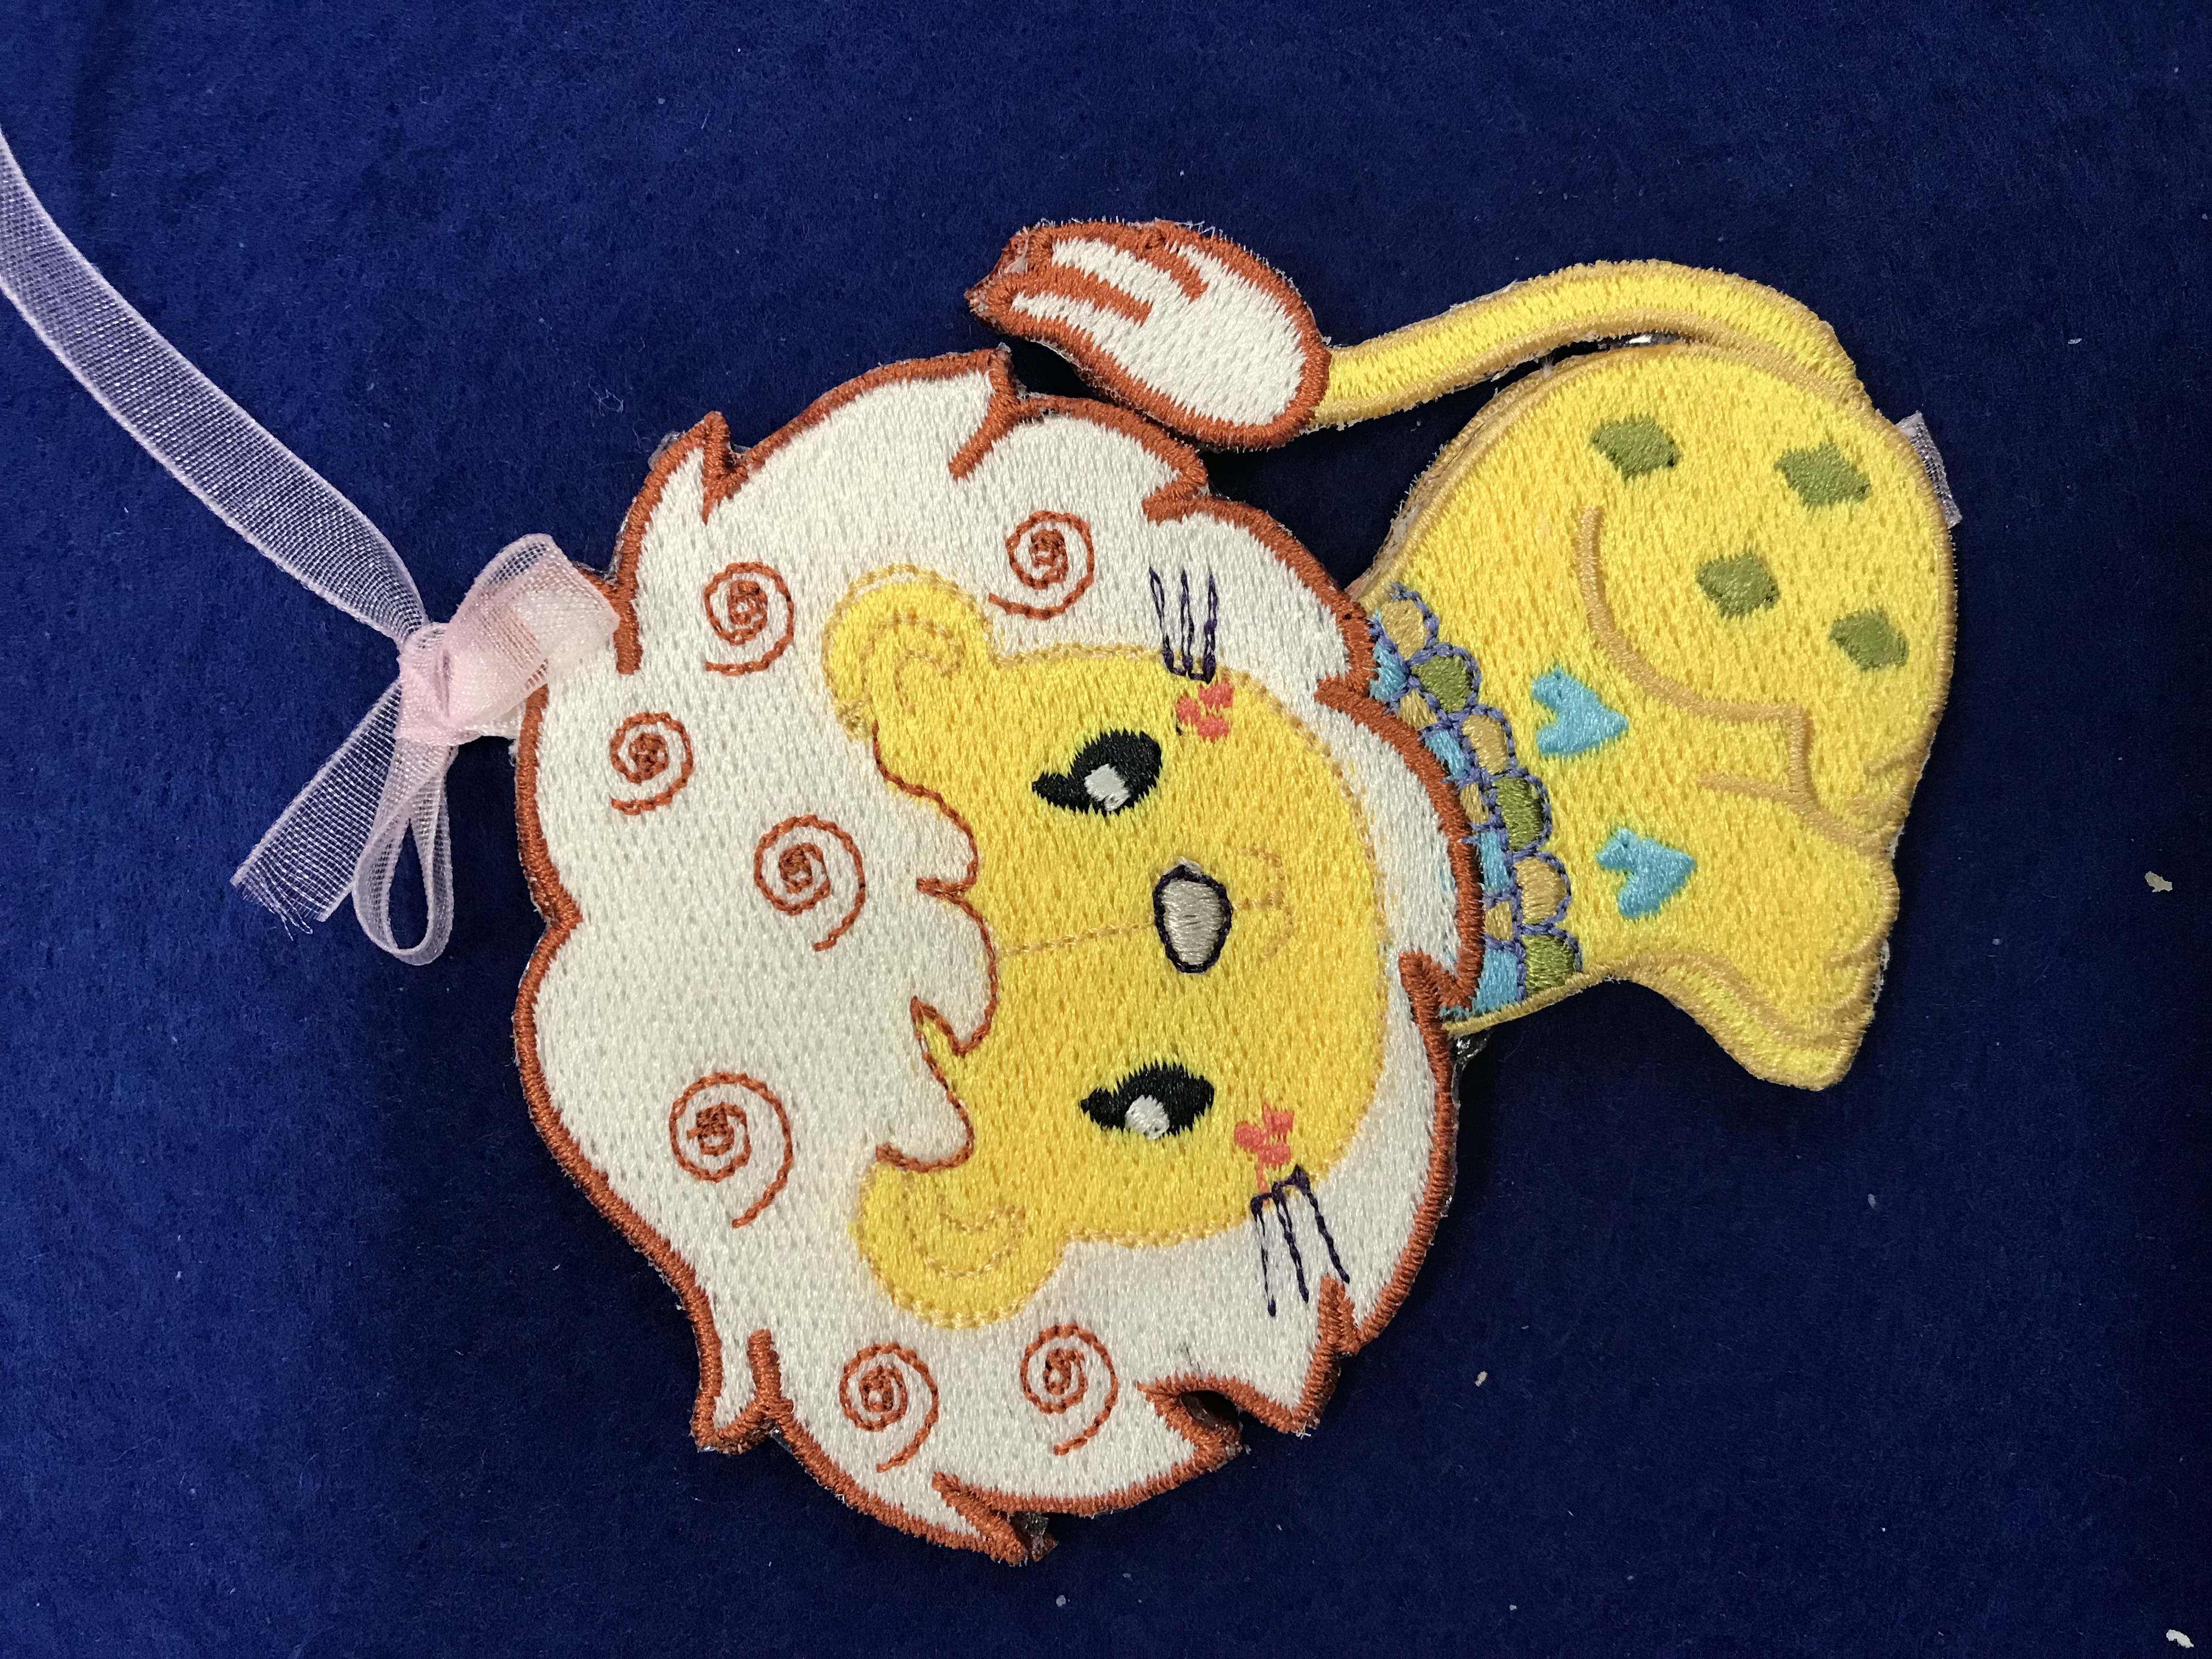
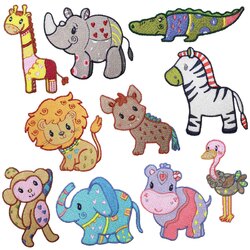
To create this baby mobile, we used our very own Echidna design pack, Patchy Safari. They’re perfectly suited to all genders and are so cute they’re sure to bring smiles!
Requirements:
- Embroidery machine
- Embroidery design that can easily be flipped. We used Patchy Safari, however you can choose from our range of designs suitable for a mobile →
Please note: Letters and words cannot be flipped or mirrored. - Embroidery threads for each design
- Bobbin thread
- Washaway
- Organza
- Hot Melt Film
- Whole roll of ribbon (size 6mm wide)
- Wool Pressing Mat
- Mini iron
- Red Handle Applique Scissors
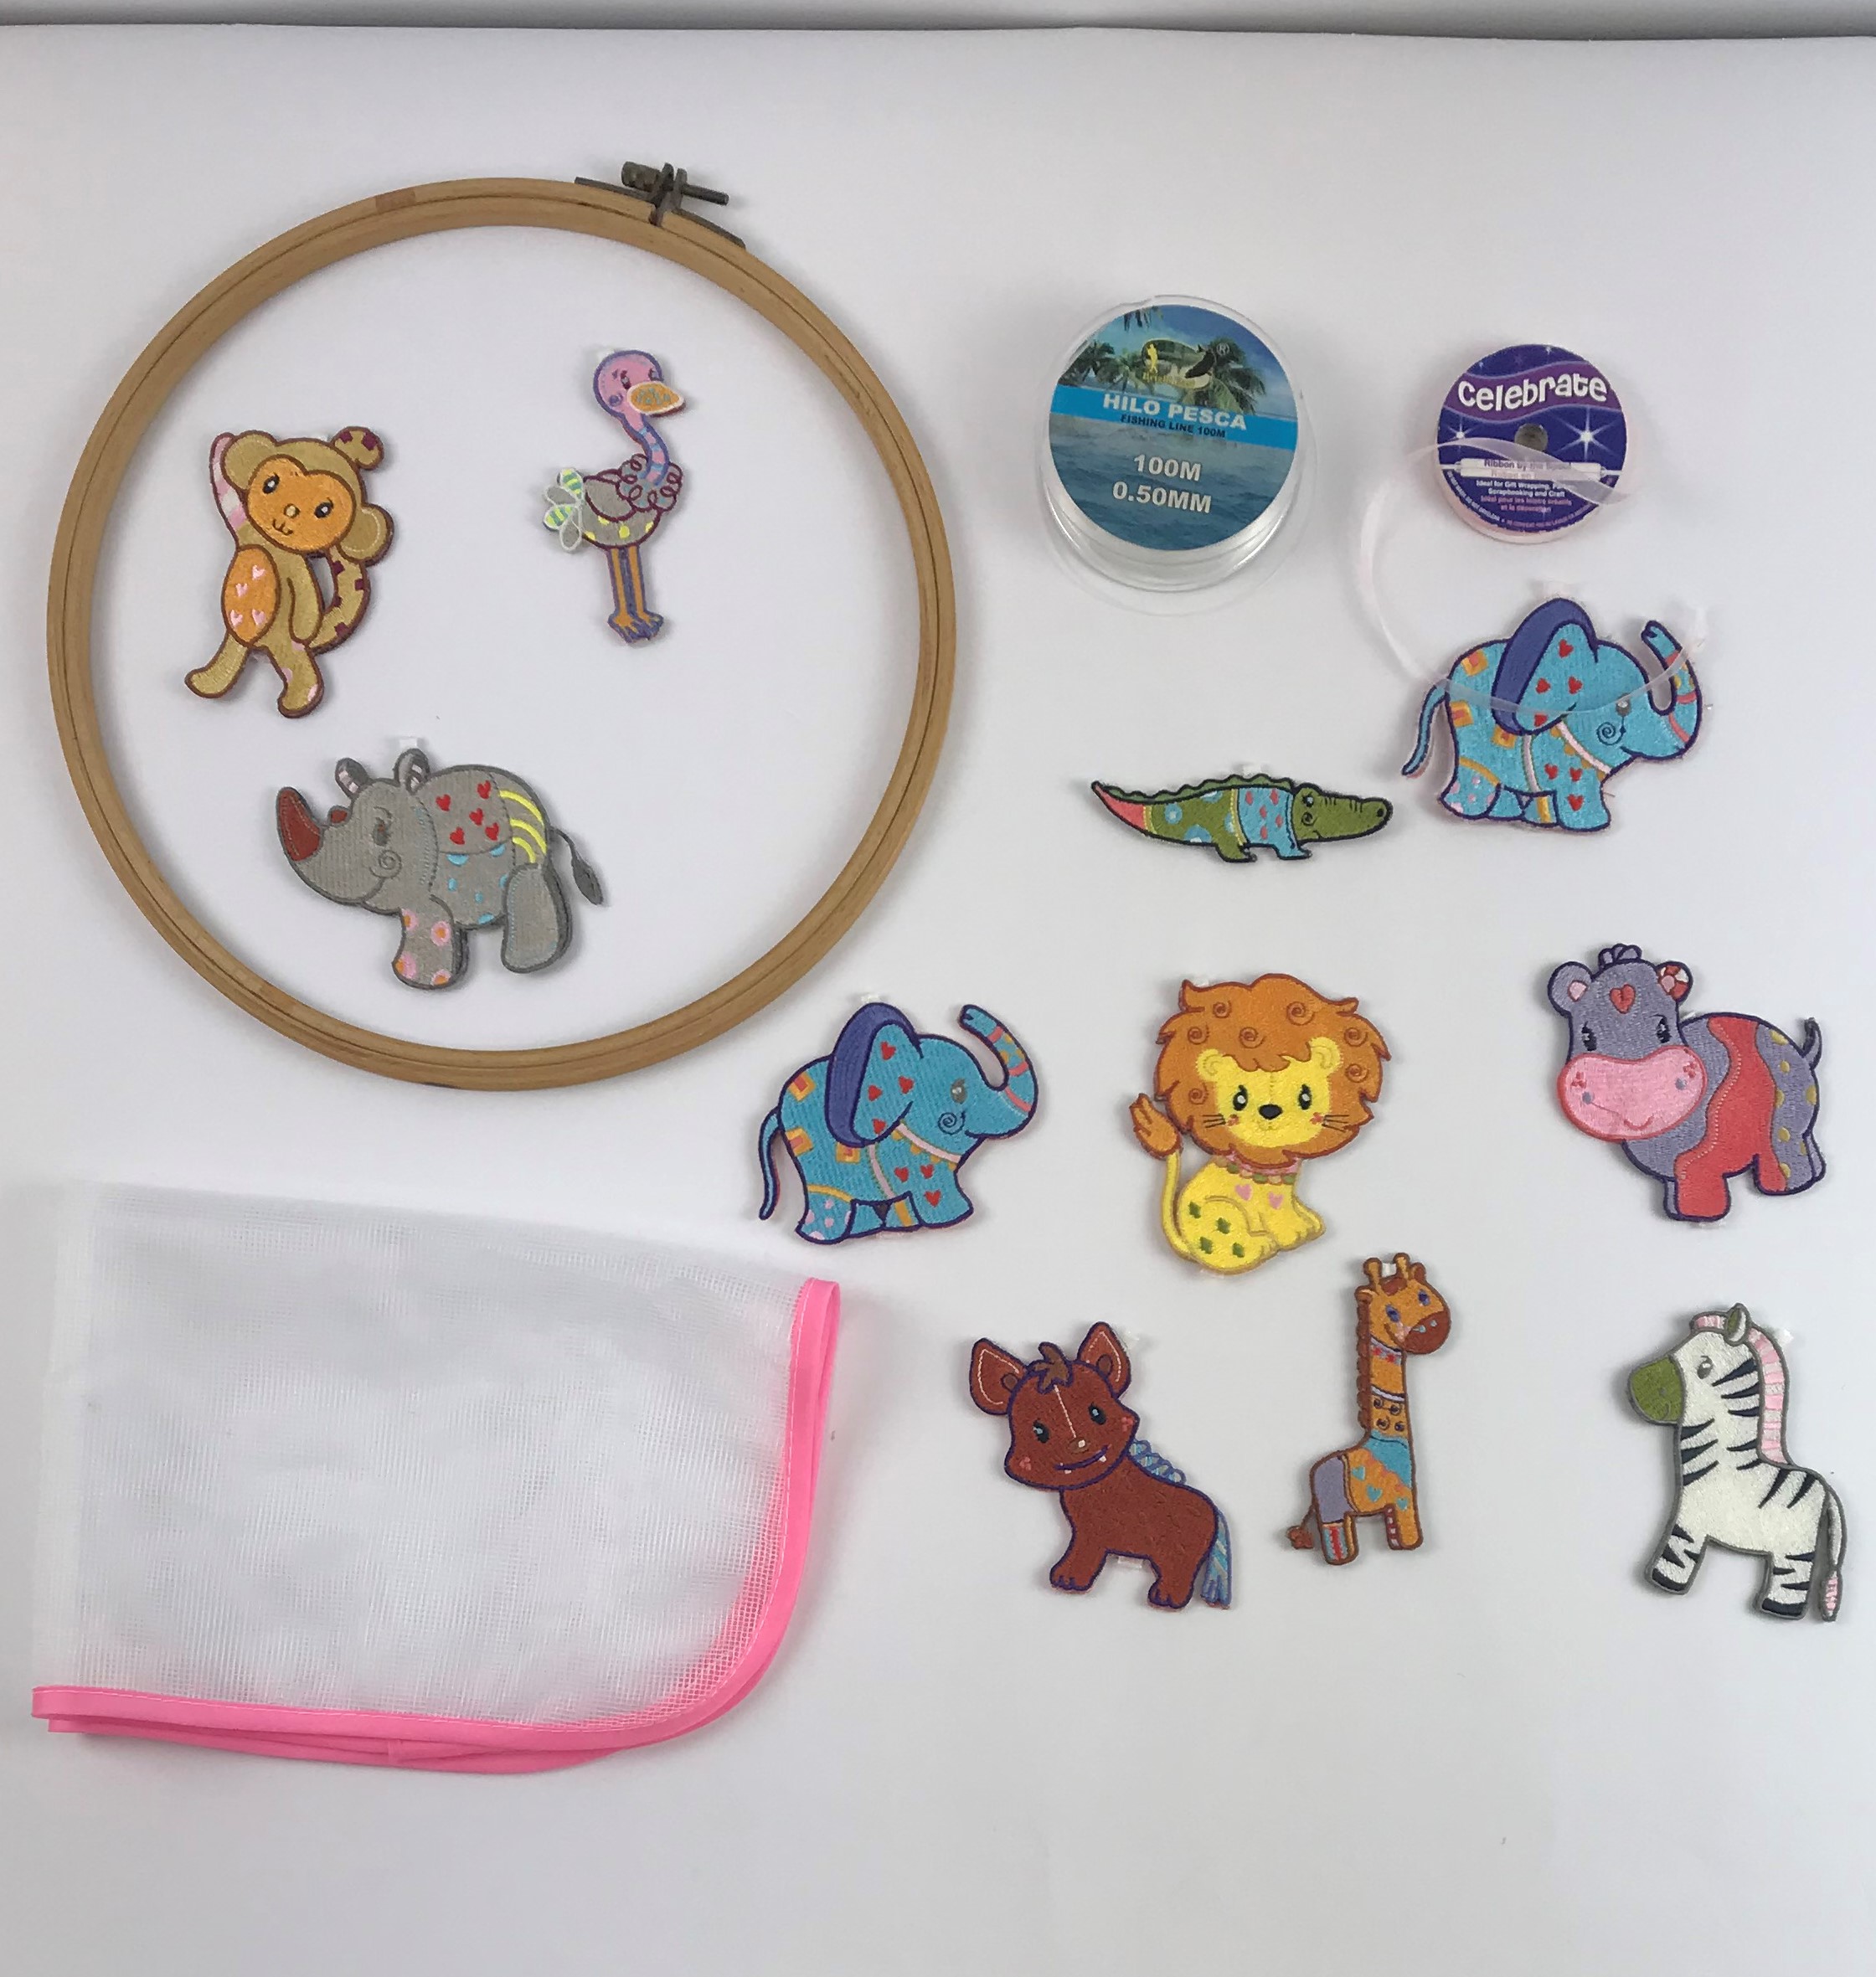
General accessories used:
- Pre-loved hand embroidery hoop - 29cm (11½")
- Fishing line
- 450 Quick dry adhesive - Craft glue
- Darning needle with large eye
- Split ring
Tip: In this project we are mirroring the designs to create a three dimensional mobile. Not all embroidery designs are ideal for mirror imaging so be sure to check this. Any design that is symmetrical can be mirrored without flipping. Alternatively, any design that matches back to back when flipped are suitable. Letters and words are not suitable for mirror imaging.
Method
Embroider each design twice, however you must flip the second design to mirror it.
1. Hoop the organza between two pieces of washaway, select your design and if the hoop size allows, copy the same design and mirror image. If using a 4 x 4 hoop each embroidery animal and the mirror image will be stitched one at a time.
2. Cut each embroidery animal from the stabiliser and trim back as close to the embroidery as possible.
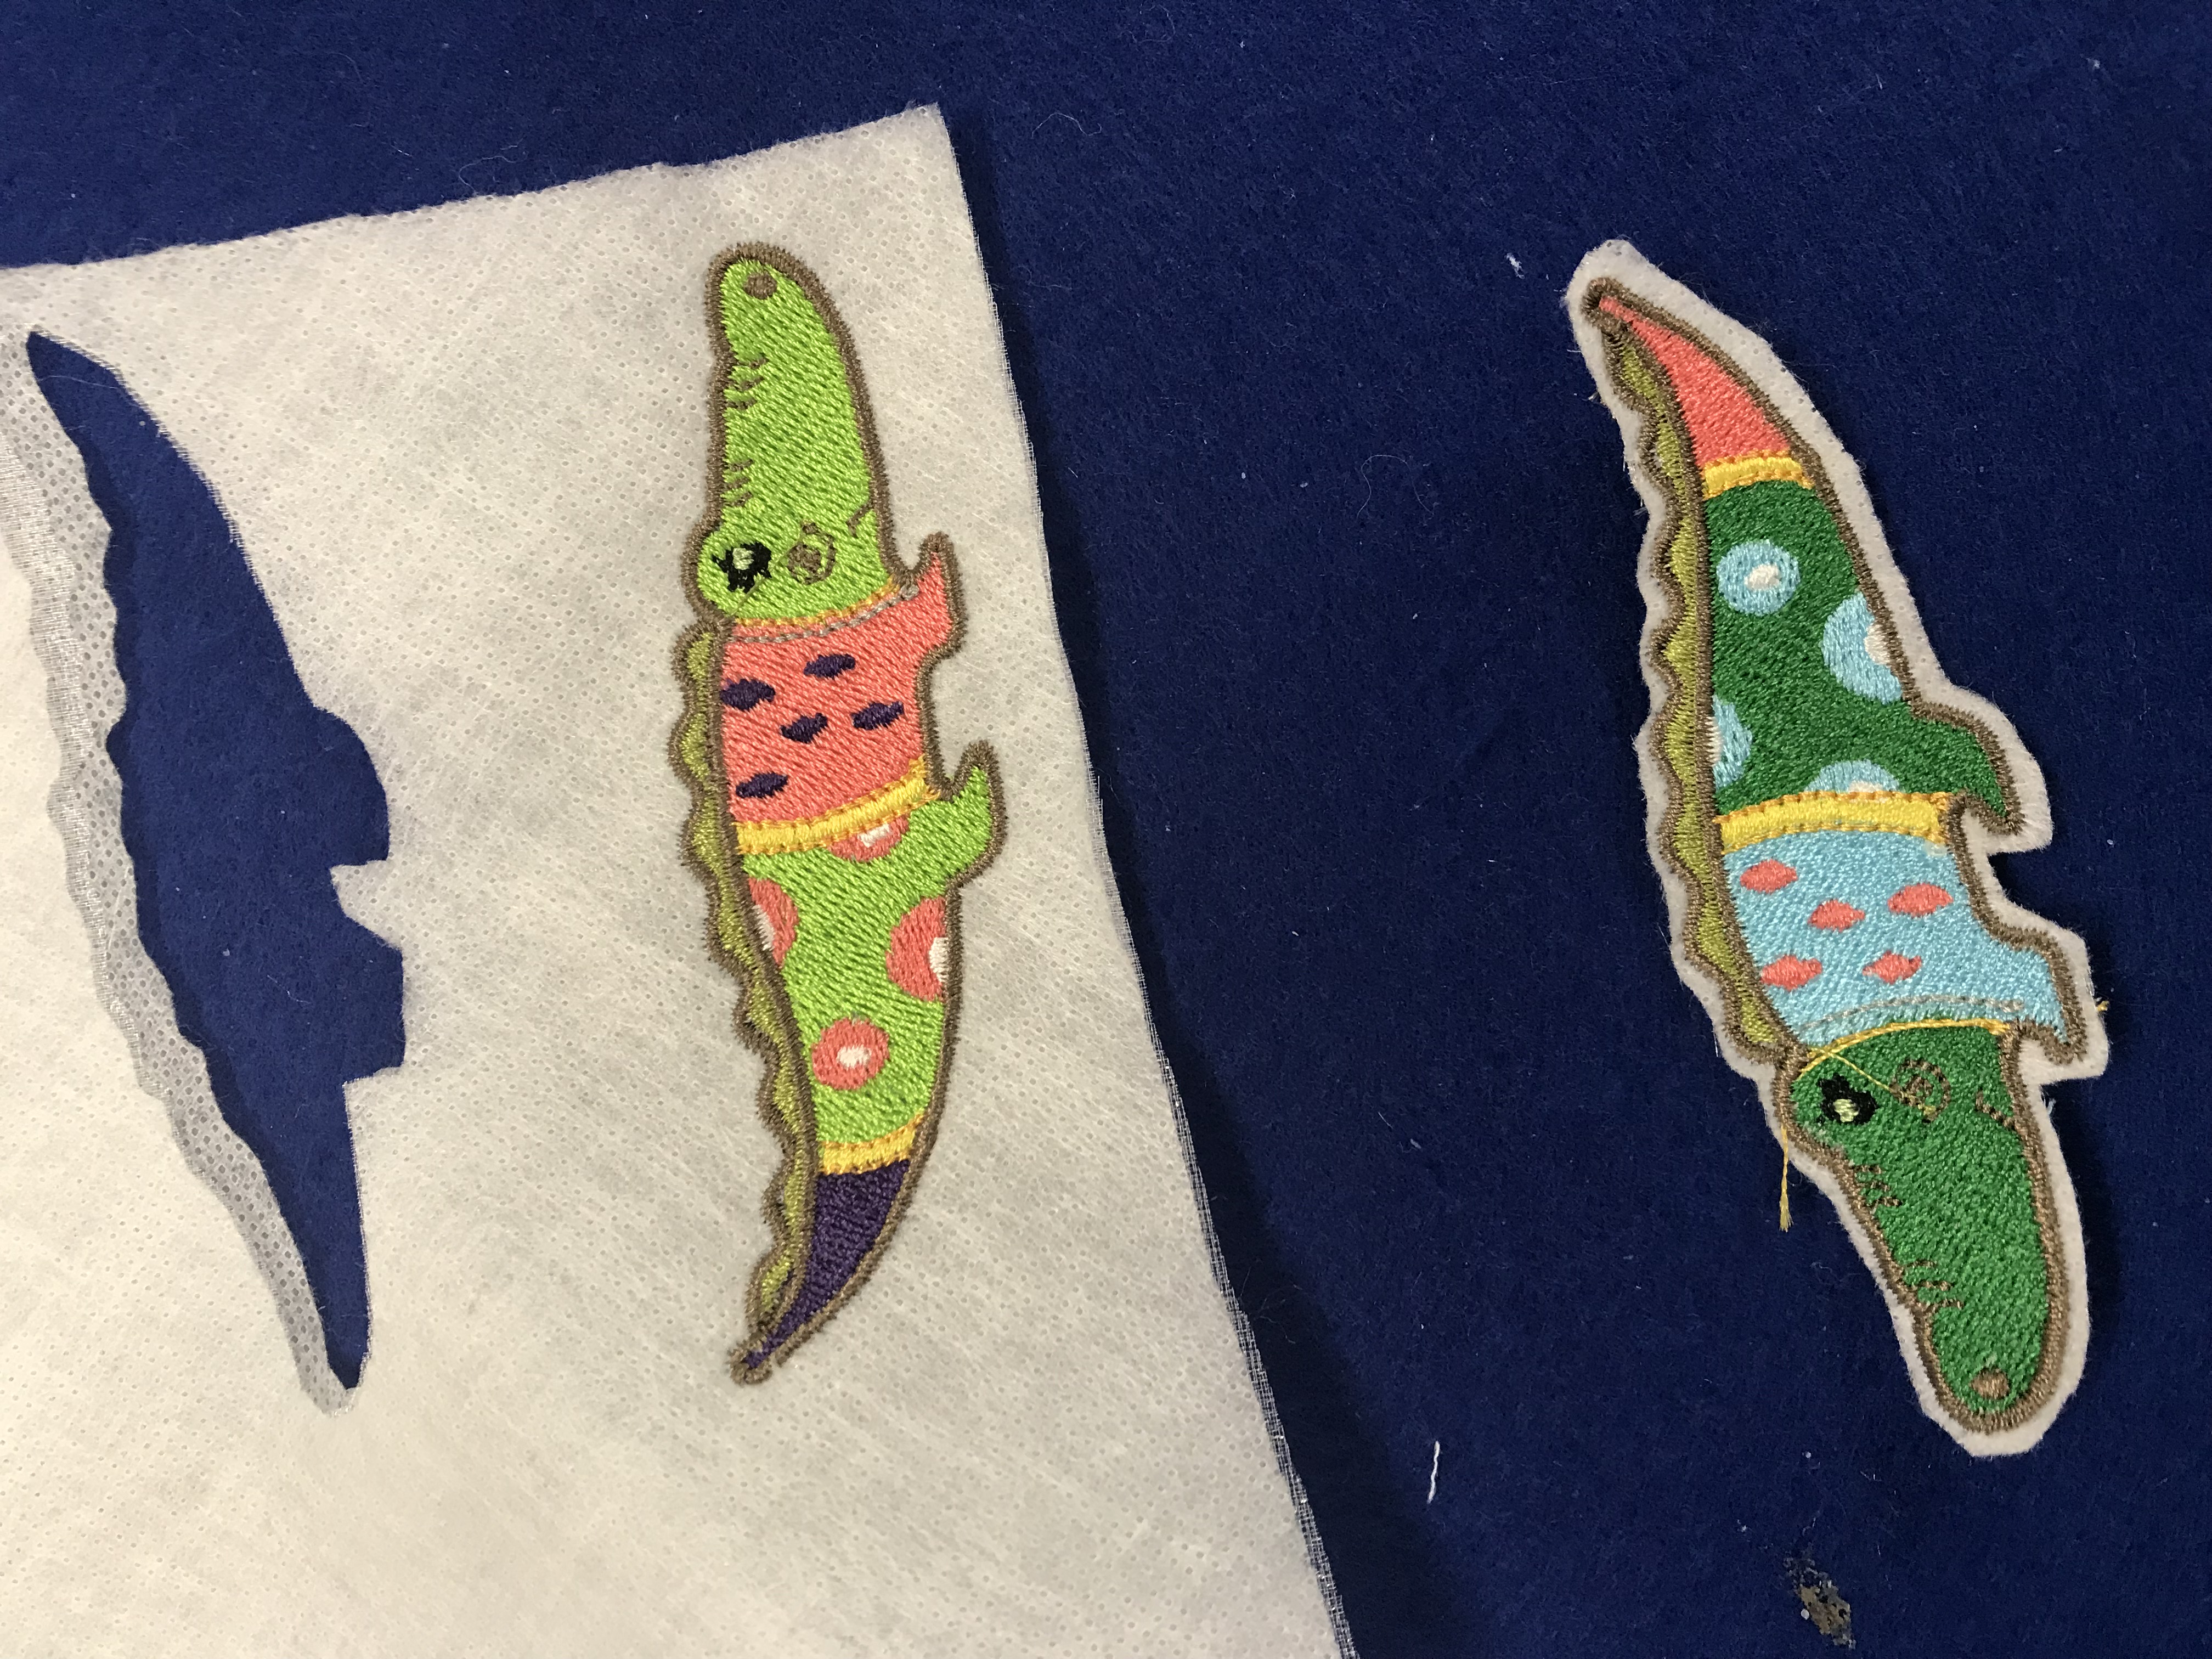
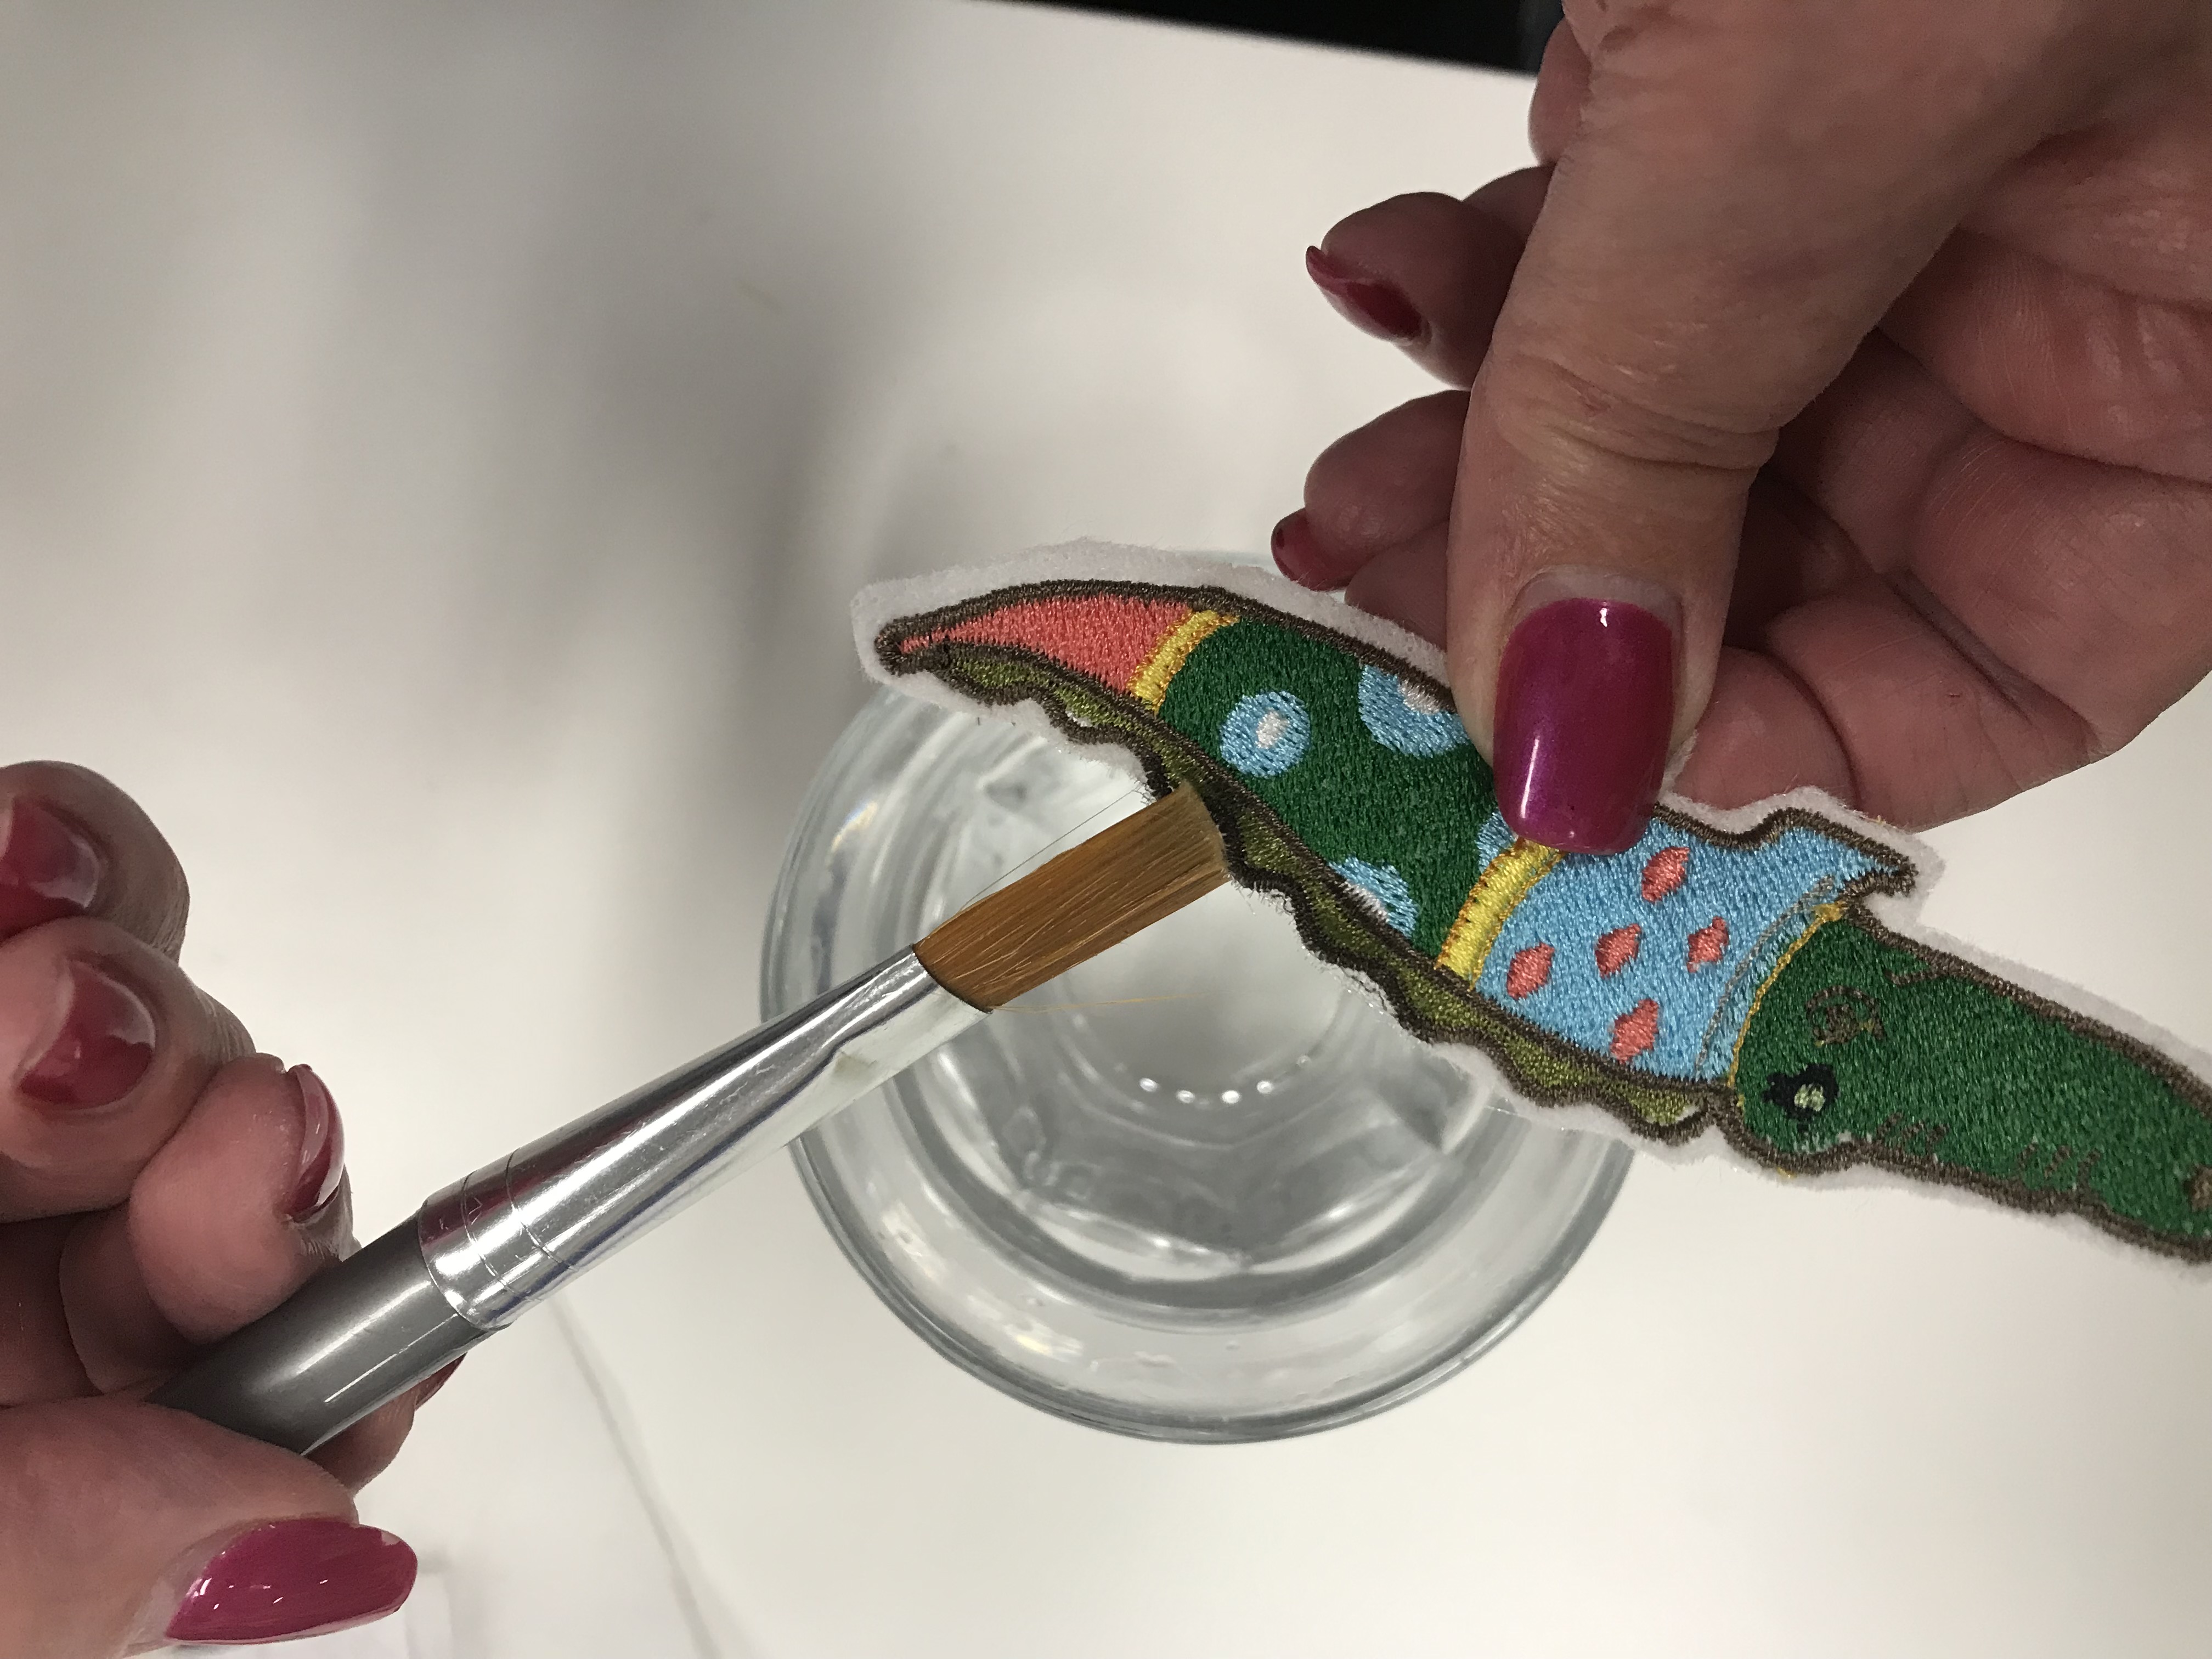
3. Remove the remaining washaway stabilizer by dabbing with a wet paint brush. This will leave the Organza showing on the edge of the embroidery.
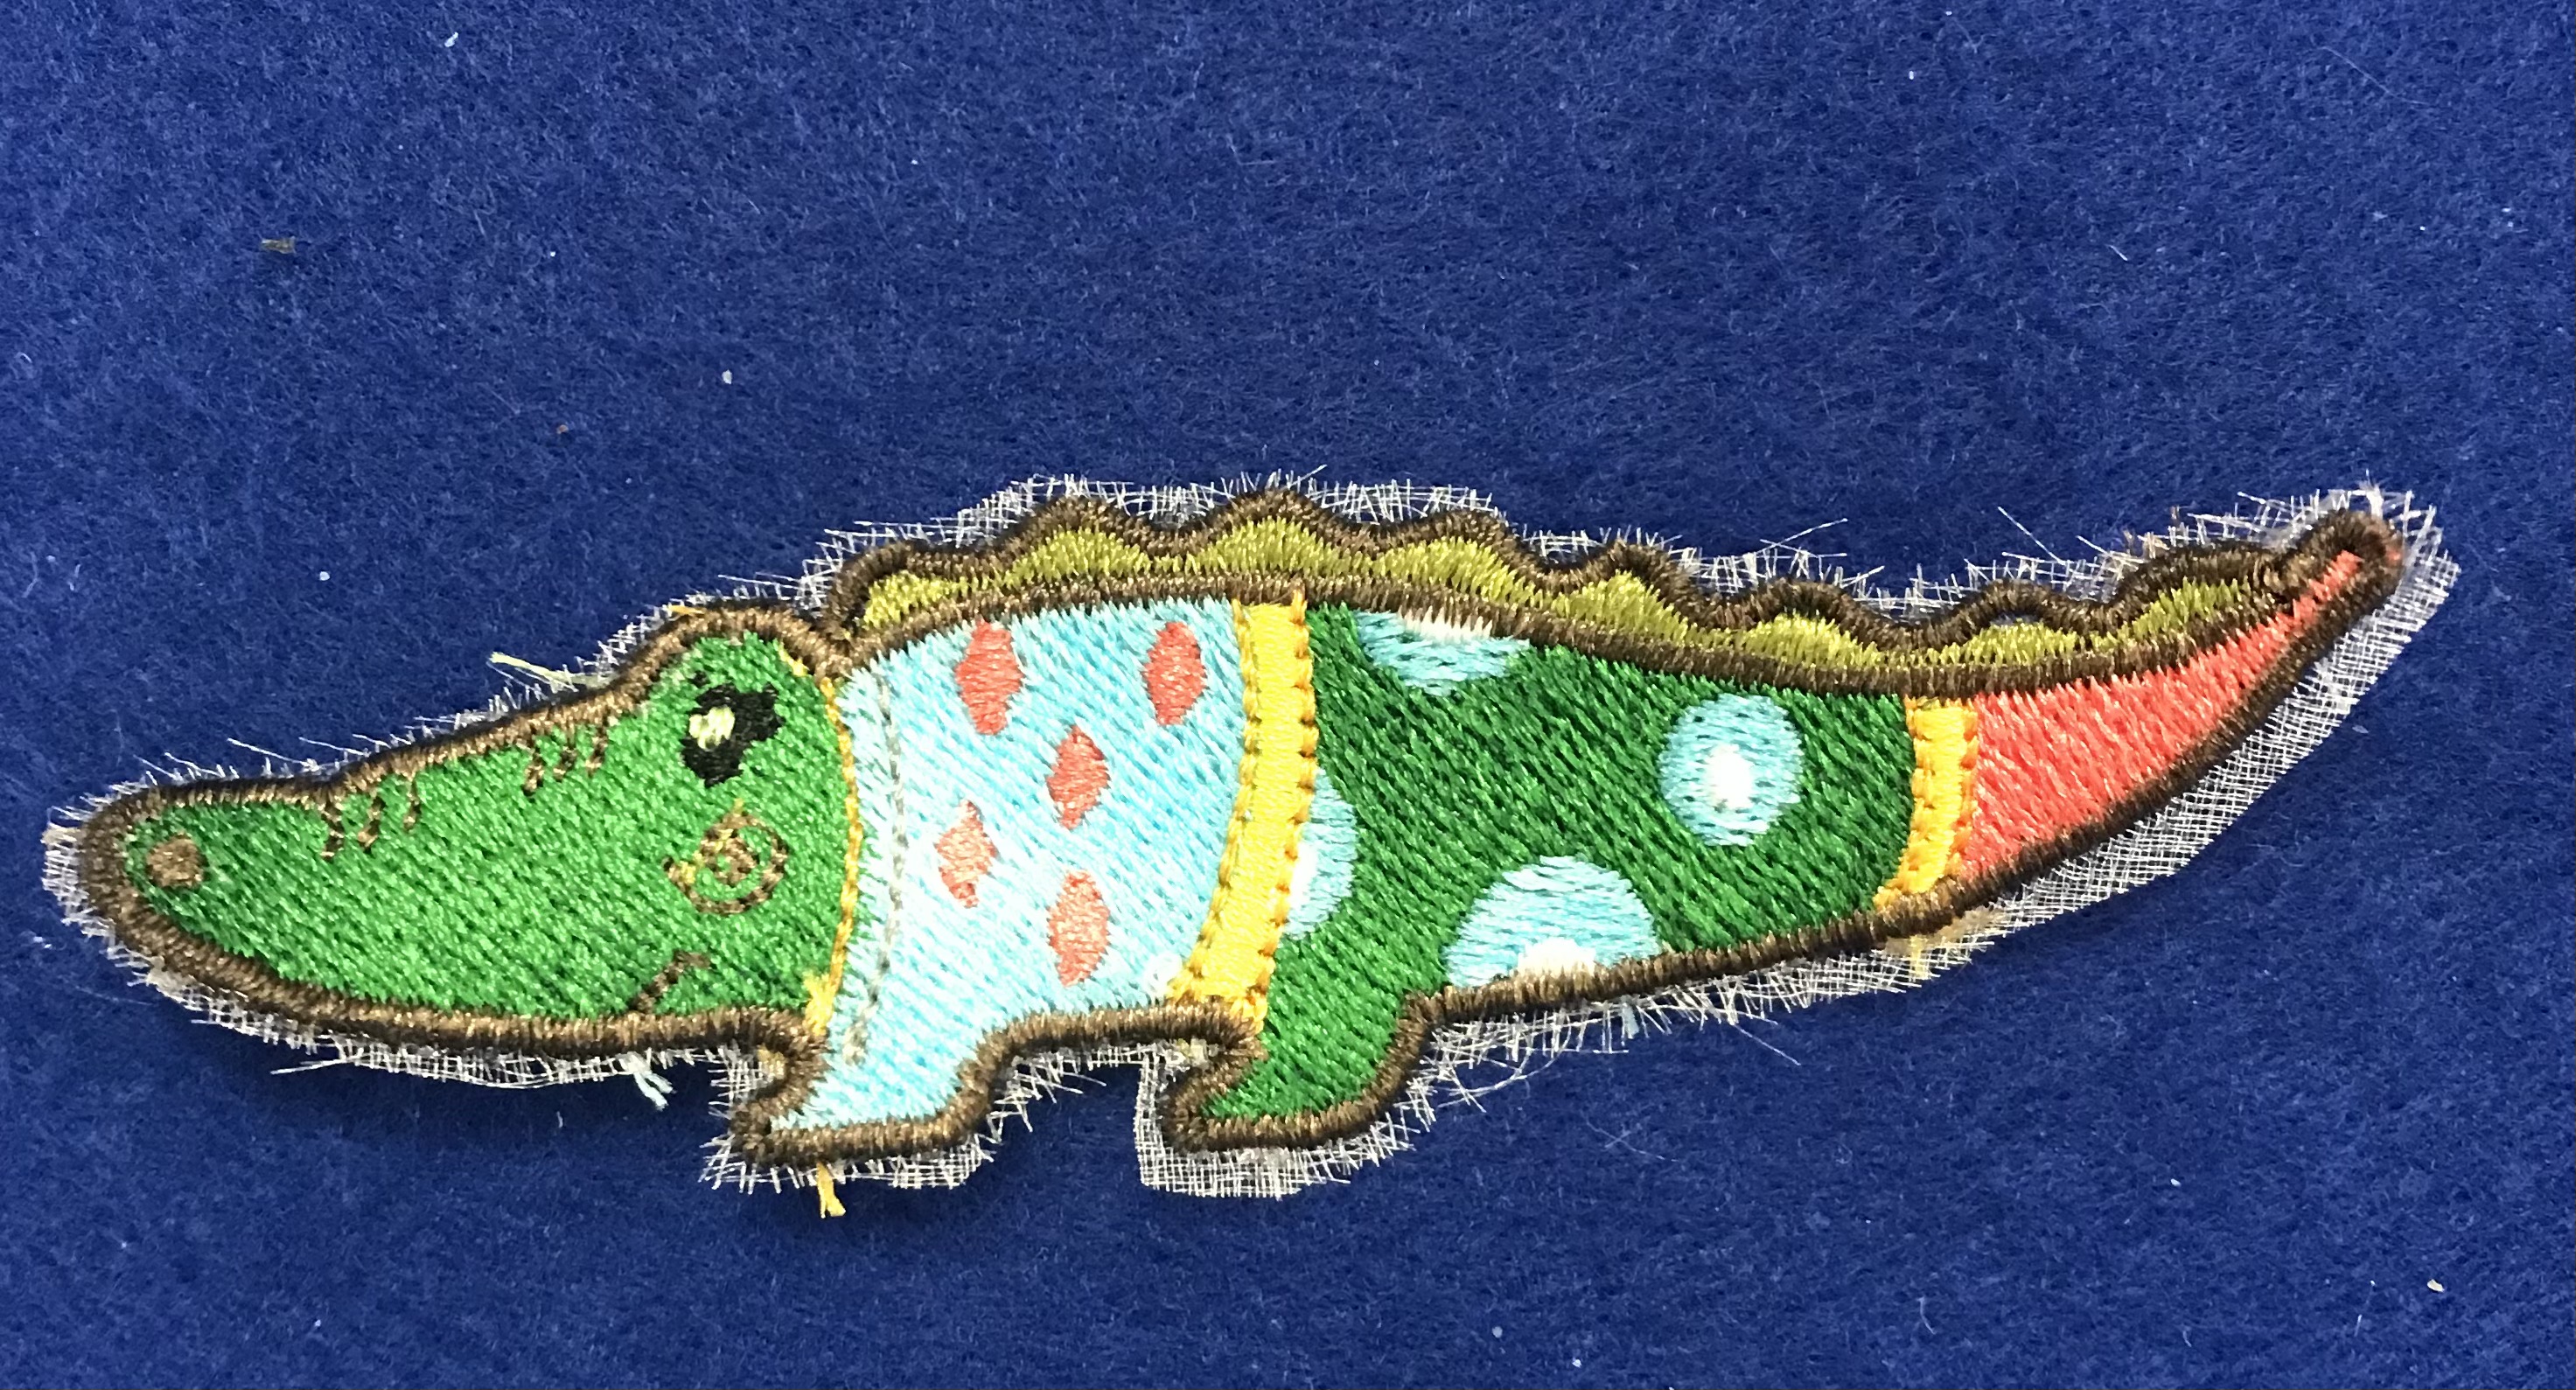
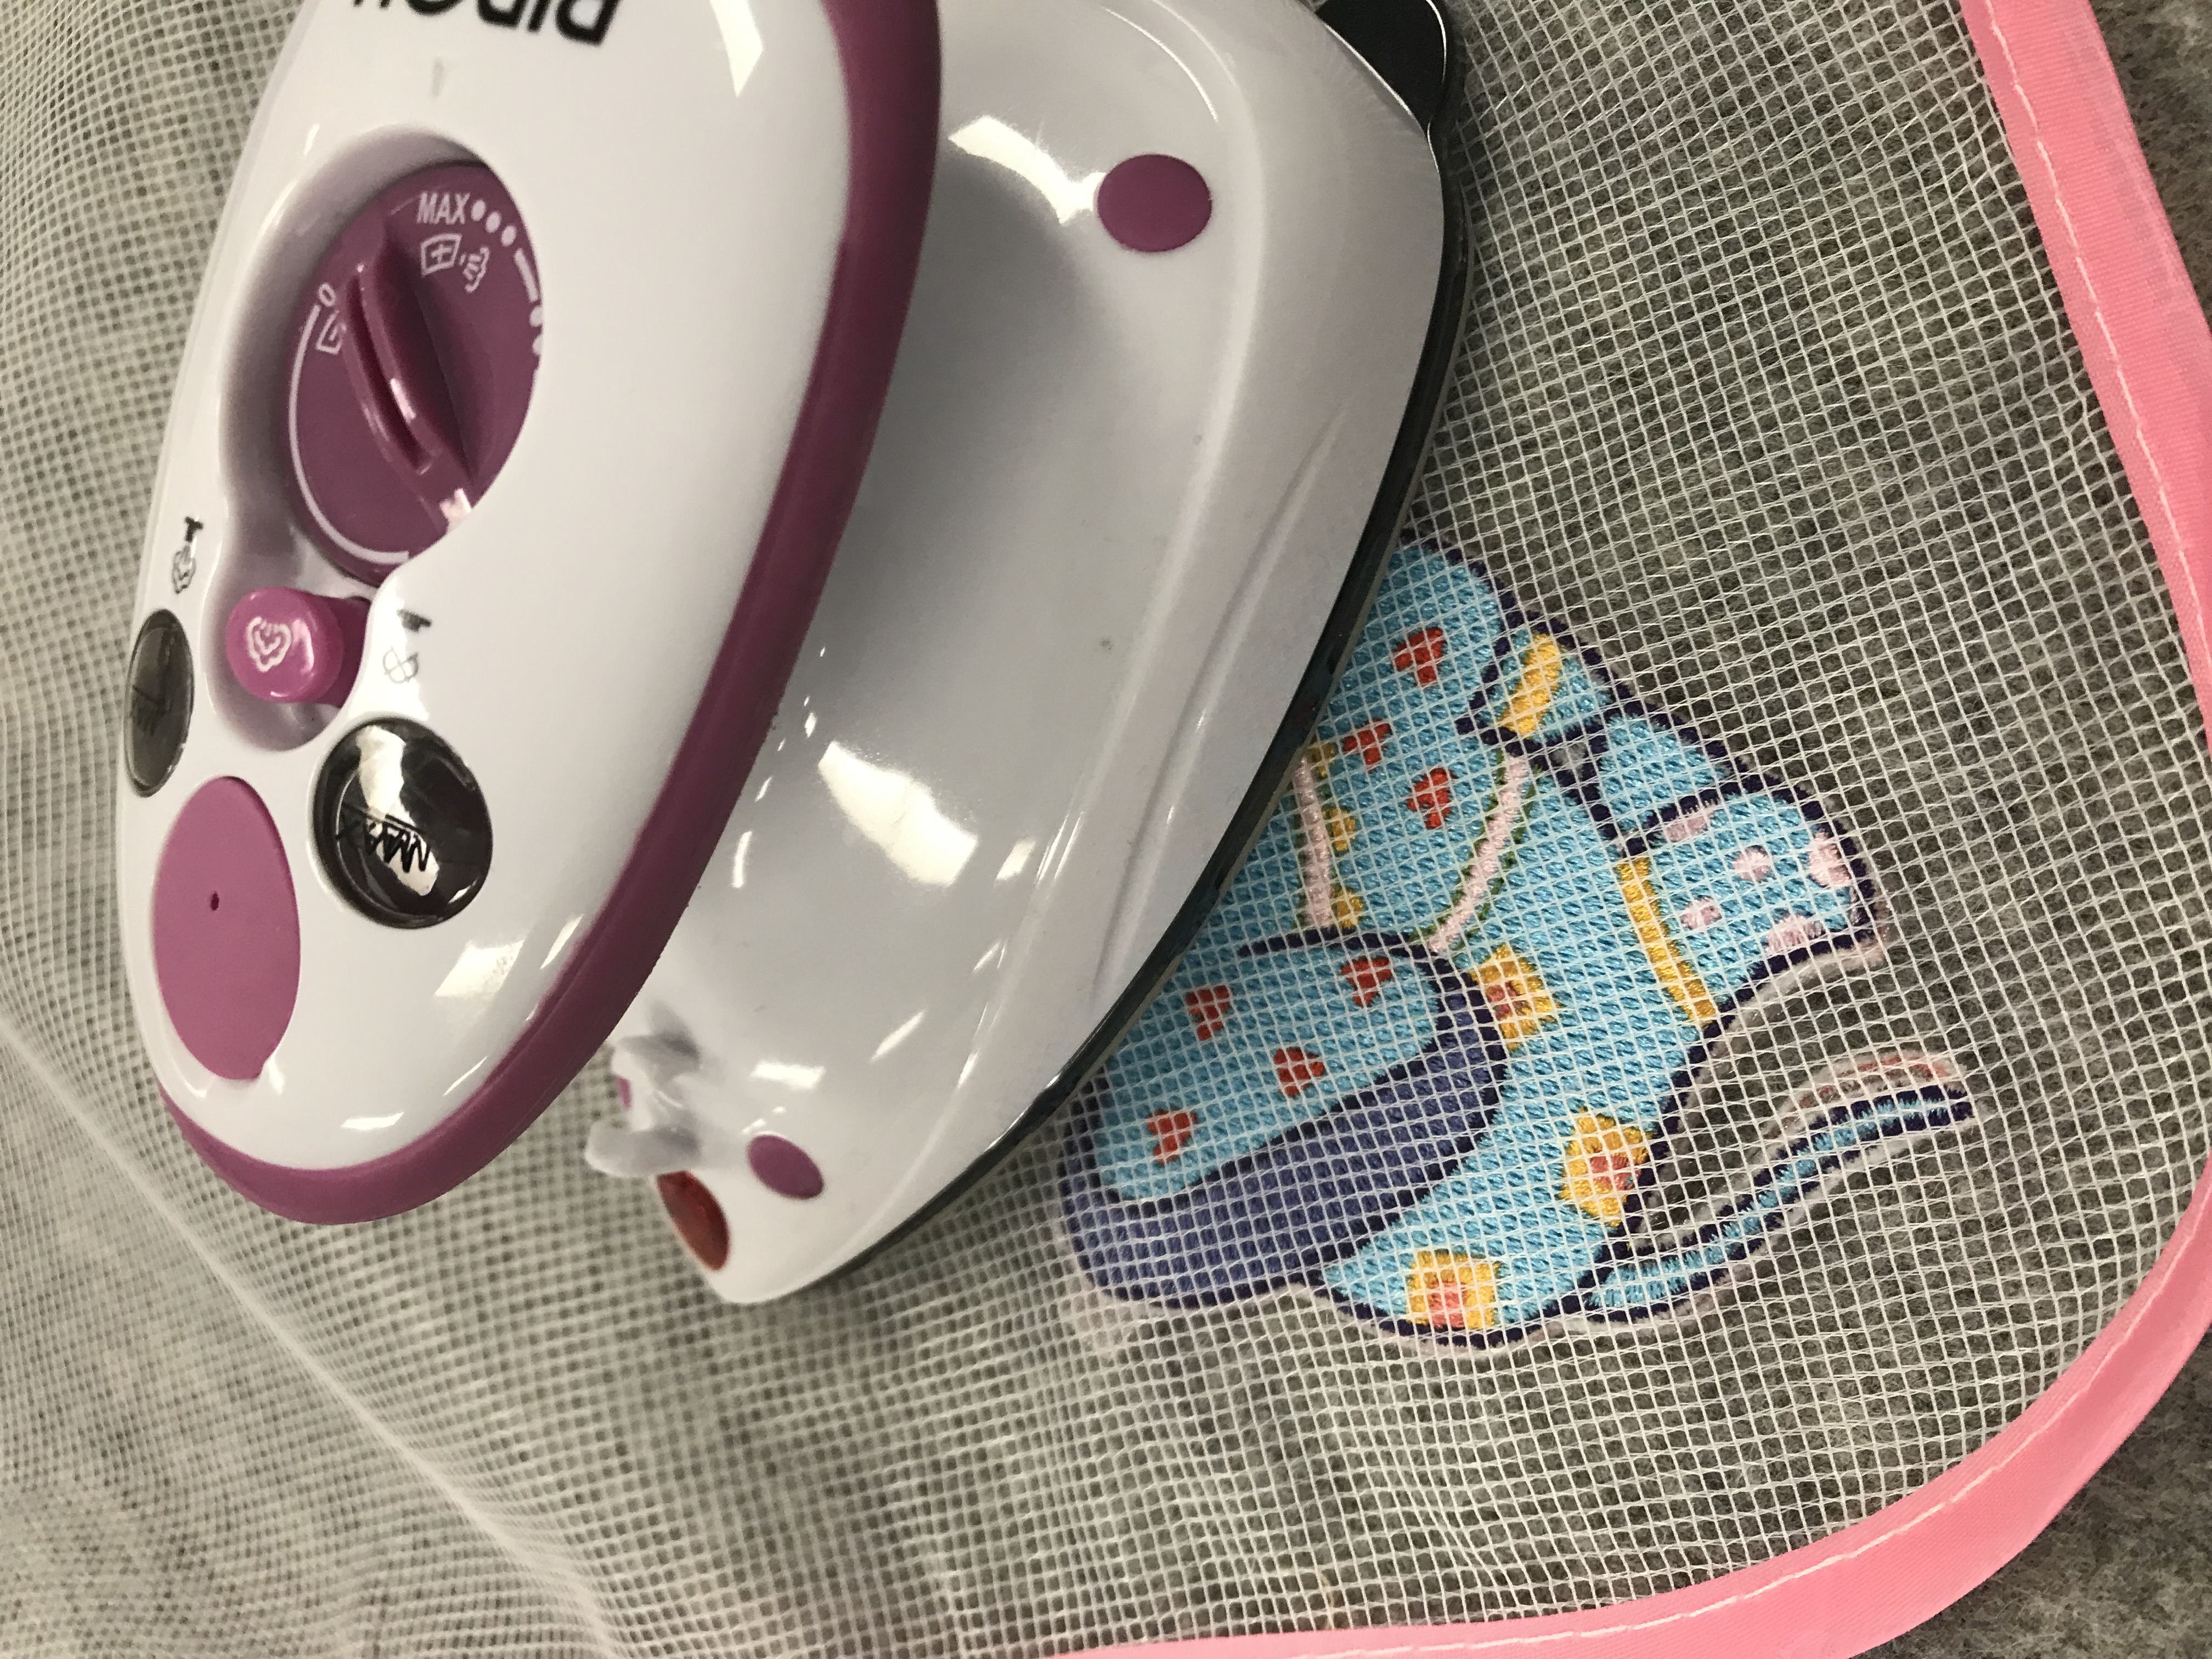
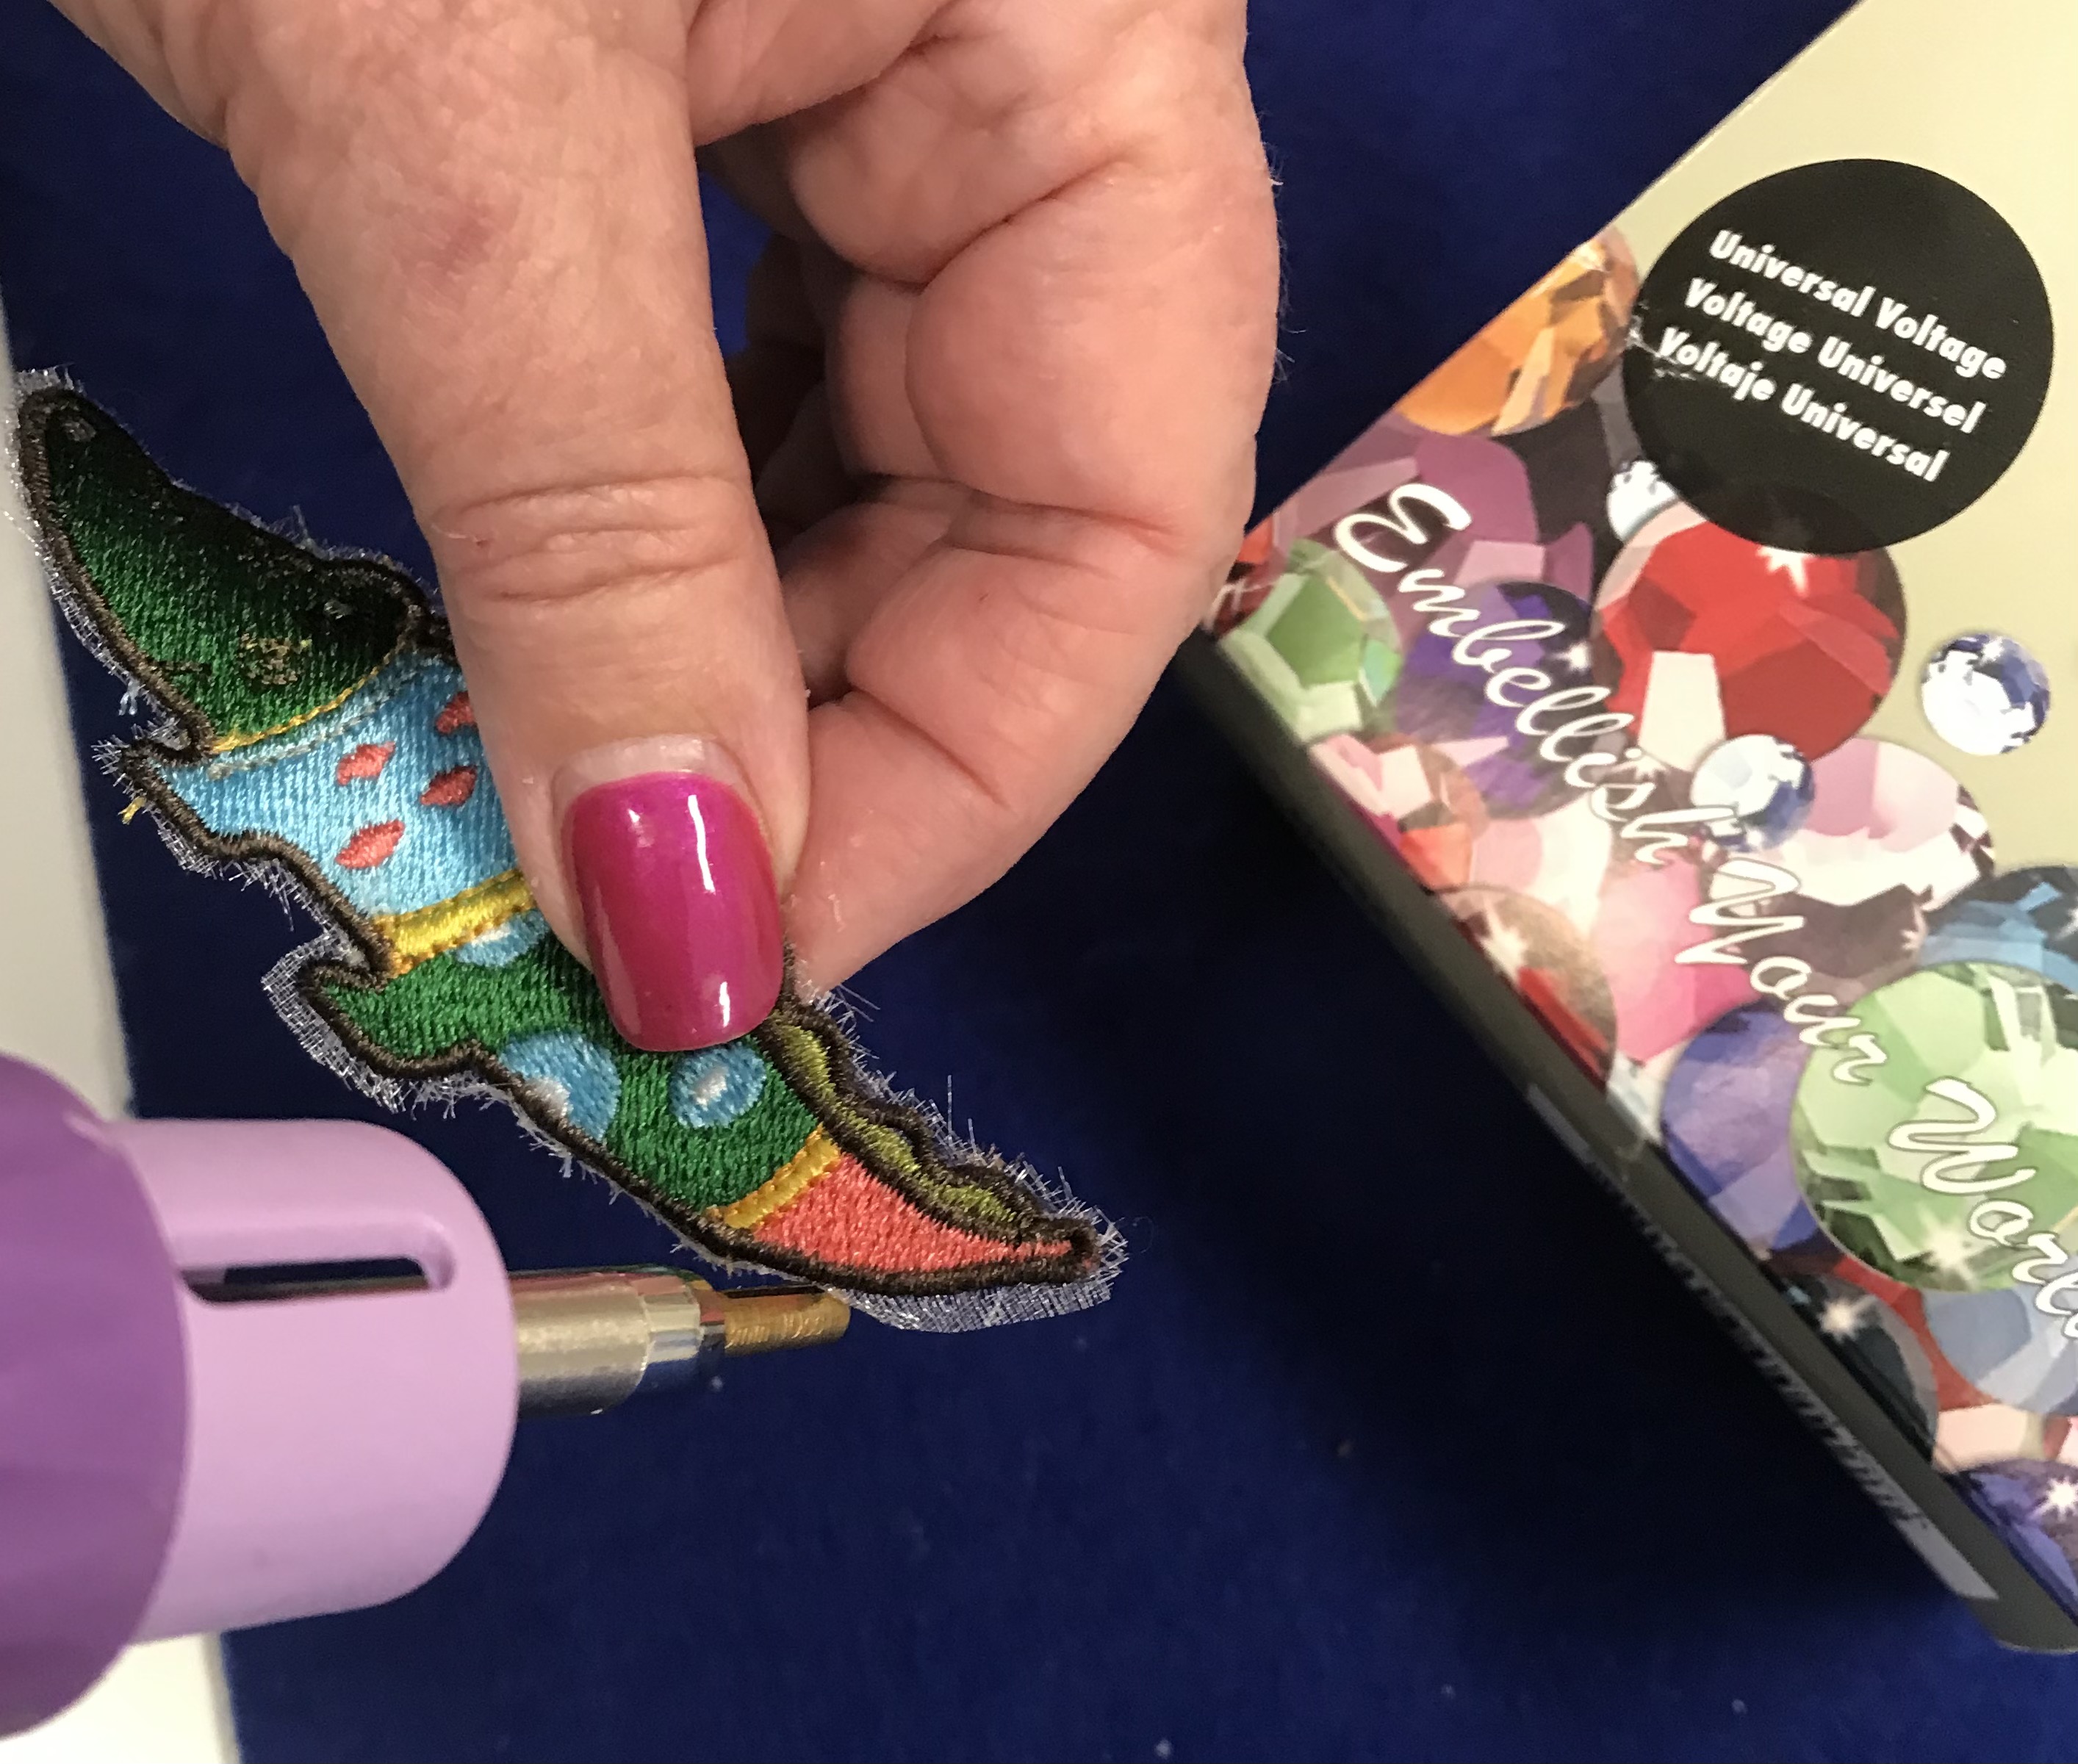
4. With a Rhinestone Applicator or Soldering Iron, gently touch the edge of the organza to melt the fabric fibres back to the edge of the embroidery, being careful not to scorch the animal!
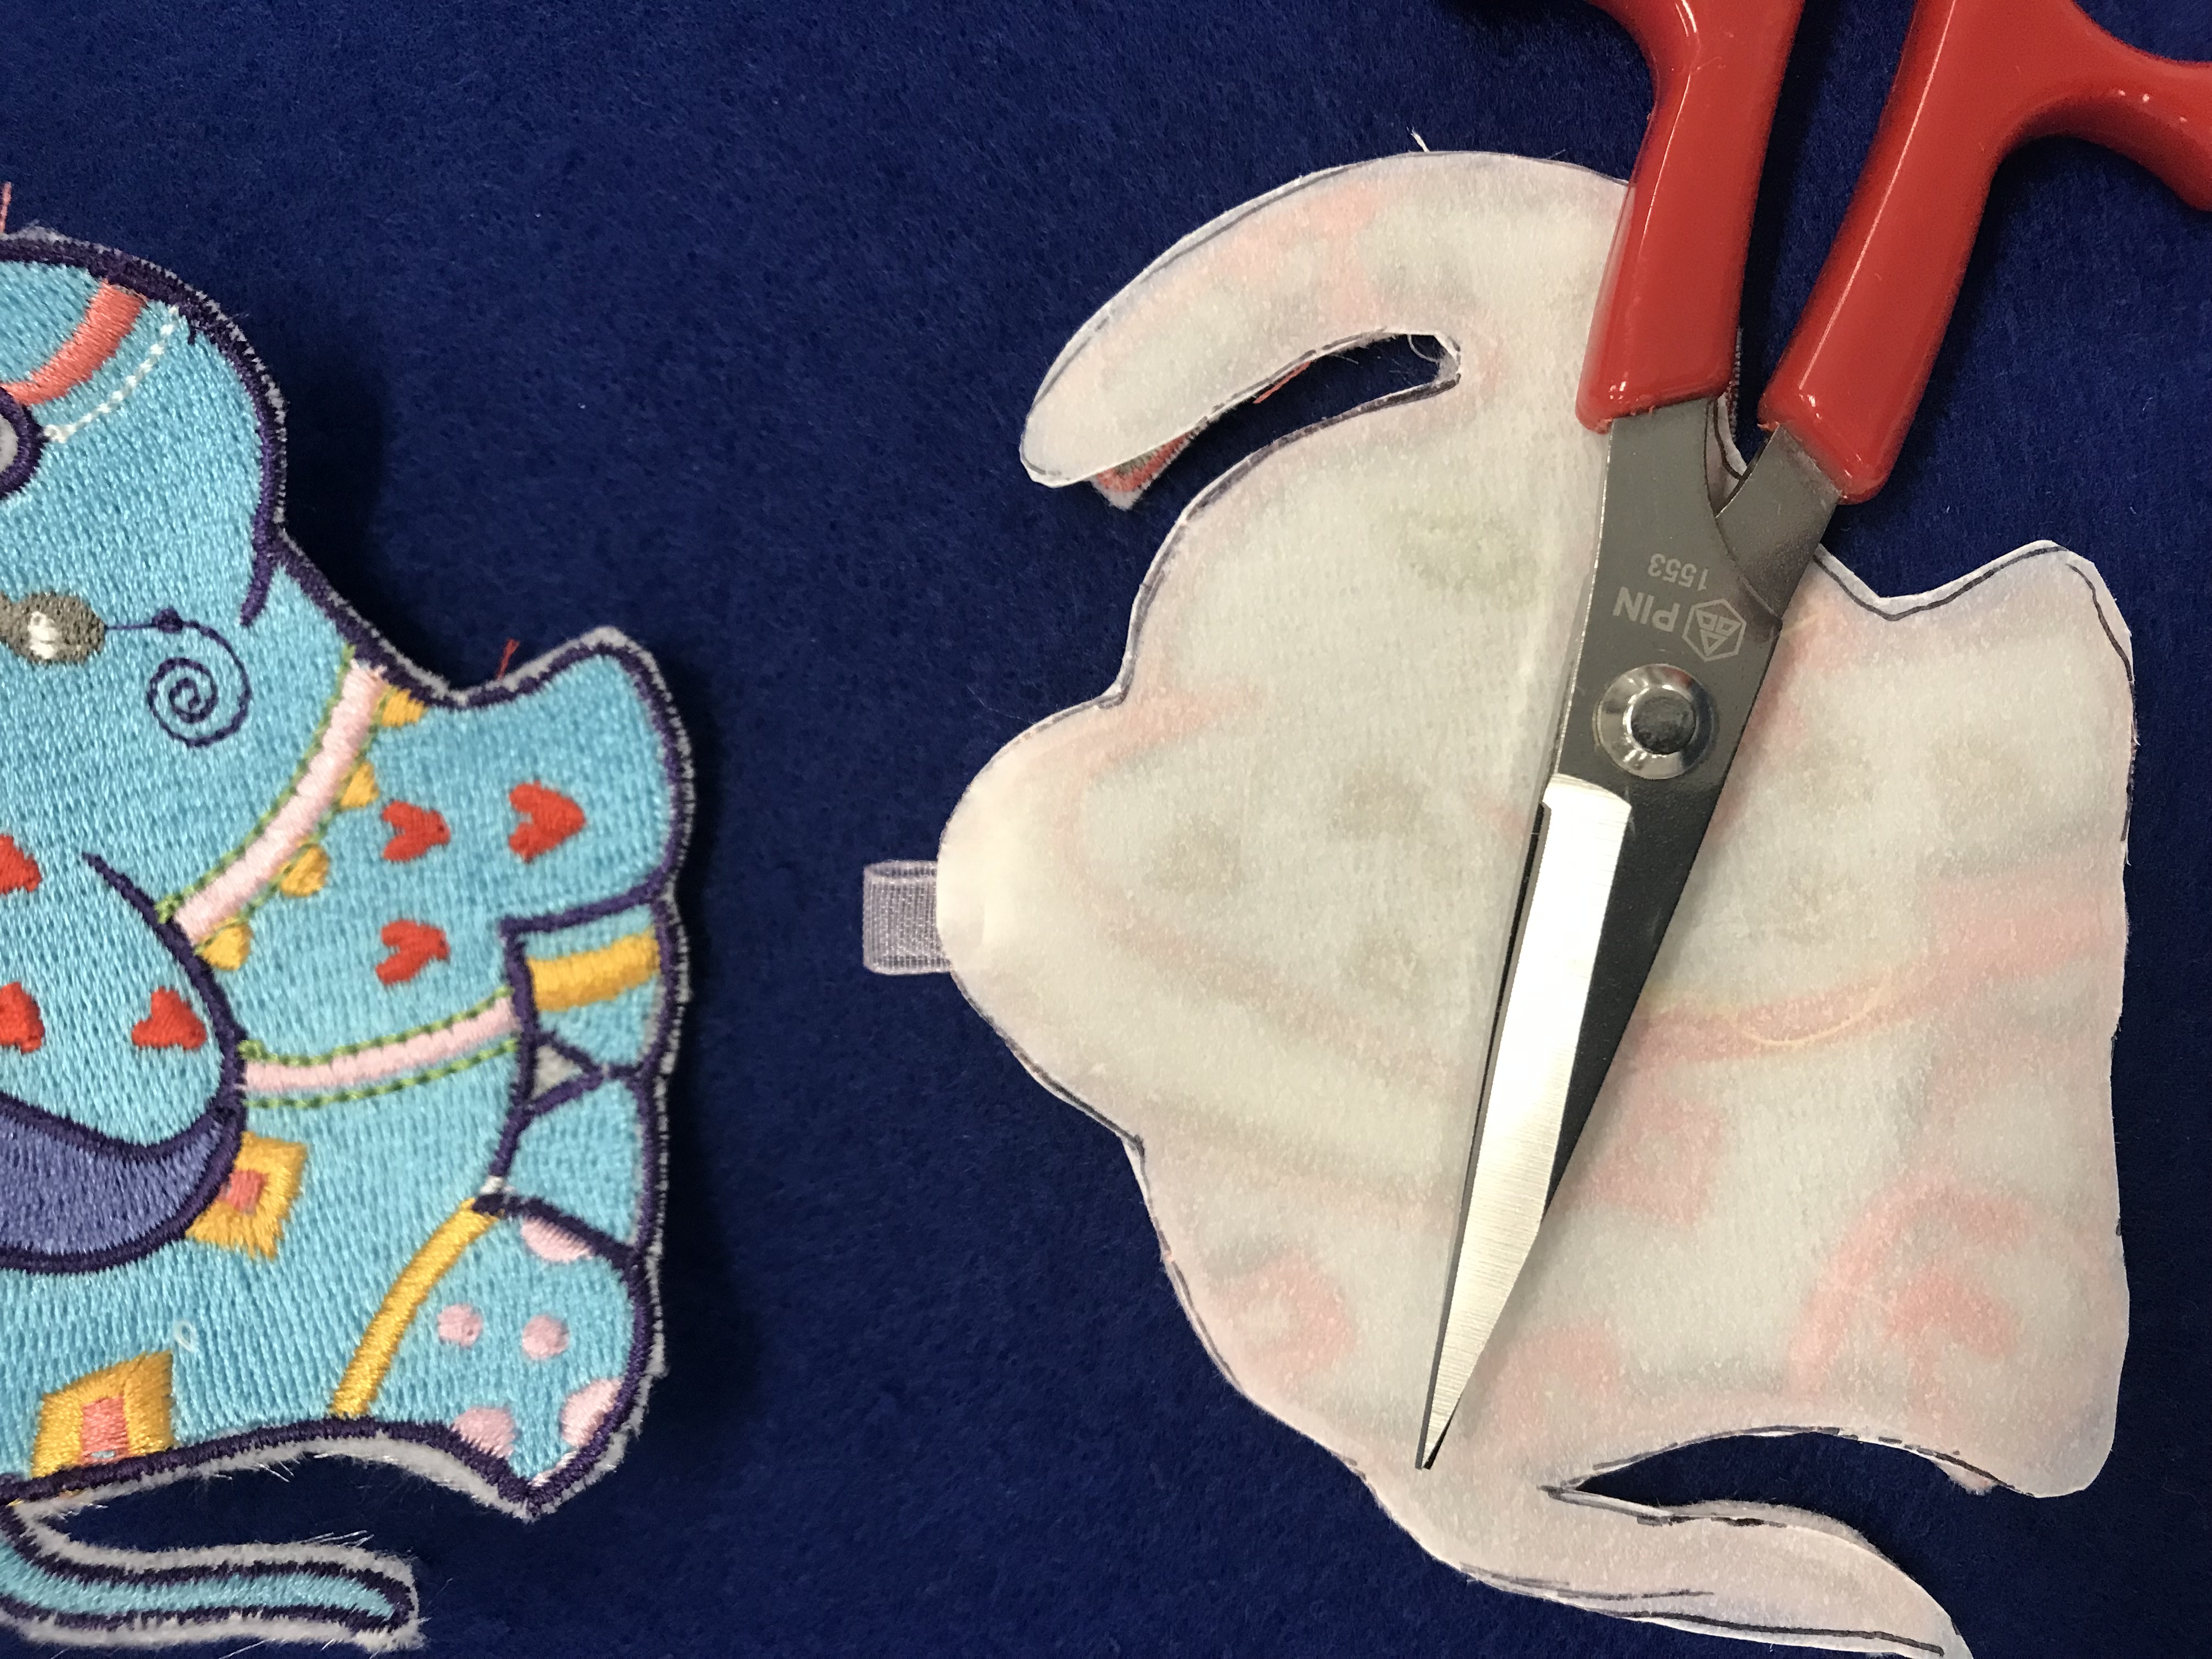
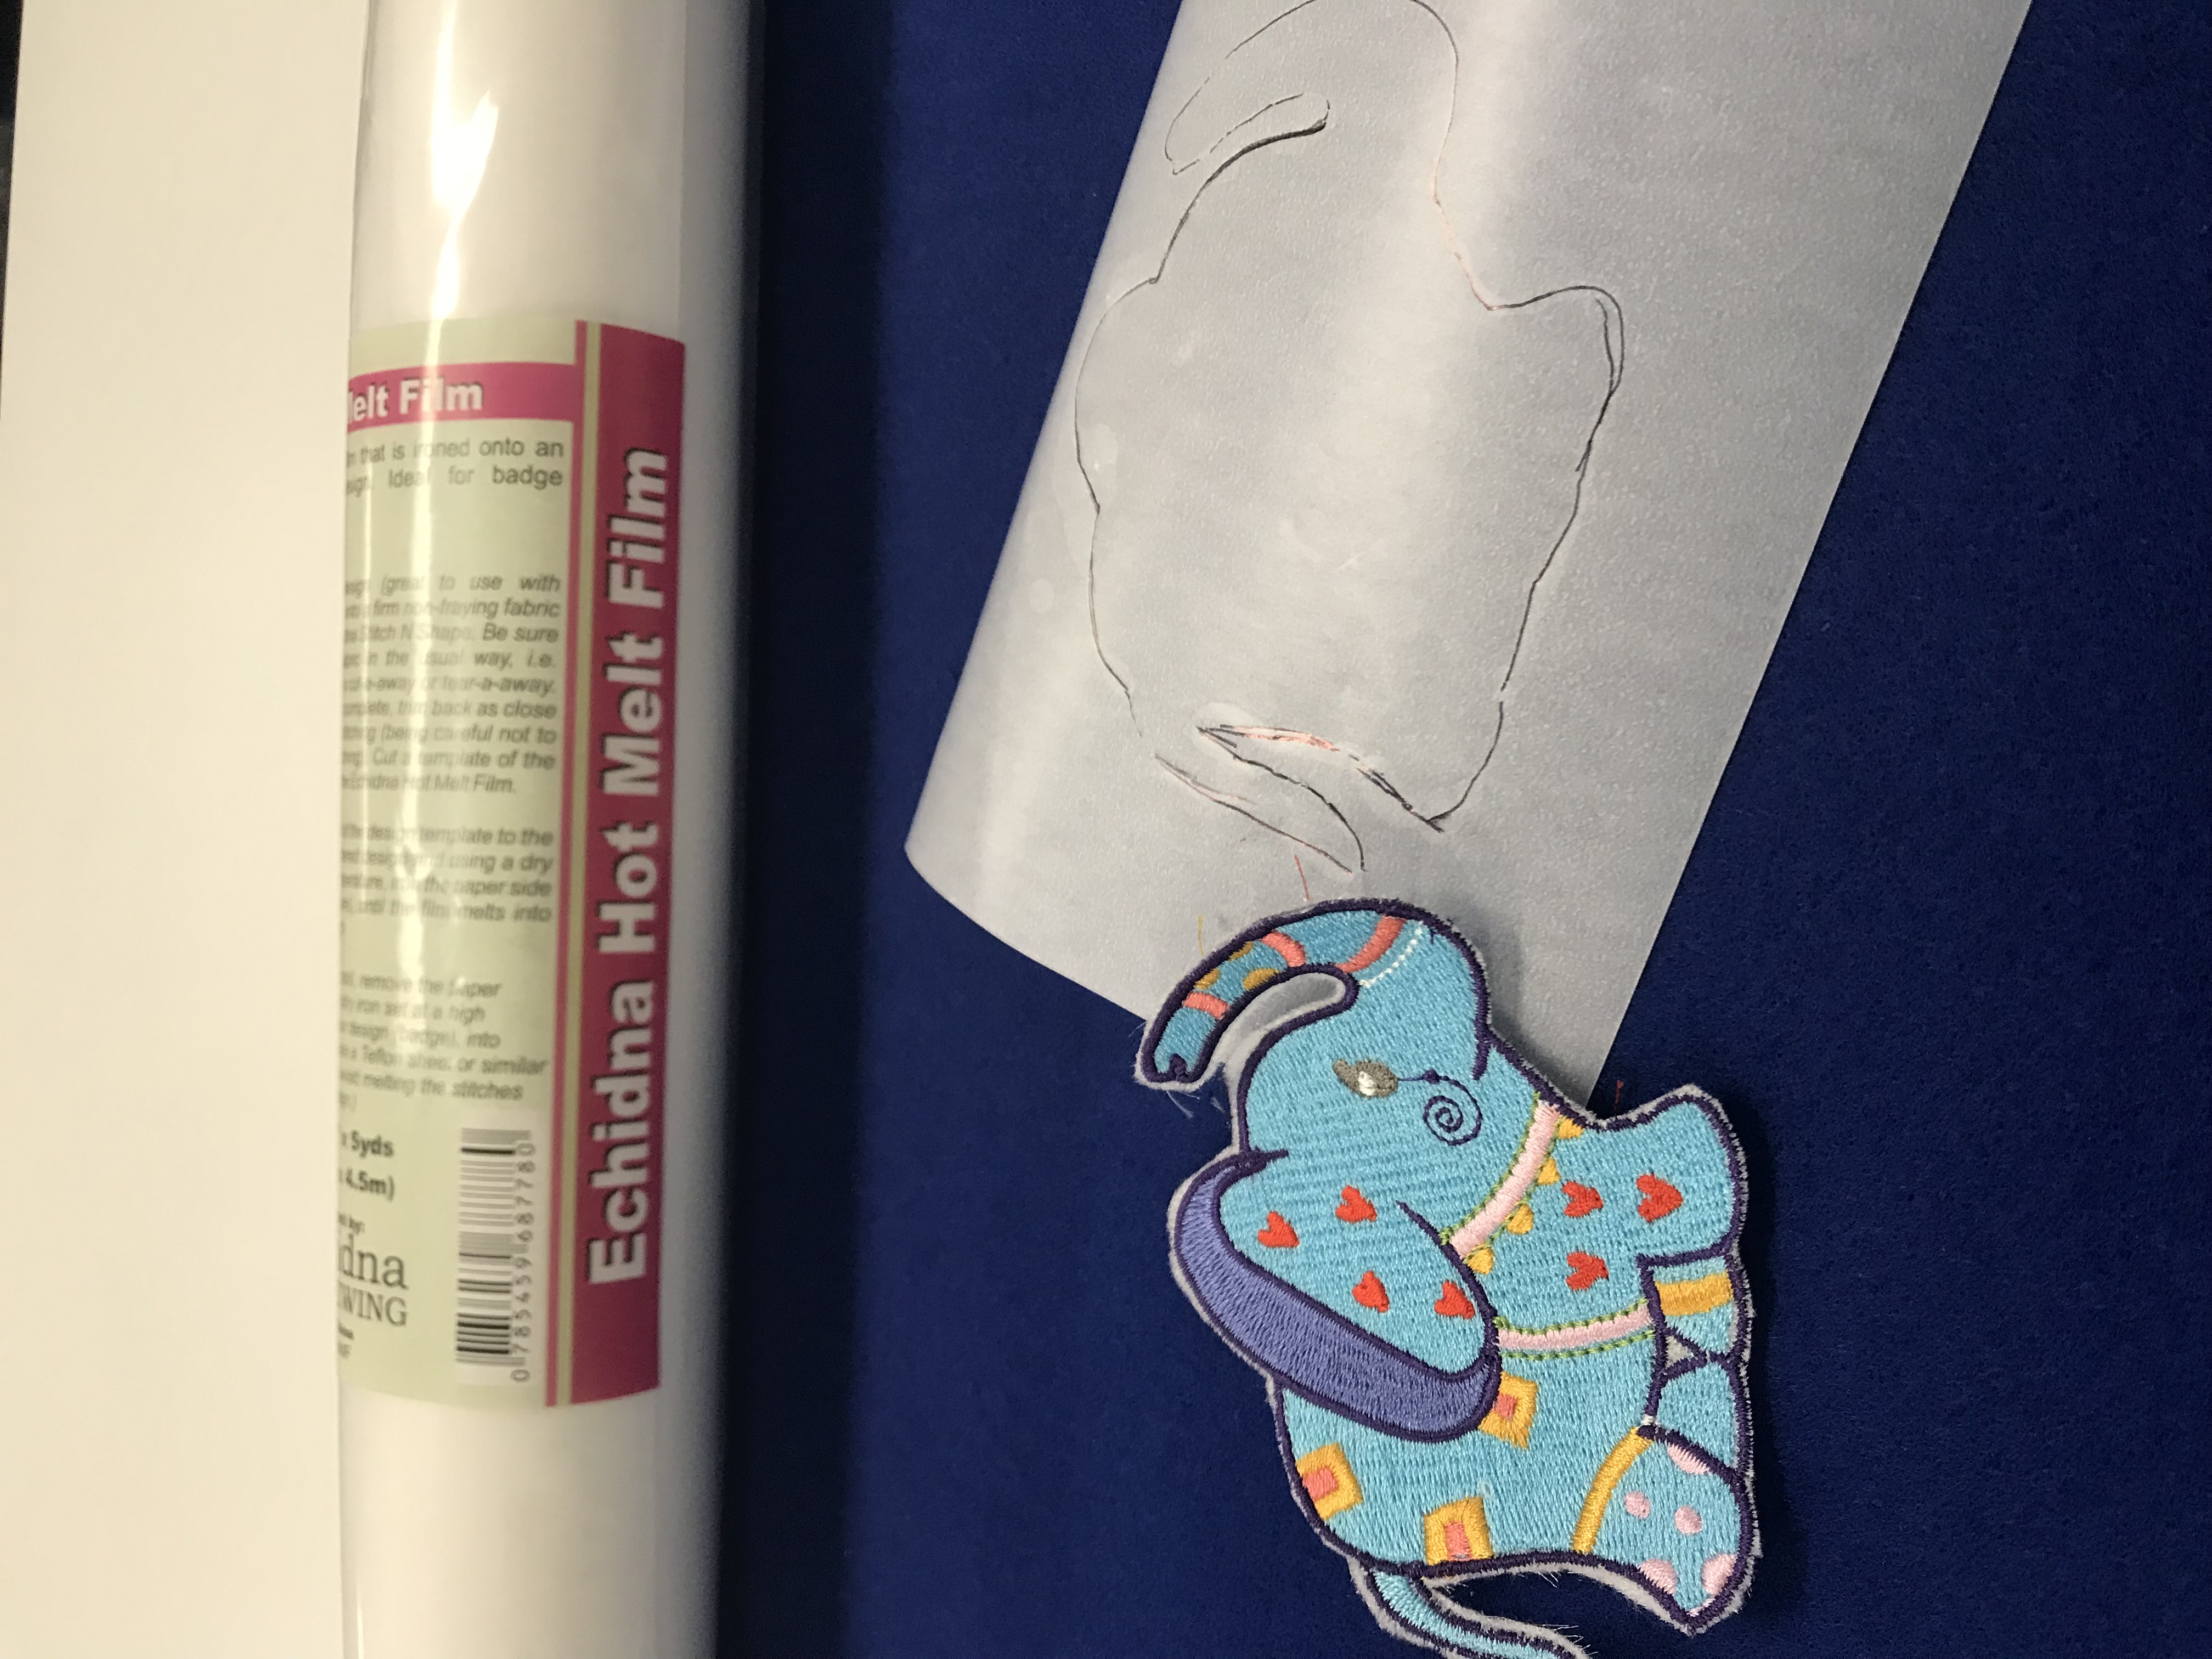
5. Cut a piece of Hot Melt Film the size of the embroidery shape and use the embroidery animal as a template. Draw around the outside of the shape on the matte side of the film. Cut out the drawn shape on the line. If you have a ScanNCut DX model, you can import the PES file and create a cutting file to cut the Hot Melt Film.
Make sure you trim excess threads before applying the Hot Melt Film for best results. Iron Hot Melt Film onto the rear of the embroidery design. Only one embroidery needs to have Hot Melt Film adhered to the design.
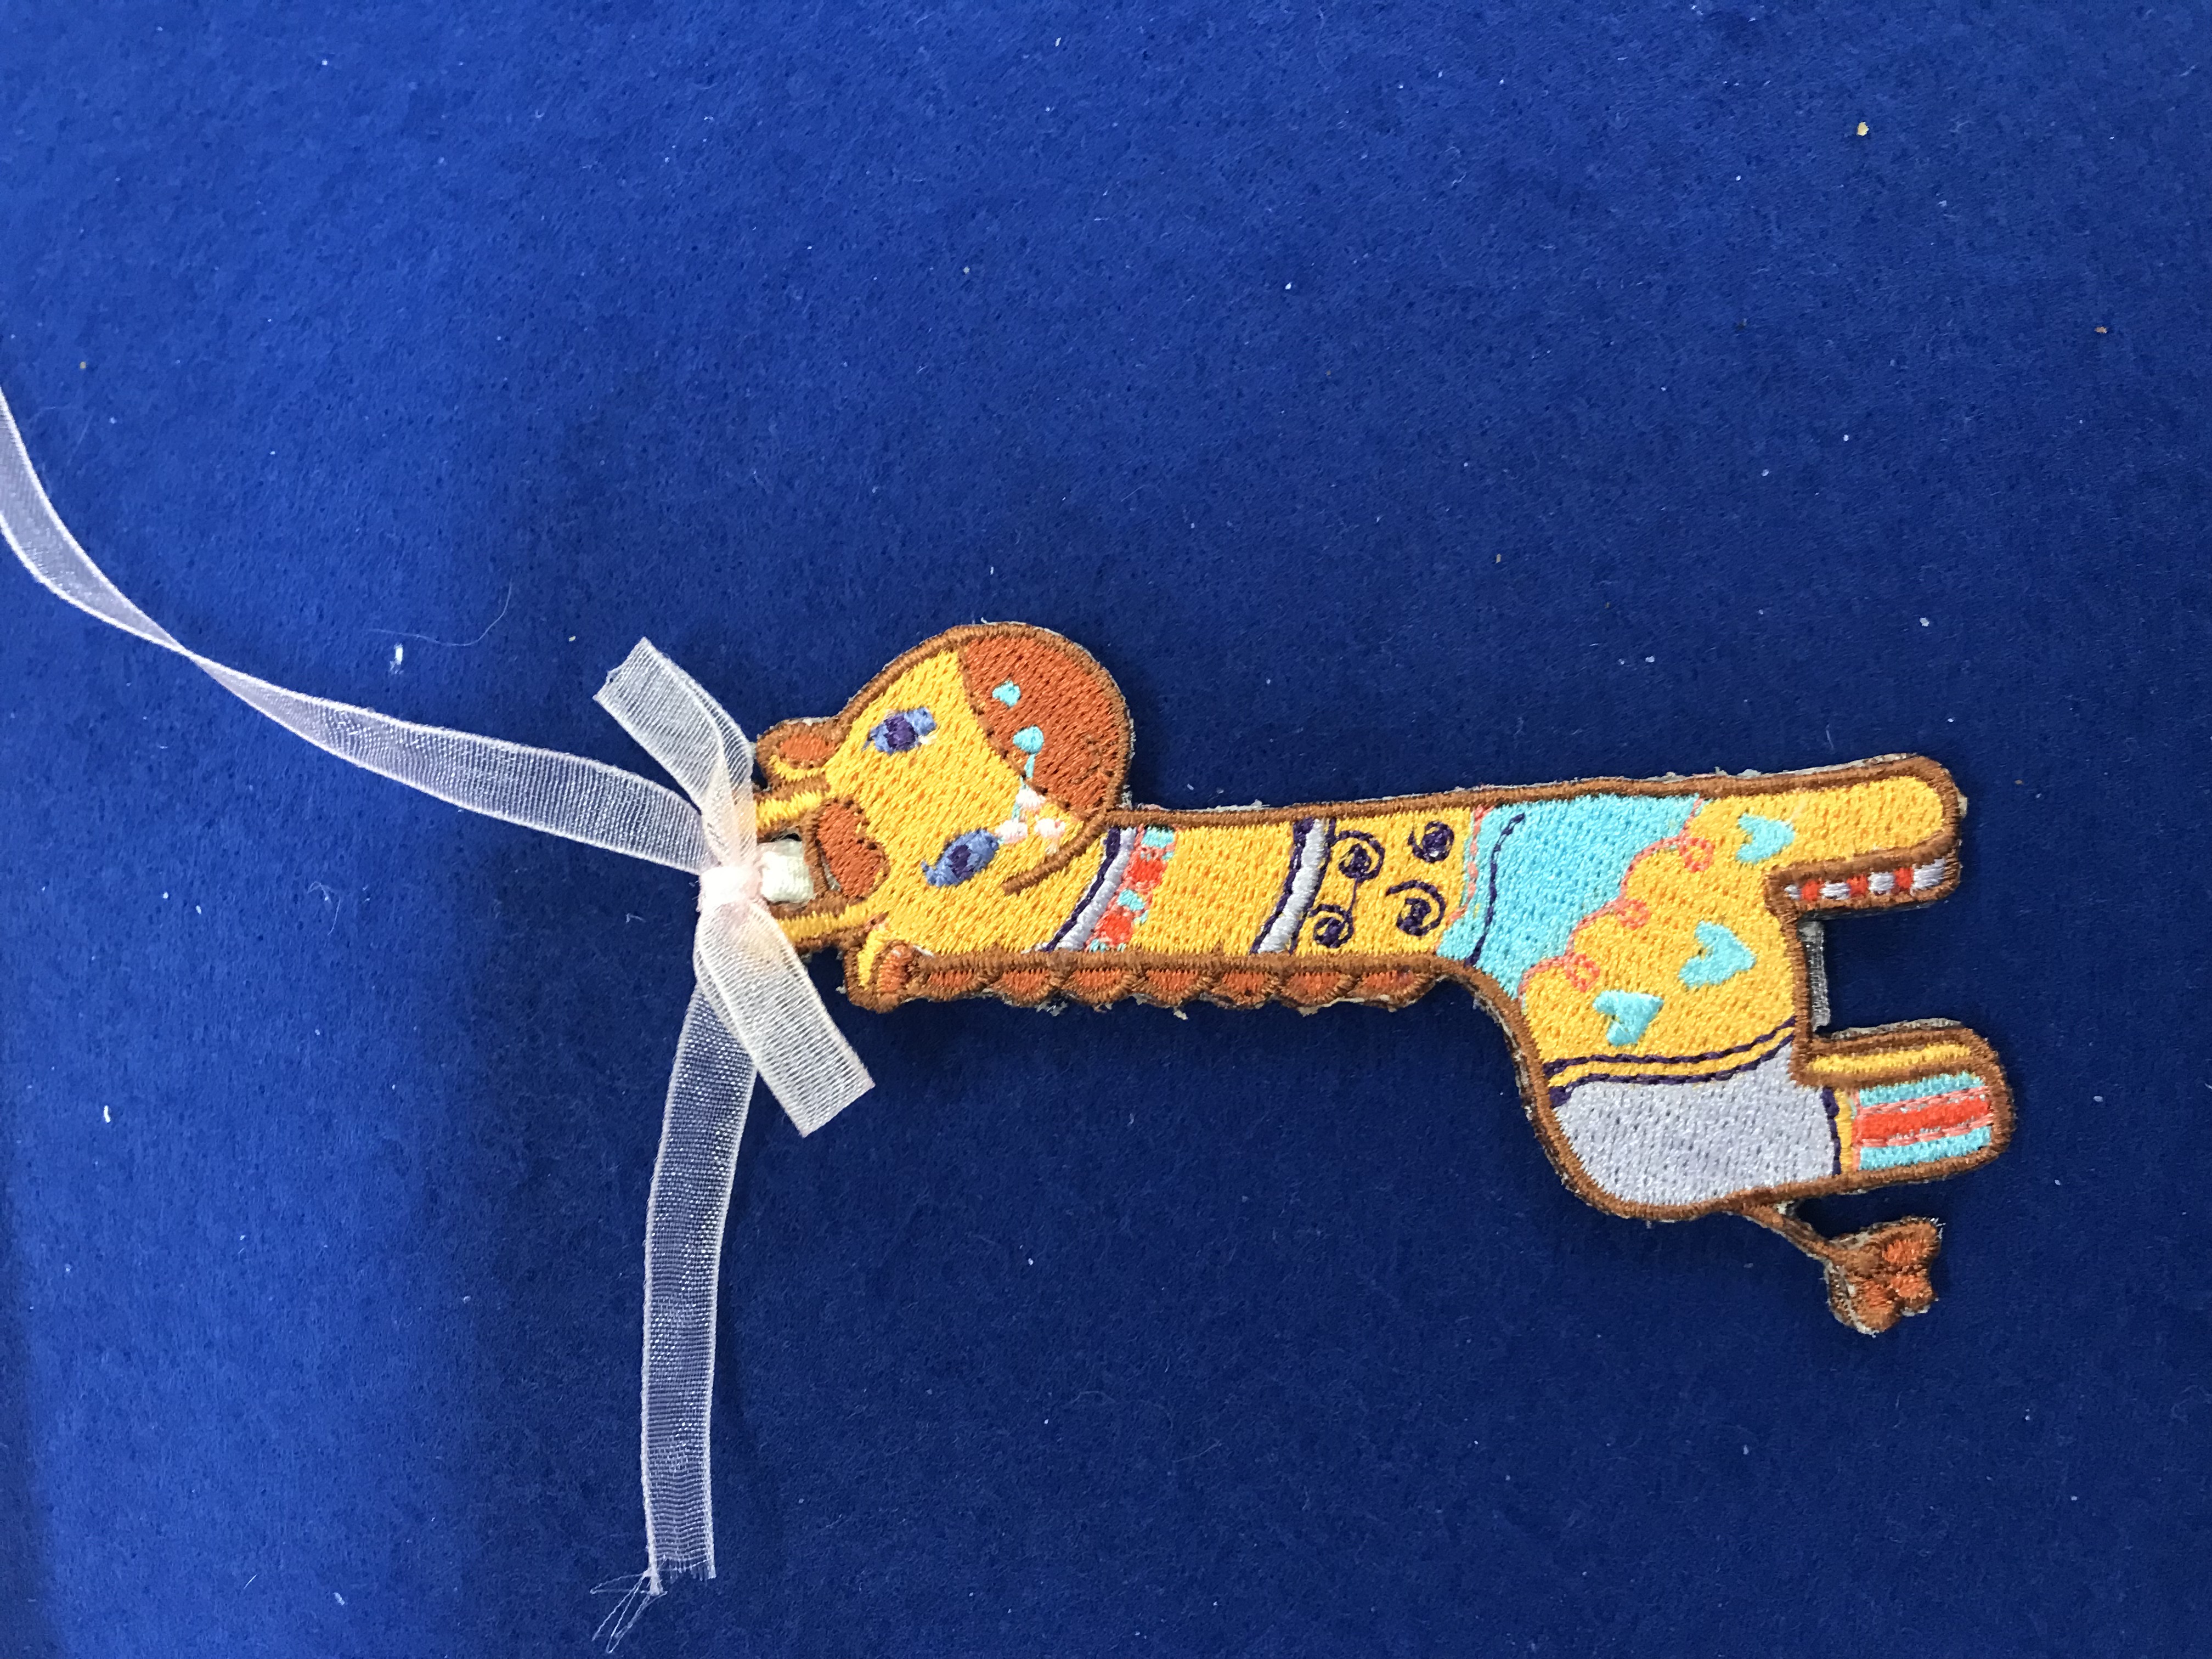
6. Cut a piece of ribbon 3/4” or 18mm - this is the hanging tag for the top of each design. To ensure the animal embroidery hangs upright on the mobile, centre the ribbon at the top of the design. Take the 2nd animal of the same design and place it on top of the ribbon and embroidery on the adhesive side. Press both designs together securing the ribbon and second design in place.
7. Repeat this process for each animal embroidery design. We used 9 x designs to create the mobile.
8. Once the embroideries have all been stitched and joined together, the mobile is ready for construction.
Mobile Construction
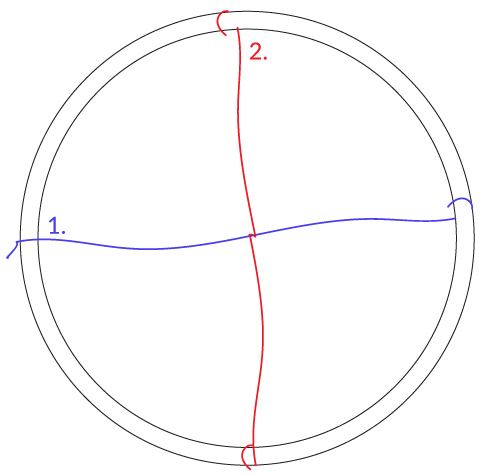
1. Cut 2 x 30” pieces of fishing line. Take one piece and tie it onto the inner ring of the hoop. Repeat this step for the second piece of fishing line. Securing in the centre of the first piece.
2. Ribbon Preparation: Ribbon length will vary depending on the choice of design you are using and where/how the mobile will be hung. The sizes we have provided are a suggestion only as this project does require some thought as to how it will hang in your space.
Child Safety Notice: This project is intended as decoration and it is an important safety measure that you consider the length of this mobile to keep out of reach of children, as it could potentially be a safety hazard.
Ribbon lengths:
- Centre - Cut 1 length x 28"
- Inner Fishing Line - 4 lengths x 16"
- Outer Ring - 4 lengths x 12"
3. Thread the ribbon through the eye of the darning needle, then thread the ribbon through the loop on the top of an embroidery animal. Tie in a bow to secure, and add a drop of quick setting glue to each side of the bow knot to secure. Leave to dry.
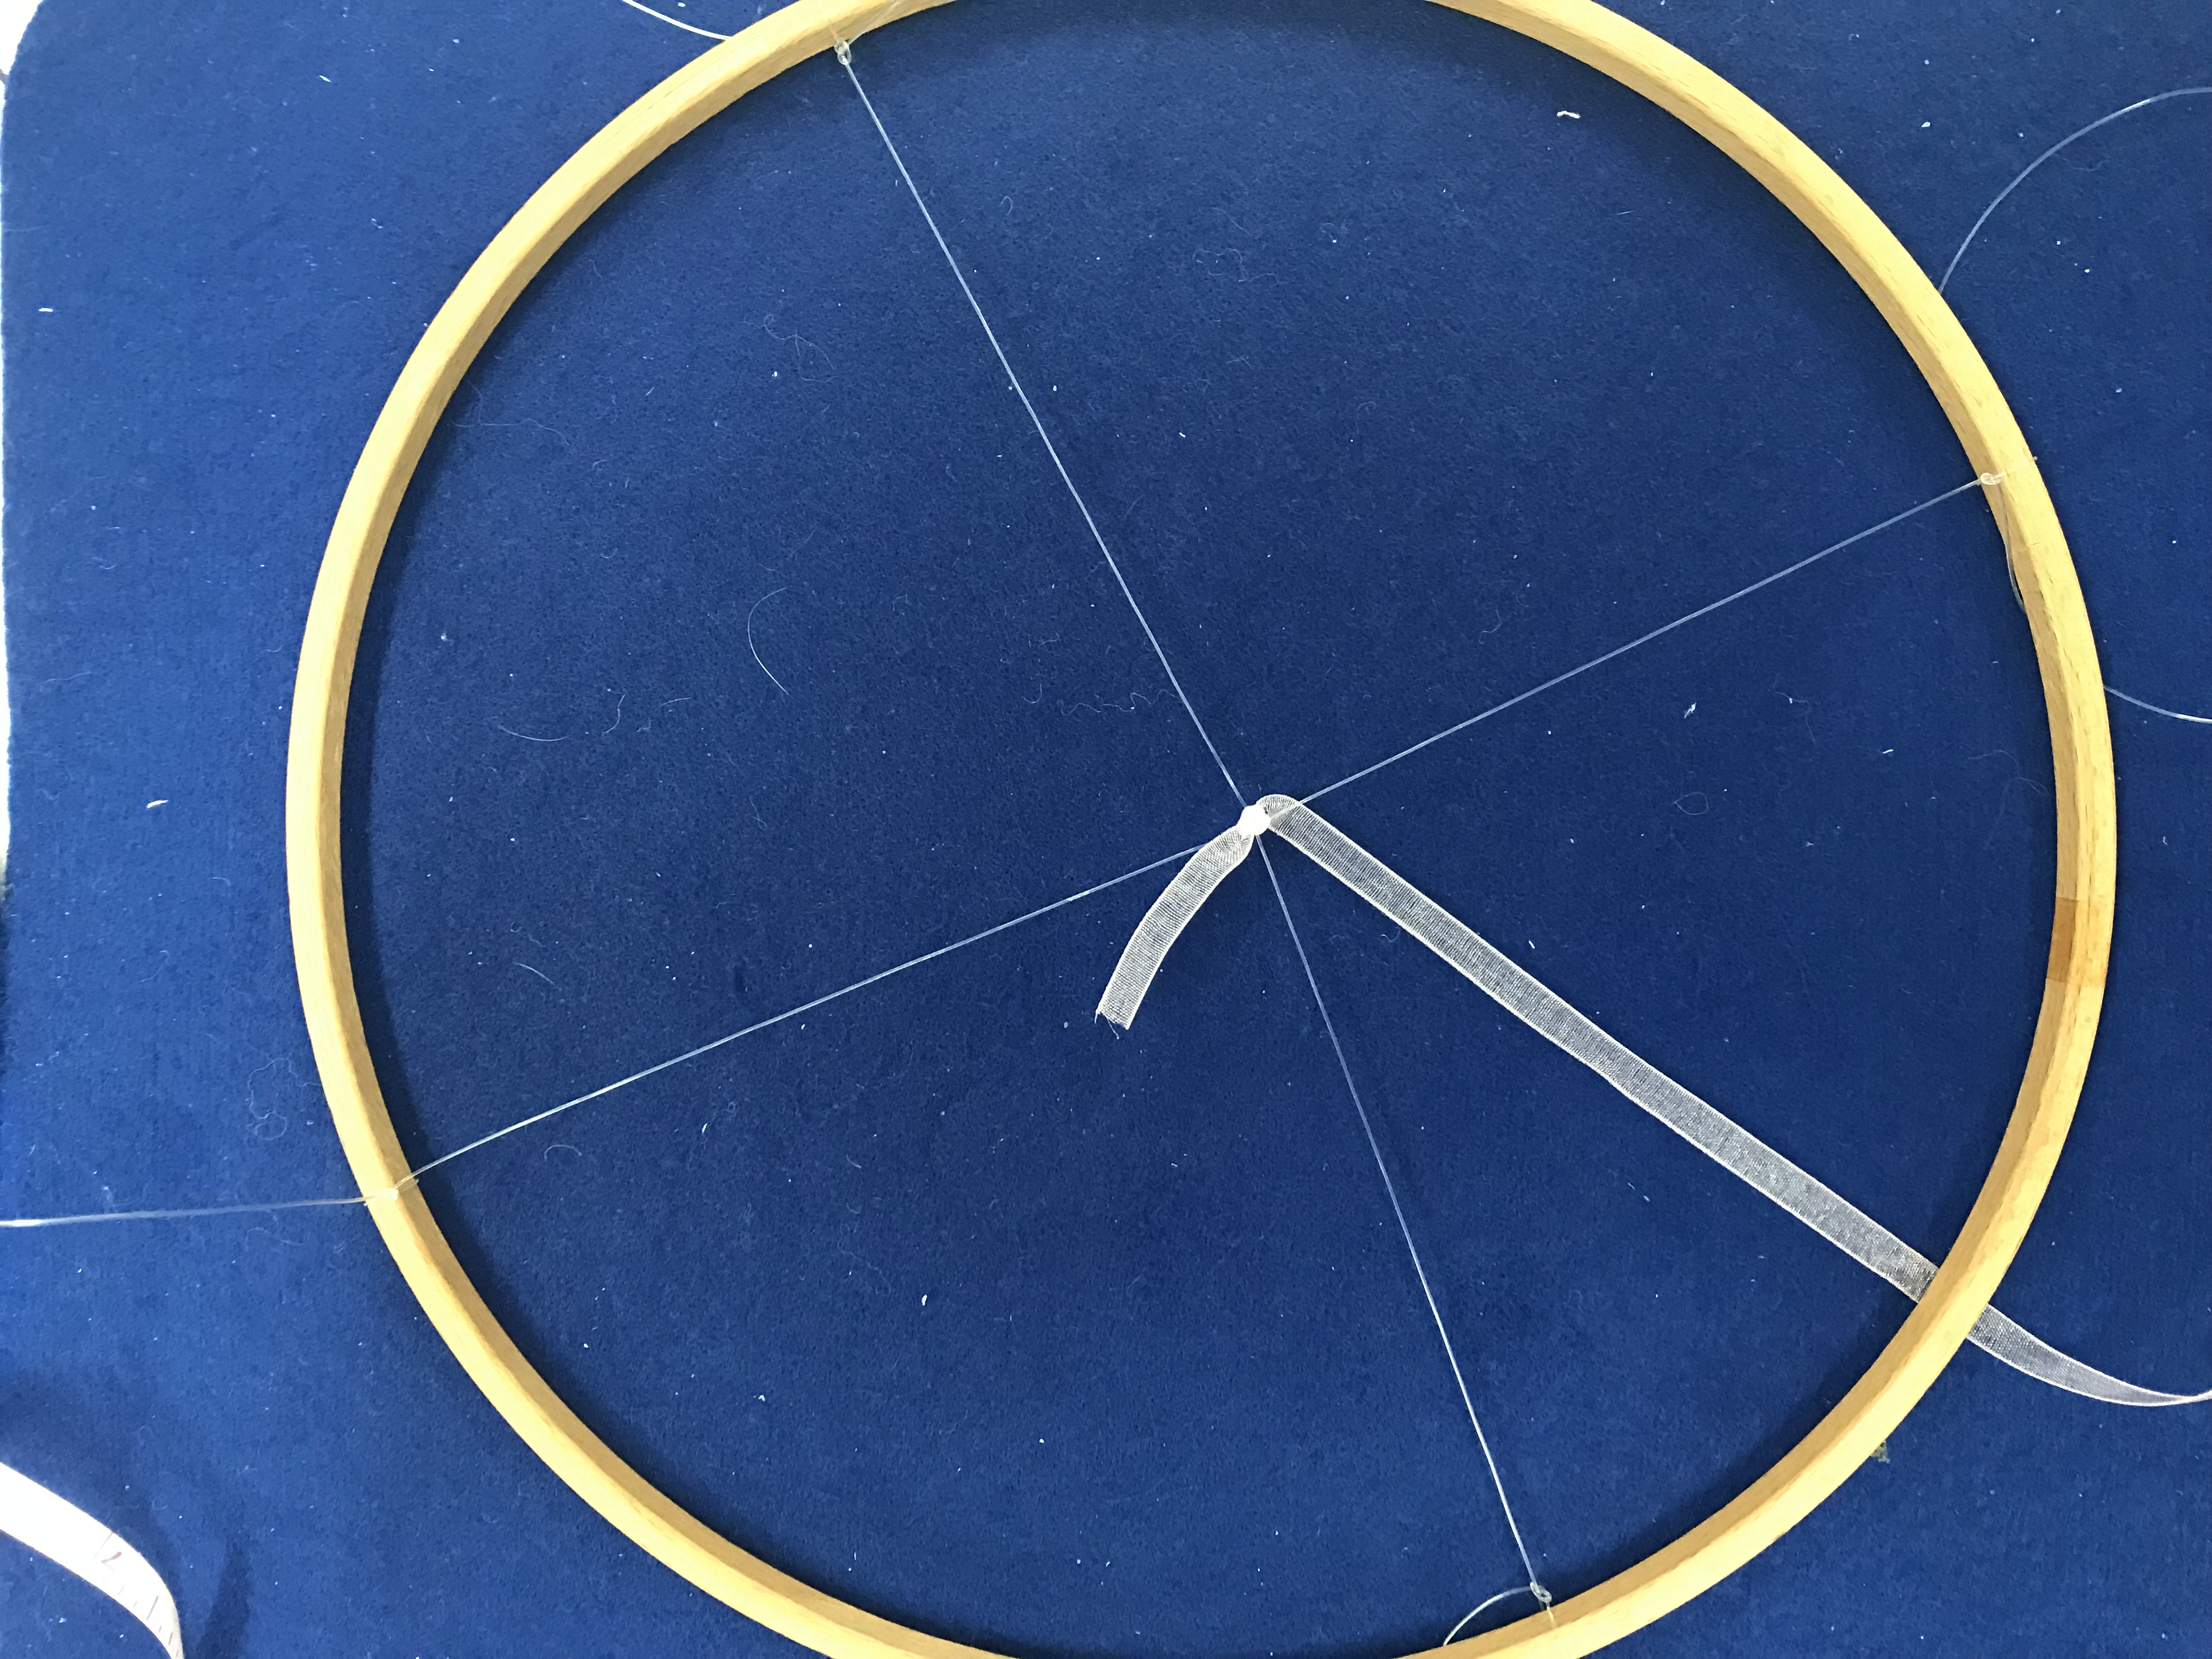
4. Take the other end of the ribbon and tie a knot to secure the ribbon in the centre of the fishing line.
5. Using the 16” length ribbon for the inner ring, thread the darning needle and ribbon through the top loop on an embroidery animal. Tie in a bow to secure and add a drop of quick setting glue to each side of the bow to secure. Leave to dry.
6. When the ribbon has dried, take the other end of the ribbon and tie onto the inner fishing line.
7. Repeat the steps above for the remaining 3 x 16” lengths of ribbon, tying the ribbon onto each inner fishing line.
8. Using the 12” length ribbon for the inner ring, thread the darning needle and ribbon through the top loop on an embroidery animal. Tie in a bow to secure and add a drop of quick setting glue to each side of the bow to secure. Leave to dry.
9. When the ribbon has dried, take the other end of the ribbon and tie onto the outer ring to secure the embroidery animal. Repeat these steps for the remaining ribbon and animals.
10. Once all the embroidery animals are secured onto the hoop, hold up the mobile to view the animals hanging together. To make adjustments to the length of the ribbon, undo the top knot and lengthen or shorten.

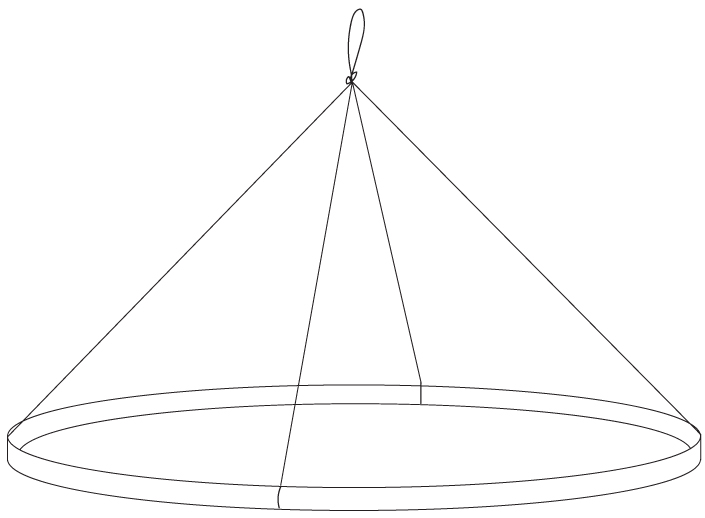
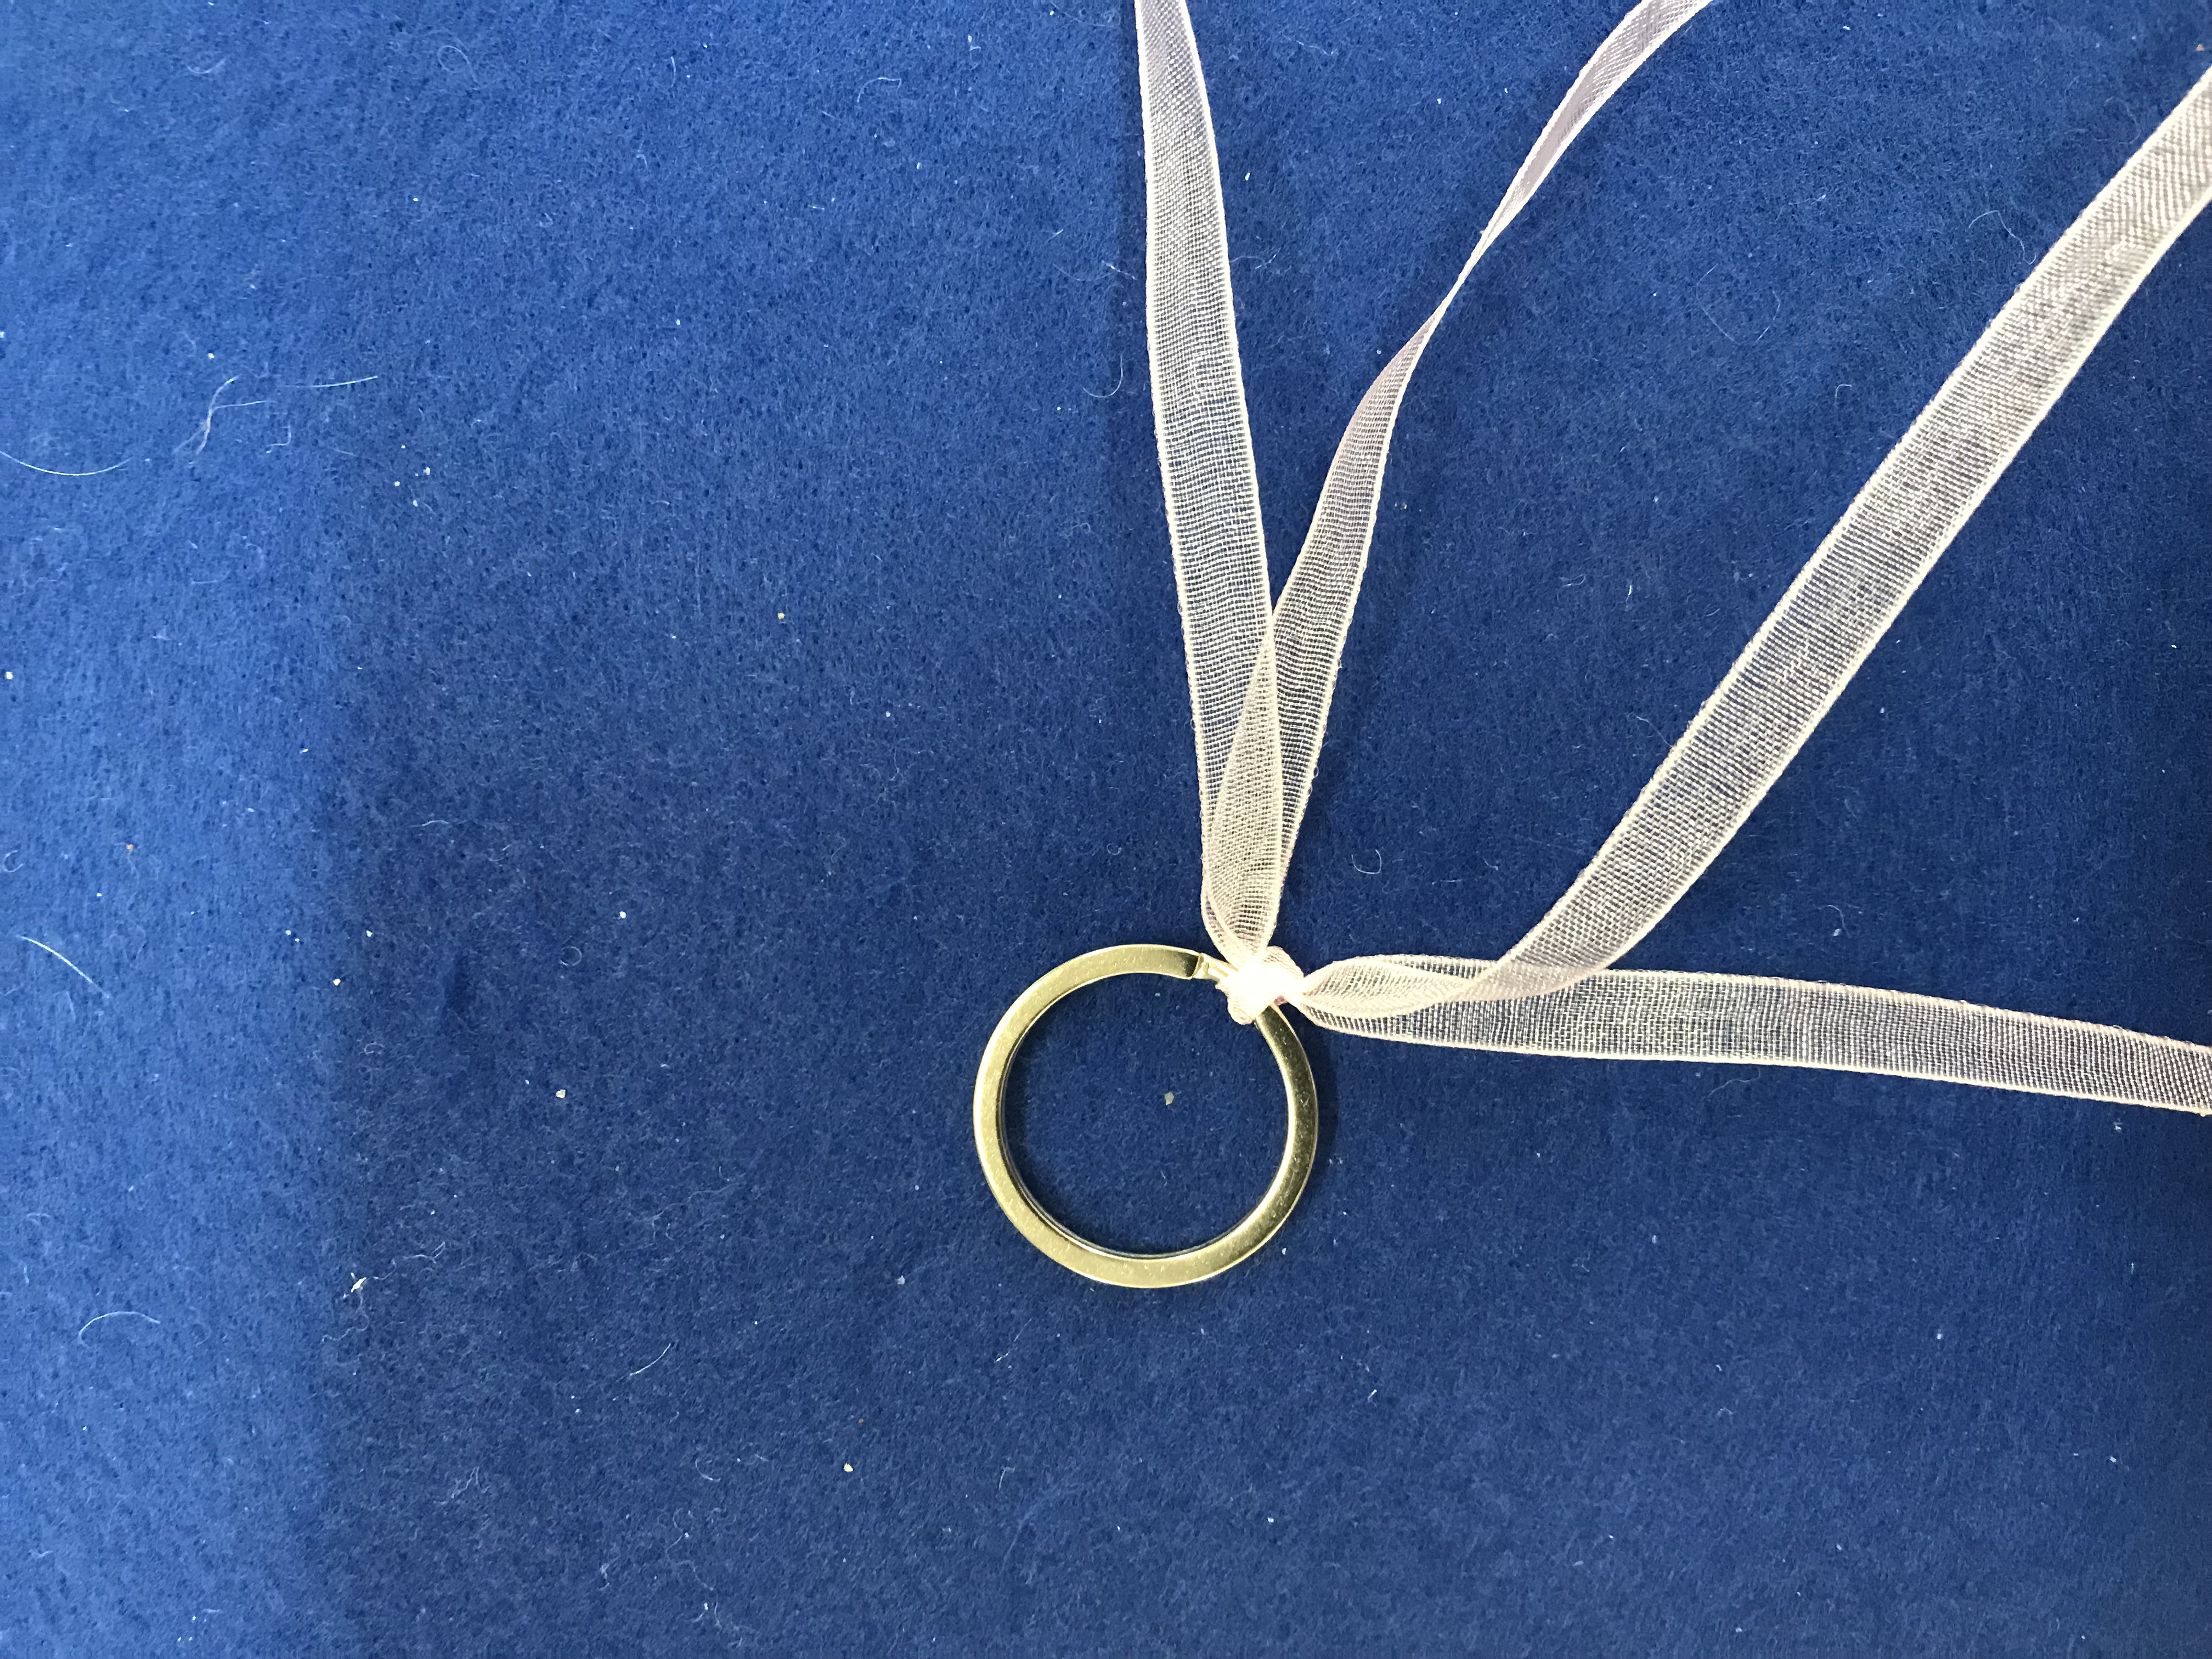
11. Cut 2 x 1.4m lengths of ribbon and find the centre of each length by folding in half. Tie the ribbon centres to the split ring to create 4 x strands.
12. Using the darning needle, thread the ribbon through the inside of the hoop, behind the fishing line.

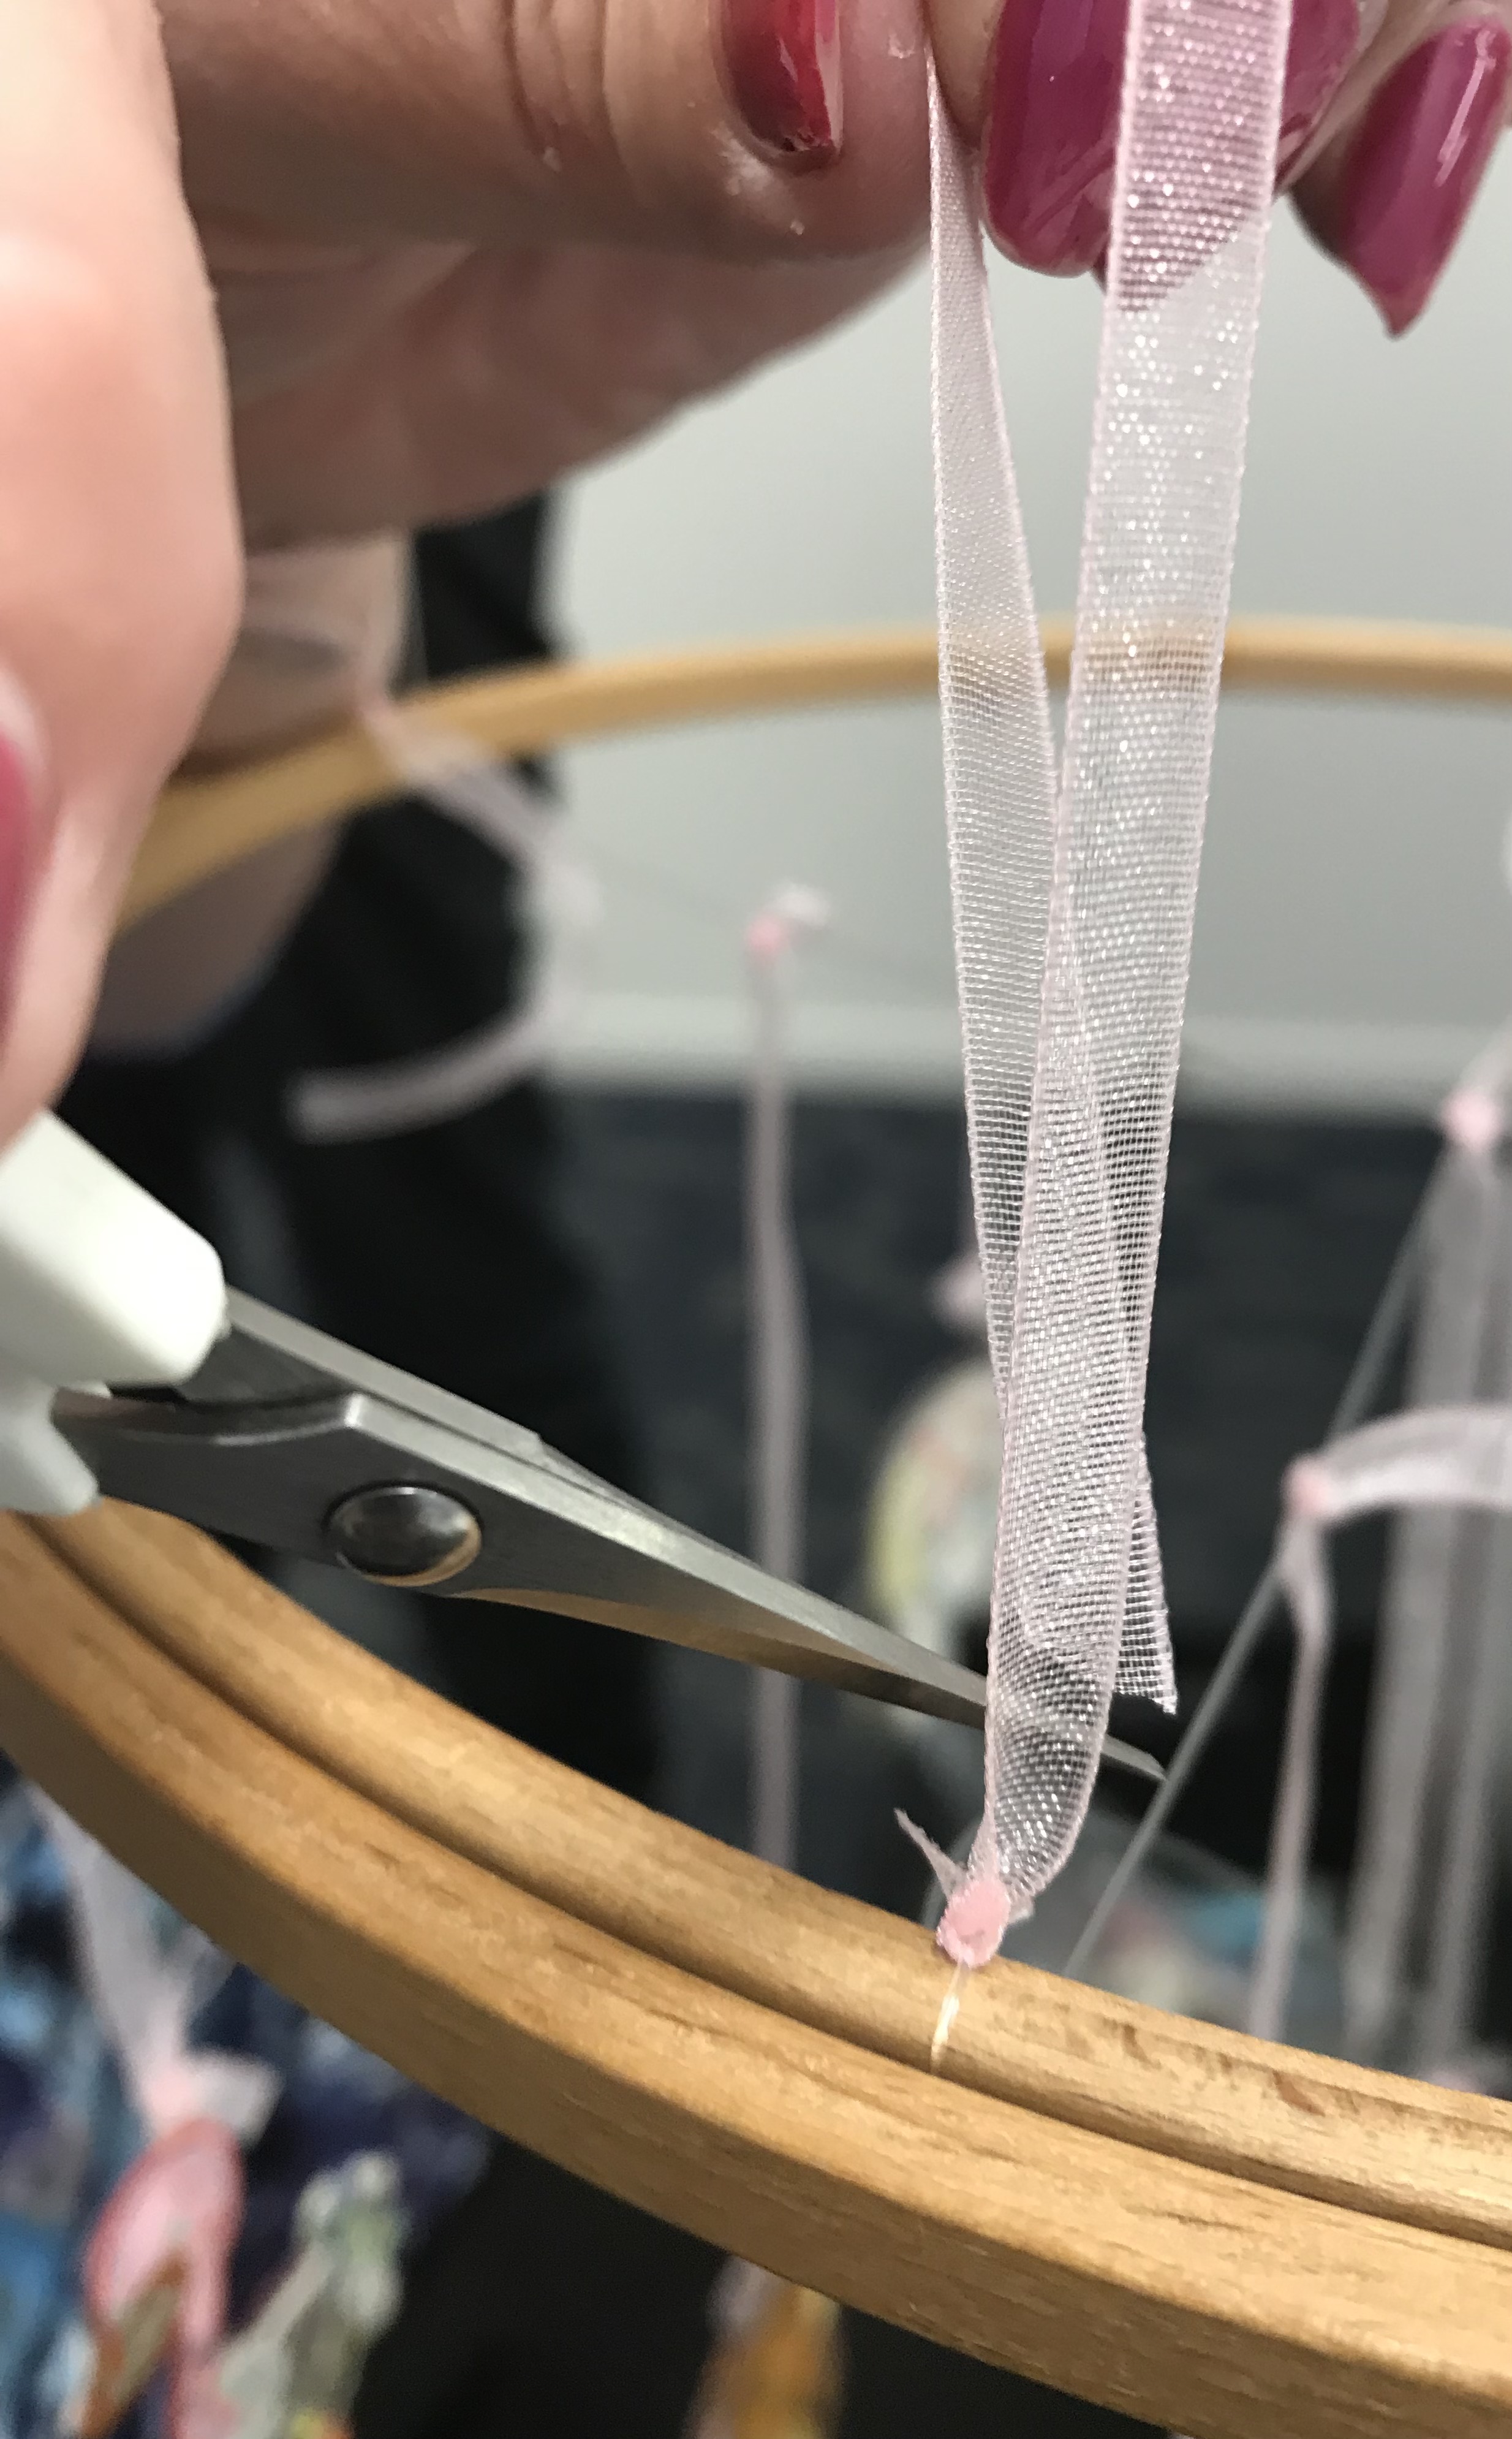
13. Tie off each ribbon onto the fishing line, and apply a drop of glue to secure it in place. Trim all ribbons at the top of the mobile back to the knot after they have been secured with a drop of glue.
14. You're mobile is complete and ready to hang!


Free Embroidery Designs
We're excited to offer our free Echidna designs available for download. These free designs are perfect for those at a beginner or an advanced level. Add these designs to your stash and create incredible embroidery!
View all free designs >
Sewing, Quilting and Embroidery Machines
Interested in learning how to sew, quilt or embroider? Take a look at the innovative Brother machines available for purchase at Echidna Sewing. Wherever possible we will beat any deal and you will always receive ongoing service and support!
Find out more >
Learn to Sew or Embroider with Echidna Sewing
Come along to our fun-filled classes to learn more about sewing, embroidery and crafting. Classes cater for all skill levels, whether you're just starting out or already have advanced knowledge.
Find out more >
Echidna project material/ fabric requirements are an indication only and can seem to be generous. This has been intentional. Should you make a cutting or embroidery mistake you will have sufficient fabric to rectify your error.


