All Projects
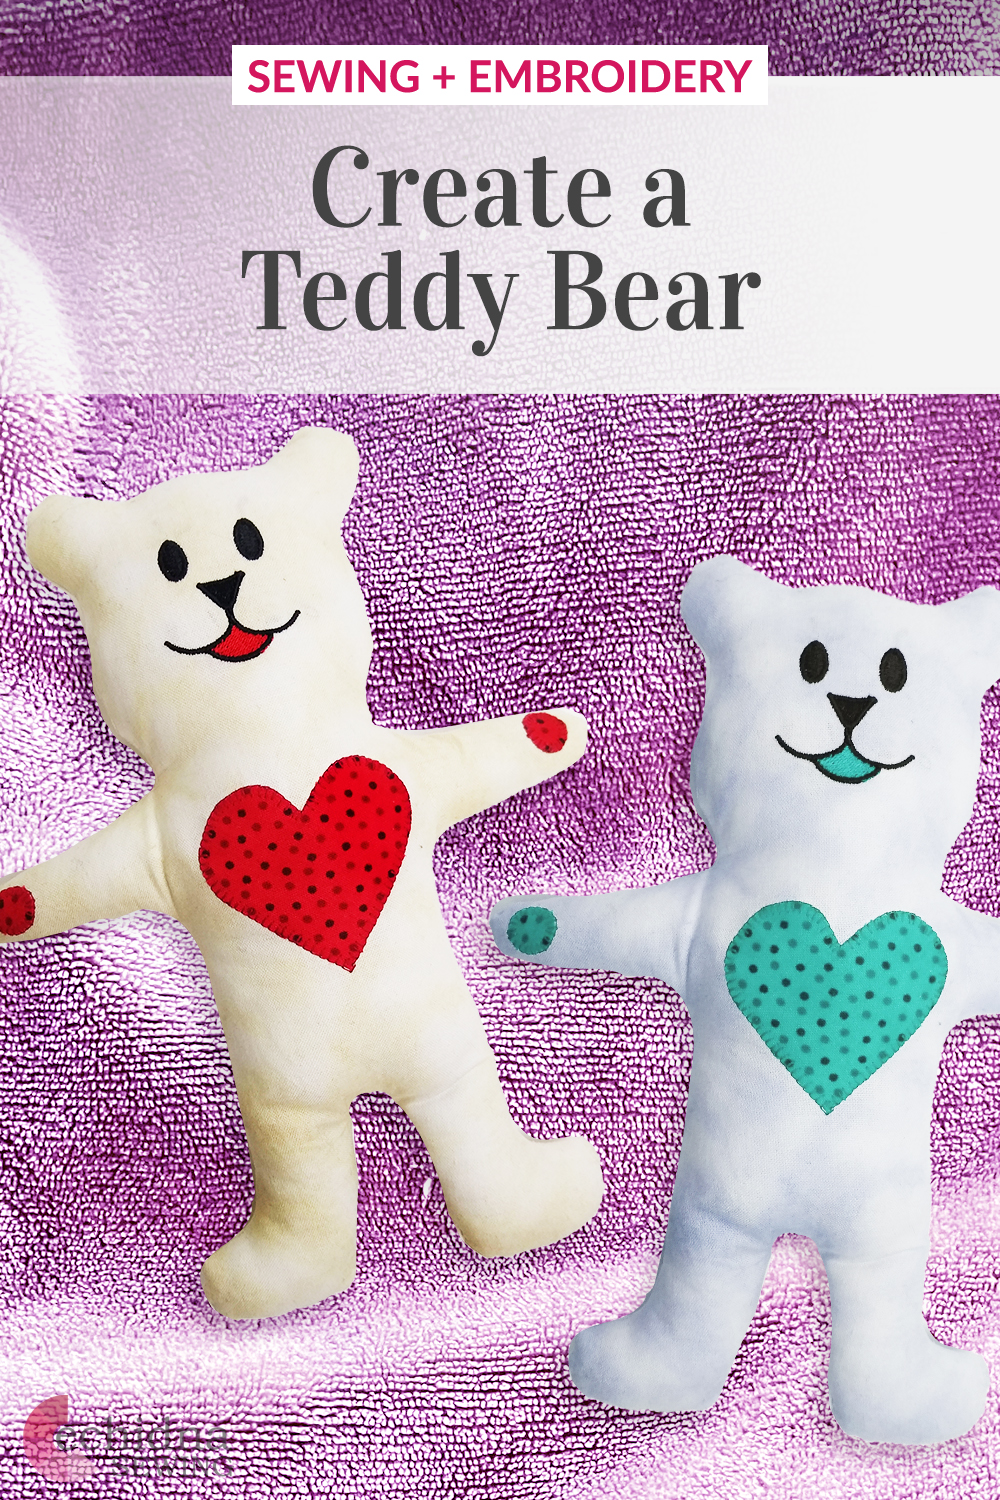


Teddy Bear
Create handmade teddy bears using embroidery and applique techniques. These gorgeous teddy bears are perfect for your babies, kids, or as donations to children's charities. They are super cute and provide that sentimental value of a handmade teddy.
This project is fairly easy and simple, so it's an excellent choice for all level of sewing, from beginner to advanced.
What you need:
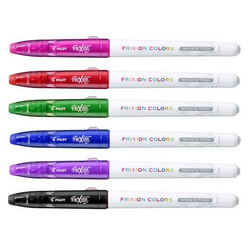
- Frixion pen
- 1 x Neutral coloured fat quarter
- 4 ½ x 4 ½” pieces of scrap fabric (Applique Heart and Paws)
- Hot Melt Web
- Card stock
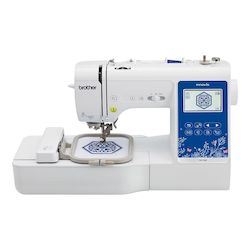
- Sewing machine
- Thread to match bear body
- Thread to match applique pieces
- Embroidery thread
- Universal needles
- Embroidery needles
- Softaway
- Teddy Bear pattern →
- Teddy Bear Face embroidery file →
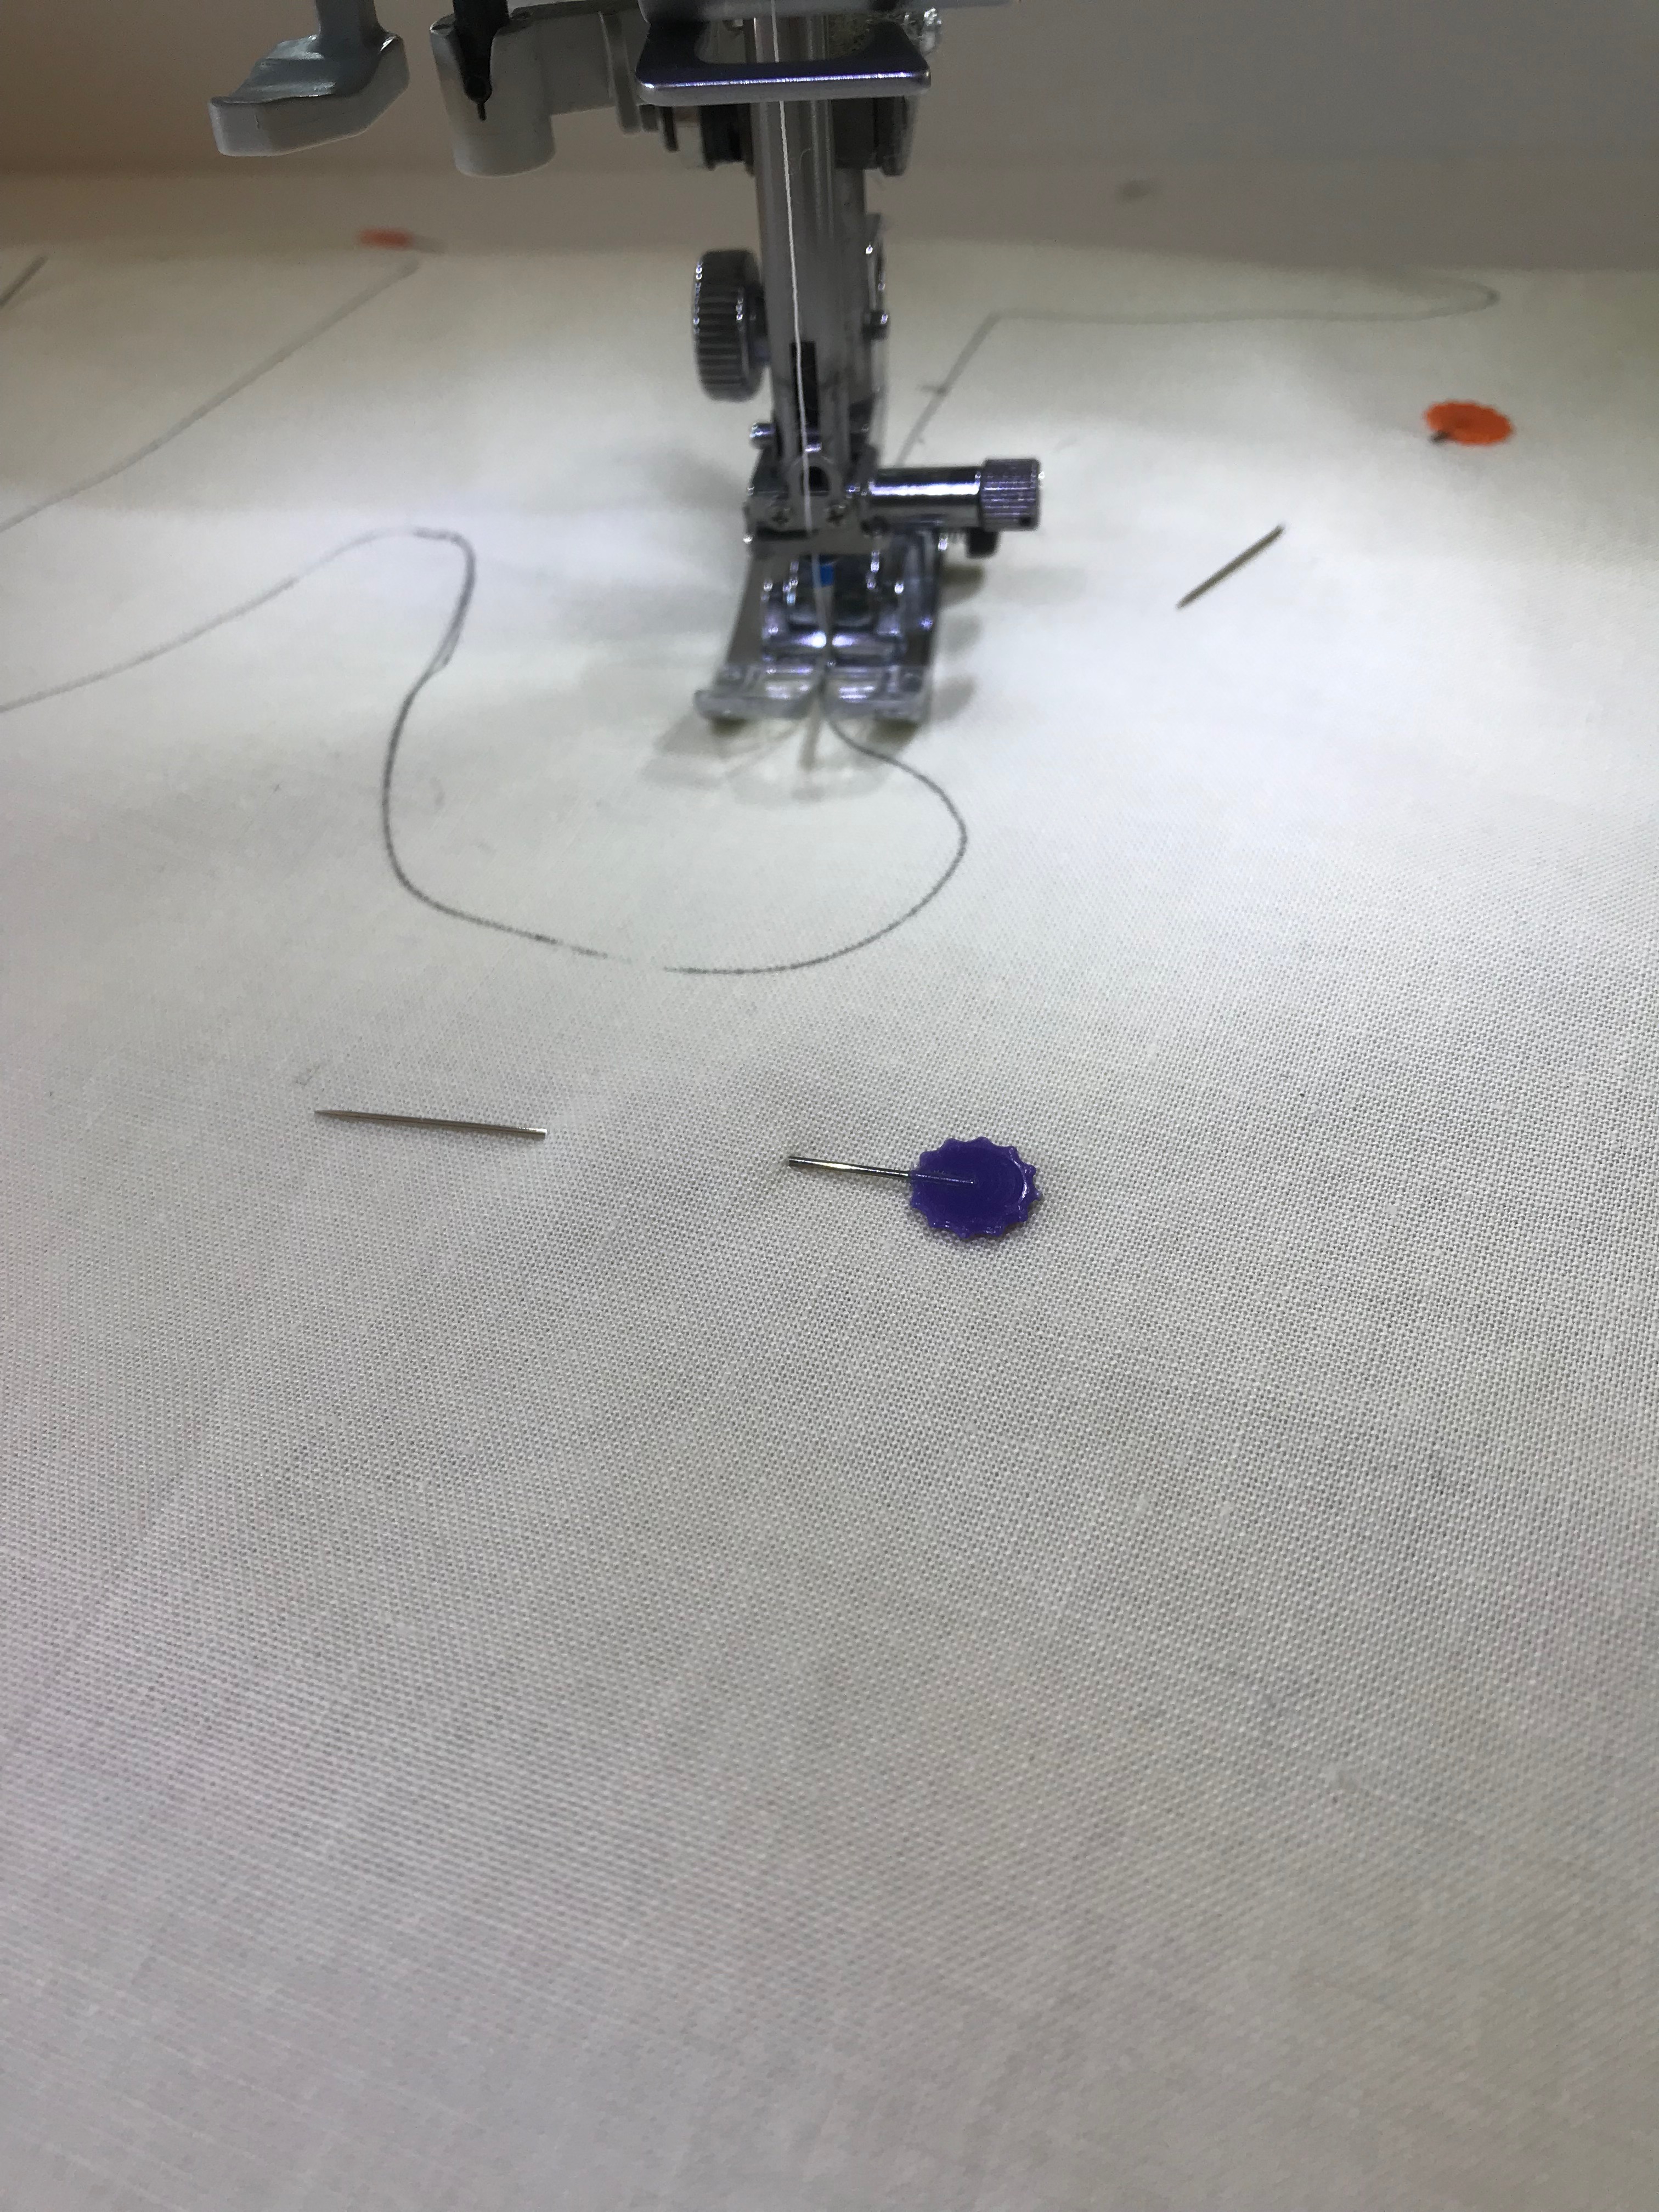
Tip: Cut an extra piece of stabilizer and float underneath. This supports the stitches when stitching a filled design with an outline. It gives it that extra layer of stability.
OUR STEPS
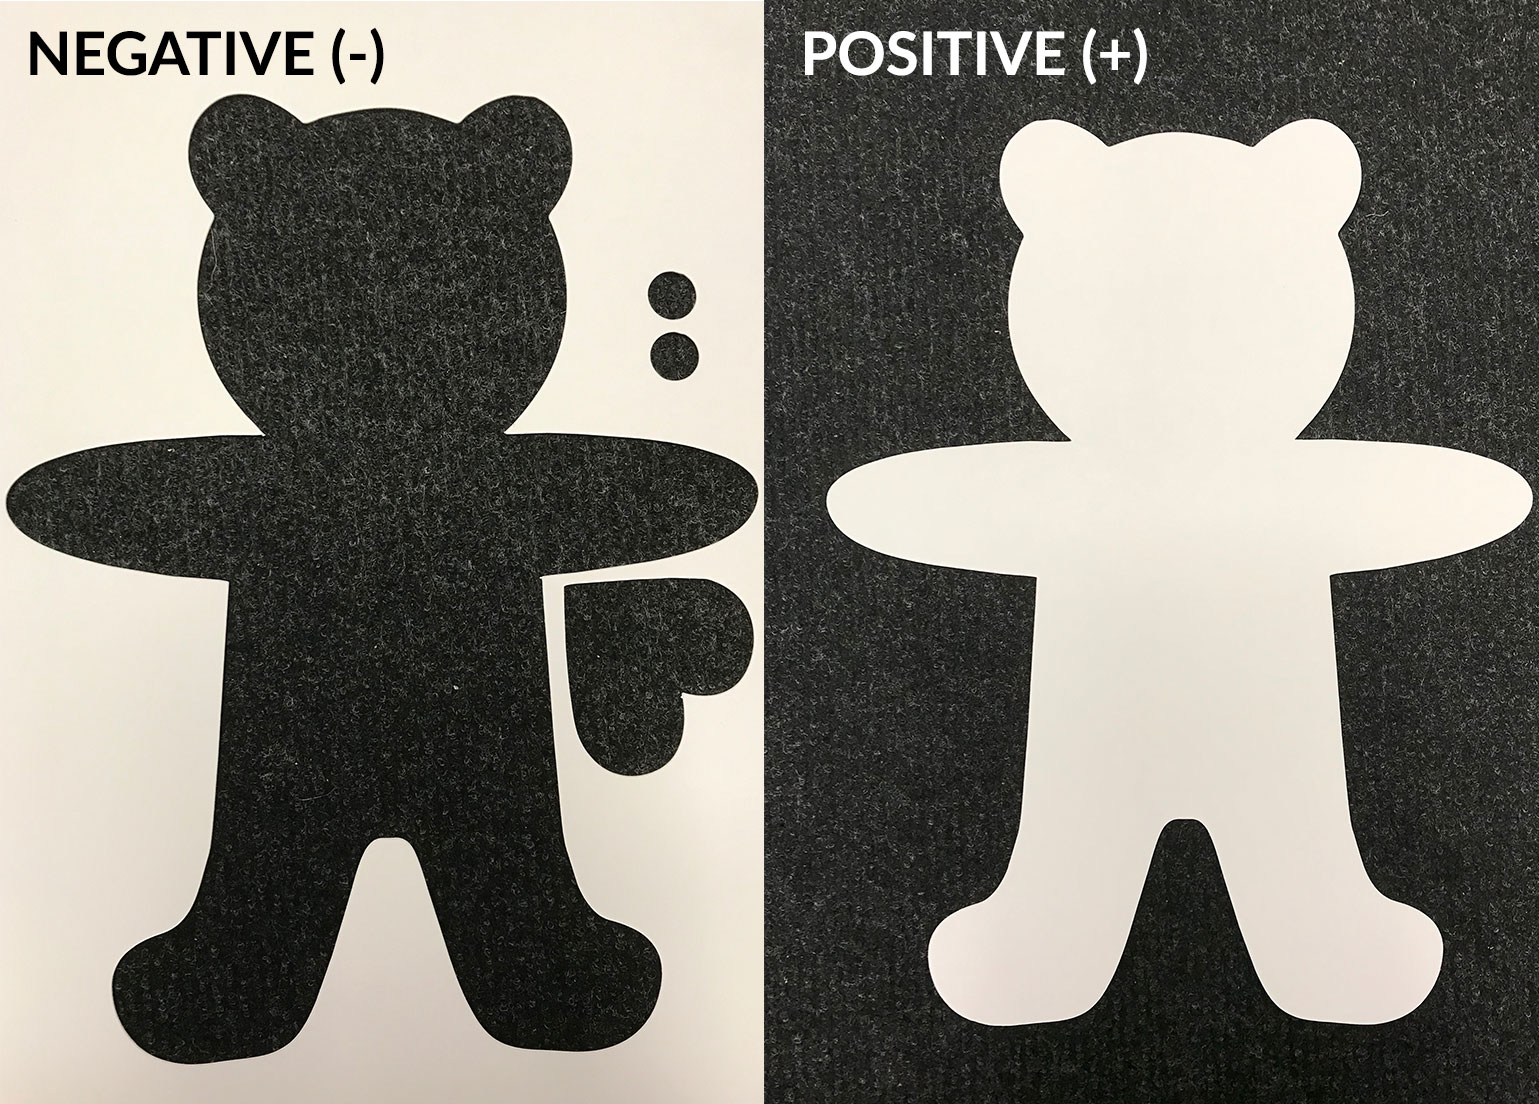
- Cut out the bear shape on some cardboard by hand or using the ScanNCut. You will then have a negative and positive piece of the bear (shown below). Set aside both parts.
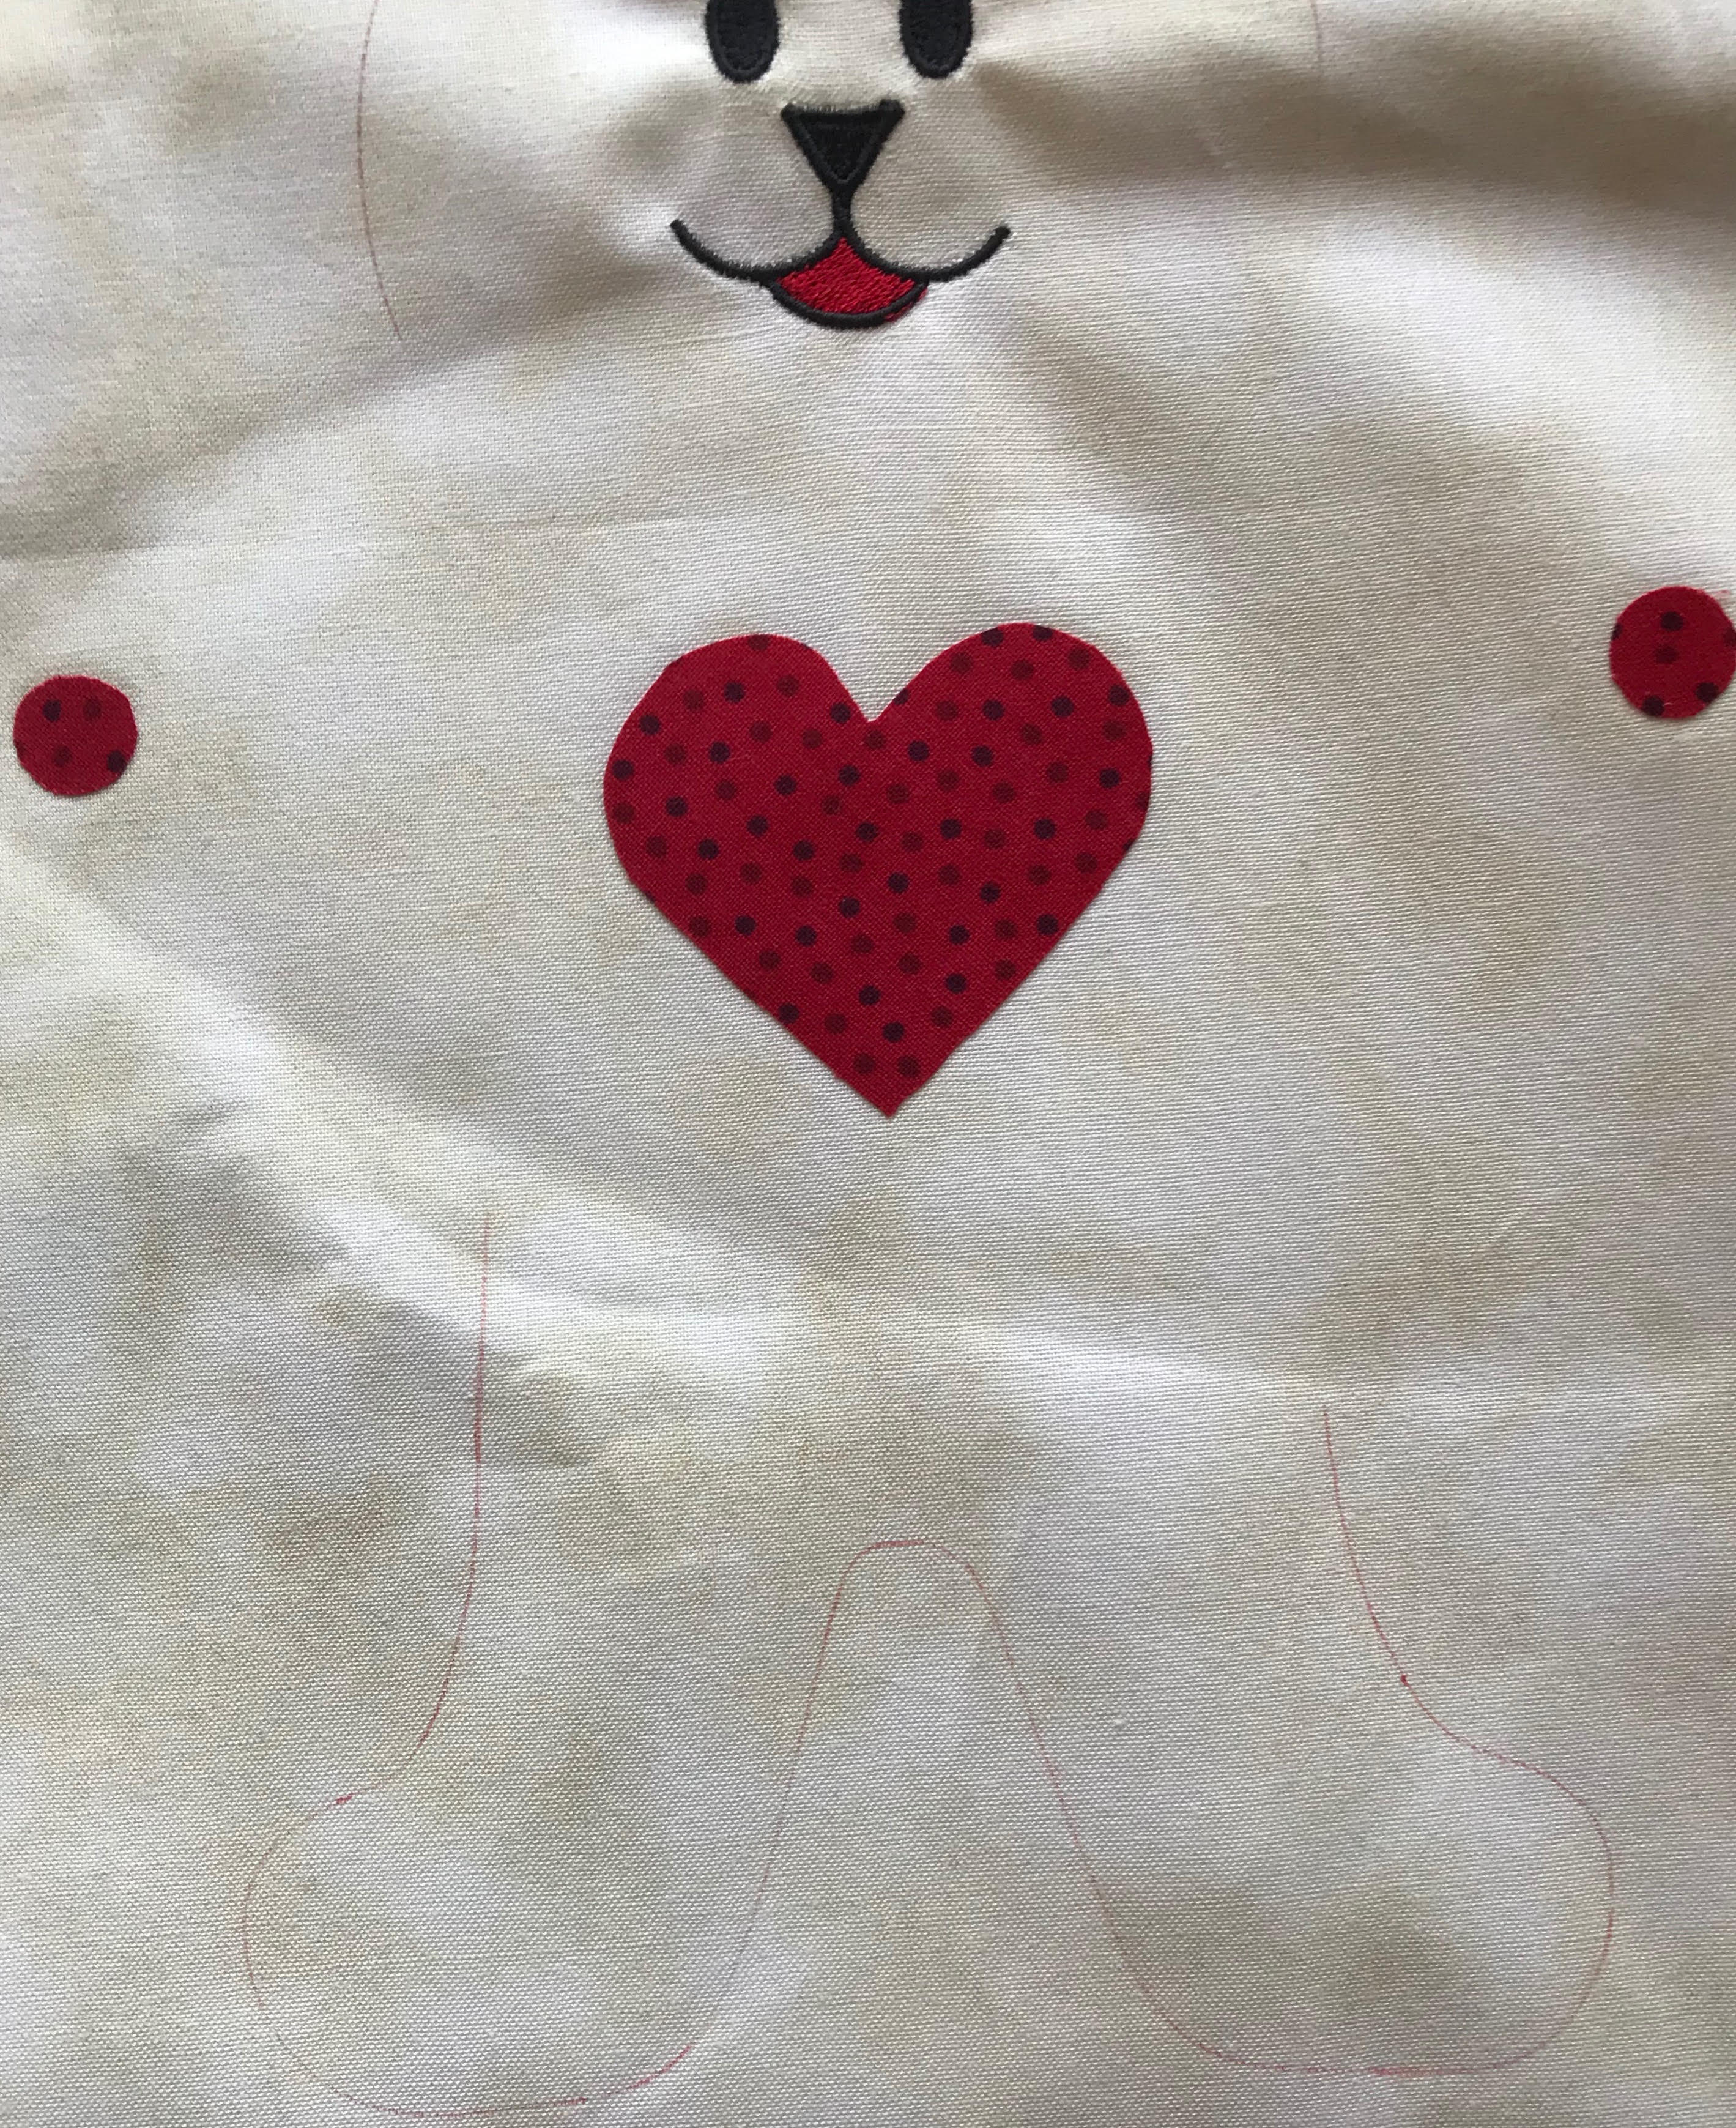
- Iron Hot Melt Web onto the back of the 4 ½ x 4 ½ “ scrap fabric. Trace the heart and paws (circles) onto the reverse side of the fabric. Cut them out and set aside.
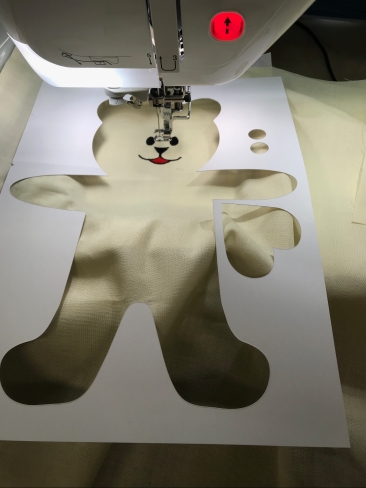
Embroidering the bear face
- Hoop up a piece of softaway into a 100 x 100 hoop. Cut an extra piece of stabilizer and float underneath. This supports the stitches when stitching a filled design with an outline.
- Float the fabric on top of the softaway, using double sided tape to secure in place. Position the fabric to stitch out at least 3 inches from the top and 5 inches in from the side of the fat quarter to enable enough space to fold in half and trace the bear template around the embroidered face.
After the embroidery
- With right sides together, fold your embroidered fabric in half.
- Place “negative” bear cutout on the wrongside of the fabric, centering the embroidery in the middle of the bear face.
- Trace around the bear shape with a Frixion pen. This is your stitching line.
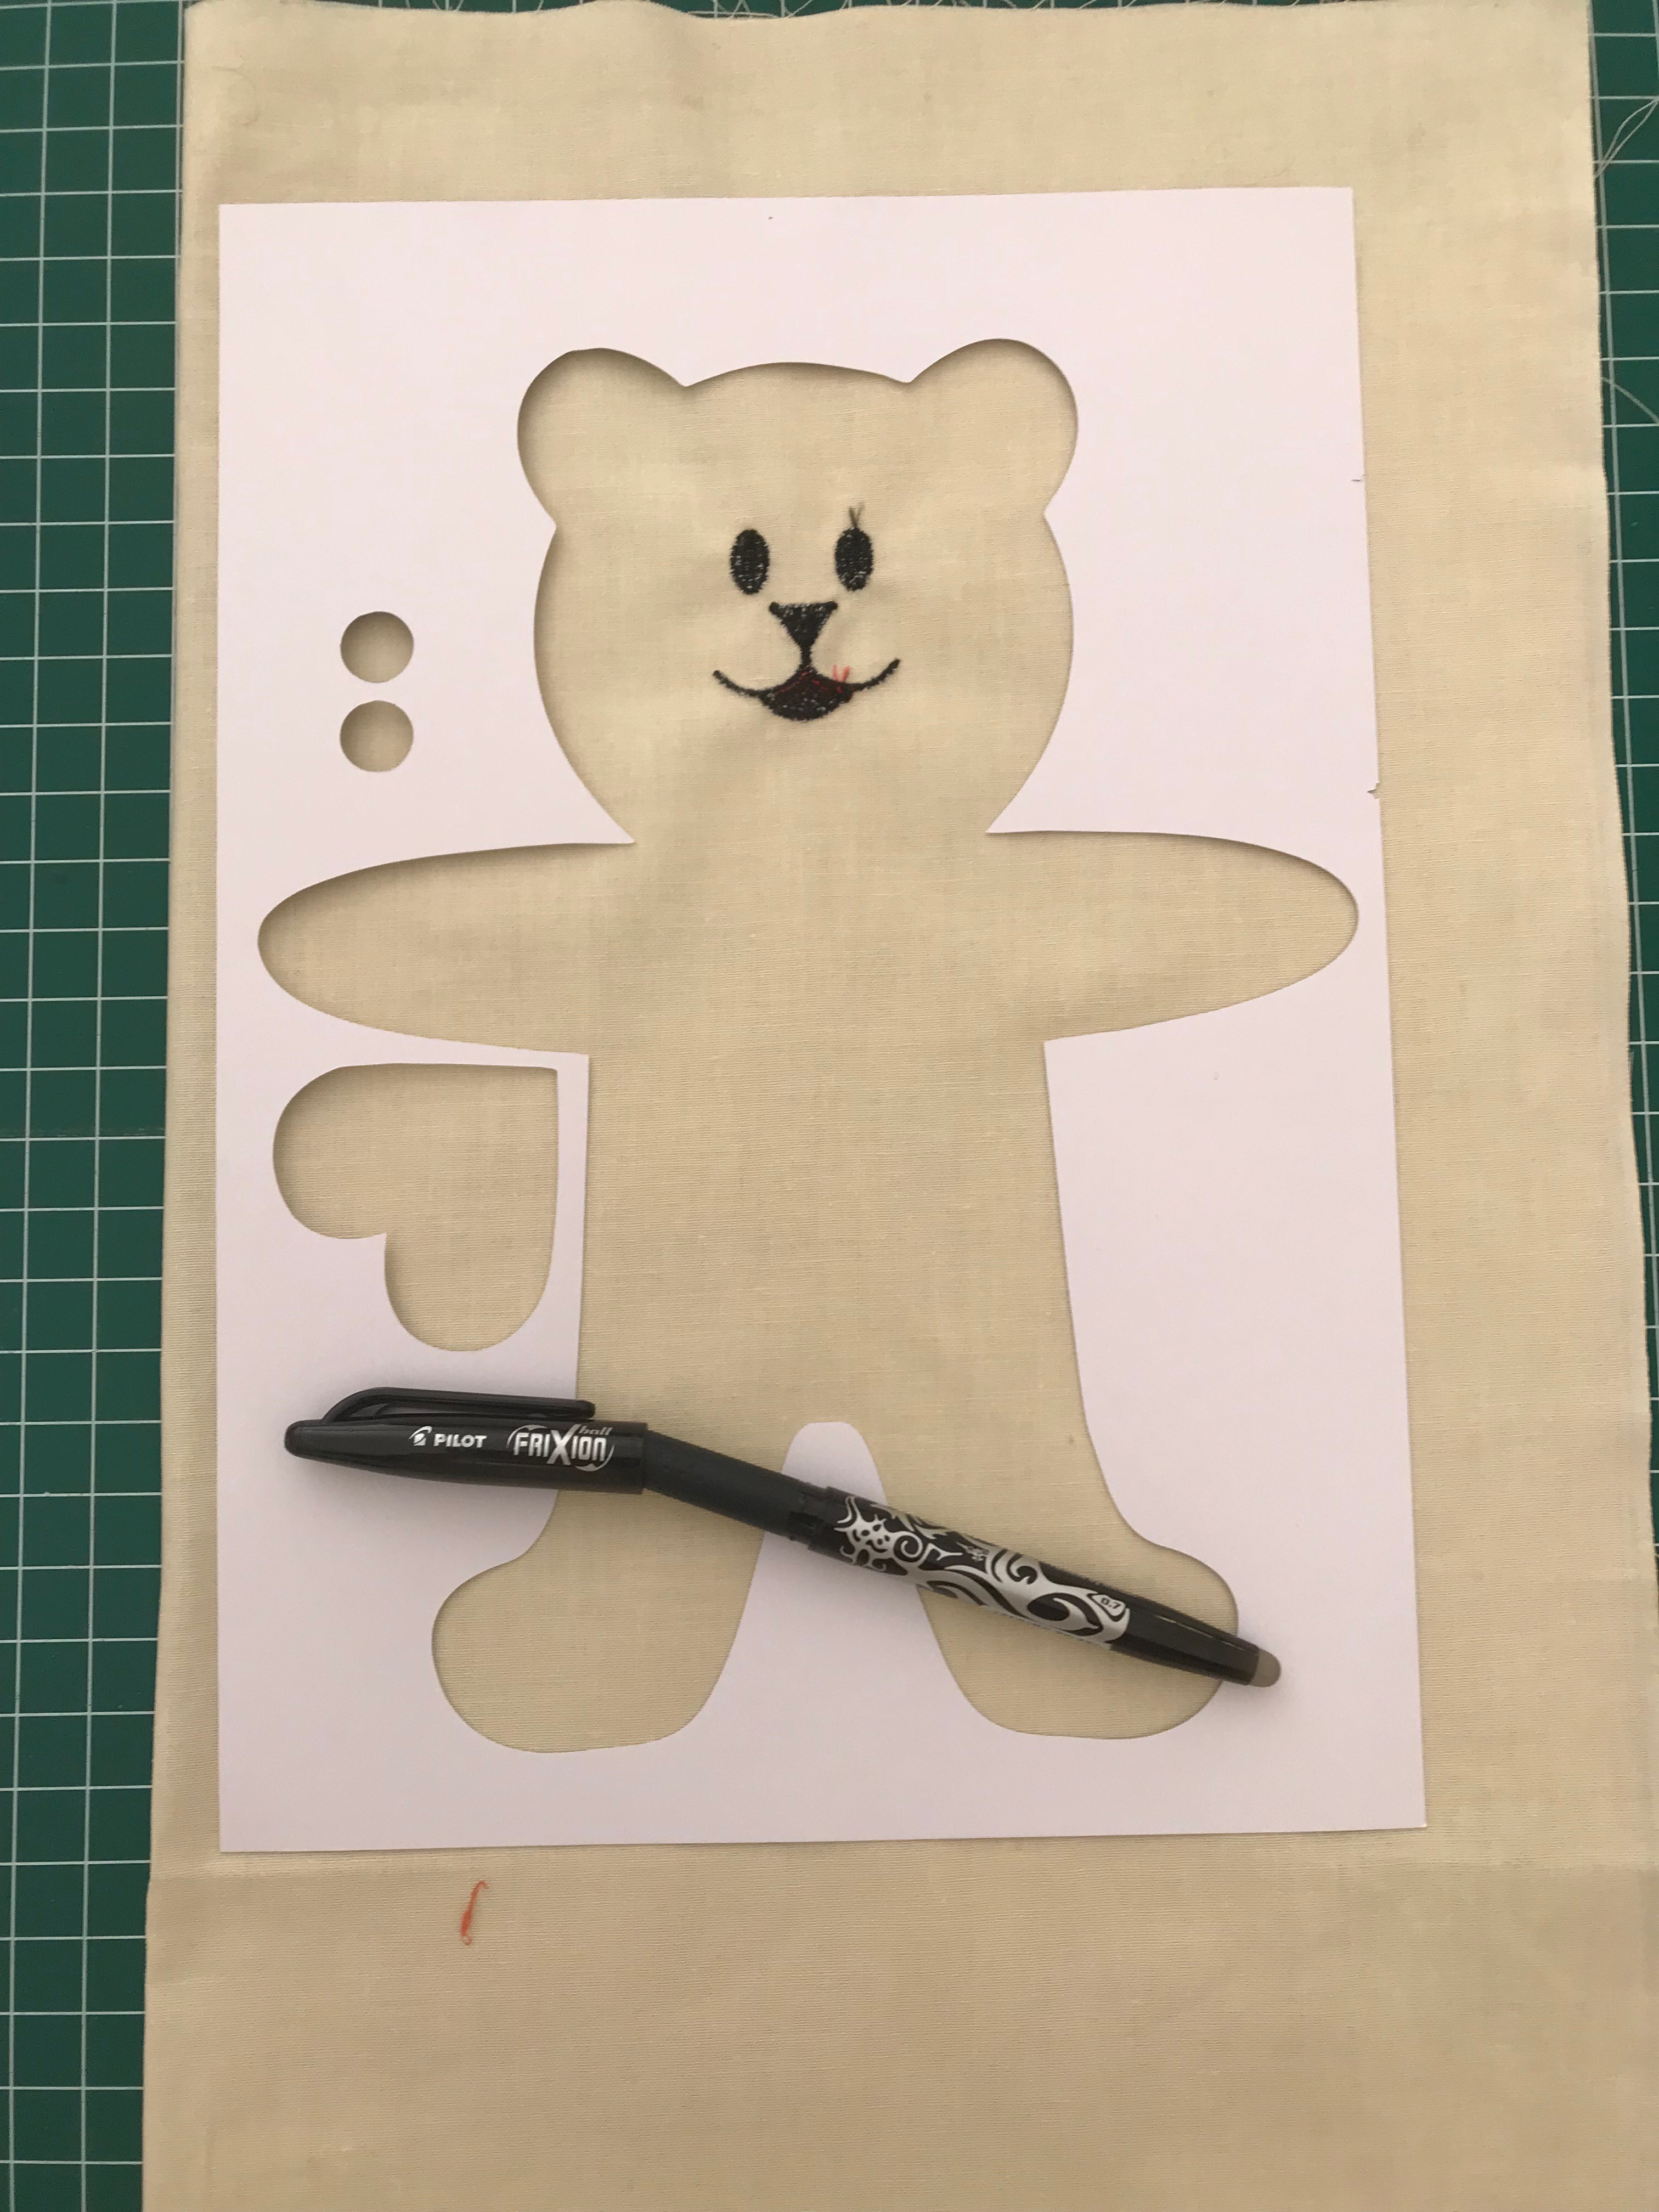
- Unfold the fabric and place the applique shapes onto the bear, iron and stitch in place. If the Frixion pen dissappears with the ironing, simply retrace again.
- Fold fabric in half again. Using matching thread to the bears body, and a stitch length of 1.2mm, stitch on the pen line. Don't forget to leave a 1” gap for turning. Test the stitch length on scrap fabric prior to stitching the bear. Use a new needle when stitching such a short stitch length, this assists with pushing through the fabric. If your machine has pivot function, switch this on! It makes driving around the curves a breeze.
- Once the bear has been stitched, trim the seam to 1/8” from the edge of the stitching line.
- Snip the curves and turn out the bear.
- Fill the bear with toy stuffing and hand stitch closed.

DONATE SOME TO A CHARITY
These teddy bears can also be donated to charity. If you want to contribute to a great cause, the charities listed below accept handmade teddy bears. Just send your creations in to the mailing address provided.
Are you a charity that would accept this item? Contact us to have your details added here.
Queensland
Victoria
Life's Little Treasures Foundation
1/21 Eugene Terrace
Ringwood VIC 3134
Australia
Backpacks 4 VIC Kids
86 Camms Road
Cranbourne VIC 3977
Australia

Free Embroidery Designs
We're excited to offer our free Echidna designs available for download. These free designs are perfect for those at a beginner or an advanced level. Add these designs to your stash and create incredible embroidery!
View all free designs >
Sewing, Quilting and Embroidery Machines
Interested in learning how to sew, quilt or embroider? Take a look at the innovative Brother machines available for purchase at Echidna Sewing. Wherever possible we will beat any deal and you will always receive ongoing service and support!
Find out more >
Learn to Sew or Embroider with Echidna Sewing
Come along to our fun-filled classes to learn more about sewing, embroidery and crafting. Classes cater for all skill levels, whether you're just starting out or already have advanced knowledge.
Find out more >
Echidna project material/ fabric requirements are an indication only and can seem to be generous. This has been intentional. Should you make a cutting or embroidery mistake you will have sufficient fabric to rectify your error.


