All Projects


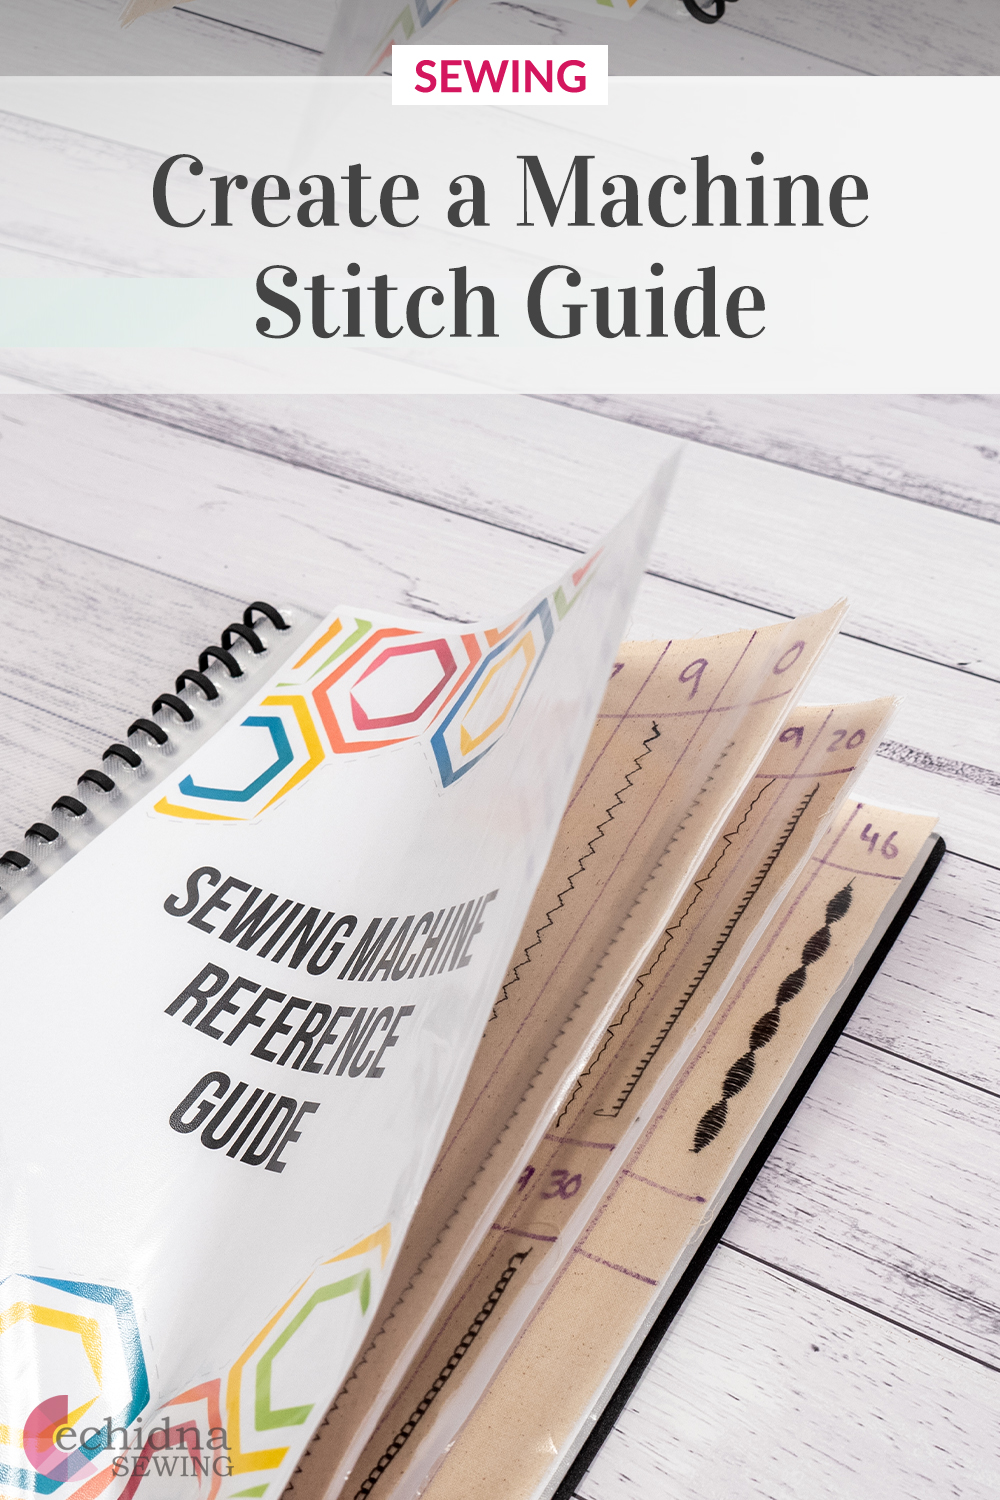
Sewing Stitch Guide
Date Posted:28 November 2022
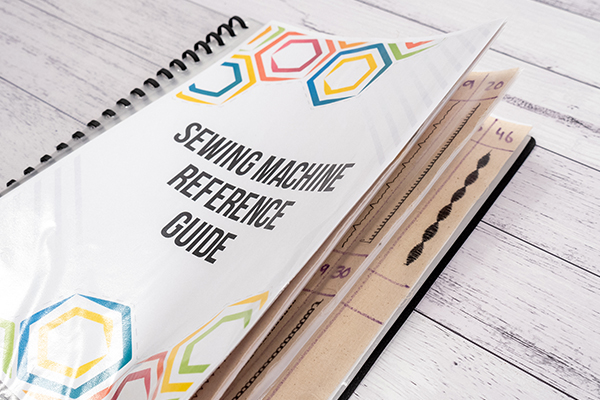
If you’re a new or regular sewing/embroidery machine user, one of the best things you can do to enhance your sewing projects is to create a sewing machine reference guide booklet. It’s simple, easy and will teach you all about your machine.
Even if you’ve owned a machine for years, creating a sewing machine reference guide will show you in detail what your machine is capable of and enable you to make a better use of your machine stitches and settings.
What you'll need:
- Sewing machine
- Calico fabric (approx WOF 30")
- Fusible Interfacing (approx WOF 30")
- Ruler (we used the 6" x 12")
- Sewing scissors
- Rotary cutter and mat
- Frixion pen or water soluble pen
- Iron and wool pressing mat
- Thread
- Printed cover & separator page
Step Overview
The steps below are just an overview of the project instructions and must be used in conjunction with the tutorial video. Print these steps out to have beside you when watching the video as a reminder.
Please note: We are creating this project with embroidery using a 4" x 4" hoop. If you are using a larger hoop, you will need to alter the size of your main body fabric. This is explained in our video above.
- Download and print a cover and separator page.
- Pre-iron your fabric.
- Cut out calico pages (as many as you need) that are 8” x 11.5”.
- Cut a matching amount of fusible interfacing in the same size.
- Fuse the interfacing to the wrong side of each calico page.
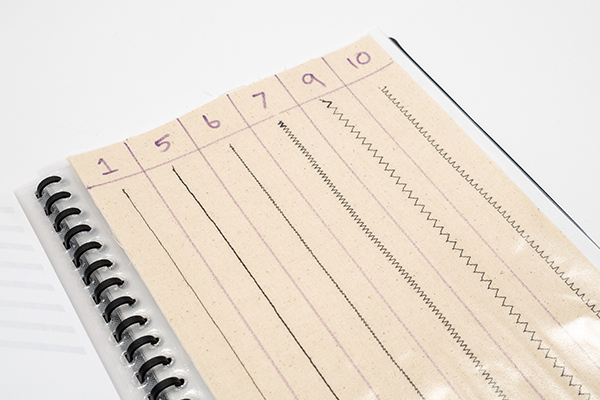
- Mark the columns for your first page (standard stitches). Divide no of stitches by 8” to get the width of each column (unless more than 10, in that case, divide 8 by 10 and create two rows (20 stitches).
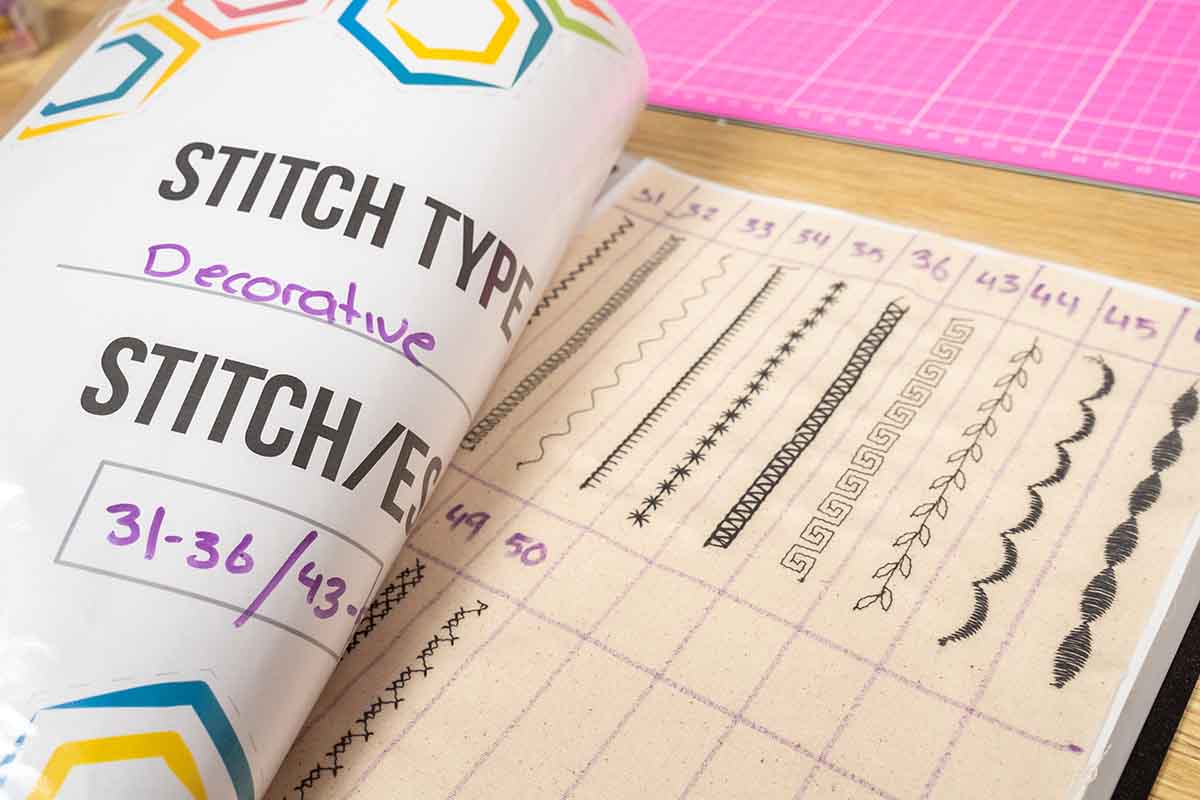
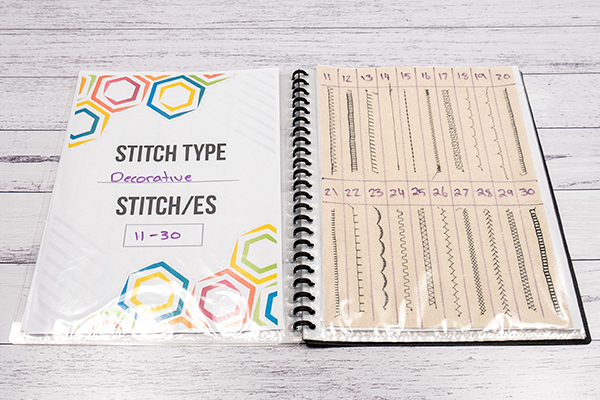
- Mark the columns for your second, third and/or fourth page (decorative stitches).
- Mark the columns for your fourth or fifth page (buttonhole stitches).
- On each page, mark a 1” line from the top of your page, write stitch numbers here.
- If you have two rows, mark a point 5.75” down from top, draw line, then draw your 1” line from here.
- Begin stitching each stitch starting from 1 and label each stitch.
- Repeat for decorative stitches.
- Repeat for buttonhole stitches.
- Use one separator page for each type of stitch, write the type of stitch and the numbers of the stitches.
- Insert calico pages and separator pages into A4 display book.
- All done!
Don’t forget to show us your finished projects on Instagram or Facebook #echidnasewing #madebyme


Free Embroidery Designs
We're excited to offer our free Echidna designs available for download. These free designs are perfect for those at a beginner or an advanced level. Add these designs to your stash and create incredible embroidery!
View all free designs >
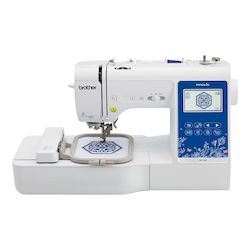
Sewing, Quilting and Embroidery Machines
Interested in learning how to sew, quilt or embroider? Take a look at the innovative Brother machines available for purchase at Echidna Sewing. Wherever possible we will beat any deal and you will always receive ongoing service and support!
Find out more >
Learn to Sew or Embroider with Echidna Sewing
Come along to our fun-filled classes to learn more about sewing, embroidery and crafting. Classes cater for all skill levels, whether you're just starting out or already have advanced knowledge.
Find out more >
Echidna project material/ fabric requirements are an indication only and can seem to be generous. This has been intentional. Should you make a cutting or embroidery mistake you will have sufficient fabric to rectify your error.

