All Projects
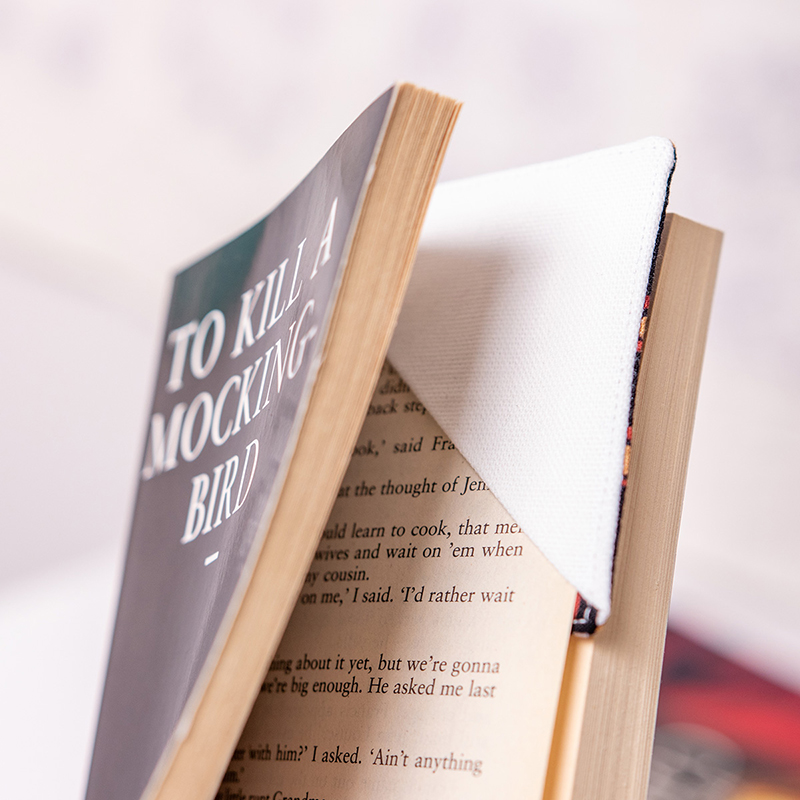


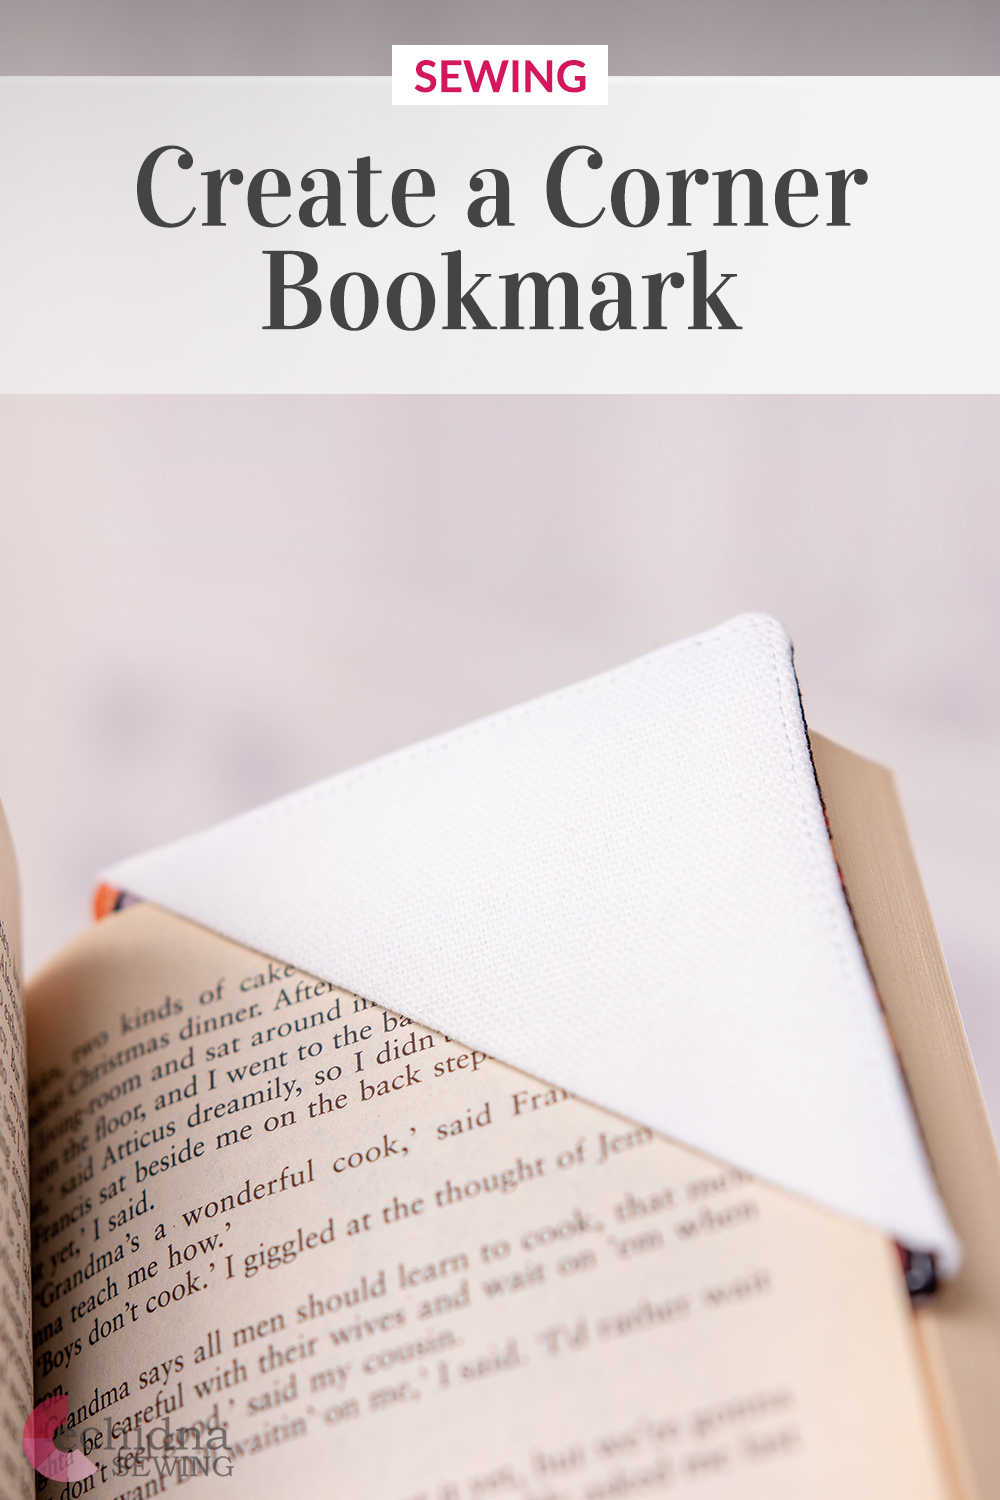
Corner Bookmarks
Date Posted:6 February 2025
If you’re sick of your kids folding the corners of their books to mark their page, or you’re simply wanting your own stylish bookmark, then this tutorial is perfect for you! These corner bookmarks slot perfectly over the corner of your book and can be made from a variety of fabric. This is also a perfect tutorial to use up any leftover fabric scraps or offcuts you might have. You could even use an old T-shirt or pants. We recommend using cotton fabric for these bookmarks, but you can also use any other fabric if you want.
This project is great for sewists of all levels, from beginner to advanced.
Machines Used
- Brother NV50S Sewing Machine
What you'll need:
- Sewing machine
- Thread in your colour choice
- Fabric 1 (6")
- Fabric 2 (6")
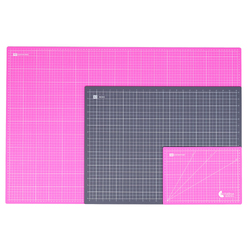
- Sewing scissors, or a rotary cutter & mat
- Ruler/measuring tape
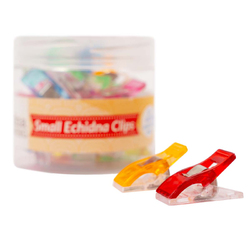
- Pins or small clips
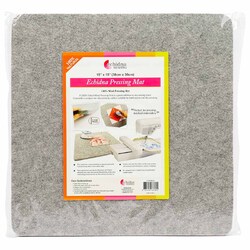
- Iron & wool pressing mat
- Purple thang or similar tool
- Interfacing
- Frixion pen
- Starch spray
Step Overview
The steps below are just an overview of the project instructions and must be used in conjunction with the tutorial video. Print these steps out to have beside you when watching the video as a reminder.
- From fabric 1, cut 2 x 4” squares.
- From fabric 2, cut 1 x 4” square.
- Cut 2 x 4” squares from your interfacing.
- Fold interfacing in half to form a triangle, cut along the fold line.
- Place one interfacing triangle into the corner of the wrong side of the fabric 2 square, fuse.
- Fold fabric 2 square in half over interfacing to form a triangle (wrong sides together), press with the iron.
- Lay out one square of fabric 1 with wrong side up and iron on your other interfacing square directly on top.
- Flip the square over so right side is facing up and place the fabric 2 triangle in one corner of the square.
- Place the second fabric 1 square face down on top.
- Mark a 2” gap with your frixion pen on one side to leave open.
- Sew around the entire perimeter using a 2.5mm stitch length and a ¼” seam allowance, leaving the 2” gap open.
- Clip each corner on a diagonal to reduce bulk.
- Turn right side out.
- Press flat with your iron.
- Top stitch around the perimeter edge using a 3mm stitch length and sew as close to the edge as possible.
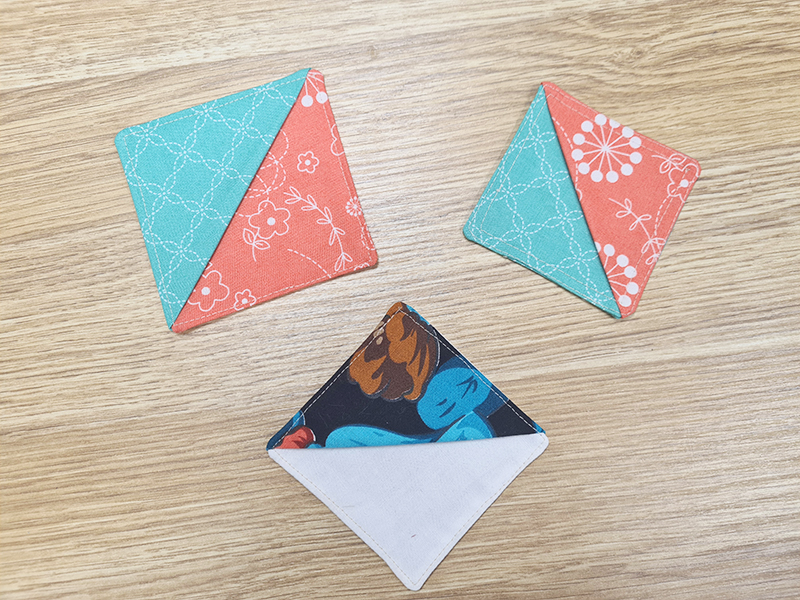
- Done!
Don’t forget to show us your finished projects on Instagram or Facebook #echidnasewing #madebyme


Free Embroidery Designs
We're excited to offer our free Echidna designs available for download. These free designs are perfect for those at a beginner or an advanced level. Add these designs to your stash and create incredible embroidery!
View all free designs >
Sewing, Quilting and Embroidery Machines
Interested in learning how to sew, quilt or embroider? Take a look at the innovative Brother machines available for purchase at Echidna Sewing. Wherever possible we will beat any deal and you will always receive ongoing service and support!
Find out more >
Learn to Sew or Embroider with Echidna Sewing
Come along to our fun-filled classes to learn more about sewing, embroidery and crafting. Classes cater for all skill levels, whether you're just starting out or already have advanced knowledge.
Find out more >
Echidna project material/ fabric requirements are an indication only and can seem to be generous. This has been intentional. Should you make a cutting or embroidery mistake you will have sufficient fabric to rectify your error.


