All Projects
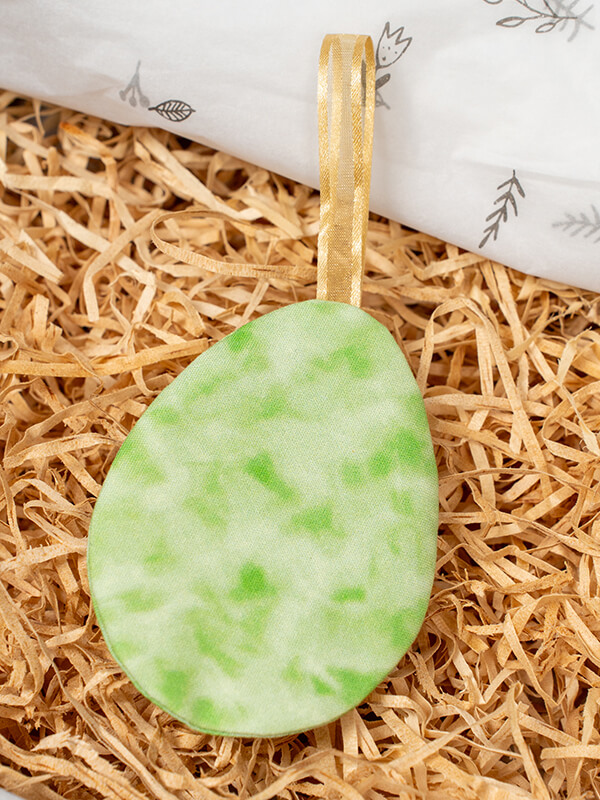


In-The-Hoop Easter Egg Pocket
Author: Nicole H Date Posted:27 February 2025
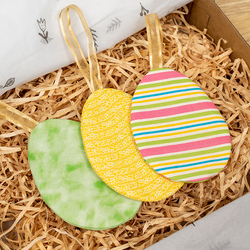
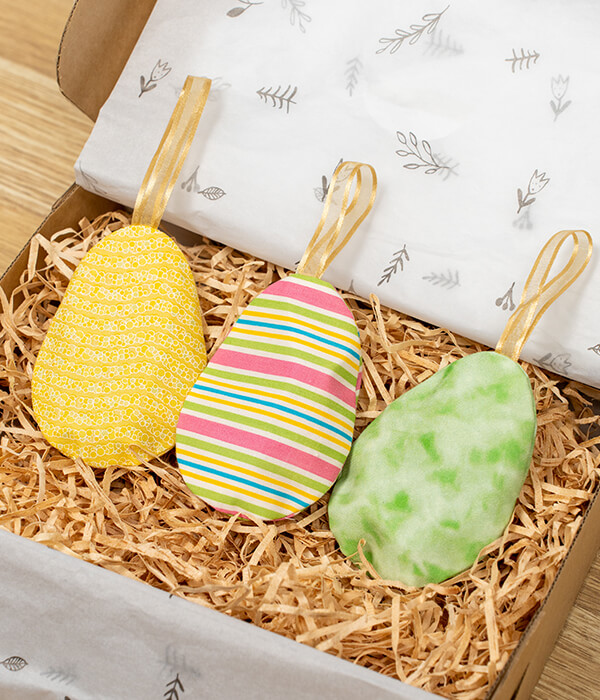
If you're looking for a unique way to hide your Easter eggs this year, have a go at making our in-the-hoop embroidery Easter egg pocket. With just a 100mm x 100mm (4"x4") hoop and an embroidery machine, you can easily create a cute and colourful egg pocket that can hold mini Easter eggs.
Hang them in your garden or hide them around the house, and watch as your kids, friends, and family delight in discovering these little treasures.
This is the perfect project if you are just starting out and want to give in-the-hoop embroidery a try. We have included free files so you can complete this project. Download here →
What you'll need:
- Embroidery machine with 100mm x 100mm (4" x 4") frame/hoop
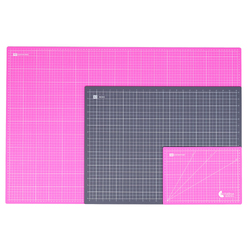
- Cutting mat
- Rotary cutter
- Patchwork ruler
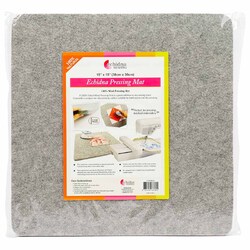
- Wool pressing mat
- Mini iron
- Spray starch
- Softaway Tearaway Stabilizer
- Pre-wound bobbins
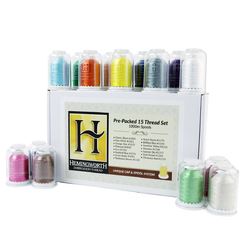
- Embroidery thread
- Kimberbell paper tape
- Applique scissors
- Purple Thang Sewing Aid
- Flat ribbon scrap - minimum 3mm wide x 3”
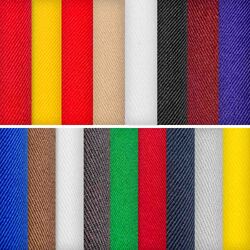
- Fabric 13cm x 40cm (5” x 12”) per egg
- Embroidery design (Formats Include: DST, EMD, EXP, HUS, JEF, PES, VIP, VP3, and XXX) Download here →
Shop Online:


Cutting Requirements:
From your 13cm x 40cm (5” x 12”) piece of fabric, cut the following:
- Egg front: Cut one 12.75cm x 12.75cm (5” x 5”)
- Egg back top: Cut one 8cm x 12.75cm (3" x 5”)
- Egg back bottom: Cut one 10cm x 12.75cm (4" x 5”)
Note: This will be enough to make one egg.
Design Colour Sequence:
- Placement stitch
- Tack down stitch
- Ribbon placement stitch
- Backing tack down stitch
Step Overview
The steps below are just an overview of the project instructions and must be used in conjunction with the tutorial video. Print these steps out to have beside you when watching the video as a reminder.
- Download the embroidery design and save the correct format for your machine onto a USB.
- Using your rotary cutter, quilting ruler, and cutting mat, measure and cut your fabric as outlined in the cutting requirements.
- Spritz your fabric with some spray starch, place it on your wool pressing mat, and press your fabric to remove any wrinkles.
- Fold ½” of the longest side of both egg back top and egg back bottom fabric and press with an iron.
- Hoop a single layer of Softaway Tearaway Stabilizer in your 100mm x 100mm (4" x 4") hoop.
- Load the design into your embroidery machine.
- Stitch out the placement stitch [COLOUR 1].
- Place egg front fabric, right side up over the top of the placement stitch ensuring all the stitching is covered. Tape in place if needed.
- Stitch tack down stitch [COLOUR 2] to hold egg front fabric in place.
- Stitch the ribbon Placement stitch [COLOUR 3].
- Tape the ribbon in the ribbon placement box at the top of the egg, ensuring the fold of the ribbon is on the inside of the egg. The ribbons' raw edges will be on the outside of the egg shape Tip: Adjust your presser foot height if using a round/corded ribbon.
- With right sides together, place the
egg back top fabric on the top of the project. The fabric should cover approximately ⅓ of the egg. - With right sides together, place the egg back bottom fabric on top of the project covering the remaining egg shape. The folds for the top and bottom fabric should be overlapping ½". The entire embroidery design should be completely covered.
- Place tape on the entire exposed fold to prevent the machine foot from catching fabric. Tape corners if needed.
- Stitch the final colour [COLOUR 4].
- Remove the project from the hoop and remove any tape.
- Trim about a ¼” around from the stitching around the whole project to remove excess fabric using fabric scissors.
- Clip the curved edges, being careful not to cut the embroidery egg shape.
- Turn the project using the opening in the overlapping fabric backing.
- Remove the tape from the ribbon.
- Use a purple thang or similar object to push the seams so the egg shape becomes apparent.
- Press the project using an iron.
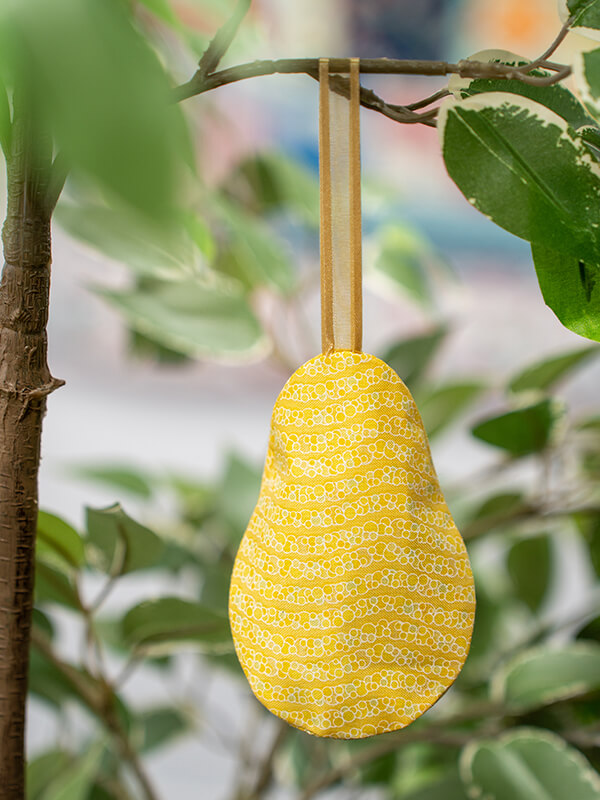
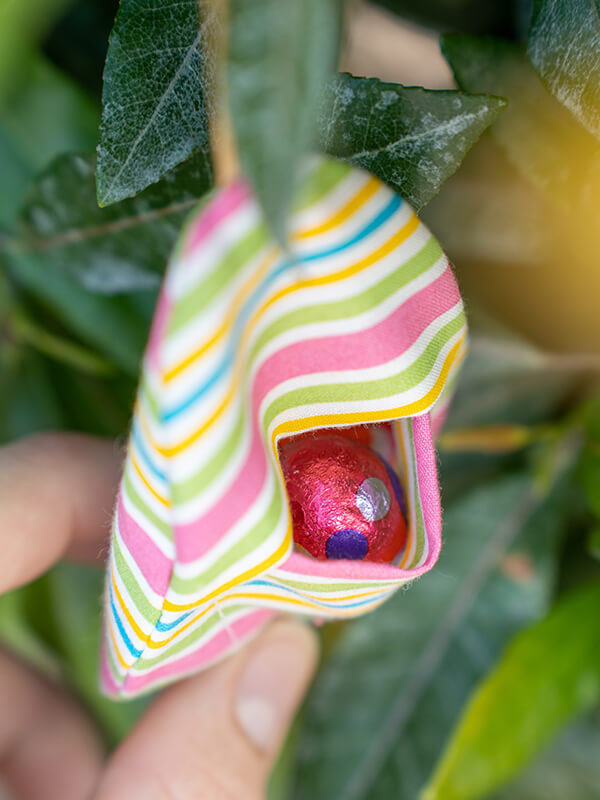
- Your Easter Egg is complete! Fill it with some eggs and find the perfect spot to hang it.
- All done!
Don’t forget to show us your finished projects on Instagram or Facebook #echidnasewing #madebyme
Free Embroidery Designs
We're excited to offer our free Echidna designs available for download. These free designs are perfect for those at a beginner or an advanced level. Add these designs to your stash and create incredible embroidery!
View all free designs >
Sewing, Quilting and Embroidery Machines
Interested in learning how to sew, quilt or embroider? Take a look at the innovative Brother machines available for purchase at Echidna Sewing. Wherever possible we will beat any deal and you will always receive ongoing service and support!
Find out more >
Learn to Sew or Embroider with Echidna Sewing
Come along to our fun-filled classes to learn more about sewing, embroidery and crafting. Classes cater for all skill levels, whether you're just starting out or already have advanced knowledge.
Find out more >
Echidna project material/ fabric requirements are an indication only and can seem to be generous. This has been intentional. Should you make a cutting or embroidery mistake you will have sufficient fabric to rectify your error.

