All Projects


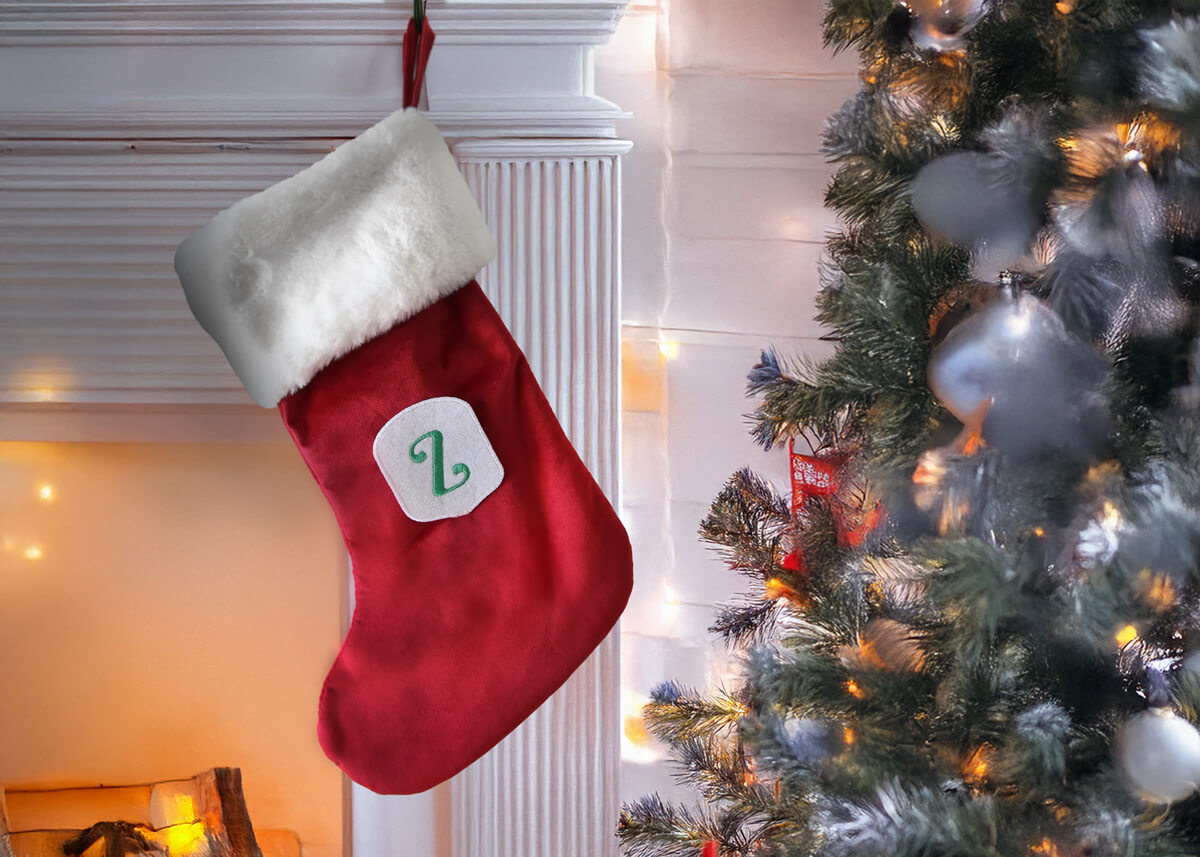
Christmas Stocking Badge
Give your store-bought Christmas stocking a personal twist by adding an embroidered badge featuring an initial! This quick and easy project is perfect for beginners and a great way to make each family member’s stocking unique. You’ll learn how to create a simple badge with a single embroidered letter that can be attached to any stocking — adding a festive, personal touch without needing to make the whole stocking from scratch.
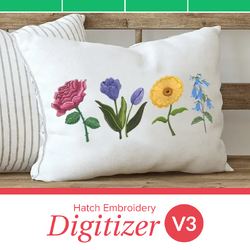
We've created this badge using Hatch Digitizer software but you can create this using any digitizing software or using premade badge border designs available here.
What you'll need:
- Embroidery machine with 100mm x 100mm hoop (4" x 4")
- Hatch Digitizer software
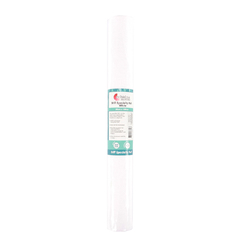
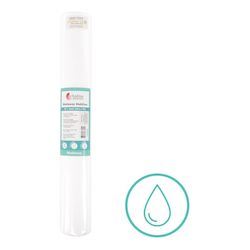
- Washaway Stabilizer
- Stiff Felt
- Paper Tape
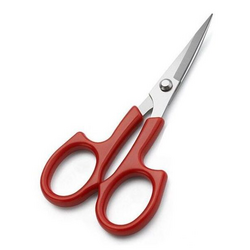
- Applique Scissors
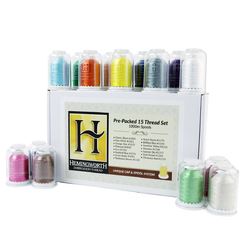
- Embroidery Thread
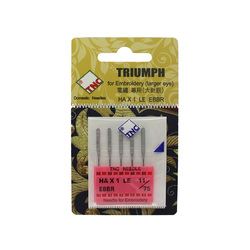
- Embroidery Needles
- Pre-wound Bobbins
- Bowl of Warm Water and/or Paint Brush
- Blank Christmas Stocking
- Hot Melt Film/Hand Needle and Thread or Hot Glue to attach badge to stocking
Shop Online

Step Overview
Creating badge in Hatch Digitizer
- Open Hatch and create a New document.
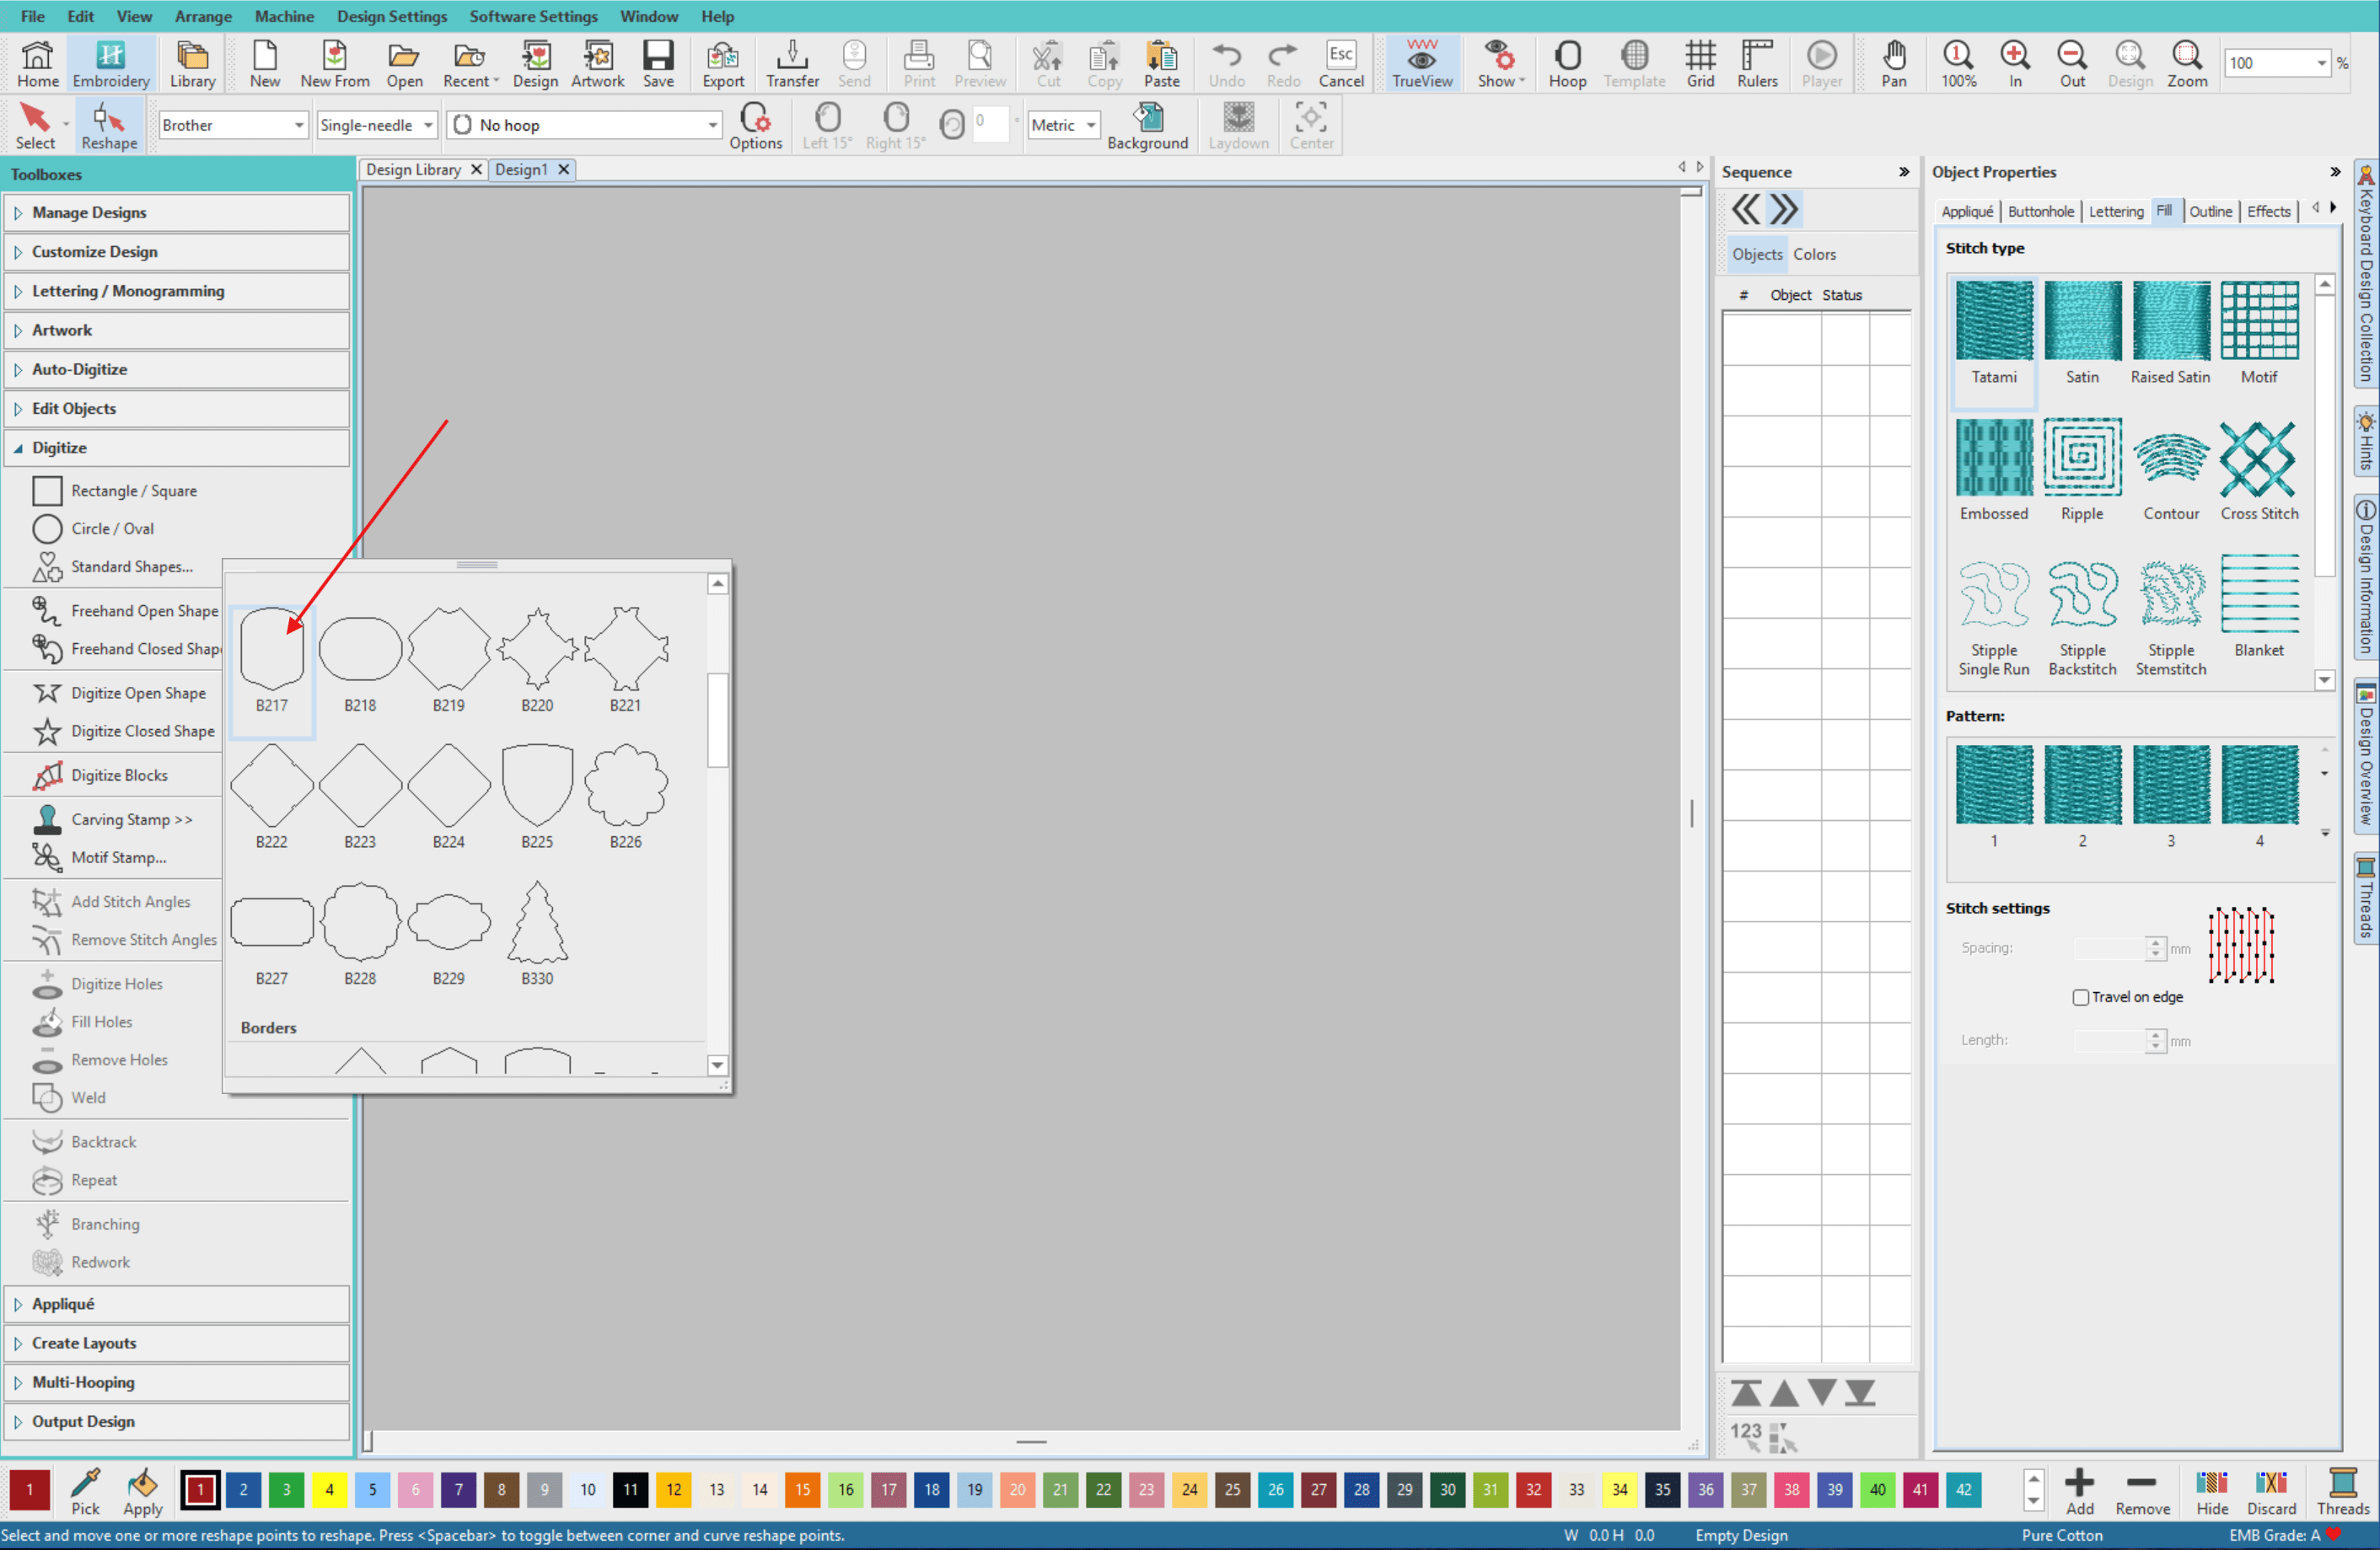
From the left menu select Digitize > Standard Shapes.
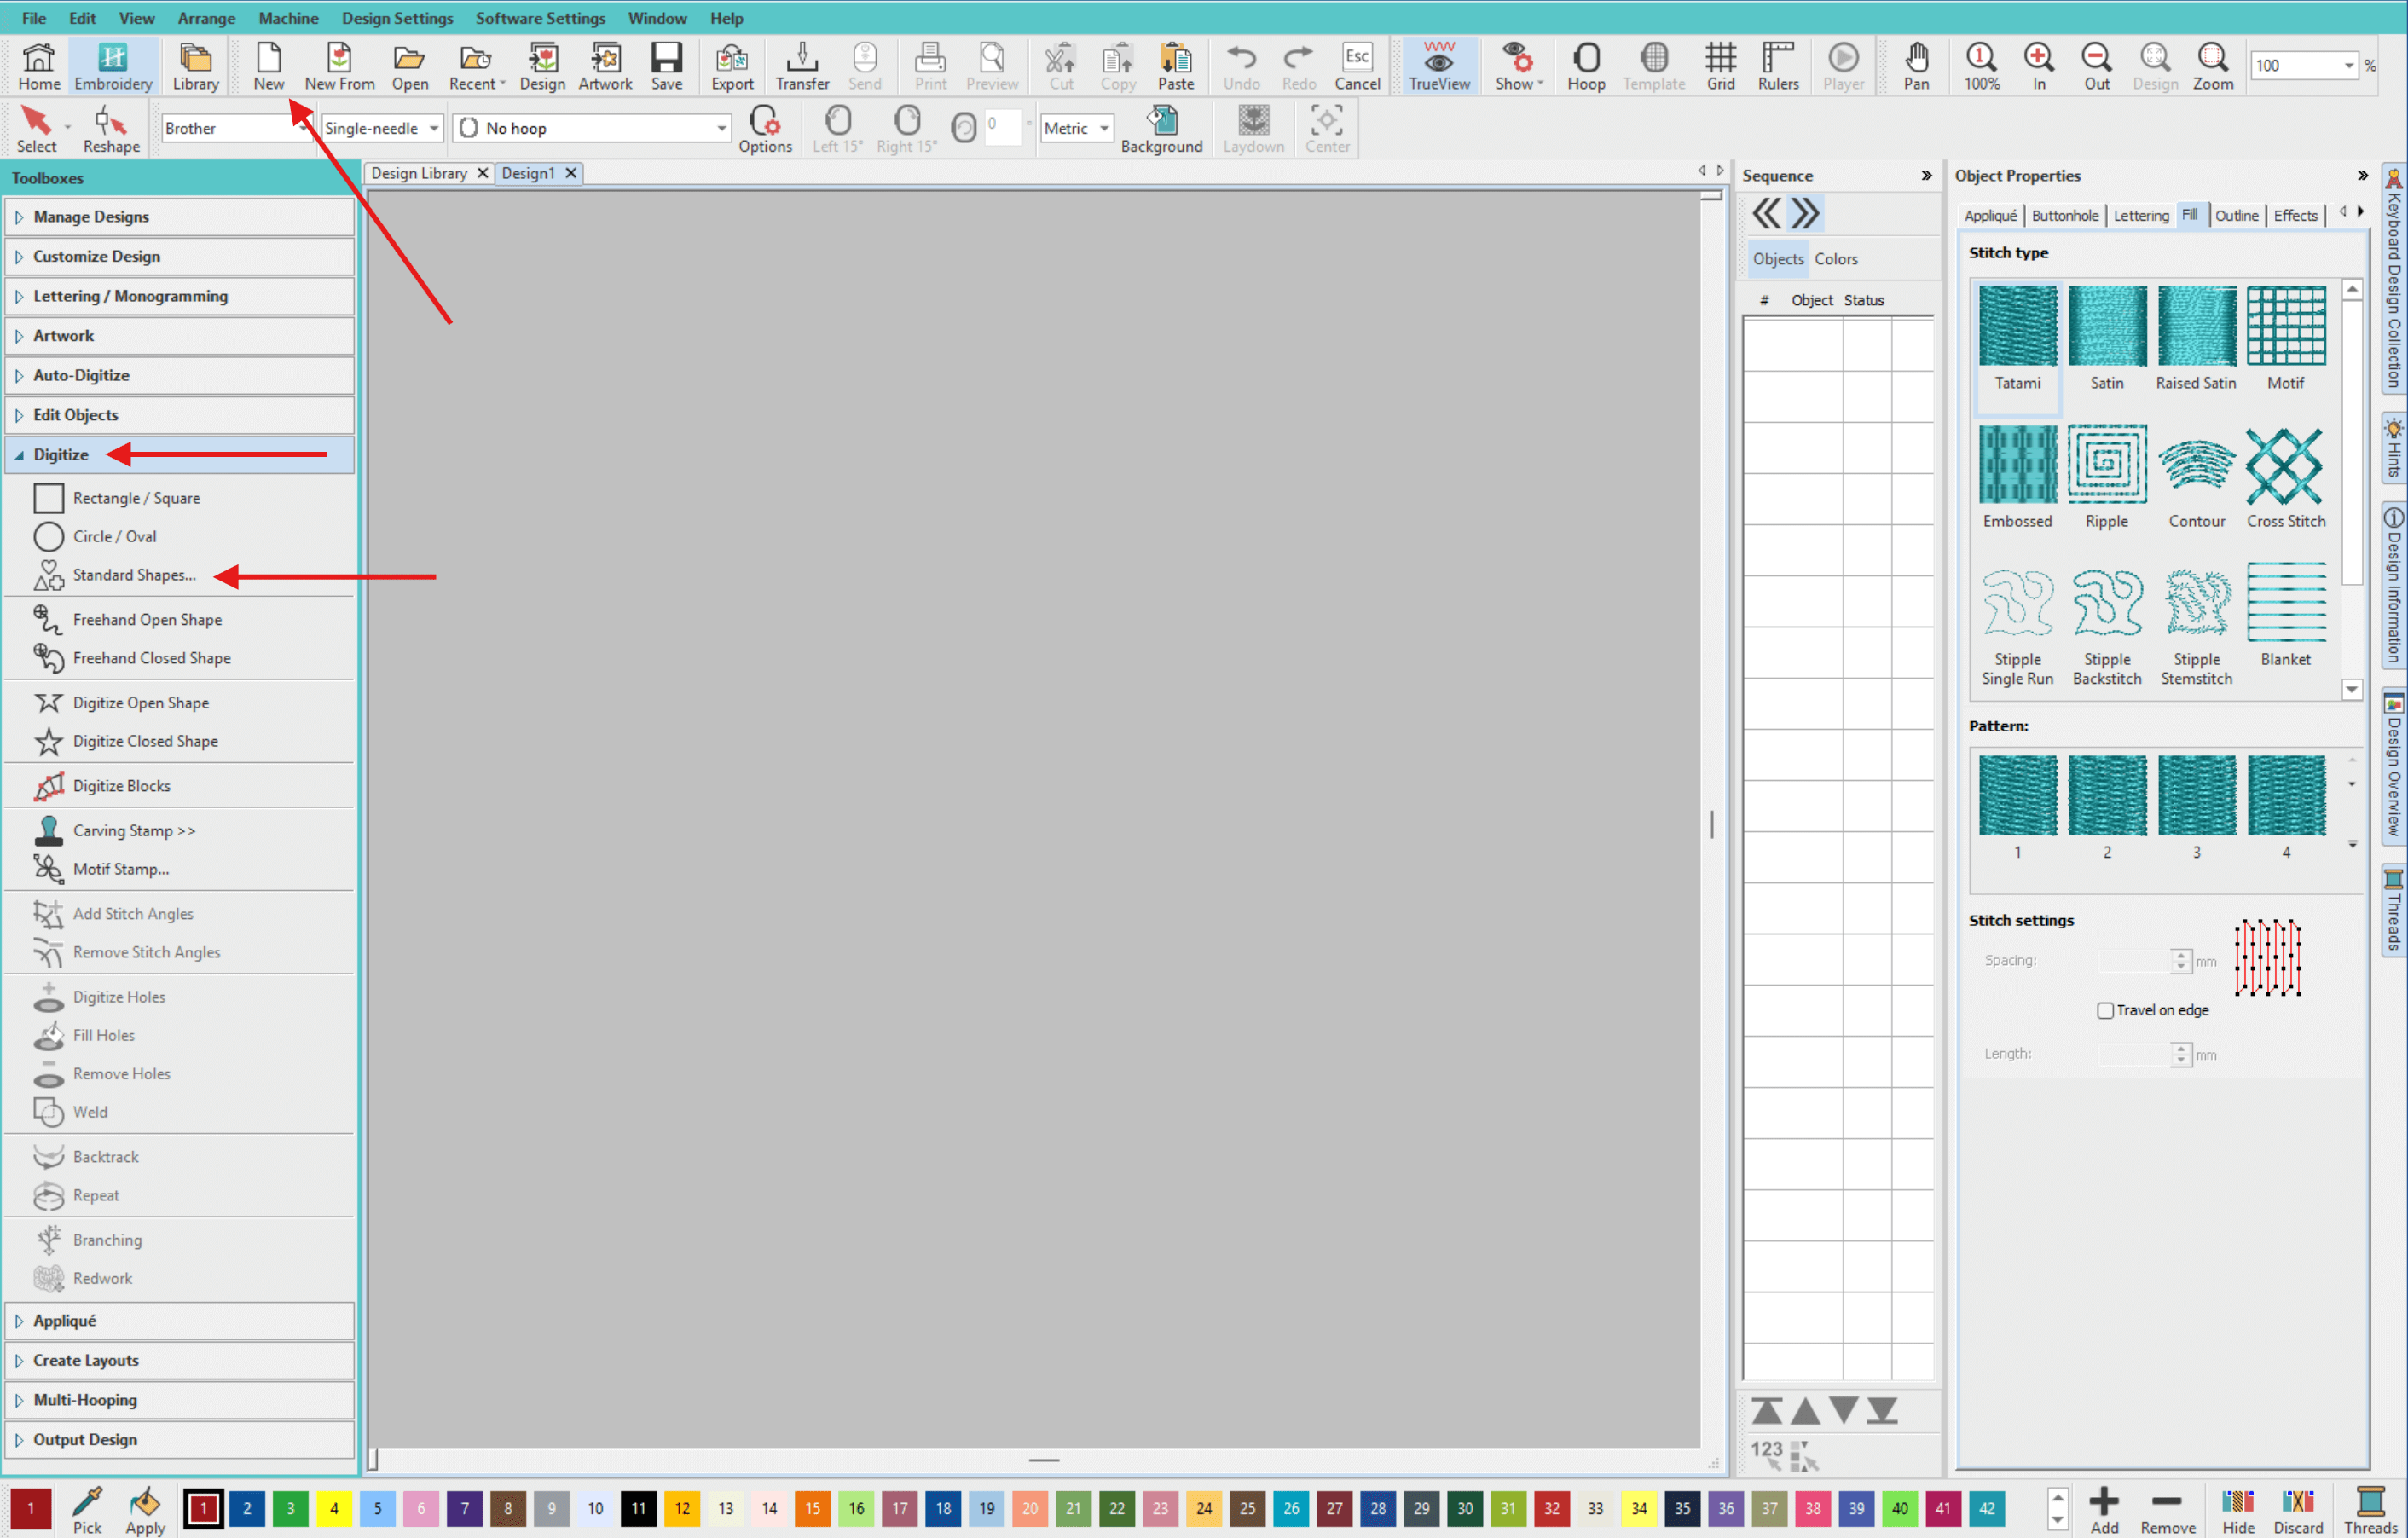
- Select shape B217.
- Draw shape in any height and width, we will adjust this next.
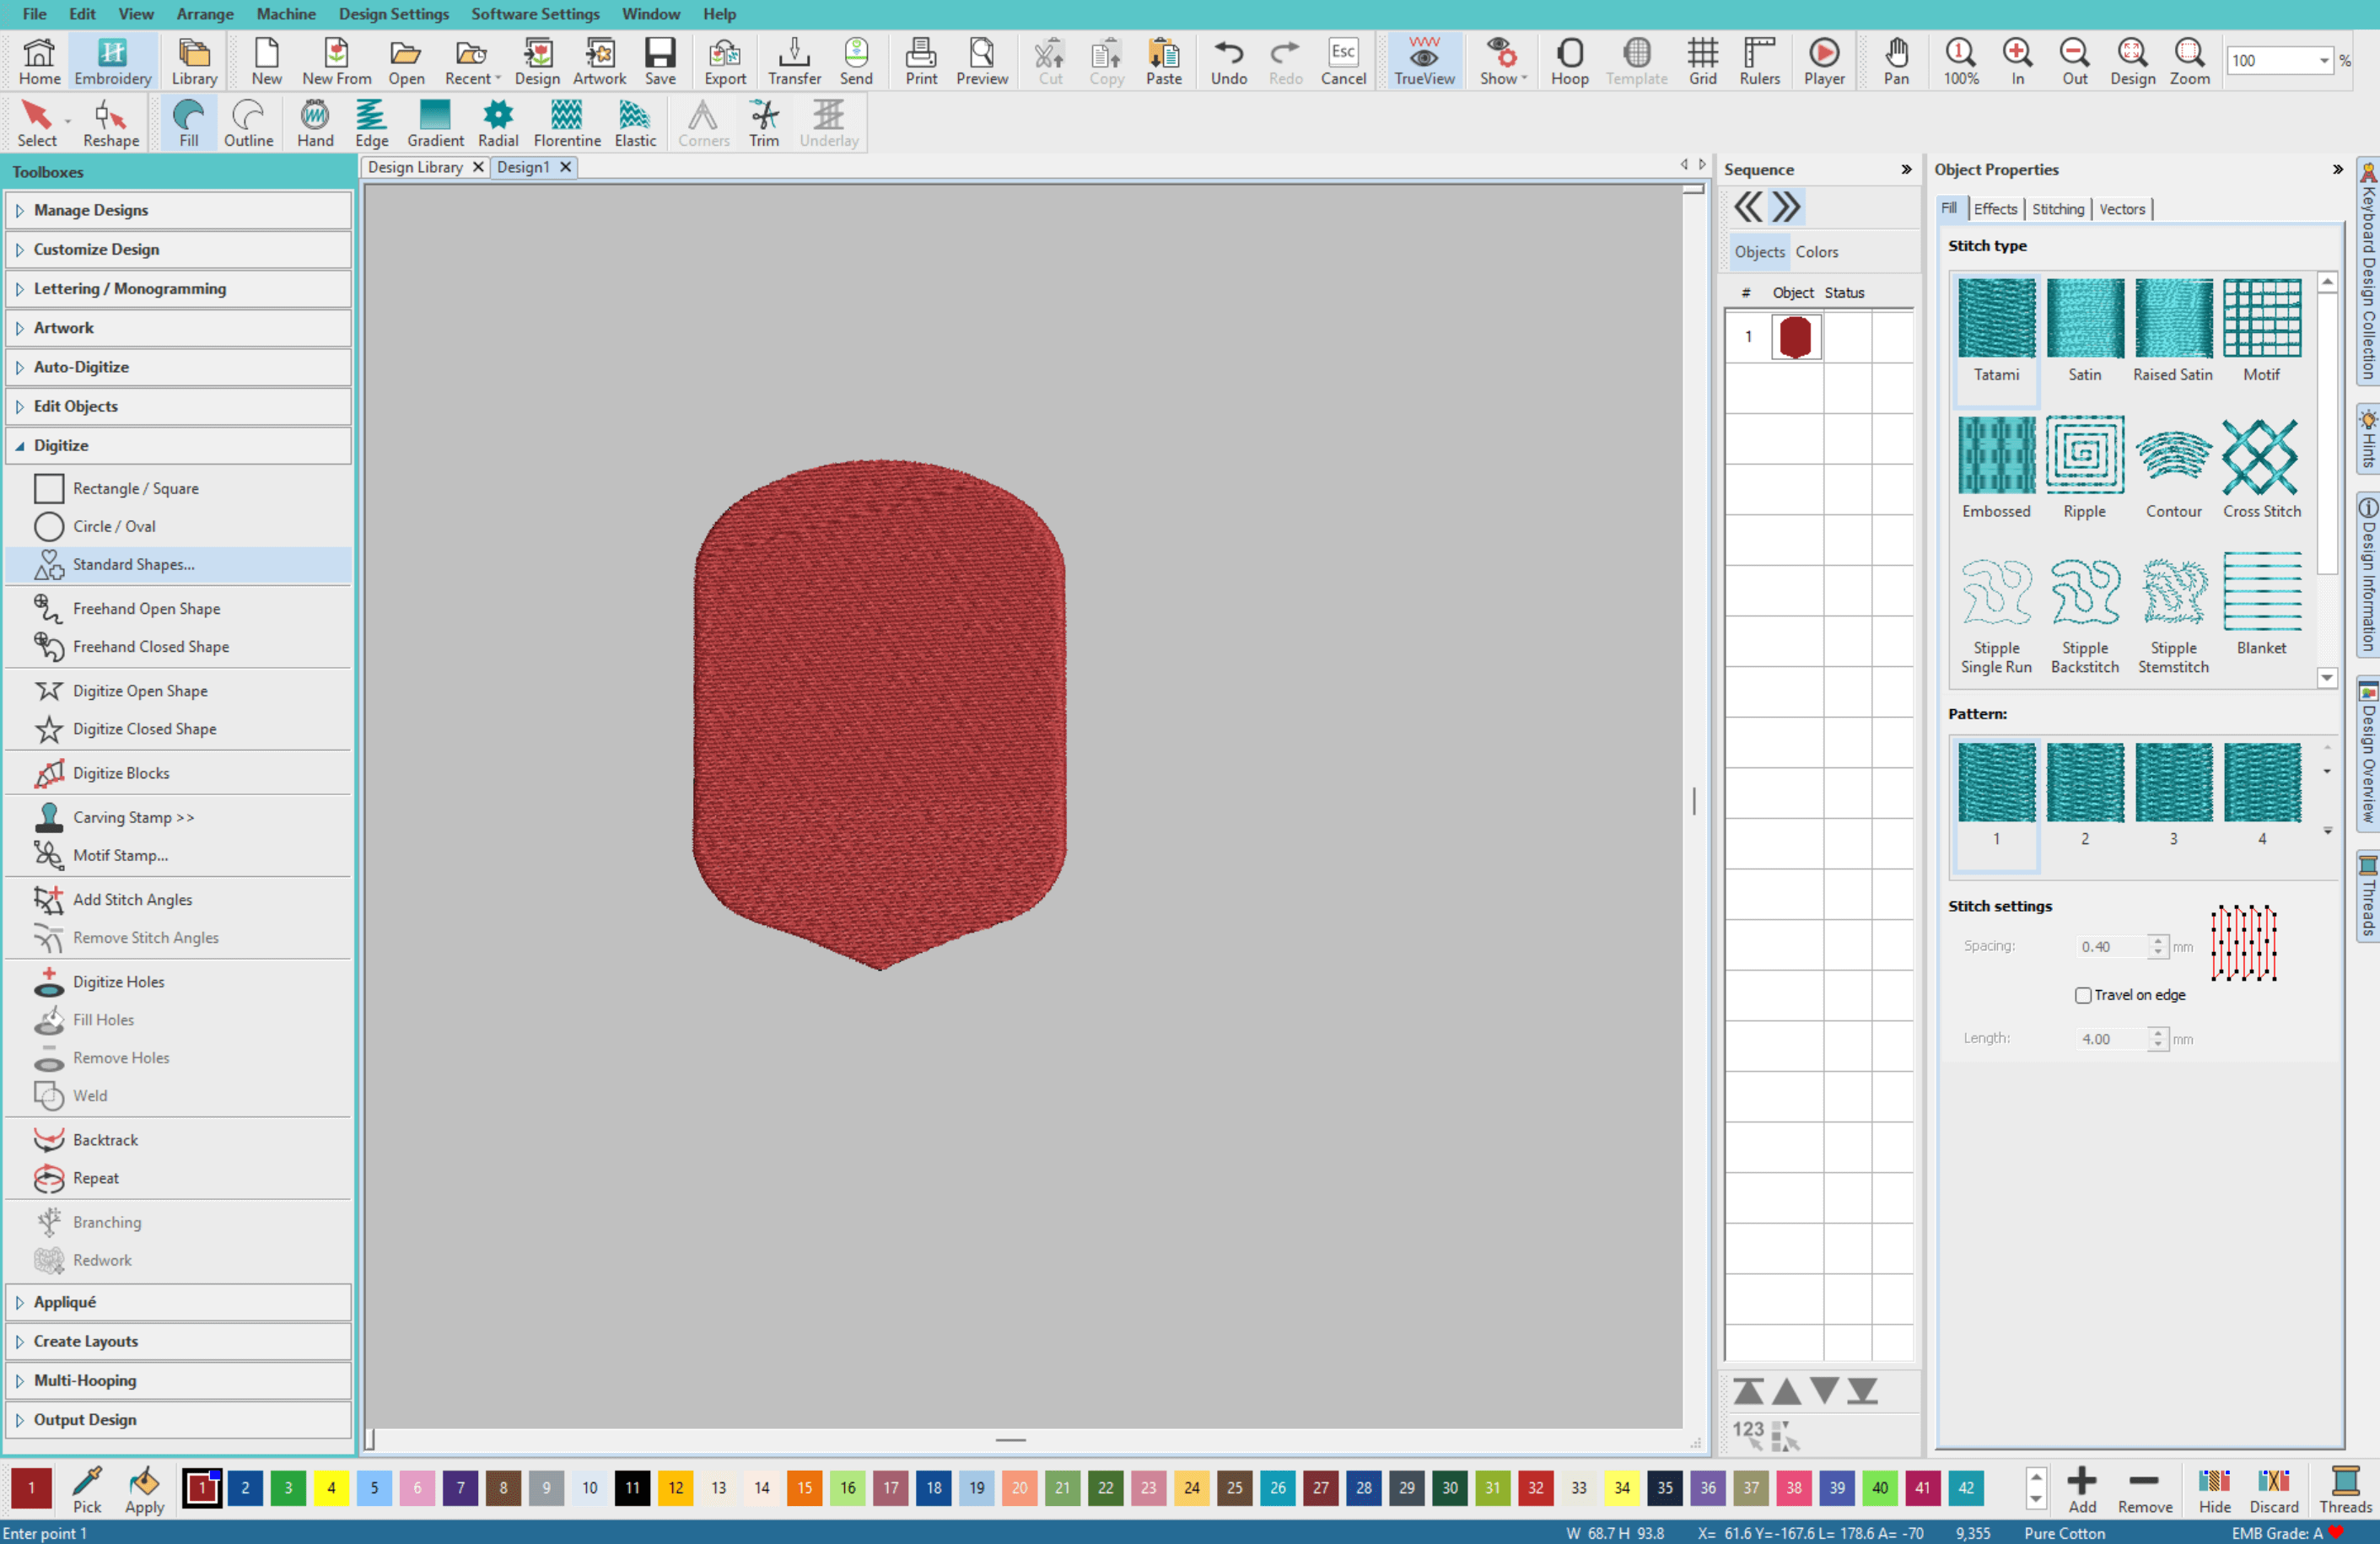
- Choose the Select tool (or Keyboard Shortcut: O) and select your shape.
Unlock the aspect ratio of the shape and adjust the height and width to be
Height: 70mm
Width: 82mm
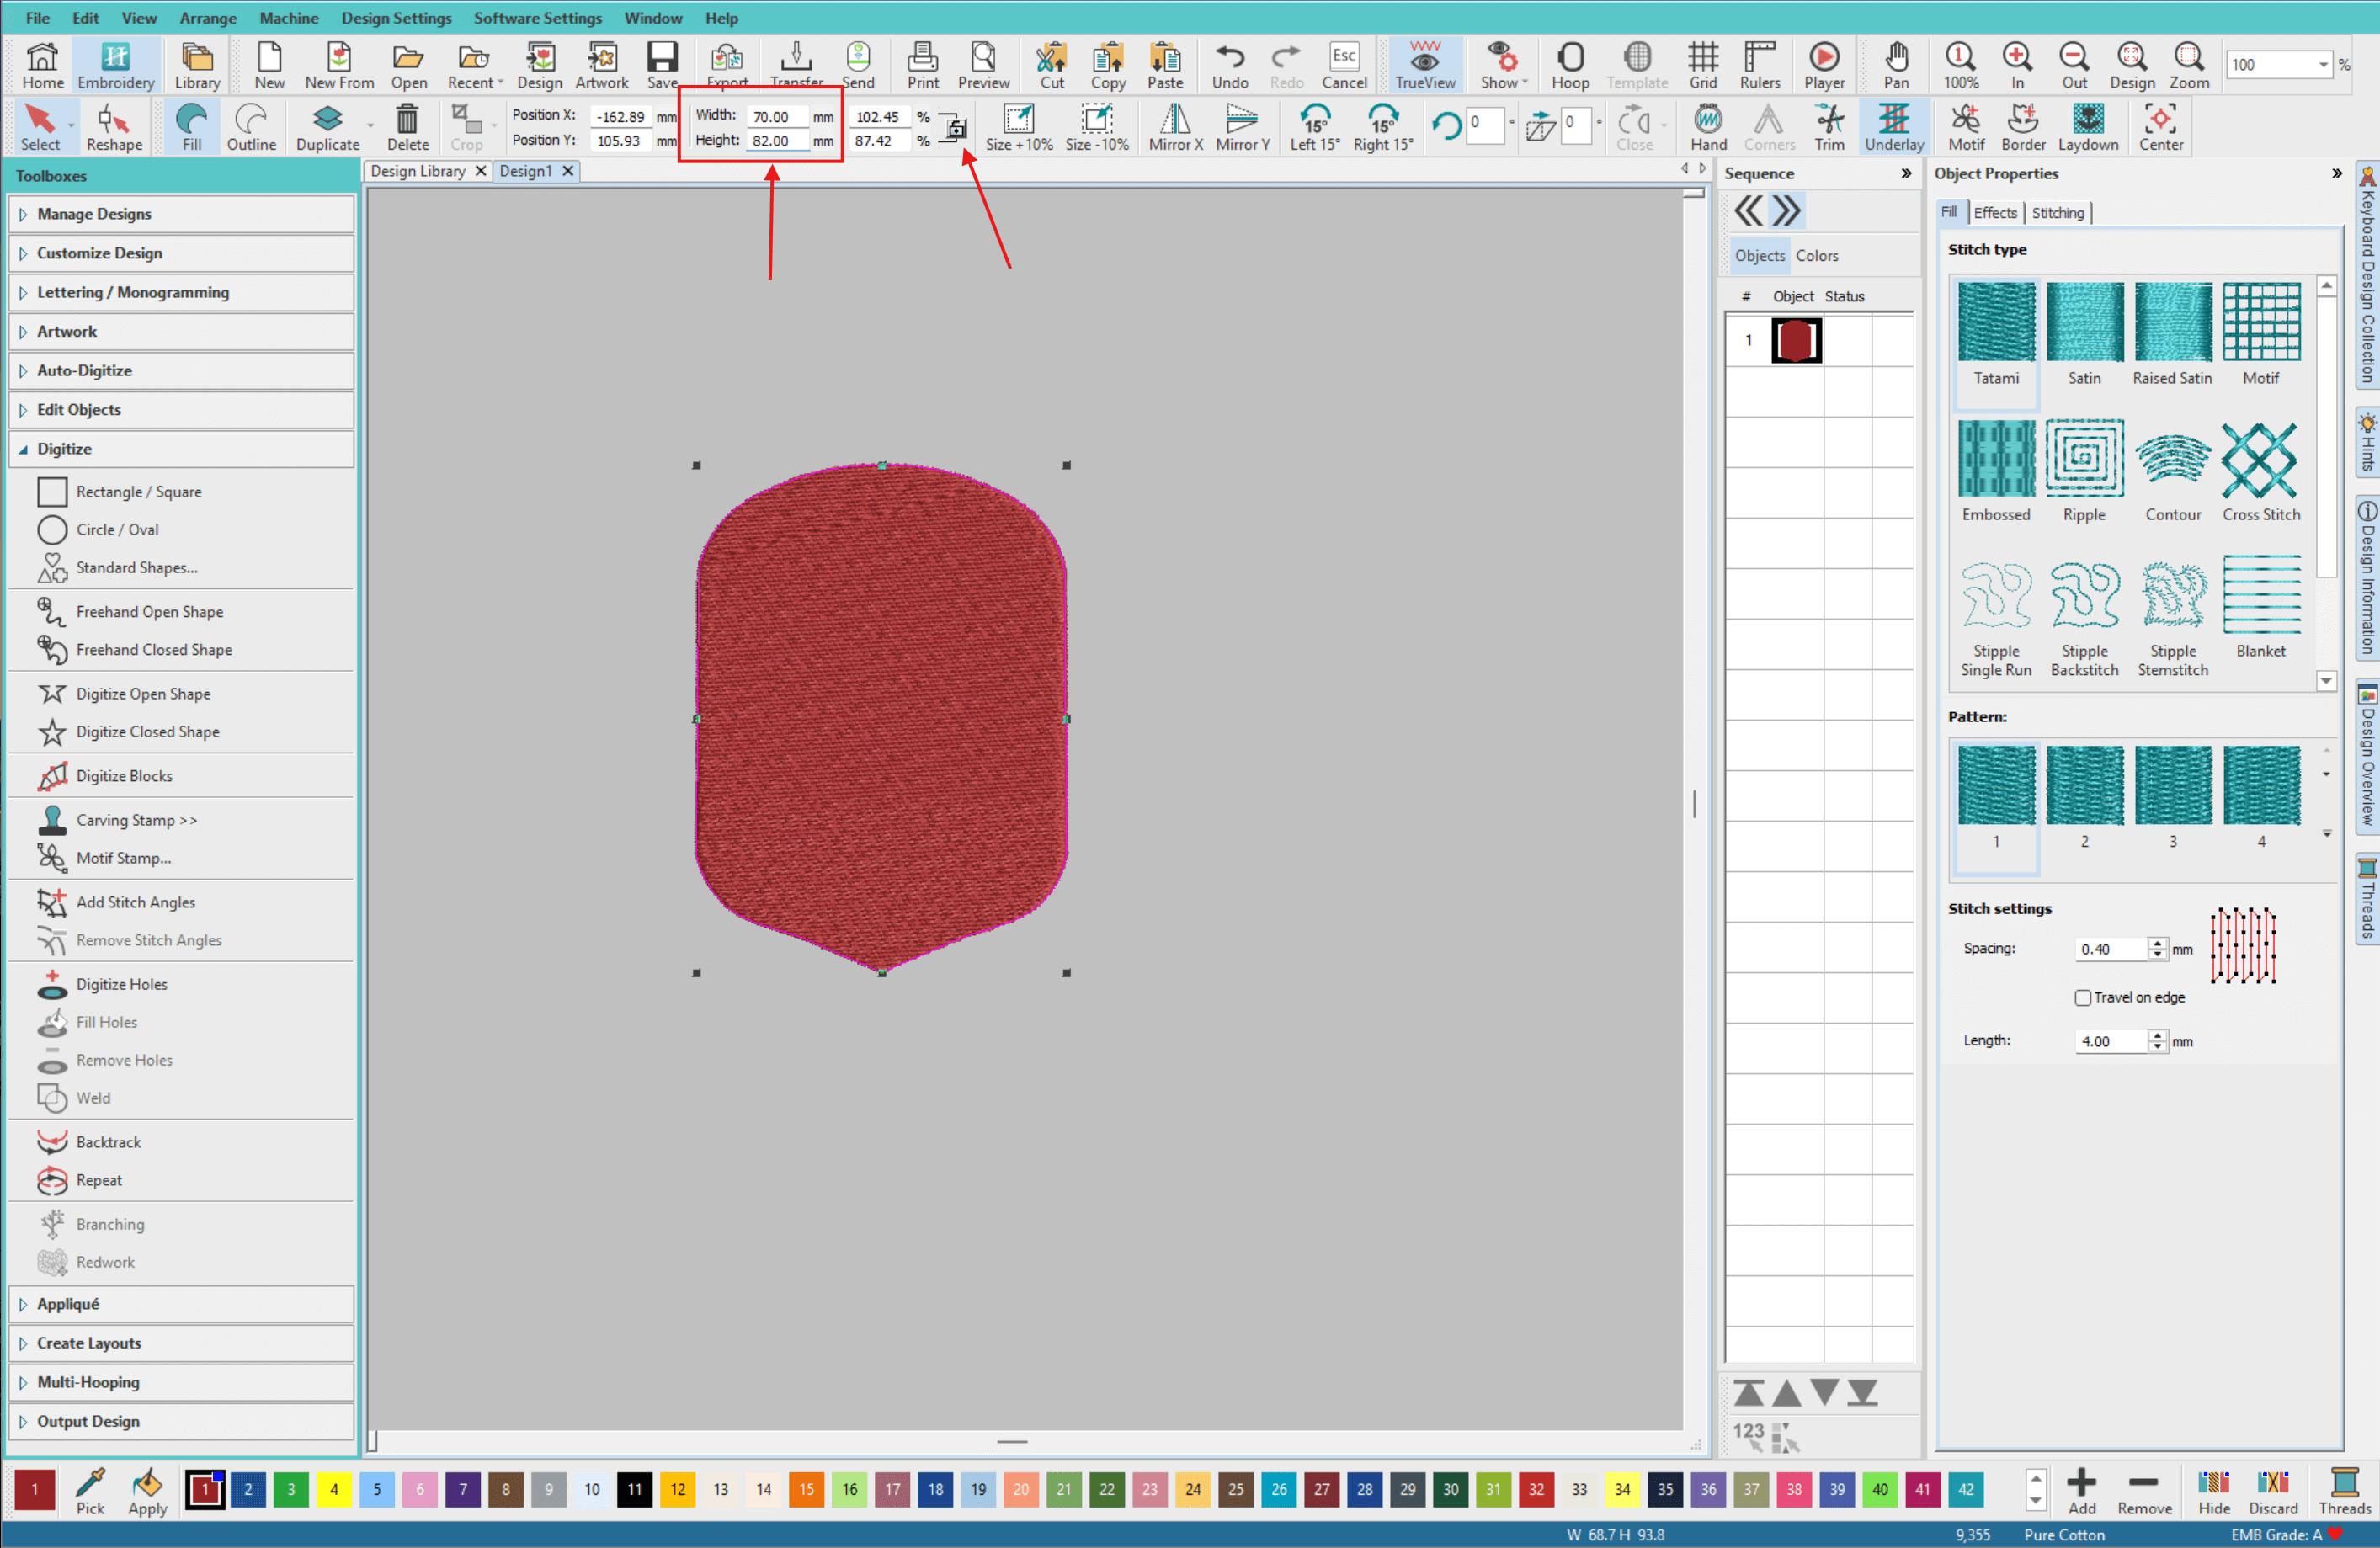
- Switch the shape to be an Outline rather than a Fill.
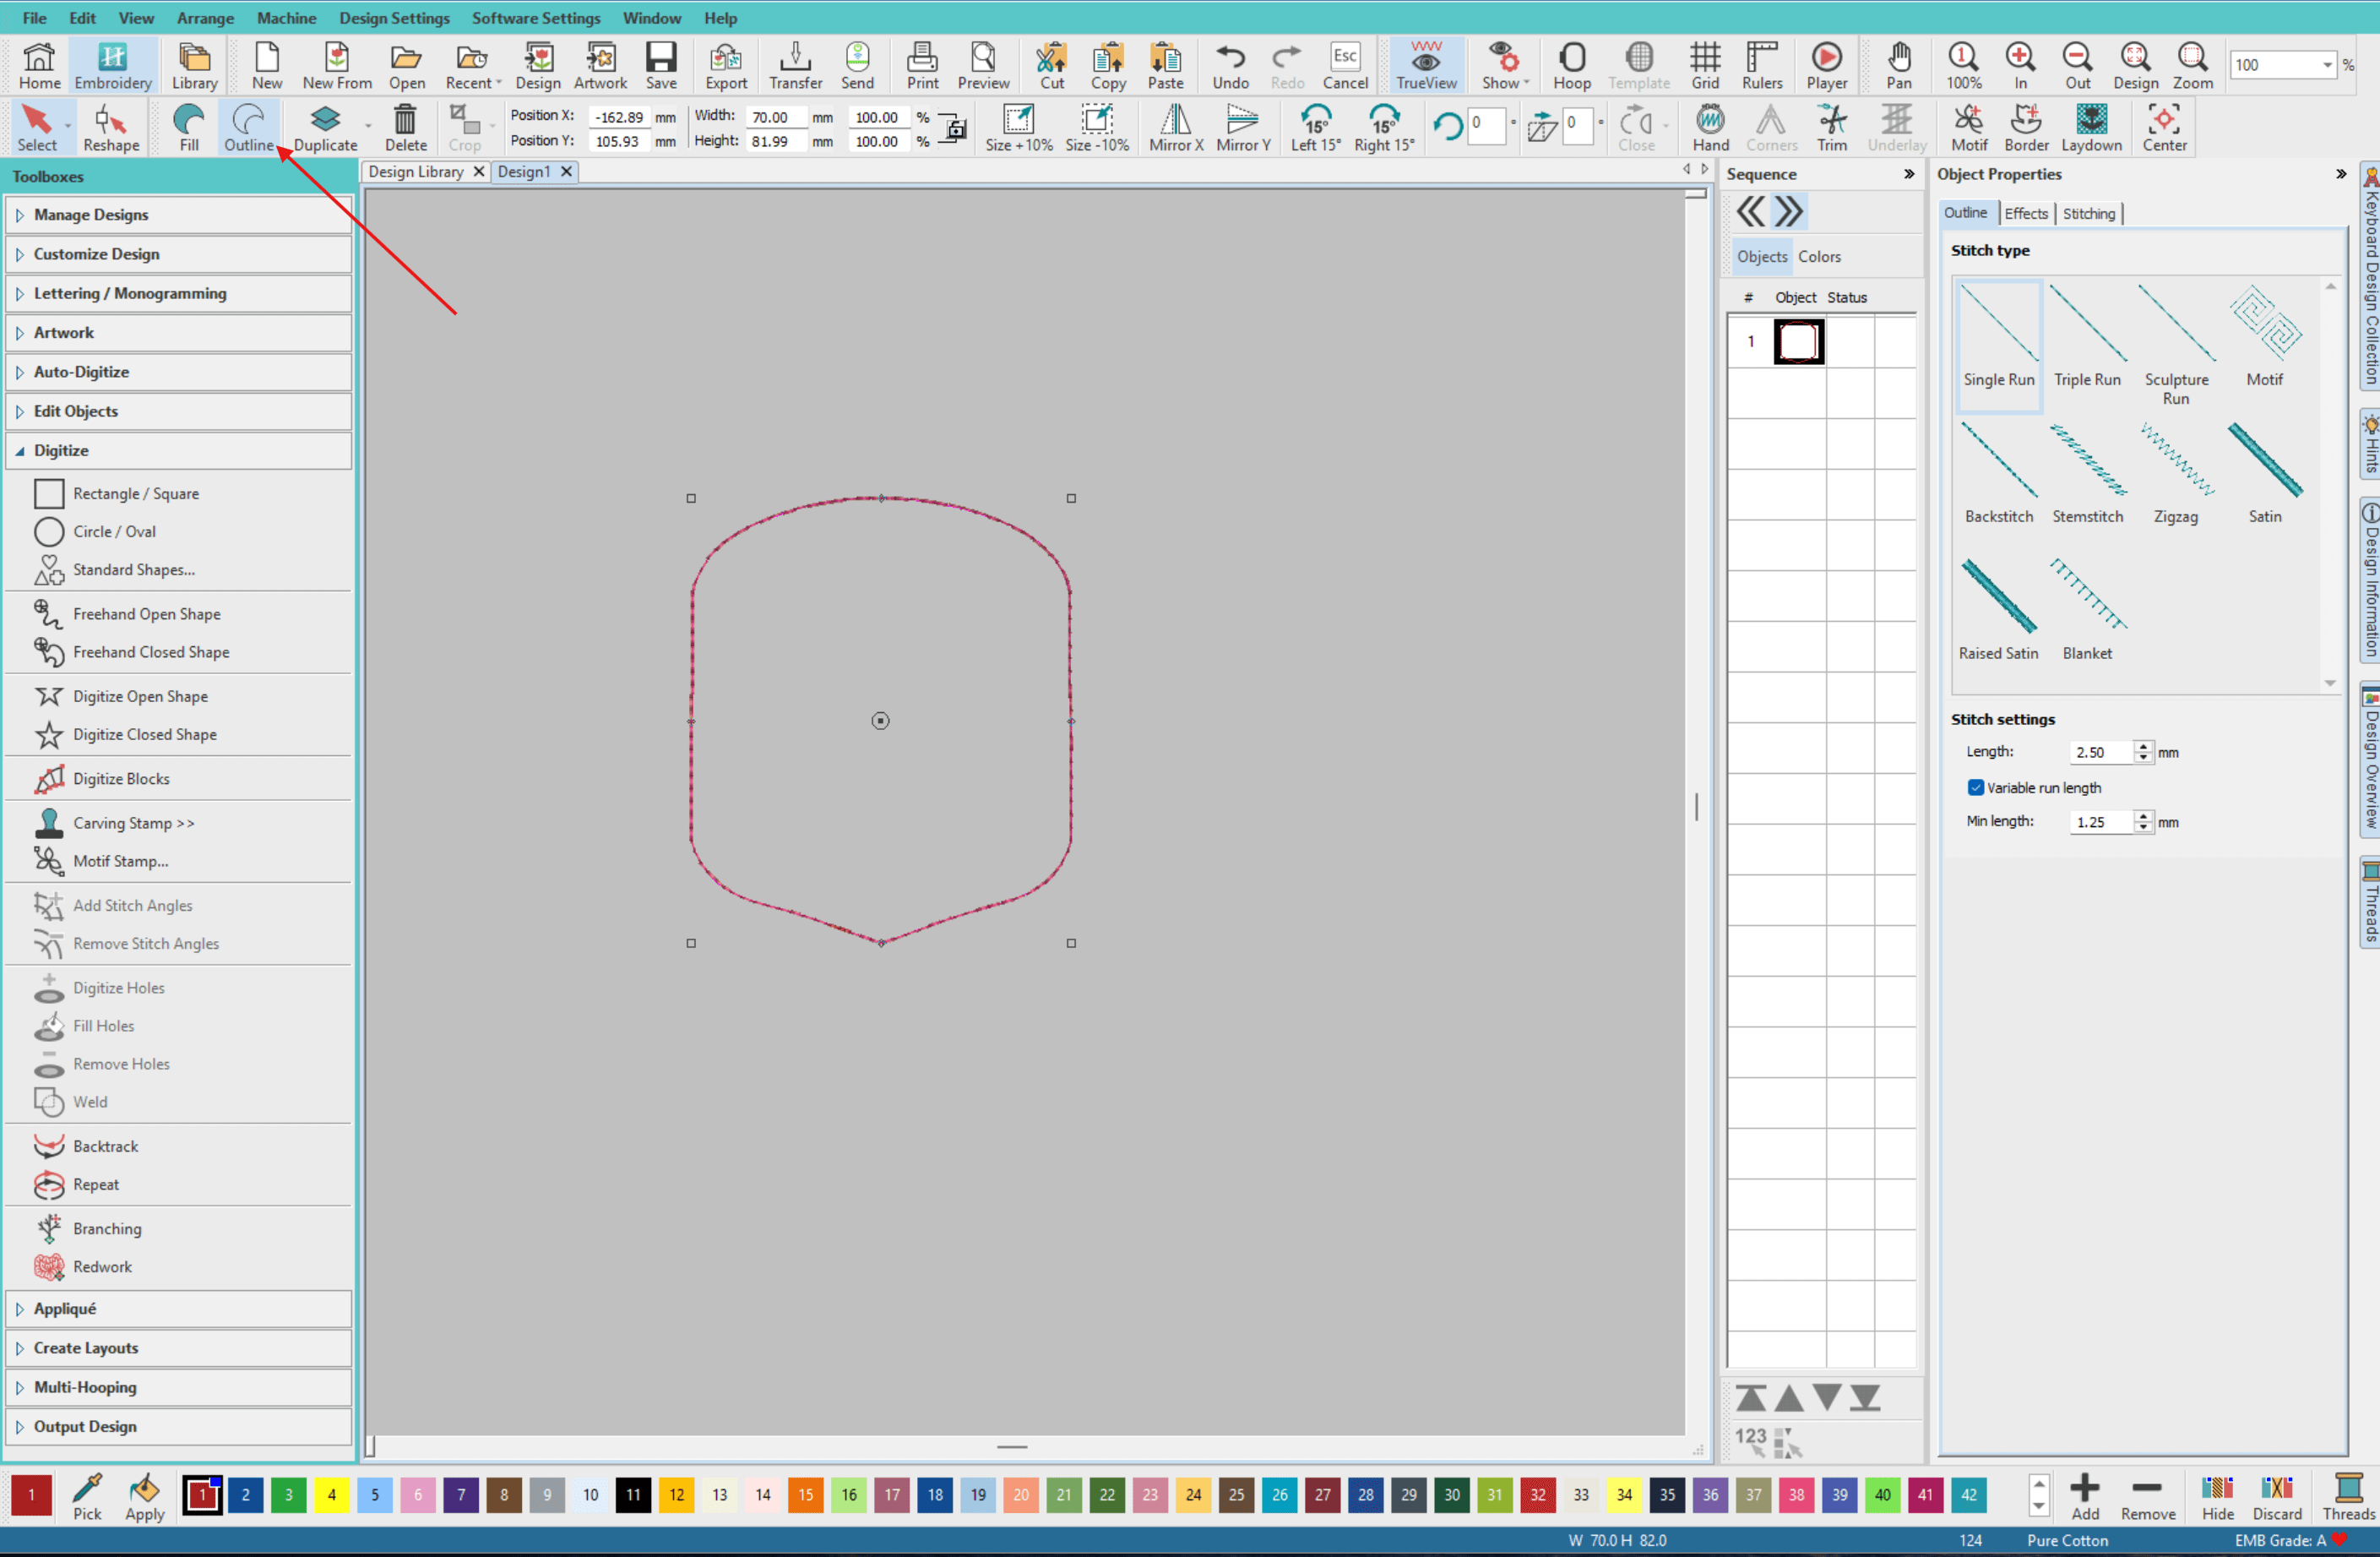
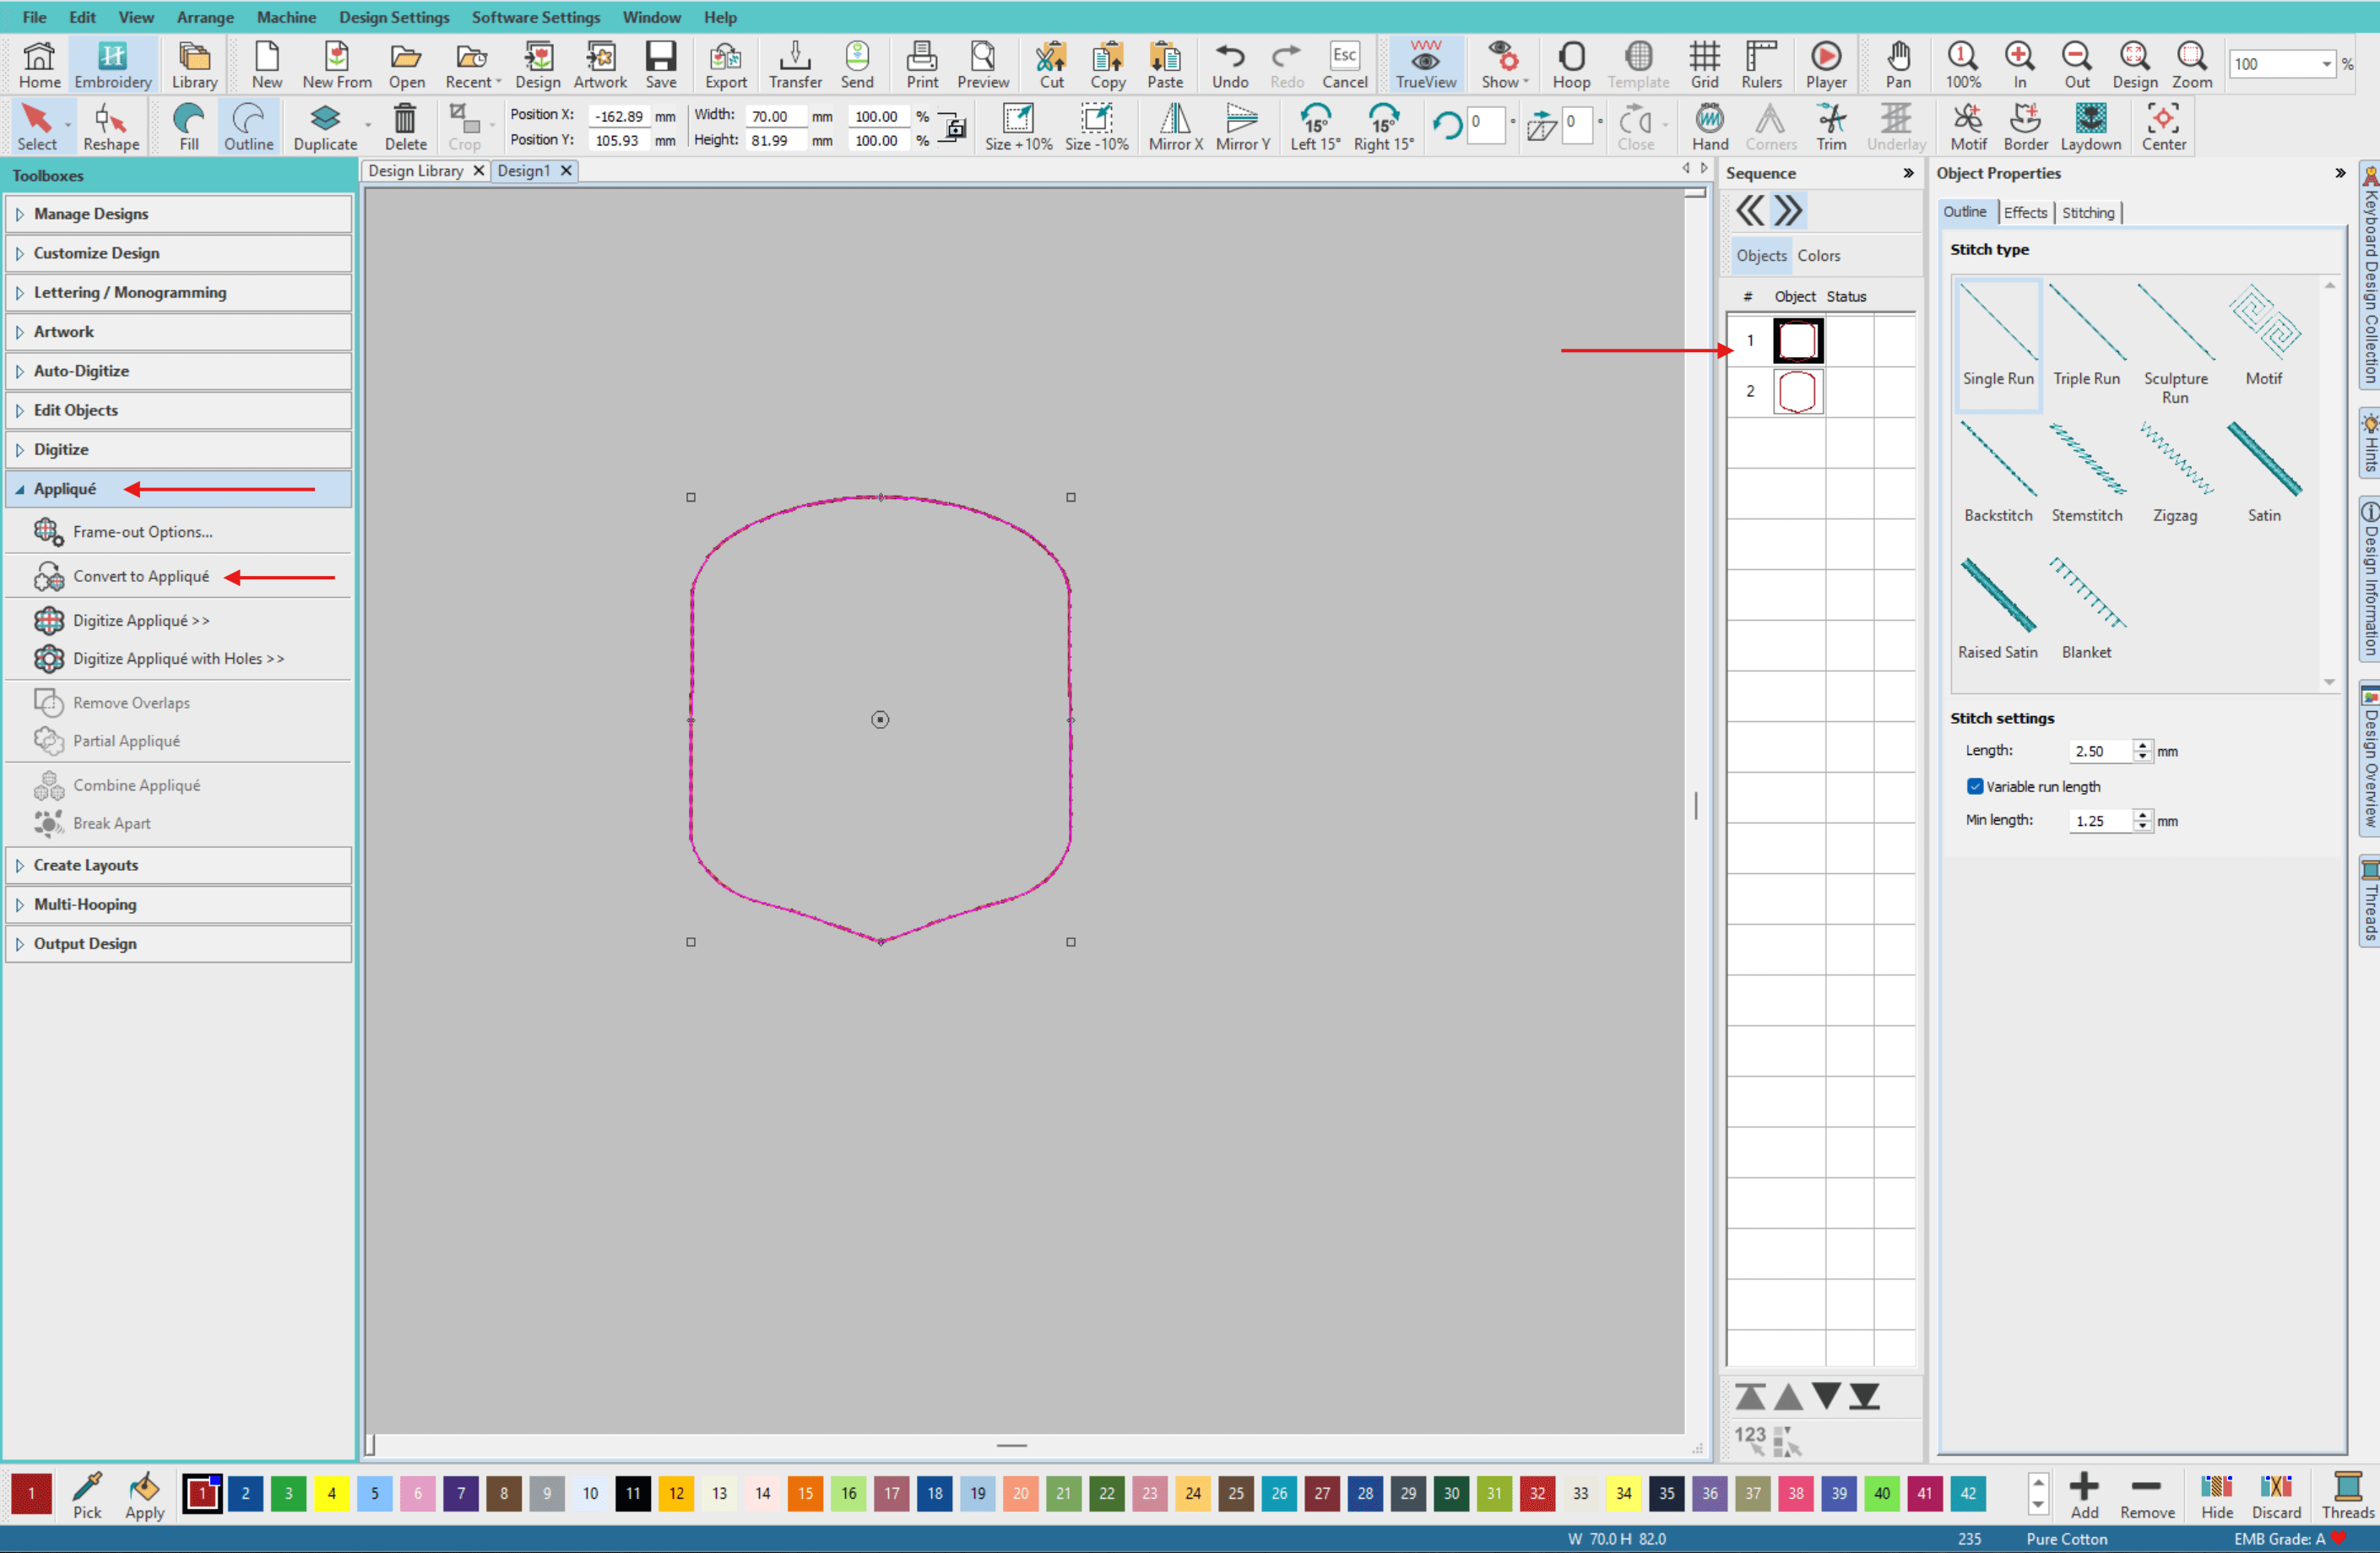
- Duplicate shape.

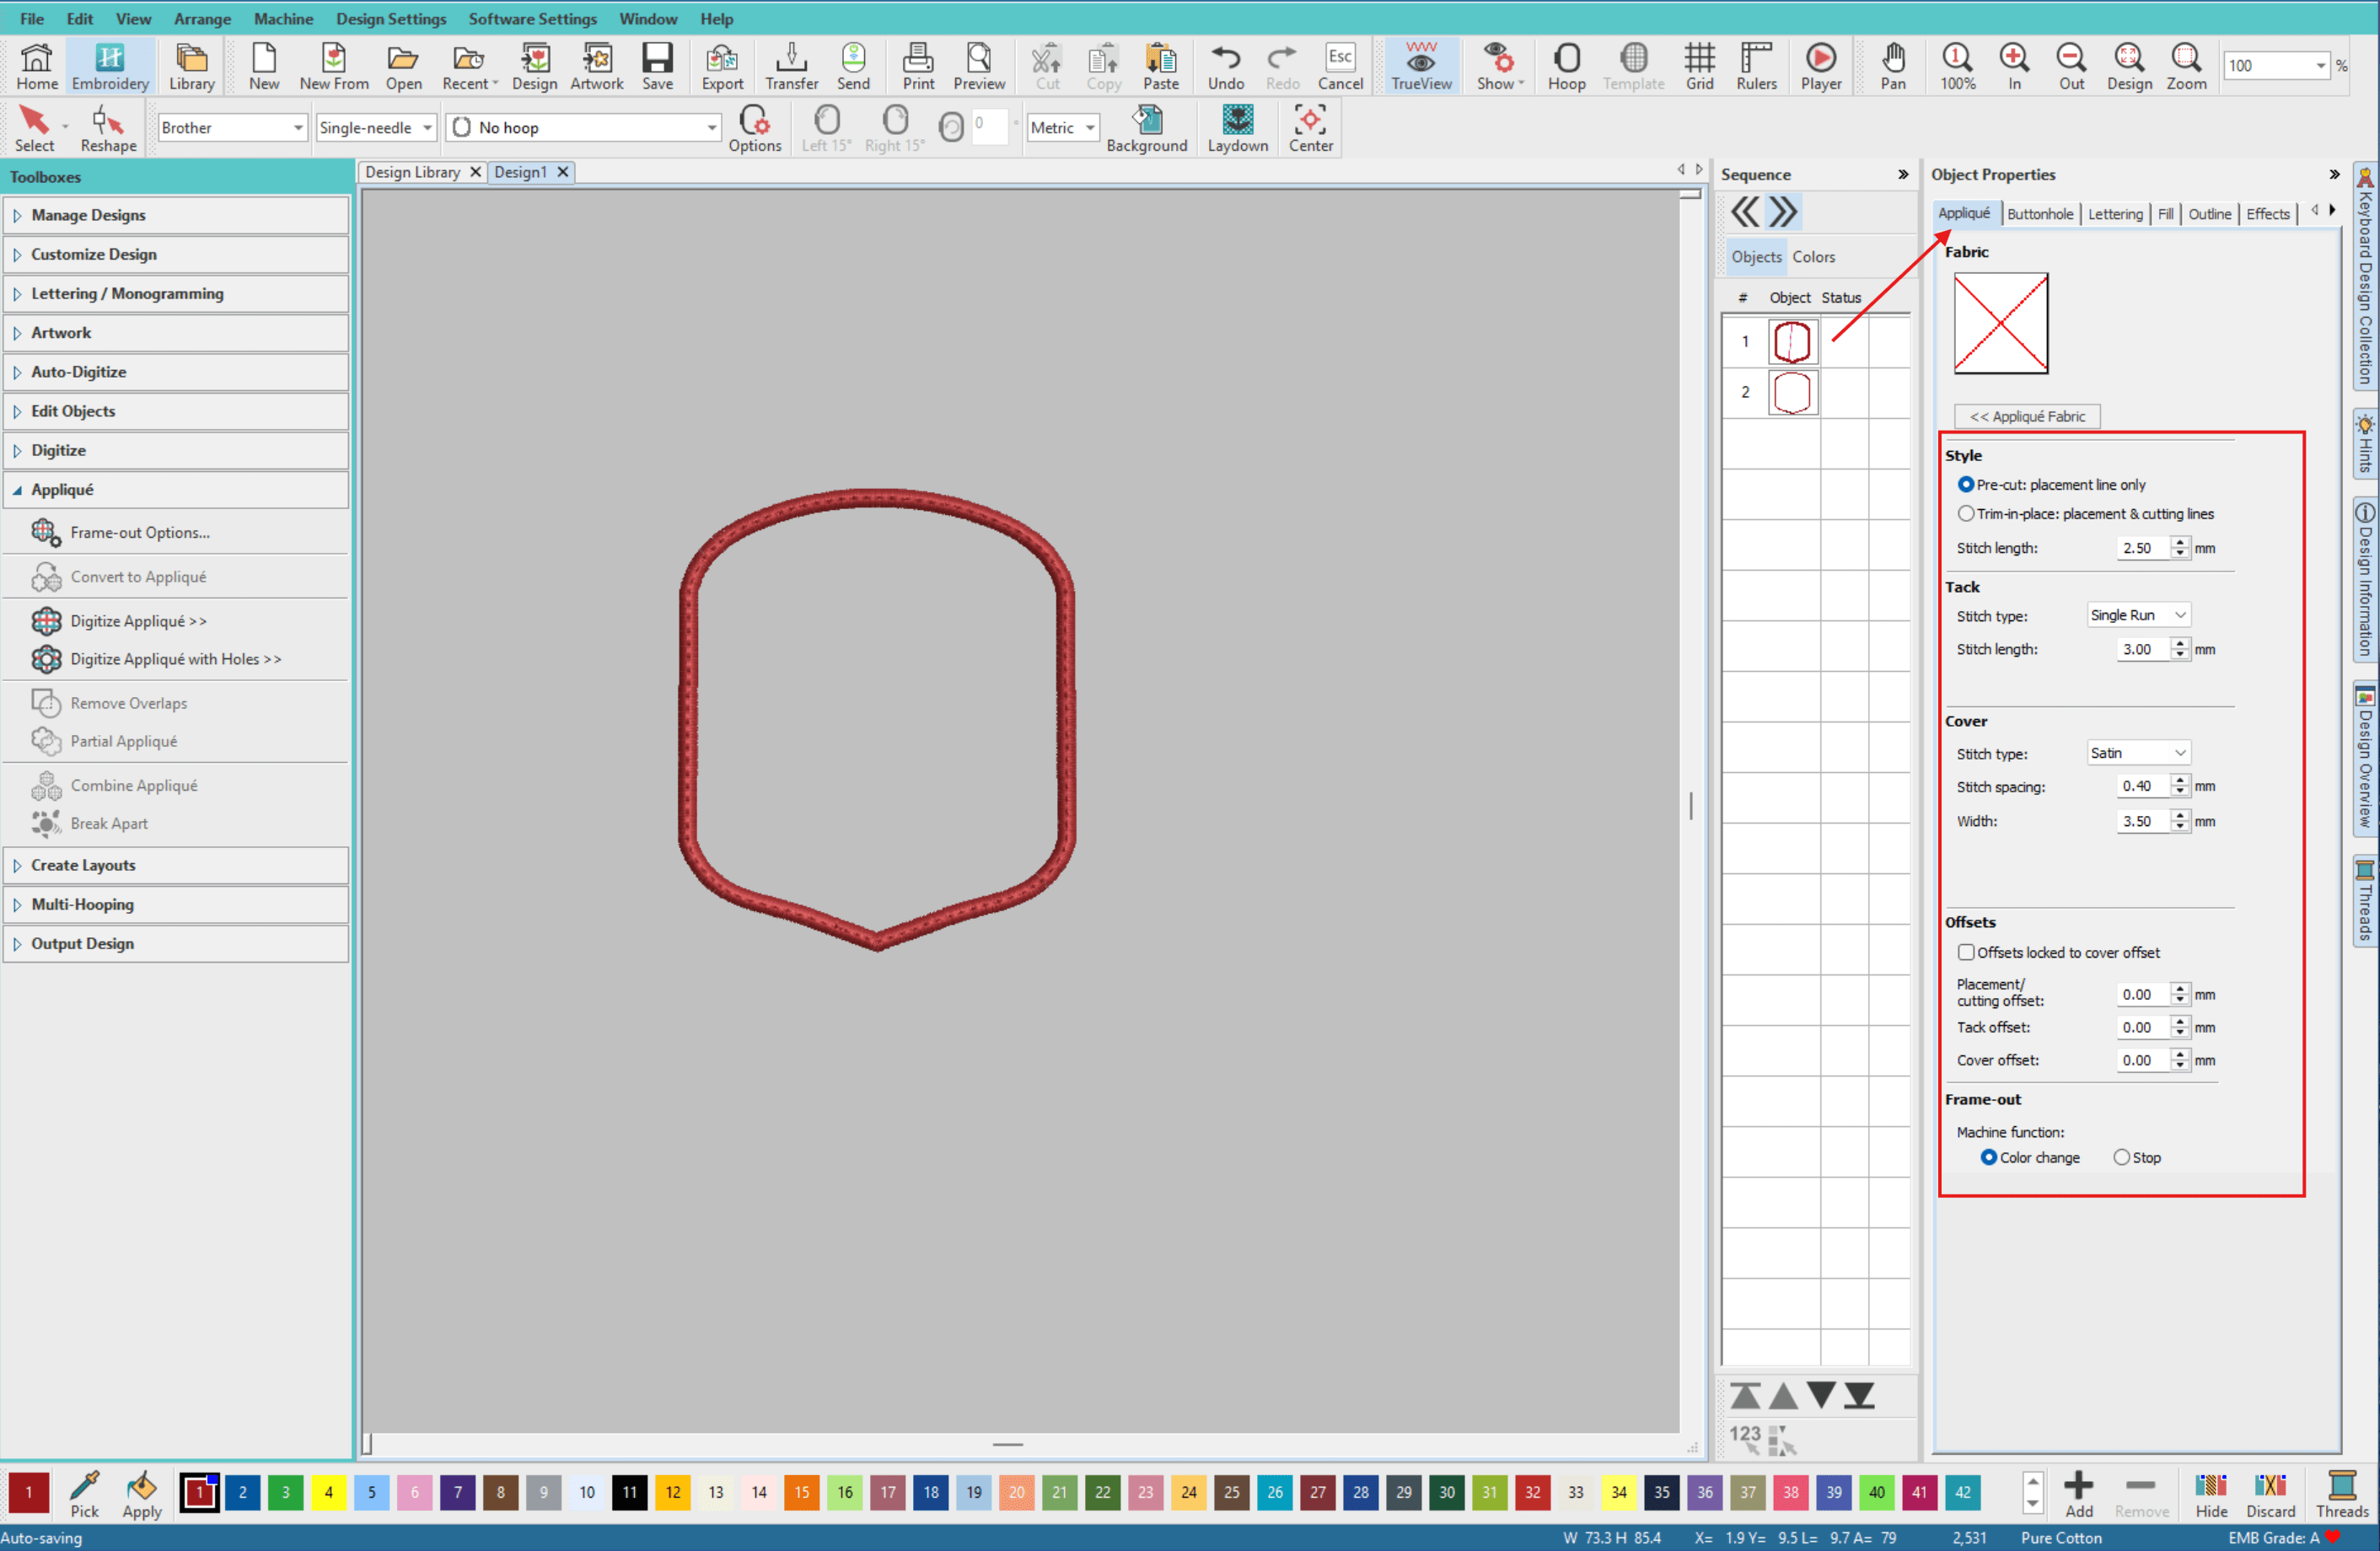
- Select the 1st shape in the sequence and from the left menu select Applique > Convert to Applique.
- In the Applique settings on the right, set the following:
- Style:
Pre-cut
Stitch Length: 2.5mm - Tack:
Stitch Type: Single Run
Stitch Length: 3 - Cover:
Stitch Type: Satin
Spacing Spacing: 0:40
Width: 3.5mm
- Style:
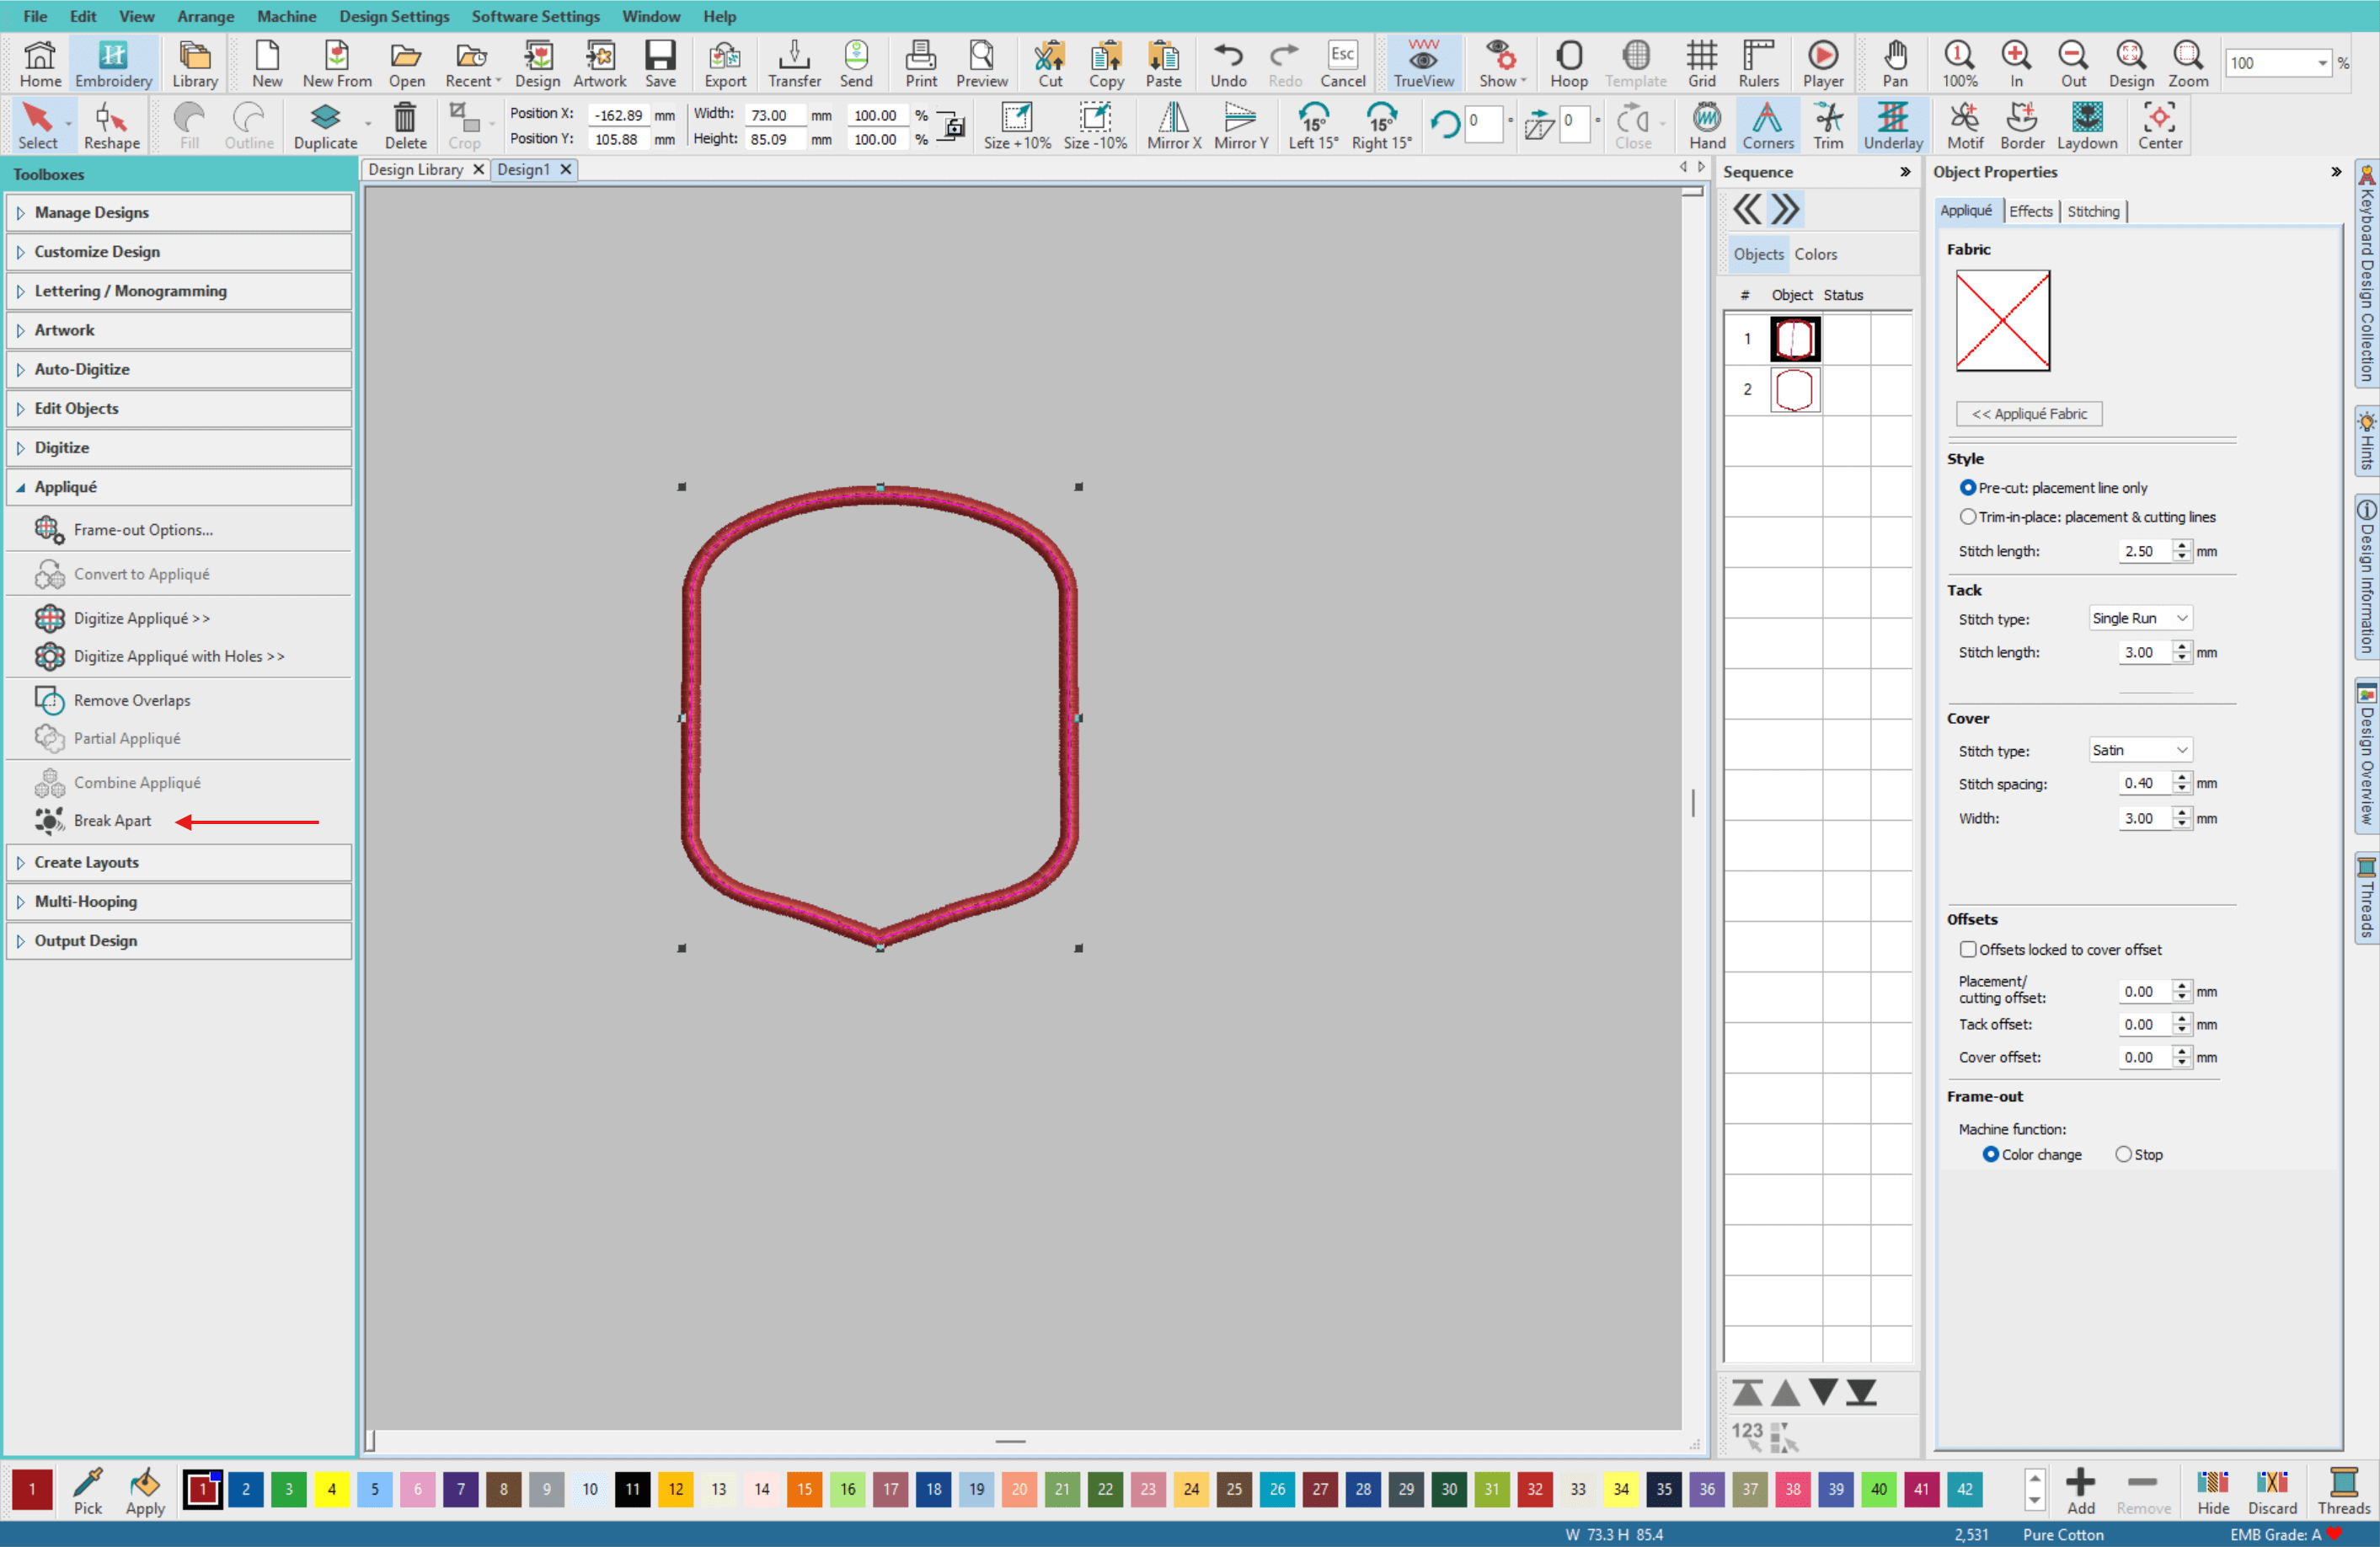
- Select the applique shape and from the left menu choose Applique > Break Apart
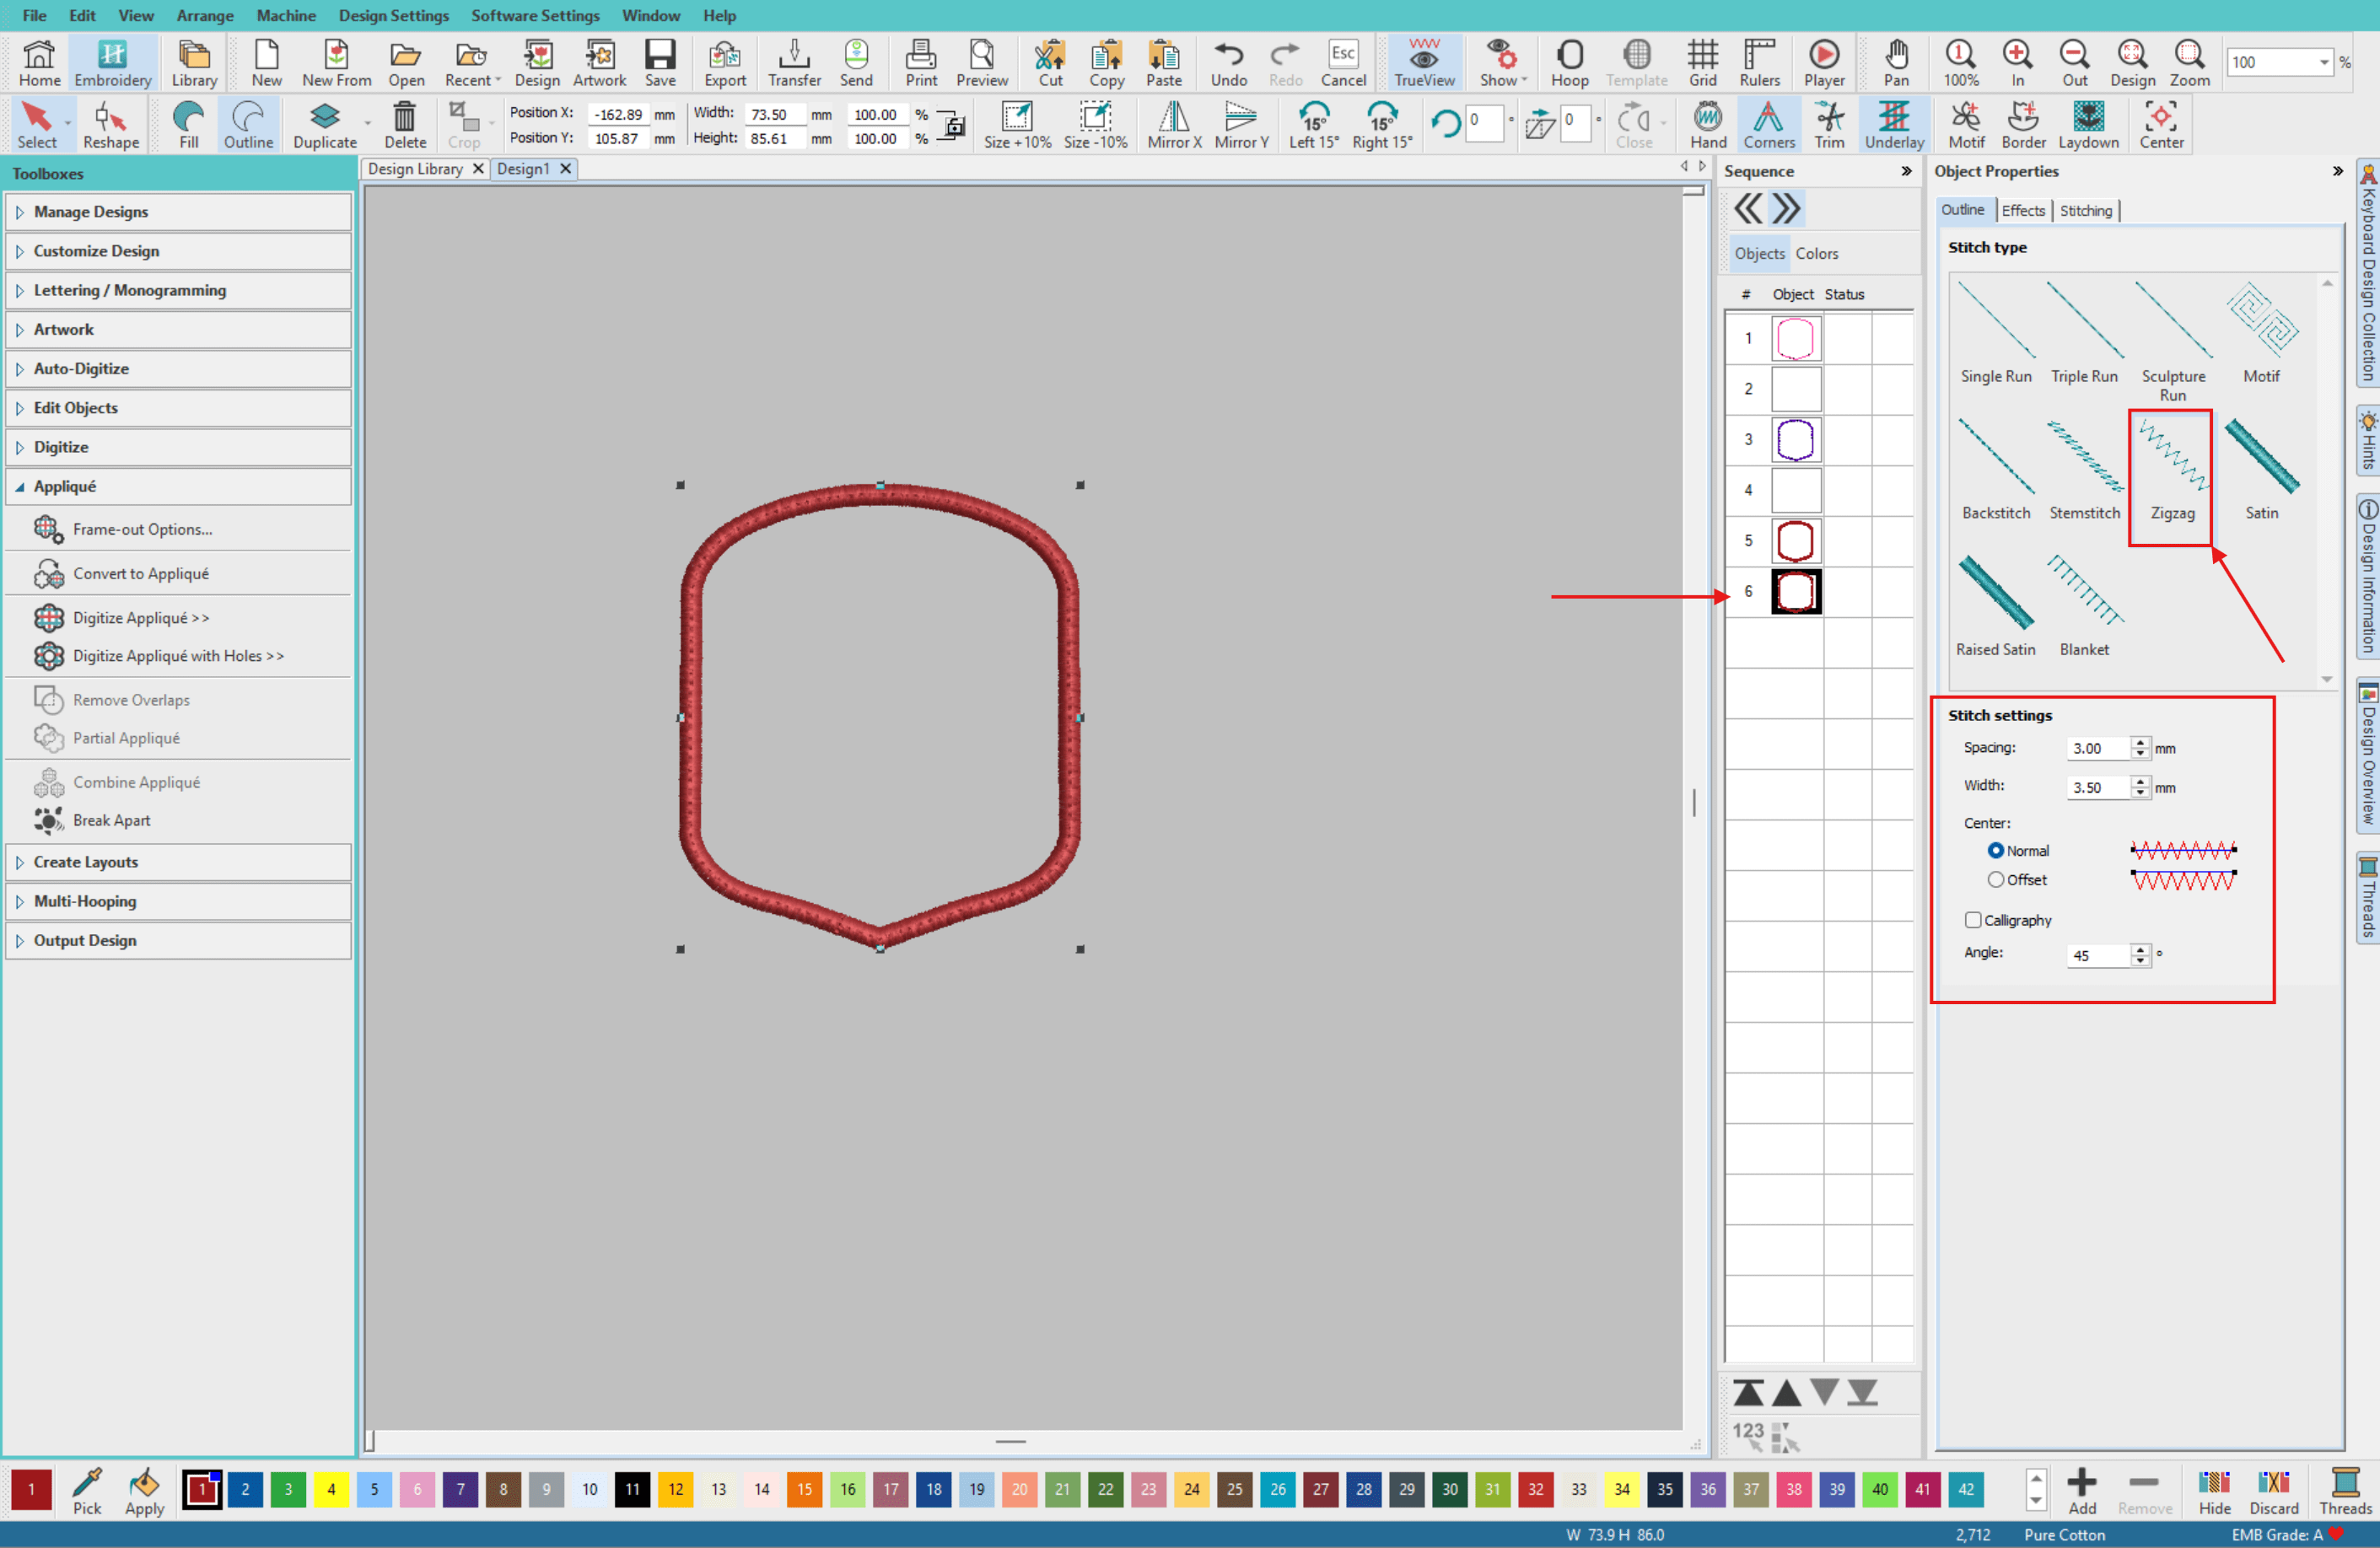
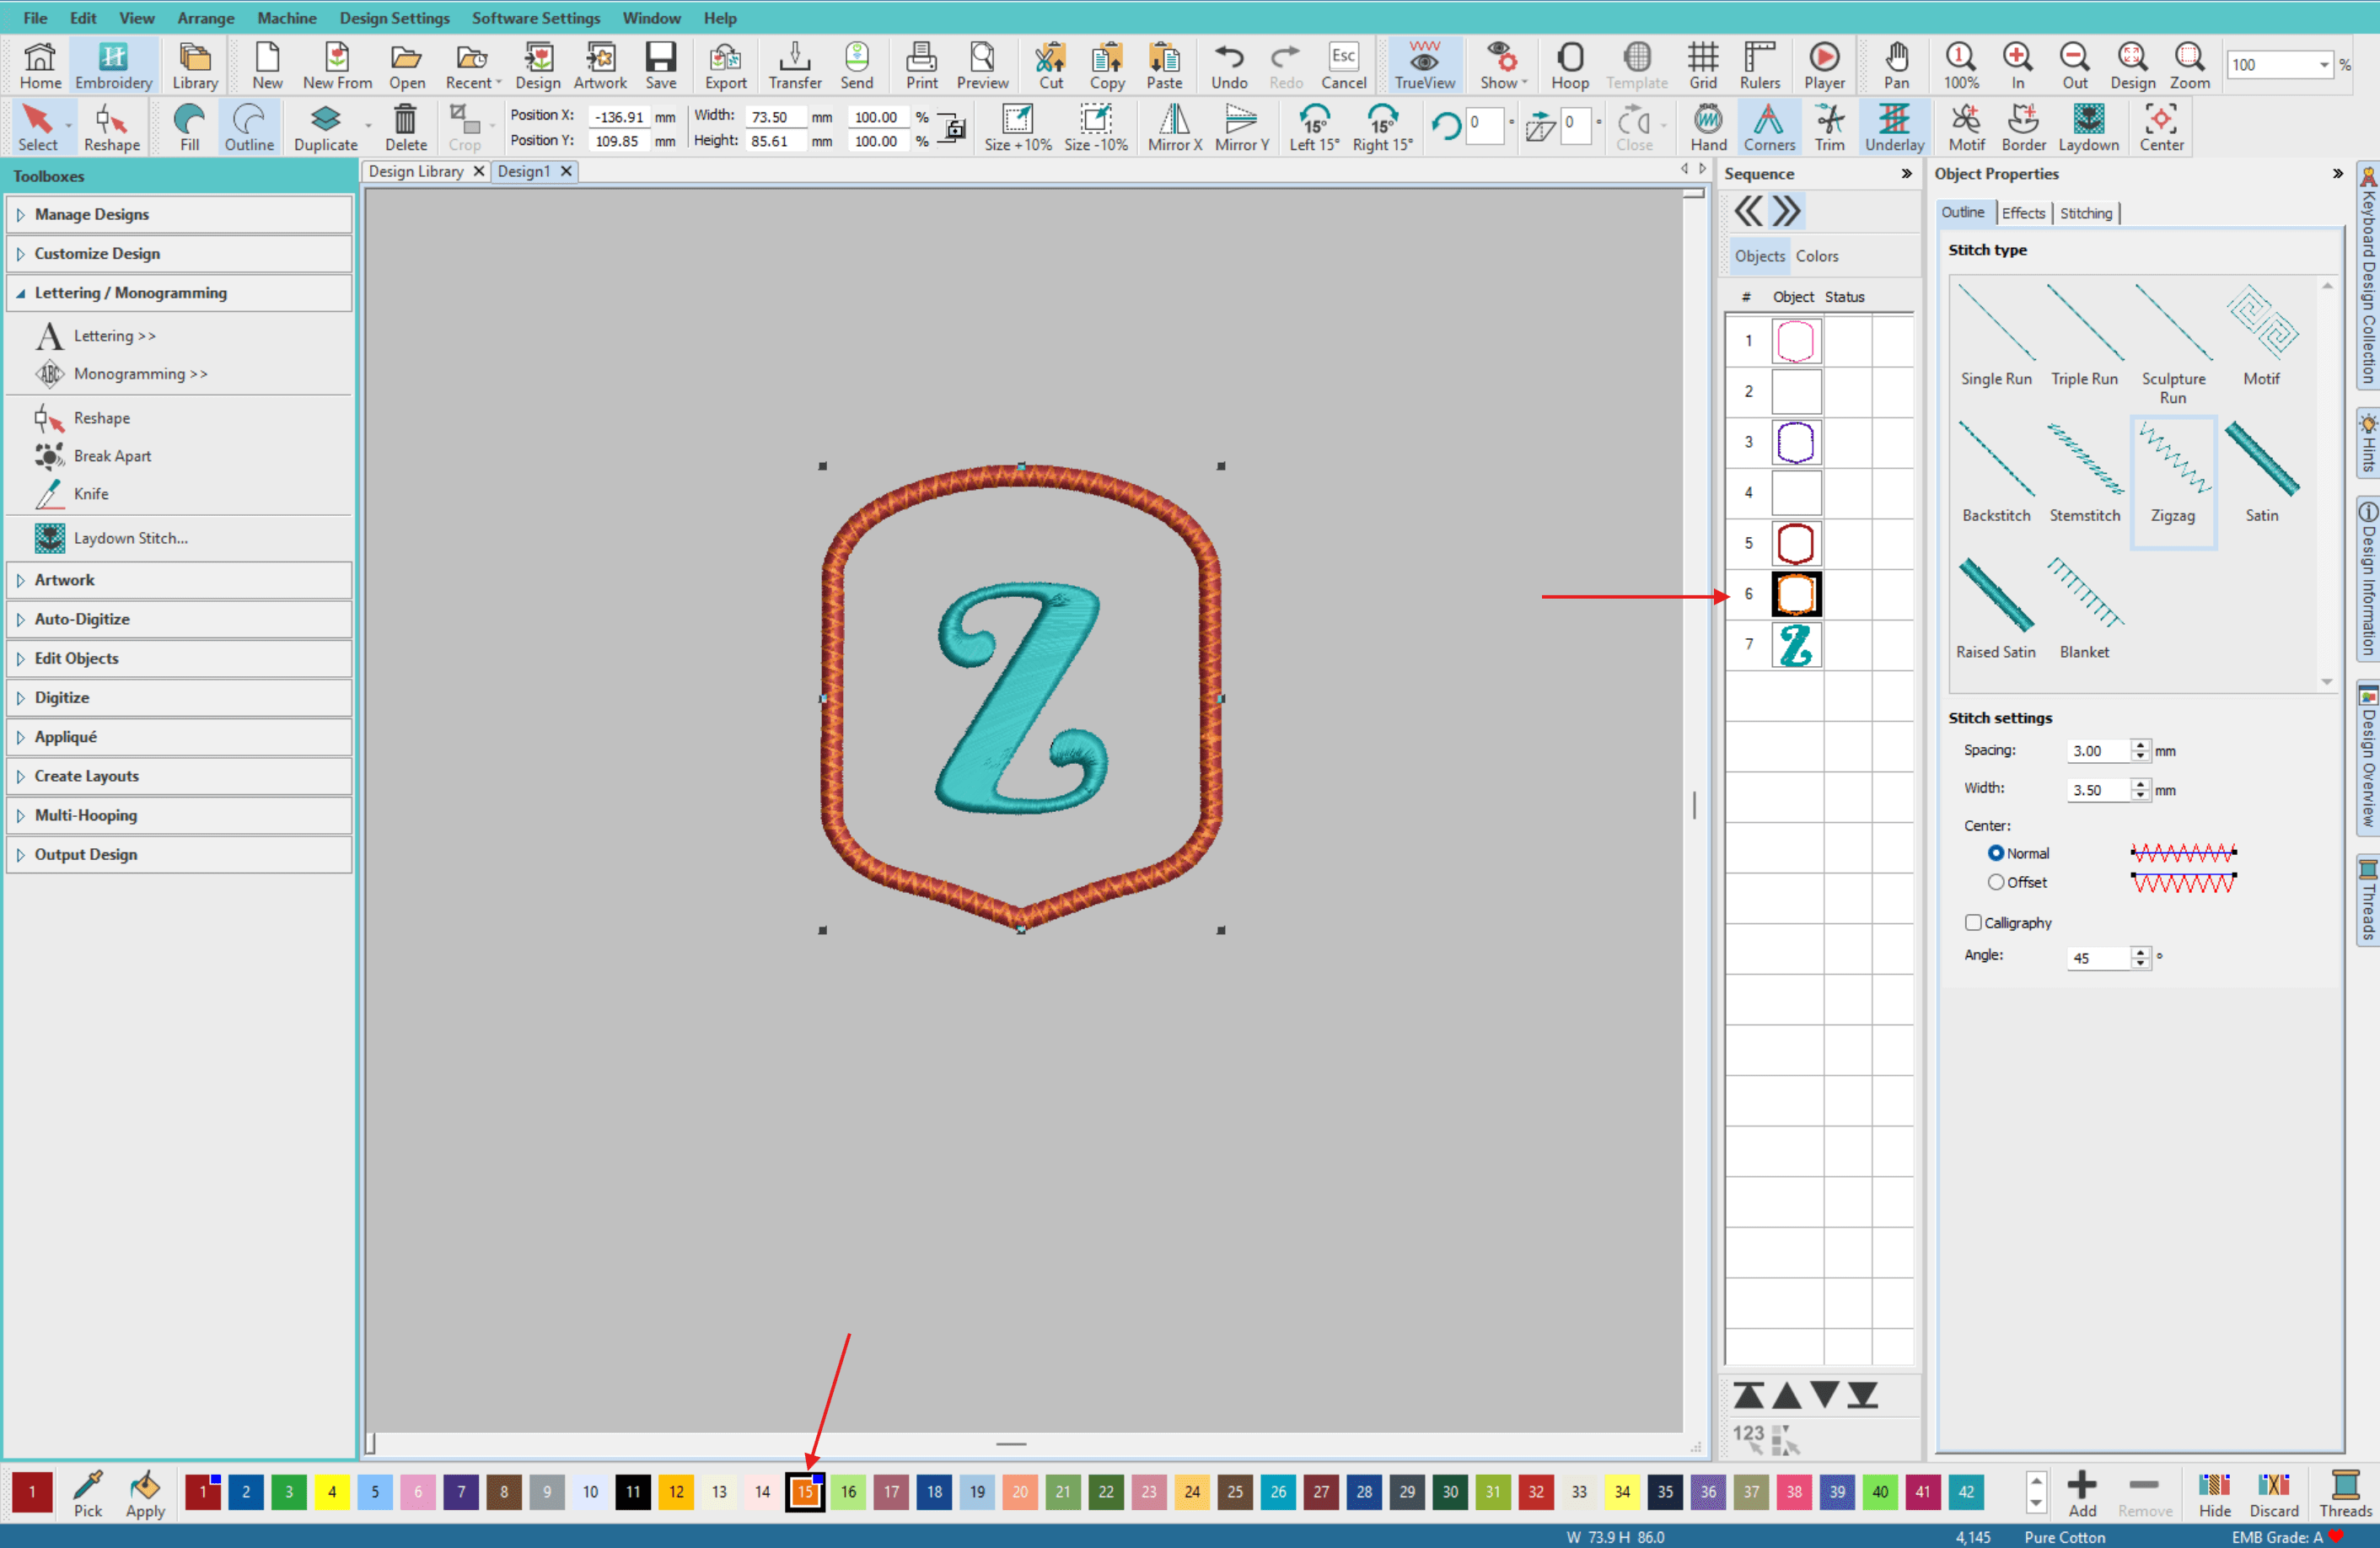
- Select the last item in the sequence, this is our duplicated shape from step 6. Under the Object Properties change the Outline > Stitch Type to be ZigZag and set the Stitch Settings as follows:
Spacing: 3.00mm
Width: 3.5mm
Center: Normal
Angle: 45
- Next let's add the letter. From the left menu go to Lettering/Monogramming > Lettering and add your desired letter.
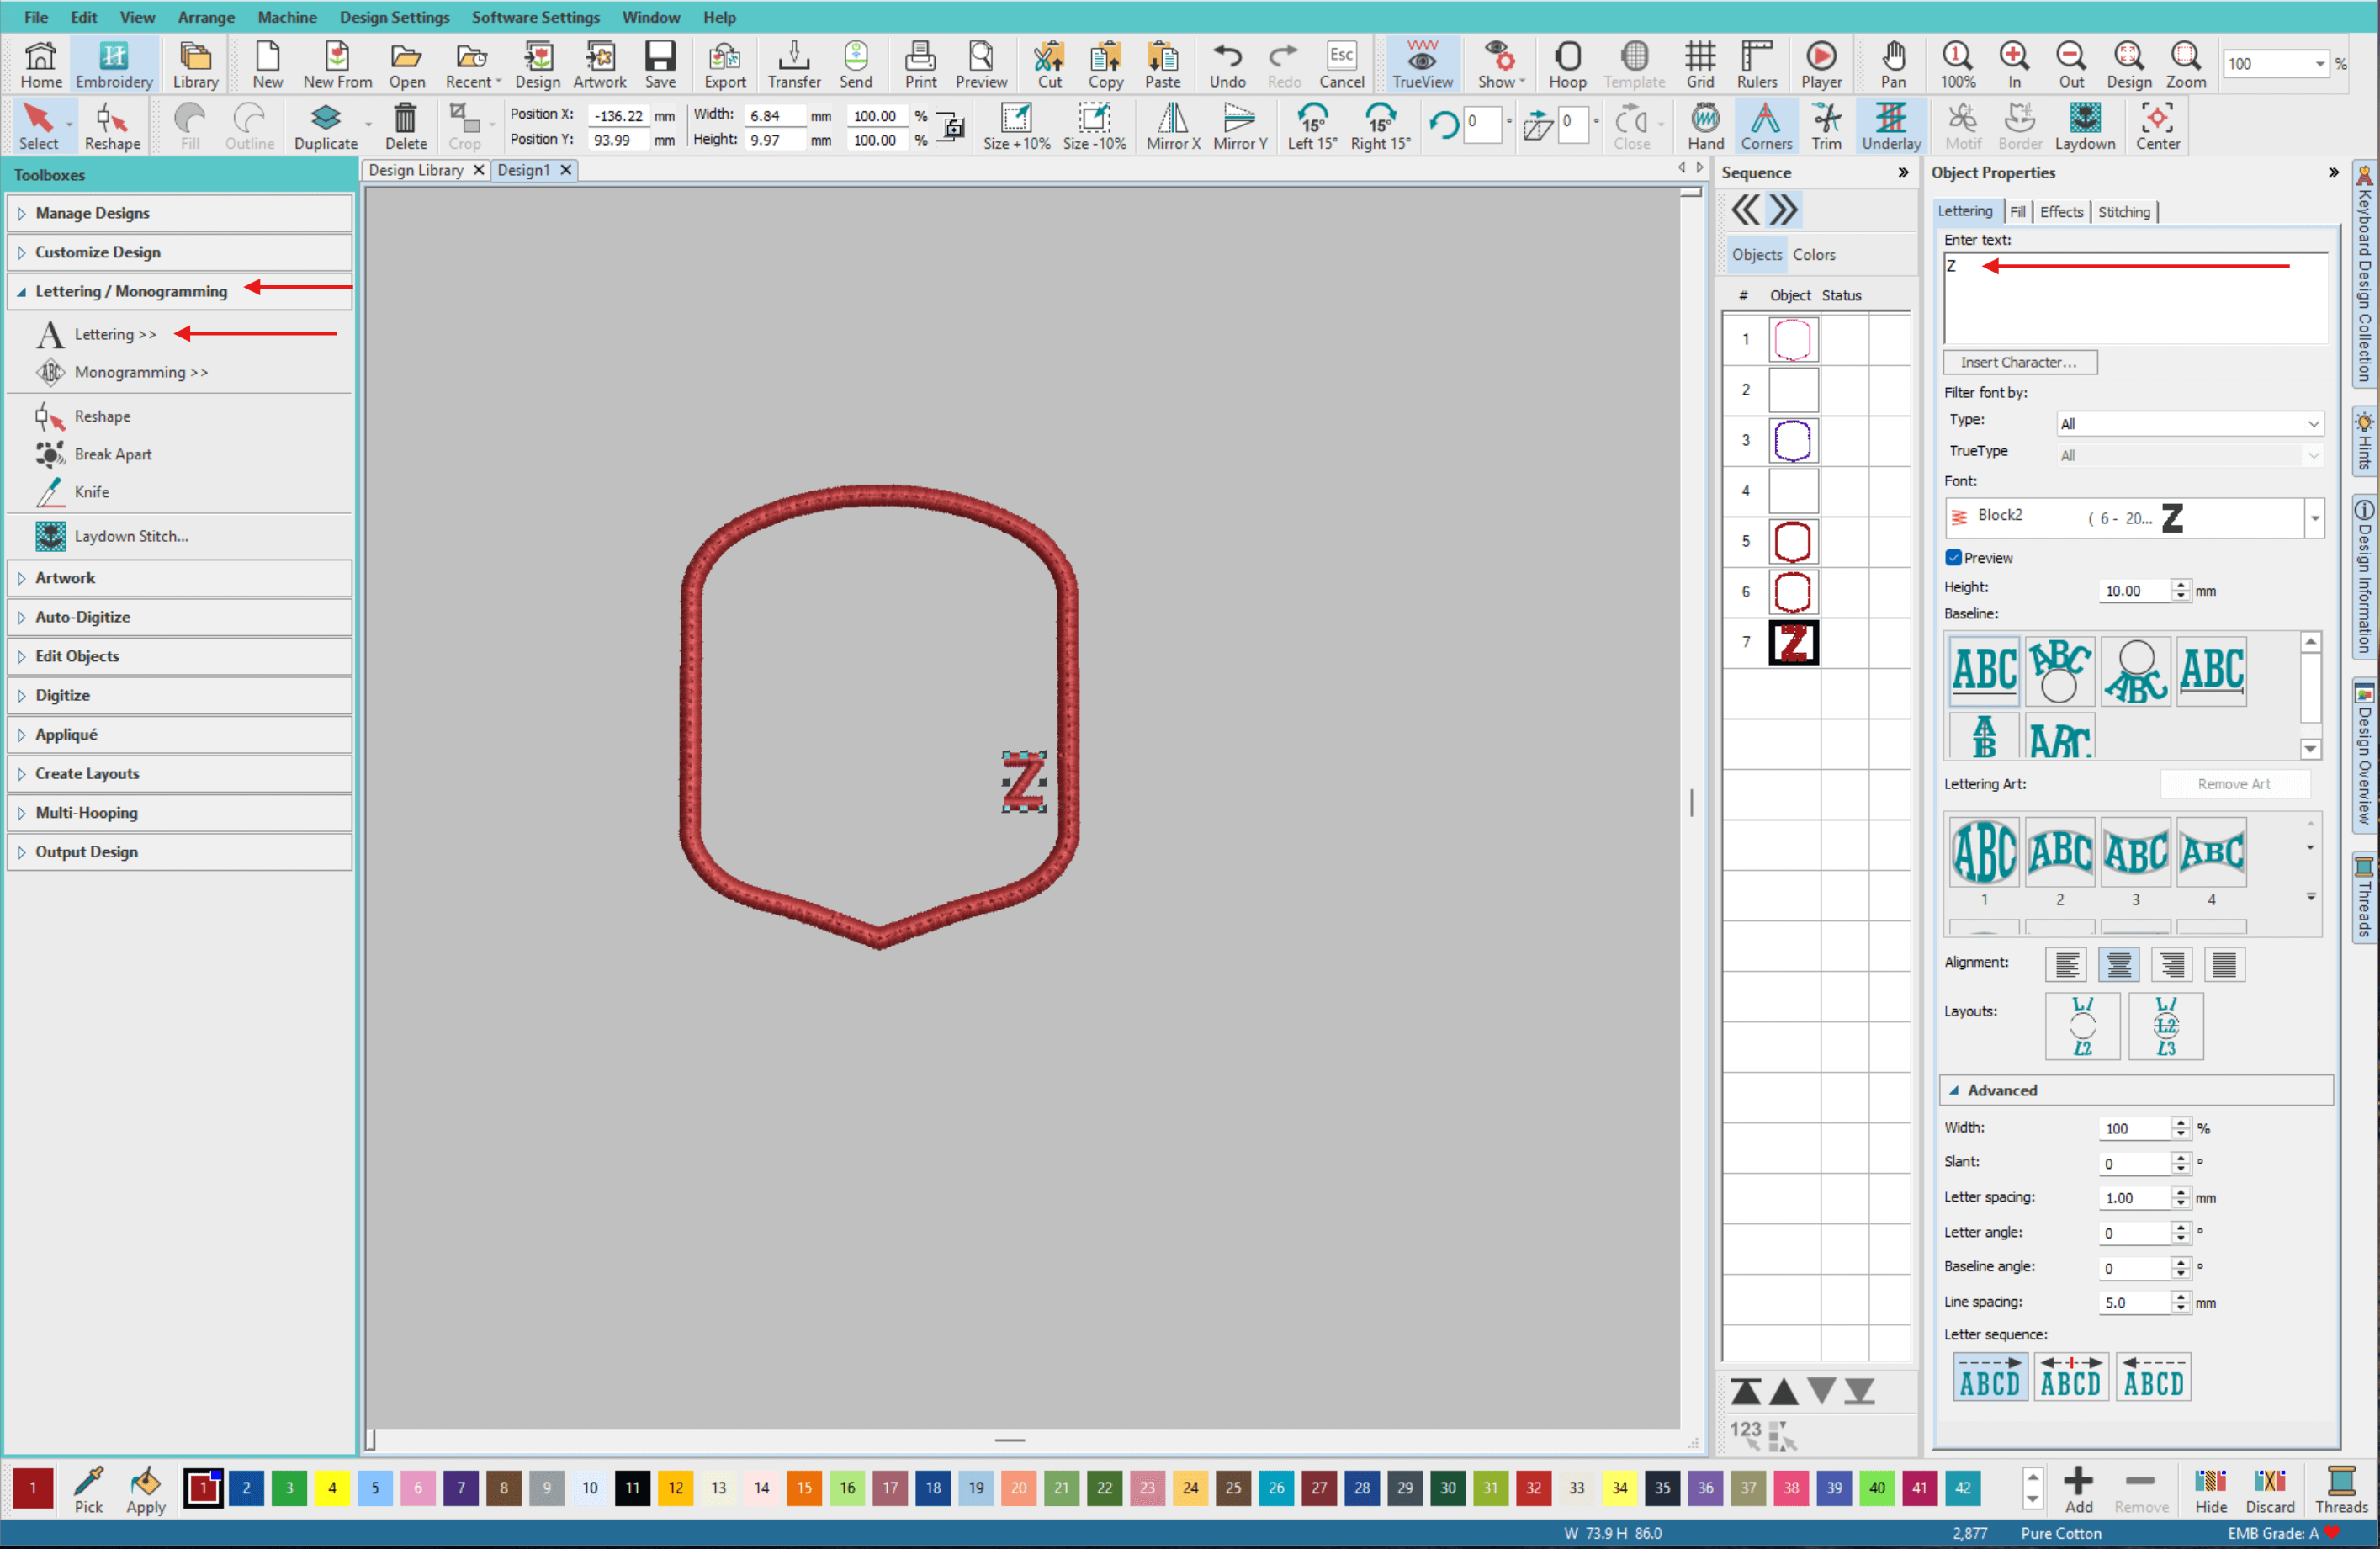
- Choose your desired font, we have used a Google font called Berkshire Swash.
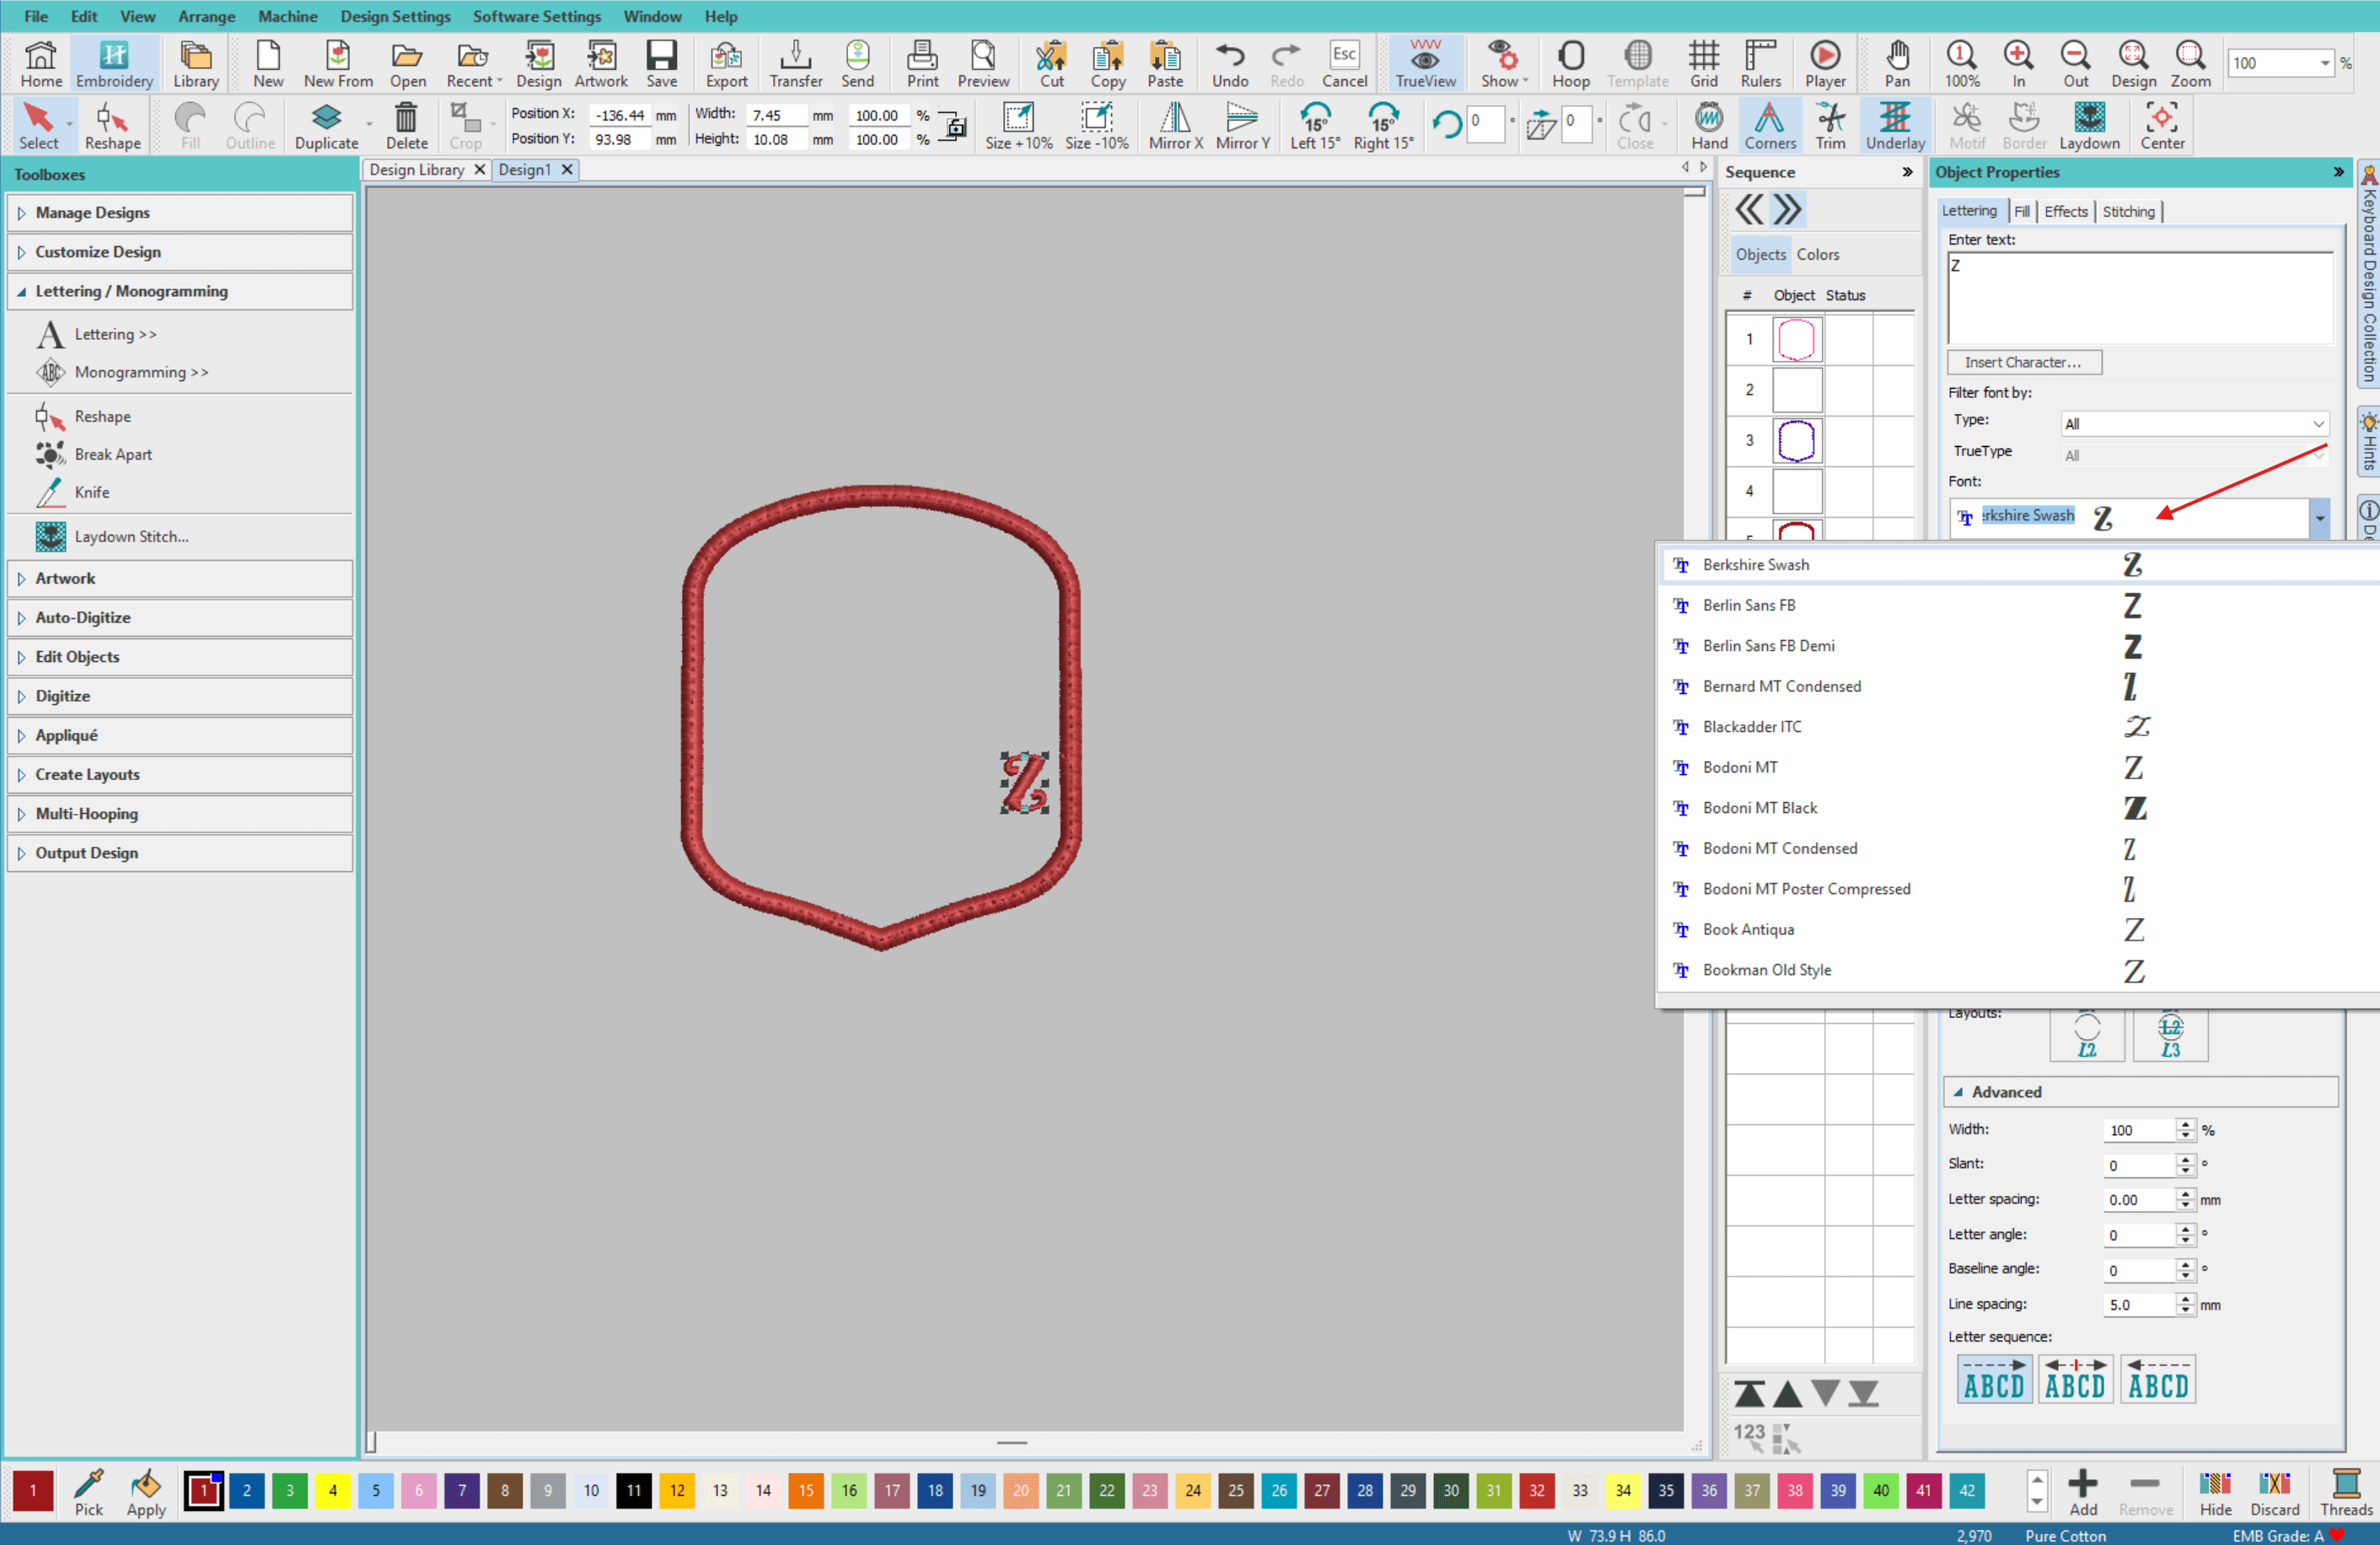
- Set the font size as desired, we have set the height to 42mm.
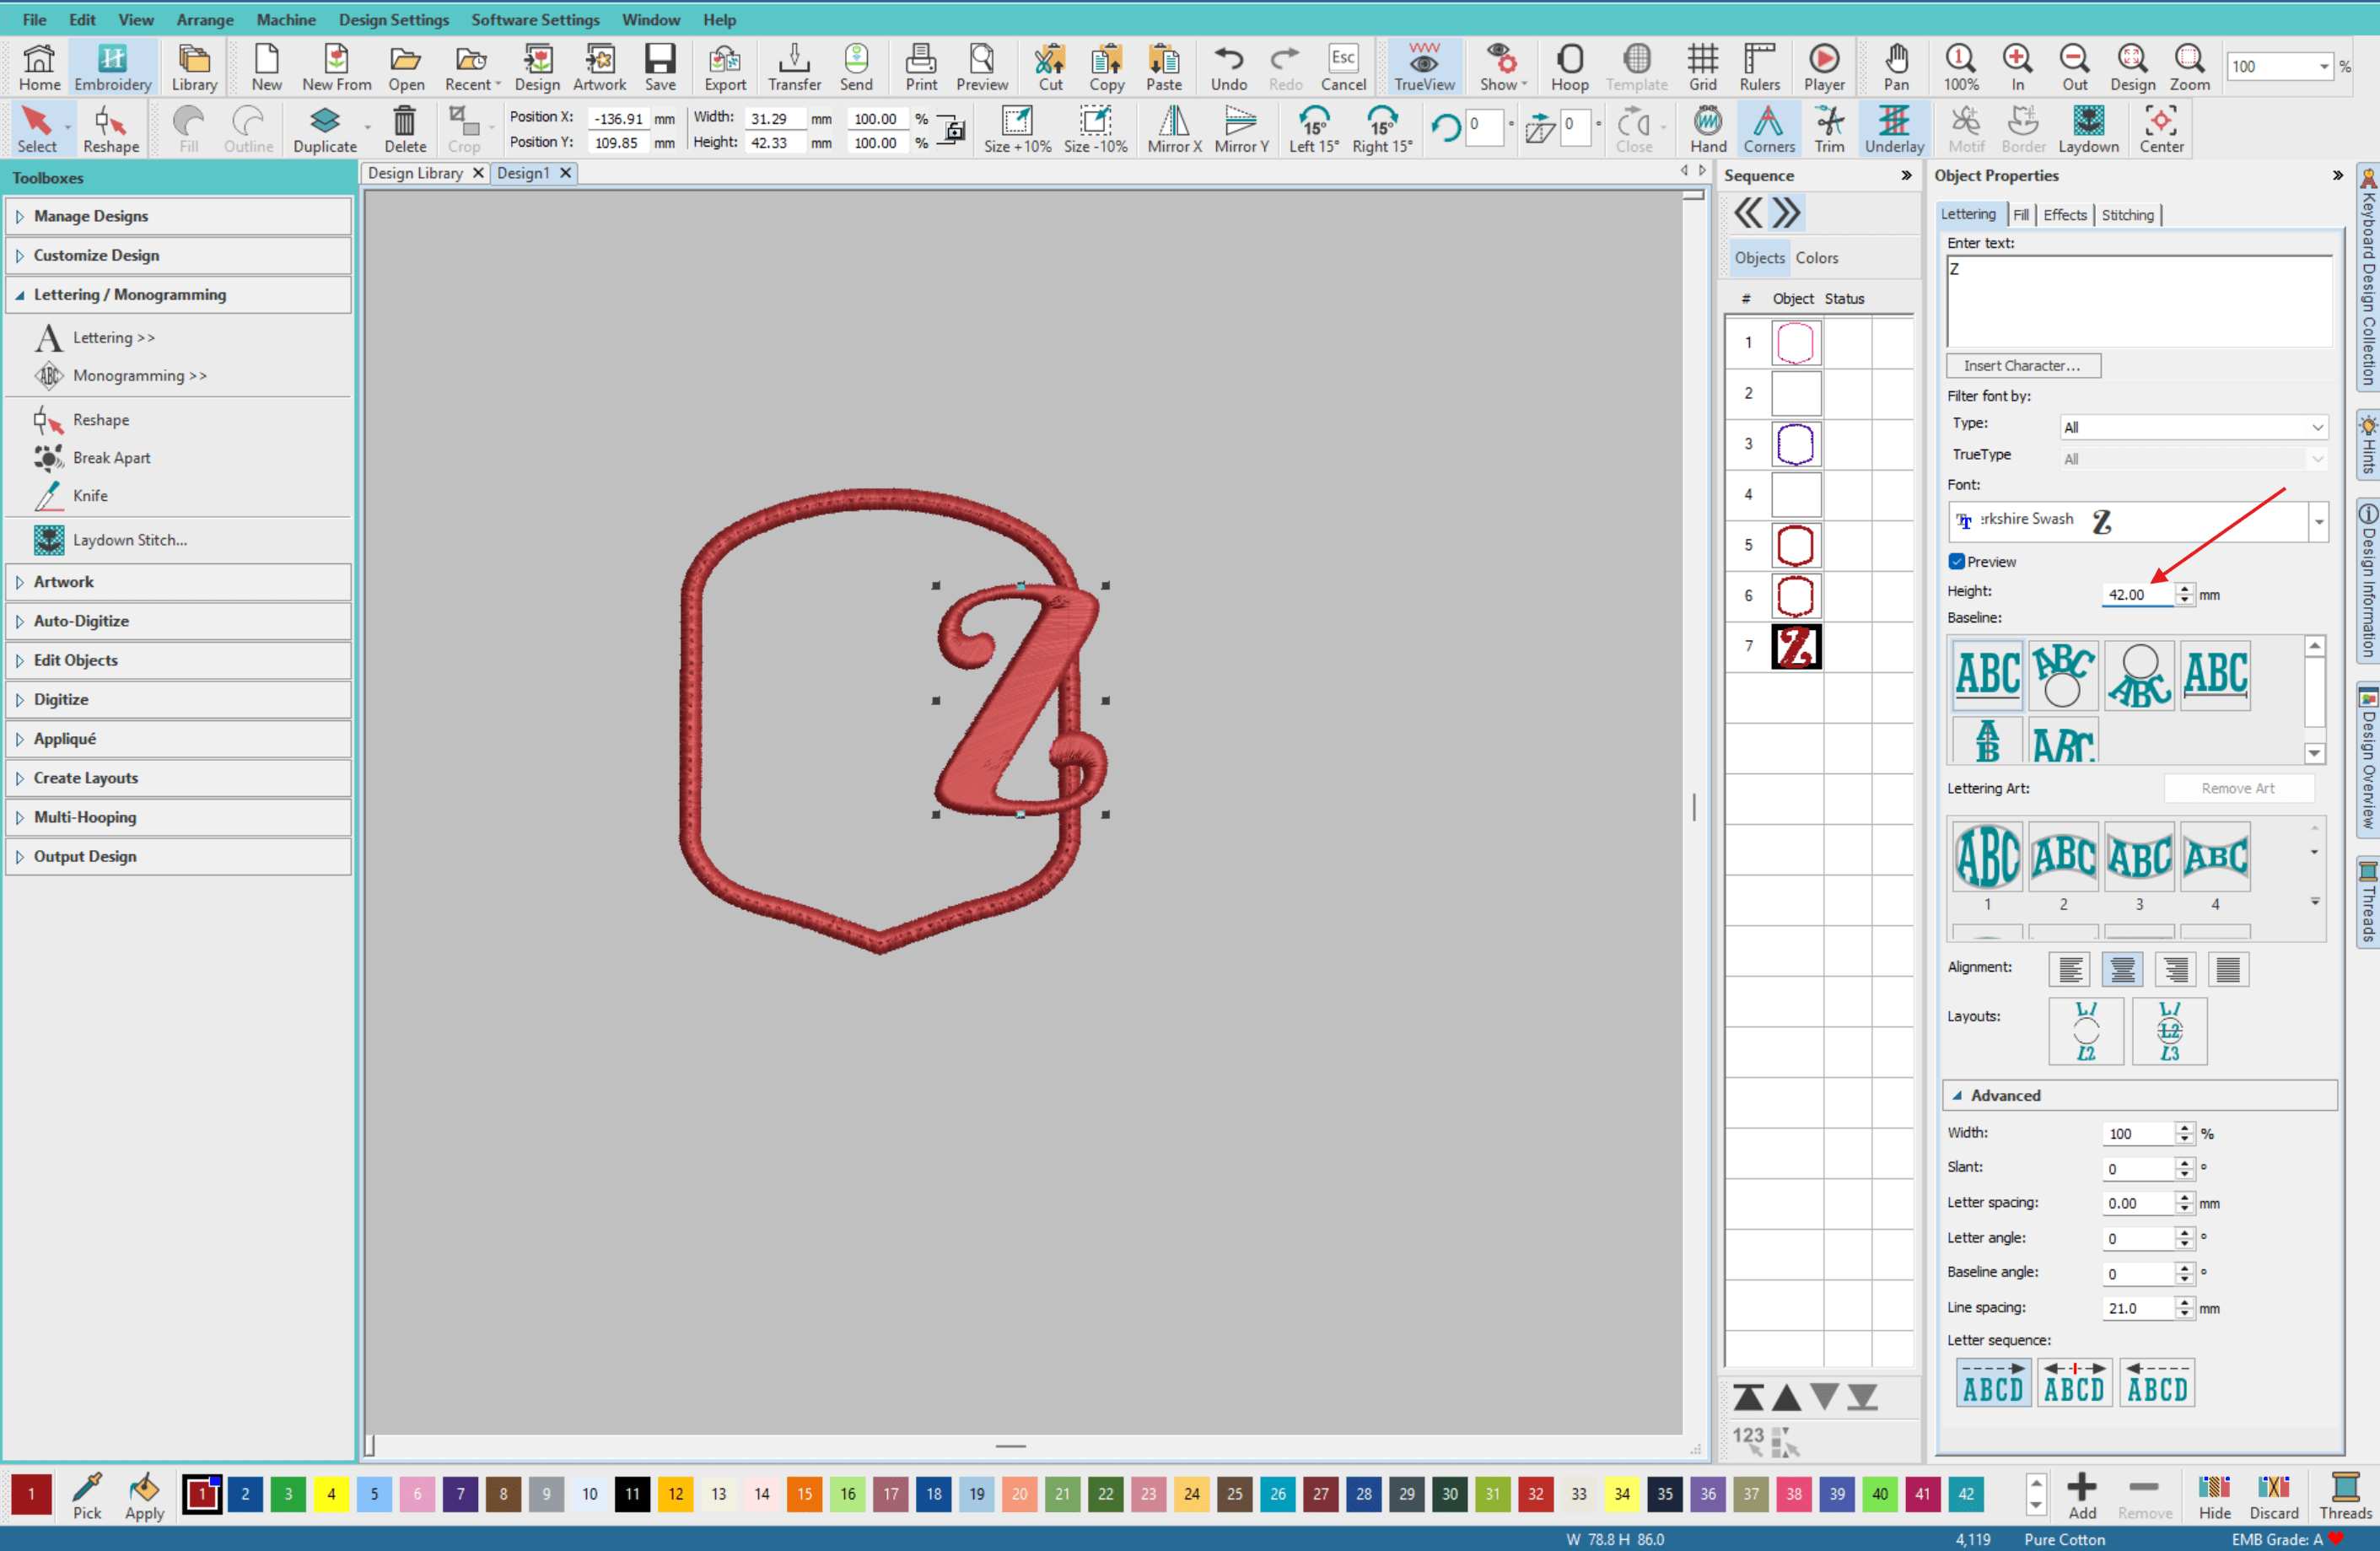
- Select all elements and align them both vertically and horizontally.
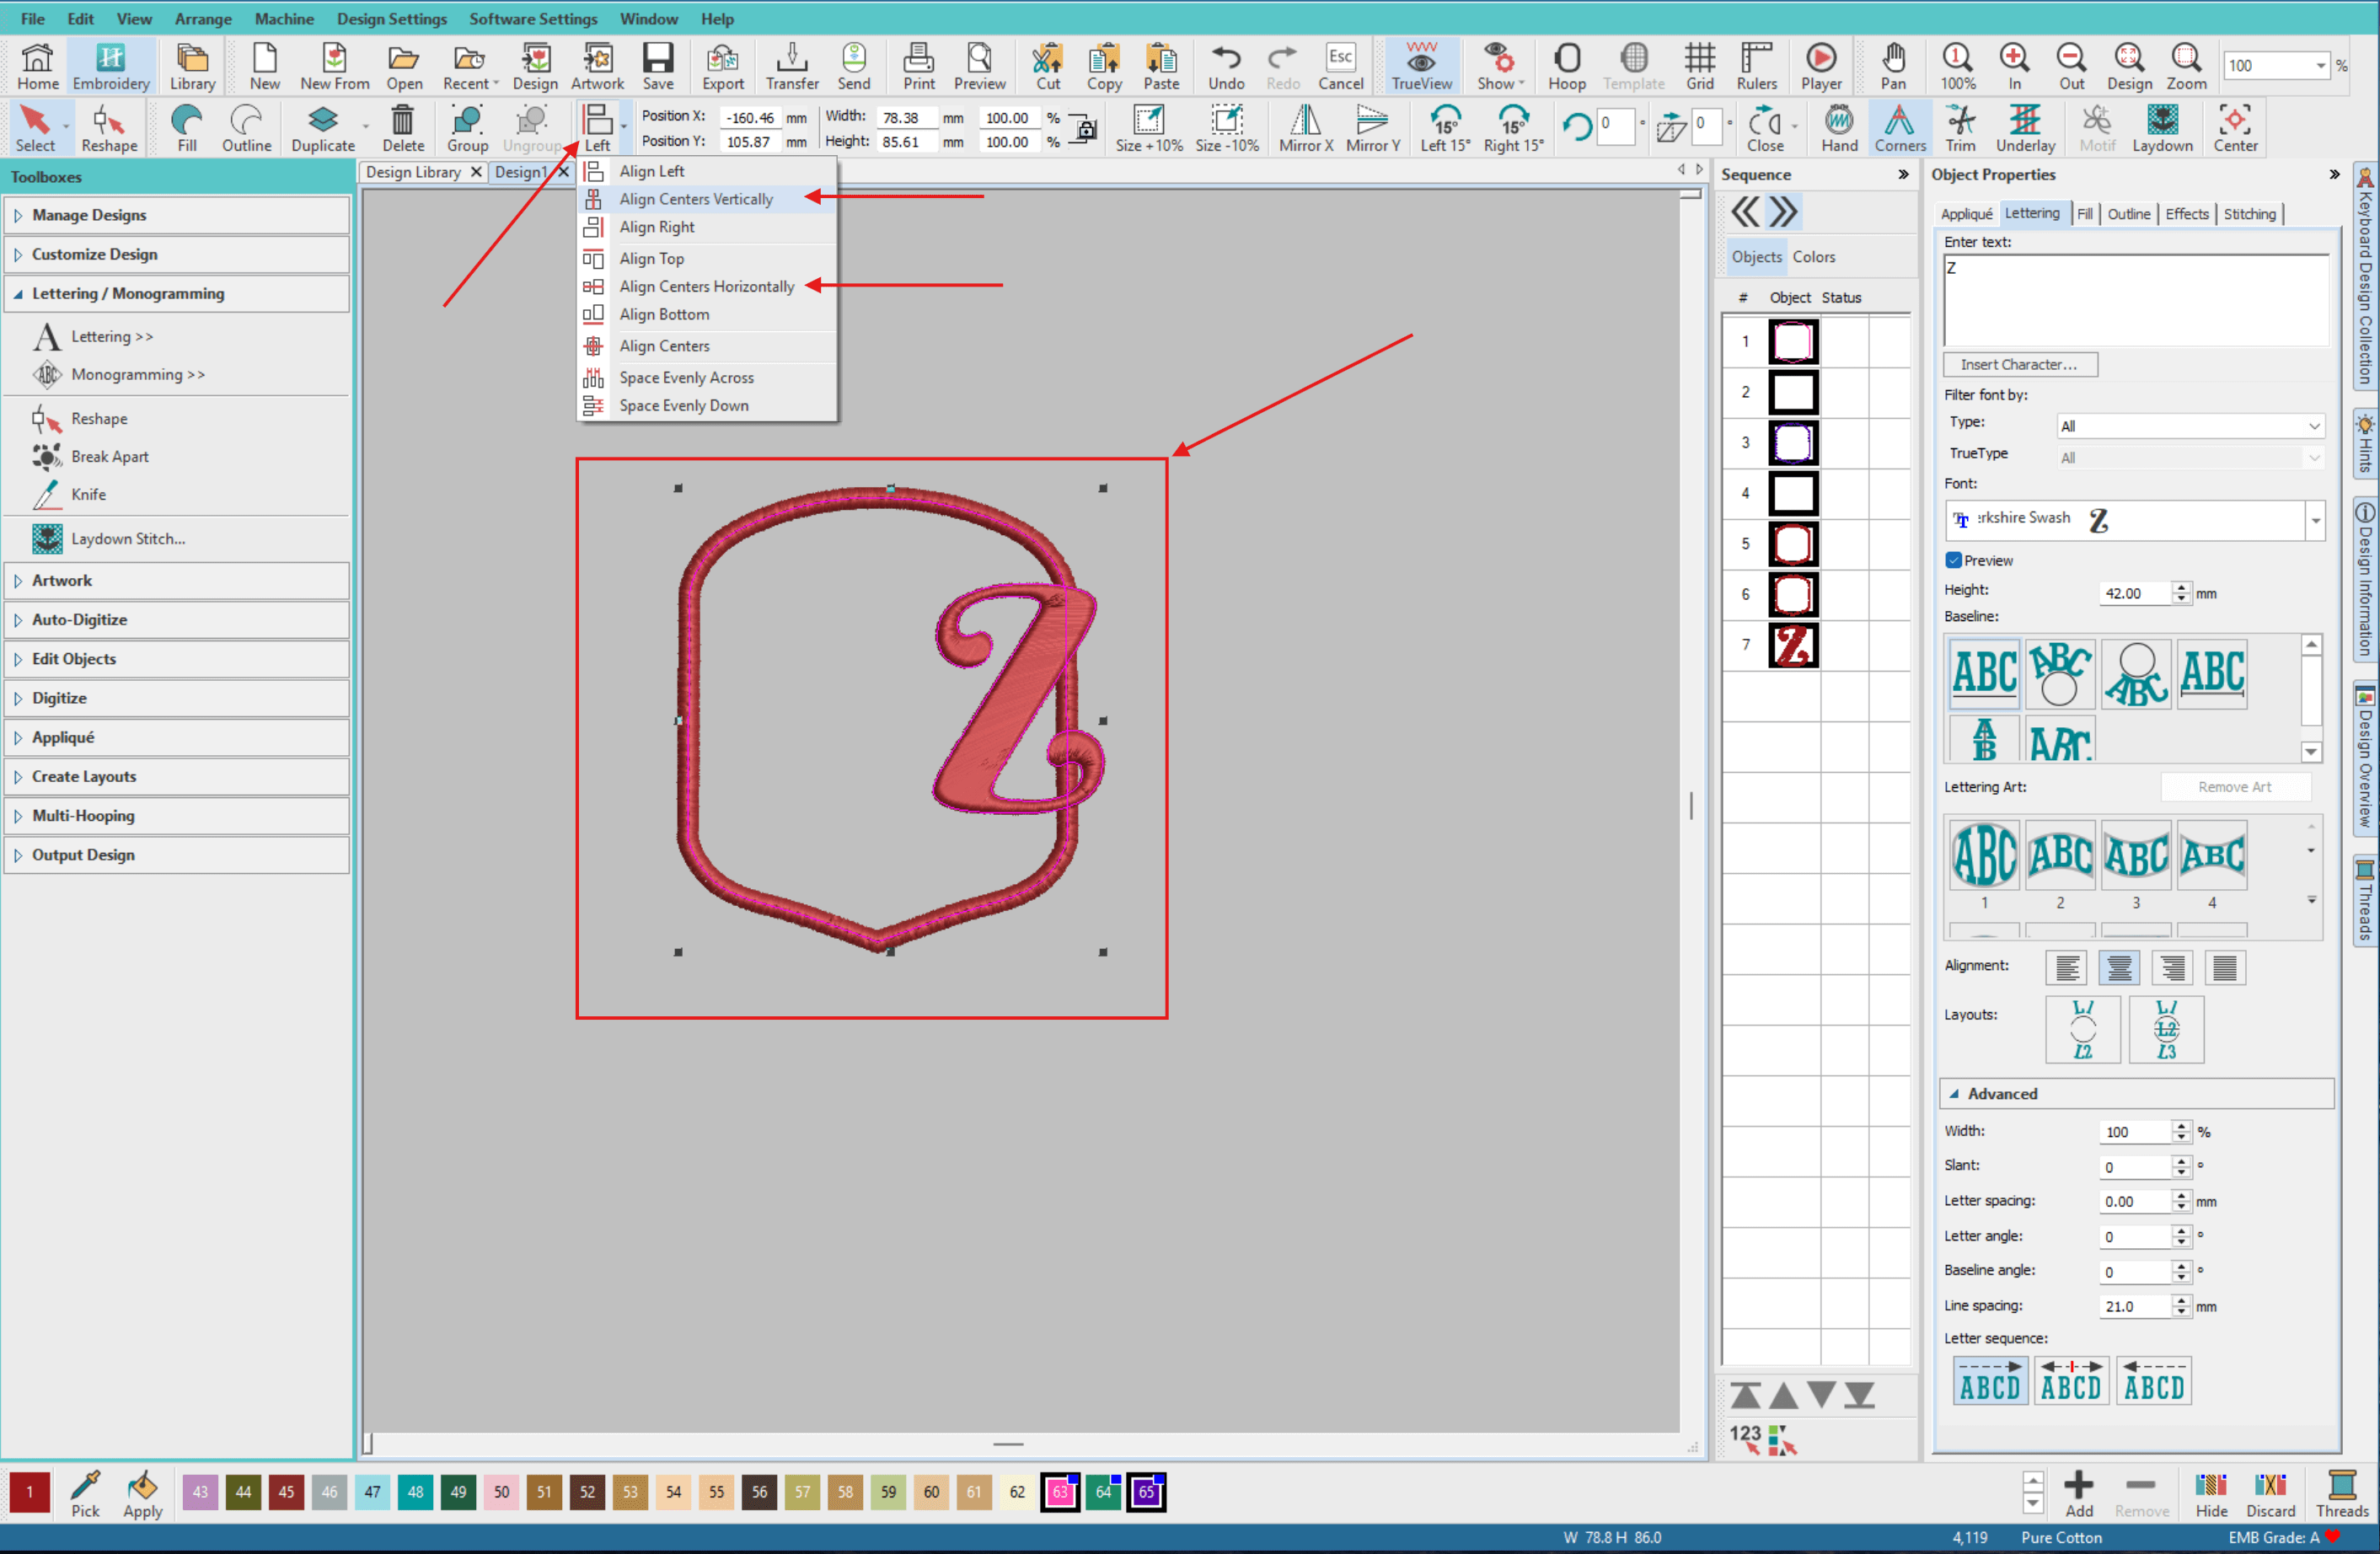
- Select the letter and change its colour, this will force the machine to stop between colours.
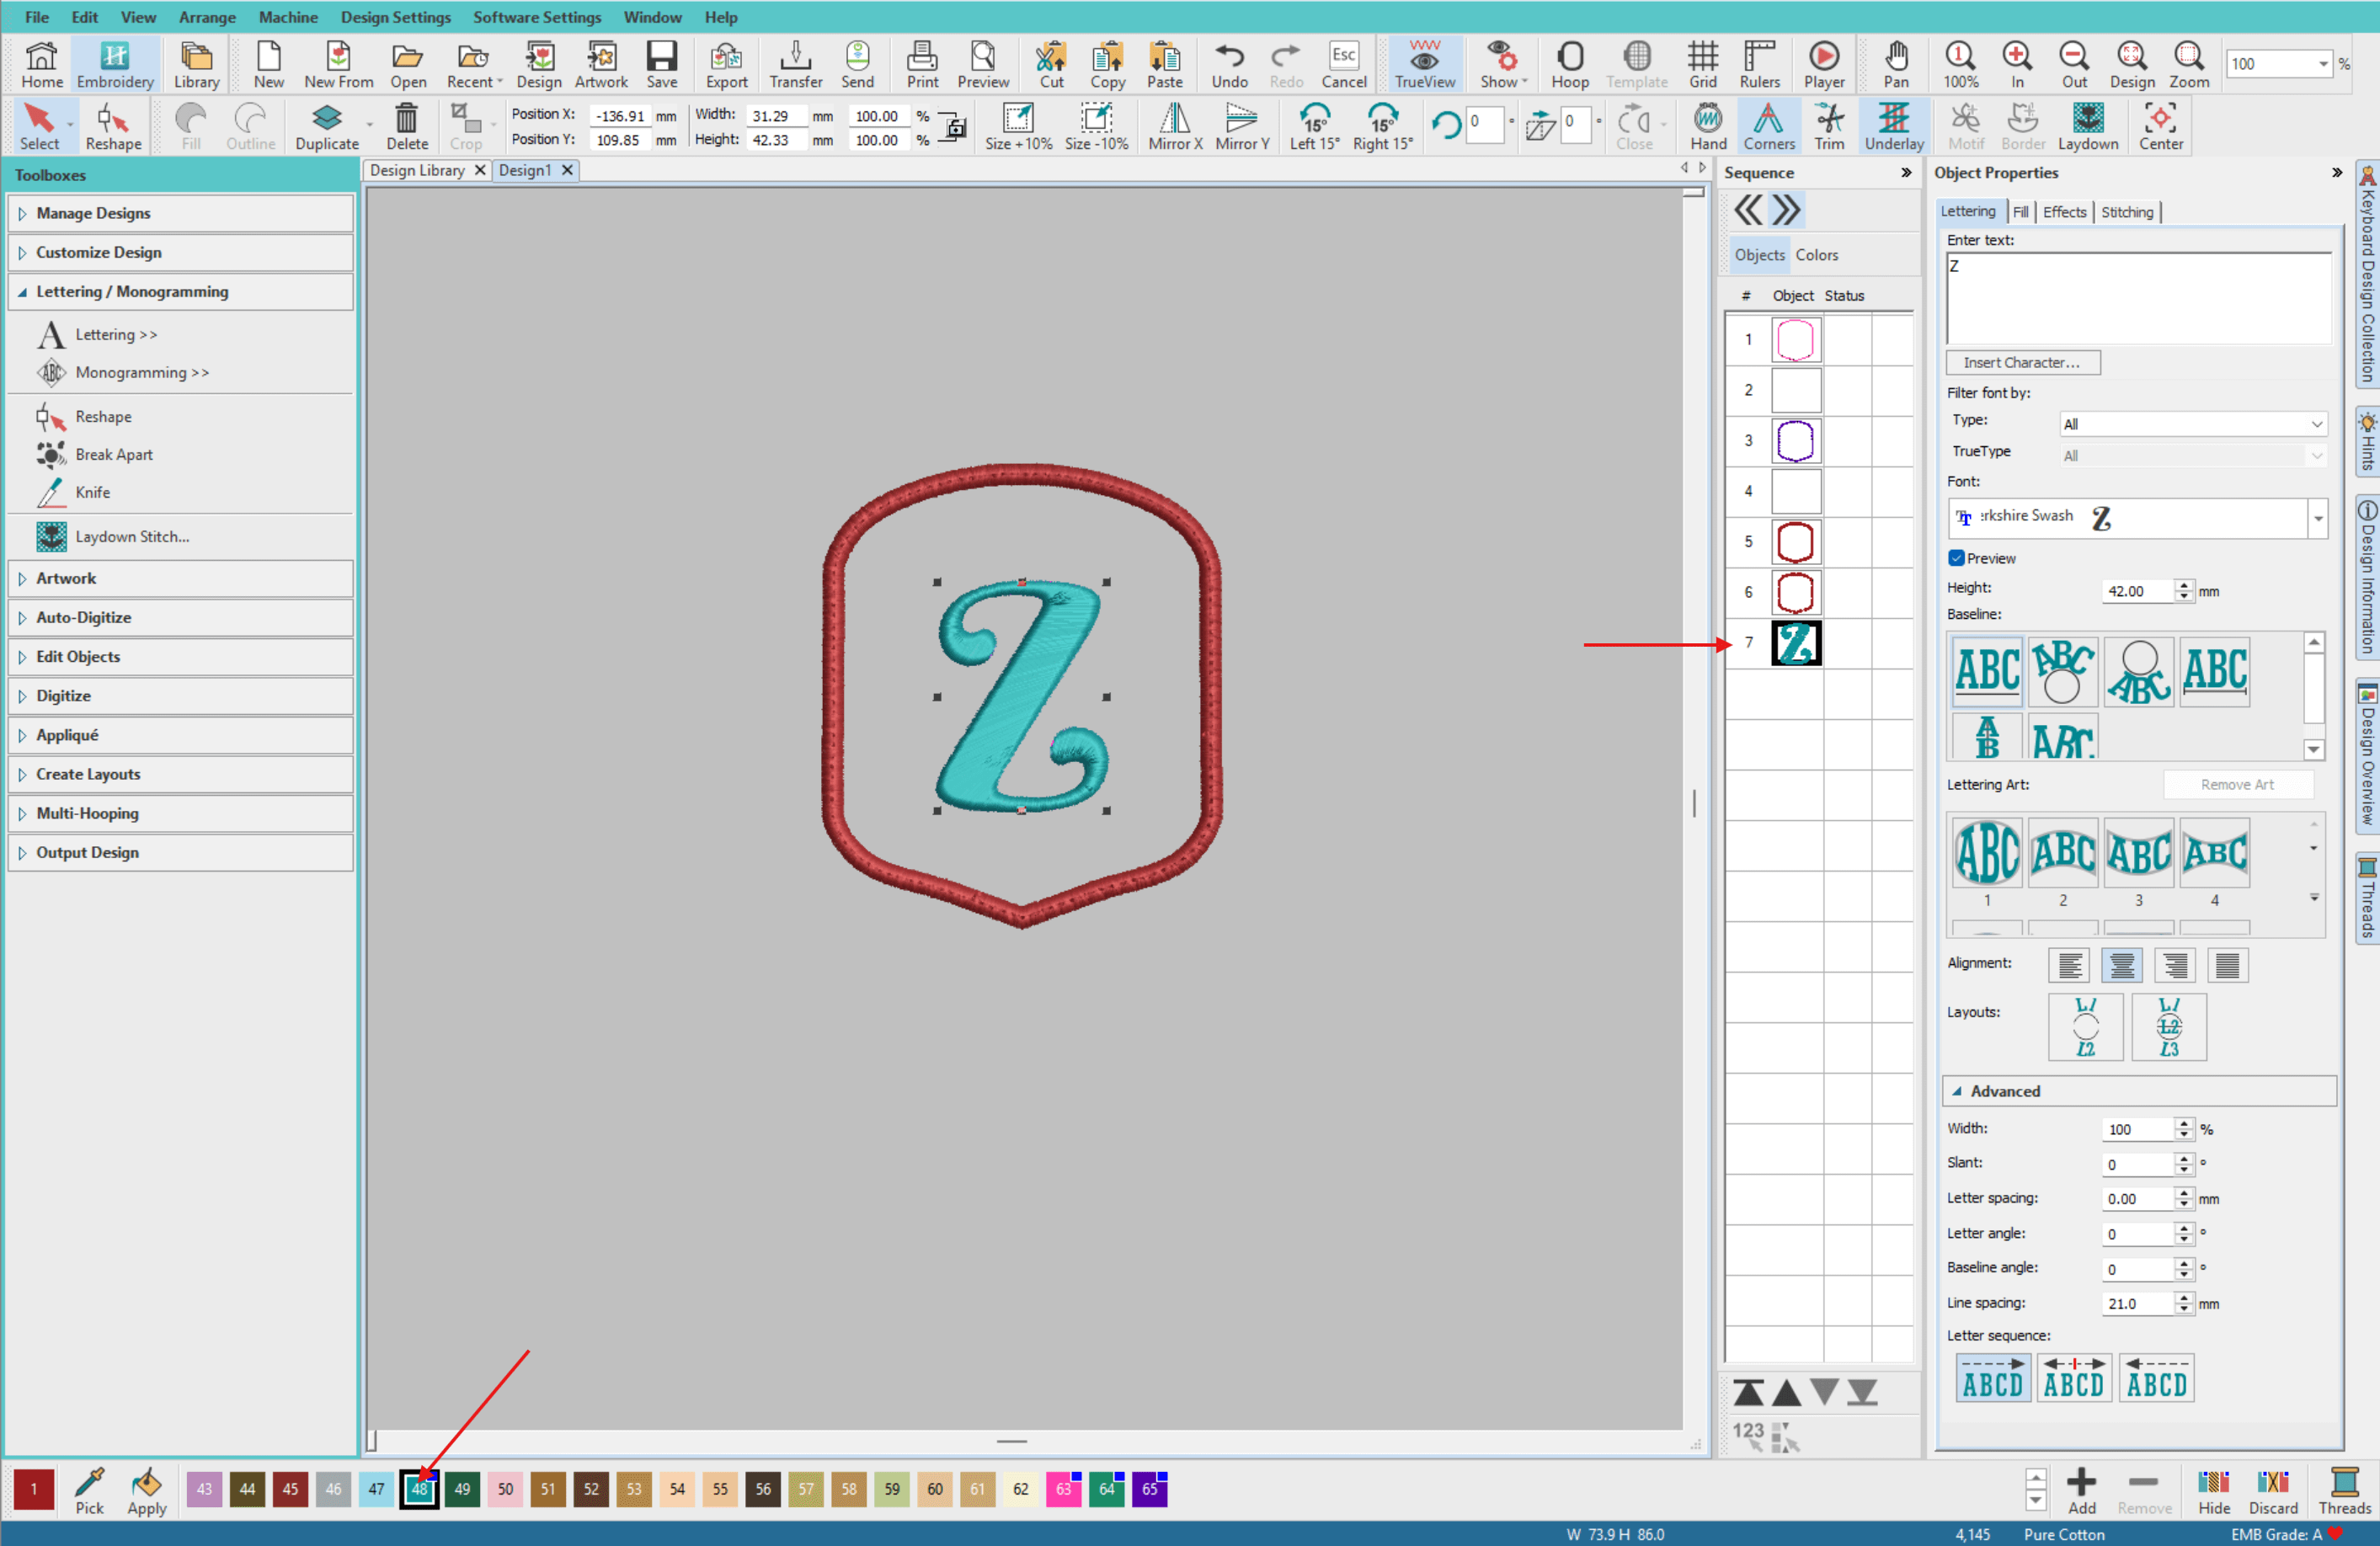
- Select the ZigZag Stitch and change its colour too. This will again stop the machine from stitching so you can change the thread colour if you wish.
- Save your creation by going to File > Save Design As then export the design to send to your machine. If you are unsure on how to do this in Hatch, they have a great article here.
- If you have a Wi-Fi enabled Brother machine you can send the file to your machine using Brother's Design Database Transfer. Otherwise, simply copy the design to a USB to plug into your machine.
Stitch badge on embroidery machine
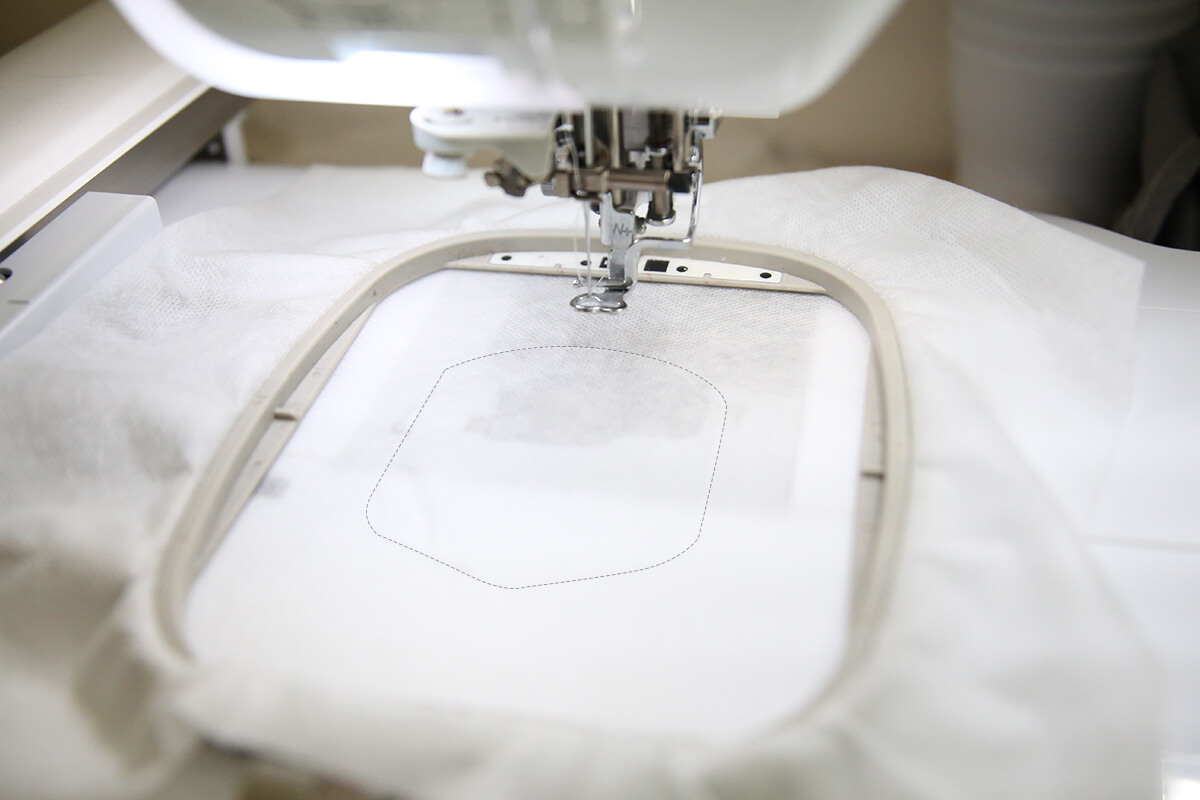
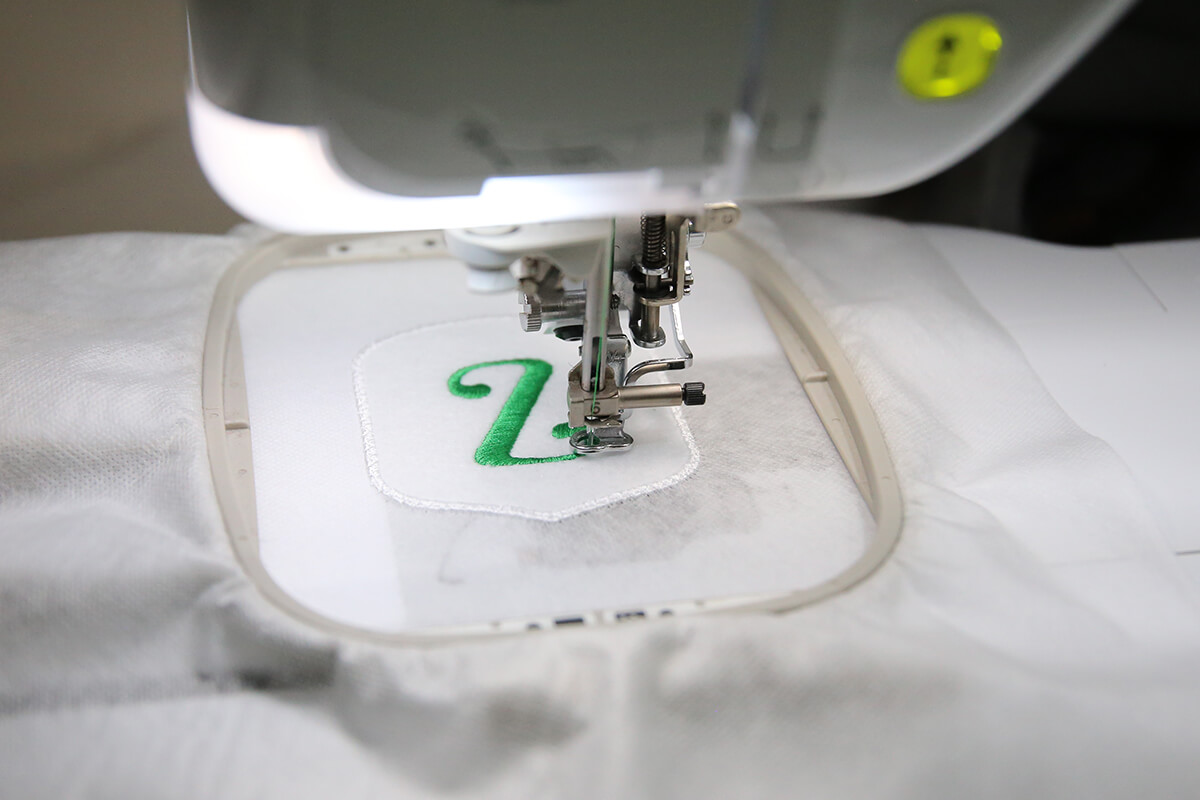
- Hoop a single layer of Washaway Stabilizer in your 100mm x 100mm (4" x 4") hoop.

- Load design in your machine.
- Thread your machine with any colour thread (this colour will be hidden and not seen in the finished project). Stitch out Placement line [COLOUR 1].
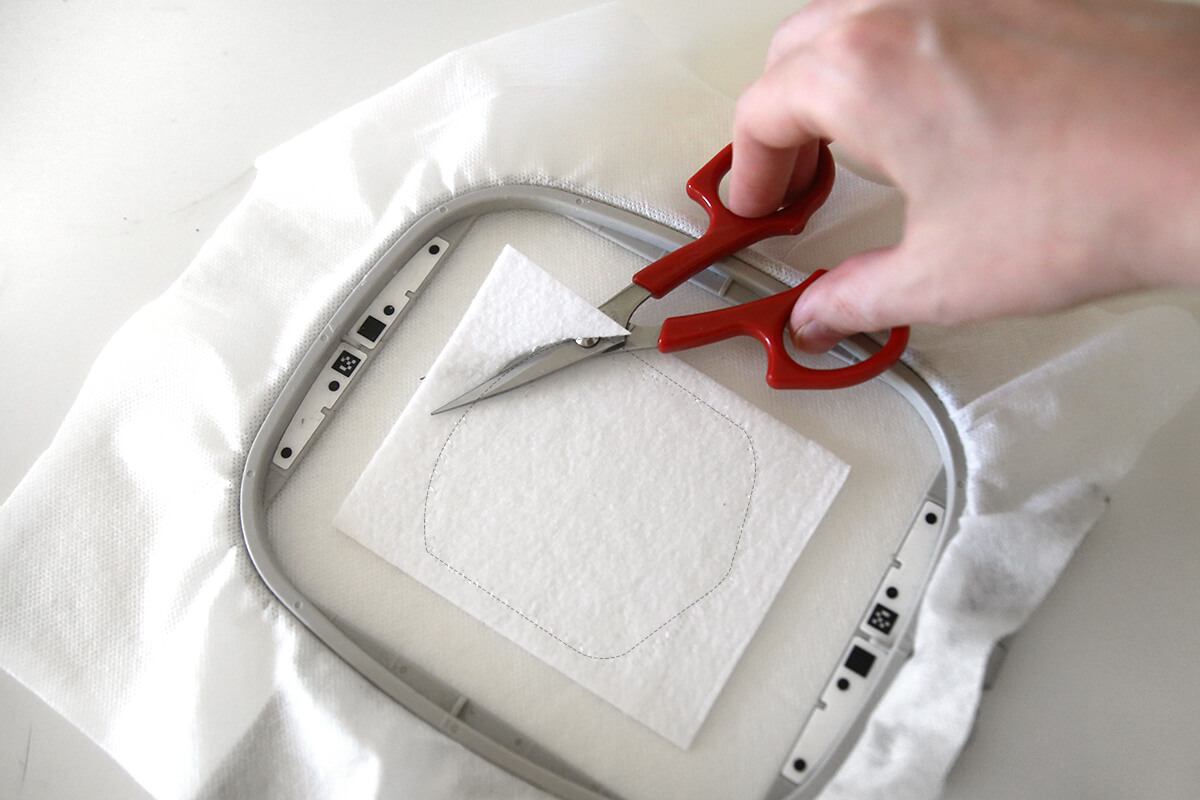
- Place your piece of Stiff Felt down making sure to cover the stitches of the placement line. Tape in place if needed.
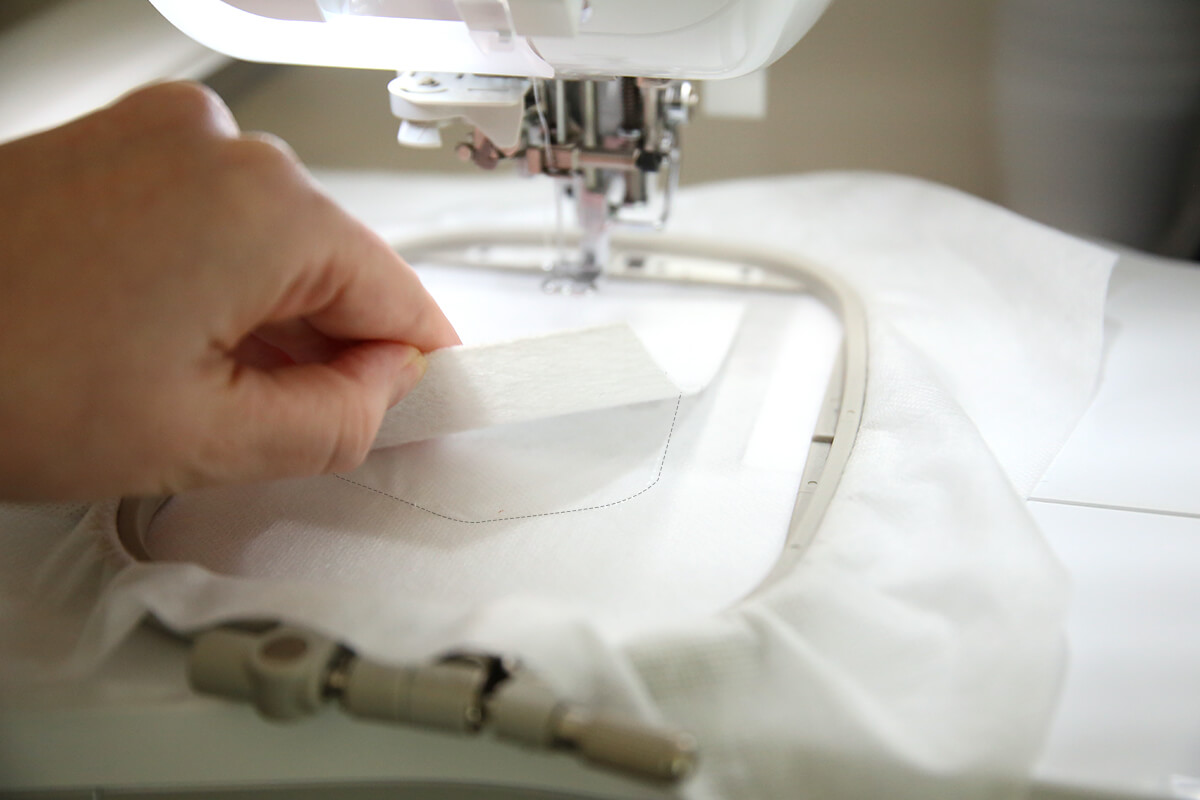
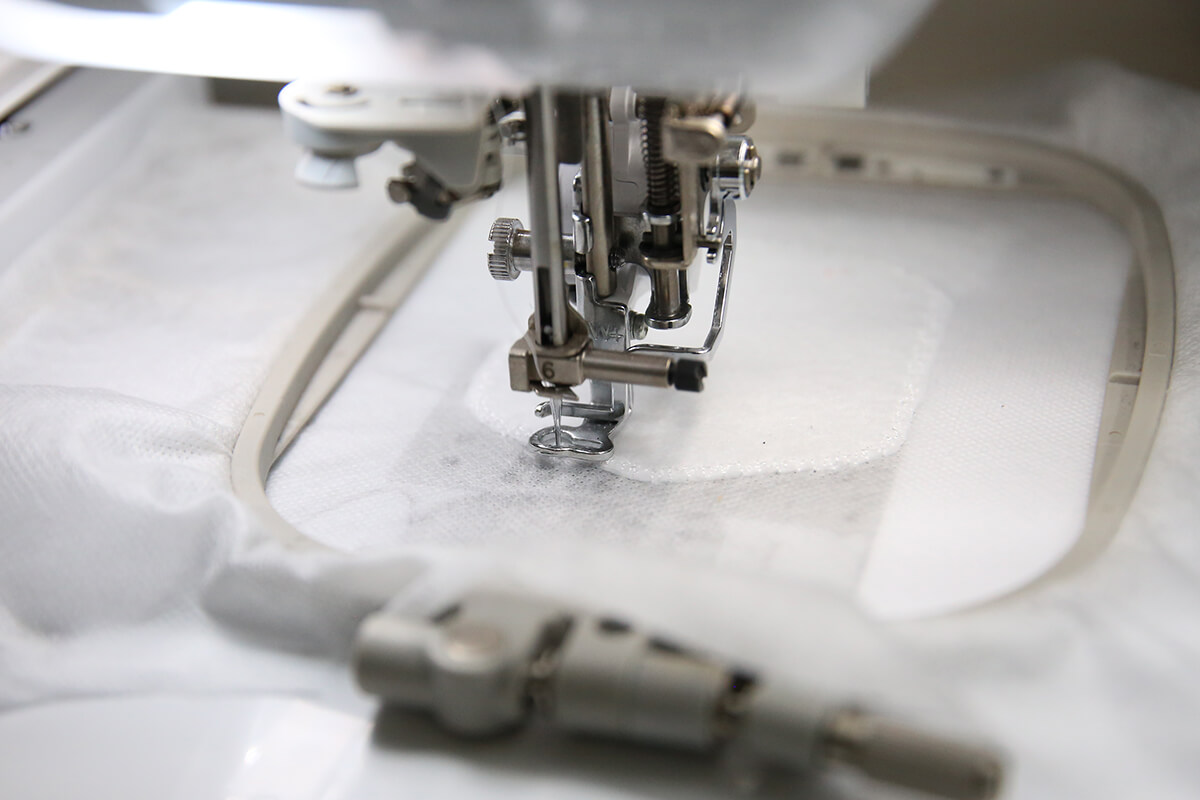
- Stitch the tack down stitch. [COLOUR 2]
- Remove the hoop from the machine, remove any tape that is holding the stiff felt in place and trim the stiff felt as close to the tack down stitch as possible using applique scissors.
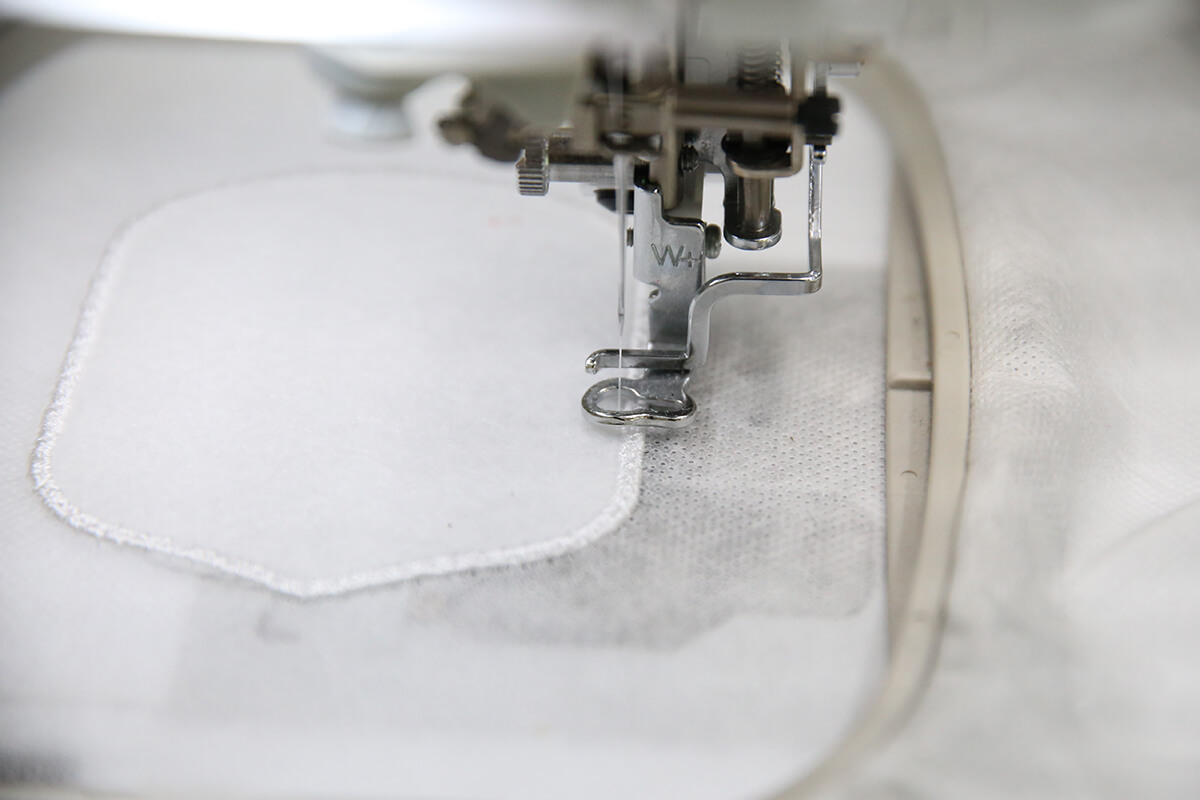
- Change the thread in your machine for the border and return the hoop to the machine and stitch the satin border. [COLOUR 3]
Note: Load a bobbin in the same colour to create a cleaner badge edge if you wish.
- Stitch the border decoration. We have chosen to do this the same colour as the border. [COLOUR 4]
- Change the thread in your machine to be the colour you wish to have for the letter/initial and proceed with stitching the letter. [COLOUR 5]
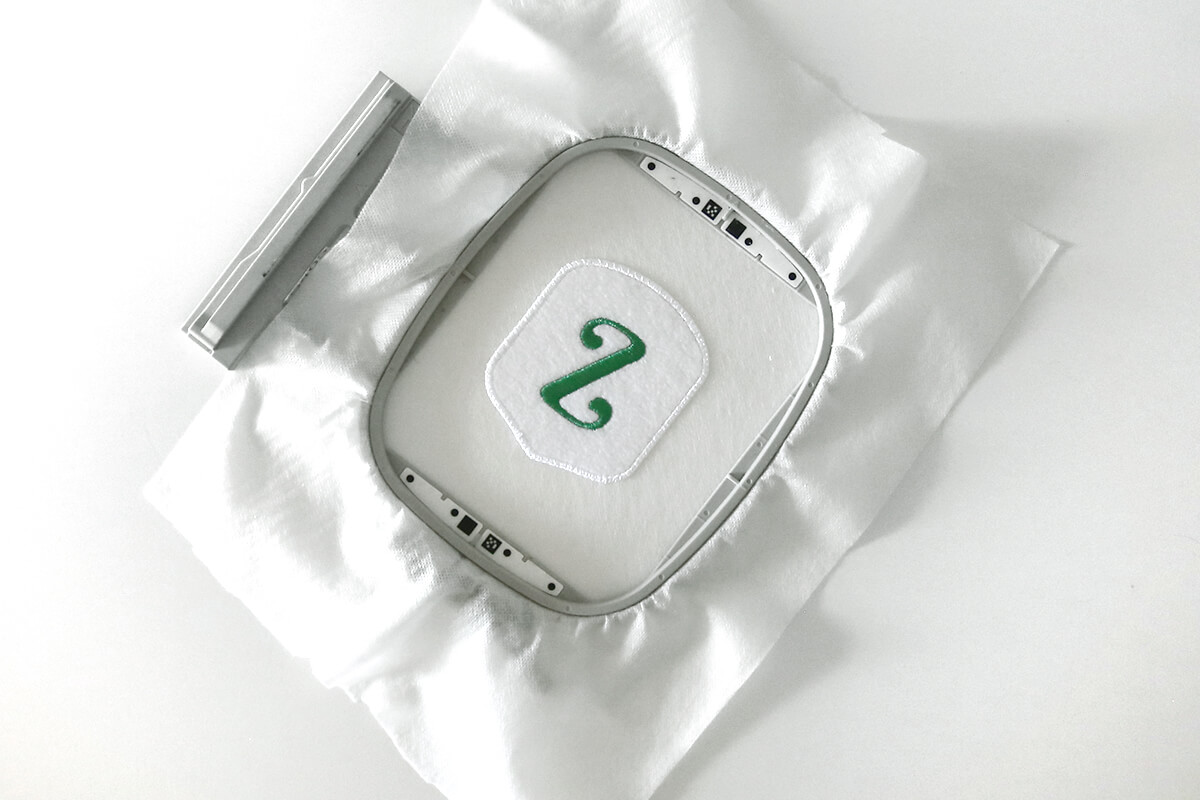
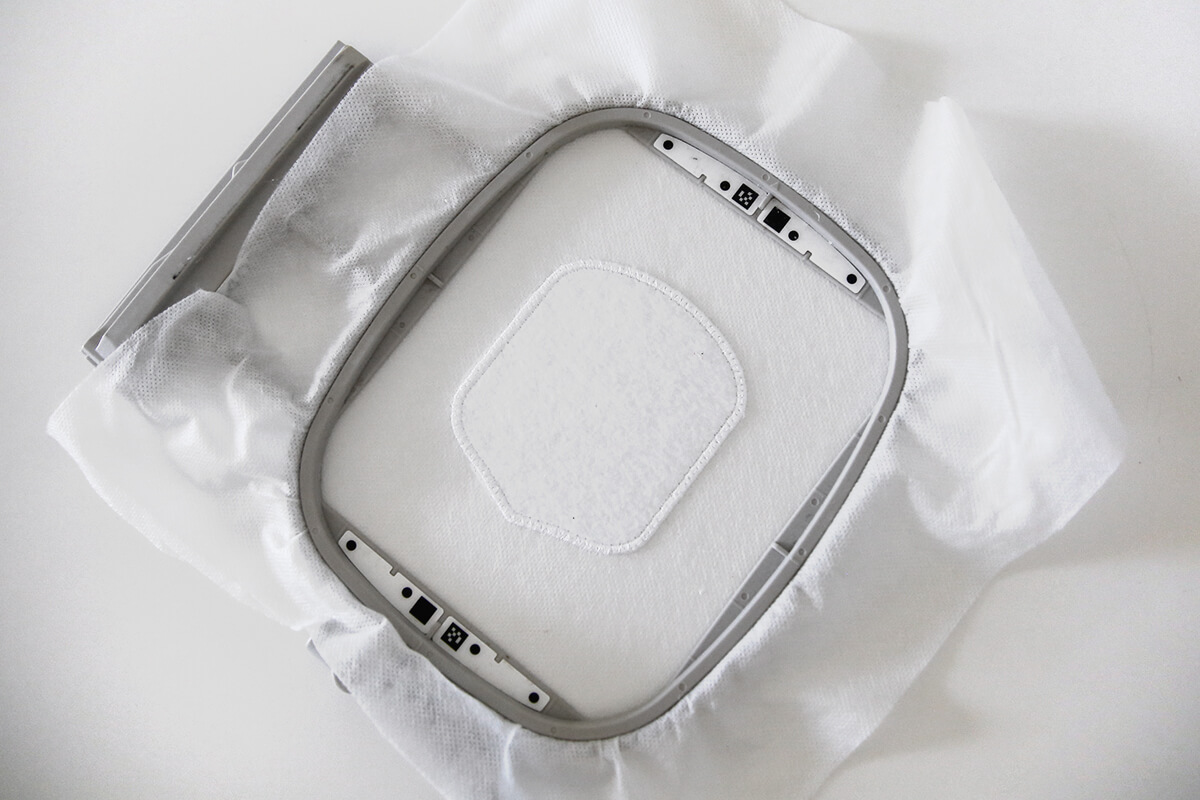
- Remove project from the hoop and cut away the excess washaway.
Tip: Use a paintbrush and wet the washaway stabilizer around the edge of the badge, this will cause the washaway to dissolve and leave you with a badge.
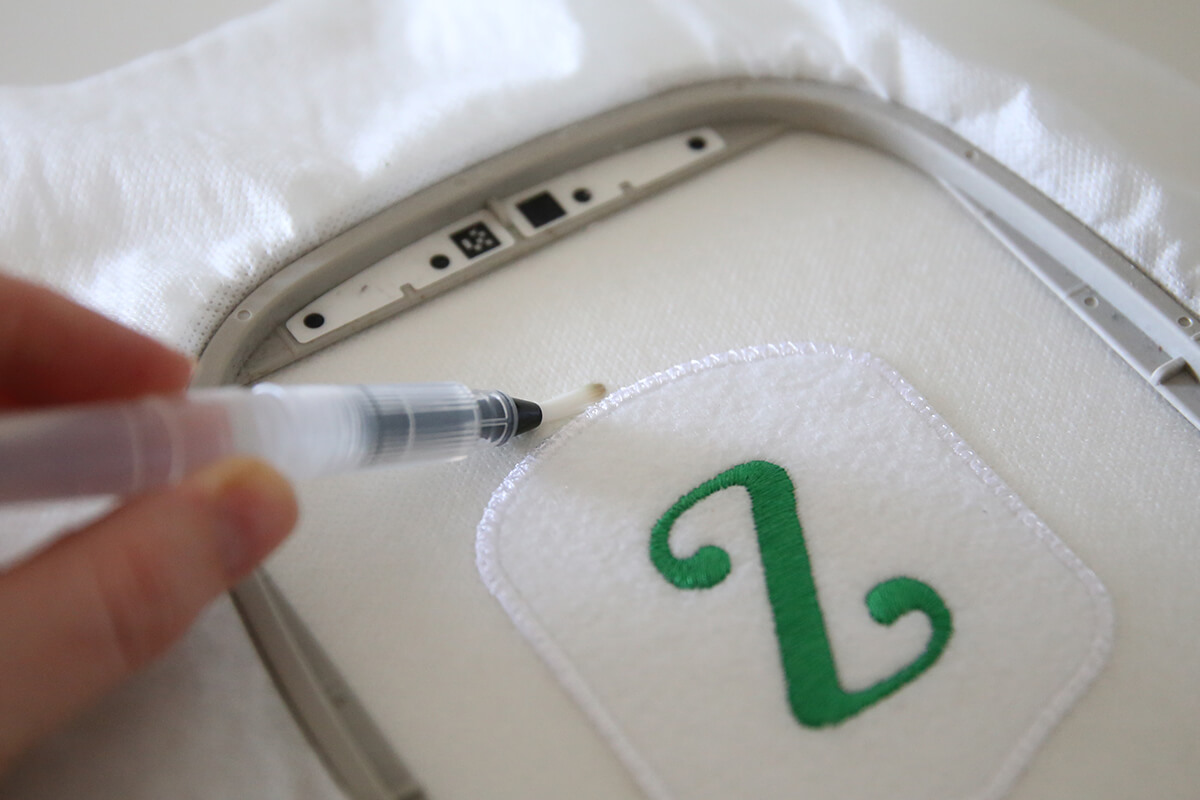
- (Optional) Soak the completed badge in warm water for a minute or two to remove any remaining washaway and allow it to dry flat.
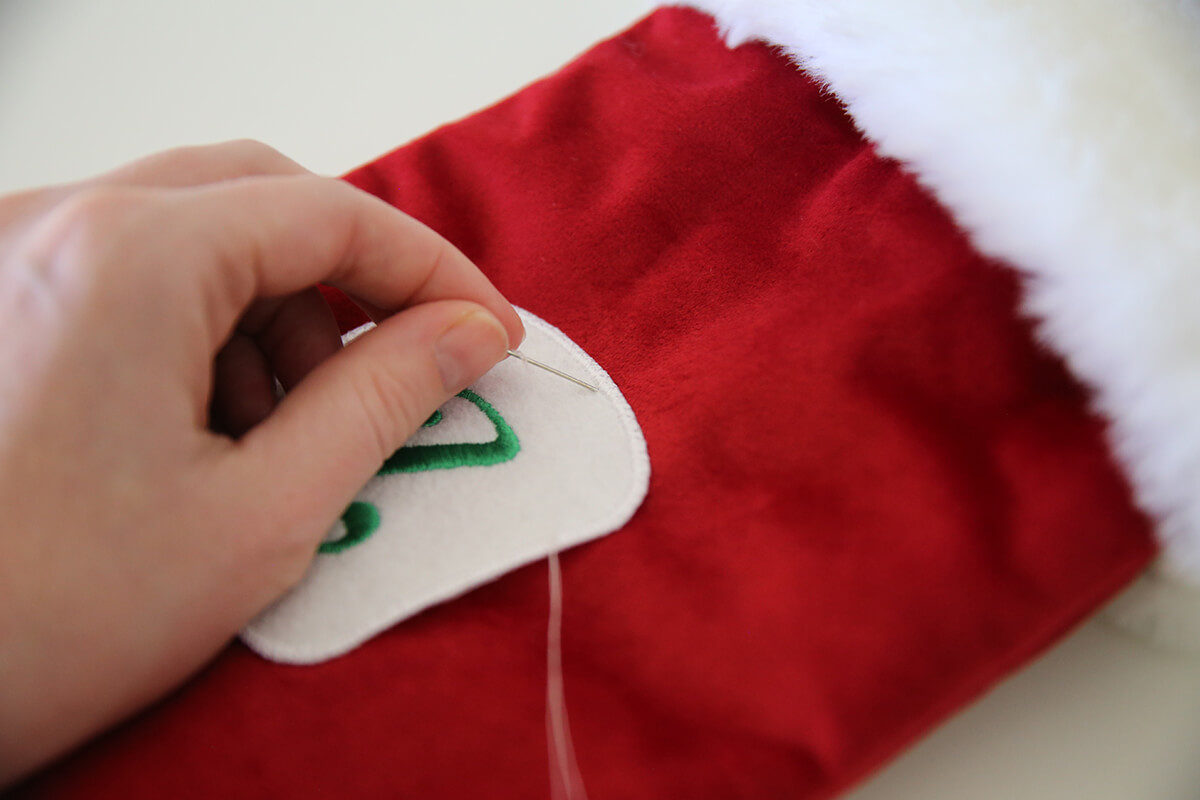
- Audition the placement of the badge on your stocking and attach the badge with either a needle and thread, hot glue or you can follow this tutorial on how you can use Hot Melt Film to affix the badge.
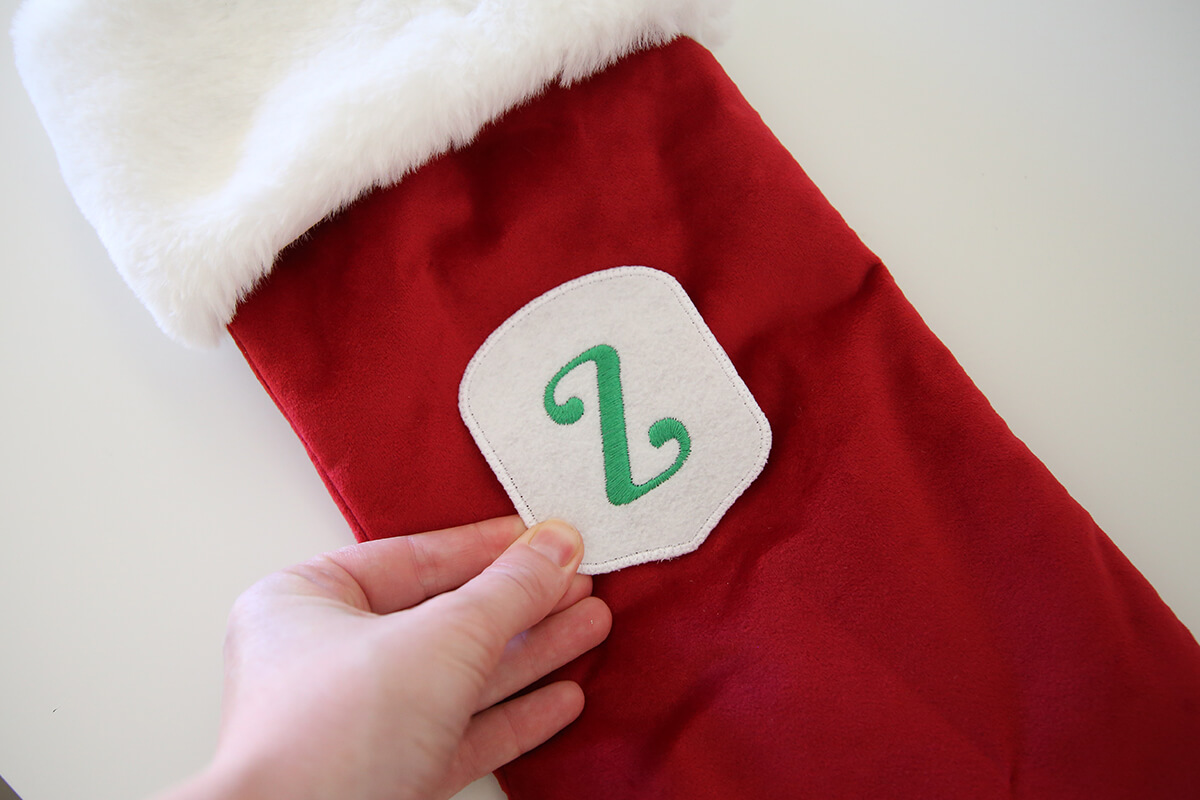
- Hang your stocking ready to be filled.
Don’t forget to show us your finished projects on Instagram or Facebook #echidnasewing #madebyme
Free Embroidery Designs
We're excited to offer our free Echidna designs available for download. These free designs are perfect for those at a beginner or an advanced level. Add these designs to your stash and create incredible embroidery!
View all free designs >
Sewing, Quilting and Embroidery Machines
Interested in learning how to sew, quilt or embroider? Take a look at the innovative Brother machines available for purchase at Echidna Sewing. Wherever possible we will beat any deal and you will always receive ongoing service and support!
Find out more >
Learn to Sew or Embroider with Echidna Sewing
Come along to our fun-filled classes to learn more about sewing, embroidery and crafting. Classes cater for all skill levels, whether you're just starting out or already have advanced knowledge.
Find out more >
Echidna project material/ fabric requirements are an indication only and can seem to be generous. This has been intentional. Should you make a cutting or embroidery mistake you will have sufficient fabric to rectify your error.


