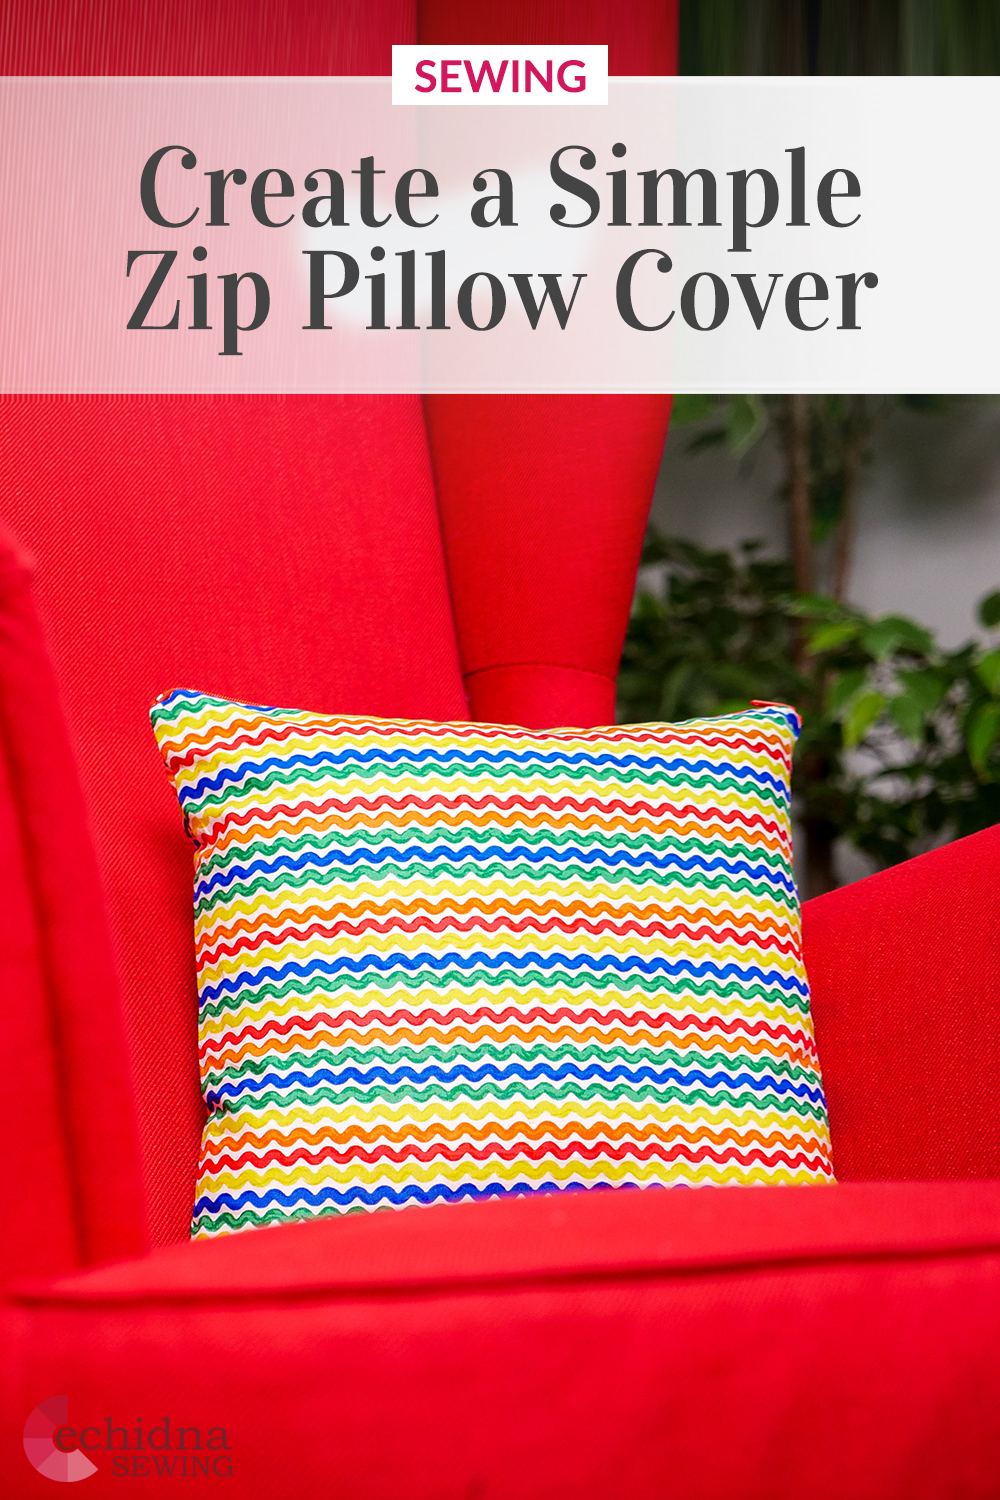
Simple zip cushion cover
Date Posted:8 November 2023
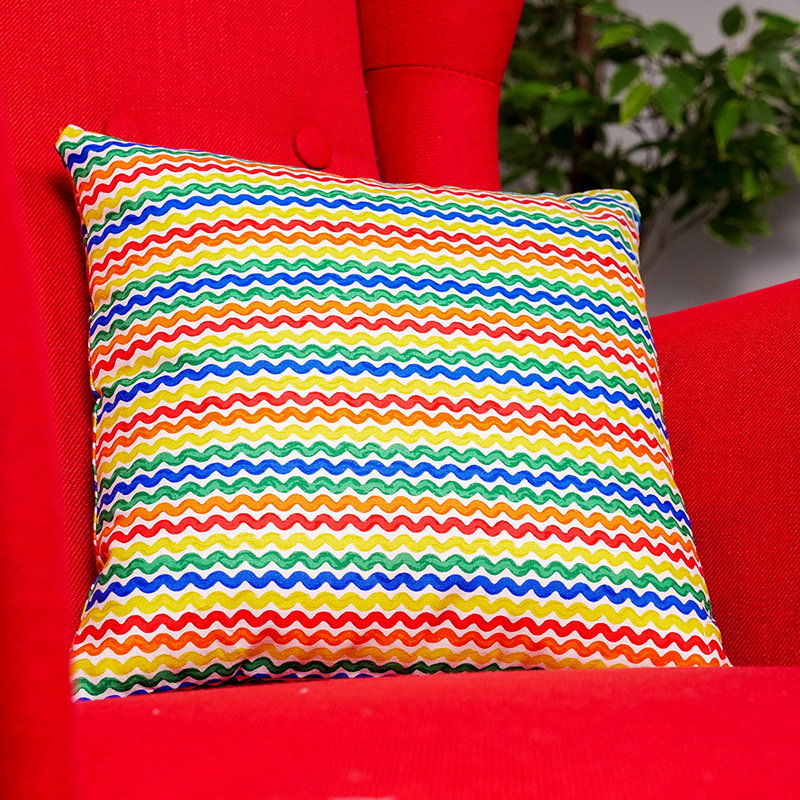
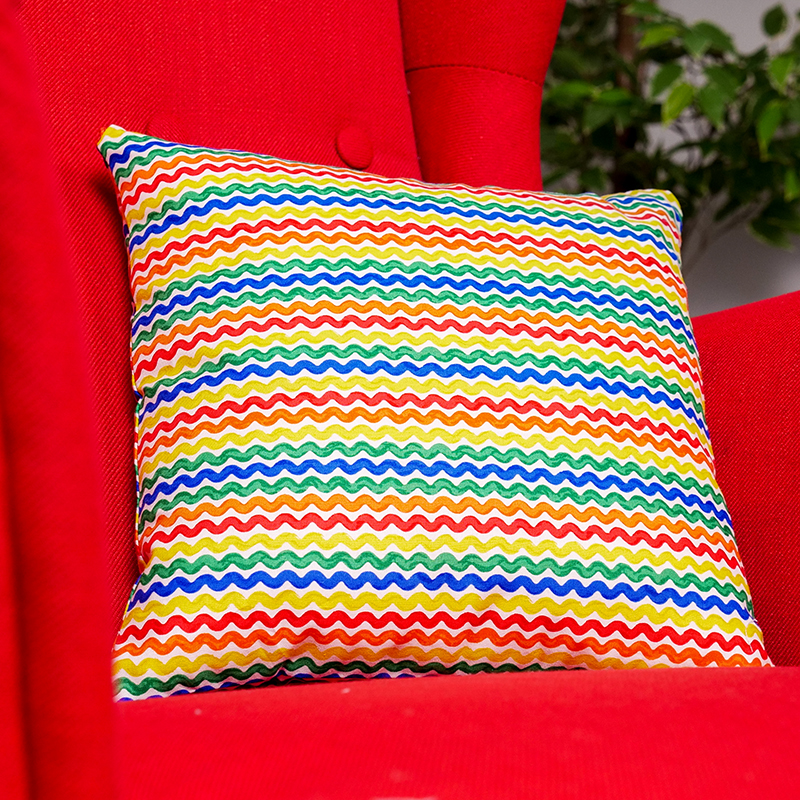
If you’re wanting to add a touch of personalisation to your home decor, creating pillowcases for your throw pillows in your choice of fabric is a great way to do so. There are endless options for you to be unique. We recommend using a cotton fabric for a simple version but you can change the fabric up to velvet or sequins for a more advanced sewist.
This project is great for all sewing levels, from beginner to advanced.
What you'll need:
- Sewing machine
- Rasant thread (To match your fabric)
- Fabric: 1 piece of 15" x WOF (one fabric for both sides or use 2 different fabrics for either side)
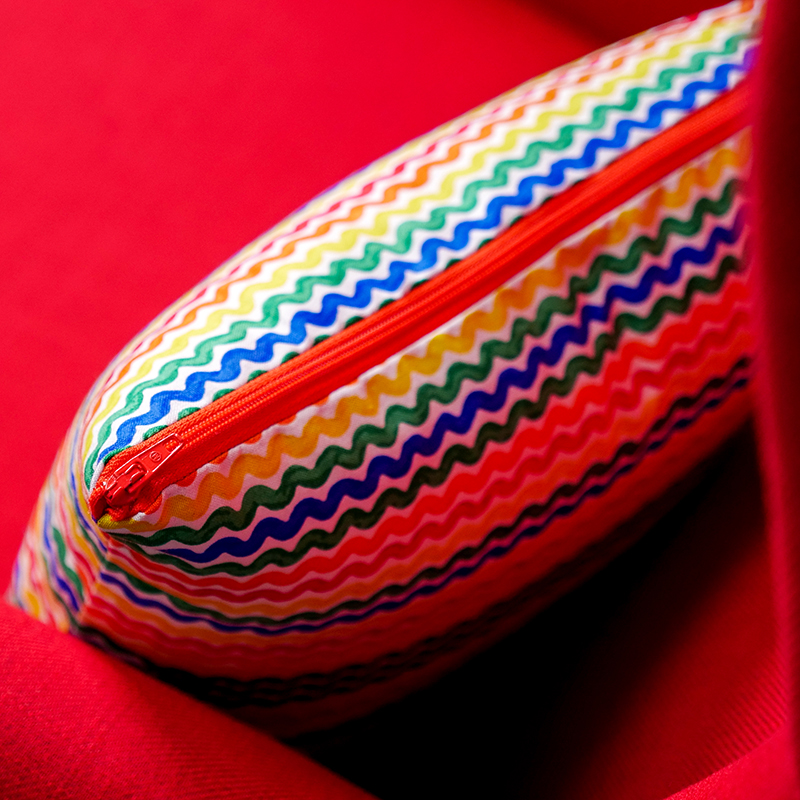
- Nylon zip (we recommend using a zip roughly 1-2" bigger than your pillow)
- Sewing scissors
- Ruler & measuring tape
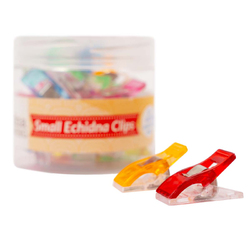
- Pins and small clips
- Zipper sewing foot
- ¼” sewing foot
- Universal sewing needles 90/14
- Iron & ironing board
- Optional: Overlocker
Tips:
- Don't have an overlocker? Use a built-in zig zag stitch on your machine to finish off the edges to stop the fabric from fraying.
- Make sure you have the correct amount of fabric and correctly sized zip for your desired pillow. This tutorial covers a 14” square size pillow. If your pillow is bigger or smaller, you will need the respective sized zip and fabric. We have a list of measurements required for popular pillow inserts in Australia here →
Step Overview
The steps below are just an overview of the project instructions and must be used in conjunction with the tutorial video. Print these steps out to have beside you when watching the video as a reminder.
- Measure your desired pillow (length and width, and add ½” onto each measurement for seam allowance. For example, our pillow measurents are: 13” + 0.5” = 13.5” x 13.5”.
- Cut 2 pieces from your chosen fabrics in the required dimensions.
- Overlock each edge to prevent the fabric from fraying (If you don’t have an overlocker, you can skip this step or use a zig-zag stitch).
- Align your zipper on the short side (or any side if your pillow is square) of one of your fabric pieces, right sides together.
- Sew your zip onto the first fabric piece using your zipper foot and a straight stitch.
- Repeat steps 4 and 5 with the other side of your zipper and your other piece of fabric.
- Press the seams flat with your iron.
- Optional: Top stitch both zipper seams.
- Fold your pillowcase in half, with the zipper on one edge and your fabric right sides together. Make sure your zipper is at least half open.
- Pin or clip to secure.
- Sew together the two sides and bottom of the pillow case together with a straight stitch and a ¼” seam allowance. Make sure you go all the way up through the ends of your zipper.
- Square off the corners to make them nice and pointy when turned right side out.
- Turn pillowcase right side out.
- Press all seams flat with your iron.
- Finish by putting your desired pillow insert into your newly made pillowcase.
- All done!
Popular Pillow Sizes
|
Centimeters
|
Inches
|
Inches/Centimeters
|
|||
|---|---|---|---|---|---|
|
Size
|
Fabric Needed
|
Size
|
Fabric Needed
|
Zip Length Required
|
|
| Square | |||||
| 20cm x 20cm | 25cm x 25cm | 8" x 8" | 10" x 10" | 10” (25cm) | |
| 40cm x 40cm | 45cm x 45cm | 16" x 16" | 18" x 18" | 18” (45cm) | |
| 45cm x 45cm | 50cm x 50cm | 18" x 18" | 20" x 20" | 20” (50cm) | |
| 50cm x 50cm | 55cm x 55cm | 20" x 20" | 22" x 22" | 22” (55cm) | |
| 55cm x 55cm | 60cm x 60cm | 22" x 22" | 24" x 24" | 24” (60cm) | |
| 60cm x 60cm | 65cm x 65cm | 24" x 24" | 26" x 26" | 26” (65cm) | |
| 66cm x 66cm | 70cm x 70cm | 26" x 26" | 28" x 28" | 28” (70cm) | |
| 70cm x 70xm | 75cm x 75cm | 28" x 28" | 30" x 30" | 30’ (75cm) | |
| Rectangle | |||||
| 25cm x 50xm | 30cm x 55cm | 10" x 20" | 12" x 22" | 12” (30cm) | |
| 30cm x 50cm | 35cm x 55cm | 12" x 20" | 14" x 22" | 14” (35cm) | |
| 35cm x 50cm | 40cm x 55cm | 14” x 20” | 16” x 22” | 16” (40cm) | |
| 35cm x 60cm | 40cm x 65cm | 14” x 24” | 16” x 26” | 16” (40cm) | |
| 51cm x 66cm | 55cm x 71cm | 20” x 26” | 22” x 28” | 22” (55cm) | |
| 51cm x 76cm | 55cm x 81cm | 20” x 30” | 22” x 32” | 22” (55cm) | |
| 51cm x 92cm | 55cm x 97cm | 20” x 36” | 22” x 38” | 22” (55cm) | |
| 51cm x 137cm | 55cm x 142cm | 20” x 54” | 22” x 56” | 22” (55cm) | |
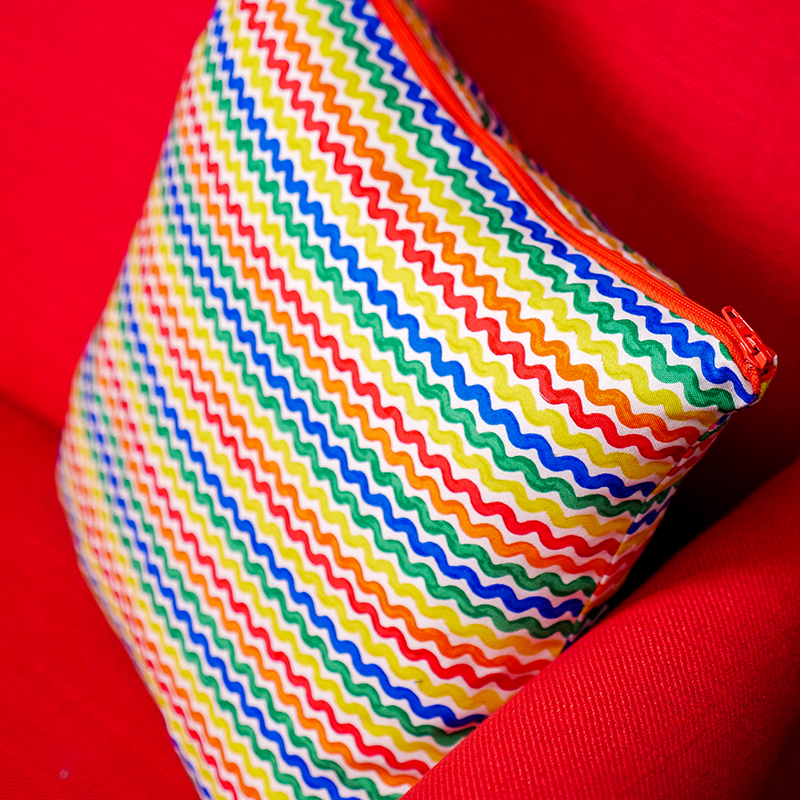
Don’t forget to show us your finished projects on Instagram or Facebook #echidnasewing #madebyme

Free Embroidery Designs
We're excited to offer our free Echidna designs available for download. These free designs are perfect for those at a beginner or an advanced level. Add these designs to your stash and create incredible embroidery!
View all free designs >

Sewing, Quilting and Embroidery Machines
Interested in learning how to sew, quilt or embroider? Take a look at the innovative Brother machines available for purchase at Echidna Sewing. Wherever possible we will beat any deal and you will always receive ongoing service and support!
Find out more >

Learn to Sew or Embroider with Echidna Sewing
Come along to our fun-filled classes to learn more about sewing, embroidery and crafting. Classes cater for all skill levels, whether you're just starting out or already have advanced knowledge.
Find out more >
Echidna project material/ fabric requirements are an indication only and can seem to be generous. This has been intentional. Should you make a cutting or embroidery mistake you will have sufficient fabric to rectify your error.

