All Projects


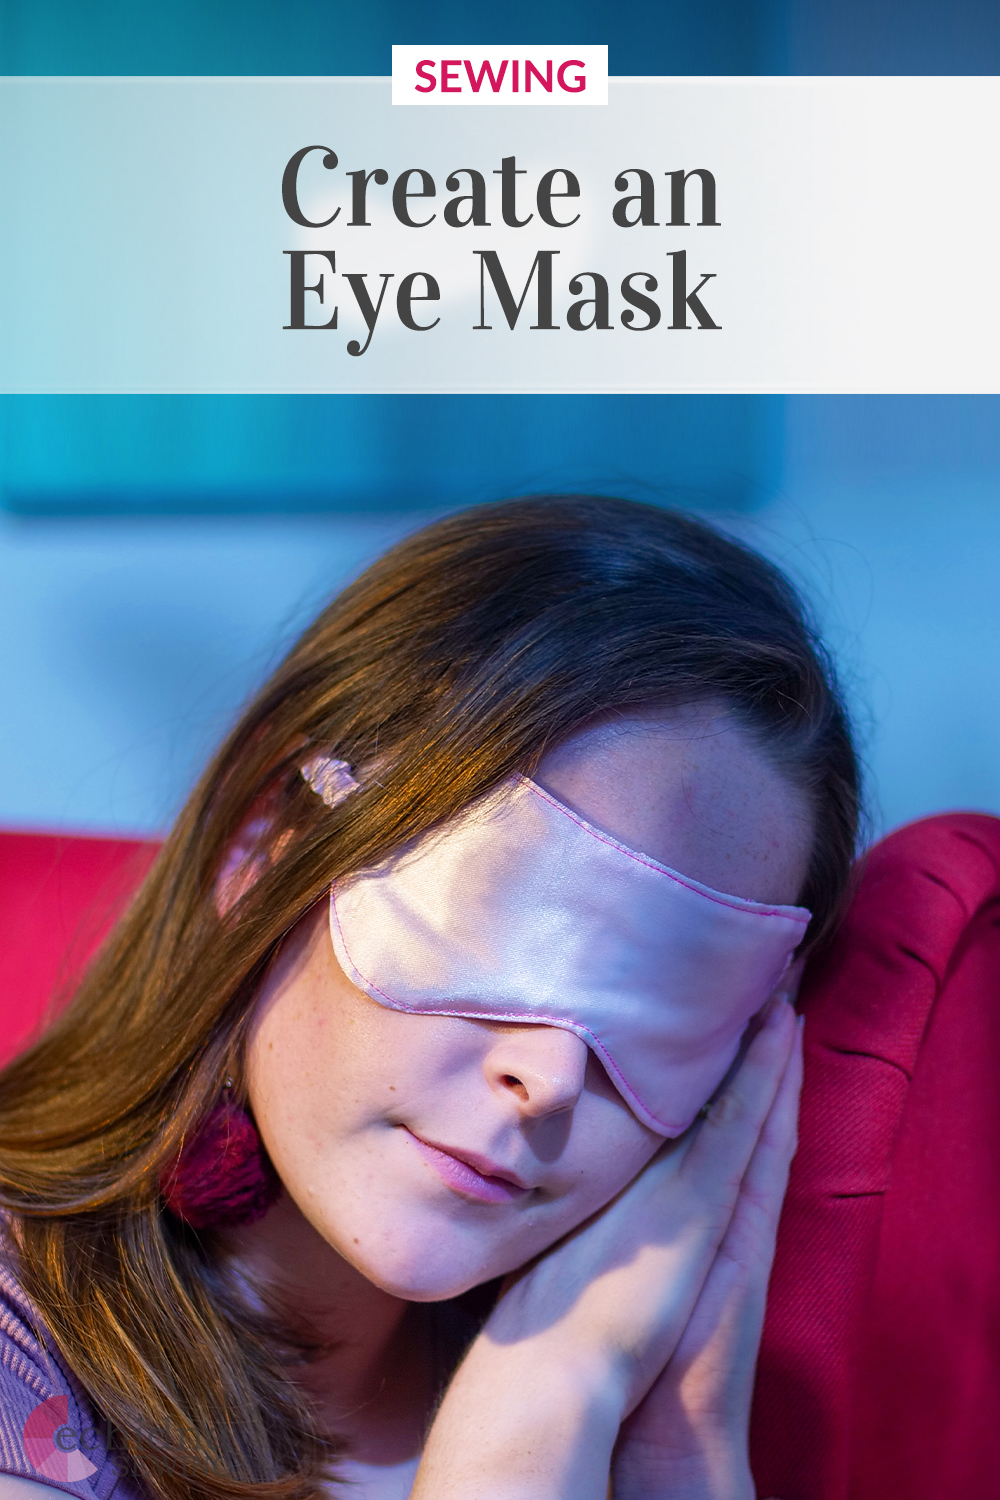
Eye Mask
Date Posted:14 June 2022
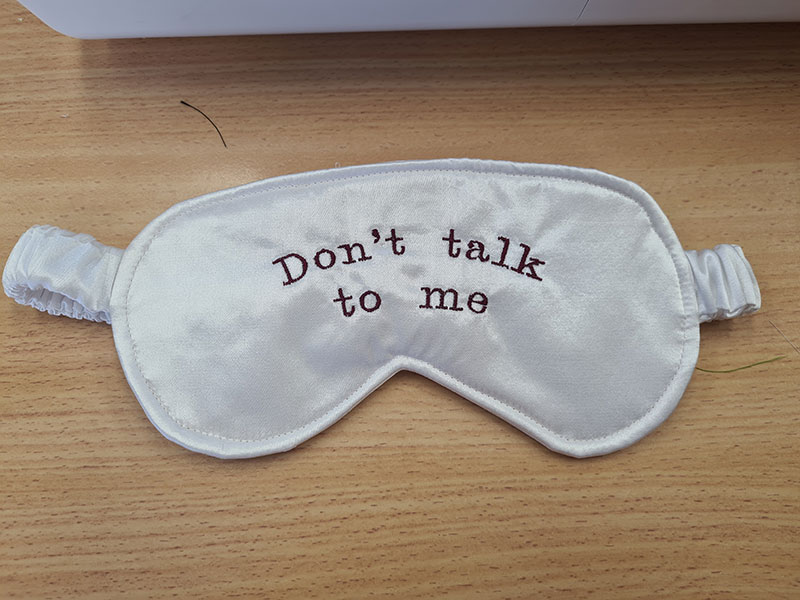
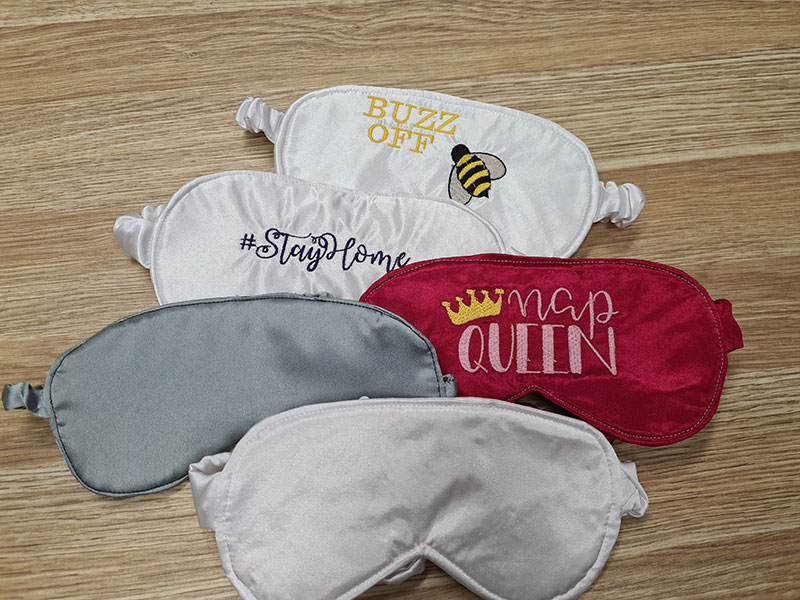
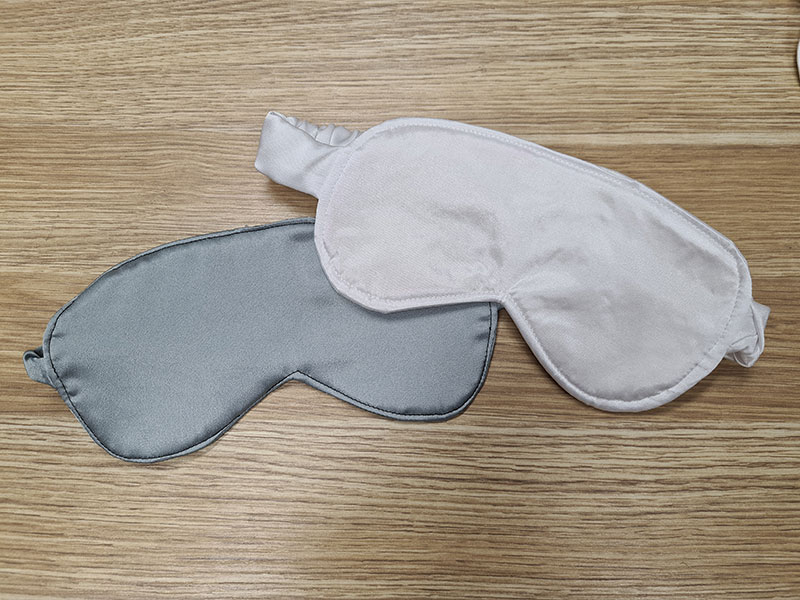
This eye mask is very simple to make and is a great introduction into using elastic, as well as getting used to different fabrics such as silk and satin. These eye masks make great gifts and are super soft on the eyes when you’re sleeping.
Don’t forget to show us your finished projects on Instagram or Facebook #echidnasewing #madebyme
Machines Used
- Brother NV50S Sewing Machine
What you'll need:
- Pattern →
- Sewing machine
- Fabric (WOF 15" in your colour choice)
- Fusible interfacing - lightweight
- Rasant thread (to match your fabric)
- Batting or wadding
- Sewing scissors
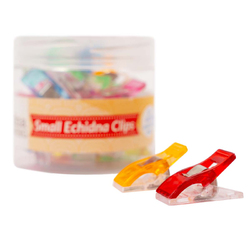
- Pins or small clips
- Safety pin
- Ruler
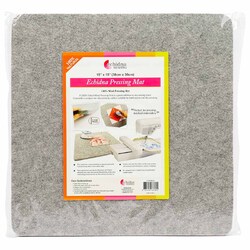
- Iron and wool pressing mat
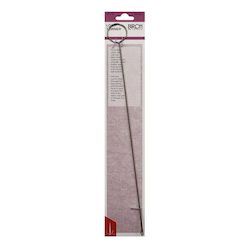
- Loop turner
- 15mm elastic
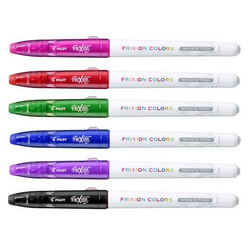
- Frixion pen or water soluble pen
In this tutorial we will be using a lightweight satin for our mask. If you wanted to create something a bit more modern, try using fun printed cotton on the outside, and satin on the inside. We will be using braided elastic, fusible interfacing and a 3mm wadding/batting as well. I find that a wider elastic works a lot better and sits nicer around my head. If you want to use a thinner elastic, just make your band 2x the width of your elastic + 0.75” for seam allowance. For example, if you have a 10mm elastic, you would multiply by 2 = 20mm (2cm) + 0.75” (1.9cm) = 3.9cm wide.
Instructions:
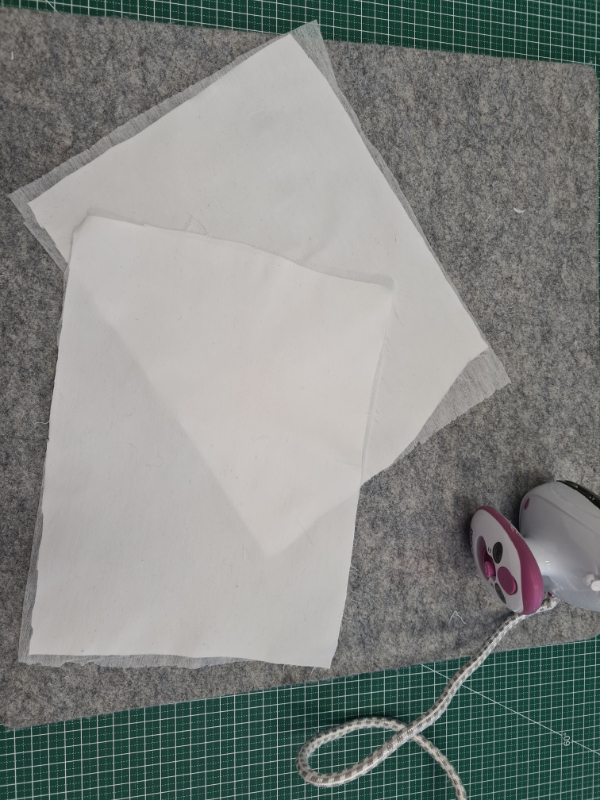
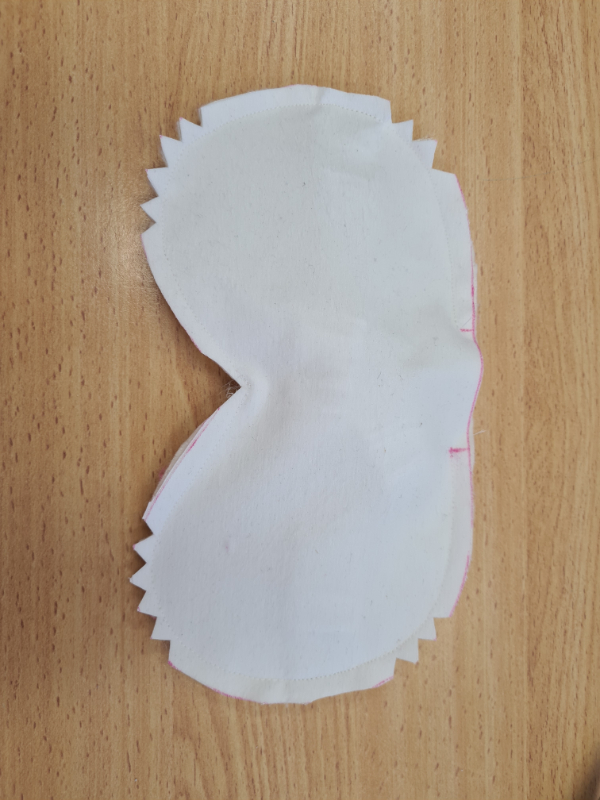
2. Cut two 10” x 5” rectangles from your satin and your fusible interfacing.
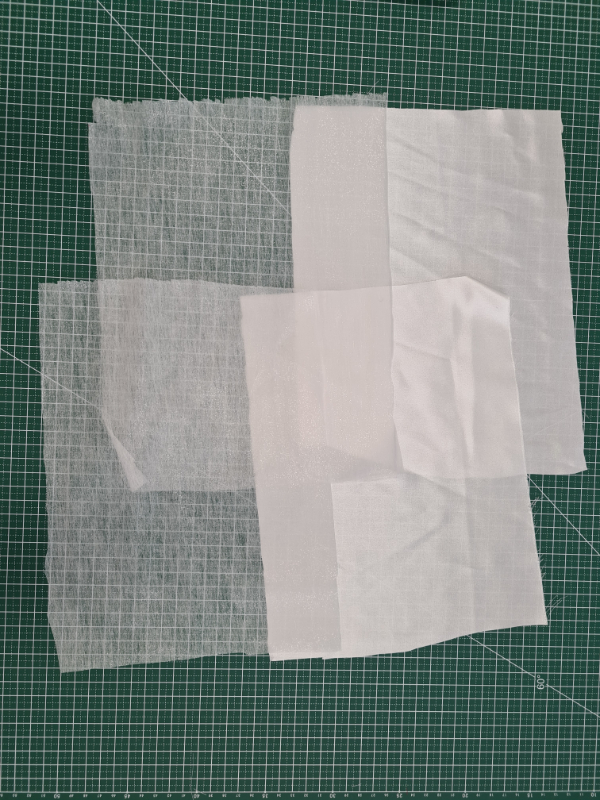
3. Fuse the interfacing on the wrong side of the satin rectangles.
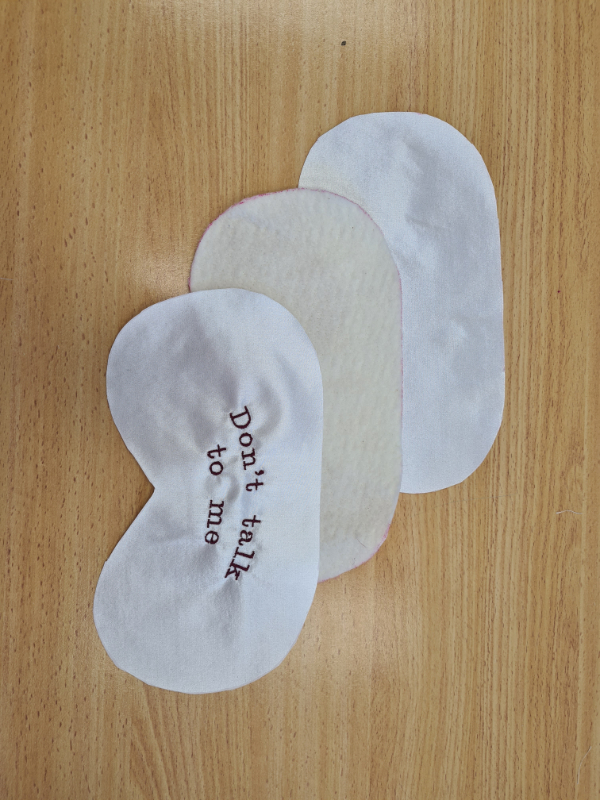
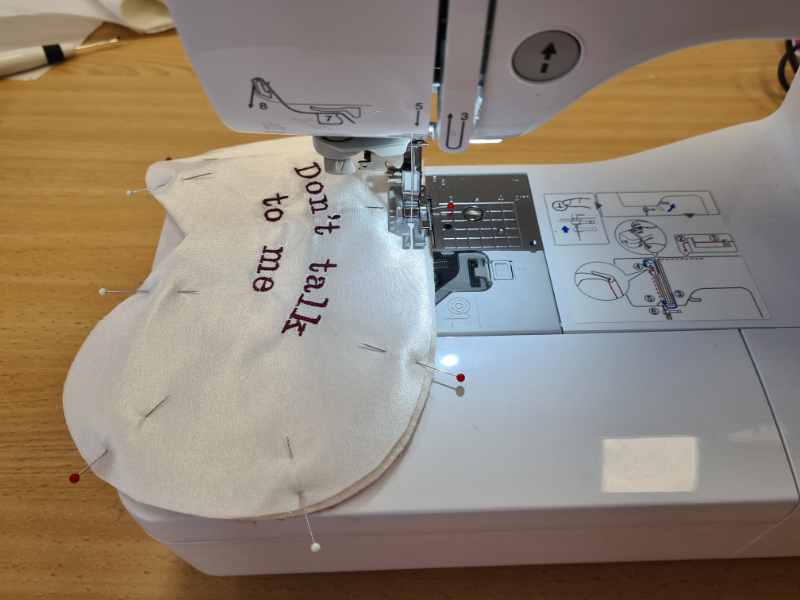
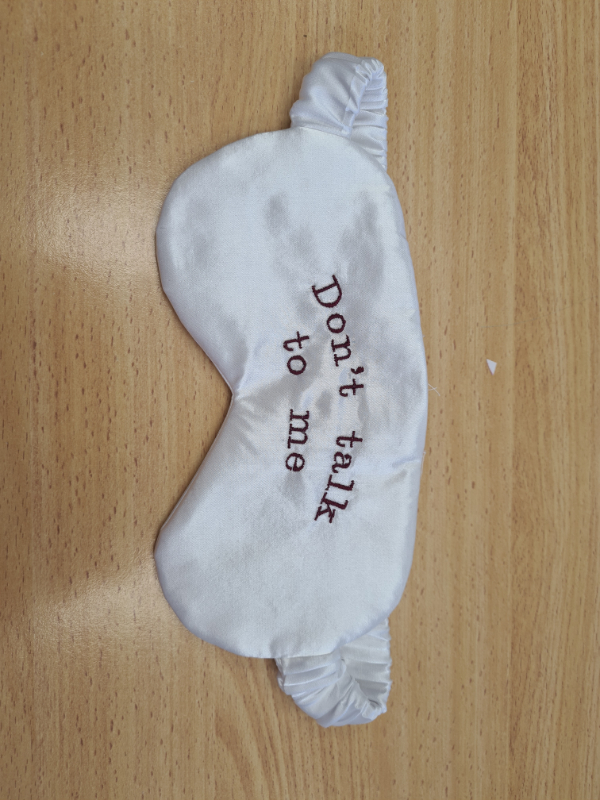
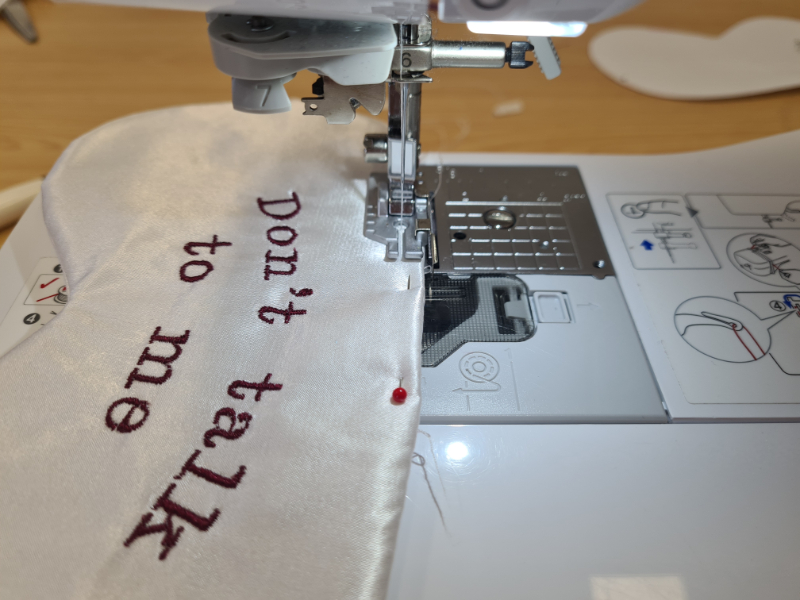
Note: If you are adding embroidery, do so here.
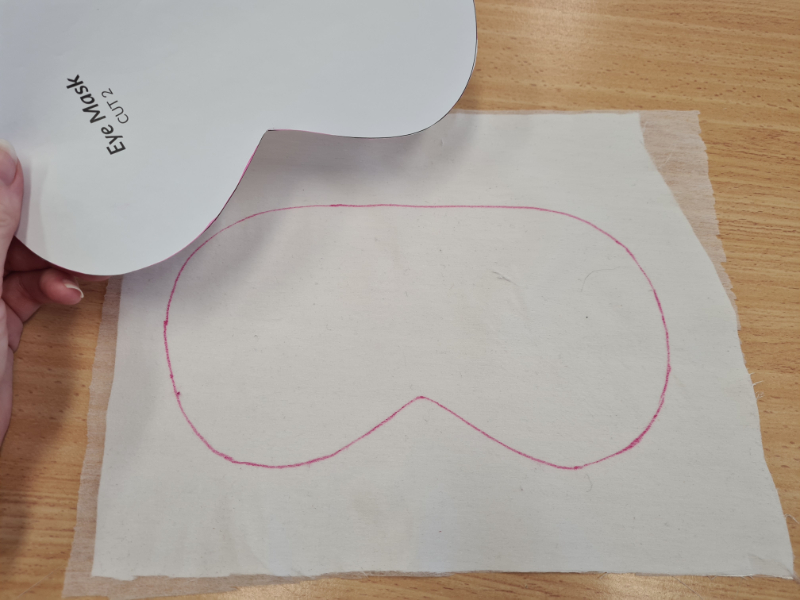
4. Cut out 2 eye mask pattern pieces from your satin rectangles.
5. Cut one mask piece from the batting/wadding. Set aside.
6. Measure the length of your head from the side of your eye, around the back of your head, and to the side of your other eye.
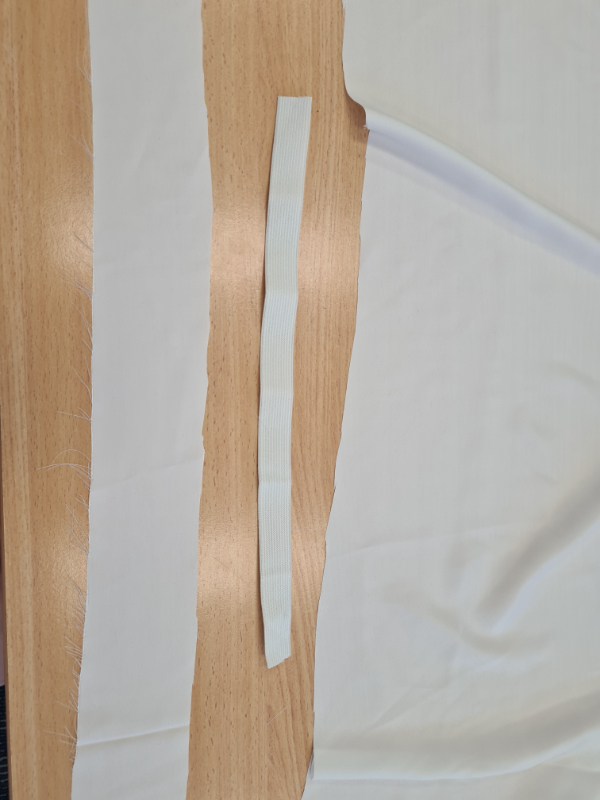
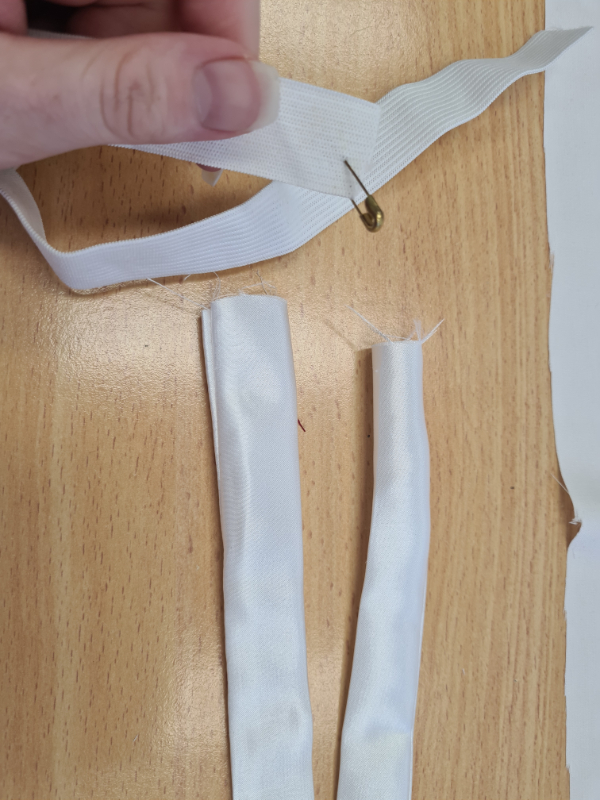
7. Cut a piece of elastic that is 1” smaller than the length you measured.
8. Times the length that you measured by 2. This is your band length.
9. Times the width of your elastic by two and add ¾”. This is your band width.
10. Cut the band out of your satin fabric.
11. Fold your band piece in half lengthways with right sides together, pin or clip to secure.
Tip: Use sharp, new pins when working with satin to avoid making big holes in the fabric. Also, try placing your pins horizontally in the fabric rather than vertically. Makes sewing satin a bit easier.
12. Sew down the long edge with a ¼” seam allowance and a straight stitch.
13. Neaten up the edge with your scissors and trim off excess threads
14. Use your loop turner to turn your band right side out.
15. Iron band flat with your iron.

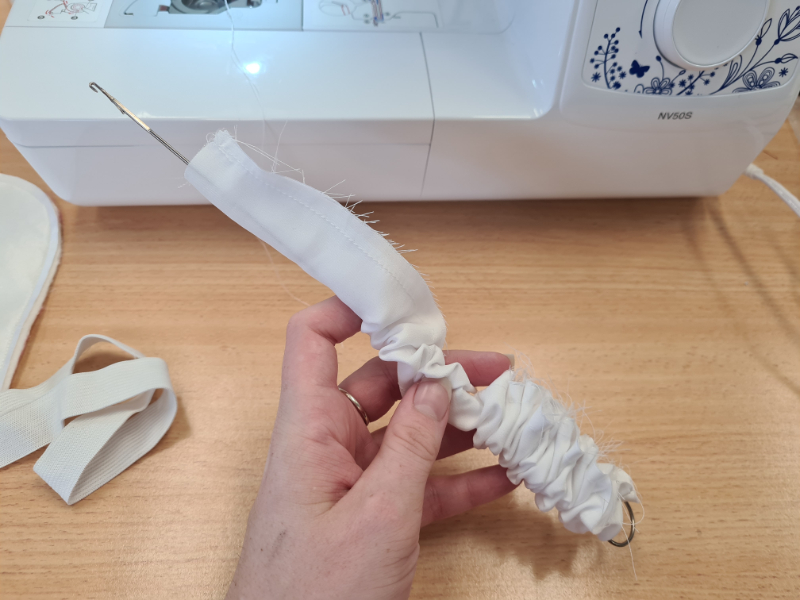
16. Using the safety pin, feed the elastic through the band.
17. Pin each end of the elastic to each opening of the band.
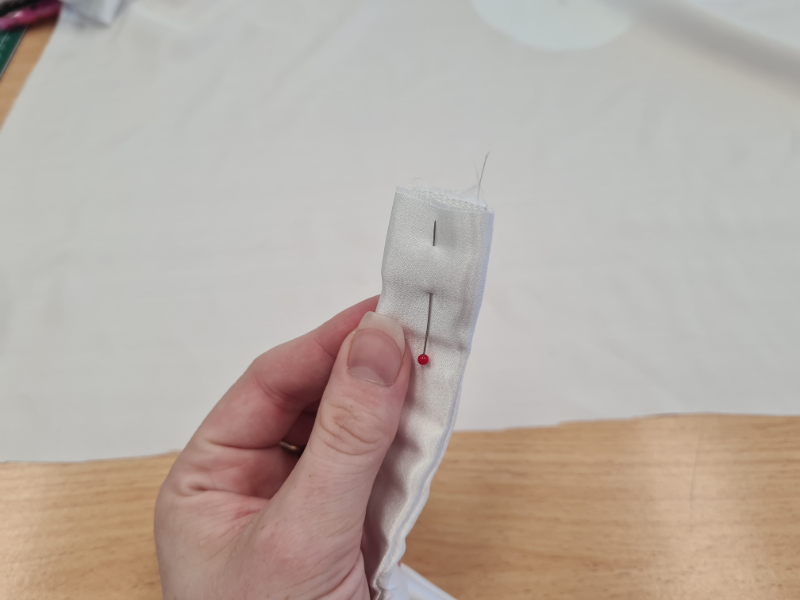
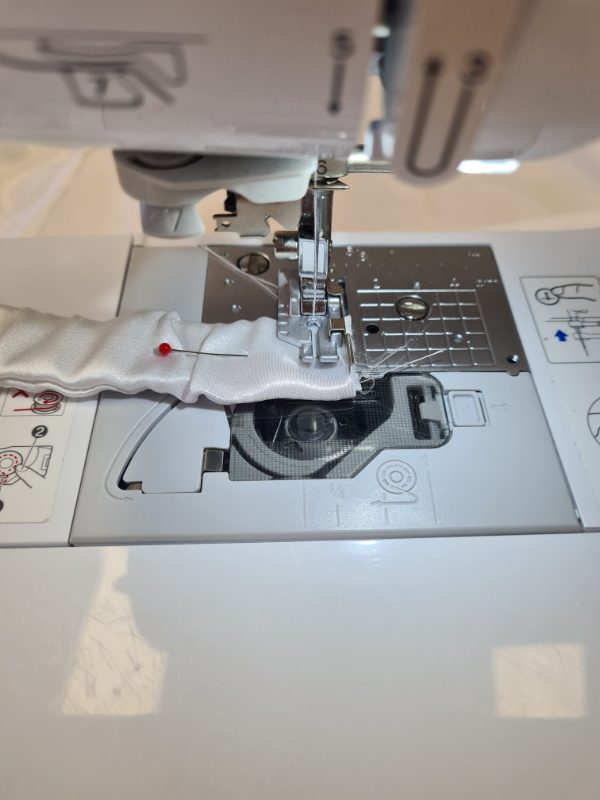
18. Sew across each end to secure the elastic in.
19. Place your fabric 1 eye mask piece face down.
20. Place your batting piece down on top. Pin or clip to secure.

21. Sew batting to fabric using a straight stitch and a ⅛” seam allowance. Trim excess threads.
22. Place the newly sewn batting/fabric piece down, with the satin side facing up.
23. Align one end of your band on the left side of the mask, making sure the band sits on the inside of the mask and not the outside.
24. Pin to secure.
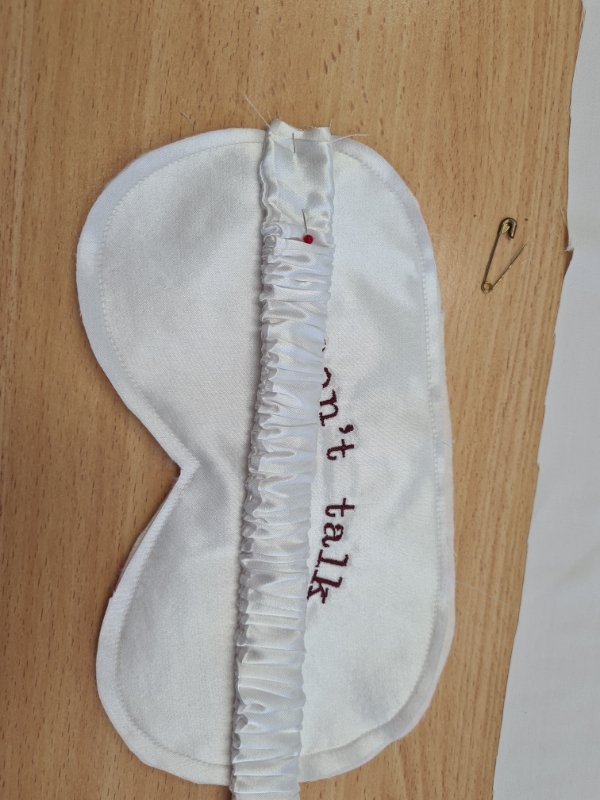
25. Repeat step 23 and 24 for the other end of the band.
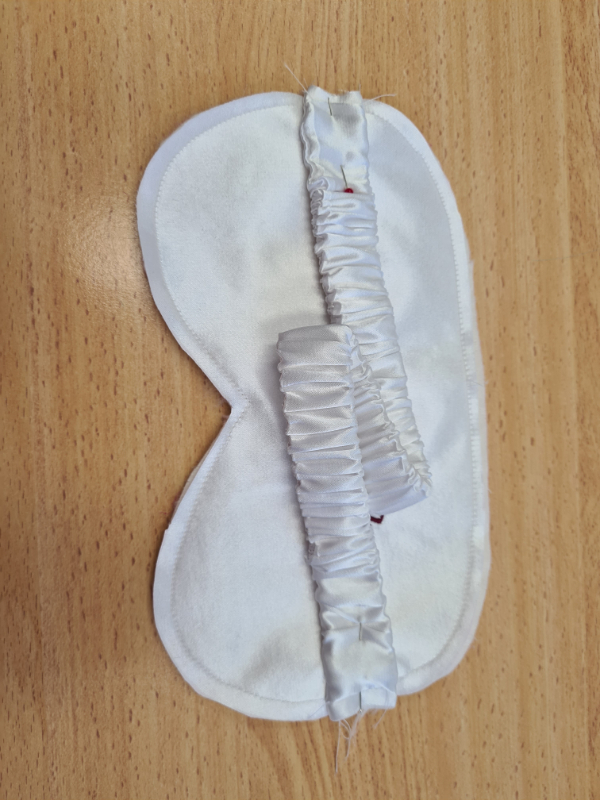
26. Stitch the bands onto the mask with a straight stitch and a ¼” seam allowance. Remove pins.
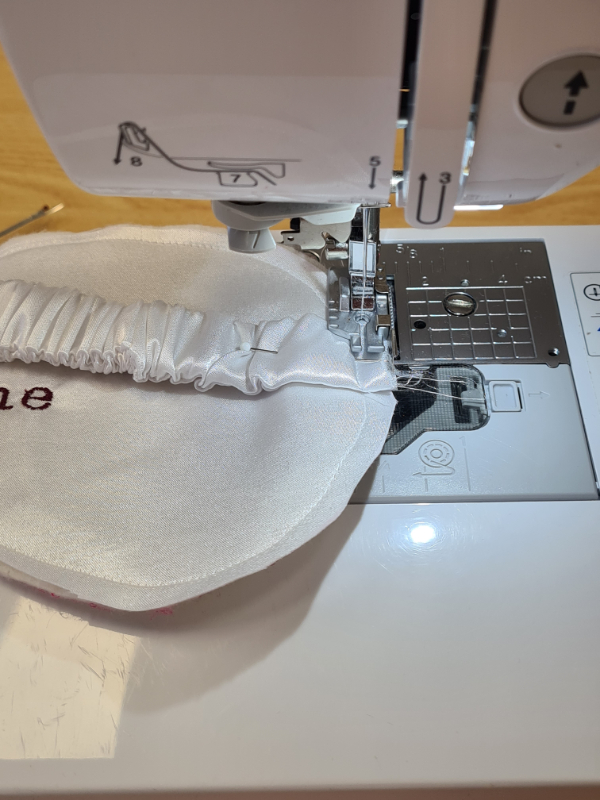
27. Place your other eye mask piece face down on the band/mask piece.
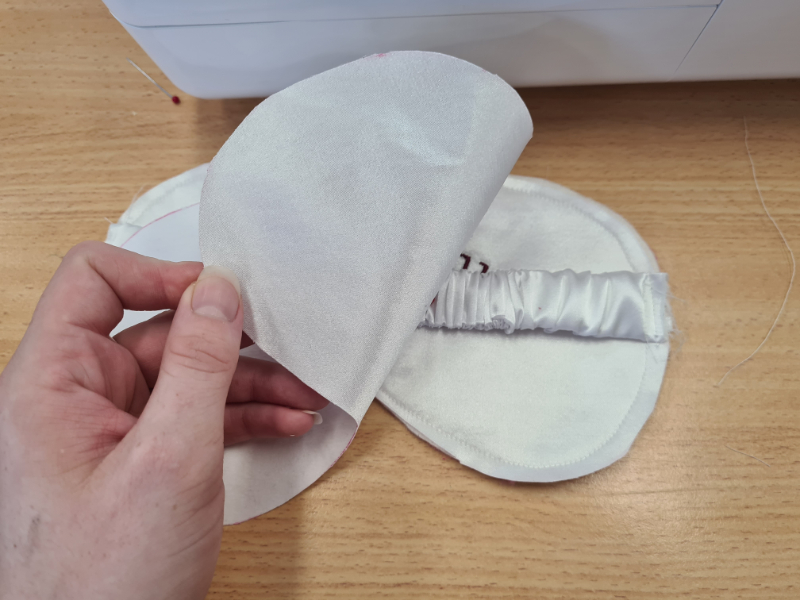
28. Pin or clip to secure.
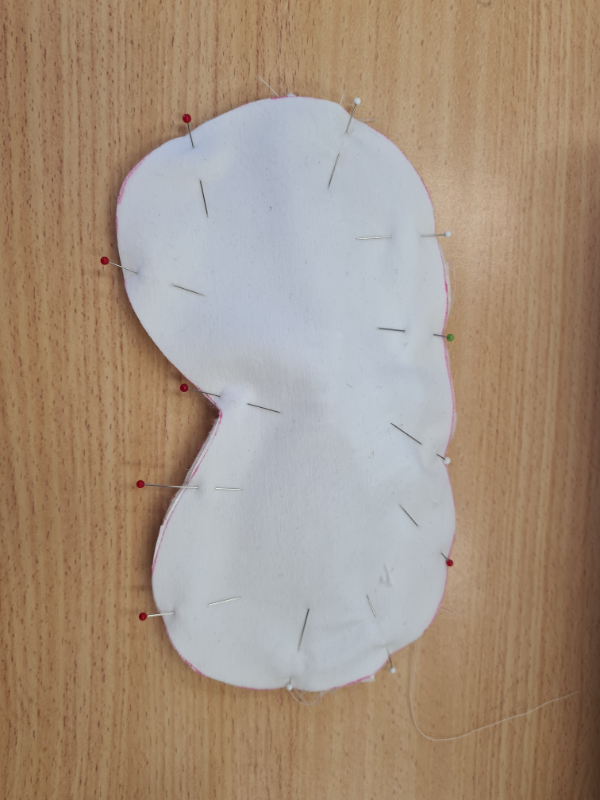
29. Using your frixion pen, mark a 2” gap at the top of your eye mask.
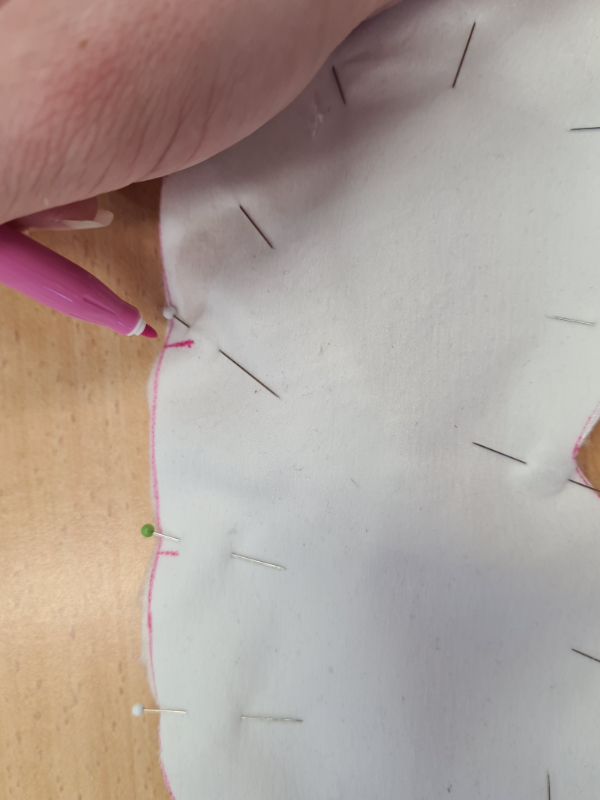
30. Sew around the entire perimeter of the mask with a straight stitch and a ¼” seam allowance, leaving a 1.5” gap at the top to turn right side out.
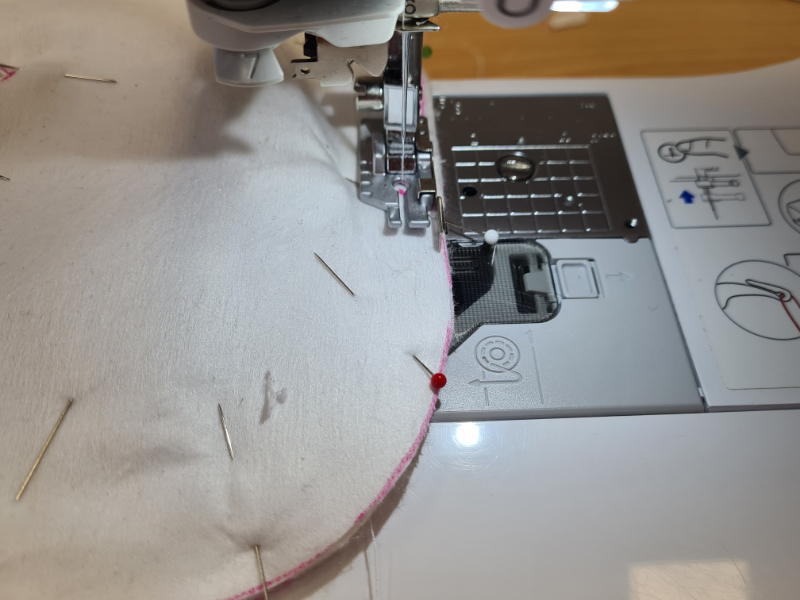
31. Clip the corners/round edges to reduce bulk.
32. Turn right side out.
33. Tuck in the turning hole and press flat with your iron.
34. Top stitch around the whole mask to secure the turning hole using a 3mm stitch length and a straight stitch.
35. Done!
The embroidery designs featured on the eye masks above were stitched using built-in fonts on the Brother NV180.


Free Embroidery Designs
We're excited to offer our free Echidna designs available for download. These free designs are perfect for those at a beginner or an advanced level. Add these designs to your stash and create incredible embroidery!
View all free designs >
Sewing, Quilting and Embroidery Machines
Interested in learning how to sew, quilt or embroider? Take a look at the innovative Brother machines available for purchase at Echidna Sewing. Wherever possible we will beat any deal and you will always receive ongoing service and support!
Find out more >
Learn to Sew or Embroider with Echidna Sewing
Come along to our fun-filled classes to learn more about sewing, embroidery and crafting. Classes cater for all skill levels, whether you're just starting out or already have advanced knowledge.
Find out more >
Echidna project material/ fabric requirements are an indication only and can seem to be generous. This has been intentional. Should you make a cutting or embroidery mistake you will have sufficient fabric to rectify your error.

