All Projects
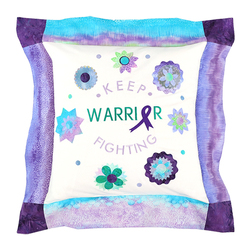


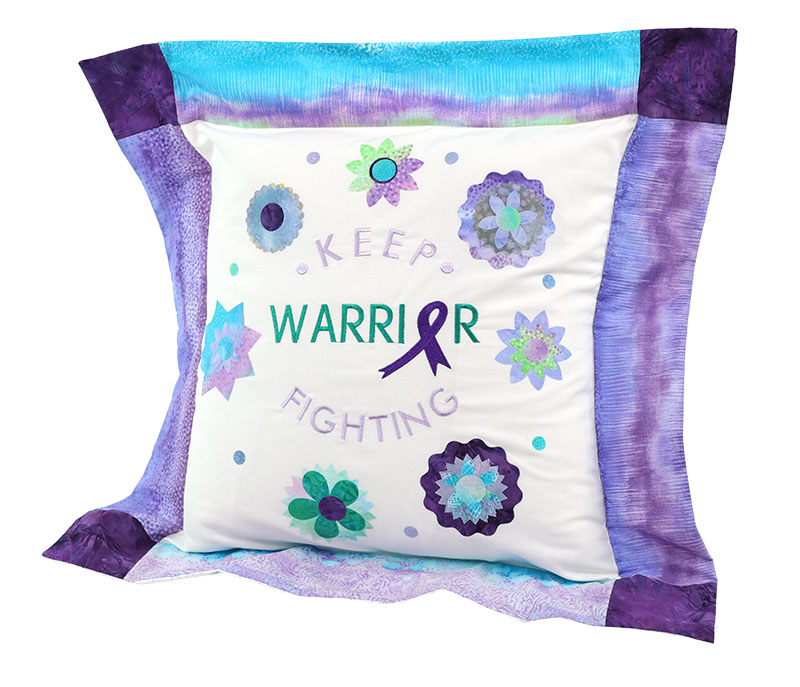
Cushion with Flange
Create a trendy cushion cover with flange to your style and add flair to your cushions, or give as a sweet gift to someone special. This project is easy to create and great for all skill levels, from beginner to advanced. Using applique techniques and simple sewing, you can create a cushion cover with your choice of fabric and design.
These cushion covers can also be donated to charity. What a fabulous way to get in your sewing practice whilst contributing to a great cause. Find out what charities accept this project here →
Materials used:
- 1 x Fat ¼ - White 100% cotton fabric
- Hot Melt Film (If you dont intend to stitch around the applique) or Hot Melt Web (if you'd like to stitch around the applique)
- 45” x 45” cushion insert - from Pillowtalk
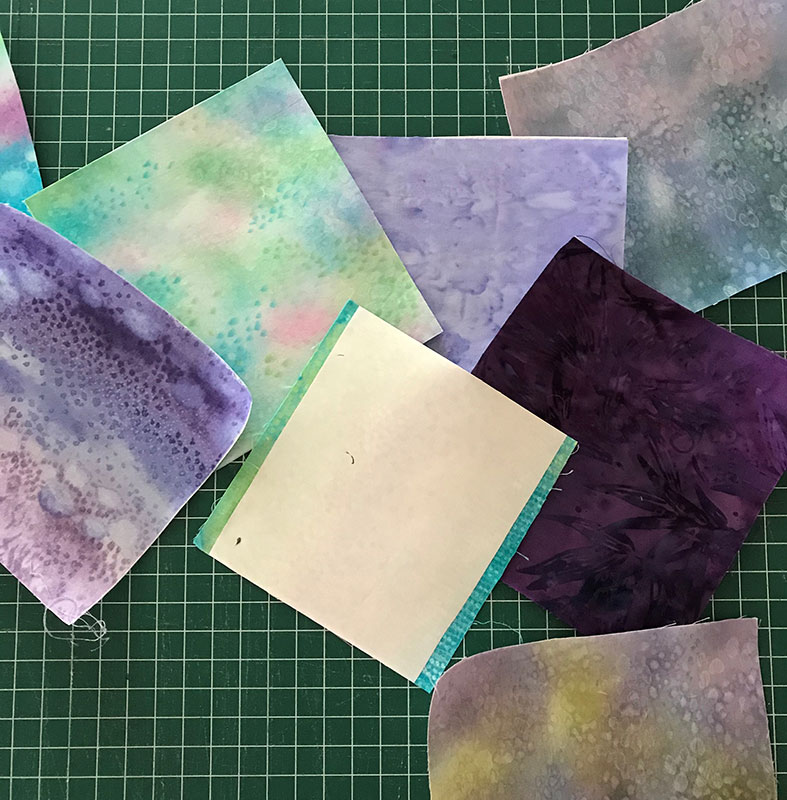
- Variety of fabrics for flower wreath and circles
- 1 x Fat ¼ Fabrics for border fabric - Cut 4 strips x 4” x 18”
- 1 x Fat ⅛ Cushion squares - Cut 4 squares 4” x 4”
- Cushion Back Fabric - Cut: 1 x 12 ½ x 25” & 1 x 20” x 25”
- Sewing machine
- Cutting machine (We used the Brother ScanNCut SDX1200)
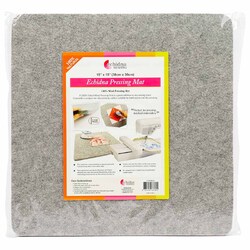
- Applique Mat
- Wool mat
- Mini Iron
Machine embroidery materials:
- Shape to Create
- Fusible Softaway/Tearaway
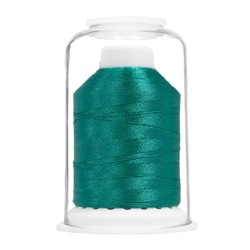
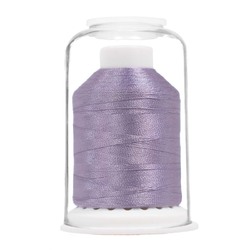
- 3 x embroidery threads that suit the assorted fabrics.
We used Hemingworth threads: 1221 Freesia,1223 Royal Purple, 1254 Dark Teal
Applique and embroidery designs:
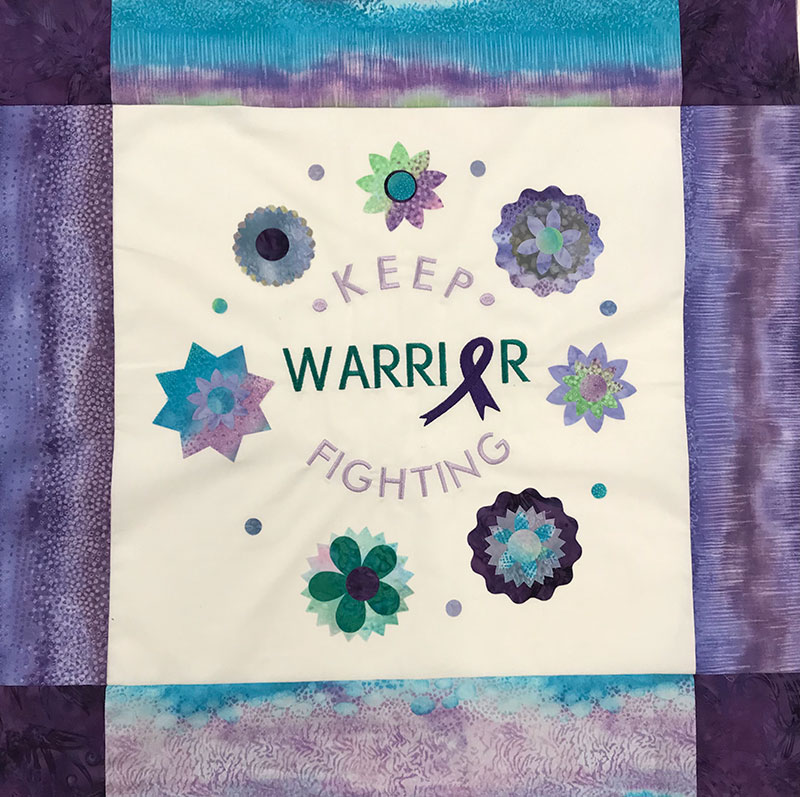
Please note: The applique and embroidery design used in this project can be changed with your choice of design. We have used this particular design as we donated our cushion to charity.
Method:
Assorted flower fabric preparation for cutting
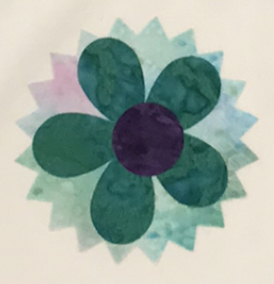
There are 8 flowers that have been created for the cushion, all of them are layered. You can choose your own layout or follow what we have done.
Steps
- Cut the assorted fabric for applique into 5" x 5" squares (this is the largest sized used)
- If you’re not using the ScanNCut, print the applique shapes PDF and trace the shapes onto your Hot Melt Web. Then, iron them onto the back of the assorted fabric. Grab your scissors and cut out the shapes.
- If you are using the ScanNCut, iron the Hot Melt Web onto the back of the assorted squares, but DON’T remove the paper! Set Aside.
- Time to cut the shapes with the ScanNCut. Prior to beginning your cutting, remove the paper. Place the fabric side facing down on your ScanNCut mat. Use the design numbers and sizes detailed below to cut the flower shapes on your ScanNCut.
| Design | Size | Description | Number required |
|---|---|---|---|
| BA-A048 | 3 ½” x 3 ½ | Large flower | 2 |
| BA-049 | 2 ½” x 2 ½ | Small flower | 1 |
| BA-A094 | 1” | Inner Petals large | 5 |
| BA-A047 | 3 ½” x 3 ½ | Large spikey flower | 1 |
| BA-047 | 2 ½” x 2 ½ | Small spikey flower | 2 |
| BA-045 | 0.5” | Circles - small | 7 |
| BA-045 | ¾” | Circles - medium | 4 |
| BA-045 | 1” | Circles - large | 2 |
| AP-A037 | 3” x 3” | Flower background only | 2 |
| AP-037 | 2” x 2” | Flower background only | 1 |
| AP-038 | ¾” | Inner Petals small | 1 set |
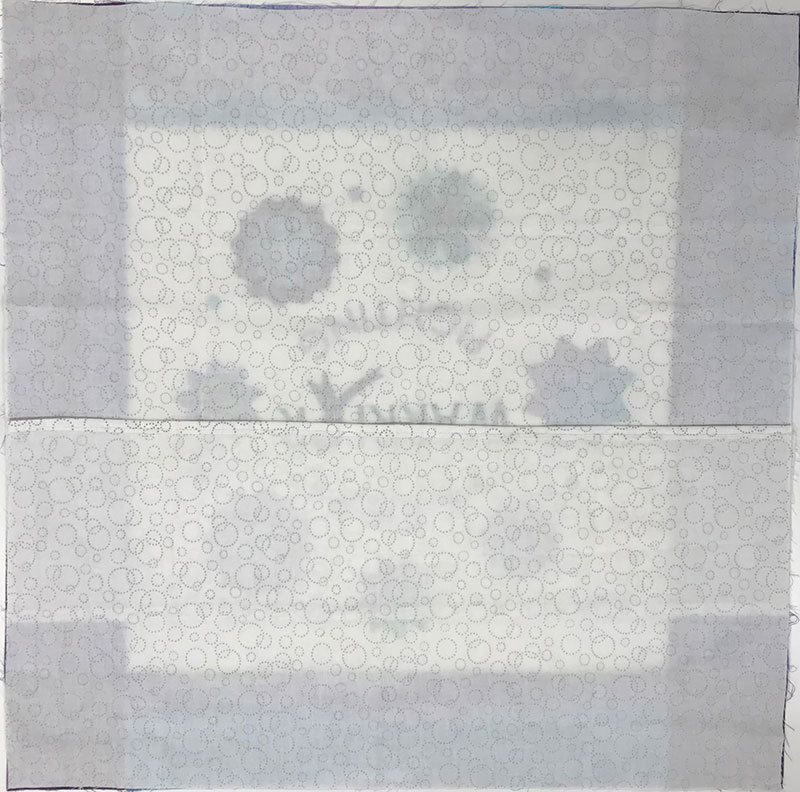
Background fabric preparation
- Iron the Shape to Create onto the background of the fat quarter (White 100% cotton fabric).
- Draw lines onto the fabric with chalk or your marker of choice to show the centre crosshairs. You could also fold the fabric into quarters and iron to crease the crosshairs into the fabric.

- When embroidering the words, use the crosshairs to centre the designs on the background fabric.
- Square up the fat quarter and cut it down to 18” x 18”. Set aside.
Flower placement
The flowers are to be layered onto the cushion background.
- Using the embroidered words to assist with placement, lay the assorted flowers onto the background fabric.
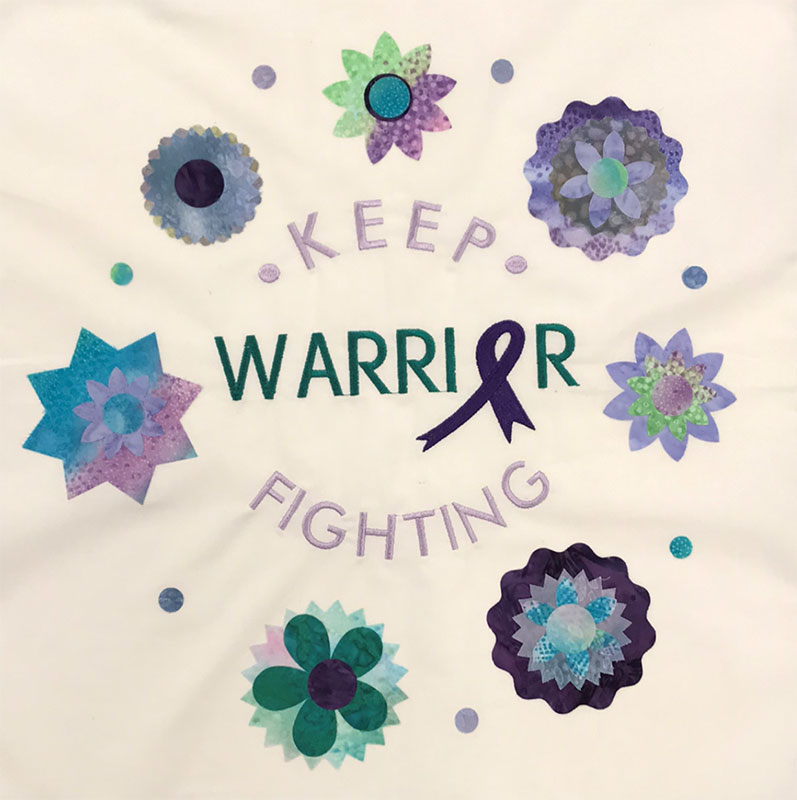
- Layer the smaller shapes towards the top, and finish with a circle in the centre.
- Iron in place using the applique mat to protect the iron from the fusible webbing.
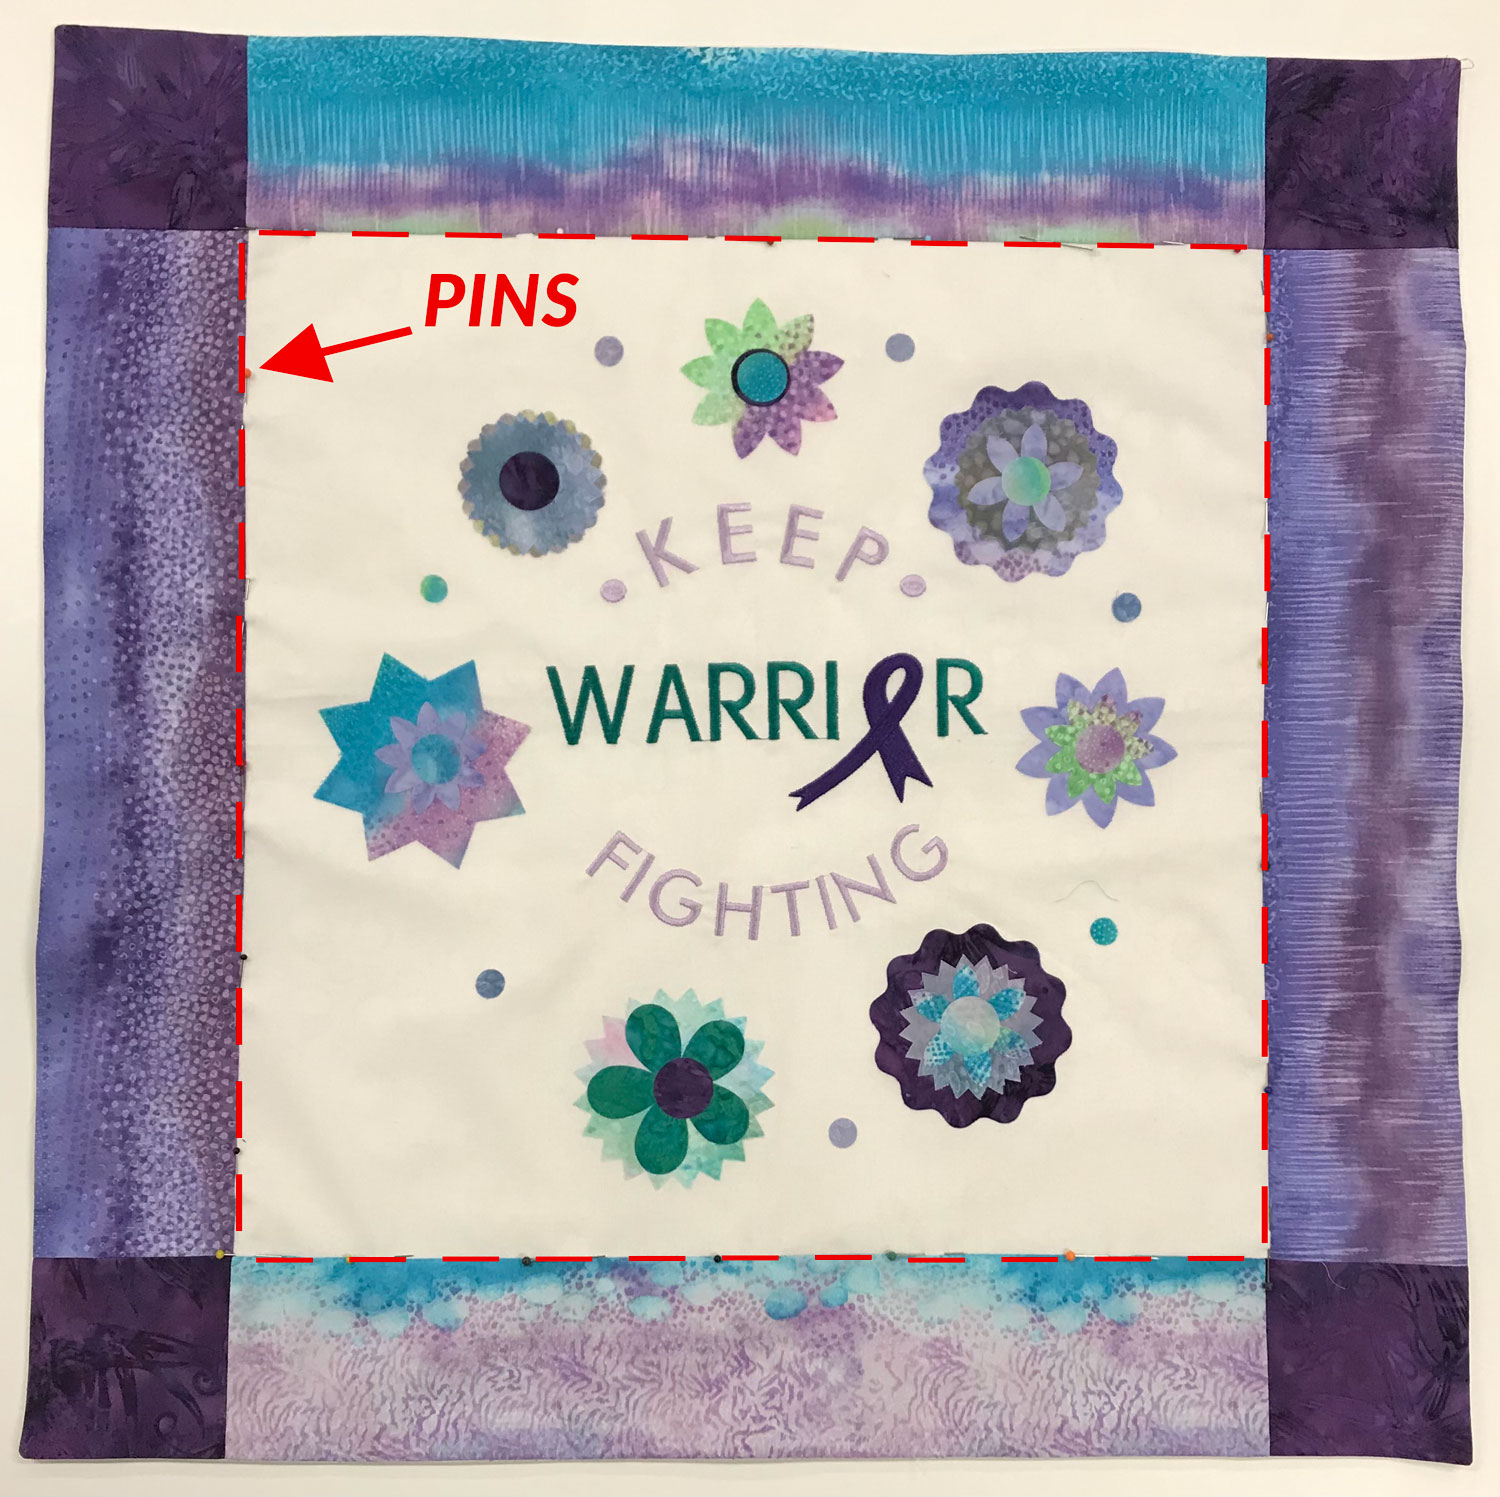
Adding the borders
- Sew the top and bottom border fabric to the background squares. Press seams.
- Sew a 4” x 4” square to each end of the other two pieces of border fabric. Press seams.
- Attach those two border fabrics to each side of the background square and your cushion top is complete!
Sewing the cushion together
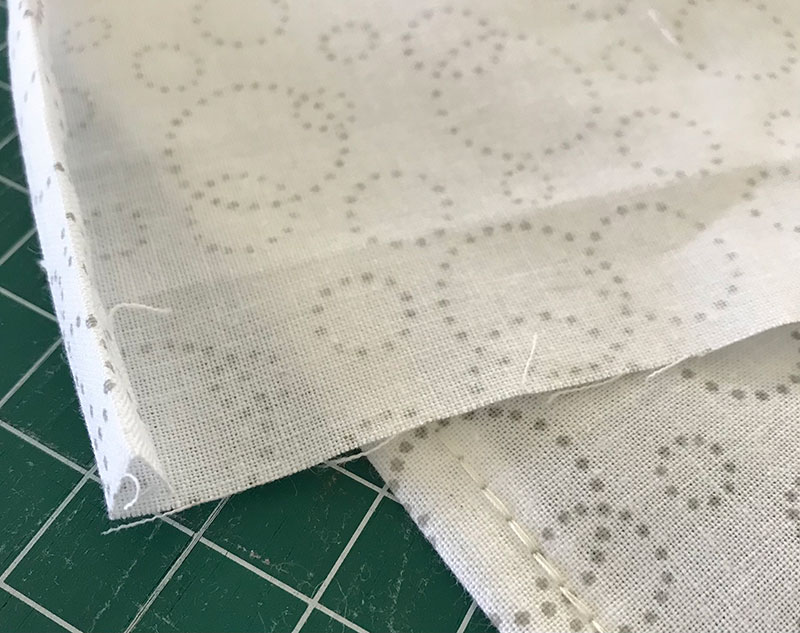
- Take one of the cushion back fabric pieces and fold the top long edge over ¼” and iron. Fold ¼” over again, iron, then stitch along the top edge.
- Place both back fabric pieces onto the cushion top fabric, right sides together. The smaller back piece is placed first at the top of the cushion, the larger piece is placed over the top. Pin and sew ¼” seam around the outside of the cushion. Turn the right way out and press the front and back on the right side, poking all four corners out so they are square. Press.
- To make the flange, pin the cushion together along the inside edge of the white centre square. Stitch along the pinned line on the inside of the border.
- Insert the cushion and you are finished!
DONATE SOME TO A CHARITY
These cushion covers can also be donated to charity. If you want to contribute to a great cause, the charities listed below accept handmade cushion covers. Just send your creations in to the mailing address provided.
Are you a charity that would accept this item? Contact us to have your details added here.
Queensland
So Brave
Address:
PO Box 219
Clayfield 4011 QLD
Australia


Free Embroidery Designs
We're excited to offer our free Echidna designs available for download. These free designs are perfect for those at a beginner or an advanced level. Add these designs to your stash and create incredible embroidery!
View all free designs >
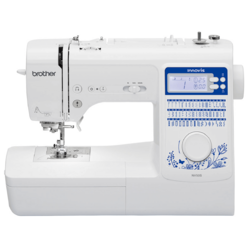
Sewing, Quilting and Embroidery Machines
Interested in learning how to sew, quilt or embroider? Take a look at the innovative Brother machines available for purchase at Echidna Sewing. Wherever possible we will beat any deal and you will always receive ongoing service and support!
Find out more >
Learn to Sew or Embroider with Echidna Sewing
Come along to our fun-filled classes to learn more about sewing, embroidery and crafting. Classes cater for all skill levels, whether you're just starting out or already have advanced knowledge.
Find out more >
Echidna project material/ fabric requirements are an indication only and can seem to be generous. This has been intentional. Should you make a cutting or embroidery mistake you will have sufficient fabric to rectify your error.


