All Projects


Bandanas
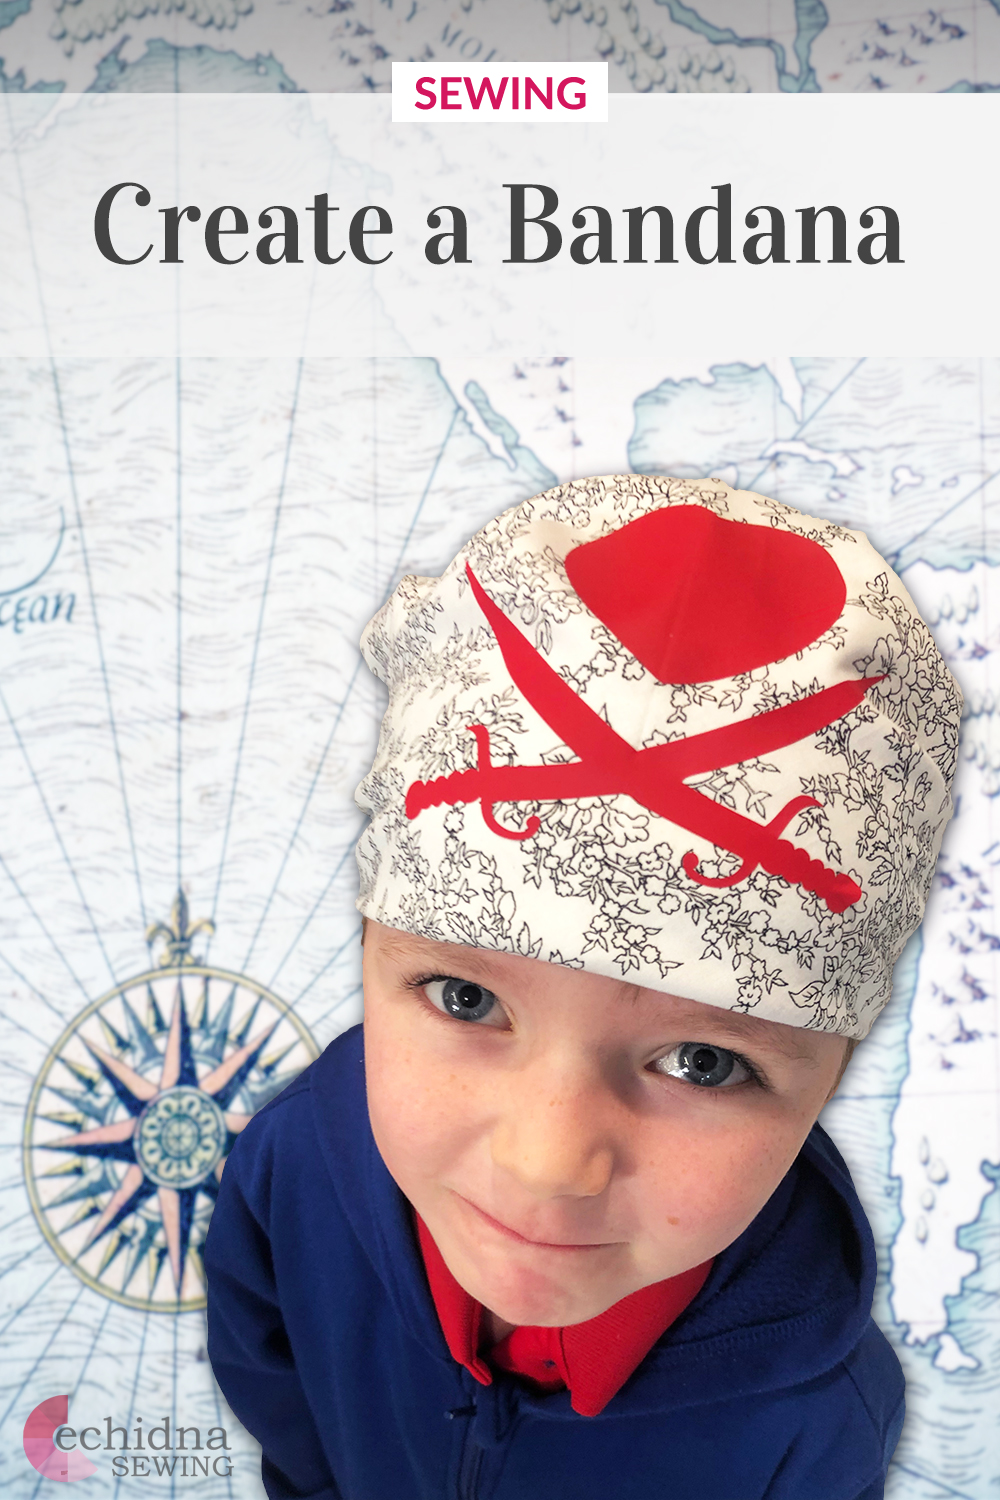
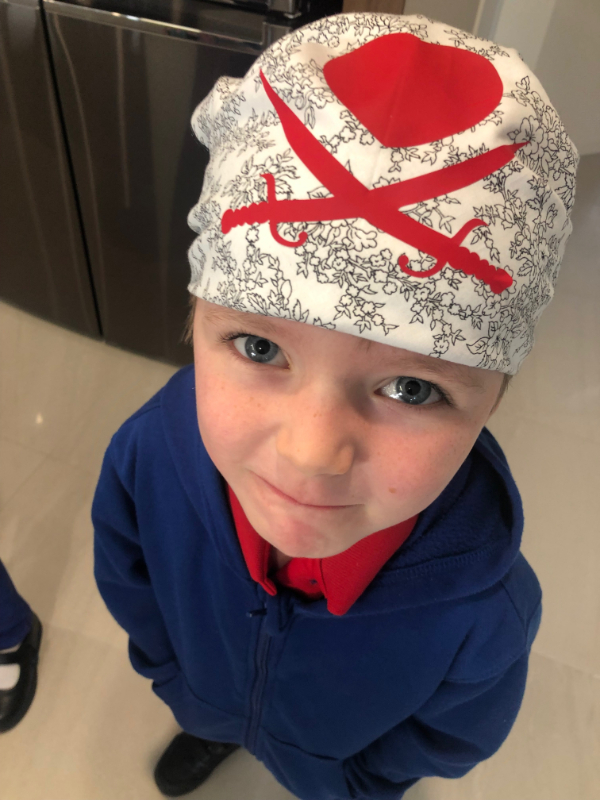
Sew a bandana and add a funky design using applique or vinyl and the Brother ScanNCut! These bandanas are perfect to create for costumes like pirates and ninjas! Or, simply create one in your style and wear it anytime.
Choose to make a whole square bandana or a patchwork bandana using different fabrics. This project is great for all levels from beginner to advanced.
Want to create something for charity? These bandanas can also be donated. View the list of charities that accept this item below →
What you need:
- Sewing machine
- Overlocker (for rolled hem finish)
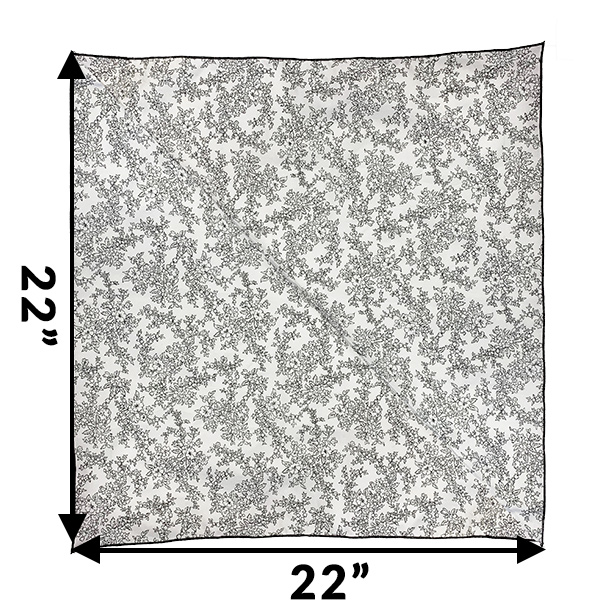
- 22" x 22" 100% cotton fabric (You can use fat quarters for the patchwork bandana)
- Cutting machine
- Vinyl media
- Iron
- Scissors
- Pins
- Tape measure
- Hot Melt Web
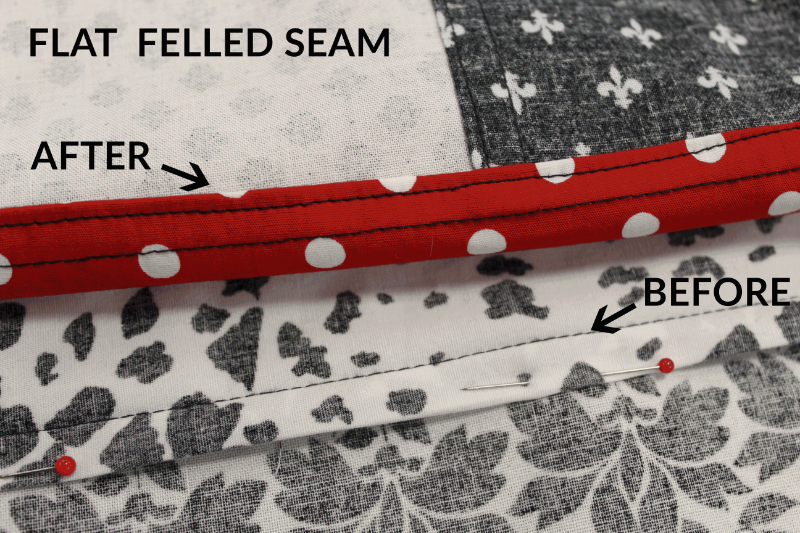
Tip: A flat fell seam encases the raw seam edges to stop them from fraying. Rather than using a traditional patchwork 1/4” seam, we will stitch our bandana together with flat felled seams to hide the raw edges.
STEPS FOR SEWING YOUR BANDANA
Whole square bandana
- Cut and measure up a fabric piece to the size of 22” x 22”.
- Finish the edges of the square with a rolled hem.
- All done! It's that easy.
Patchwork Bandana
- Cut different fabrics into squares and rectangles, allowing for a ⅝” seam allowance for flat fell seam construction.
- Join together your pieces of fabric using a flat fell seam.
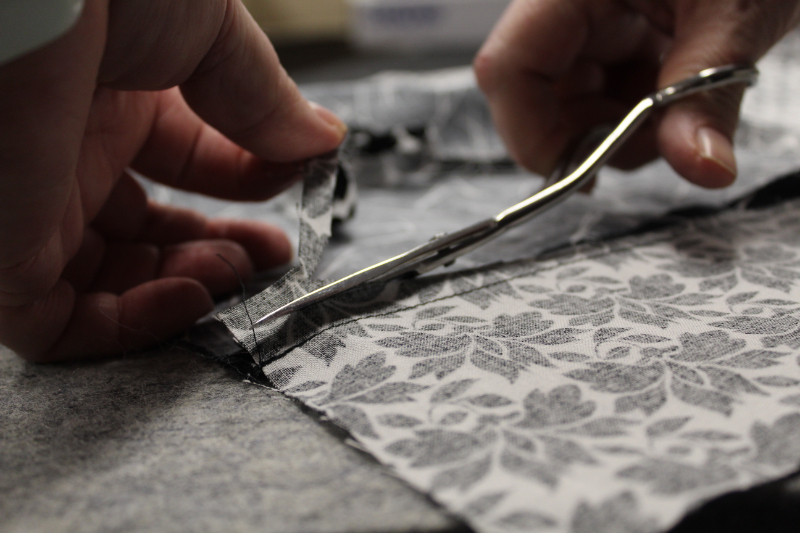
- Stitch fabric right sides together using a ⅝” seam (flat fell seam should be done on the wrong side of the fabric).
- Trim one side of the seam back to ¼”.
- Press the larger seam allowance in half, turning the raw edge under so that it meets the original seam. This encloses the trimmed seam.
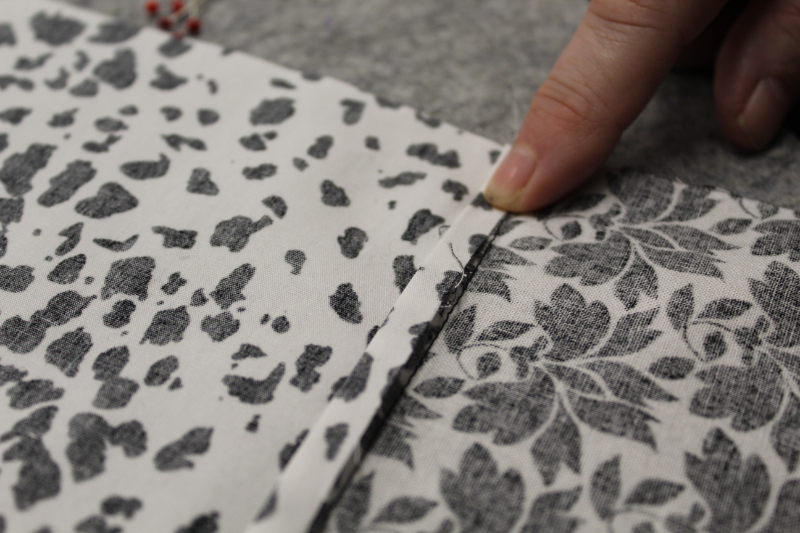
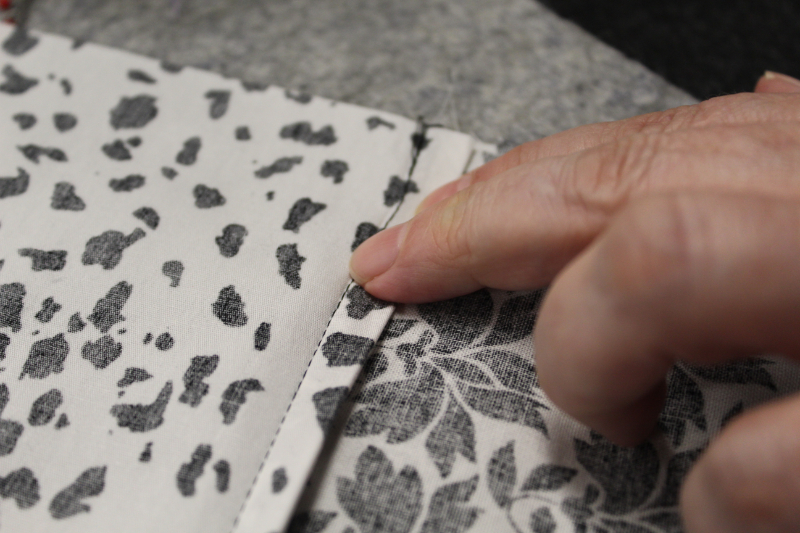
- Press/iron the turned under seam flat and stitch down. Use pins to assist.
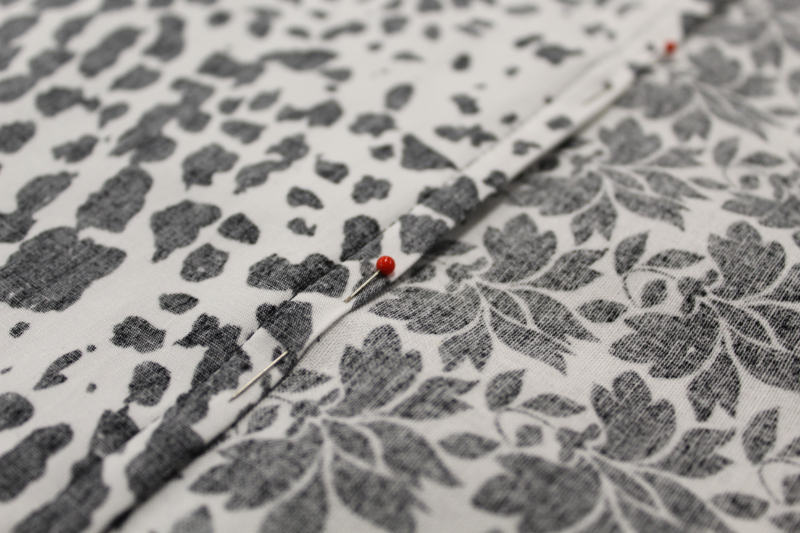
- Repeat until all fabric pieces are stitched together with the flat felled seam. If necessary, square up fabric to 22” x 22”.
- To finish, set up your overlocker for rolled hem. Test stitch on scrap fabric until satisfied with rolled hem finish. Stitch around the outside of the bandana with rolled hem.
ADD EMBELLISHMENT
Fold the bandana in half, iron, then fold in half again and iron. Measure 1 ½” from the fold on the centre line. This is where the design will be positioned on the bandana (note the location of the heart and sword before ironing into place).
Using applique:
- Download and print your chosen applique design. We used a Sword & Heart design →
- Trace the design onto hot melt web. For even better precision, if you own a Light Box, place your Hot Melt Web on top of the Light Box and trace.
- Cut out traced images from the Hot Melt Web and iron onto the wrong side of contrast fabric.
- Cut out fabric shapes, remove the Hot Melt Web backing and place into position on the bandana. Iron the shape in place on the bandana.
- Stitch around shape using appliqué method.
Using transfer vinyl:
Brother SDX Models
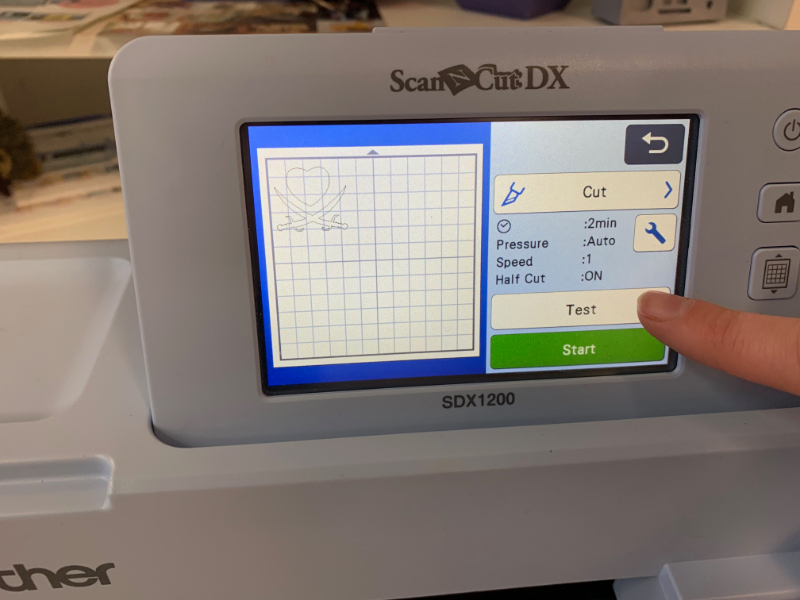
When using vinyl transfer media, we recommend using the “Half Cut” setting to cut through the first layer, this ensures the clear layer remains intact. We have kept the cut pressure at auto, and switched on the “Half Cut” option. If you find the half cut is not cutting the first layer of media, alter the Cut Pressure to + 2.
Note: this setting varies depending on the thickness and brand of media you are cutting. Refer to the cheat sheet on machine settings (page 9) in the ScanNCut Educational Binder for further assistance.
Brother SDX Models
Refer to the Echidna ScanNCut Educational Binder that came with the ScanNCut machine. The cheat sheet on machine settings can be found on page 9. The binder will indicate the recommended pressure setting depending on the media used. If you are unsure, we suggest undertaking a few test cuts to test the blade depth and quality of cutting before moving onto the next step.
- Download your chosen ScanNCut files, or use our Pirate ScanNCut files (.fcm) and save them onto a USB to plug directly into your ScanNCut machine.
- Install the Standard ScanNCut Blade into your ScanNCut by following the steps outlined in your machines quick reference guide.
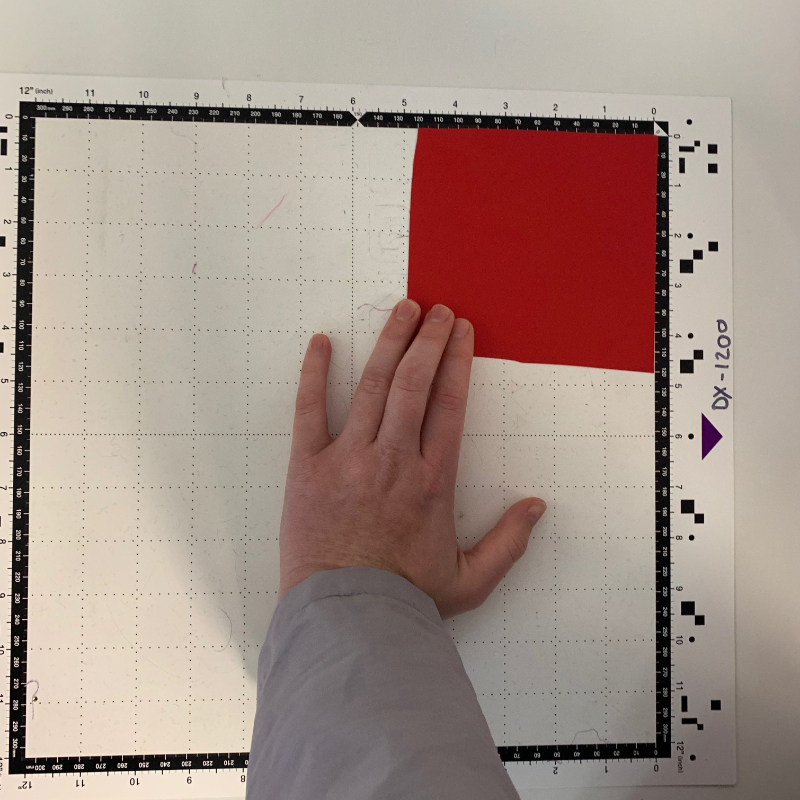
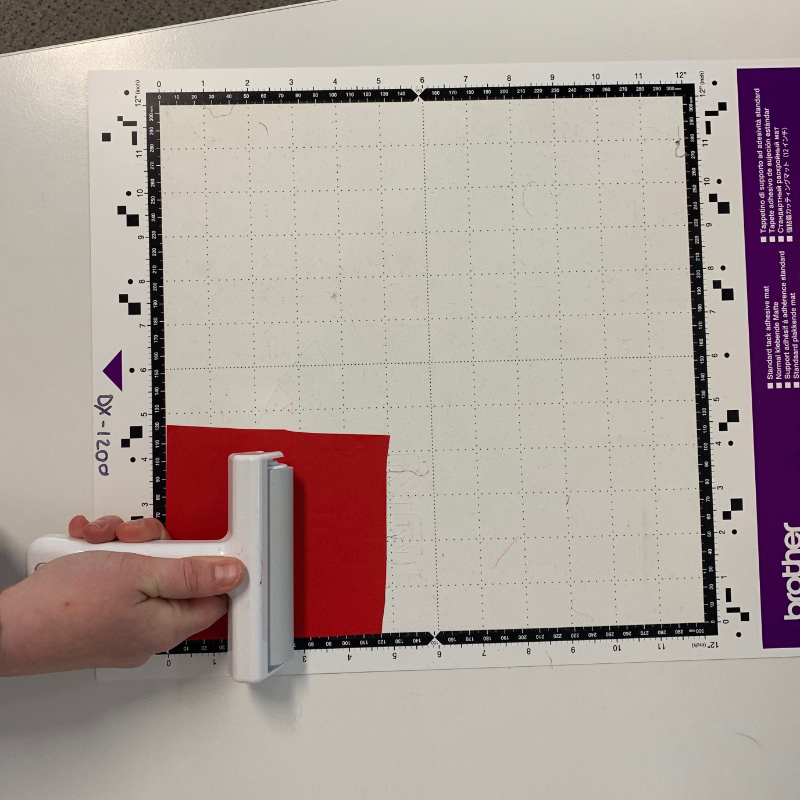
- Place your transfer vinyl sheet shiny side down onto a Standard Mat making sure it sticks well. Use the brayer/roller which is perfect for securing material firmly and evenly to the cutting mat. The last thing you want is your media moving when it’s cutting out your design.
- Load the mat into the ScanNCut by following the steps outlined in your machines quick reference guide (remember to hold the mat level while loading).
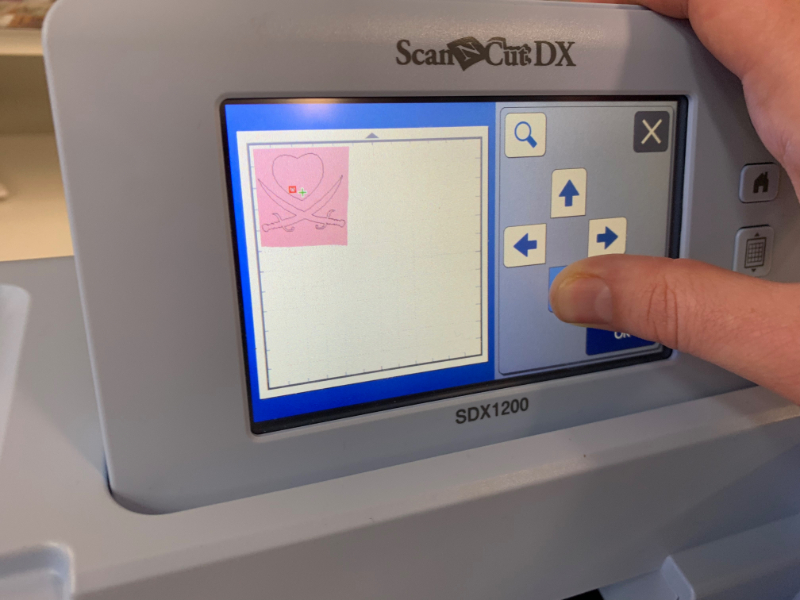
- Load the design from the USB and position the design on the mat so that it does not go close to the edge.
Hint: If making multiple bandanas, add the same design multiple times to the one piece of vinyl and cut them out at the same time.

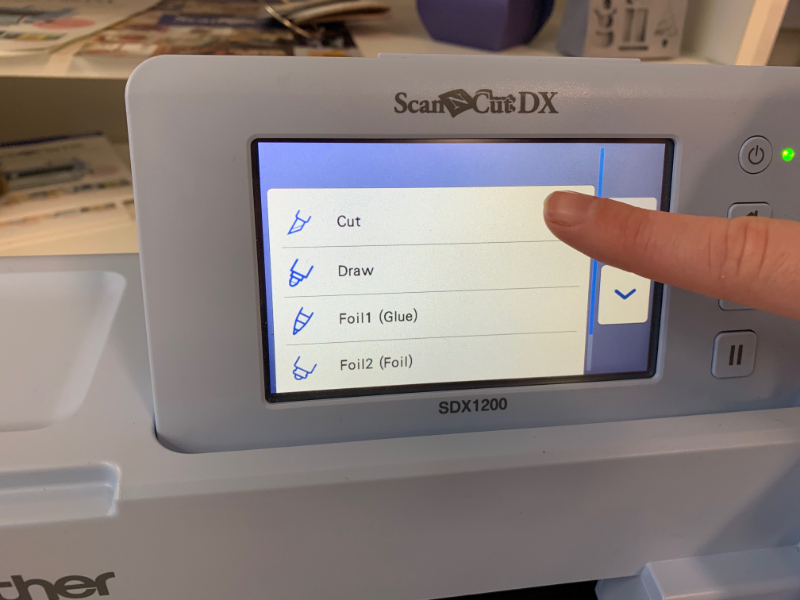
- Once you have the design lined up on the media, choose the ‘cut’ option. If you are unfamiliar with the medium don’t forget to do a test cut! Cutting a small hole in the corner of your mat is a lot less upsetting than cutting a large design straight through your mat. On the main screen choose the ‘test’ button. We usually use the ‘triangle or square’ test and place it in the top left-hand side corner of the mat.

- Once you are happy with the test cut, proceed with cutting out the design.
- When the machine has completed cutting the design, unload the mat from the ScanNCut and gently peel back the flex or flock which should leave your design on the clear film.
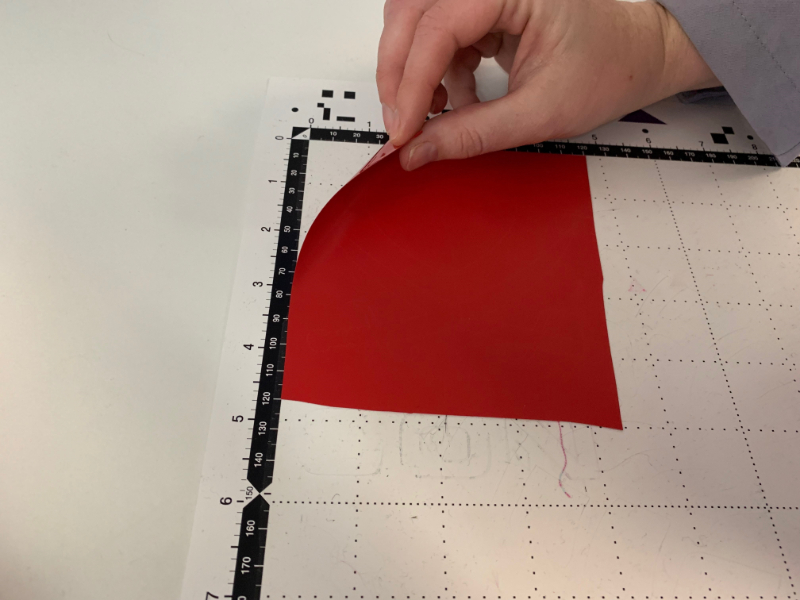
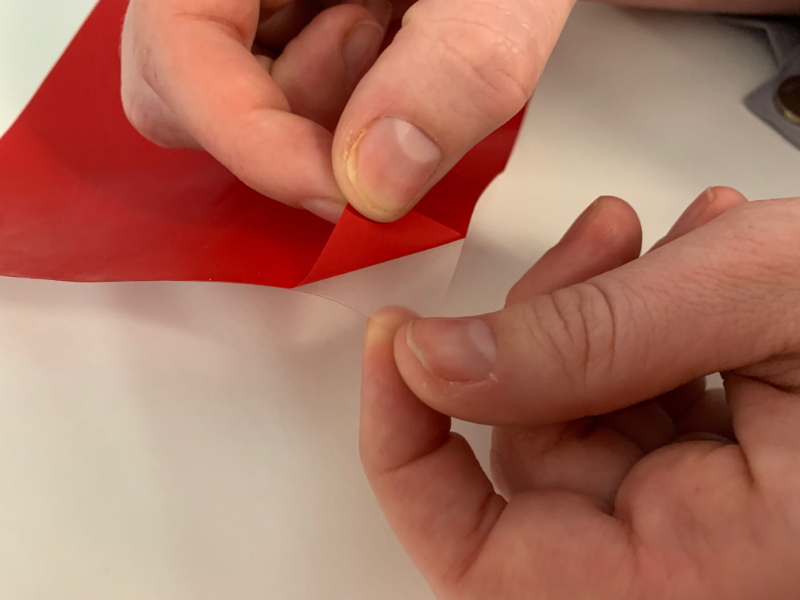
- Cut down the clear film around your shape for easier manipulation and set aside.
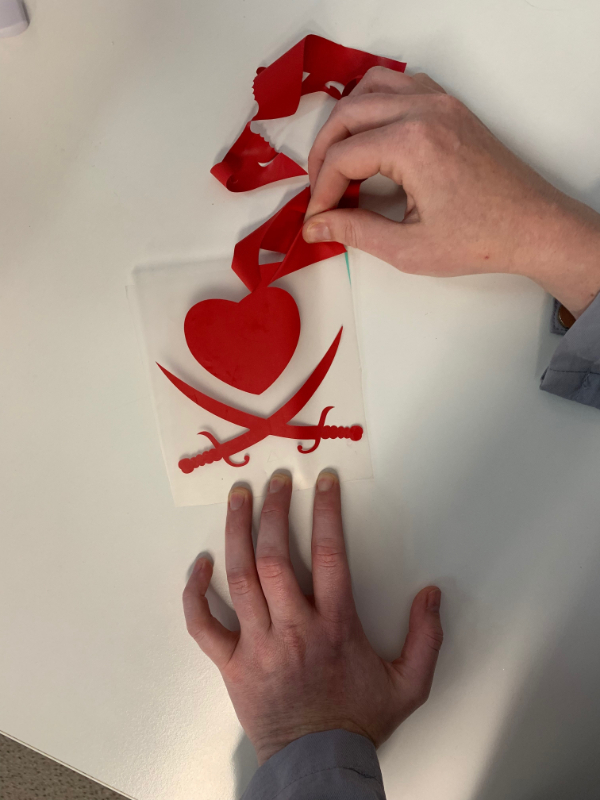
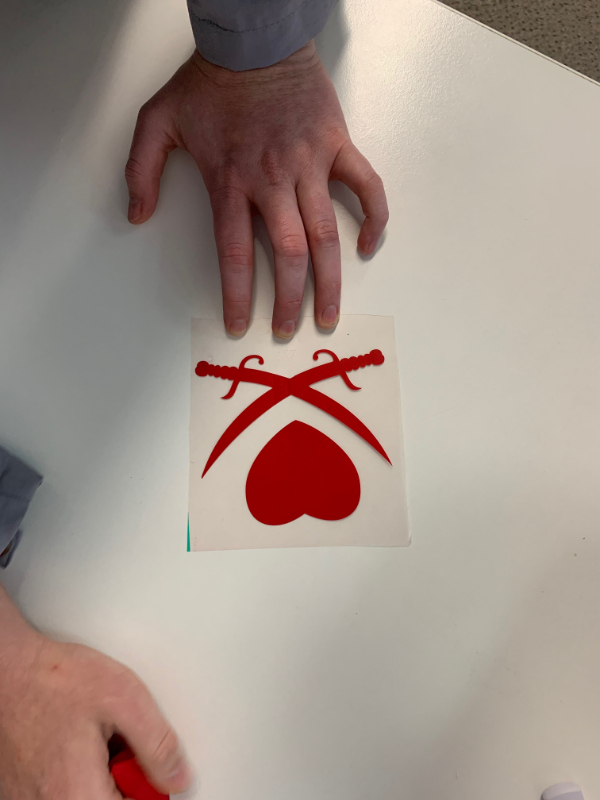
Putting the design onto the bandana
- Position the images one and a half inches from the folded edge of the bandana.
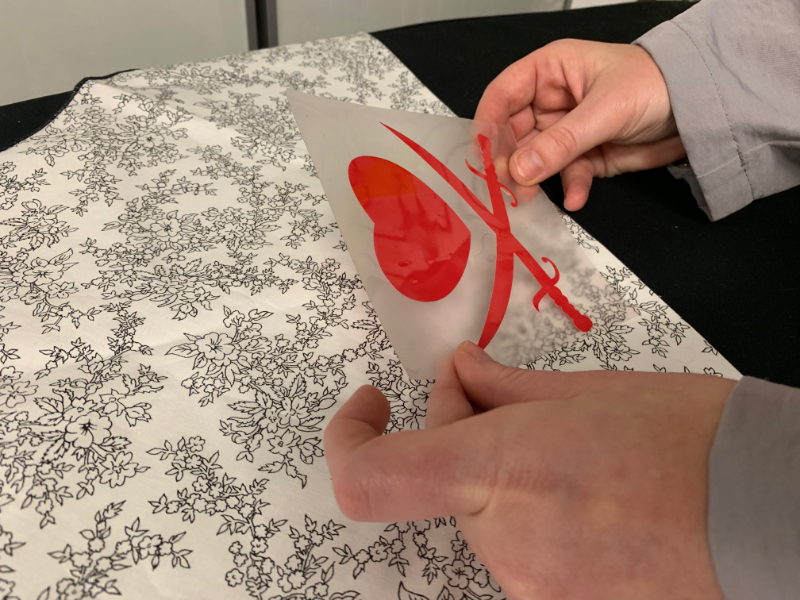
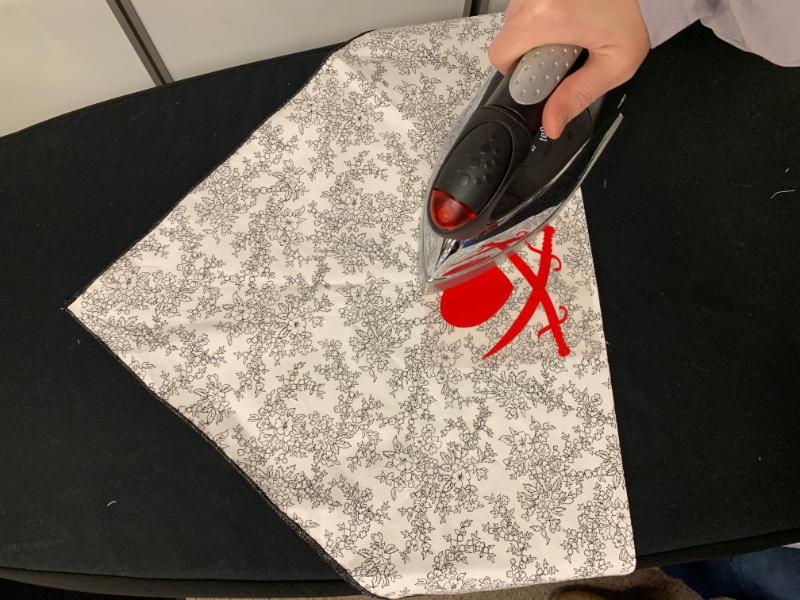
- Press/iron in place.
- Peel off clear plastic film and you are finished!
DONATE SOME TO A CHARITY
These bandanas can also be donated to charity. If you want to contribute to a great cause, the charities listed below accept handmade bandanas. Just send your creations in to the mailing address provided.
Are you a charity that would accept this item? Contact us to have your details added here.
Queensland
Childhood Cancer Support
Address:
87 Annerley Road
Woolloongabba QLD 4102


Free Embroidery Designs
We're excited to offer our free Echidna designs available for download. These free designs are perfect for those at a beginner or an advanced level. Add these designs to your stash and create incredible embroidery!
View all free designs >
Sewing, Quilting and Embroidery Machines
Interested in learning how to sew, quilt or embroider? Take a look at the innovative Brother machines available for purchase at Echidna Sewing. Wherever possible we will beat any deal and you will always receive ongoing service and support!
Find out more >
Learn to Sew or Embroider with Echidna Sewing
Come along to our fun-filled classes to learn more about sewing, embroidery and crafting. Classes cater for all skill levels, whether you're just starting out or already have advanced knowledge.
Find out more >
Echidna project material/ fabric requirements are an indication only and can seem to be generous. This has been intentional. Should you make a cutting or embroidery mistake you will have sufficient fabric to rectify your error.

