All Projects


Adult's Apron
Date Posted:1 August 2022
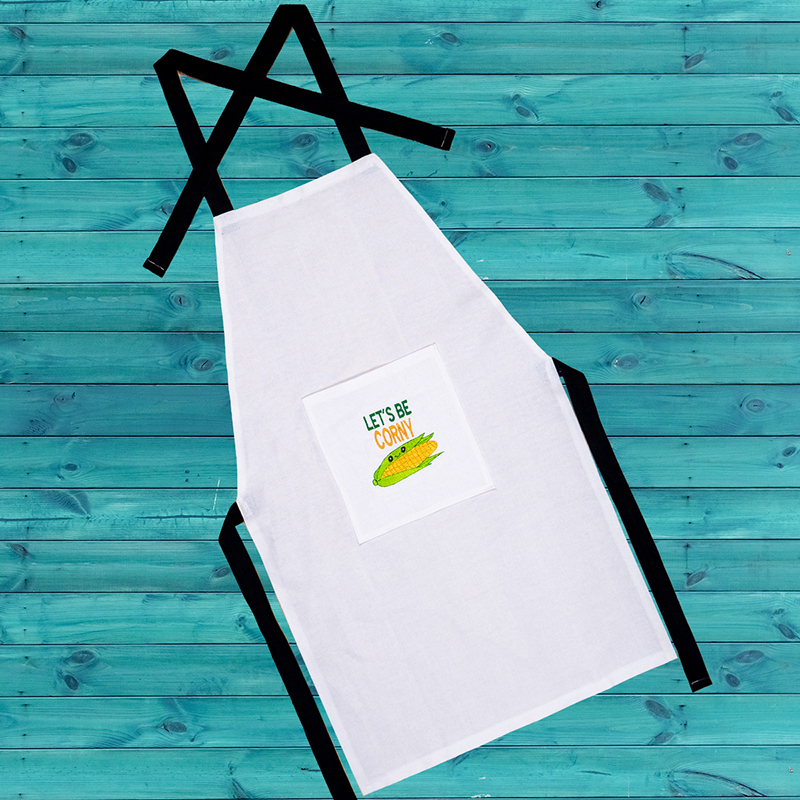
This tutorial will show you how to create your own adult apron with the option of adding embroidery or applique!
Aprons are a great staple to have in every kitchen, especially if a family member or friend is a baker/chef. This apron makes a great gift as you can add personalisation to it with your embroidery, using initials, names or general embroidery designs (kitchen instruments, flowers, etc). If you choose not to use embroidery, you can still make it super stylish with a patterned fabric of your choice. We also have a tutorial for a kid's apron, so you and your little friend can match!
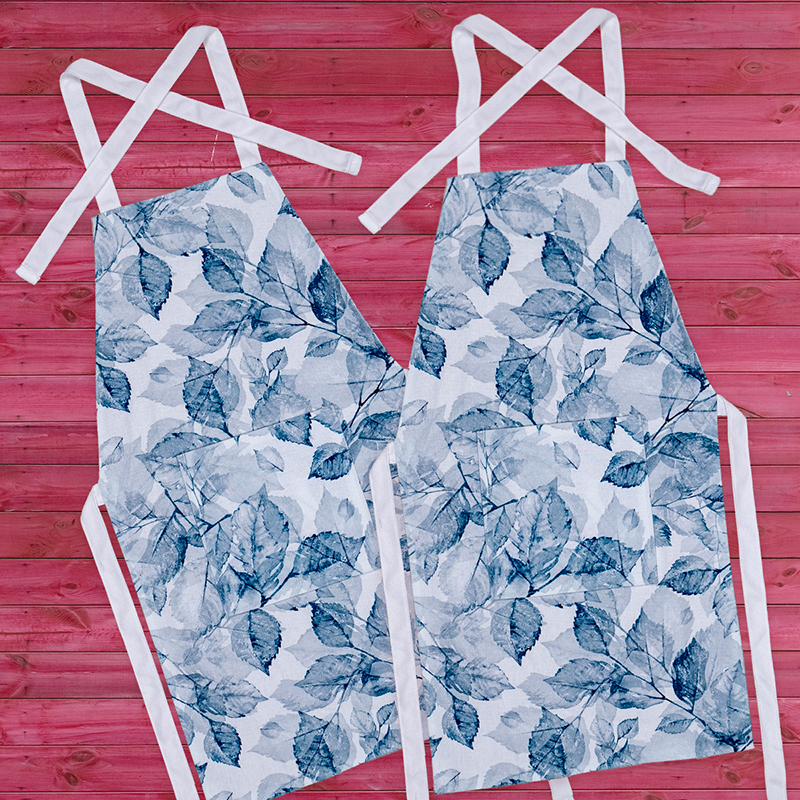
We recommend using a plain cotton duck, canvas or denim for this tutorial. If you wanted to use a print fabric, a printed cotton duck or printed linen will be suitable.
What you'll need:
- Sewing machine
- Rasant thread (To match your fabric)
- Fabric: you will need 50"
- 1" webbing (Approximately 80-100" in your colour choice)
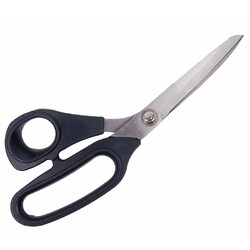
- Sewing scissors
- Ruler & measuring tape
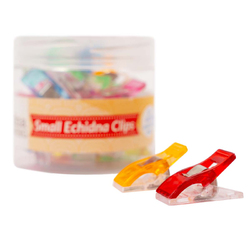
- Pins and small clips
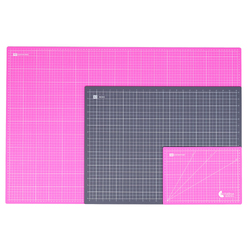
- Rotary cutter and self-healing mat
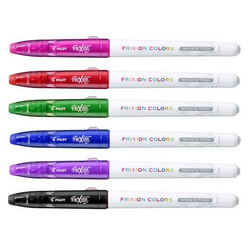
- Water soluble pen/Tailor's chalk
- Optional:
- Embroidery machine
- Embroidery threads
- Overlocker
Embroider your apron with our FREE embroidery designs
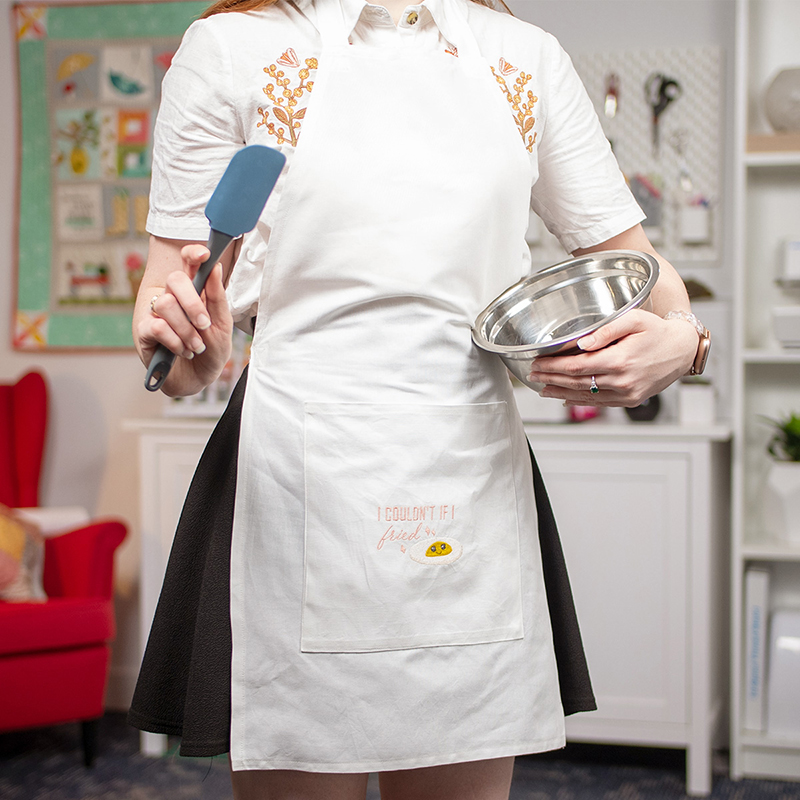
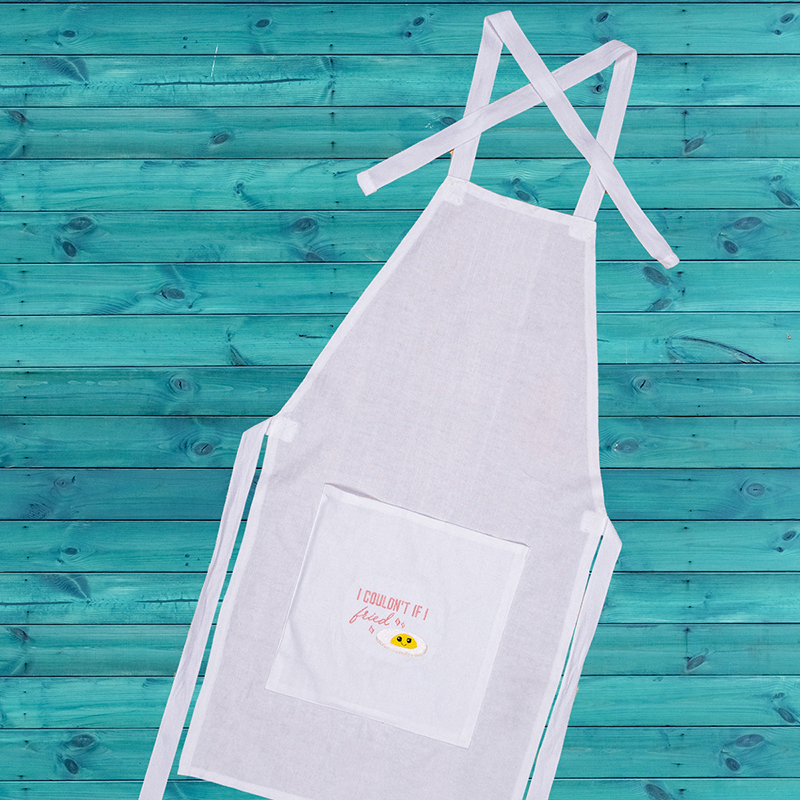
You can download two awesome designs from our Korny Kitchen Echidna Designs pack for FREE! Add some fun detail to your apron with our "Don't go bacon my heart" and "I couldn't if I fried" designs. They're super cute! Download designs →
Love these designs? You can grab the full Korny Kitchen Echidna Design pack with all 10 designs. Take a look →
Step Overview
The steps below are just an overview of the project instructions and must be used in conjunction with the tutorial video. Print these steps out to have beside you when watching the video as a reminder.
- With your water soluble pen, draw a rectangle on the back of your fabric that is 30” long and 17” wide.
- From the bottom, mark a point 17” up along one side.
- Find the centre point along the top.
- From the centre point, mark two points of 4” on either side.
- Draw a diagonal line from the top mark to the side mark.
- Repeat for the other side.
- Using your rotary cutter and ruler, cut out your apron piece, set aside.
- Cut out another rectangle that is 10” wide and 10” tall. This is your pocket piece.
If you are adding embroidery, do so here. Note: If adding embroidery, cut a piece for your pocket that will fit your hoop size (this will be trimmed down to 10" x 10" afterwards).
- Remove embroidery from the hoop and iron out any wrinkles.
- Trim your pocket piece to 10”x10” if needed.
- Overlock all four edges of your pocket piece.
- Fold over the top edge ½” and press flat with your iron.
- Sew a line of top stitching to secure the fold in place. Use a 3mm straight stitch, as close to the overlocked edge as possible.
- Fold over the bottom edge ½” to the wrong side and press with your iron.
- Fold over both sides of the pocket ½” to the wrong side and press flat. Set aside.
- Overlock all edges of your apron piece.
- Find the midway point of your apron by folding it in half length and width ways.
- Align the top of your pocket with the point just found, pin or clip to secure.
- Sew both the sides and bottom of the pocket to the apron, leaving the top open. Use a 3mm straight stitch and a ⅛” seam allowance.
- Fold bottom hem of apron a ½” to the wrong side, and press flat with your iron, pin or clip to secure.
- Top stitch with ⅜” seam allowance and a 3mm straight stitch.
- Fold top hem of apron ½” to the wrong side, press flat with your iron. Pin or clip to secure.
- Top stitch with a ⅜” seam allowance and a 3mm straight stitch.
- Fold vertical sides in ½” and press with your iron. Pin or clip to secure.
- Top stitch with ⅜” seam allowance and a 3mm straight stitch.
- Fold over diagonal sides ½” and press with your iron. Pin or clip to secure.
- Top stitch with ⅜” seam allowance and a 3mm straight stitch.
- Cut four pieces of the webbing - 4 x 25”.
- Fold the raw edge of your webbing over once approx ½”.
- Pin your 20” webbing (with the fold to the wrong side of the fabric) 1” over the corner where the diagonal edges meets the side (pinning on the straight, not the diagonal) on the wrong side of the fabric.
- Repeat for other side.
- Sew a box around the edges of the webbing, and then a cross through the middle of the box.
- Pin 25” webbing 1” over the corner were the diagonal meets the top (pinning on the straight, not the diagonal) on the wrong side of the fabric.
- Repeat for the other side.
- Sew a box around the edges of the webbing, and then a cross through the middle.
- Turn over the webbing ends twice, to encase the raw edges, sew a top stitch to secure.
- Iron all seams flat.
- You're all finished!
Don’t forget to show us your finished projects on Instagram or Facebook #echidnasewing #madebyme
Want to get involved in the charity community and donate your apron? Find out more →

DONATE TO A CHARITY
These aprons can be donated to any of the below charities. Just send your creations in to the mailing address provided.
Are you a charity that would accept this item? Contact us to have your details added here.
New South Wales
Headway House
6 Percy Street
Bankstown NSW 2200


Free Embroidery Designs
We're excited to offer our free Echidna designs available for download. These free designs are perfect for those at a beginner or an advanced level. Add these designs to your stash and create incredible embroidery!
View all free designs >
Sewing, Quilting and Embroidery Machines
Interested in learning how to sew, quilt or embroider? Take a look at the innovative Brother machines available for purchase at Echidna Sewing. Wherever possible we will beat any deal and you will always receive ongoing service and support!
Find out more >
Learn to Sew or Embroider with Echidna Sewing
Come along to our fun-filled classes to learn more about sewing, embroidery and crafting. Classes cater for all skill levels, whether you're just starting out or already have advanced knowledge.
Find out more >
Echidna project material/ fabric requirements are an indication only and can seem to be generous. This has been intentional. Should you make a cutting or embroidery mistake you will have sufficient fabric to rectify your error.


