All Projects


Personalised Wooden Hangers
Author: Nicole Date Posted:11 February 2026
Are you looking for a creative way to stay organised or add a personal touch to your wardrobe? Personalised wooden coat hangers are the perfect project! With just a cutting machine like the Brother ScanNCut and some heat transfer vinyl (HTV), you can transform a plain wooden hanger into something meaningful or useful.
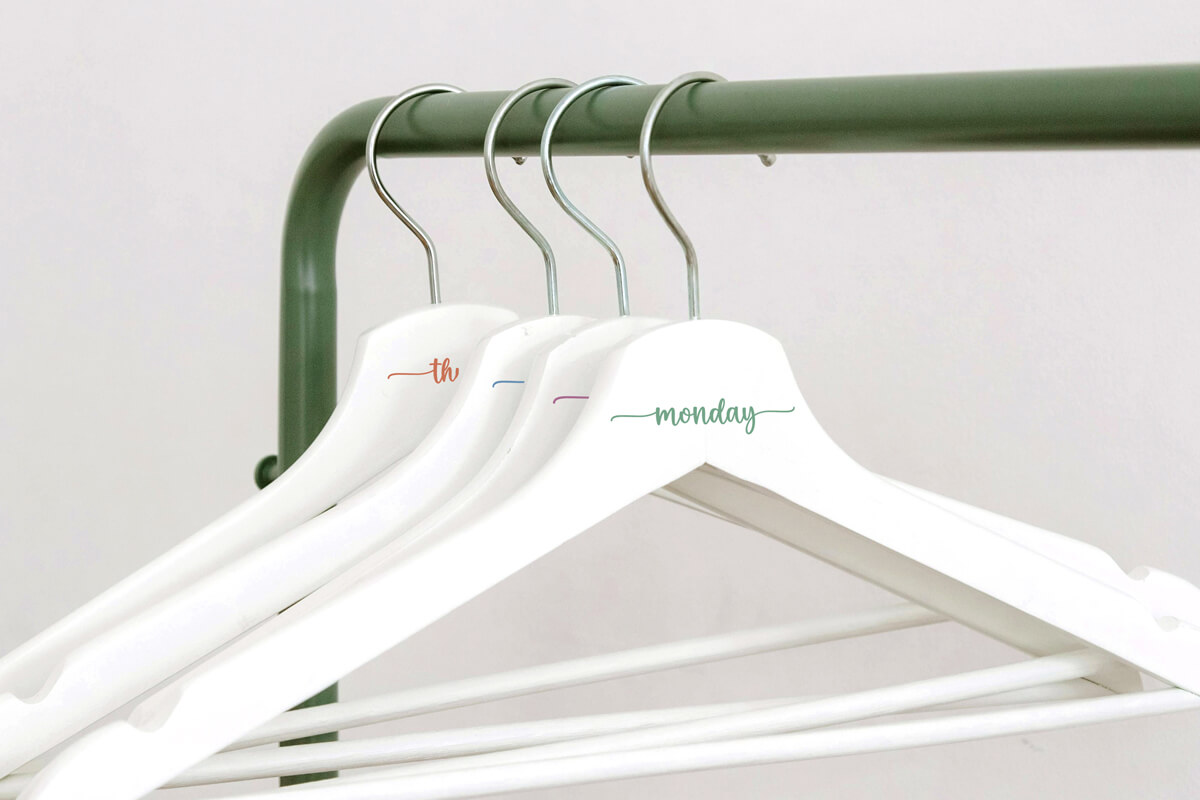
Think about gifting a bridal party a set of matching hangers, each labelled with their role (bride/groom). They look stunning in wedding photos and double as a keepsake to treasure long after the big day. Or, why not make a practical set for everyday use? Label hangers with the days of the week to help organise school uniforms or outfits, a lifesaver for busy mornings with kids or planning your wardrobe in advance.
Free design files:
We’ve included a set of free SVG designs to get you started.
Free SVG files include:
- Wedding Party Titles: Bride & Groom (.svg)
- Days of the Week: Monday, Tuesday, Wednesday etc (.svg)
The free designs are created using the “Family” font from CreativeFabrica so you can go ahead download this and create your own words using Canvas Workspace. Just make sure you are using the desktop version of CanvasWorkspace as this allows you to have access to the fonts installed on your computer. Learn more about the compatibility between the desktop and web versions of the CanvasWorkspace software here.
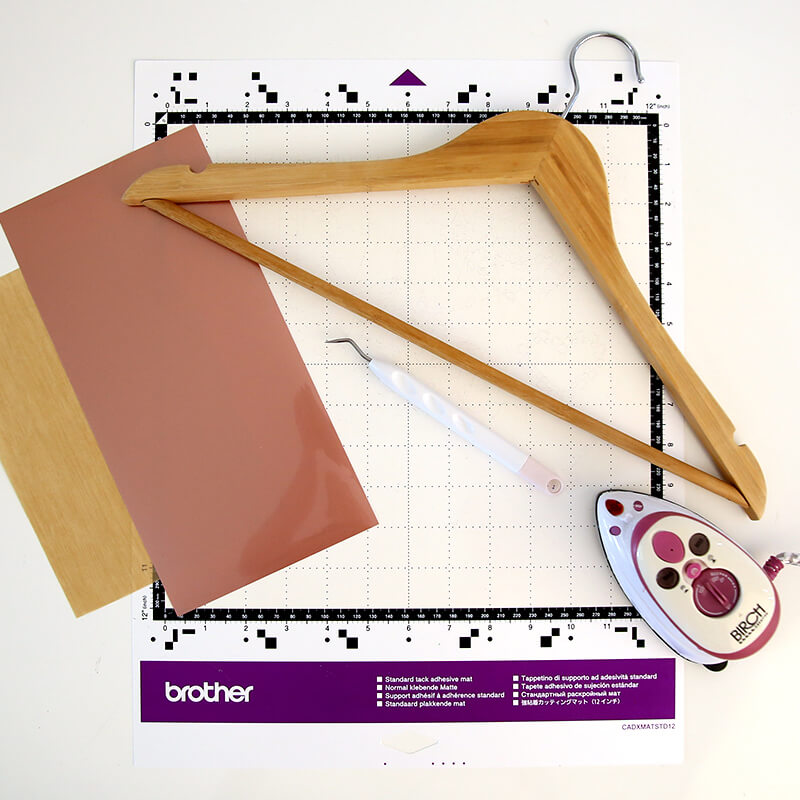
What you will need:
- Cutting Machine (Brother ScanNCut, Cricut, Silhouette etc)
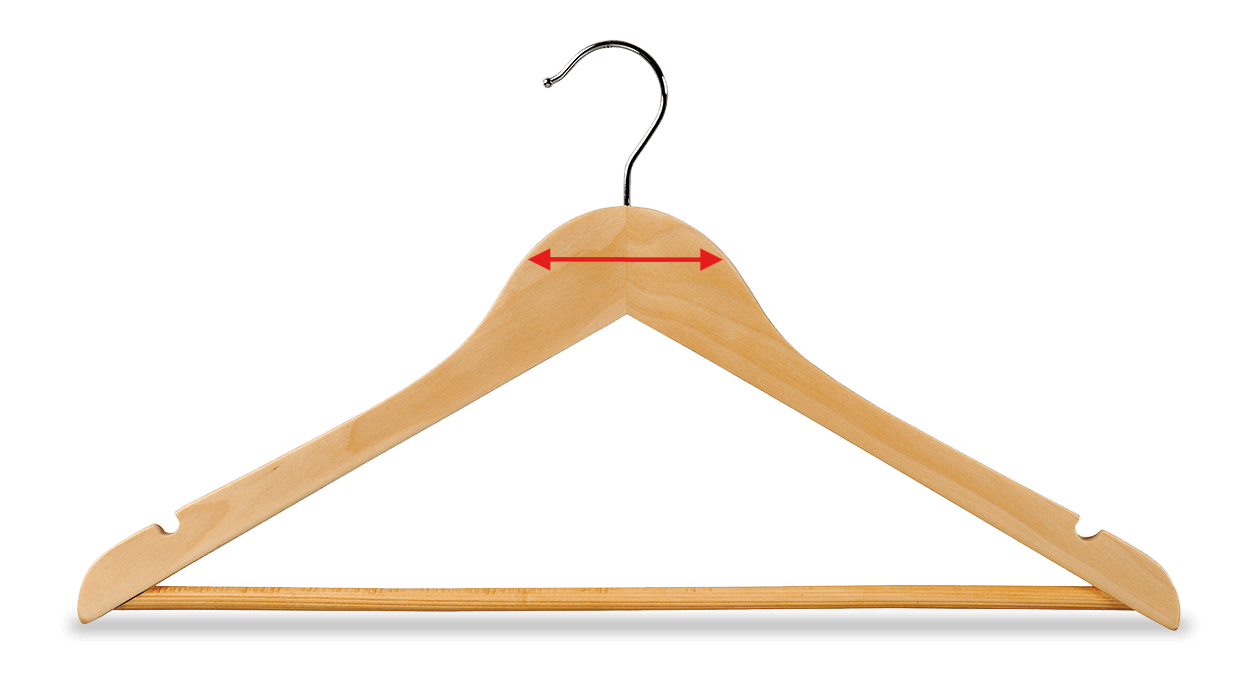
- Wooden Coat Hangers (preferably with a flat side)
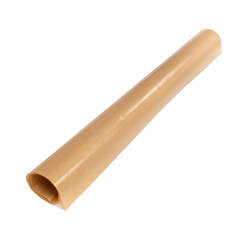
- Heat Transfer Vinyl (HTV) in your preferred colour/finish (e.g. white, black, metallic)
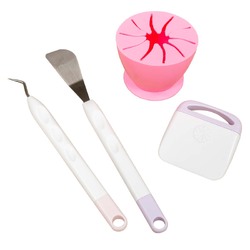
- Weeding Tools
- Heat Resistant Tape (Optional)
- Mini Craft Iron
- Protective Heat-resistant Sheet (to protect the vinyl)
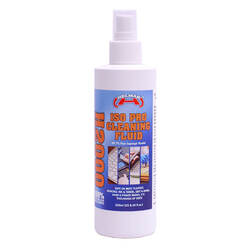
- Isopropyl Alcohol
- Microfibre Cloth
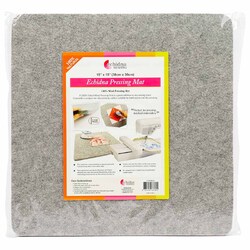
- Wool Pressing Mat
- Vinyl Auto Blade Kit for ScanNCut DX (Optional)
- Free design files (Download here→)
Shop Online:


Detailed instructions:
Surface Preparation:
Many wooden coat hangers come pre-finished (primed or varnished), so sanding or sealing isn’t required before applying HTV. For best results, ensure the surface is smooth and clean.
If you’re working with unfinished wood, lightly sand and apply a clear coat (polyurethane) or paint in your desired colour before applying HTV.
Steps:
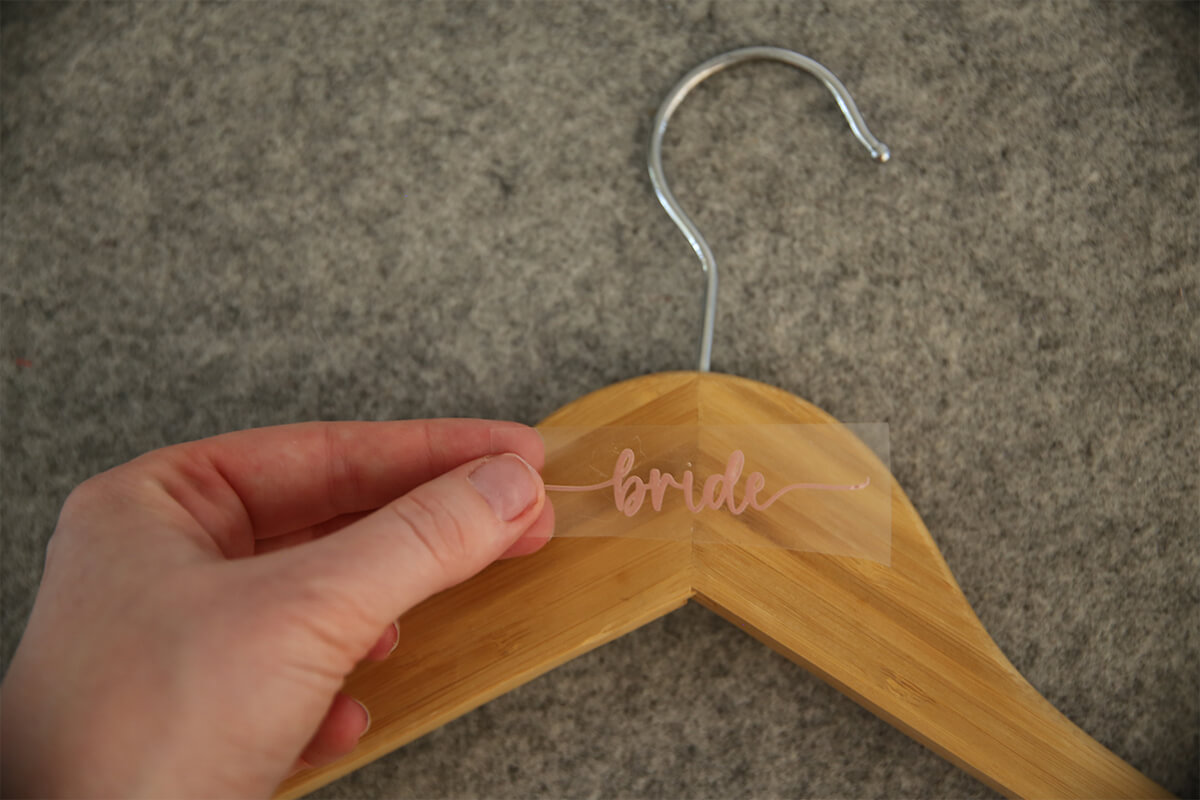
- Measure the width where you plan to add text on your hanger. This will allow you to check the sizing of the art so that it fits. Ours is around 7cm wide.
⚠️ Tip: The smaller the label, the finer the design elements will be. Avoid overly delicate fonts or tiny details, as these may not cut cleanly or weed easily when scaled down.
- Download the SVG files and save them to a USB to load directly into your cutting machine or send via CanvasWorkspace desktop.
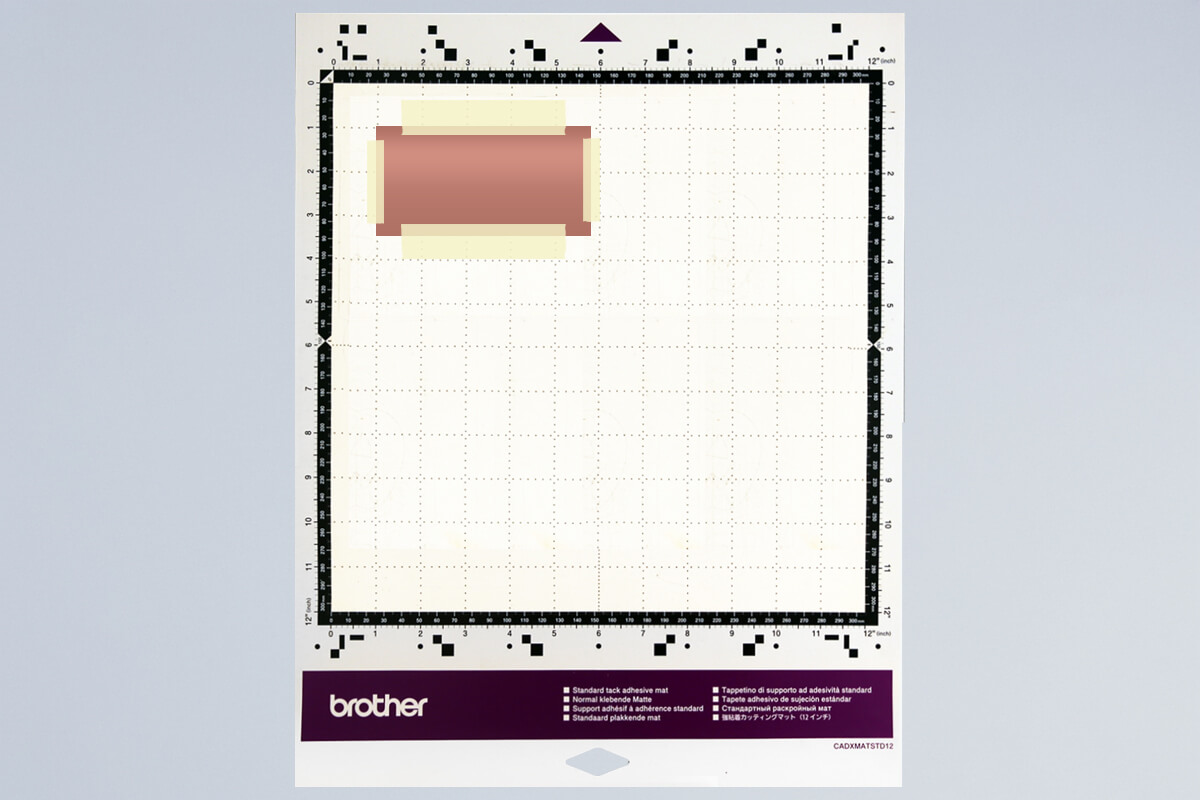
- Place your HTV in the top left-hand corner of the cutting mat, shiny carrier sheet side down. A brayer can help secure it firmly. Use masking tape to hold in place if your mat is starting to lose its tack.
- Load the mat into your machine, holding it level as it feeds in.
- Load the design from the USB (2). If you are sending from CanvasWorkspace via Wifi select (3).

- Select your design and mirror it before cutting (important for HTV).
- Resize as needed.
- Scan the mat to check placement on top of the HTV and adjust if needed.
- Run a test cut to check your settings.
SDX Settings: Use the Half Cut function for HTV, which cuts the vinyl layer but leaves the clear carrier intact. Adjust Cut Pressure if needed depending on HTV thickness. - Send the design to cut.
- Once finished, unload the mat and peel away the HTV sheet.
- Starting at one corner, weed away the unwanted vinyl using a weeding tool for small details.
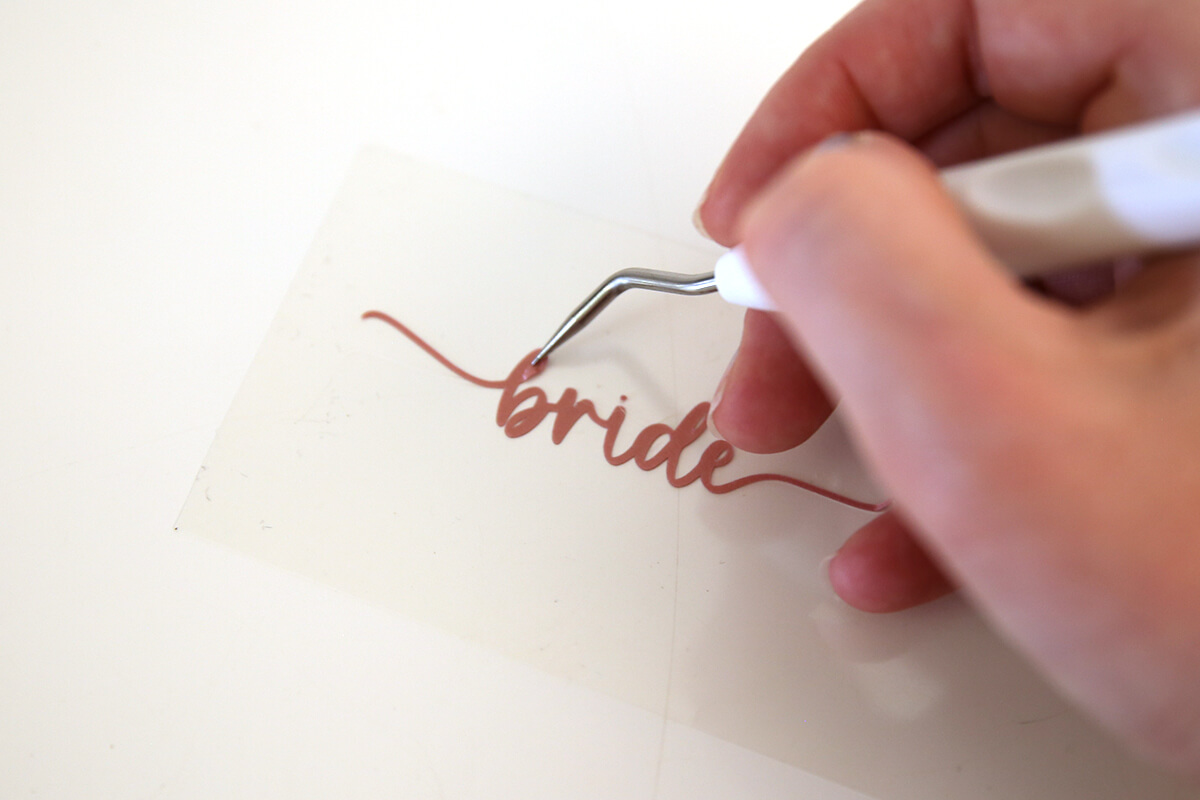
- You should be left with your design on the clear carrier sheet, ready to apply.
- Spray the hanger with isopropyl alcohol and wipe with a microfibre cloth to remove dust and oils. Let it air dry.
- Position the vinyl design on the hanger. (Use heat resistant tape to hold in position if needed)
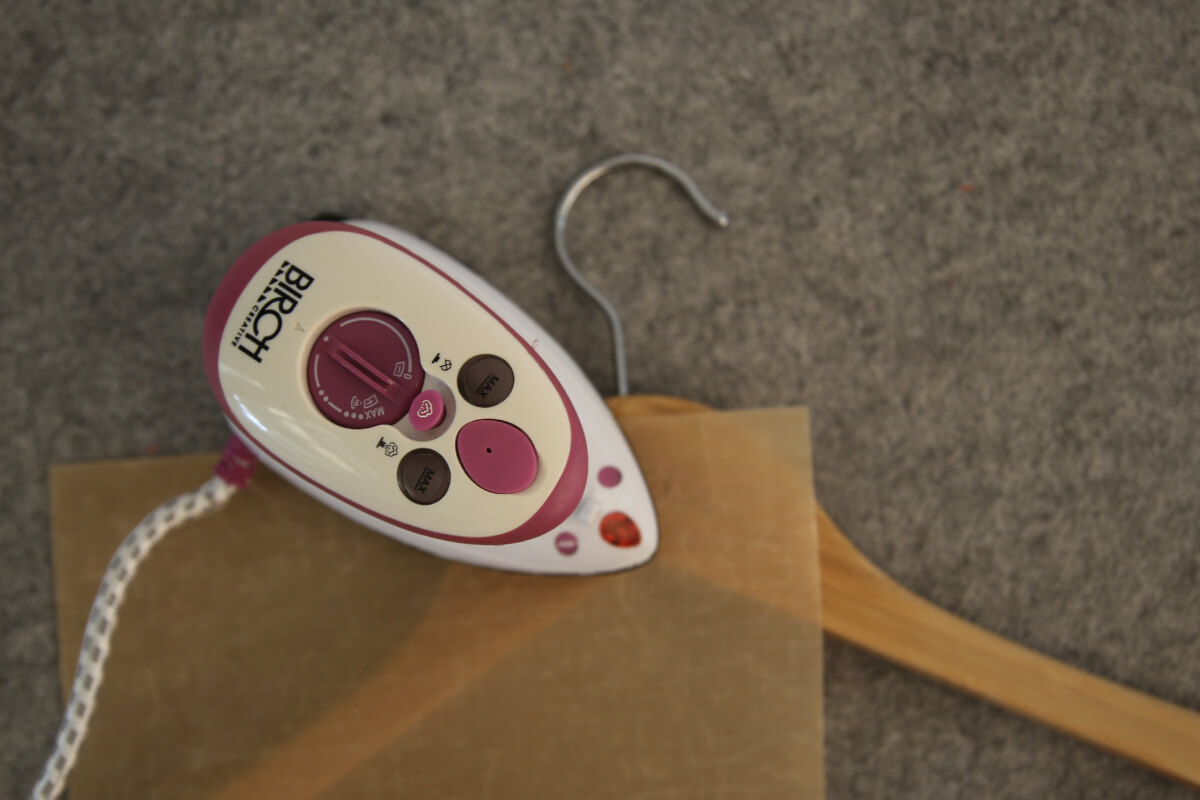
- Cover with a protective heat-resistant sheet.

- Using your mini craft iron (or a domestic iron set to medium heat, no steam), press gently for 10–15 seconds. Keep the iron still while pressing — if you need to cover more area, lift the iron and place it back down again rather than sliding.
- Allow to cool slightly, then peel away the clear carrier sheet.
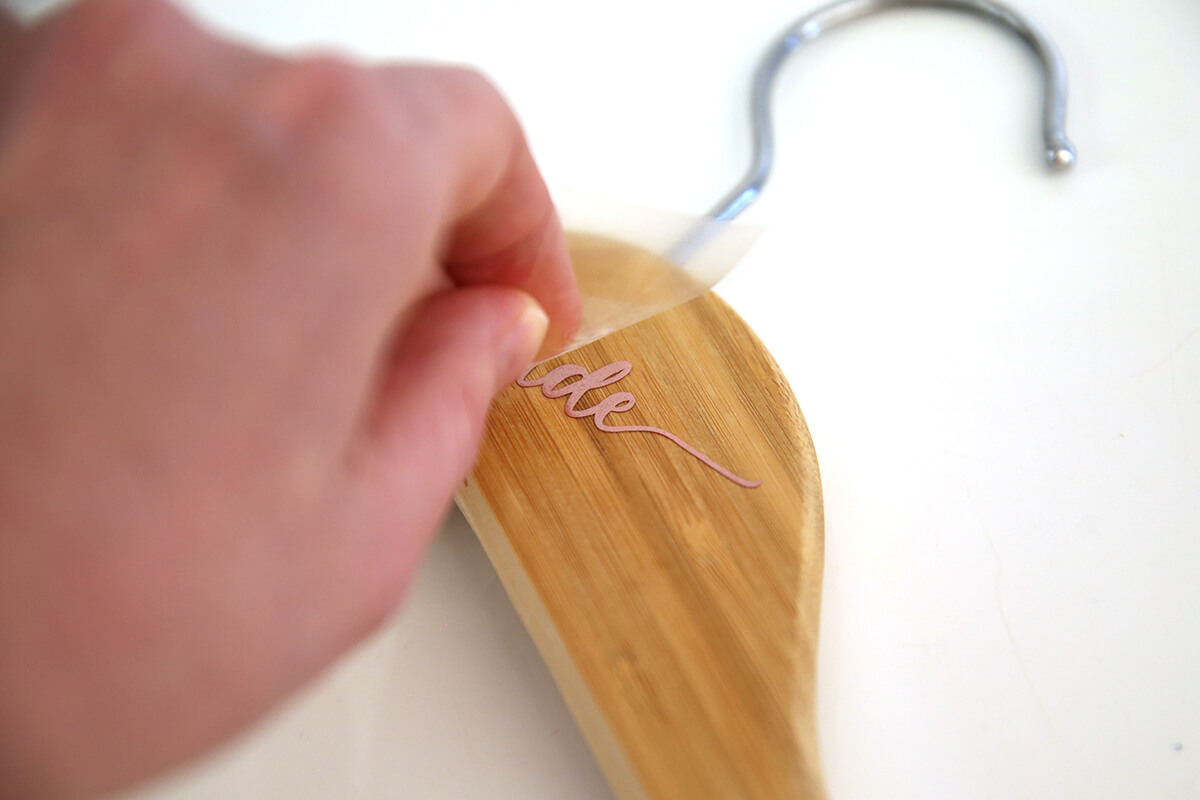
- If needed, re-cover and press briefly to ensure a strong bond.
⚠️ Tip: Avoid overheating. Too much heat may cause vinyl shrinkage or glossy outlines on the wood. - The end result is a personalised hanger that makes a practical keepsake — perfect for weddings, gifts, or simply staying organised at home.

Note: Do not varnish over vinyl. As varnish dries, it shrinks and can cause HTV to lift or curl.

This project may engage in affiliate marketing, which is done by embedding tracking links into the Website. If you click on a link for an affiliate partnership, a cookie will be placed on your browser to track any sales for purposes of commissions.
Free Embroidery Designs
We're excited to offer our free Echidna designs available for download. These free designs are perfect for those at a beginner or an advanced level. Add these designs to your stash and create incredible embroidery!
View all free designs >
Sewing, Quilting and Embroidery Machines
Interested in learning how to sew, quilt or embroider? Take a look at the innovative Brother machines available for purchase at Echidna Sewing. Wherever possible we will beat any deal and you will always receive ongoing service and support!
Find out more >
Learn to Sew or Embroider with Echidna Sewing
Come along to our fun-filled classes to learn more about sewing, embroidery and crafting. Classes cater for all skill levels, whether you're just starting out or already have advanced knowledge.
Find out more >
Echidna project material/ fabric requirements are an indication only and can seem to be generous. This has been intentional. Should you make a cutting or embroidery mistake you will have sufficient fabric to rectify your error.


