All Projects


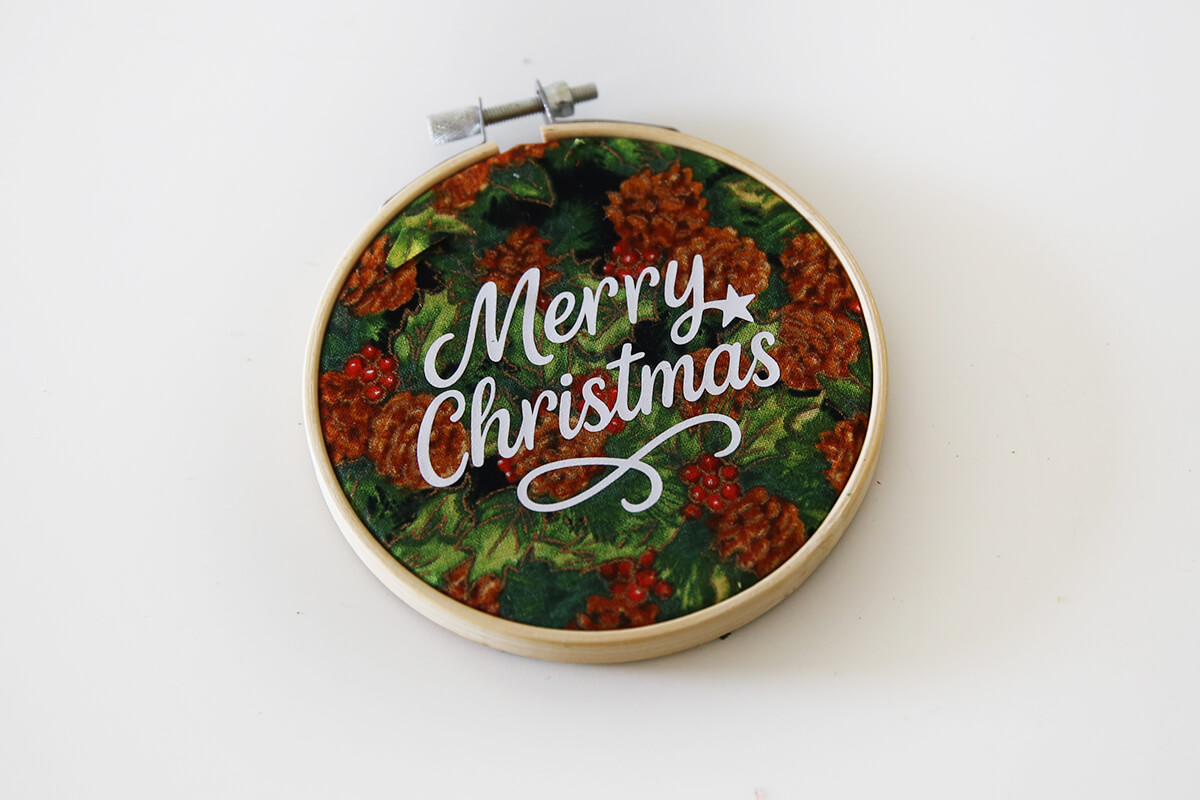
HTV Hoop Chrsitmas Ornament
Author: Nicole
Create a beautiful handmade ornament for your Christmas tree using your favourite festive fabric and Heat Transfer Vinyl (HTV). This quick and creative project is perfect for adding a touch of personal flair to your holiday décor. Once finished, you can hang it on the tree or gift it to a loved one!
What you will need:
- Cutting Machine (Brother ScanNCut, Cricut, Silhouette etc)
- Heat Transfer Vinyl (HTV) in your preferred colour/finish (e.g. white, black, metallic)
- 10cm (4”) Round Embroidery Hoop
- Cutting Mat
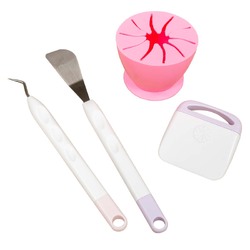
- Weeding Tools
- Heat Press
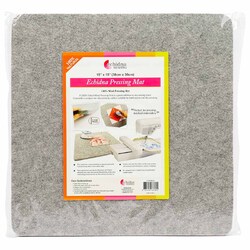
- Pressing Mat
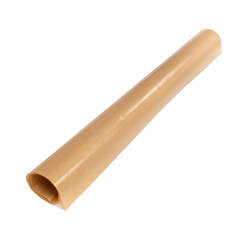
- Mini Iron
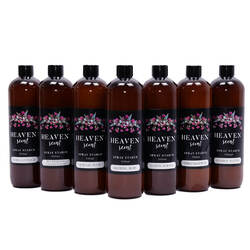
- Starch Spray
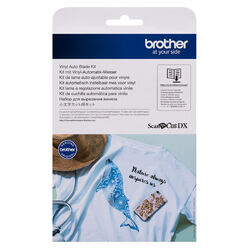
- Vinyl Auto Blade
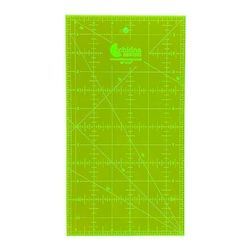
- Patchwork Ruler
- Scissors
- Protective Heat-Resistant Sheet (to protect the vinyl)
- 5mm Ribbon - approx 75mm or 30 inches
Shop Online:


Detailed instructions:
- Download the SVG files and save them to a USB to load directly into your cutting machine or send via CanvasWorkspace desktop.
- Place your HTV in the top left-hand corner of the cutting mat, shiny carrier sheet side down. Use a brayer or masking tape if your mat has lost some tack.

- Load the mat into your machine, holding it level as it feeds in.
- Load the design from the USB (2). If you are sending from CanvasWorkspace via Wifi select (3).

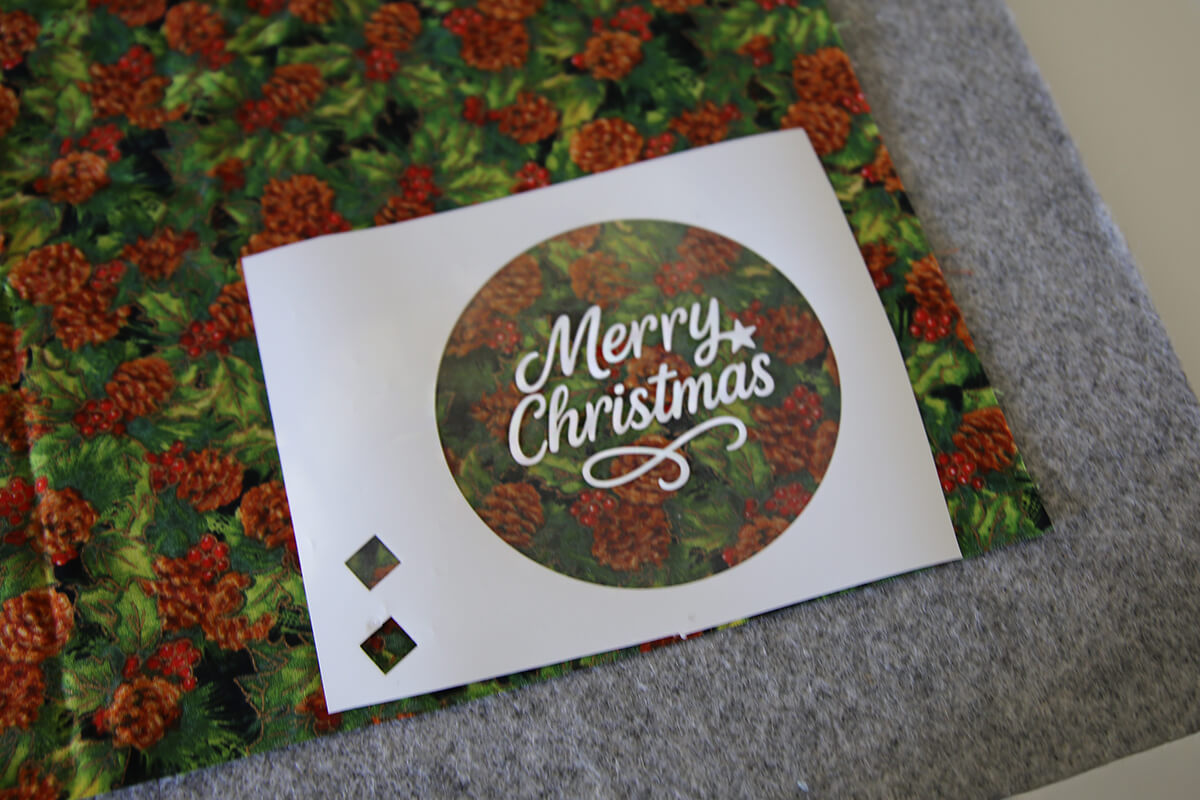
- (Optional) Add a 10cm x 10cm (4” x 4”) circle and centre your design inside it. This helps visualise your hoop size and adjust the artwork as needed. Group all objects.
- Select your design and mirror it before cutting (important for HTV).
- Scan the mat to check placement on top of the HTV and adjust if needed.
- Run a test cut to check your settings.
SDX Settings: Use the Half Cut function for HTV, which cuts the vinyl layer but leaves the clear carrier intact. Adjust Cut Pressure if needed depending on HTV thickness. - Send the design to cut.
- Once finished, unload the mat and peel away the HTV sheet.
- Starting at one corner, weed away unwanted vinyl using your tools, leaving only your design on the clear carrier sheet.
⚠️ Tip: Keep the vinyl outside your circle cut—this can help you audition your fabric later.
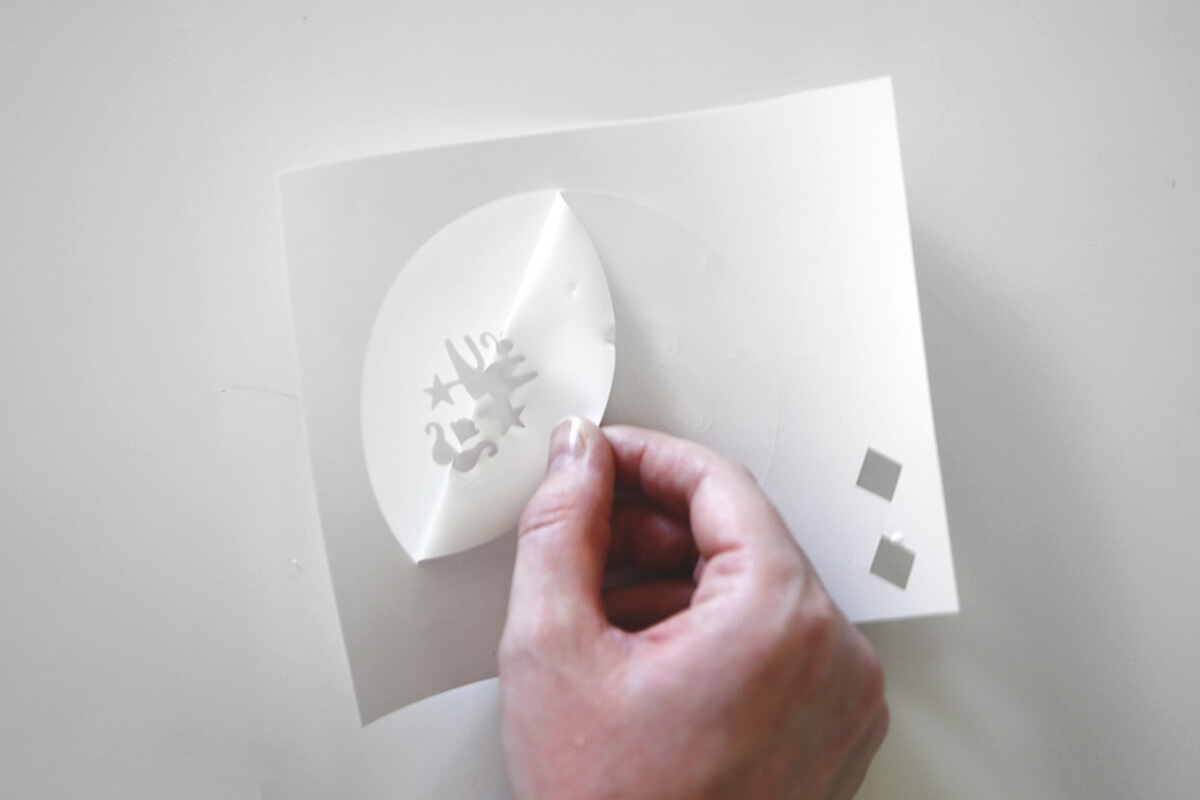
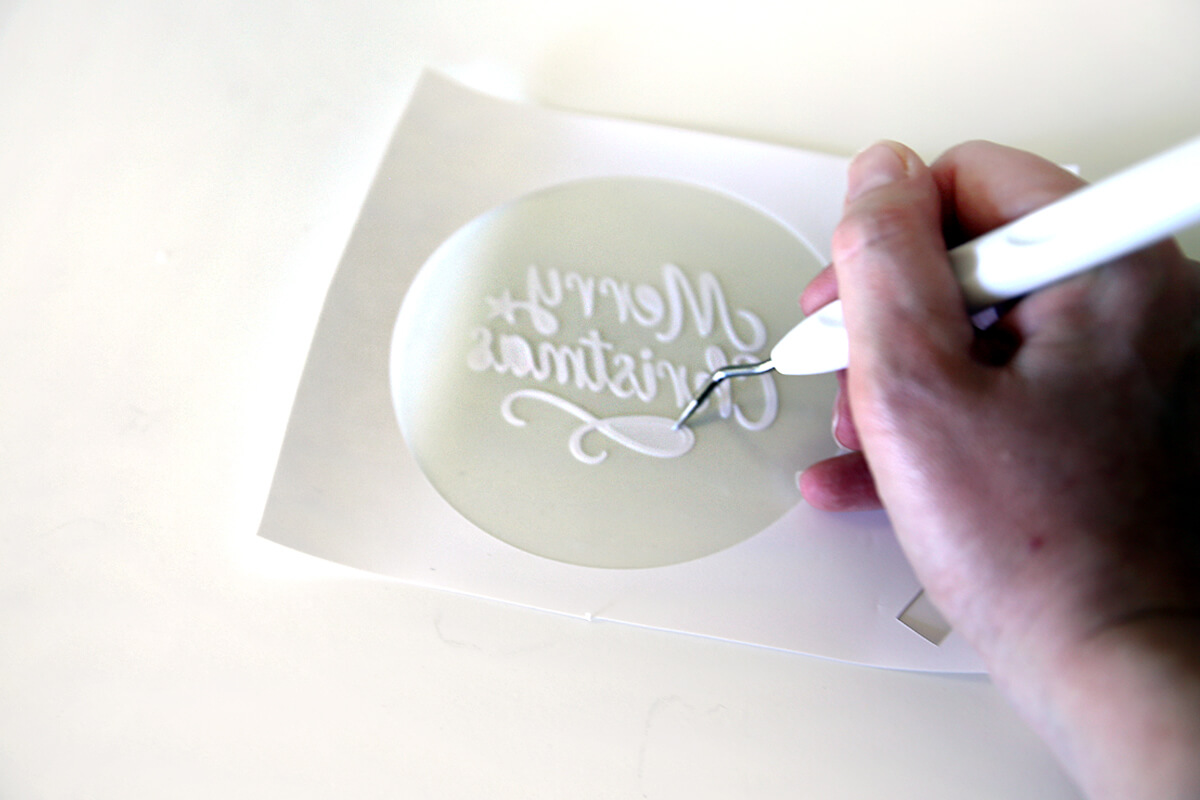
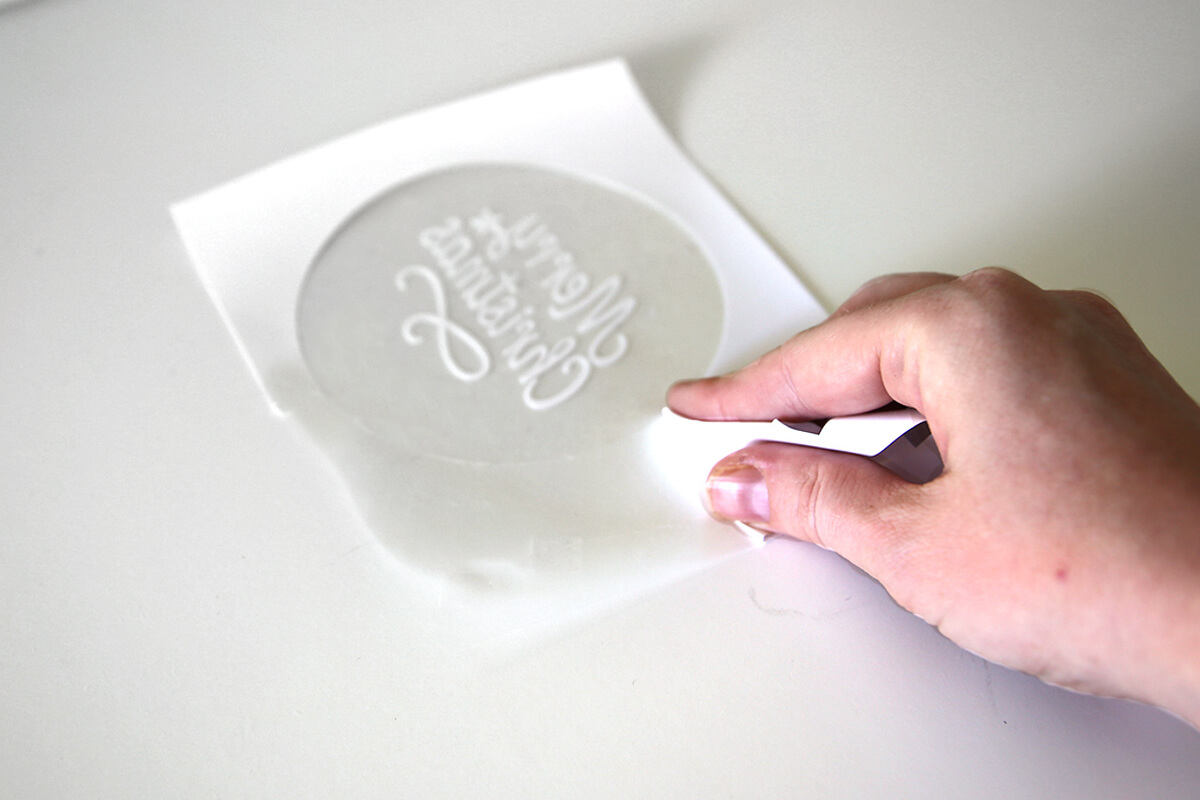
- You should be left with your design on the clear carrier sheet, ready to apply.
- Audition your design by placing your weeded design over your chosen fabric to check colours and positioning.
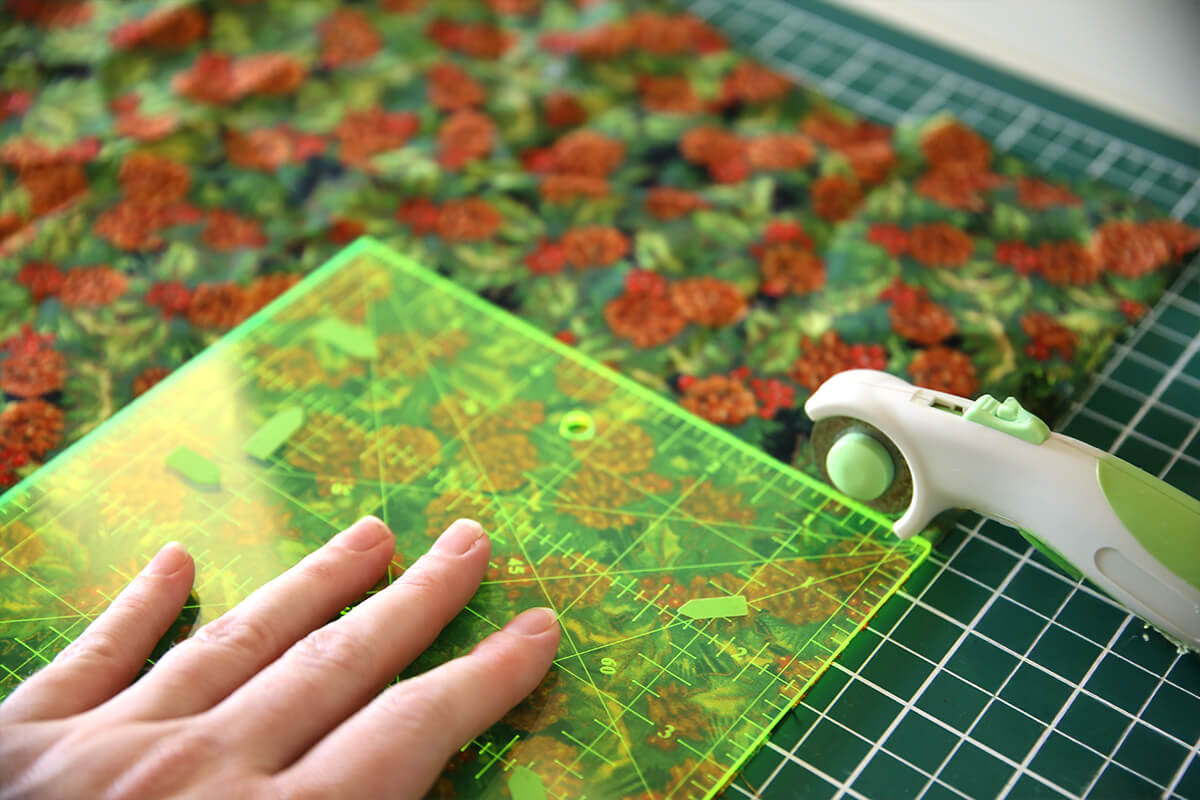
- Using a patchwork ruler, cut two 15cm x 15cm (6” x 6”) fabric squares.
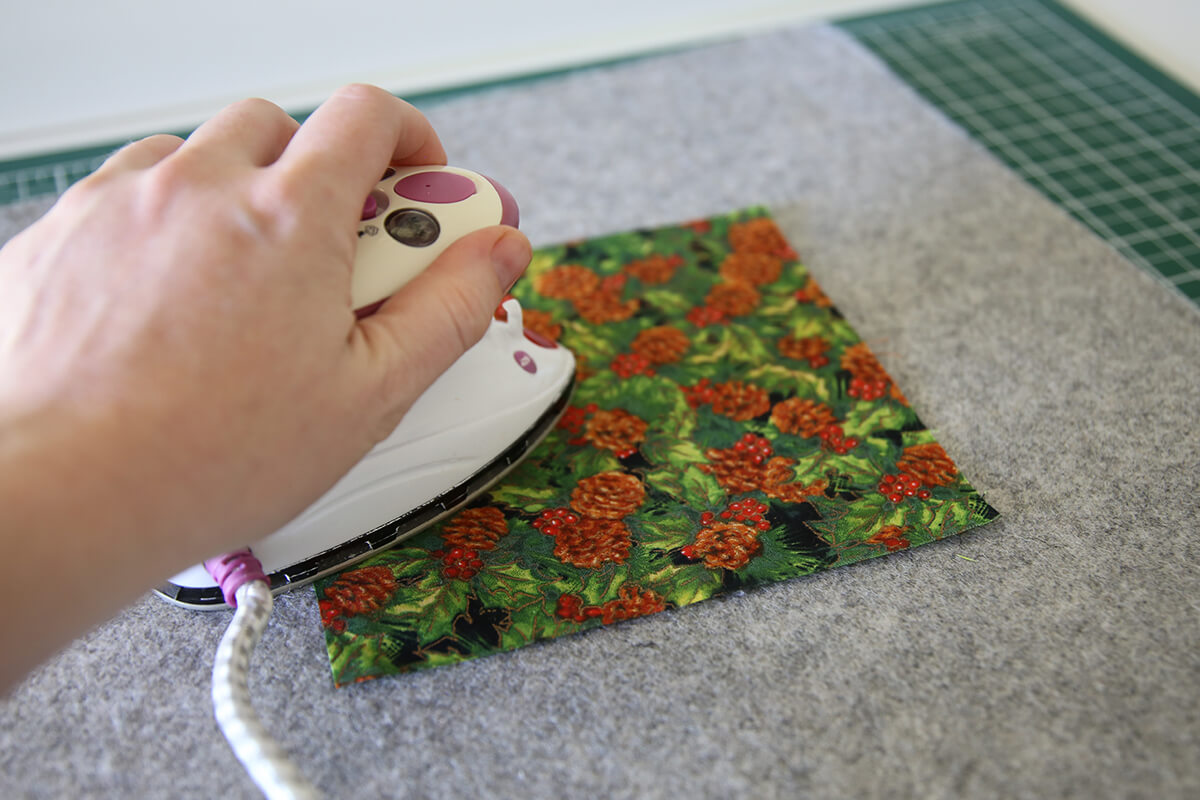
- Iron out any creases using your mini iron and pressing mat. A light spray of starch will help achieve a smooth finish.
- If you used the optional circle step earlier, trim away the remaining excess vinyl now.
- Heat up your press to the temperature recommended for your specific HTV. (See our HTV Pressing Times Guide for details.)
- Place a single piece of pressed fabric onto your heat press.
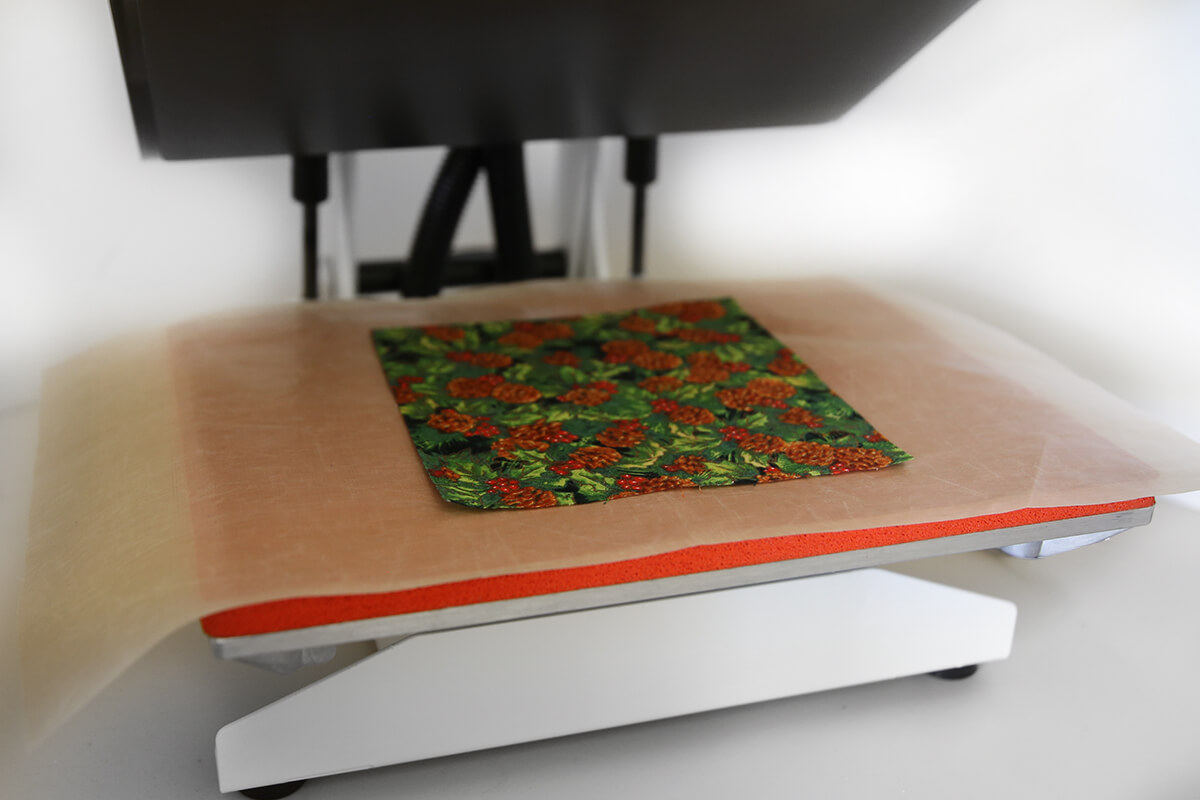
- Position the vinyl in the middle or as close to the middle as you can.
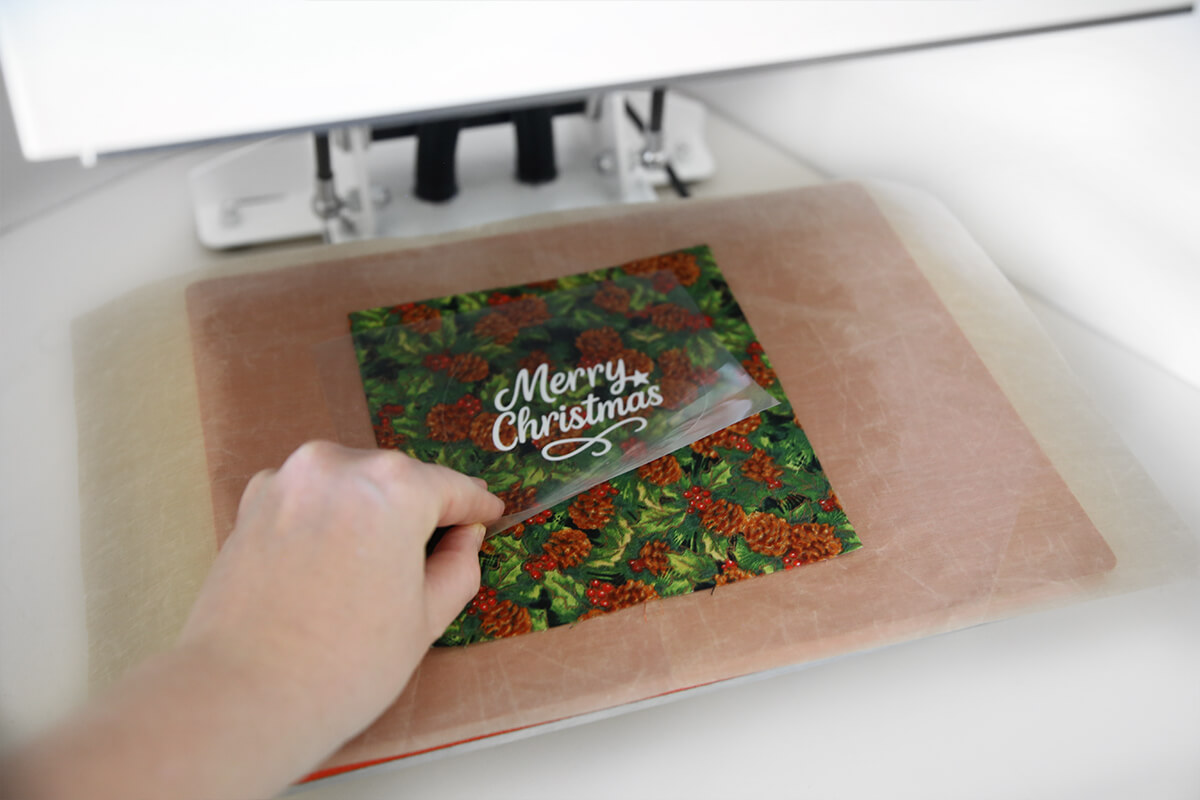
- Cover with a Protective Heat-Resistant Sheet, and press for the required time.
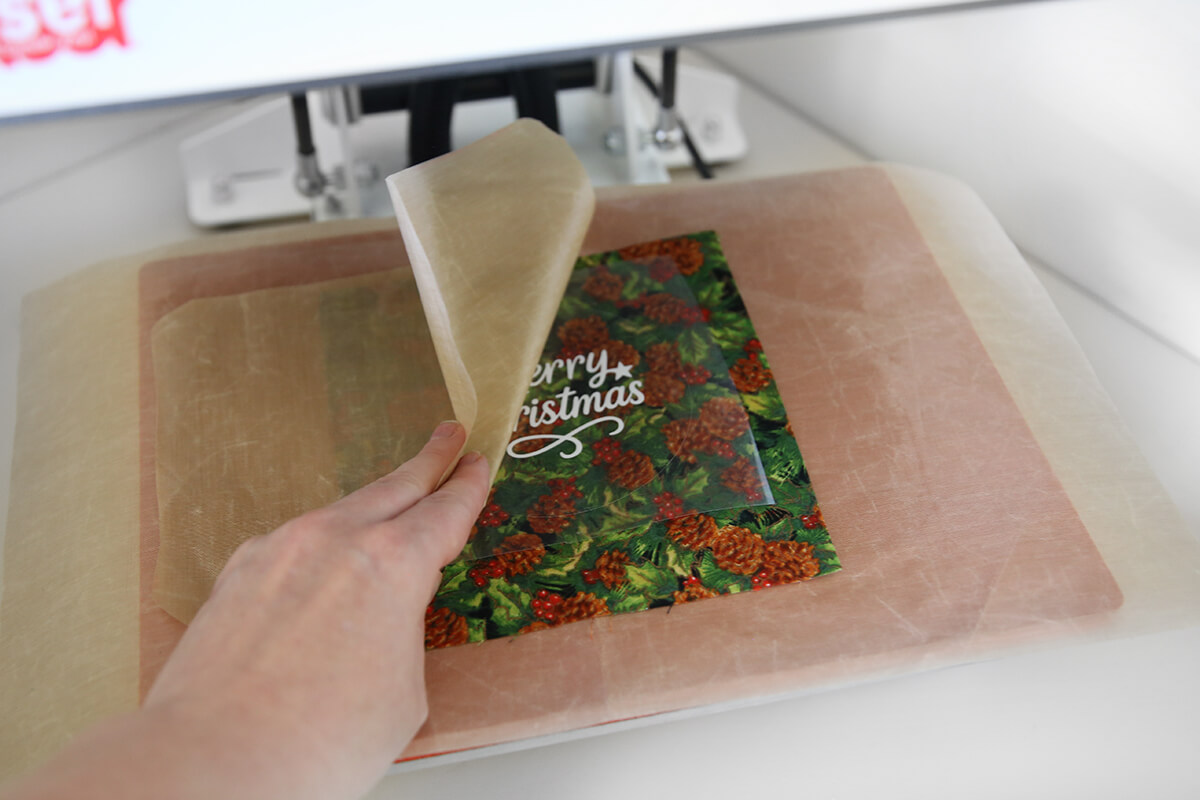
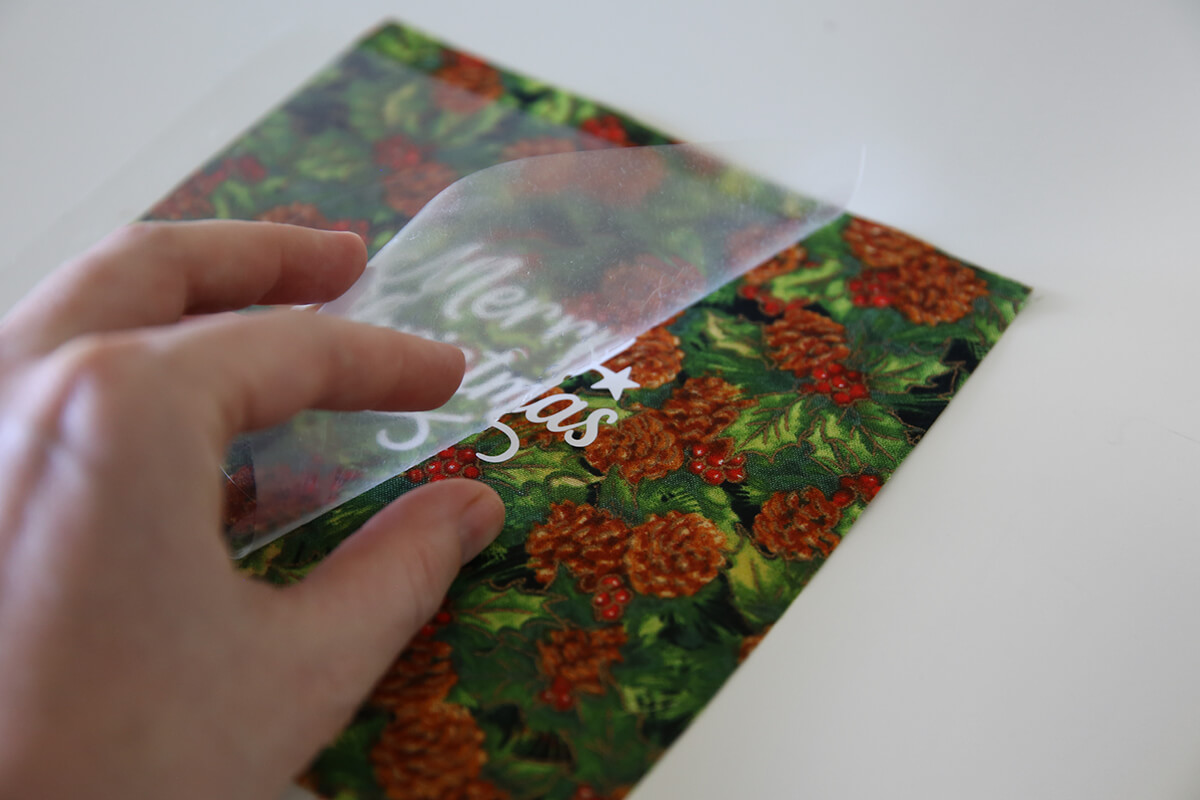
- Once pressed, remove from the press and peel off the carrier sheet.
- Place the second piece of fabric behind the first, wrong sides together. Try to line up the fabric as best as you can.
- Position both fabrics over the inner hoop.
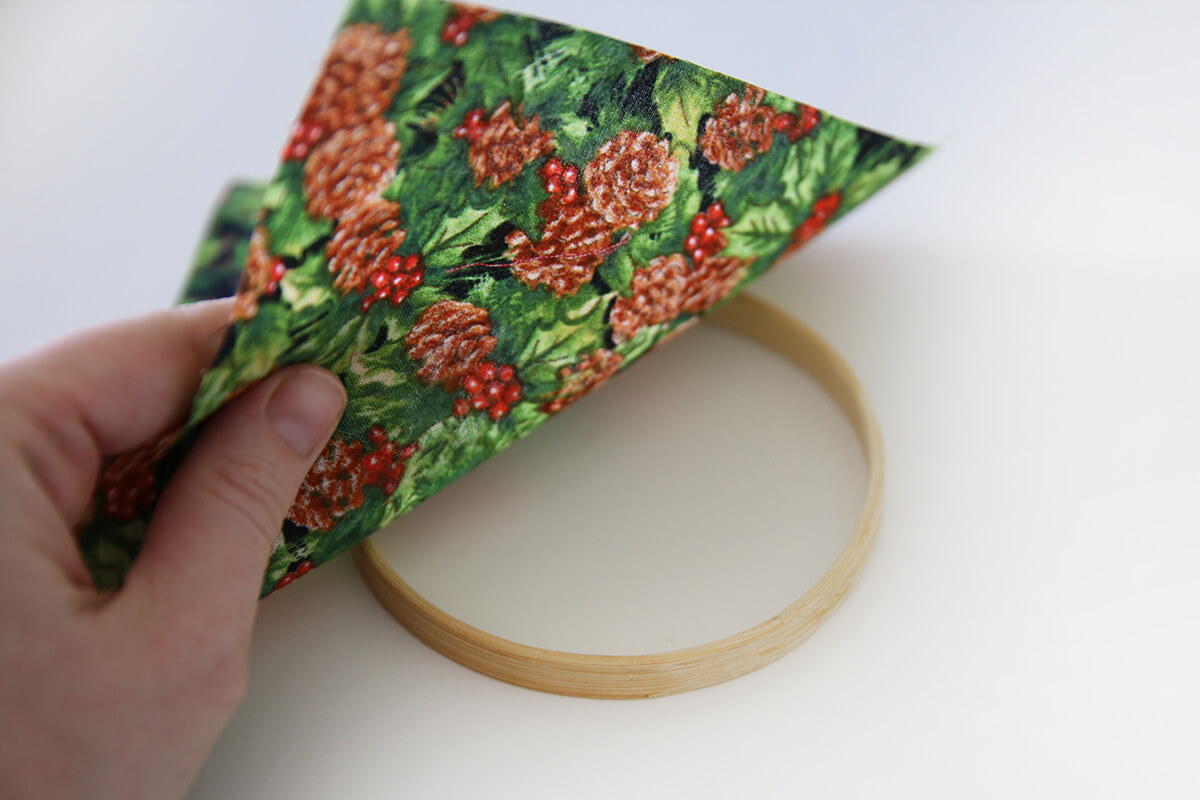
- Place the outer hoop over the top and adjust the positioning of the fabric so that the design is centered. Push down on the outer hoop to secure the two hoops together. Tighten to secure the fabric.
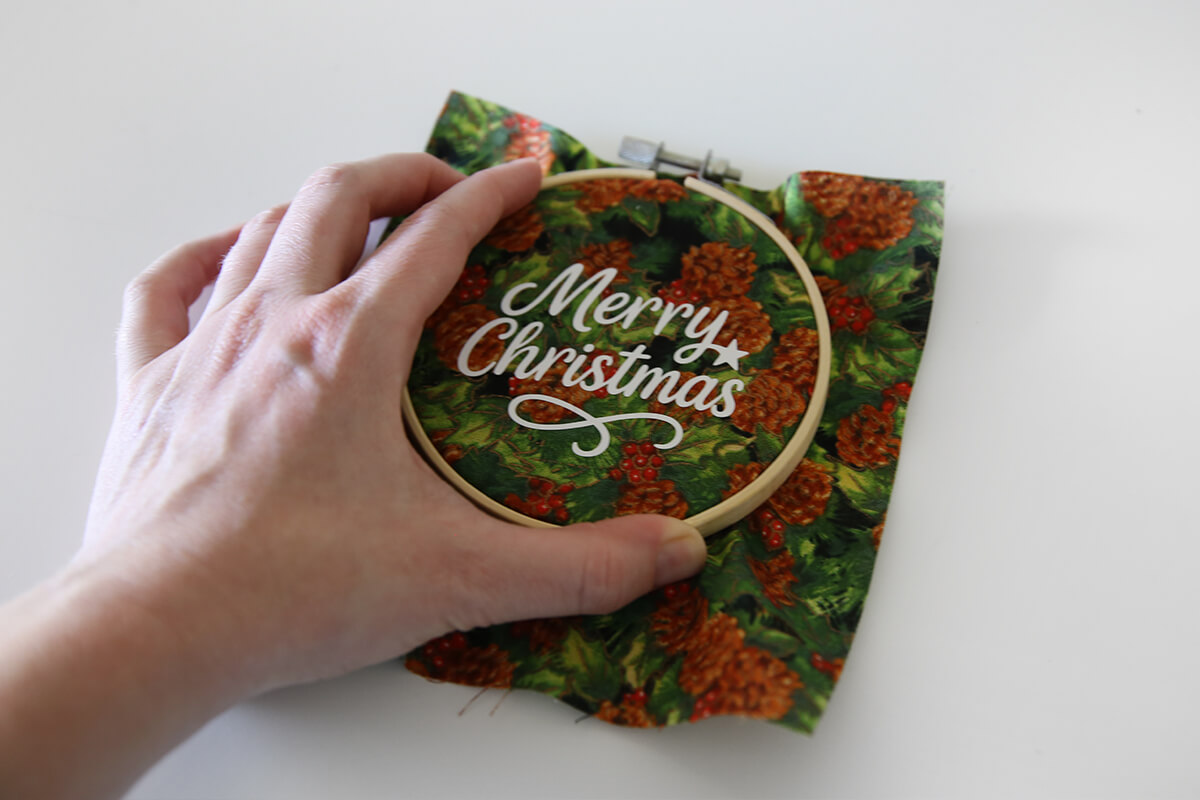
- Flip the hoop over and carefully trim the excess fabric flush with the hoop edge.
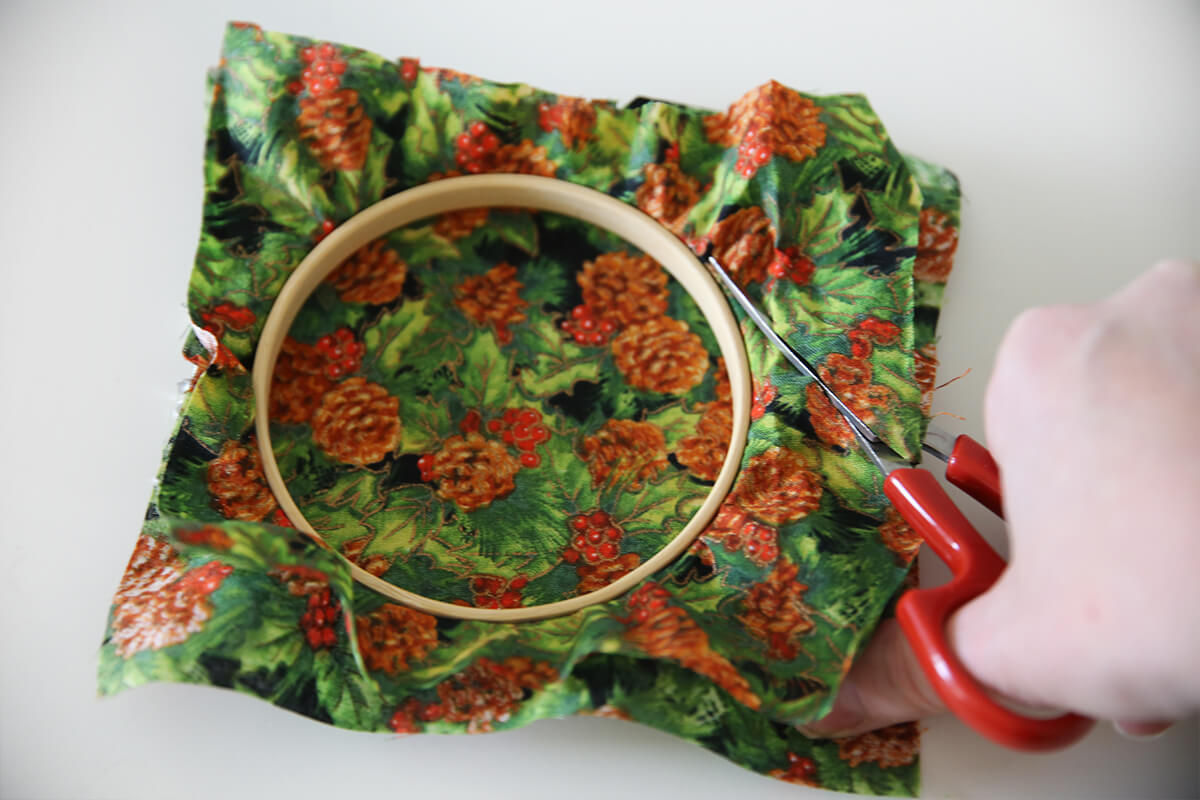
- Once cut it should be flush with the hoop.
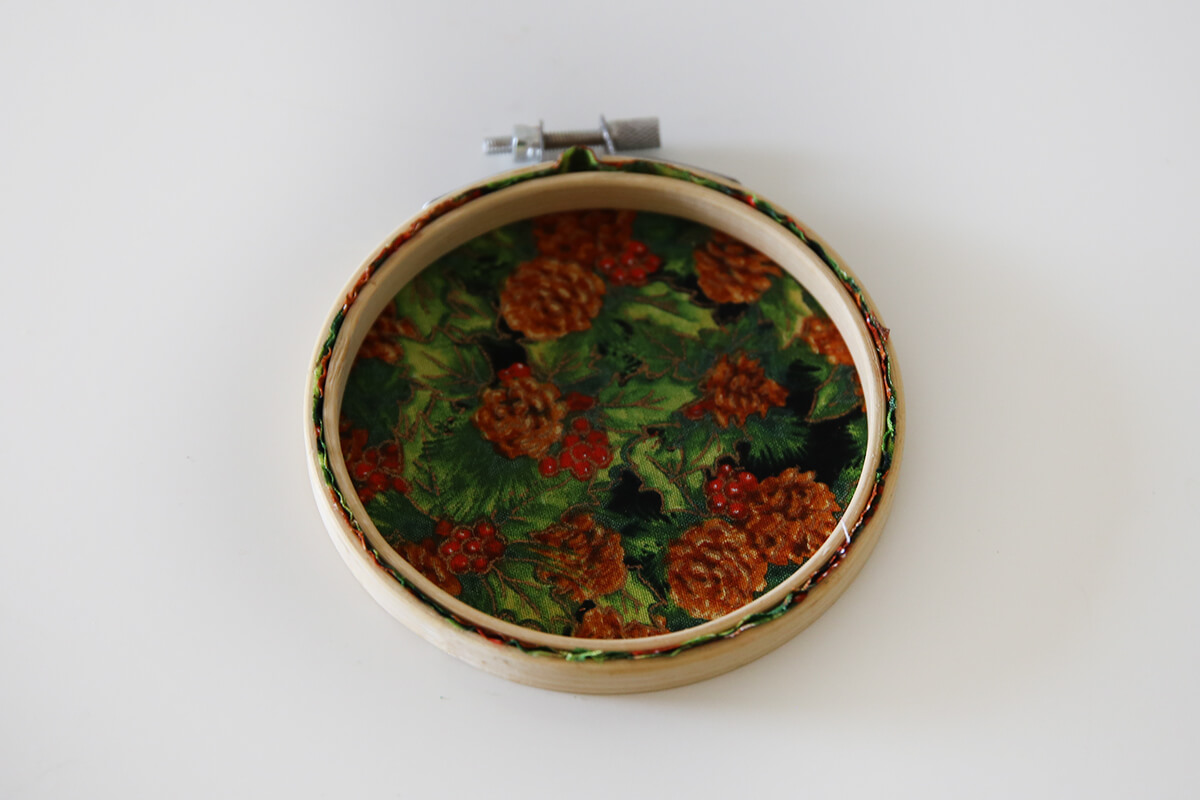
- Flip it back to the front – your design should be beautifully framed!
- Cut a 15” length of ribbon to tie a decorative bow through the hoop screw. Cut another 12” ribbon, tie the ends together, loop it through the hoop screw, and knot to create a hanging ribbon.
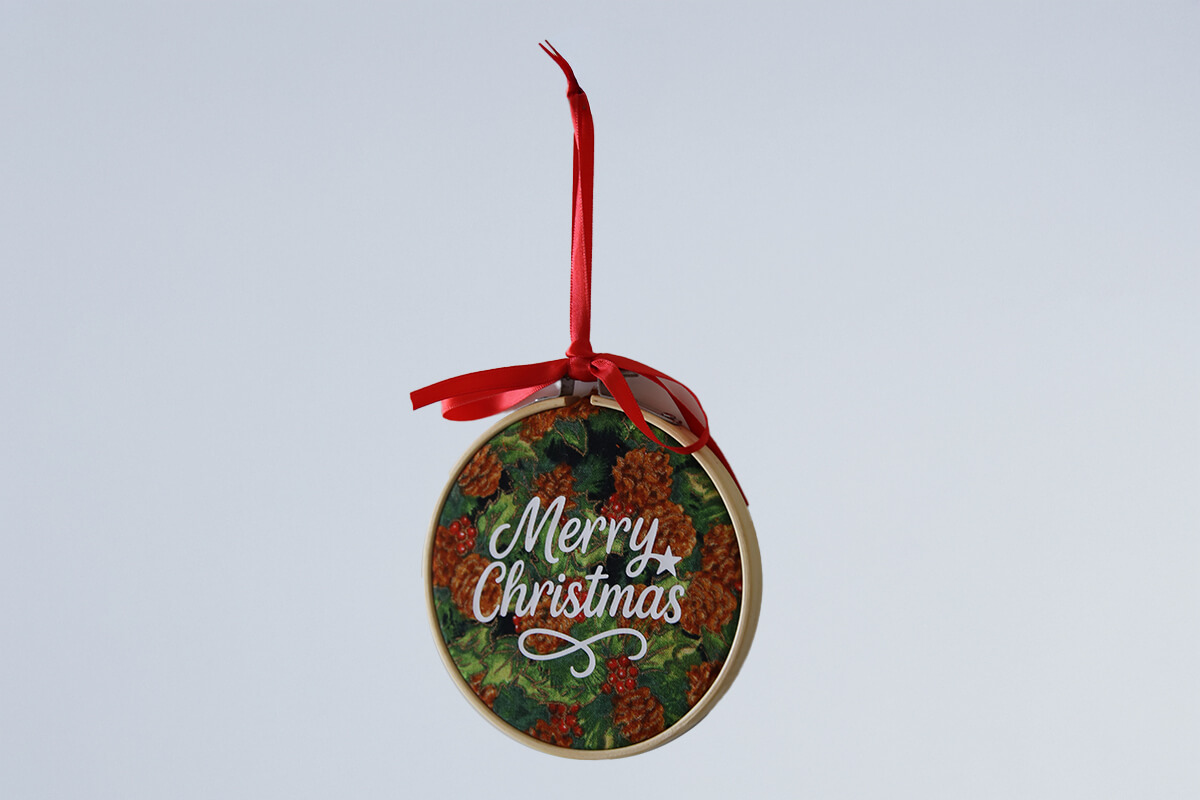
- Hang it on your Christmas tree and enjoy your handmade festive charm!

Free Embroidery Designs
We're excited to offer our free Echidna designs available for download. These free designs are perfect for those at a beginner or an advanced level. Add these designs to your stash and create incredible embroidery!
View all free designs >
Sewing, Quilting and Embroidery Machines
Interested in learning how to sew, quilt or embroider? Take a look at the innovative Brother machines available for purchase at Echidna Sewing. Wherever possible we will beat any deal and you will always receive ongoing service and support!
Find out more >
Learn to Sew or Embroider with Echidna Sewing
Come along to our fun-filled classes to learn more about sewing, embroidery and crafting. Classes cater for all skill levels, whether you're just starting out or already have advanced knowledge.
Find out more >
Echidna project material/ fabric requirements are an indication only and can seem to be generous. This has been intentional. Should you make a cutting or embroidery mistake you will have sufficient fabric to rectify your error.


