All Projects


HTV Baby Bib
Author: Nicole H
Adding heat transfer vinyl (HTV) to a baby bib is a quick and fun project that makes a lovely personalised gift for a new arrival. It’s also a great beginner project if you’re just getting started with a cutting machine and heat press.
For this tutorial we are decorating a store-bought baby bib, which you can easily find at most department stores. The bib should be cotton, polyester, or fabric-based. Avoid using bibs that have a plastic waterproof backing, as these may not tolerate the heat required for HTV.
If you’d prefer to make your own bib instead, you can follow our sewing tutorial here: How to Sew a Baby Bib.
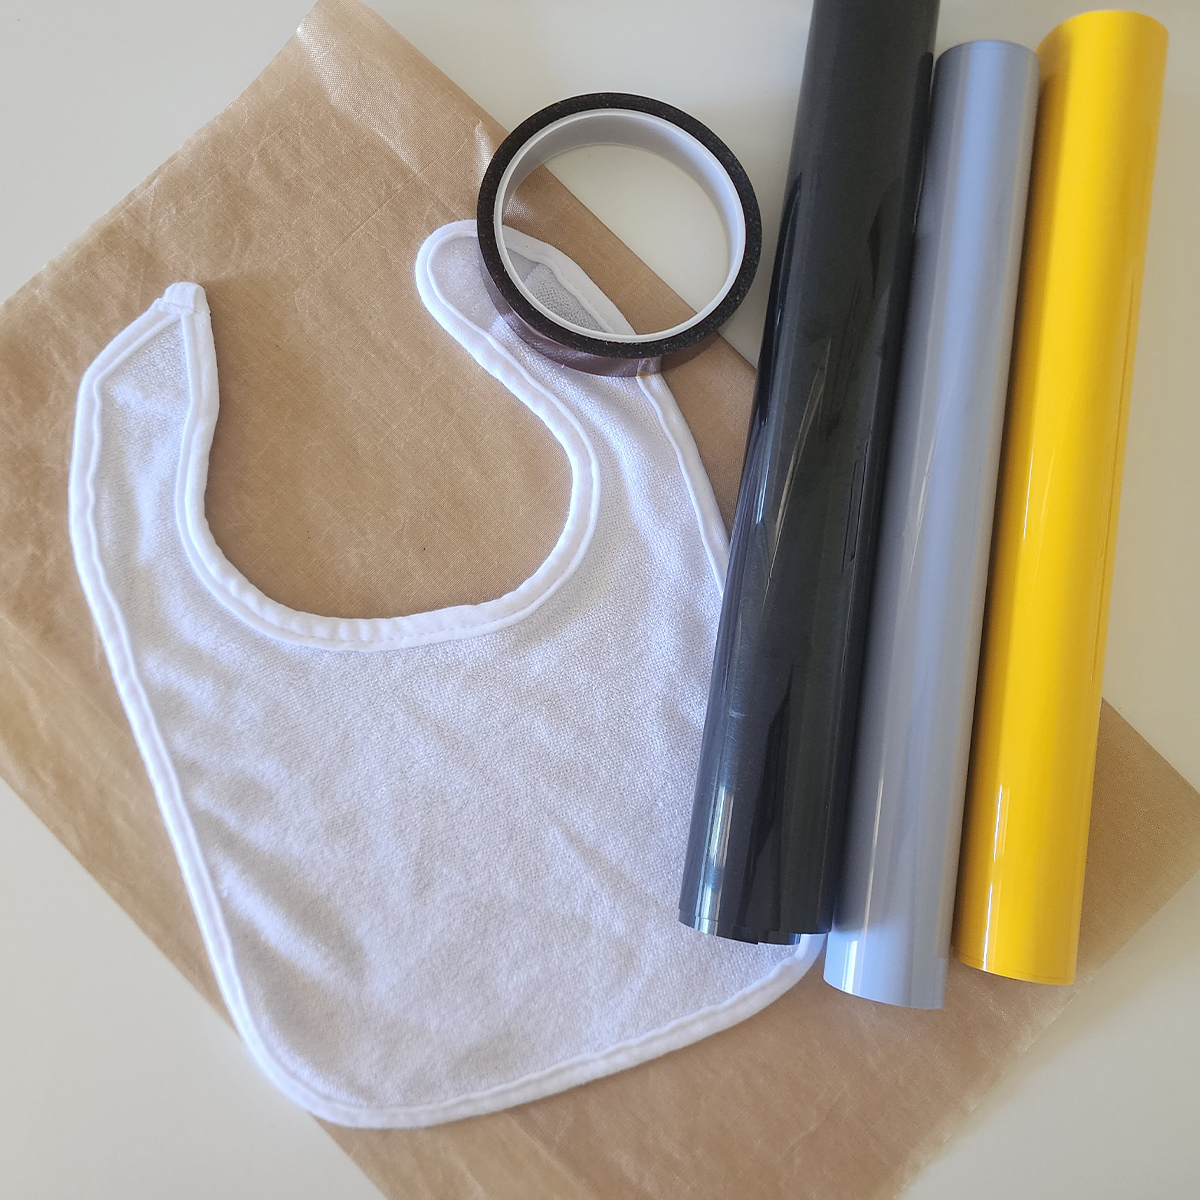
What you will need:
- Cutting Machine (Brother ScanNCut, Cricut, Silhouette etc)
- Fabric baby bib (cotton or polyester)
- Heat Transfer Vinyl (HTV) in 3 colours
- Masking Tape/Washi Tape
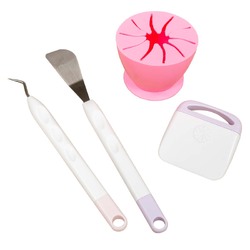
- Weeding tools
- Heat press
- Brayer
- Protective Heat-Resistant Sheet
- Heat Resistant Tape (optional)
- Design Files (Download now → )
Free Design Files:
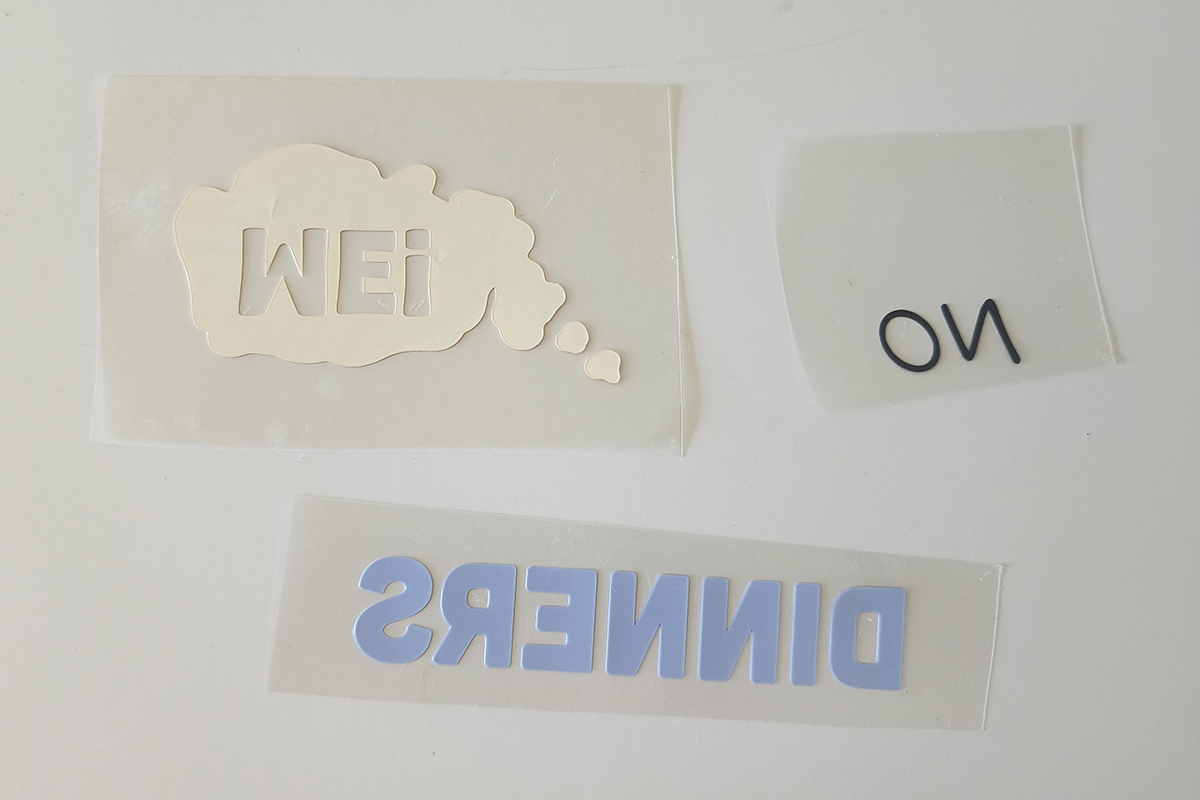
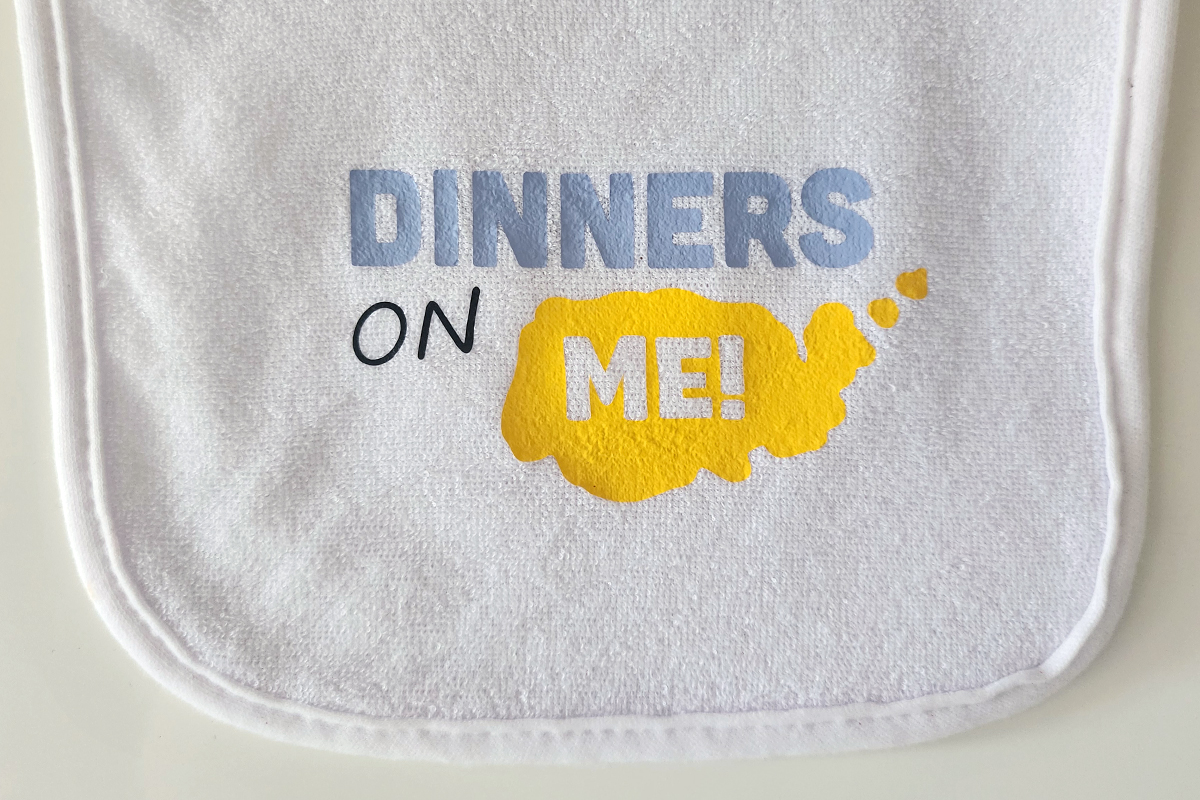
We’ve provided a fun design called “Dinners On Me”, which will be cut from three different HTV colours.
Download now →
Shop Online:


Detailed instructions:
-
Download the SVG file and save it to a USB so it can be loaded directly into your cutting machine. Alternatively, send the design from CanvasWorkspace Desktop via WiFi.
-
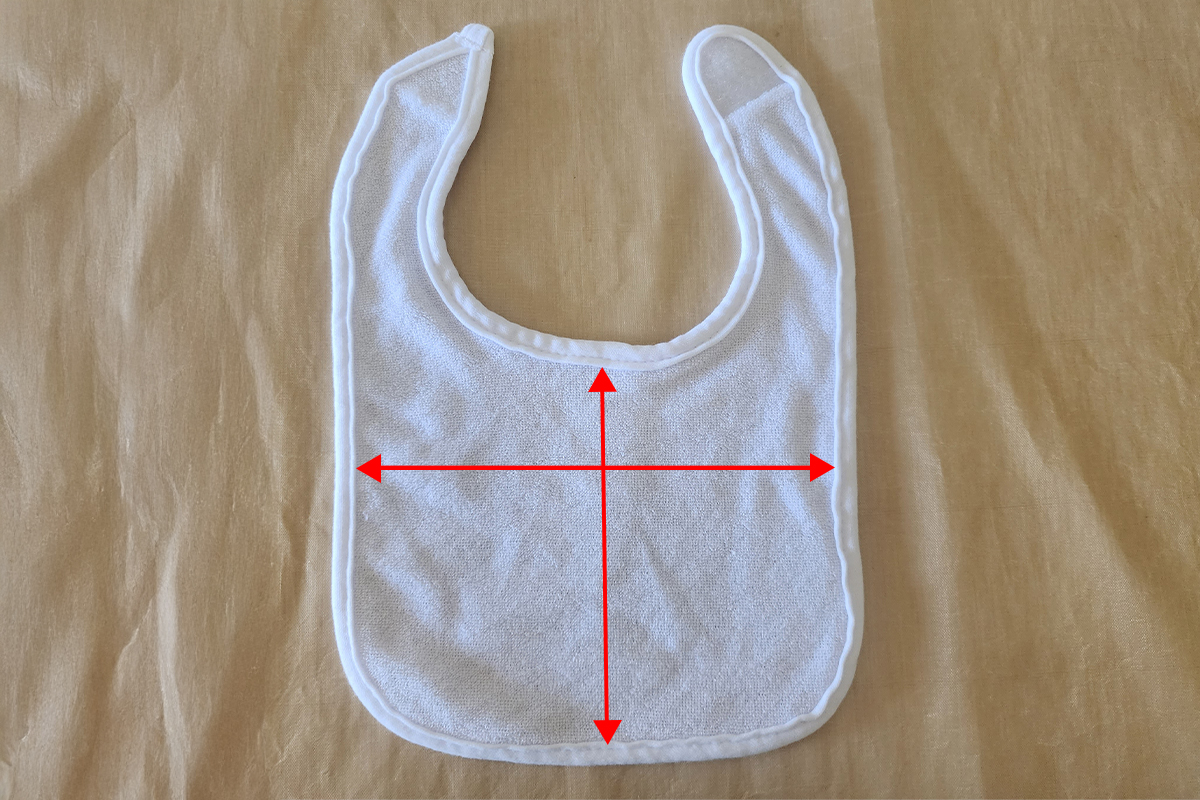
Measure the height and width of the bib area where the design will be placed. This will help you determine the best size for the design so it fits neatly on the bib.
-
Load the design into your ScanNCut and resize it if necessary so it fits within the measured area of the bib.
-
Remember to mirror the design before cutting so it appears correctly once applied to the bib.
-
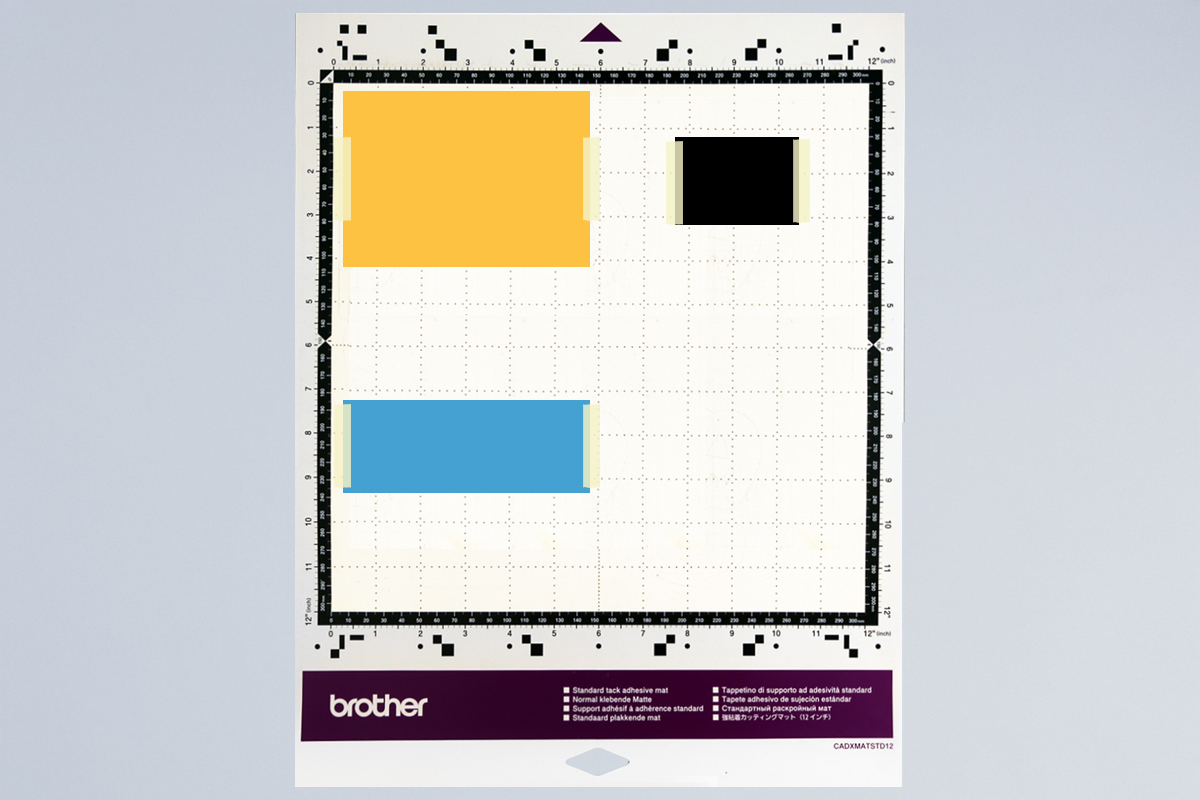
Place the three HTV colours on the cutting mat shiny carrier sheet side down. A brayer can help secure the vinyl firmly to the mat. If your mat has started to lose tack, a small piece of masking tape along the edges can help keep the HTV in place.
-
Load the mat into your machine, holding it level as it feeds in.
-
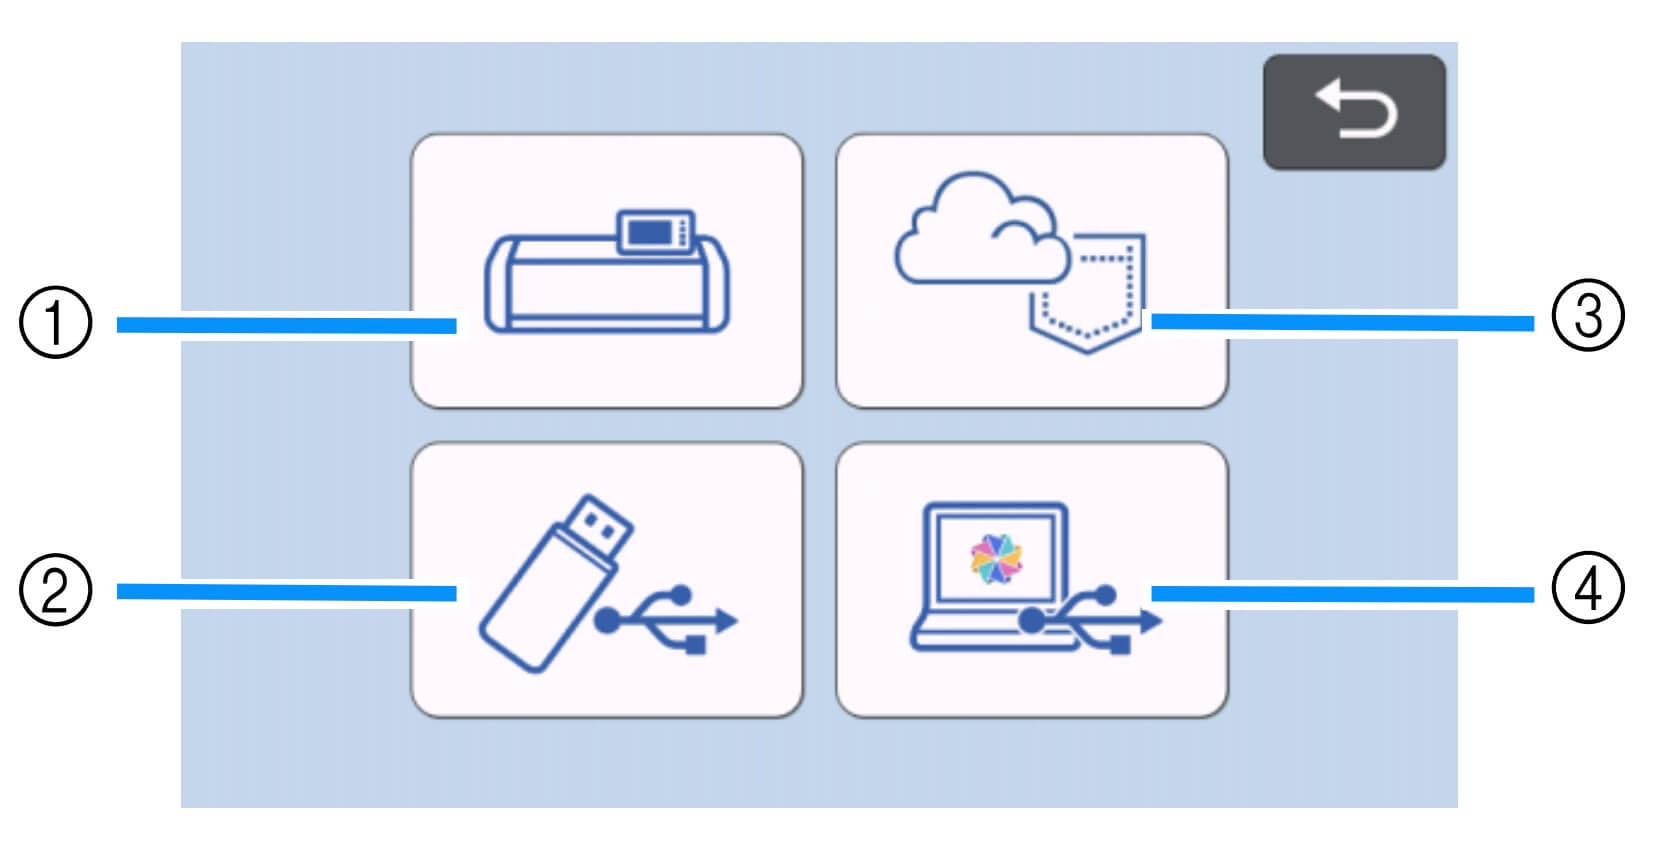
Load the design from the USB (2) on your machine screen. If sending from CanvasWorkspace via WiFi, select the wireless option (3).
-
Use the Scan Mat function so the machine can detect the placement of your HTV. This allows you to move the relevant parts of the design onto each colour.
-
Run a small test cut to check that your settings are correct.
-
If using an SDX machine, enable the Half Cut function so the vinyl layer is cut while the clear carrier sheet remains intact. Adjust cut pressure if needed depending on the thickness of your HTV.
-
Send the design to cut.
-
Once cutting is finished, unload the mat and peel the HTV sheet from the mat.
-
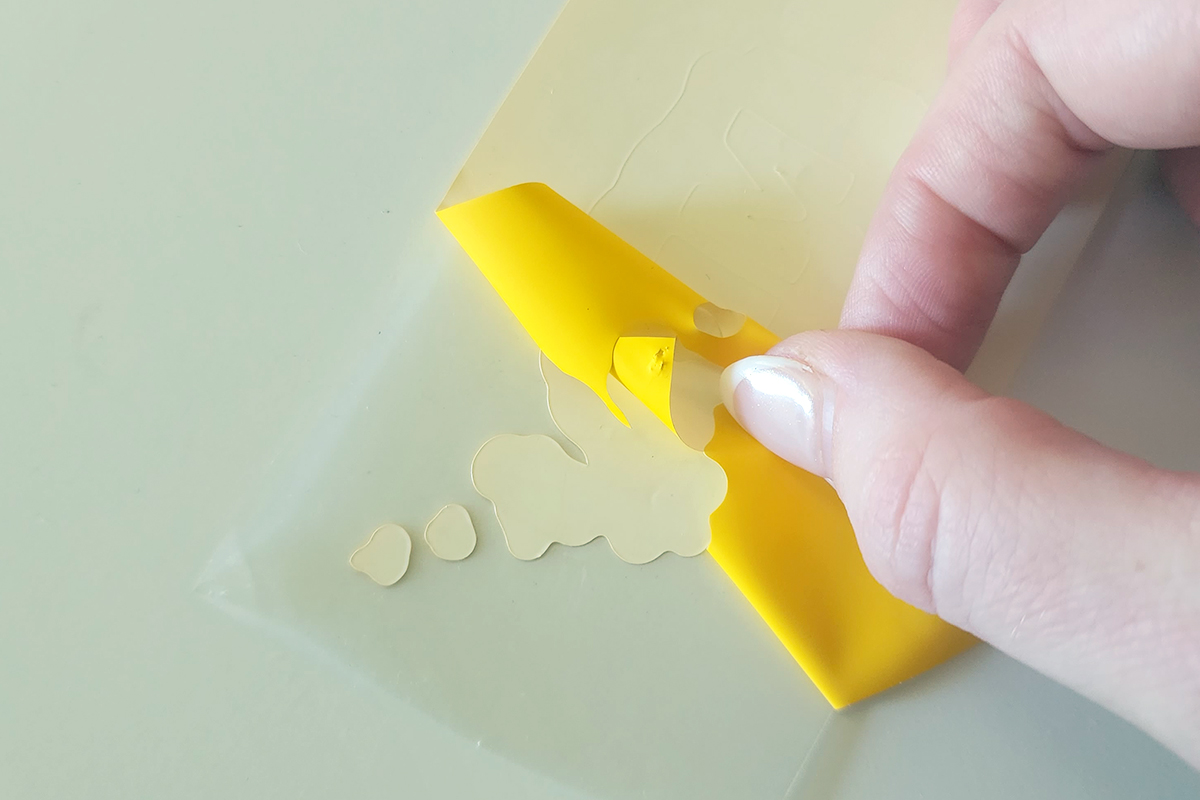
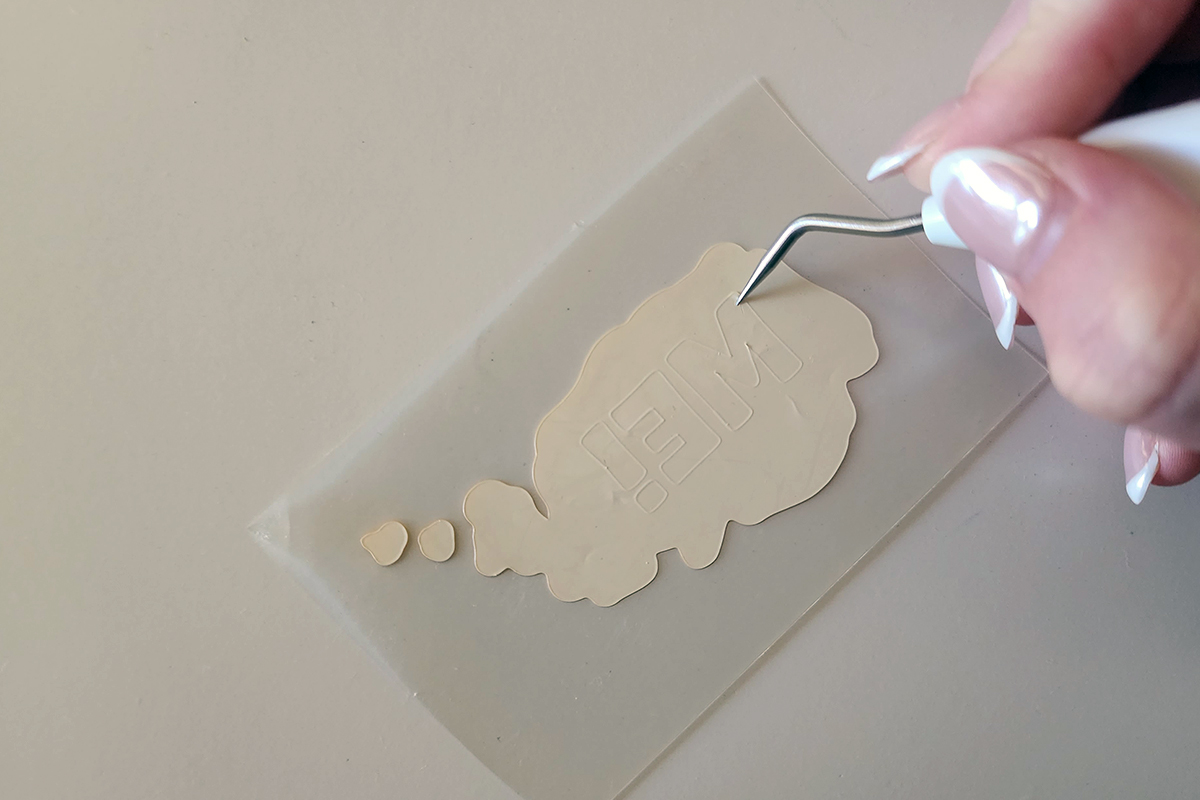
Starting at one corner, weed away the unwanted vinyl from each colour. A weeding tool can help remove small pieces and fine details.
-
After weeding, you should be left with your design on the clear carrier sheets for all three colours, ready to apply.
-
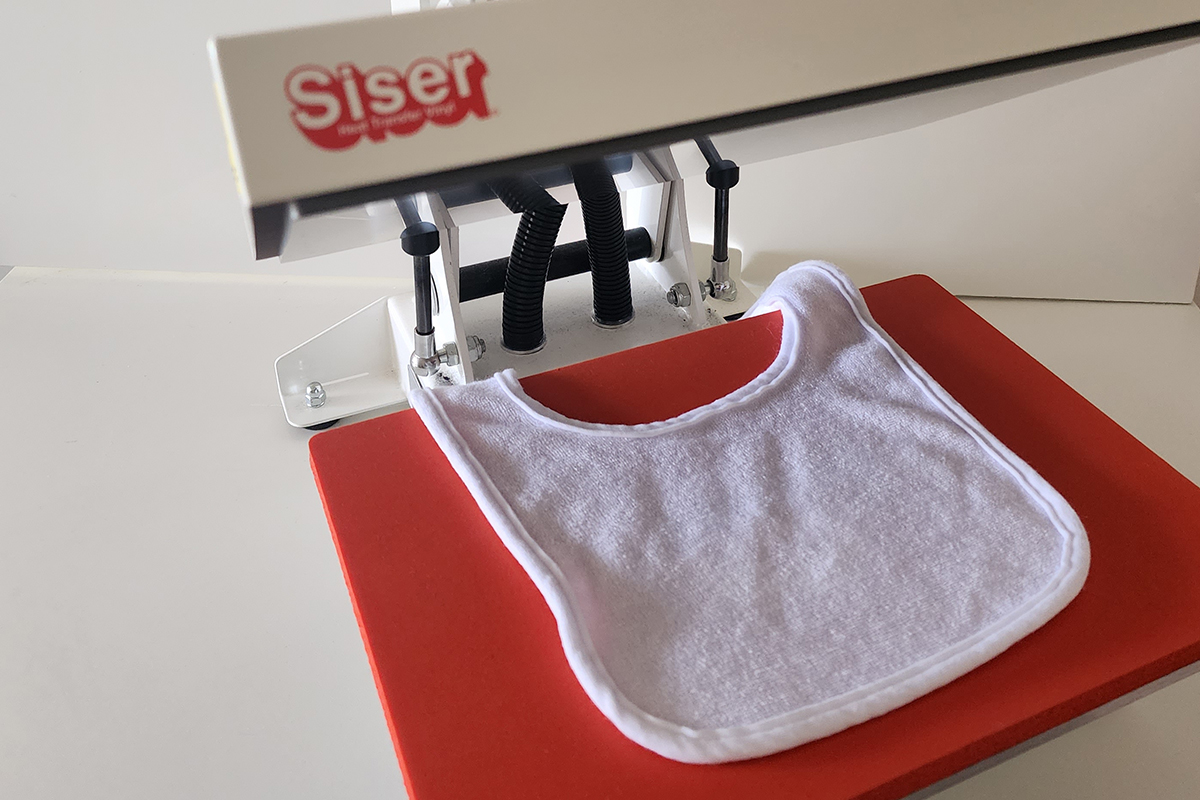
Place the bib into the heat press and press it for a few seconds to remove wrinkles and moisture.
-
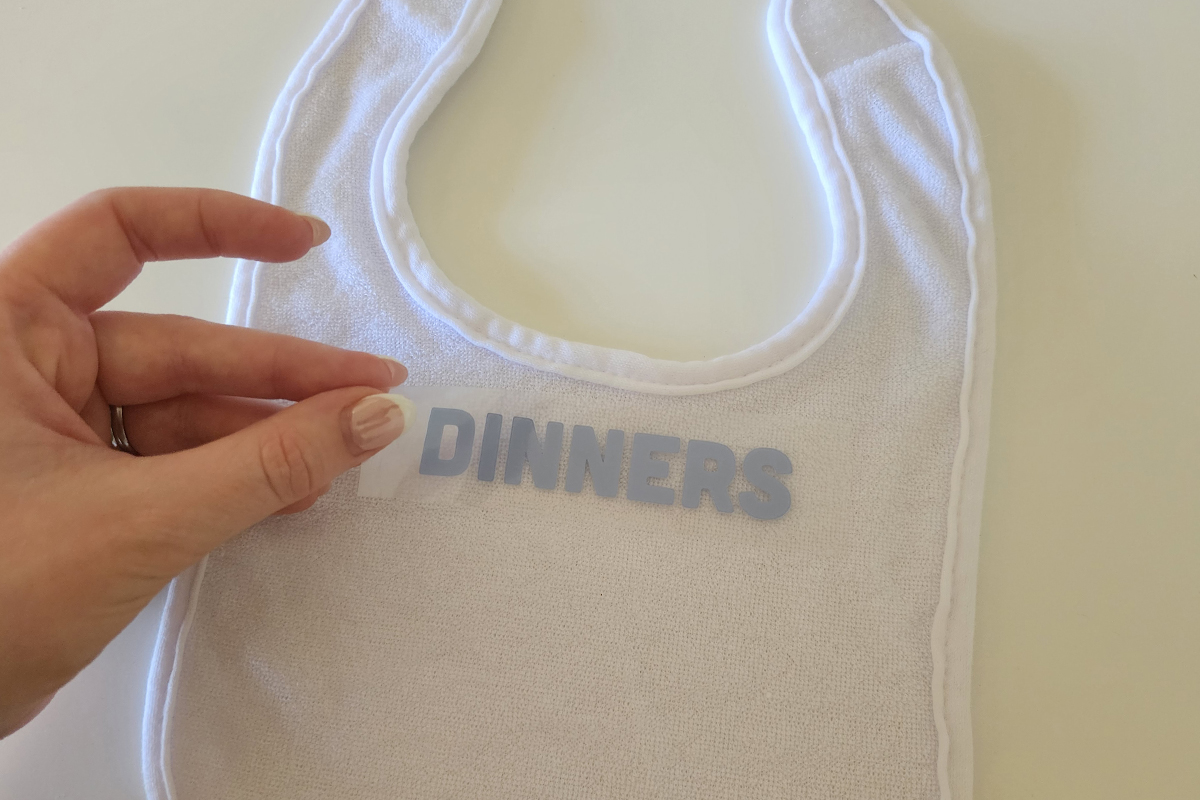
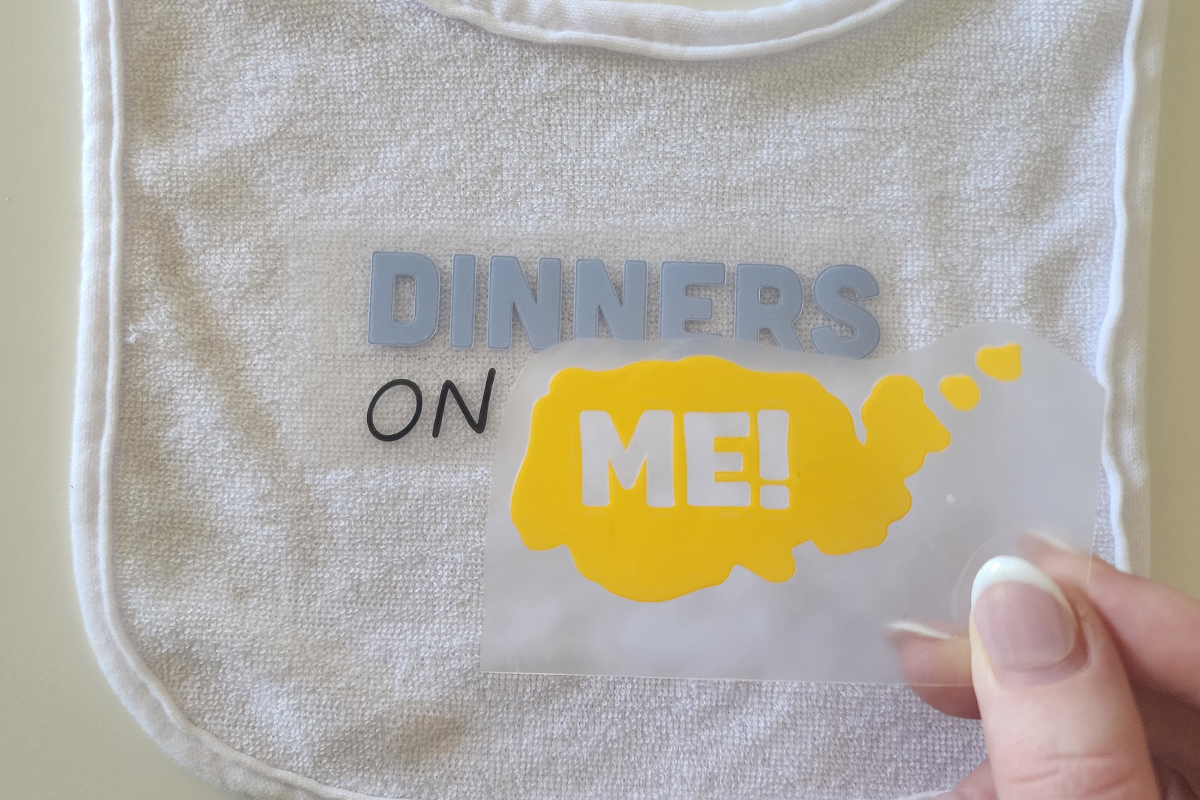
For this project we are going to press all colours at once so begin laying them down to get the positioning right. Start by placing the first colour and positioning the HTV onto the bib where you would like the design to sit.
-
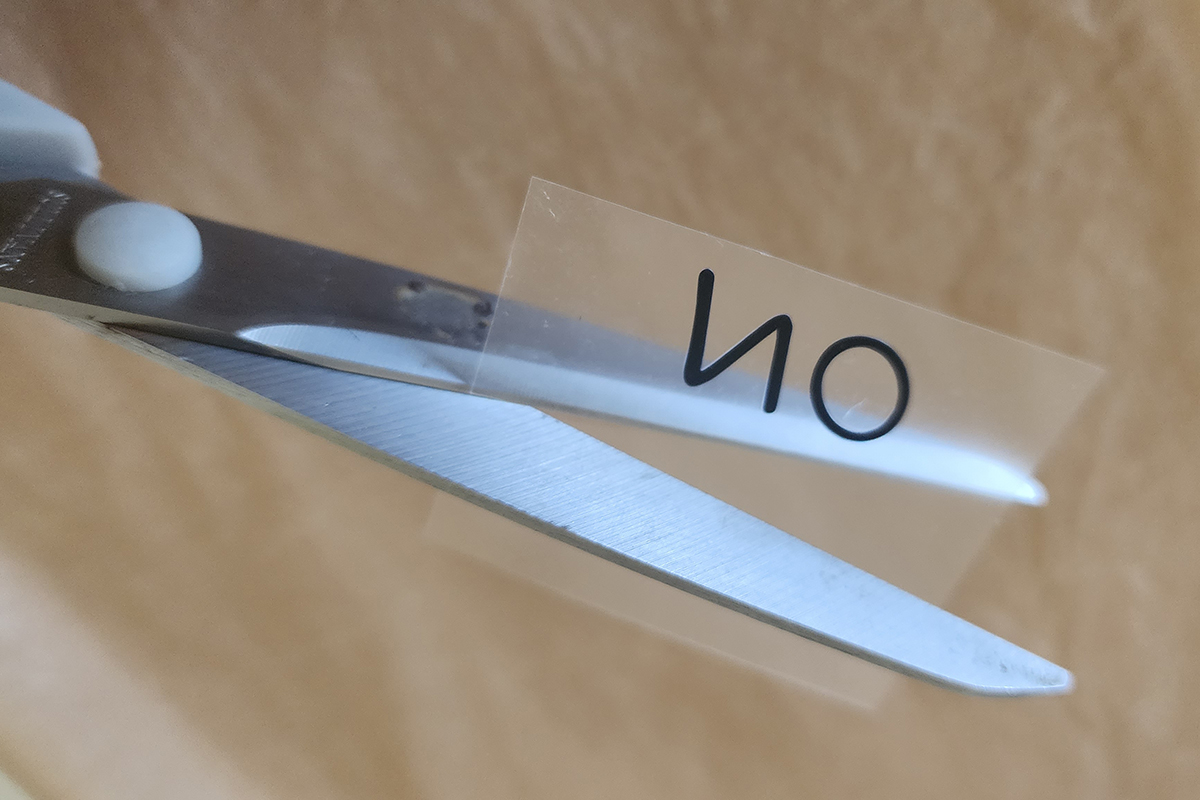
We don't want any overlapping carrier sheets so trim these if necessary.
-
You should now have all 3 colours on the bib with no overlaps. If needed you can use heat-resistant tape to help stop the pieces from moving around.
-
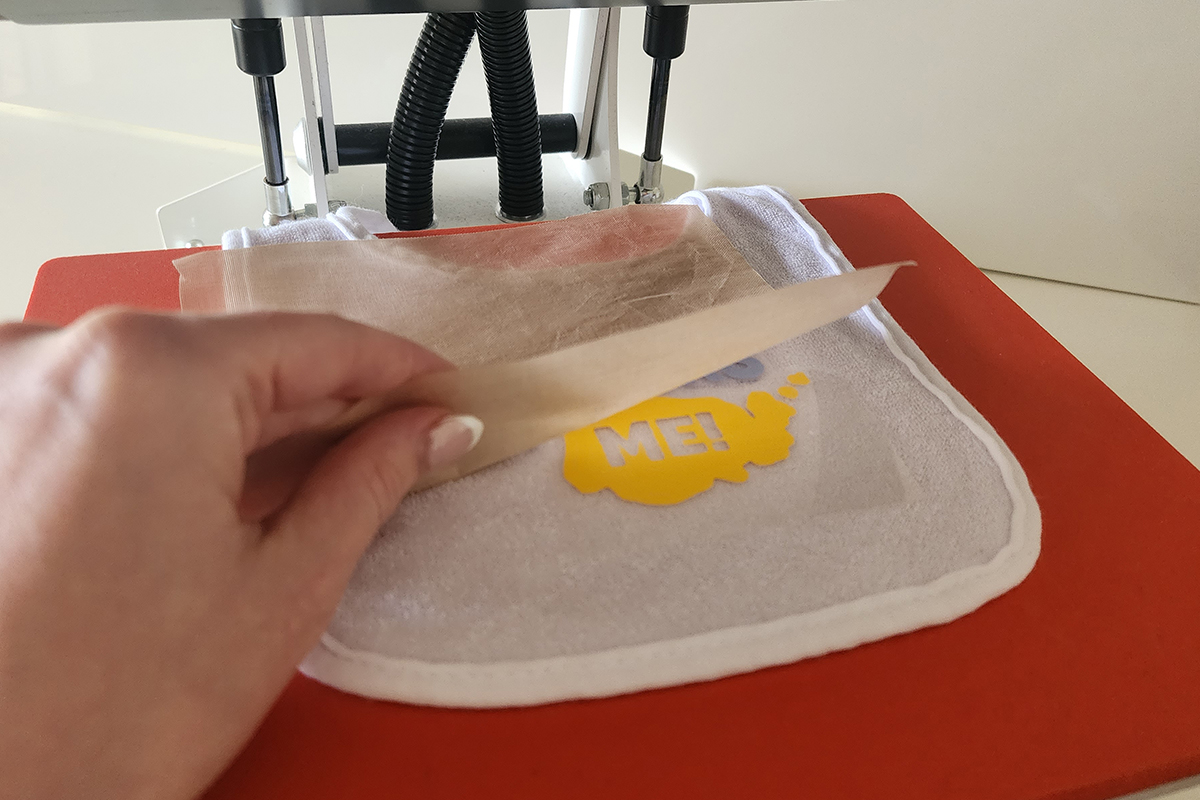
Add bib into heatpress, cover with a protective heat-resistant sheet and press for the recommended time. View pressing times guide.
-
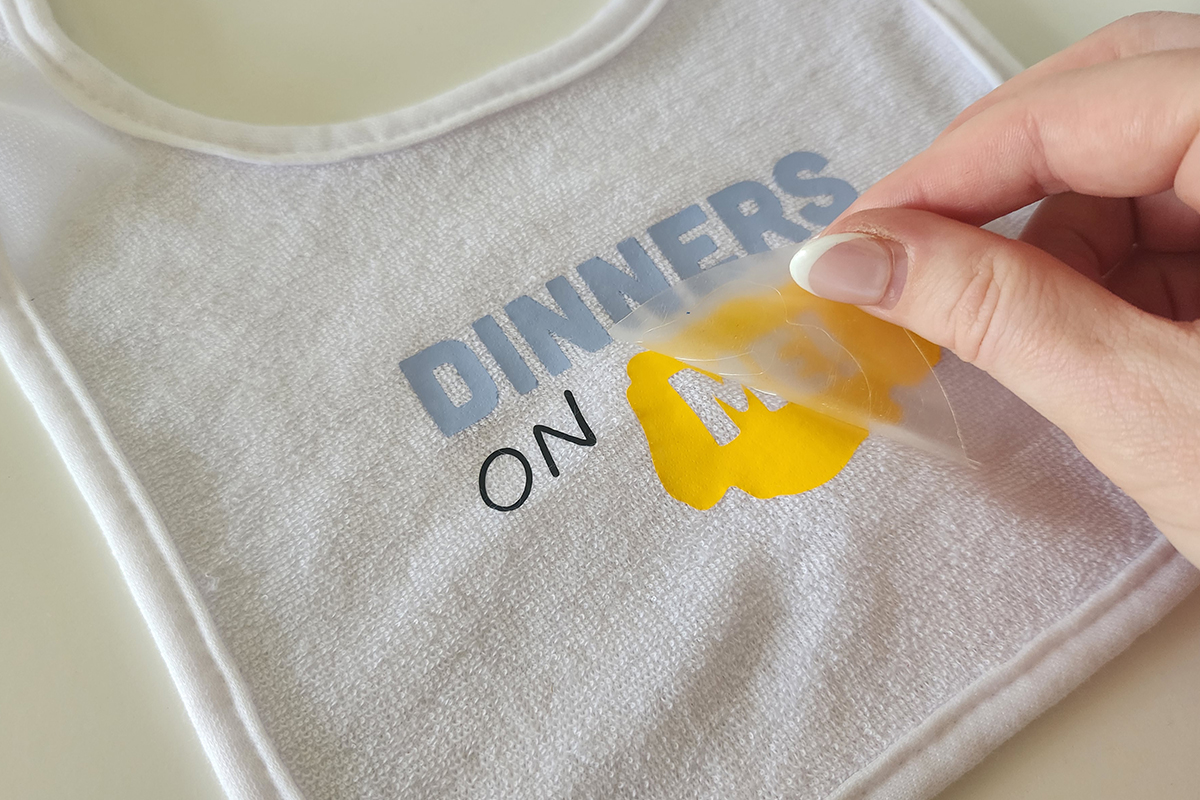
Remove the bib from the press and peel back the carrier sheet.
-
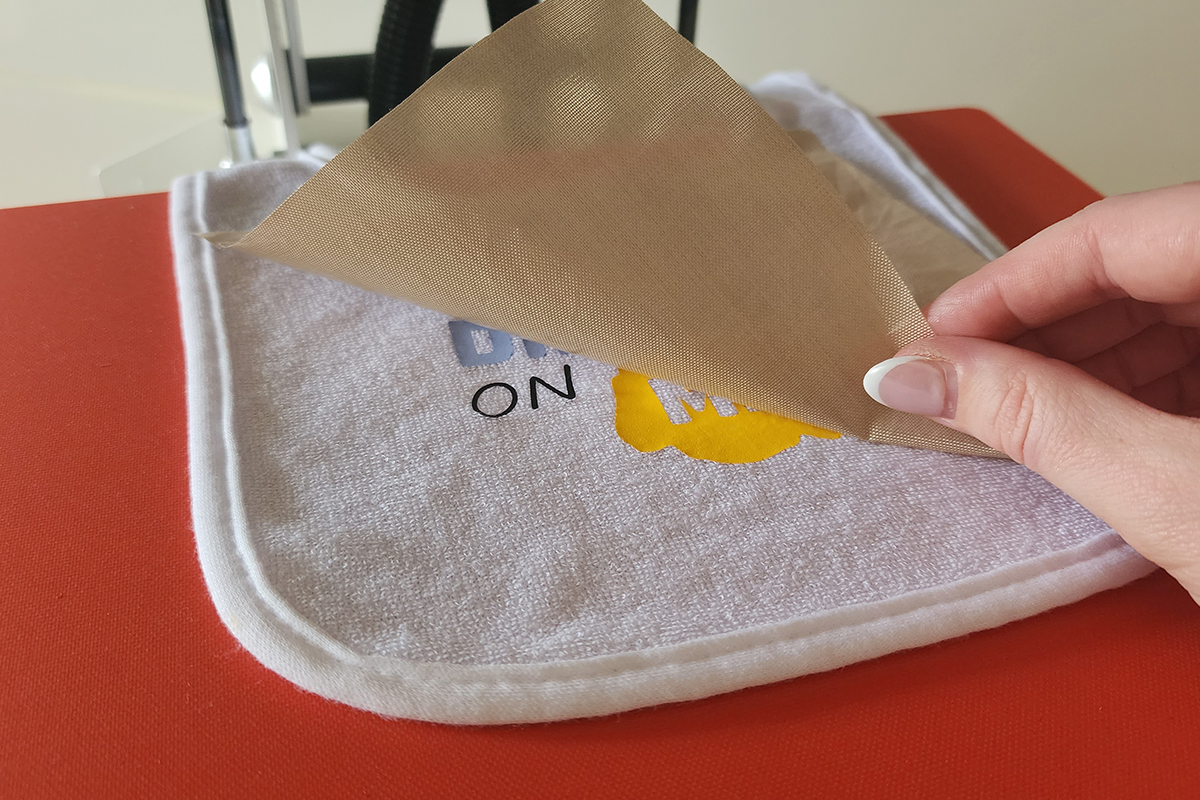
Once all carrier sheets have been removed, do one final press with just the protective sheet for a few seconds. This removes any marks caused by overlapping carrier sheets.
-
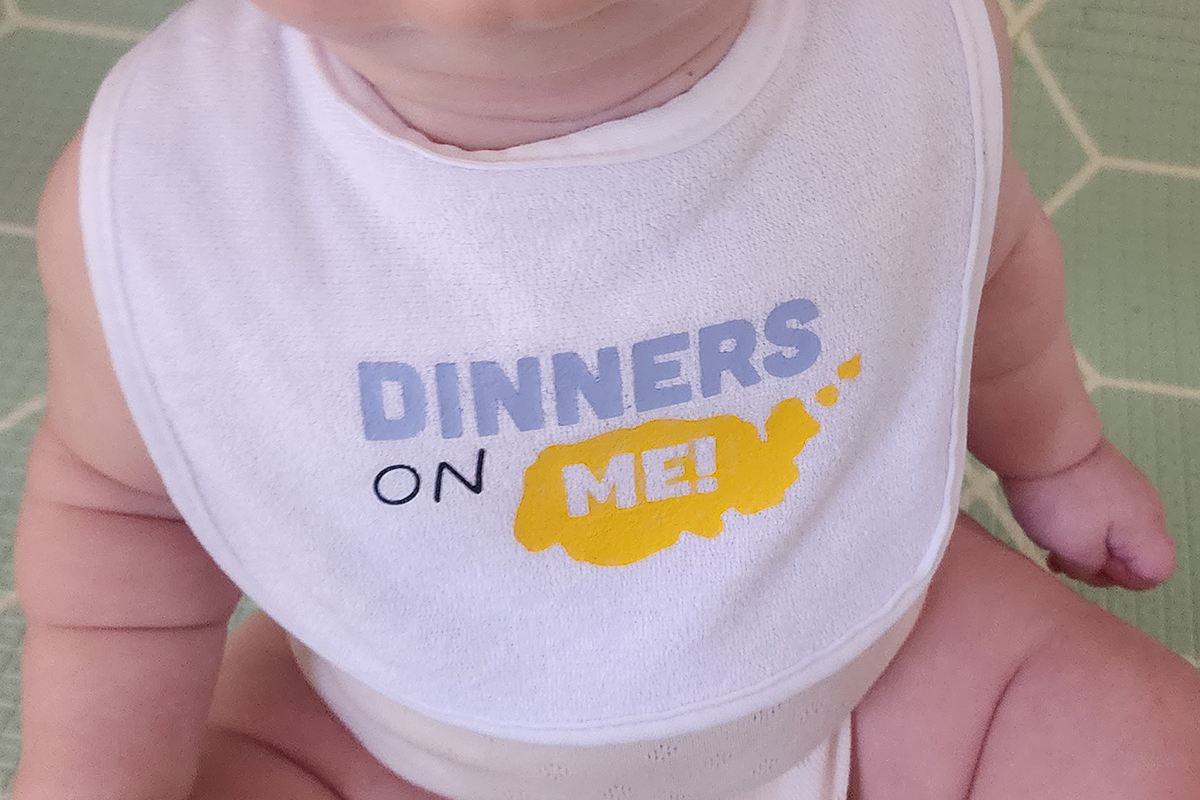
Your bib is now ready to use. Keep it for your own little one or wrap it up as a thoughtful handmade gift.
Free Embroidery Designs
We're excited to offer our free Echidna designs available for download. These free designs are perfect for those at a beginner or an advanced level. Add these designs to your stash and create incredible embroidery!
View all free designs >
Sewing, Quilting and Embroidery Machines
Interested in learning how to sew, quilt or embroider? Take a look at the innovative Brother machines available for purchase at Echidna Sewing. Wherever possible we will beat any deal and you will always receive ongoing service and support!
Find out more >
Learn to Sew or Embroider with Echidna Sewing
Come along to our fun-filled classes to learn more about sewing, embroidery and crafting. Classes cater for all skill levels, whether you're just starting out or already have advanced knowledge.
Find out more >
Echidna project material/ fabric requirements are an indication only and can seem to be generous. This has been intentional. Should you make a cutting or embroidery mistake you will have sufficient fabric to rectify your error.


