All Projects


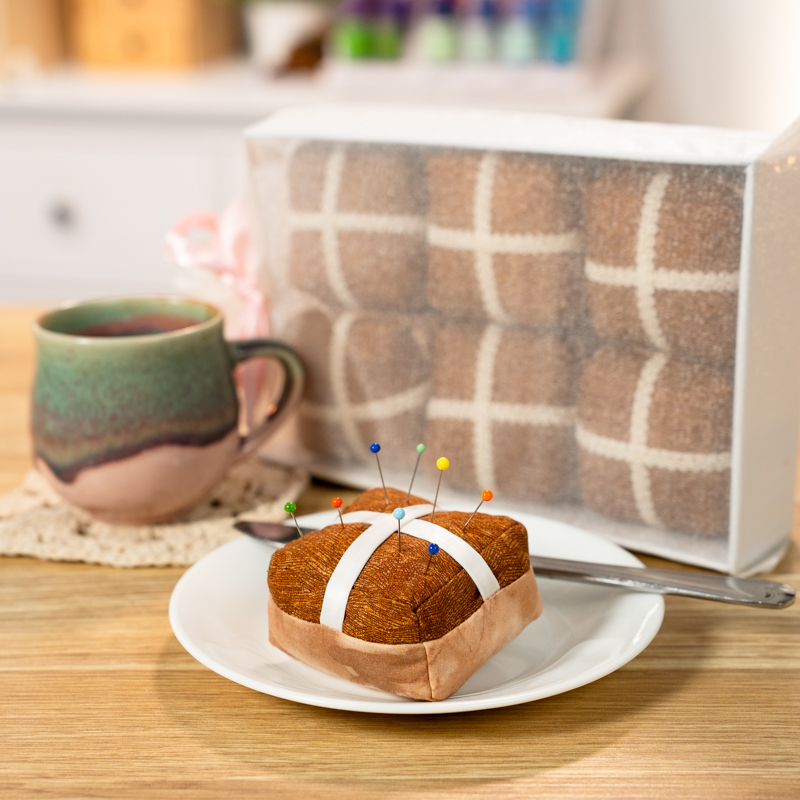
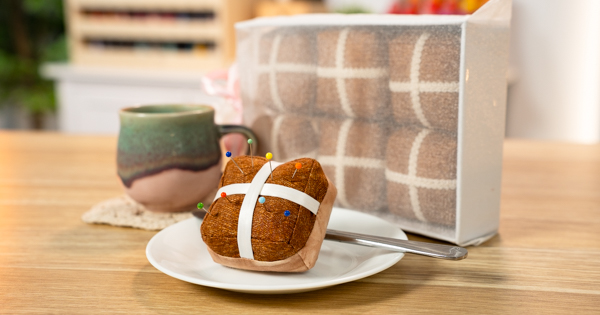
Hot Cross Bun Pin Cushion
Add a touch of handmade charm to your Easter décor with this adorable Hot Cross Bun Pin Cushion project! Shaped just like the classic Easter treat, this sweet little make is both practical and decorative — perfect for keeping your pins handy while you sew. With its soft, plush finish and iconic cross detail, it’s a fun and creative project that’s ideal for Easter crafting, gifting to fellow sewists, or simply brightening up your sewing space with something delightfully unique.
What you'll need:
- 9" x 3" piece of light brown cotton fabric
- 7" x 3" piece of dark brown cotton fabric
- 16" x 3" piece of fusible interfacing (we used Fusible Softaway Cutaway)
- Two 7" long pieces of cream or white ribbon
- Thread & bobbin similar to the light brown cotton fabric
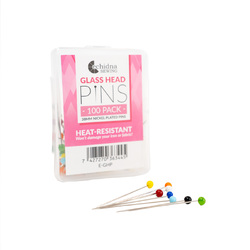
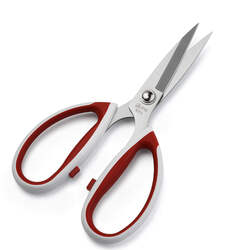
- Snips or scissors
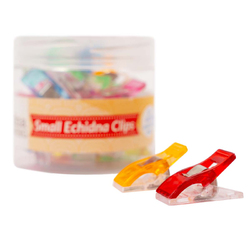
- Fabric clips or pins
- Erasable fabric marker or tailor's chalk
- Graphing ruler measuring inches
- Sewing machine
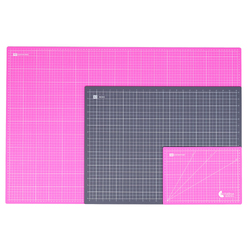
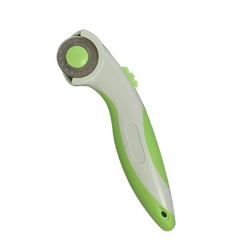
- Rotary blade & cutting mat or dressmaking shears
- Steam iron
- Pillow fill
Shop online:


Step Overview
The steps below are just an overview of the project instructions and must be used in conjunction with the tutorial video. Print these steps out to have beside you when watching the video as a reminder.
Cutting & Prepping the fabric pieces
- Our first step is to adhere both pieces of fabric to our fusible interfacing. Lay the interfacing down with the shiny side facing up as this is our adhesive side. We then place both pieces of fabric with the right side of the fabric facing up. Now apply heat with your iron for about 4 seconds per side with the steam function off.
Tip: You can choose to use a protective sheet during pressing to avoid any residue from the interfacing getting onto your iron or ironing surface.
- Once pieces are cool, remove them from the ironing board or pressing mat.
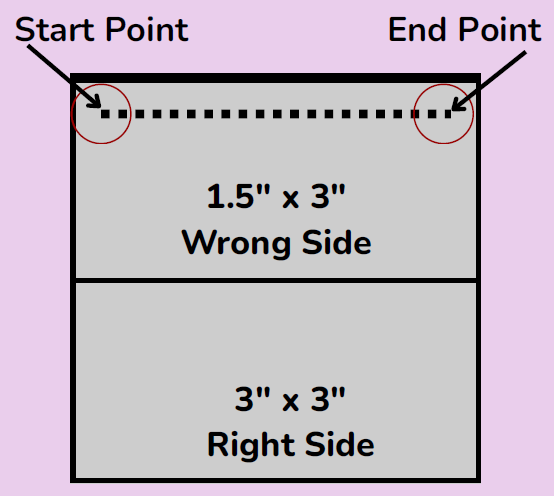
- Mark a line 3” in from the edge of the light brown fabric and four 1.5” lines consecutively after. You should have a 3” square followed by four 3” x 1.5” rectangles marked on your fabric.
- Now mark a line 3” in from the edge of the dark brown fabric and four 1” lines consecutively after. You should have a 3” square followed by four 3” x 1" rectangles marked on your fabric.

- Using our fabric shears or rotary cutter and mat, cut on these lines we have just drawn.
Sewing your Hot Cross Bun together
- Take one of the dark brown rectangles and align the 3” side of it with one of the edges of the dark brown 3” square. Ensure the right sides are together.

- Begin your seam ¼" from both the horizontal and vertical edge of the fabric and finish ¼” from both edges again.
- Fold the rectangle over so the right side faces up and the fold is sitting tightly against the seam. Ensure the seam allowance is sitting folded towards the rectangle.
- Place the second rectangle on another edge of the 3” square and sew exactly as before.
- Repeat this process until all 4 dark brown rectangles have been attached to the dark brown square, all sewn ¼" away from the horizontal and vertical edge.
- Repeat the above process to the light brown fabric pieces but only to three of the rectangles.
- Fold the dark brown portion of your project in half horizontally and vertically, marking the middle point on the raw edge of all 4 rectangles on the wrong side of the fabric.
- Take your two pieces of ribbon and arrange them to form the cross of the hot cross bun, using the markings we just made to ensure we place them in the centre. Pin these in place and secure them on the right side of the fabric with a pin or fabric clip. When you’re pinning your ribbon in place, rather than letting the ribbon sit flat atop the fabric, pull it tight just slightly so it stays in place once the bun is filled.
- Pinch together the side of your rectangles and sew those with the right sides together using a ¼" seam allowance. Ensure you begin your seam at the junction where your prior seams meet and finish sewing right on the bottom edge of the rectangles. Sew all 4 sides together on both your dark brown and light brown portions including the 4th light brown rectangle that is still yet to be attached.
- Trim off all your loose threads, excess ribbon and trim off the right angle corners on all four corners of both the dark brown and light brown portions. Be careful not to cut through any of your stitch lines.
- Push the corners of your dark brown portion out until a ½ cube shape starts to form with the right side of the fabric on the outside of the ½ cube.
- Do the opposite to the light brown portion so that the ½ cube shape has the right side on the inside of the shape.
- Place the dark brown ½ cube inside the light brown one and ensure the corner seams and raw edges all line up. Add a pin or fabric clip to all four corners to avoid letting our corner seams drift out of alignment.
- Sew together the light brown and dark brown ½ cubes with a ¼" seam all the way around until we reach our initial starting point. Prior to sewing over the junctions where the sides of the rectangles have been attached, ensure one seam allowance is flipped to face the needle and the other is facing you. This distributes the bulk of the seam junction evenly and ensures we end up with a clean cubic shape.
- Using the gap from the hole between our light brown rectangle and square, pull the project right side out slowly.
- Use your finger to push the corners of the newly sewn shape to accentuate its cubic structure.
Filling the Hot Cross Bun
- Take a small handful of pillow fill and begin stuffing the inside of the cube, aiming to stuff as much pillow fill inside without it causing the stitching to become visible or the shape to become overly rounded. Pushing the filling intentionally into each corner of the cube before filling the centre of it ensures we are left with a fuller, more refine 3D shape overall that won’t droop or sag.
- Once the cube is full, we will fold the edges of our unsewn light brown rectangle and square in about ¼" and place it underneath the presser foot of our sewing machine.
- Ensuring the initial needle puncture drops down into the seam junction, sew this last seam shut from the outside, staying as close to the edge of the fabric’s folded edge as possible.
- Once we reach the end of our seam, ensure the final needle puncture sits directly on the corner seam juncton before tacking off and removing the project from the machine.
- Trim all loose threads and knead any corners that don’t sit full turned out.
- Your project is complete and you have a cute Hot Cross Bun Pin Cushion!
Don’t forget to show us your finished projects on Instagram or Facebook #echidnasewing #madebyme
Free Embroidery Designs
We're excited to offer our free Echidna designs available for download. These free designs are perfect for those at a beginner or an advanced level. Add these designs to your stash and create incredible embroidery!
View all free designs >
Sewing, Quilting and Embroidery Machines
Interested in learning how to sew, quilt or embroider? Take a look at the innovative Brother machines available for purchase at Echidna Sewing. Wherever possible we will beat any deal and you will always receive ongoing service and support!
Find out more >
Learn to Sew or Embroider with Echidna Sewing
Come along to our fun-filled classes to learn more about sewing, embroidery and crafting. Classes cater for all skill levels, whether you're just starting out or already have advanced knowledge.
Find out more >
Echidna project material/ fabric requirements are an indication only and can seem to be generous. This has been intentional. Should you make a cutting or embroidery mistake you will have sufficient fabric to rectify your error.


