All Projects


Open E-Reader Protective Sleeve
Date Posted:15 August 2025
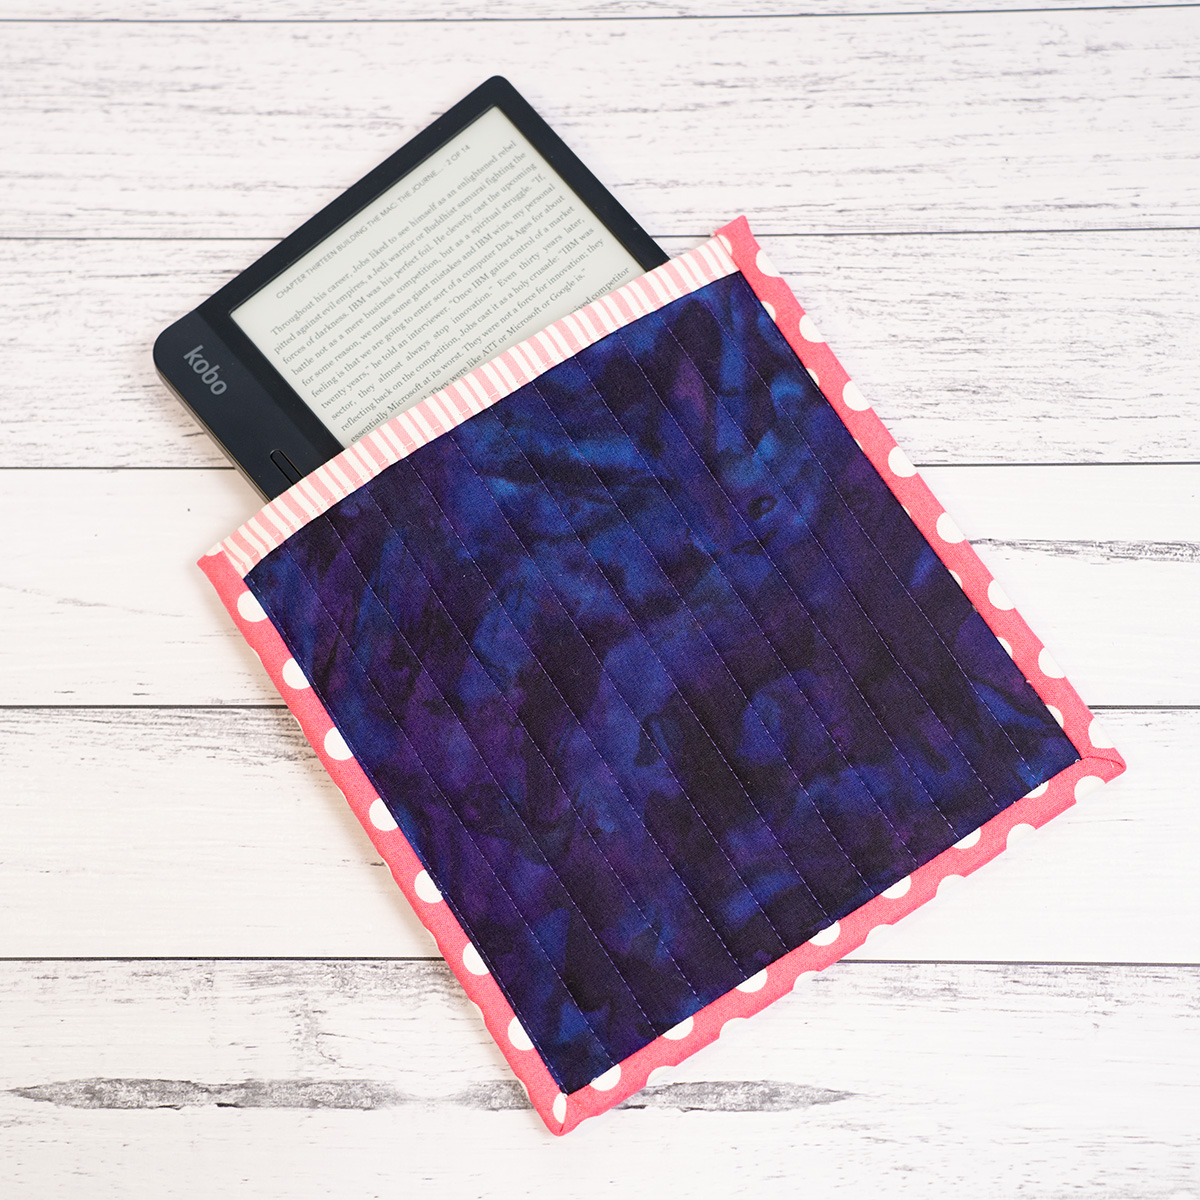
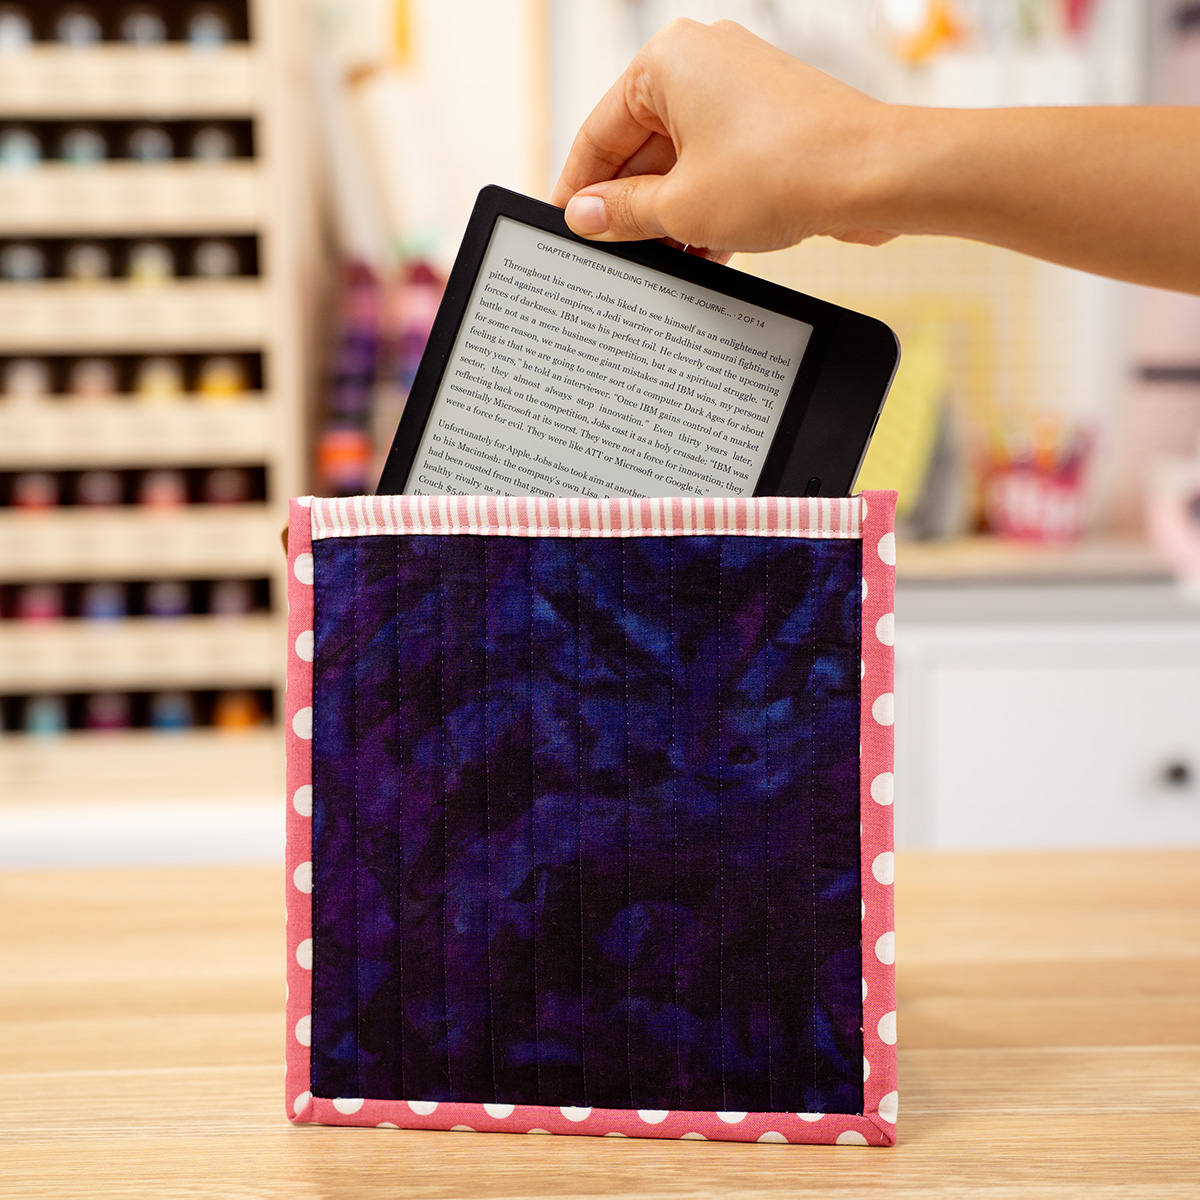
In this project, we'll show you how to make an open protective sleeve for your e-reader using your sewing machine. An open protective sleeve is a great way to ensure your e-reader stays safe from scratches and dust, while remaining easy to quickly take your tablet in and out.
Whether you have a Kobo or a different model, our instructions will help you customise the sleeve to fit your device perfectly.
If you are looking for a tablet sleeve that has the ability to close, then please take a look at our Closed Tablet Sleeve Project →.
What you'll need:
- Sewing machine
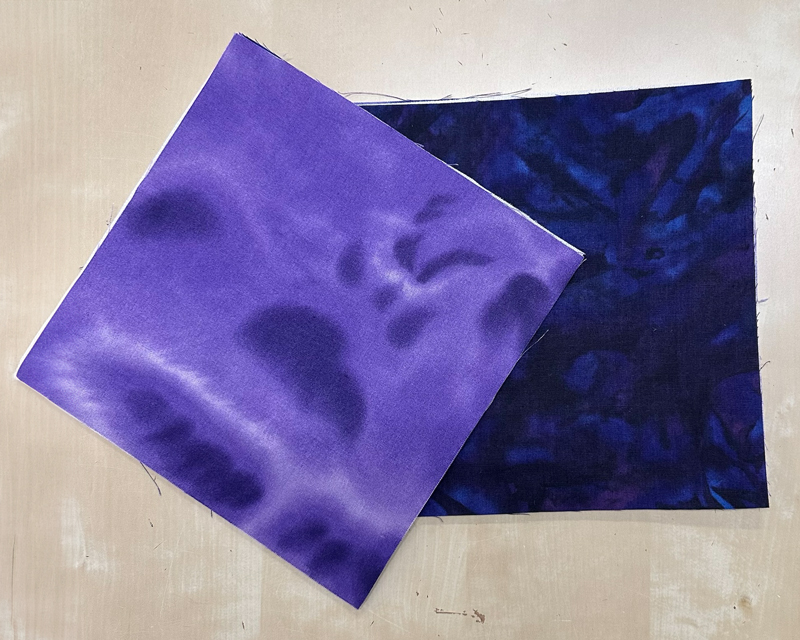
- 1 x fat quarter (outer fabric)
- 1 x fat quarter (inner fabric)
- 2.5" x WOF (binding fabric)
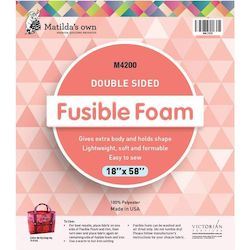
- Double Sided Fusible Foam
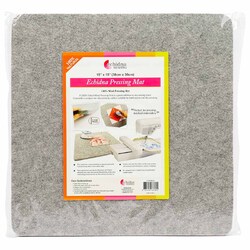
- Wool Pressing Mat
- Oliso or Mini Iron
- Simplicity Bias Maker
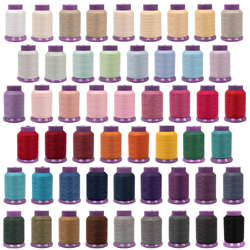
- Sewing thread to match your feature fabric
- Sewing thread to match your binding fabric
- Walking Foot
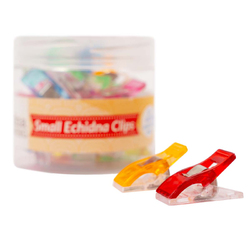
- Echidna Clips
- Rotary Cutter
- Cutting Mat
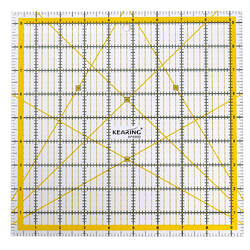
- 9½" x 9½" Quilting Ruler
- Hand sewing needle
Shop online:

Cutting instructions:
e-readers and tablets come in a variety of sizes and shapes so make sure you adjust the measurements to suit your e-reader. We have created our e-reader protective sleeve for the Kobo Libra H20 but will show you how to work out the measurements for your e-reader.
How to calculate your cut size:
Length = Your e-reader length measurement + 2"
Width = Your e-reader width measurement + 2"
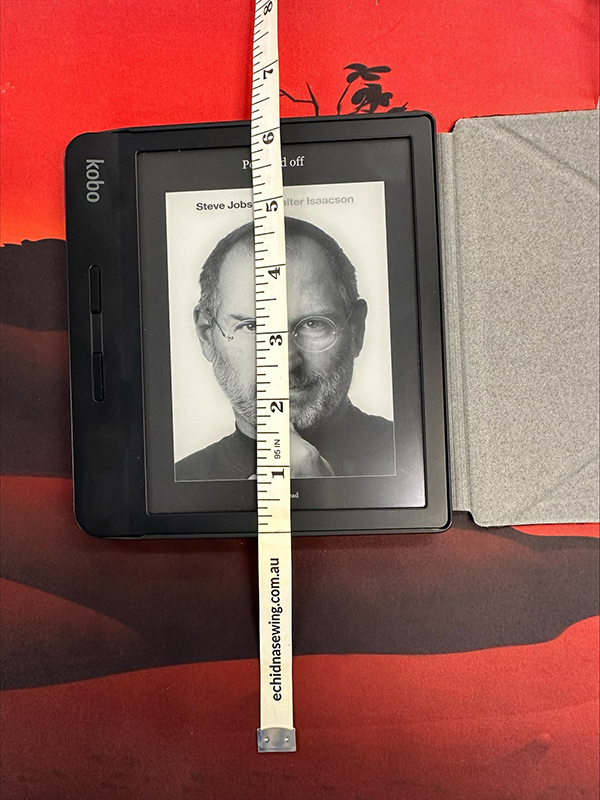
Firstly we need to measure the length and width of your e-reader in inches to get your starting value.
We wanted a sleeve that was easy to insert and remove the e-reader quickly, while still providing protection. To achieve this, we added approximately 2" to the starting value for both the length and width measurements and then rounded up or down to the nearest whole inch to allow flexibility when trimming once quilted.
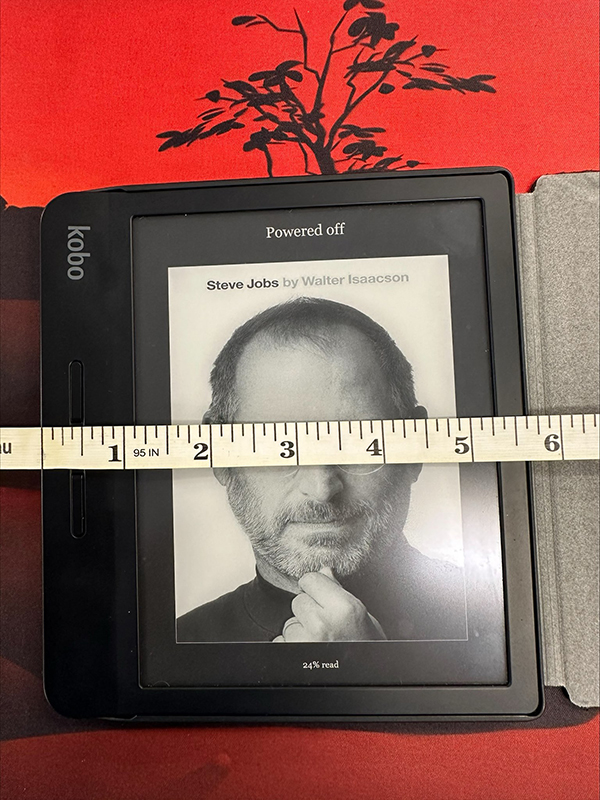
For example the Kobo Libra H20 measures 6¼" x 5¾" .
cut size calculation
Length: 6¼" + 2" = 8¼". Rounded down to 8"
Width: 5¾" + 2" = 7¾". Rounded up to 8"
Making our final Cut size: 8" x 8"
Proceed with cutting your fabrics:
- Cut two of pieces of your outer fabric in your final cut size
- Cut two of pieces of your inner fabric in your final cut size
- Cut two piece double sided fusible foam in your final cut size
- Cut one bias strip 2” x WOF from your binding fabric
- Cut one bias strip 2.5” x WOF from your binding fabric
Method:
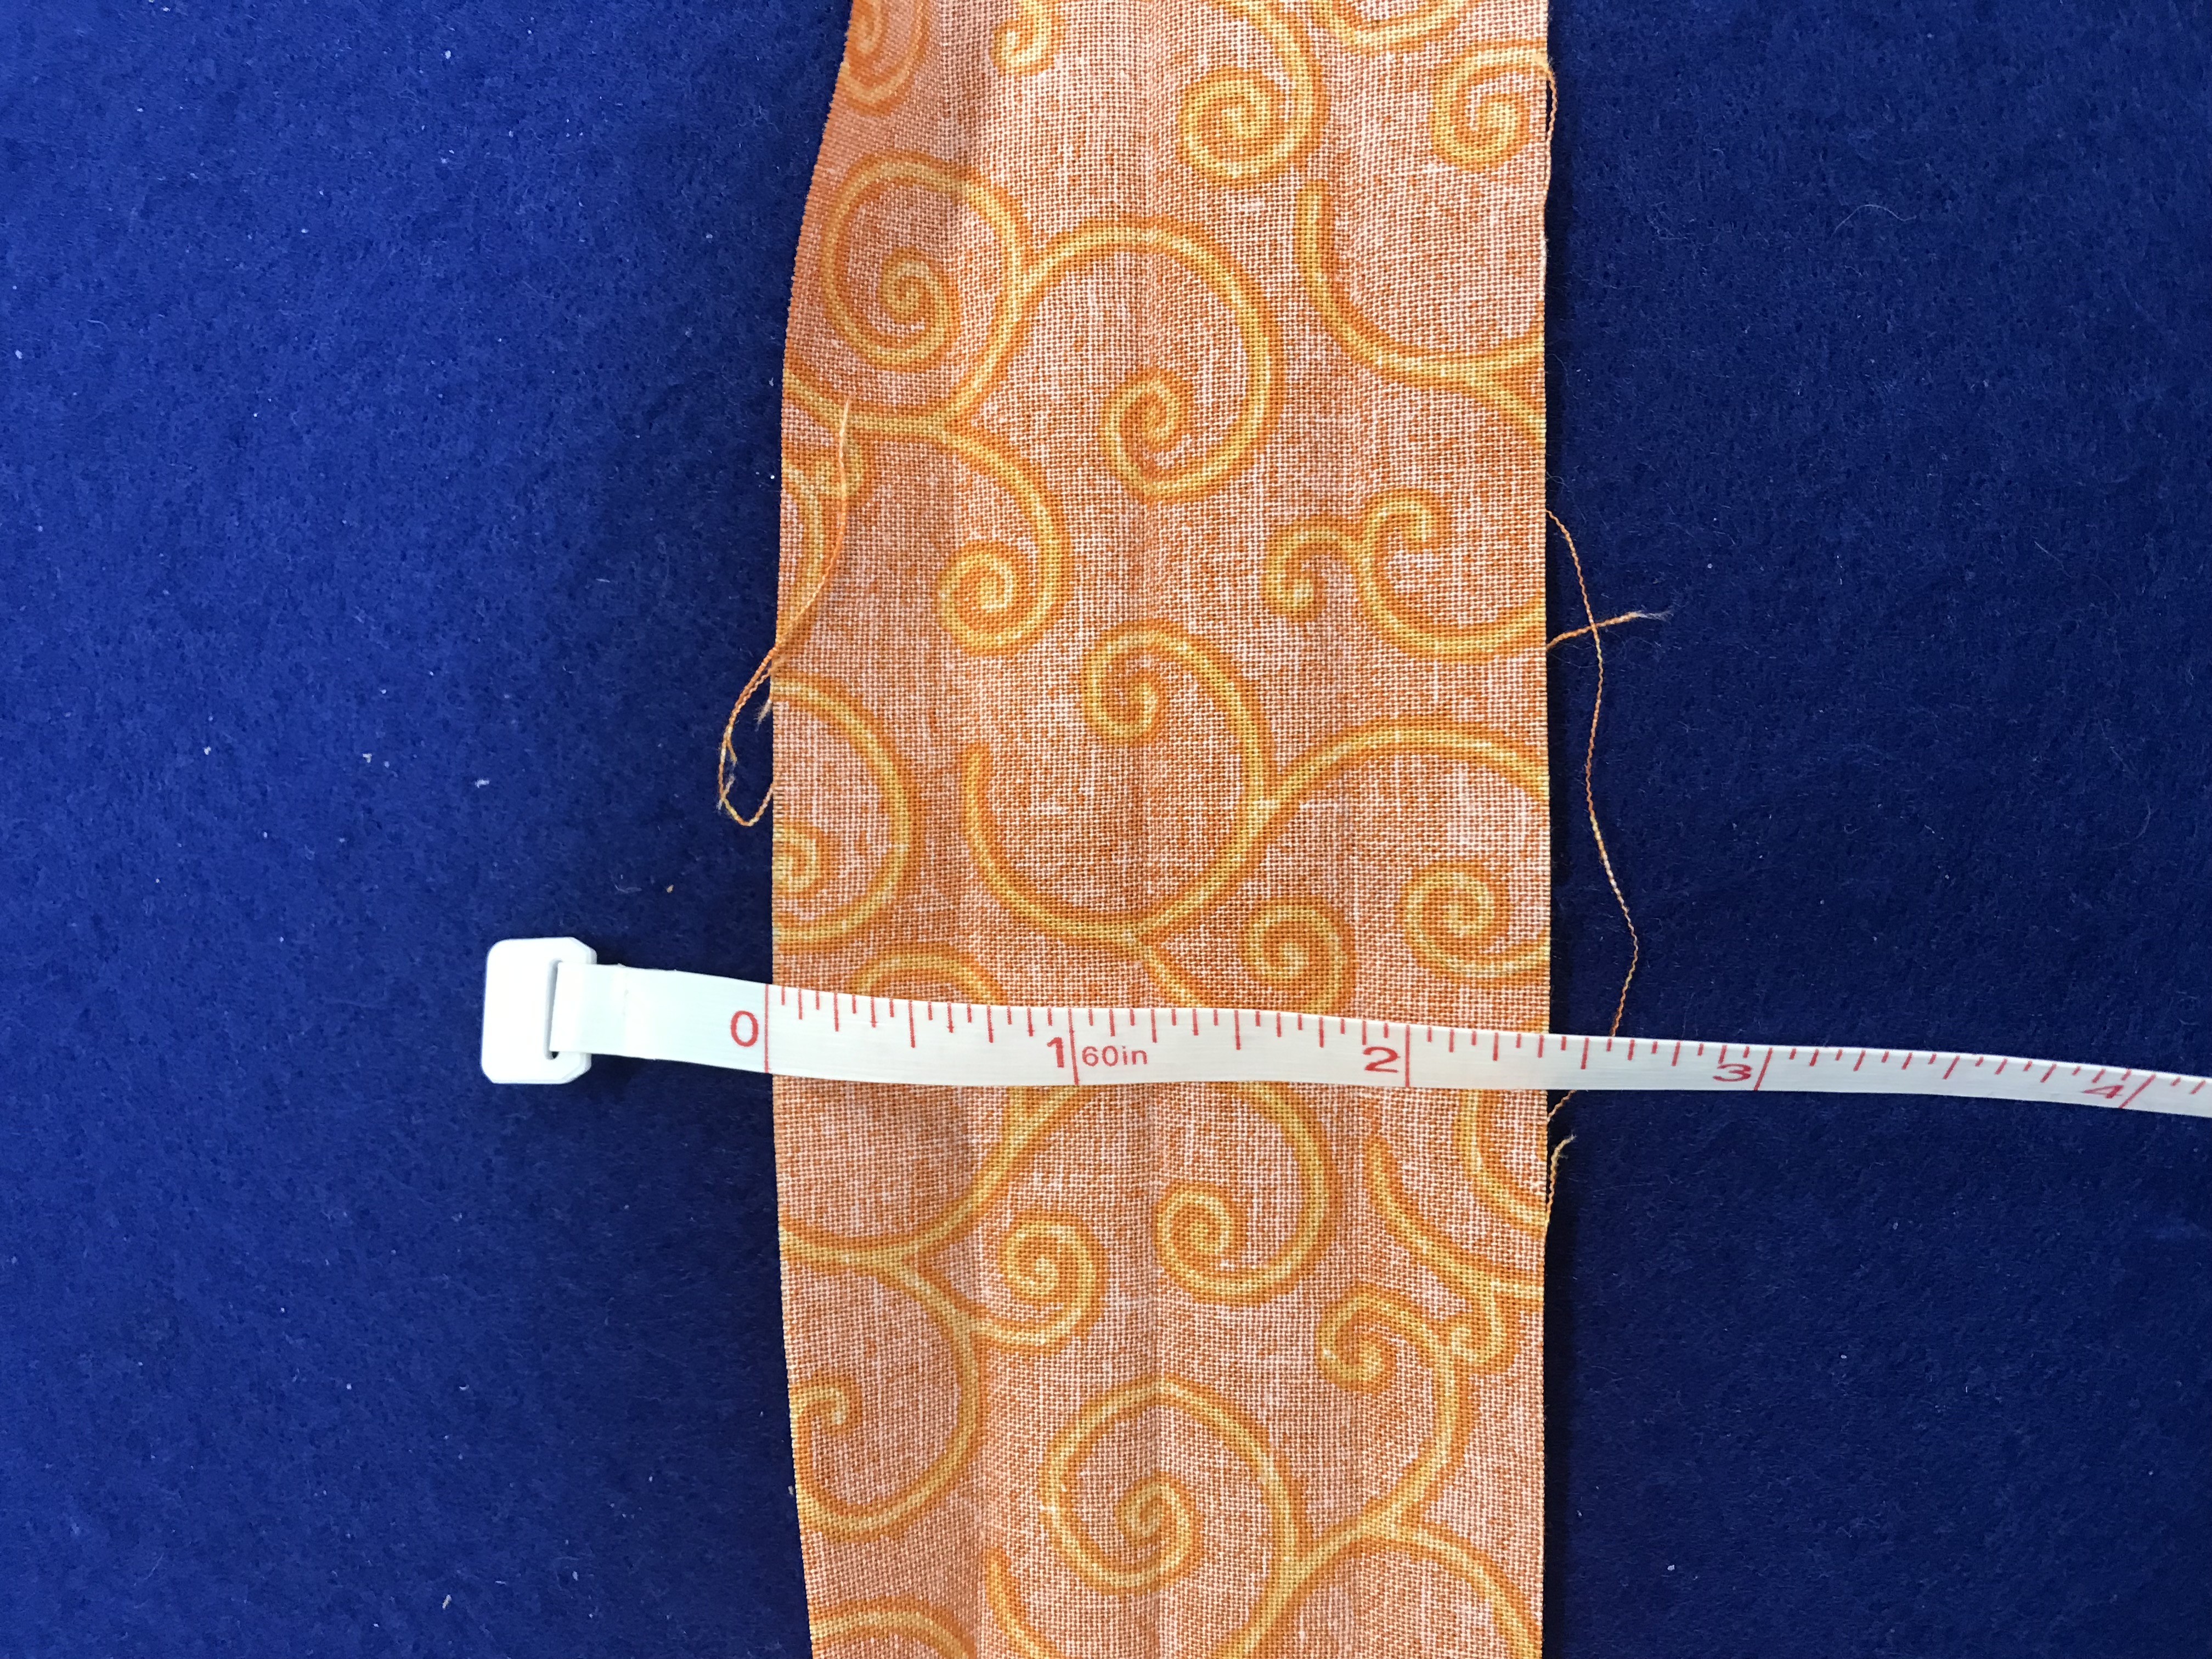
Bias Tape Making:
Choose your method of bias/binding creation and create one 2" binding, and one 2.5" binding.
Methods of bias/binding creation:
-
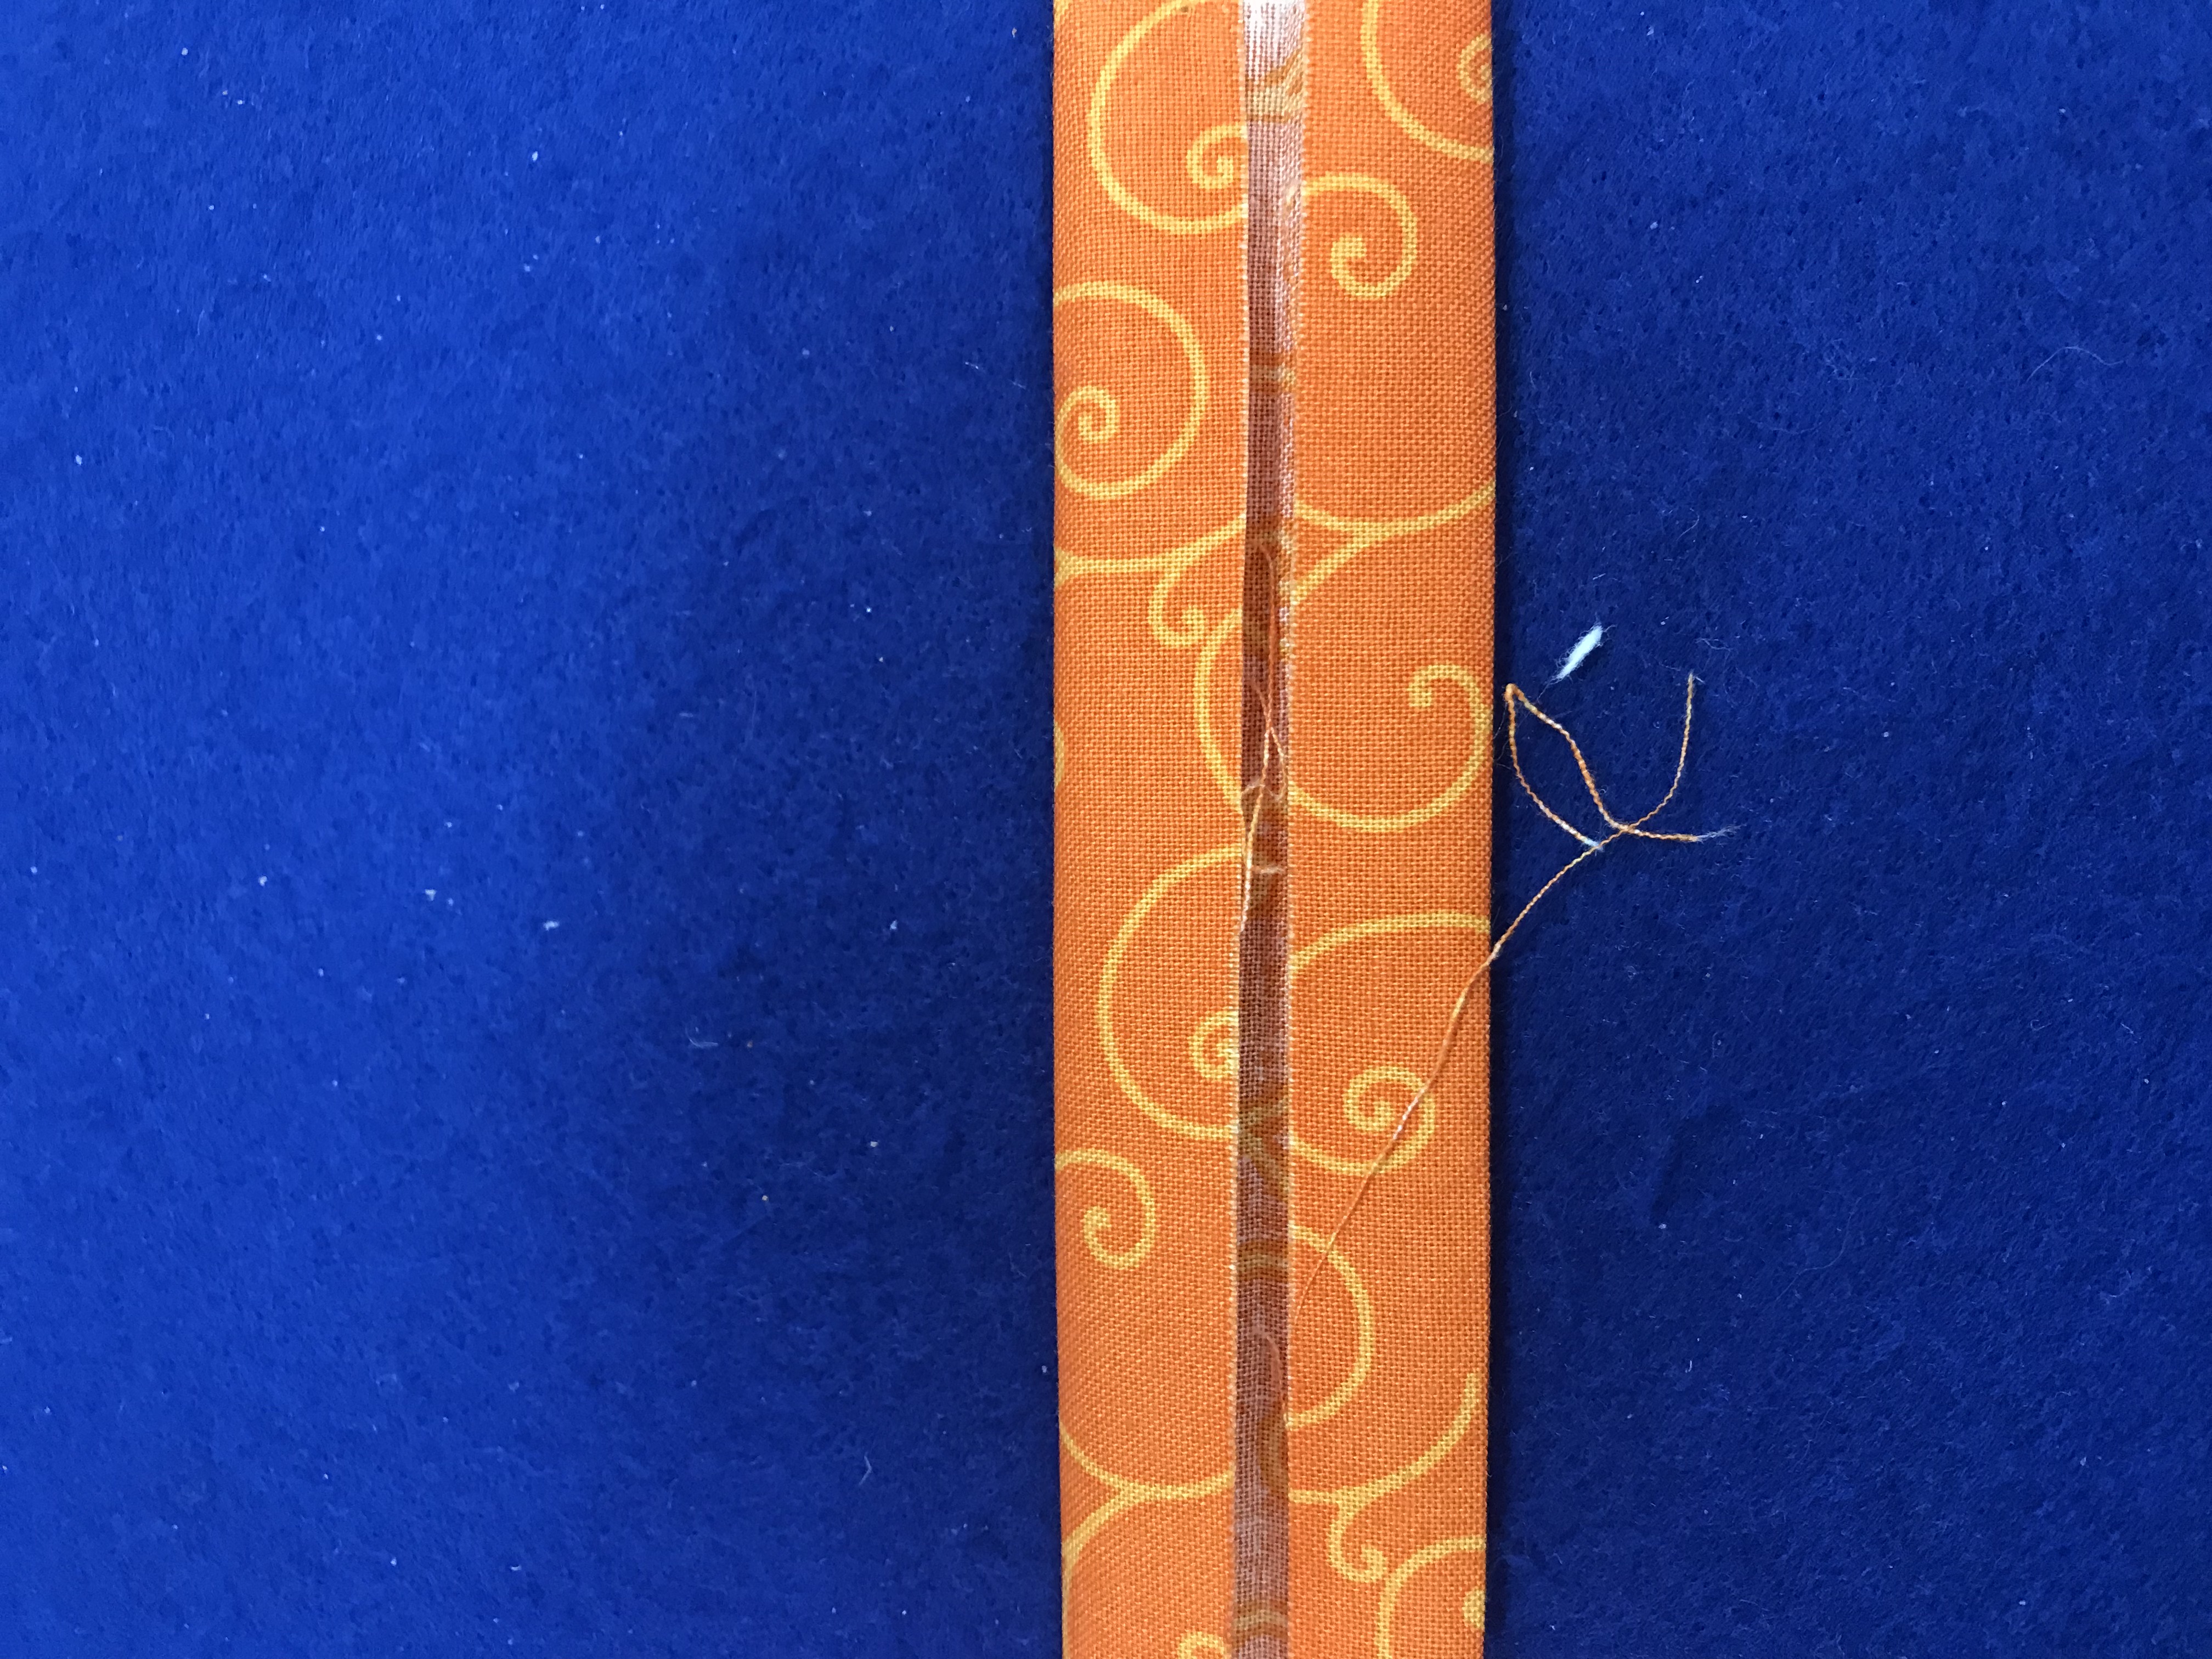
Folded method with iron
Press in half, then press in half again to create a long binding strip. Then fold the ends in and press so there are no raw edges.
-
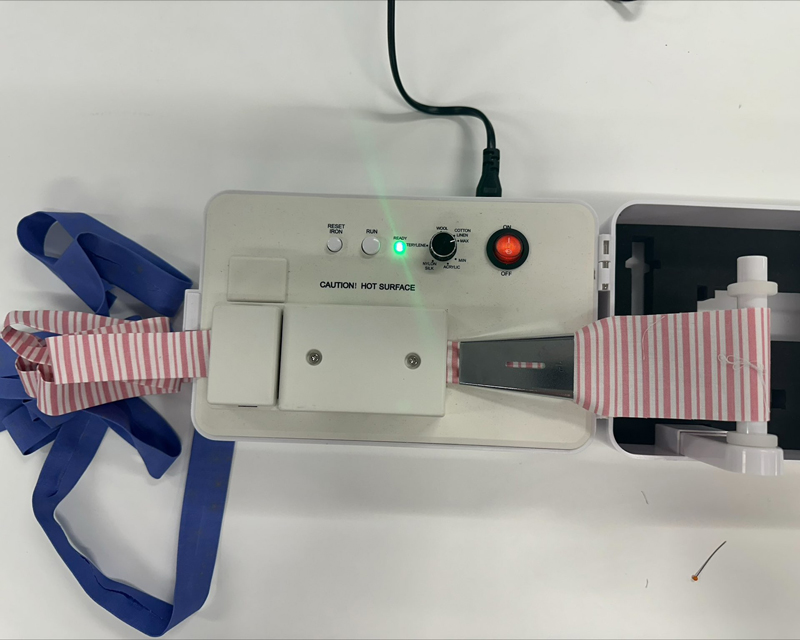
Simplicity bias maker method
Use the Simplicity bias maker to create your bindings. Below is a video on how to use the Simplicity bias maker.

Fusing the Foam:
Take one outer fabric and one inner fabric and fuse to each side of the fusible foam with your dry iron.
Repeat this with the other pieces, so you end up with 2 pieces of fusible foam with fabric fused to either side.
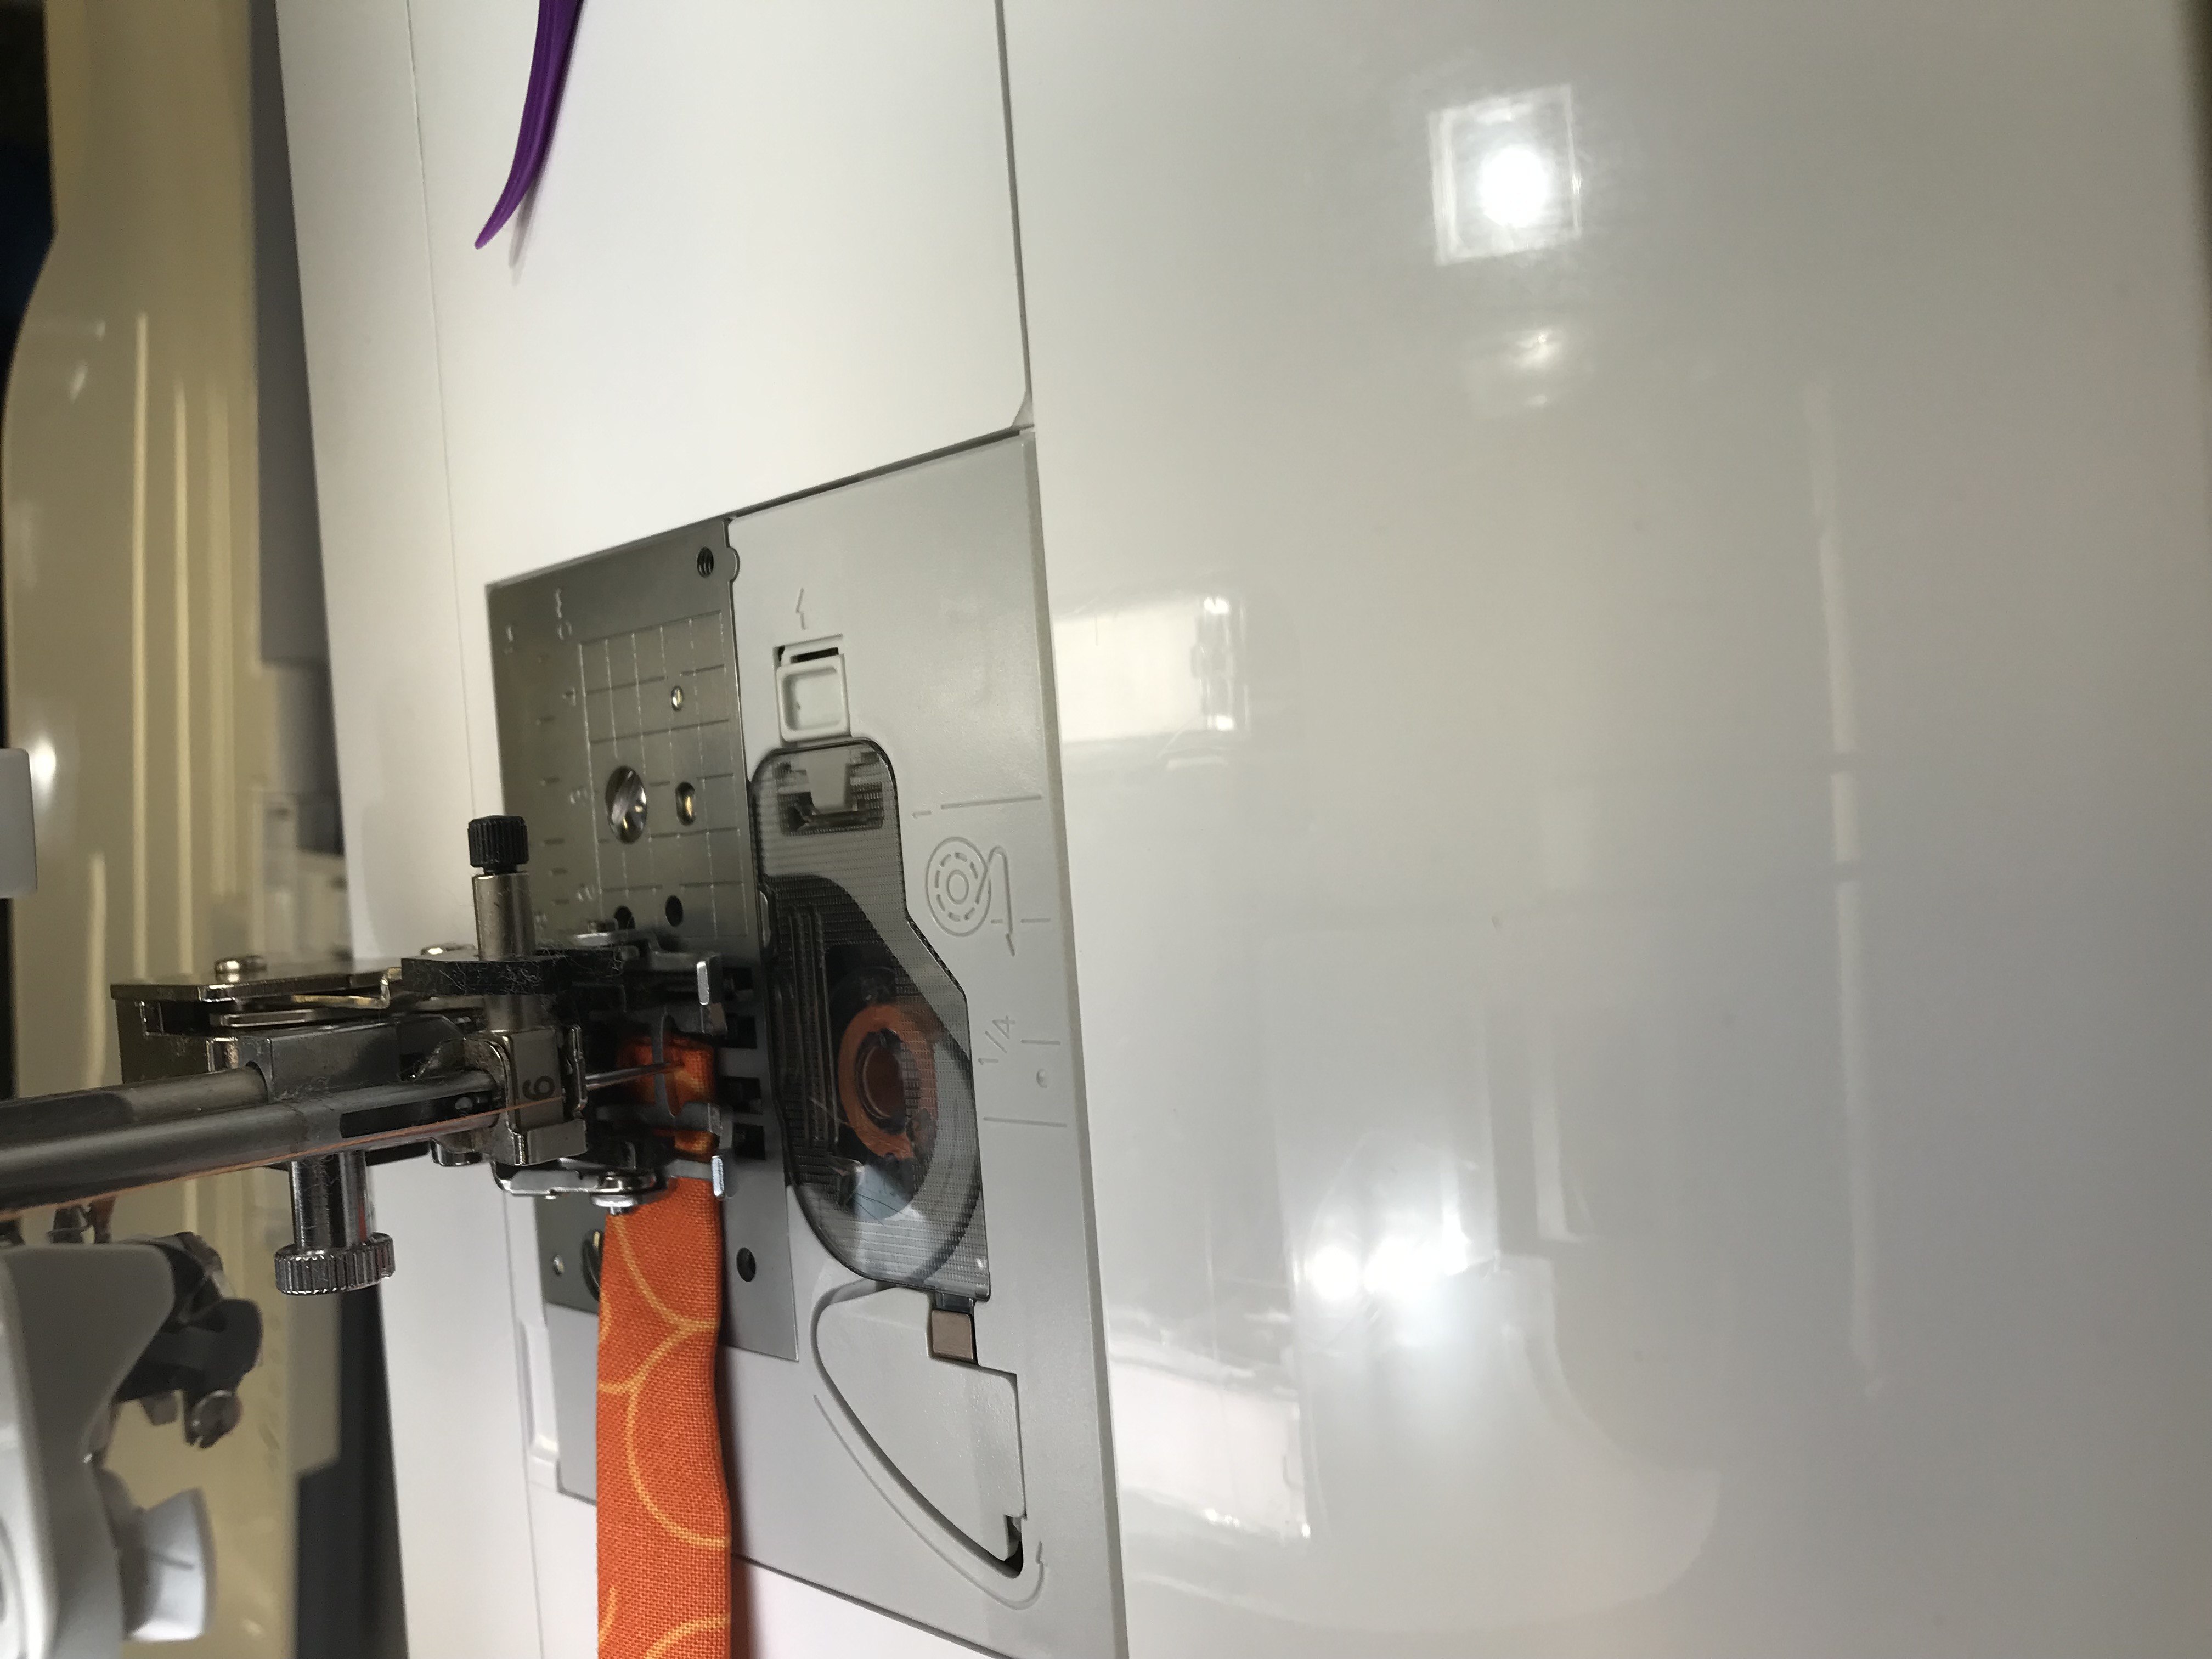
Construction:
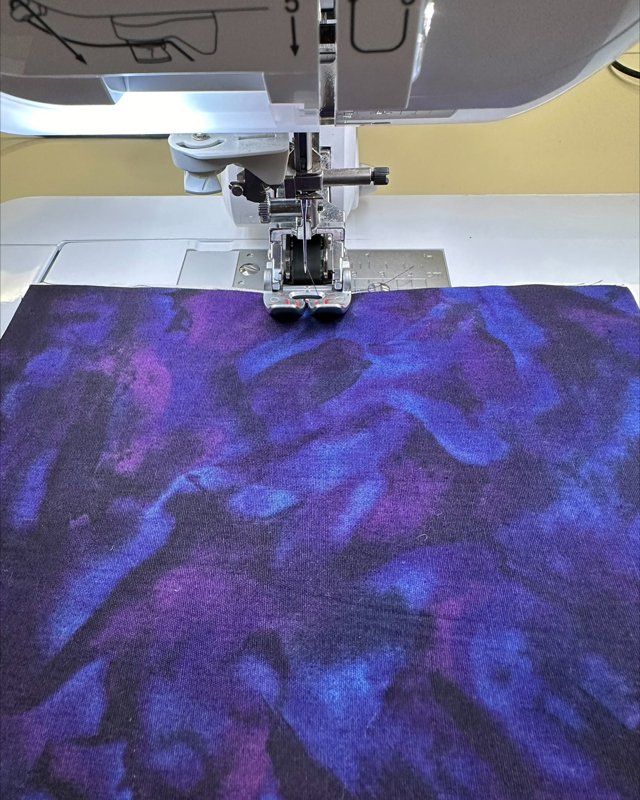
- Attach your walking foot to the machine and quilt the pre-prepared fabric/foam squares with matching thread.
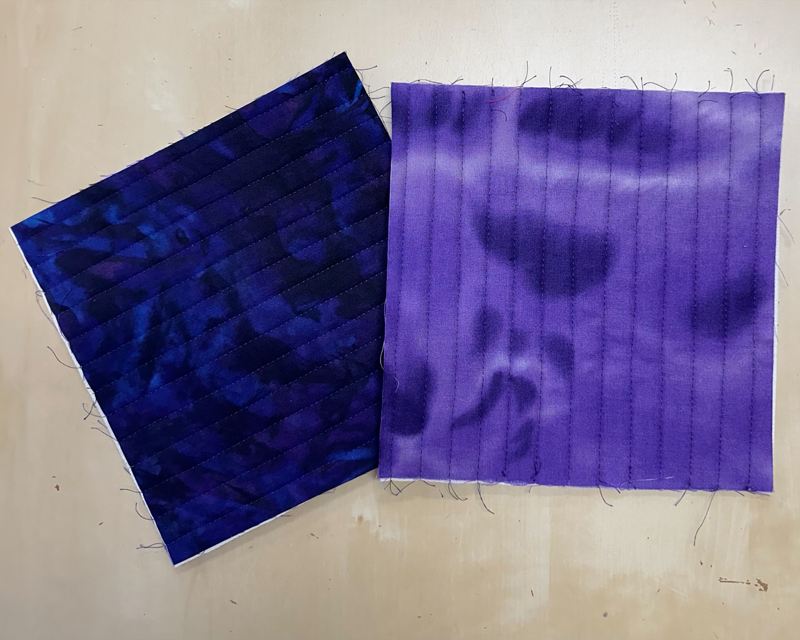
- Square up the two pieces to make a better shape for binding, and help fix up distortions caused by quilting. We squared our blocks to 7¾" x 8". If you need some help with squaring your pieces, take a look at Rachael's video on Squaring up Patchwork Blocks.
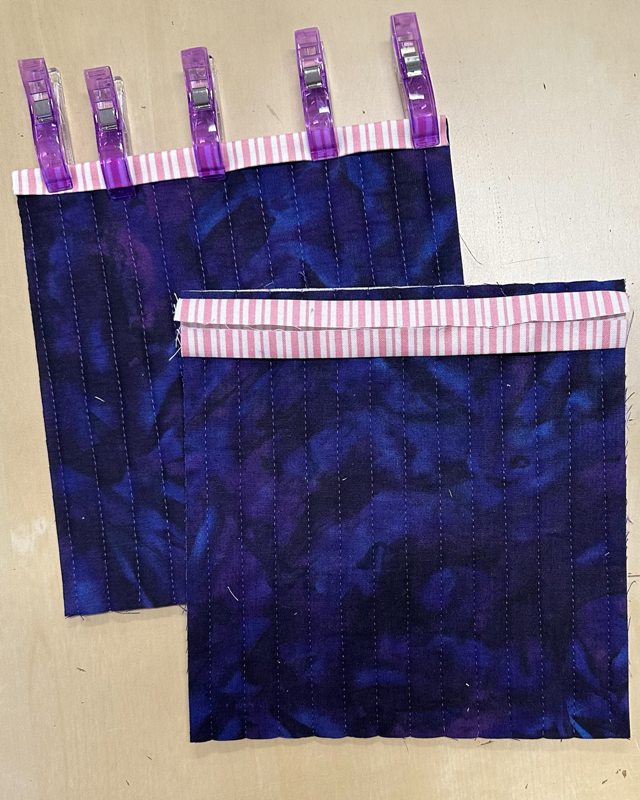
- From the 2" bias strip, cut two pieces to match the measurement of the top of the squared up quilted panel. In our case this will be 2" x 7 ¾".
- Change your thread to match the binding. Fold the bias strip over the top of the fabric square and clip in place using your Echidna clips. Using your machine, stitch along the top ⅛" from the edge.
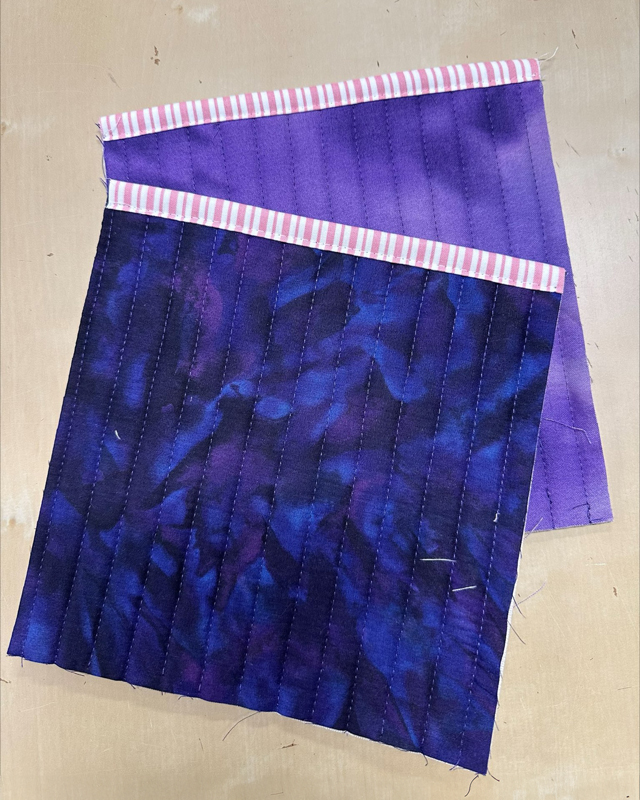
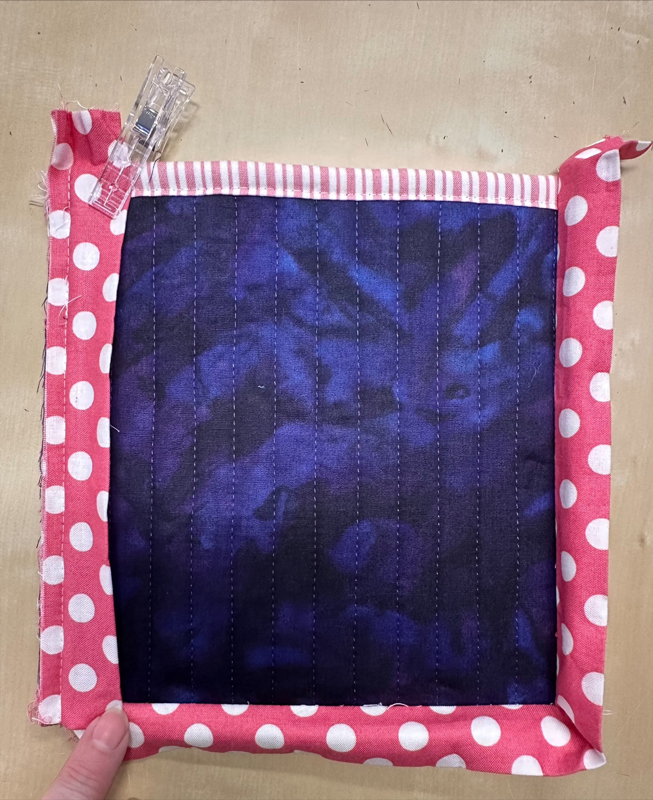
- Place the two squares so that the inner fabric is facing together and the edge with the top binding is aligned.
- Take the previously cut 2.5" binding strip and press in half with wrong sides together. Attach the strip around the outside of the rectangles, allowing 1½" excess at the top corner of the rectangle, continue laying the binding around the outer edge. Don’t forget to mitre the corner by folding the binding on the two corners. Clip in place and trim the excess making sure to leave 1½" binding surplus on the other side.
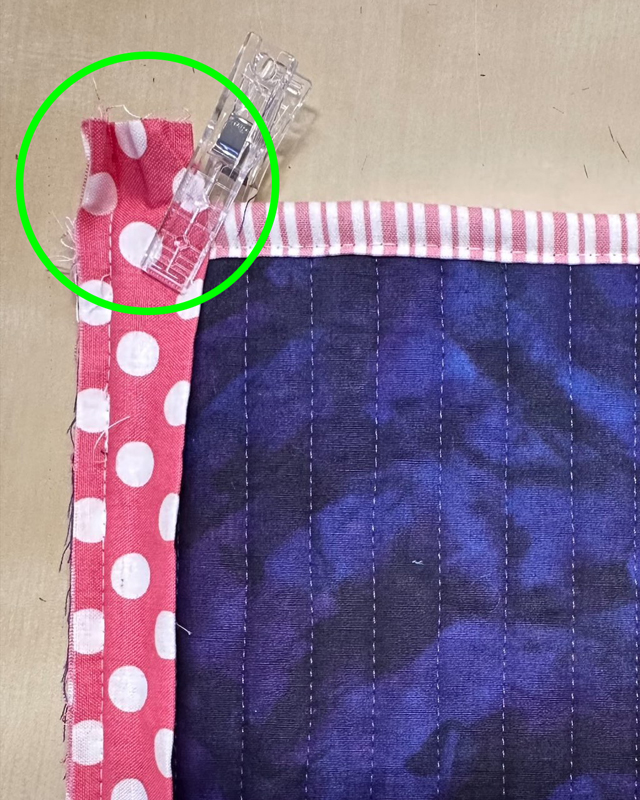
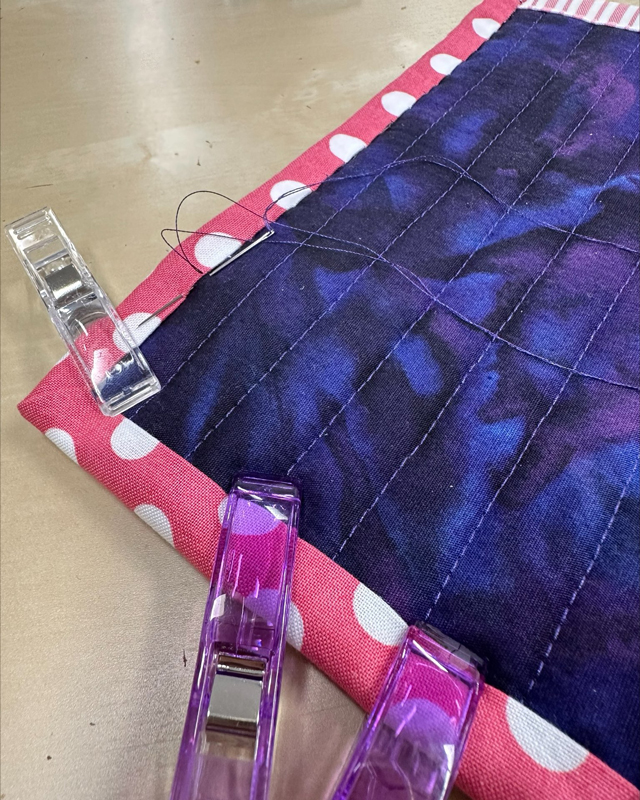
You can watch our video on how to bind a quilt and follow the same principles. - Begin sewing around the binding ¼" from the top edge of the rectangle all the way around the edge until the binding is stitched in place with corners mitred.
- Fold the binding over the top of the e-reader sleeve, and around the outer edge to the back to enclose the raw edges. Use clips to hold it in place and hand stitch in place.
- Your e-reader protective sleeve is now ready for you to slide your e-reader inside.
Don’t forget to show us your finished projects on Instagram or Facebook #echidnasewing #madebyme
Free Embroidery Designs
We're excited to offer our free Echidna designs available for download. These free designs are perfect for those at a beginner or an advanced level. Add these designs to your stash and create incredible embroidery!
View all free designs >
Sewing, Quilting and Embroidery Machines
Interested in learning how to sew, quilt or embroider? Take a look at the innovative Brother machines available for purchase at Echidna Sewing. Wherever possible we will beat any deal and you will always receive ongoing service and support!
Find out more >
Learn to Sew or Embroider with Echidna Sewing
Come along to our fun-filled classes to learn more about sewing, embroidery and crafting. Classes cater for all skill levels, whether you're just starting out or already have advanced knowledge.
Find out more >
Echidna project material/ fabric requirements are an indication only and can seem to be generous. This has been intentional. Should you make a cutting or embroidery mistake you will have sufficient fabric to rectify your error.


