Baby Milestones Discs
Author: Nicole H Date Posted:12 July 2024
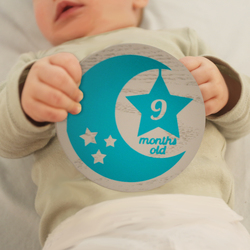
Bringing a new life into the world is a unique and wonderful experience that every parent cherishes. As your little ones grow, every moment is a milestone worth celebrating and remembering. What better way to capture these precious moments than with customized baby milestone discs? With the help of your cutting machine, and adhesive vinyl, you can design and create unique and personalized discs to mark every special moment in your baby's life. From the first day to the first year, these discs are a fun and creative way to keep track of your baby's growth.
Not only are they great for documenting your baby's milestones, but they also make for the perfect keepsakes to cherish for years to come. In this article, we will take a closer look at how you can create your own custom baby milestone discs using some of the best tools available in the market. So, let's dive in and get started!
Download the files for this project →
Free design files:
These include:
- Baby Milestone Shape (.svg)
- Baby Milestone Ages (.svg)
- Hello World
- 1 day
- 1 week - 12 weeks
- 1 month - 12 months
- 1 year
 Baby Milestone Shape
 Baby Milestone Ages
(Layered and solid versions included)
Choosing your medium
You can complete this project using a variety of mediums for your Baby Milestone Shape. We will be using a set of Kmart Coasters for this project, however you could use alternatives such as card stock, pre-cut acrylic or other wooden items.
IMPORTANT NOTE: If you plan to cut the Baby Milestone Shape, make sure you check the maximum media thickness that your cutting machine will allow and ensure that the medium you are using does not exceed this. The artwork may need to be scaled to suit the size of your medium.
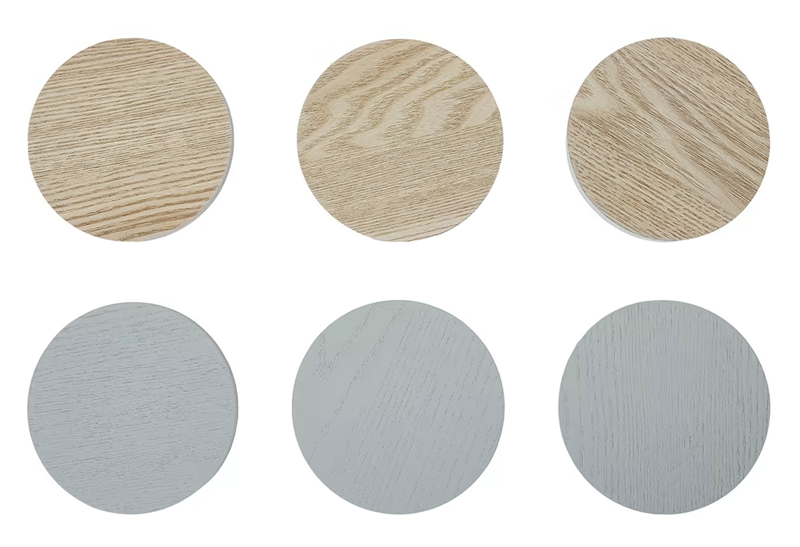 Kmart Set of 6 Grey/Wood Coasters
What you will need:
- Cutting machine (Brother ScanNCut, Cricut, Silhouette etc)
- Set of 6 Grey/Wood Coasters (We have used a set from Kmart)
- Permanent adhesive vinyl (colour of your choice)
- Transfer tape
- Scraper
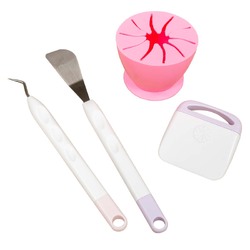
- Weeding tools
- Masking tape
- Design files Download here →
Shop online:
Step overview:
Learn about cutting adhesive vinyl using the ScanNCut
We have put together step by step instructions on how to cut and apply adhesive vinyl using your Brother ScanNCut.
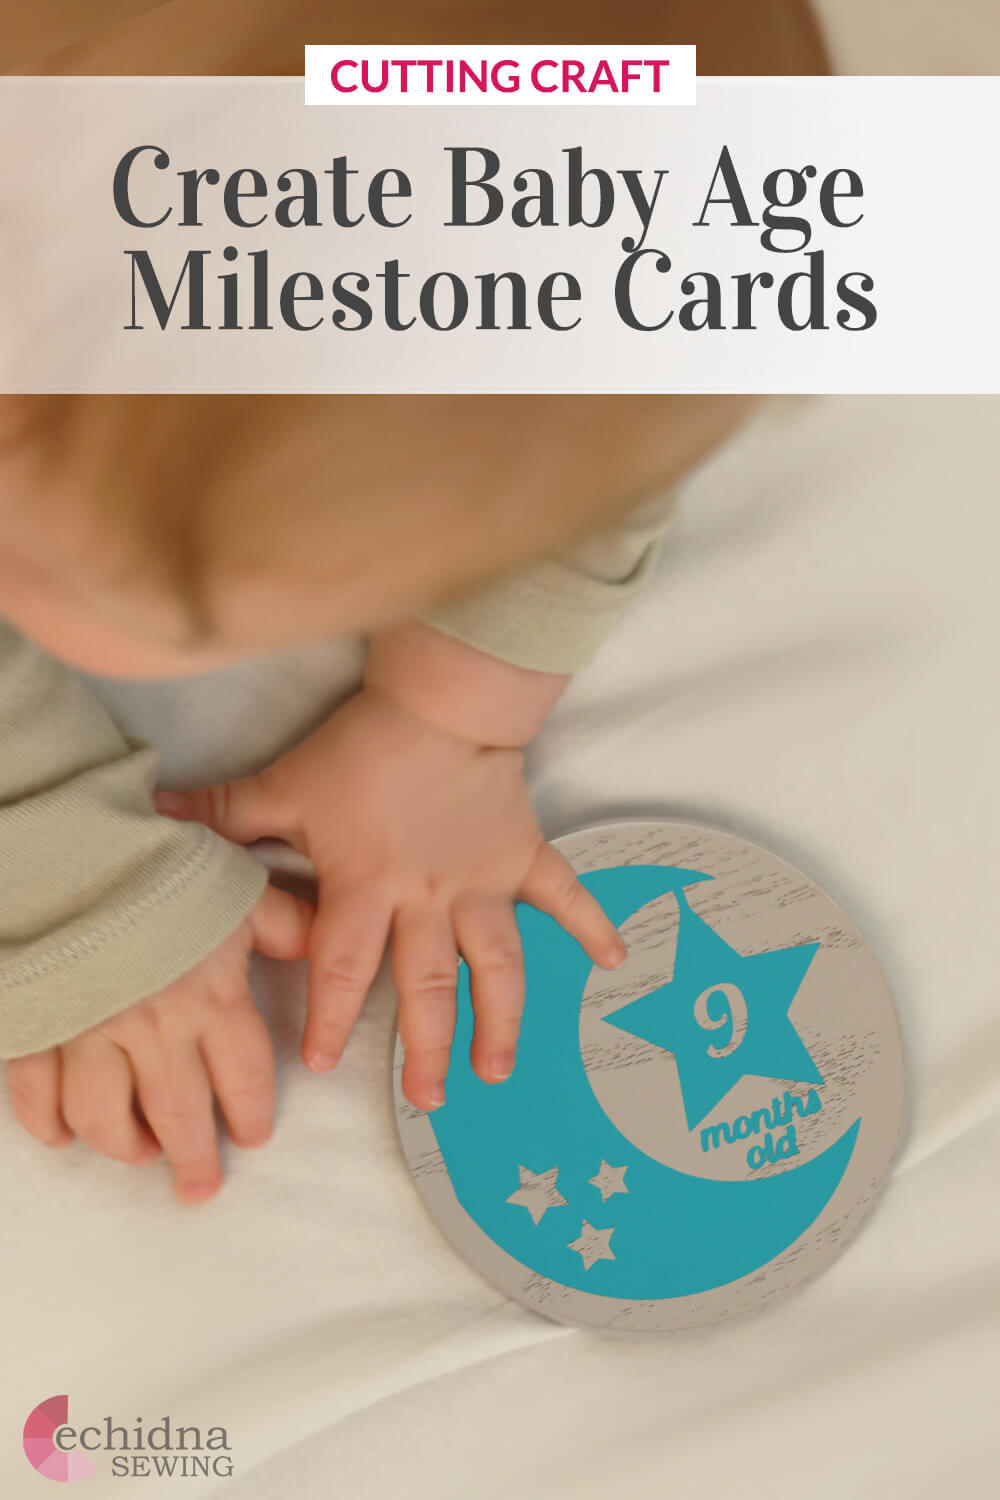
Detailed instructions:
Vinyl stickers
In this tutorial we will be using the black version of the design (SVG) to achieve a single coloured finish. If you plan to make the design in multiple colours we suggest using the colour version and follow our tutorial on how to layer adhesive vinyl.
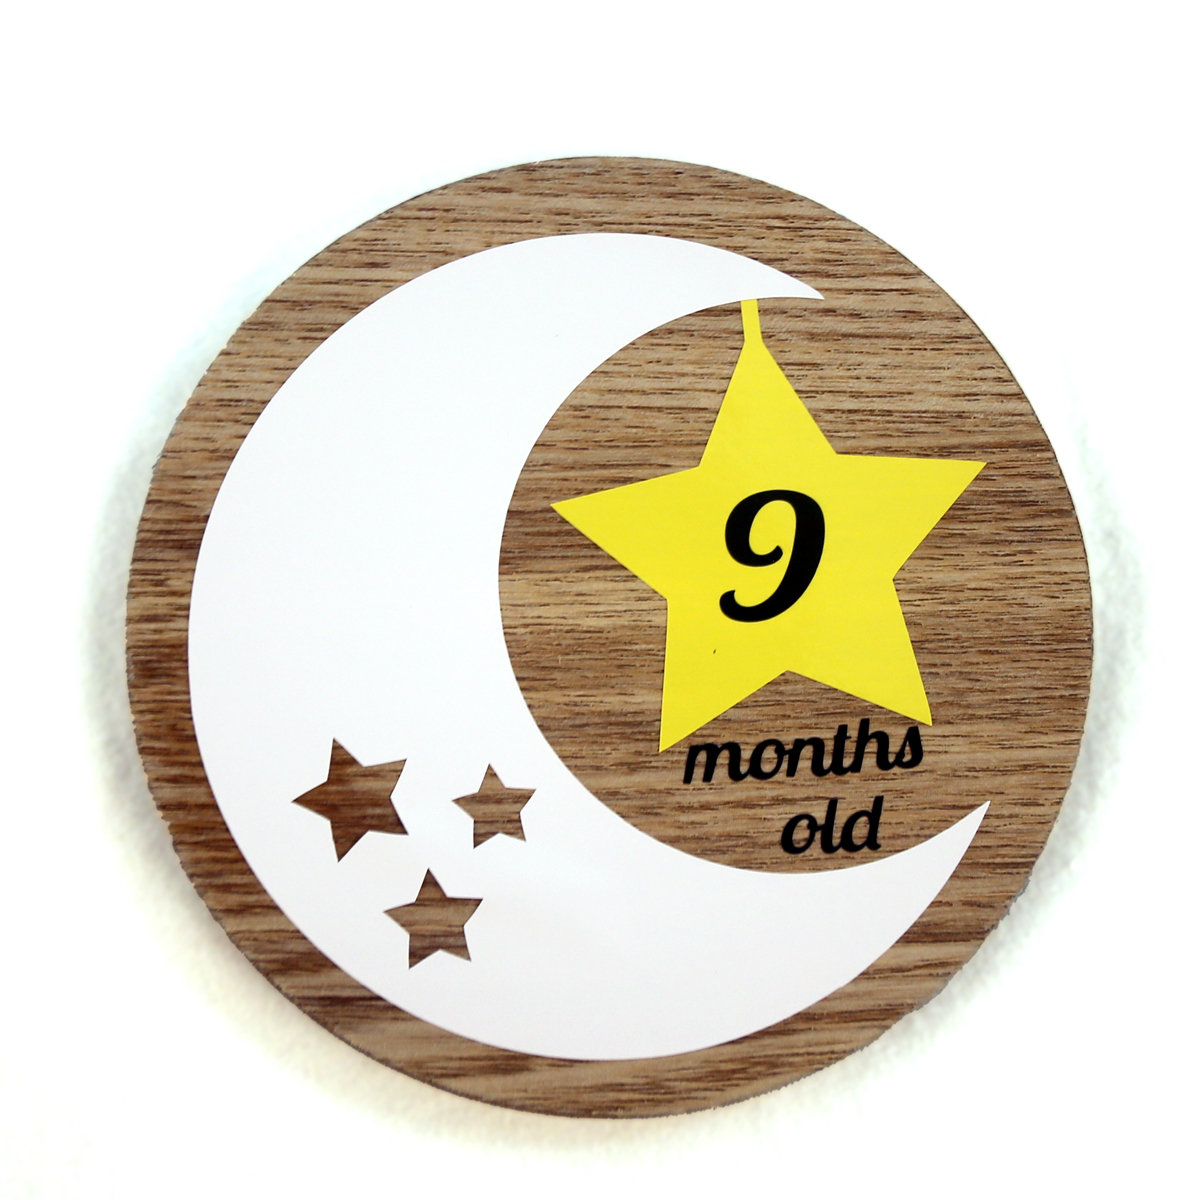
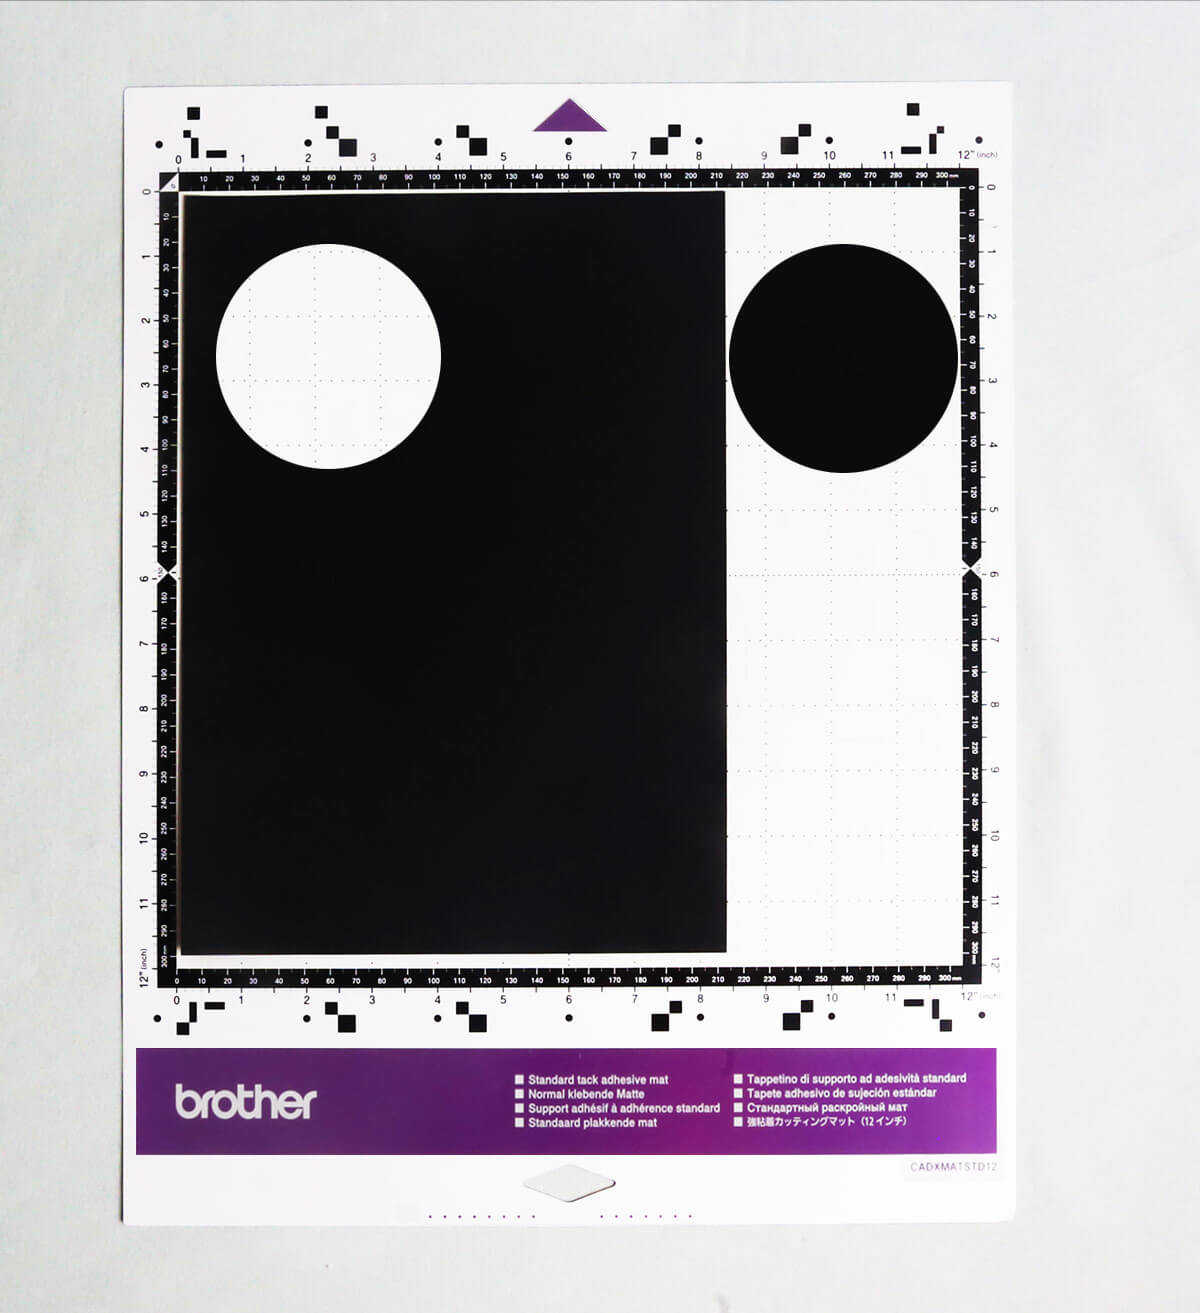
- Place a piece of vinyl in your chosen colour onto your machine mat, making sure it is large enough for the required design. Ensure the media is stuck to the mat the correct way up, using a brayer/roller may be helpful.
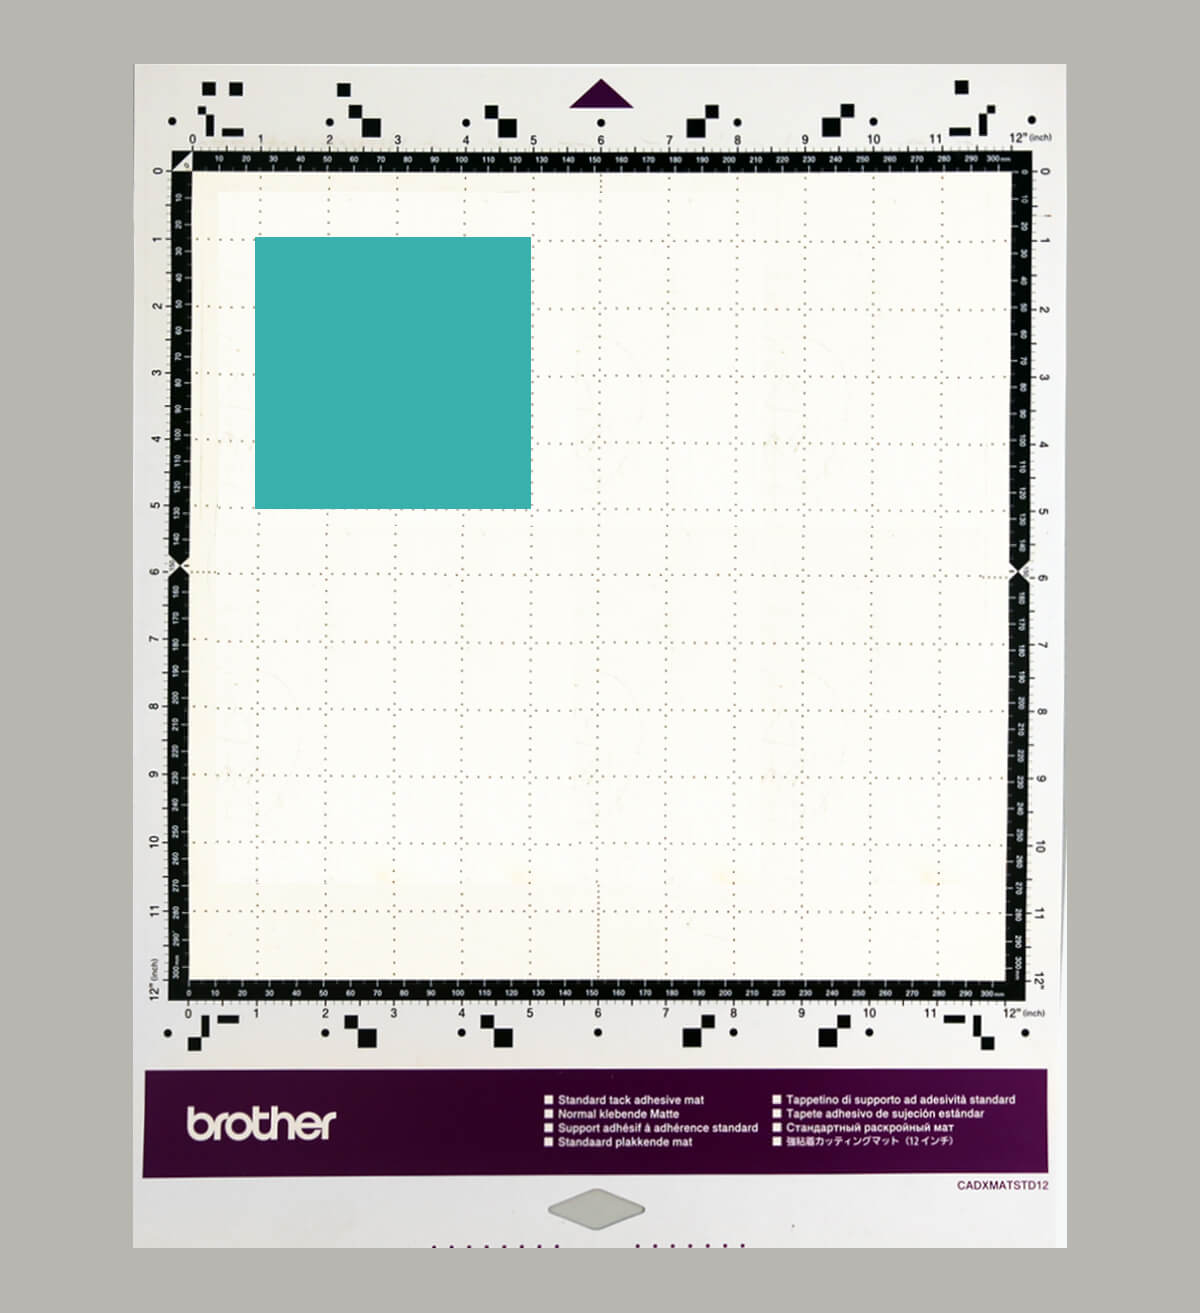
- Load the SVG for the age you wish to make (If you have a Brother ScanNCut do a quick scan of your mat to make sure the design is positioned correctly on top of the vinyl).
- Adjust your machine settings to be suitable for cutting vinyl. For ScanNCut users you will need to enable the half cut option.
Tip: We suggest doing a test cut to ensure you have your settings correct for the medium you are using. Cutting a small hole in the corner of your mat is a lot less upsetting than cutting a large design straight through your mat.
- Proceed with cutting the design.
- Once the cutting is complete, unload the mat from the machine and gently peel the vinyl sheet off as a whole.
- Starting from one corner of the media, peel the coloured layer away from the backing (also known as ‘weeding’). Using a weeding tool, spatula and hook set, tweezers or fine scissors may be helpful to get you started.
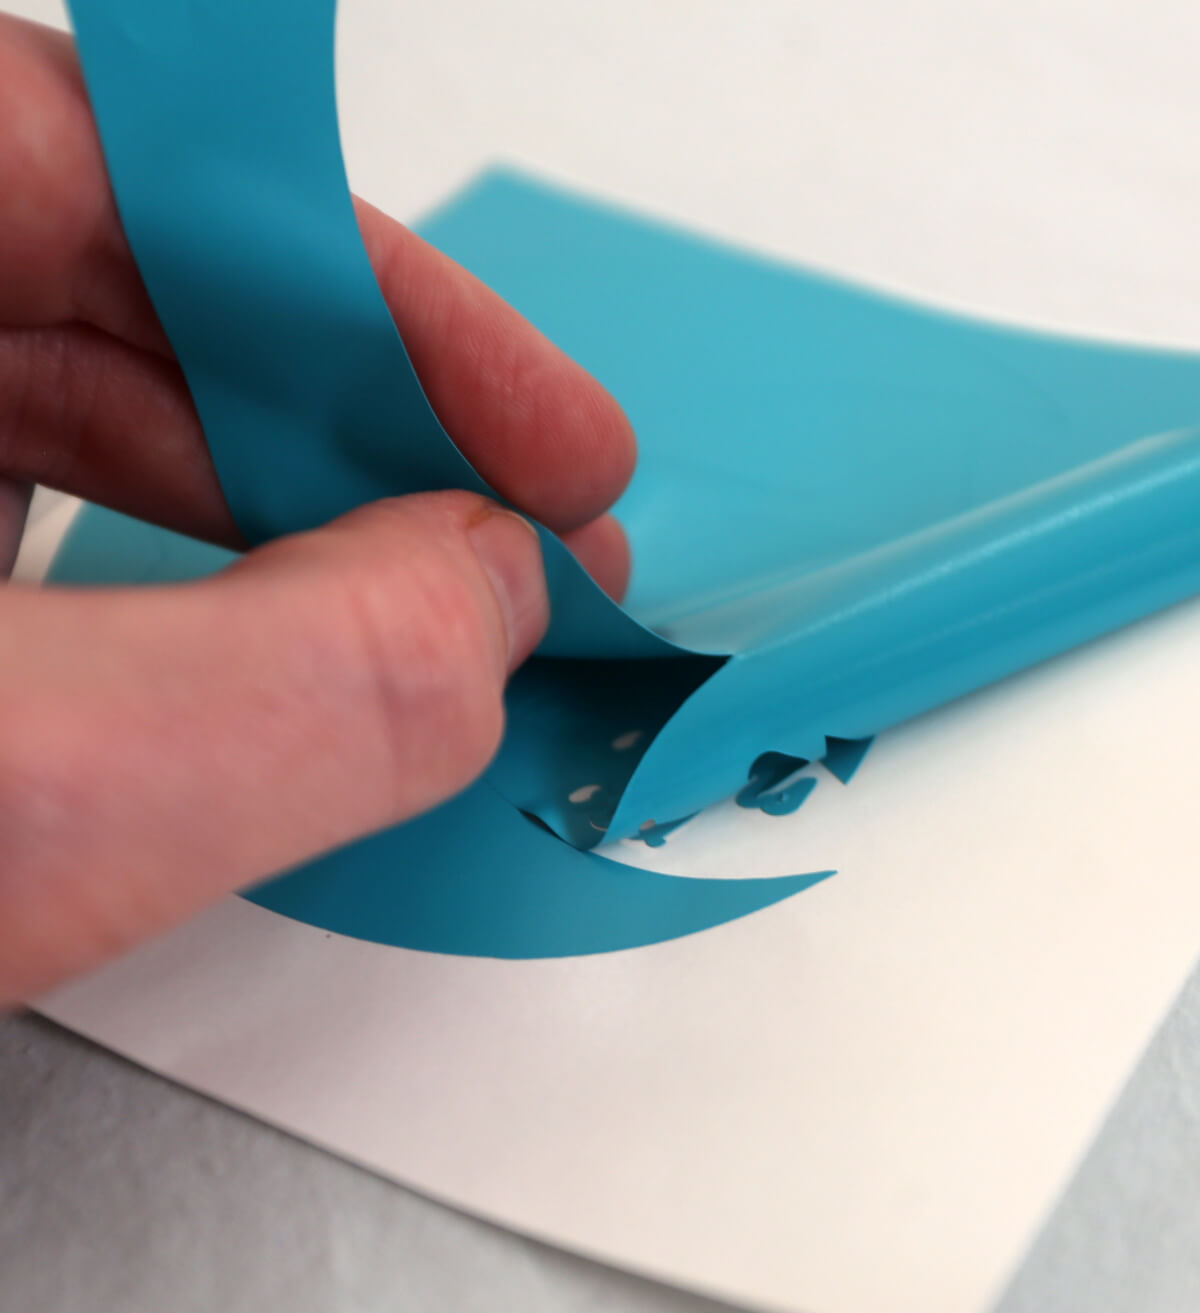
- Keep peeling the unwanted sections away, leaving the finished design stuck to the backing.
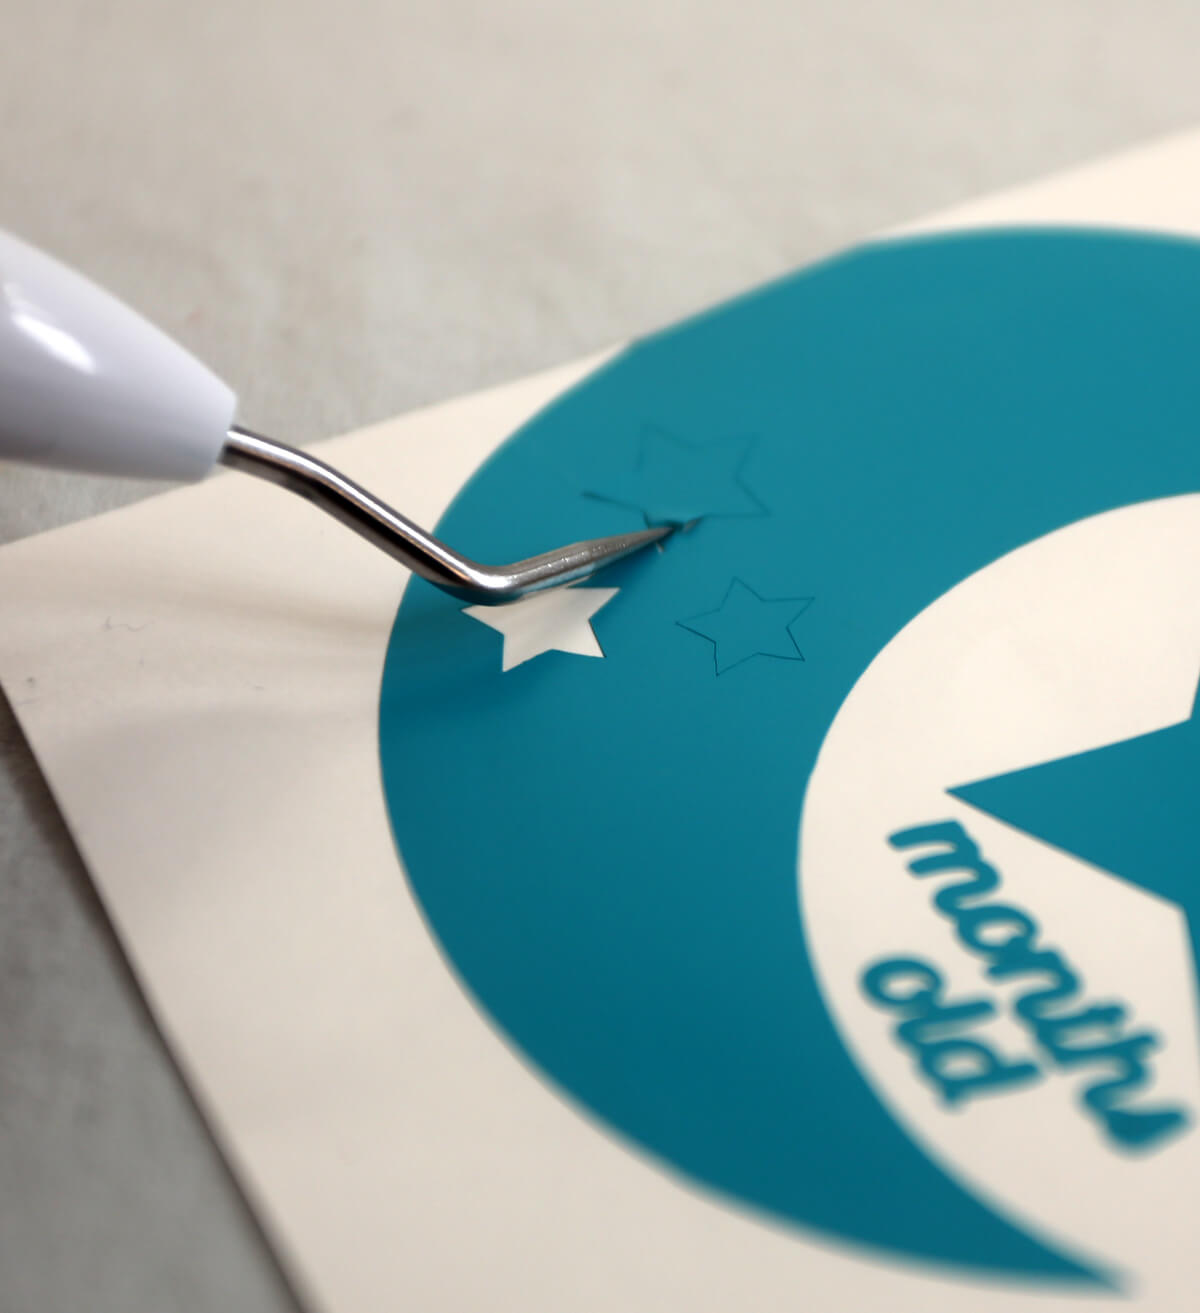
- To remove the sticker from its backing, cut a piece of Transfer Tape large enough to cover your design.
- Peel off the grid side of the Transfer Tape. Grid Transfer Tape is perfect for this type of application as it will allow you to get the words straight.
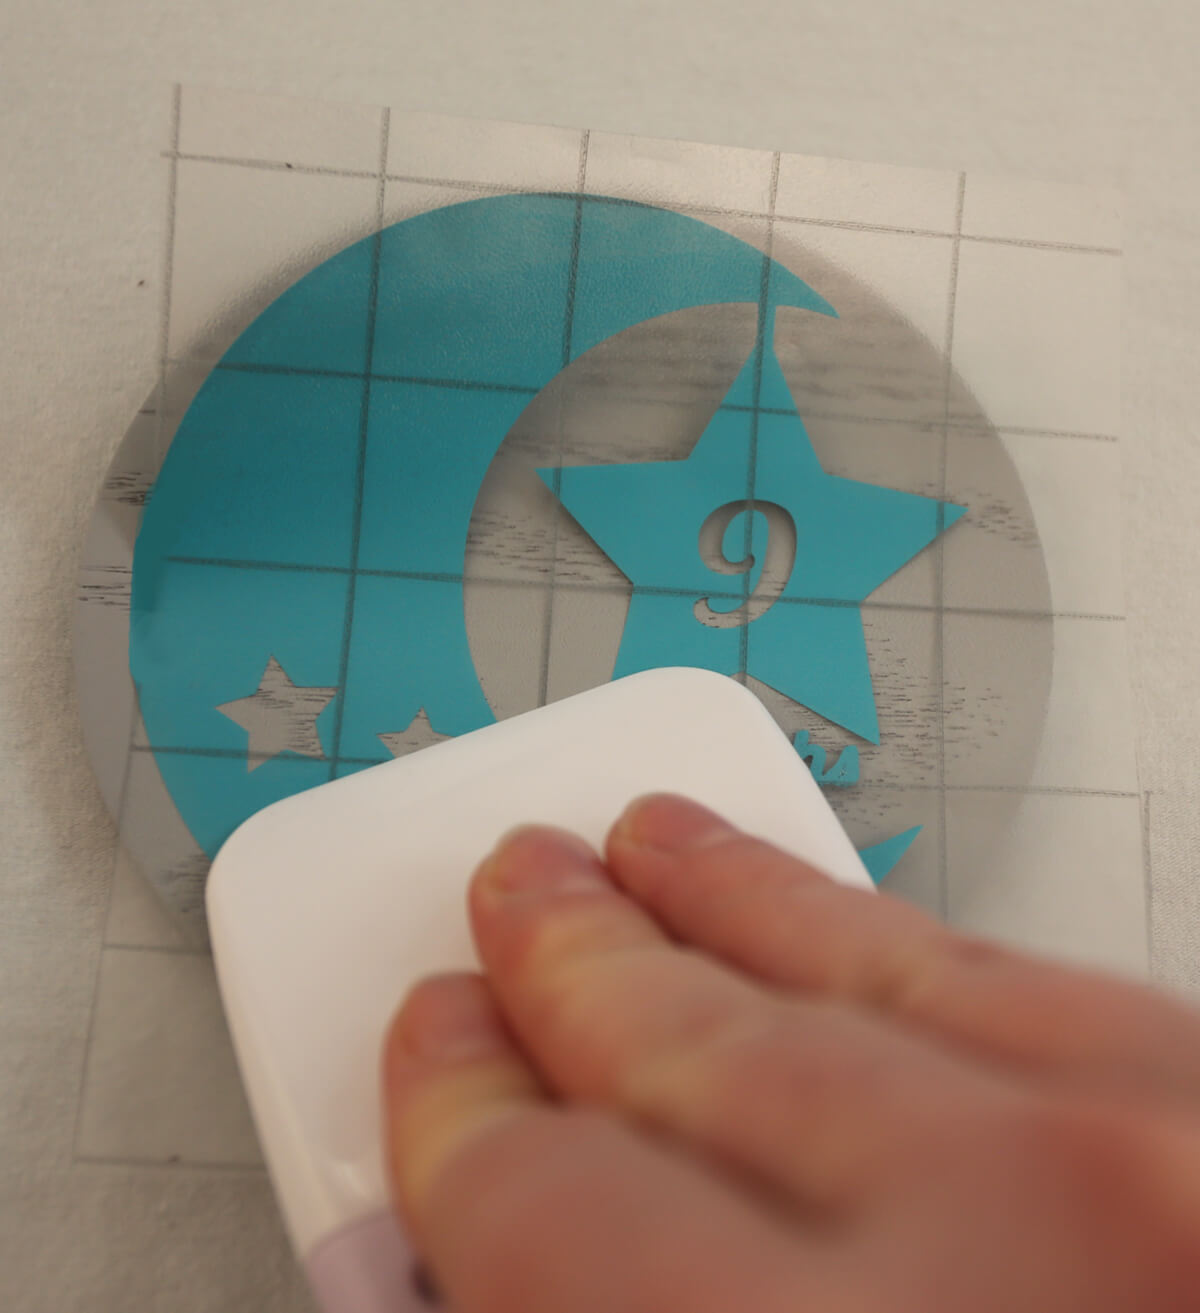
- Place the Transfer Tape over the cut-out vinyl ensuring all the vinyl is covered. Gently rub the Transfer Tape whilst on the vinyl.
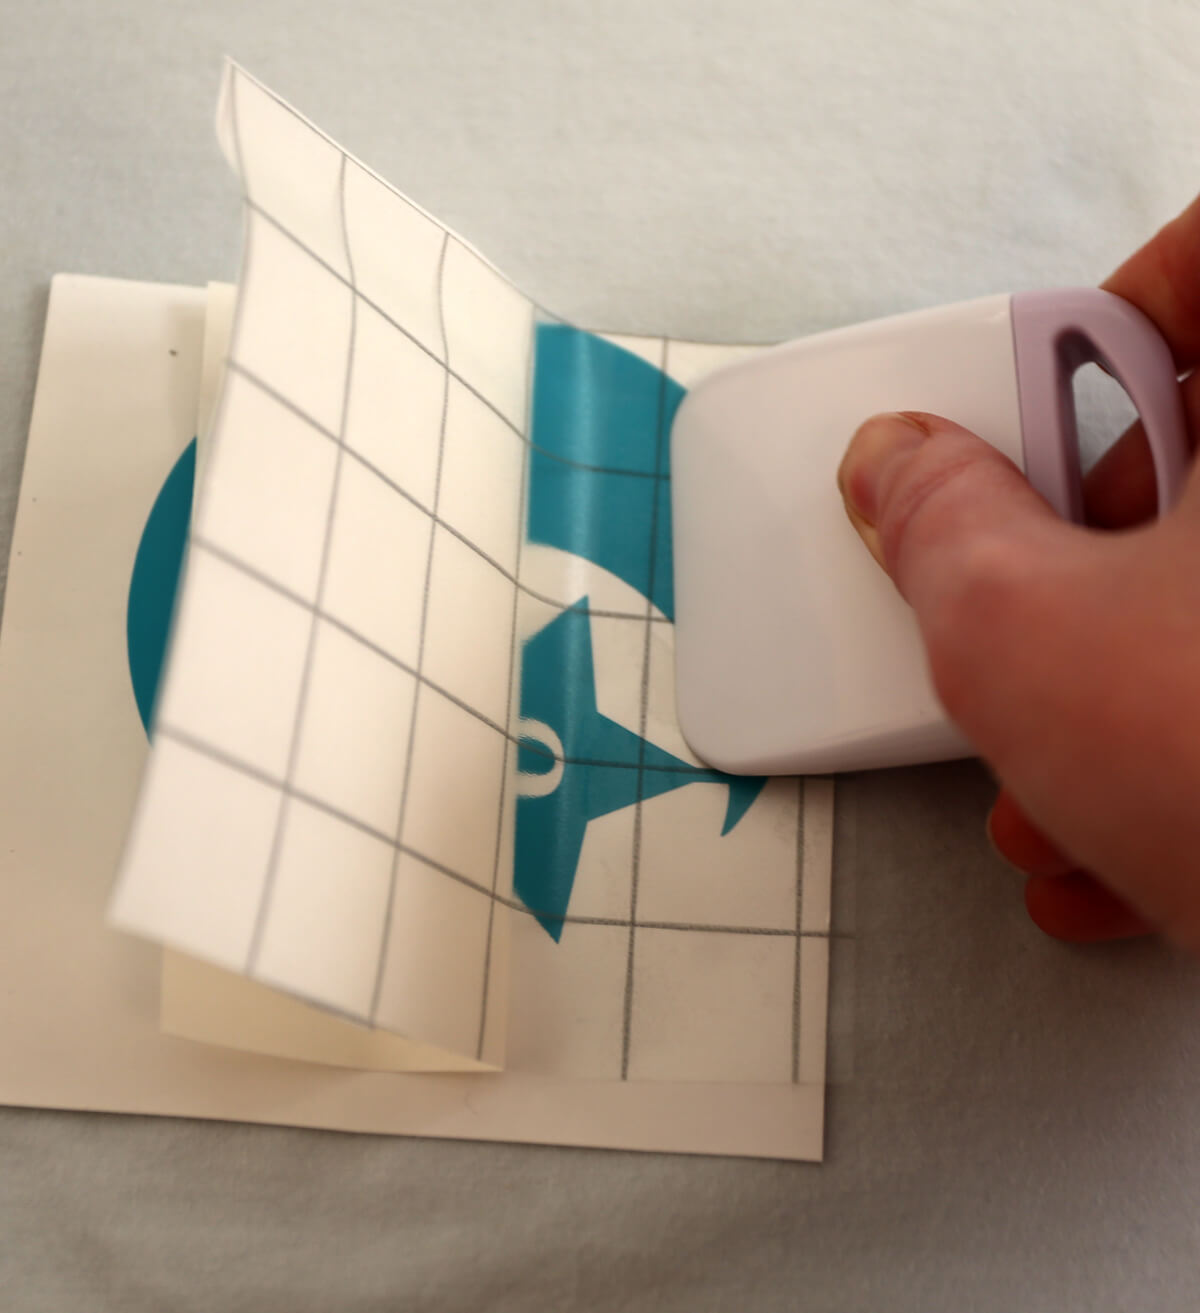
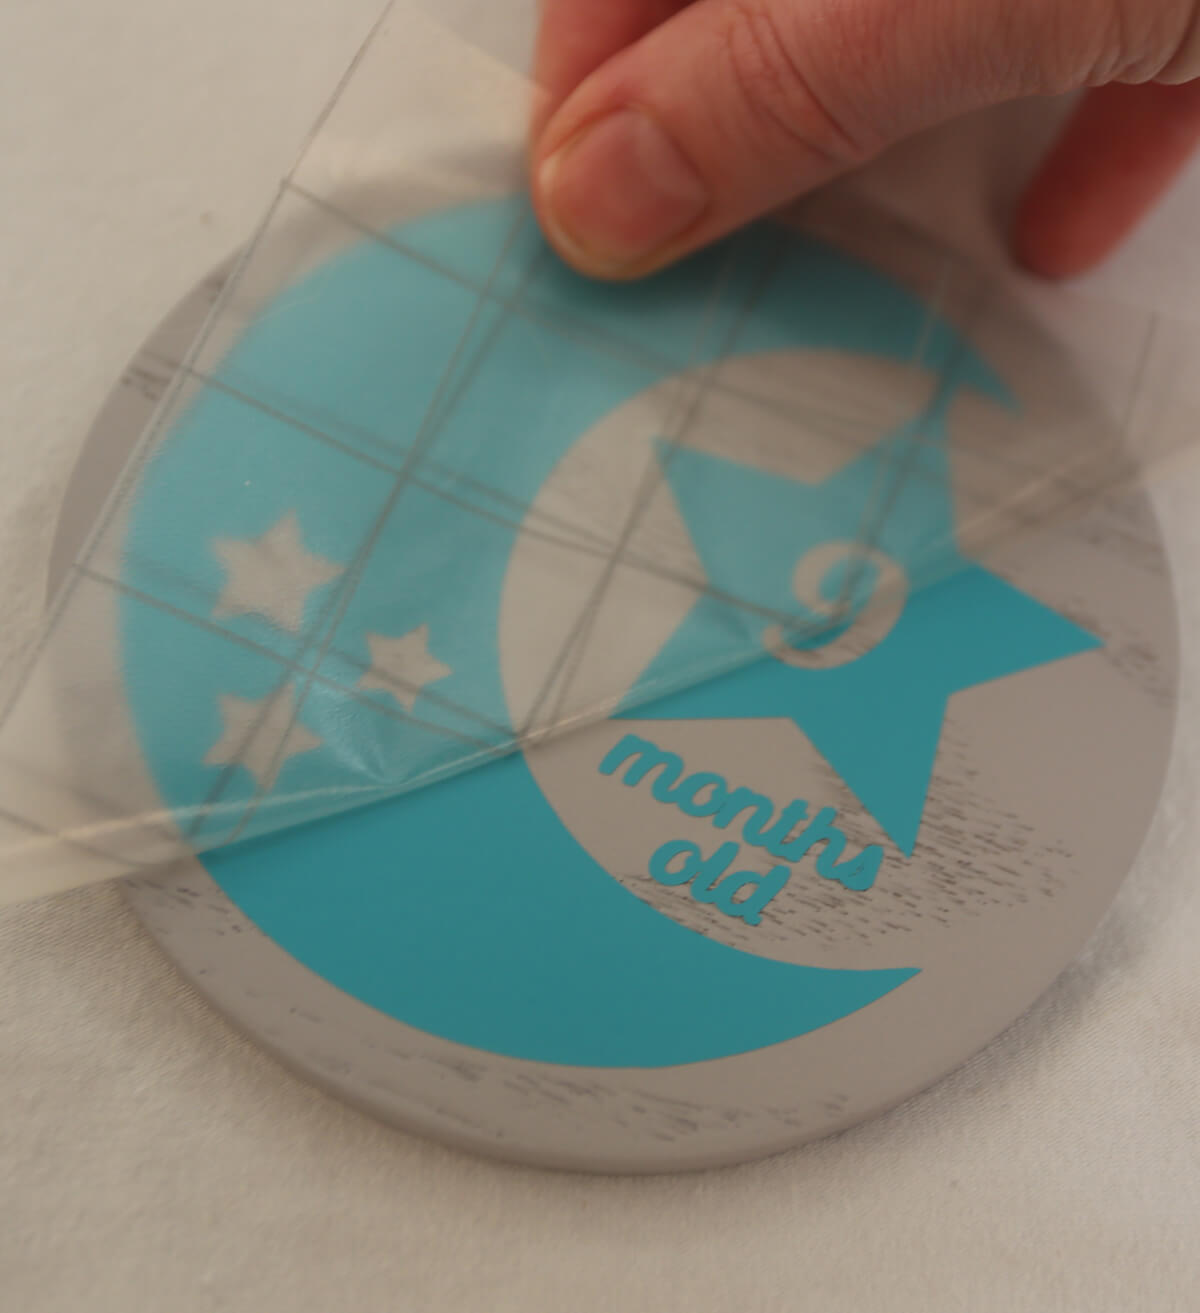
- Gently start peeling off the sticker backing. The sticker should lift off with the tape. If not, lay the tape back down and press firmly again. You want your design to stick to the tape so you may need to give it a rub as you go.
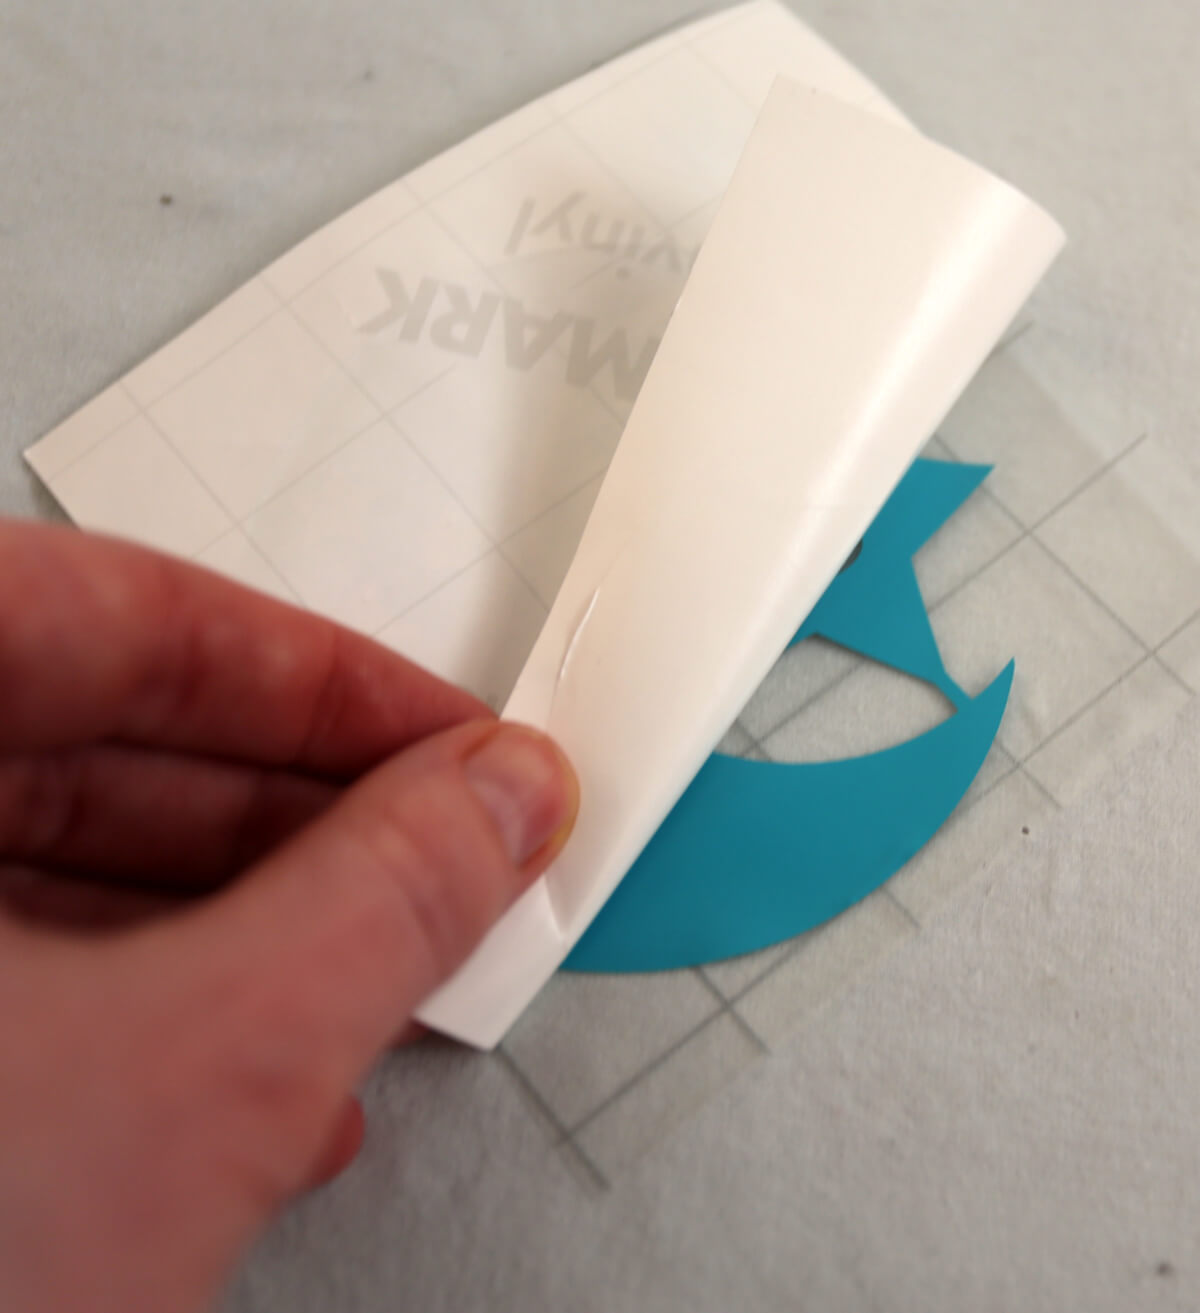
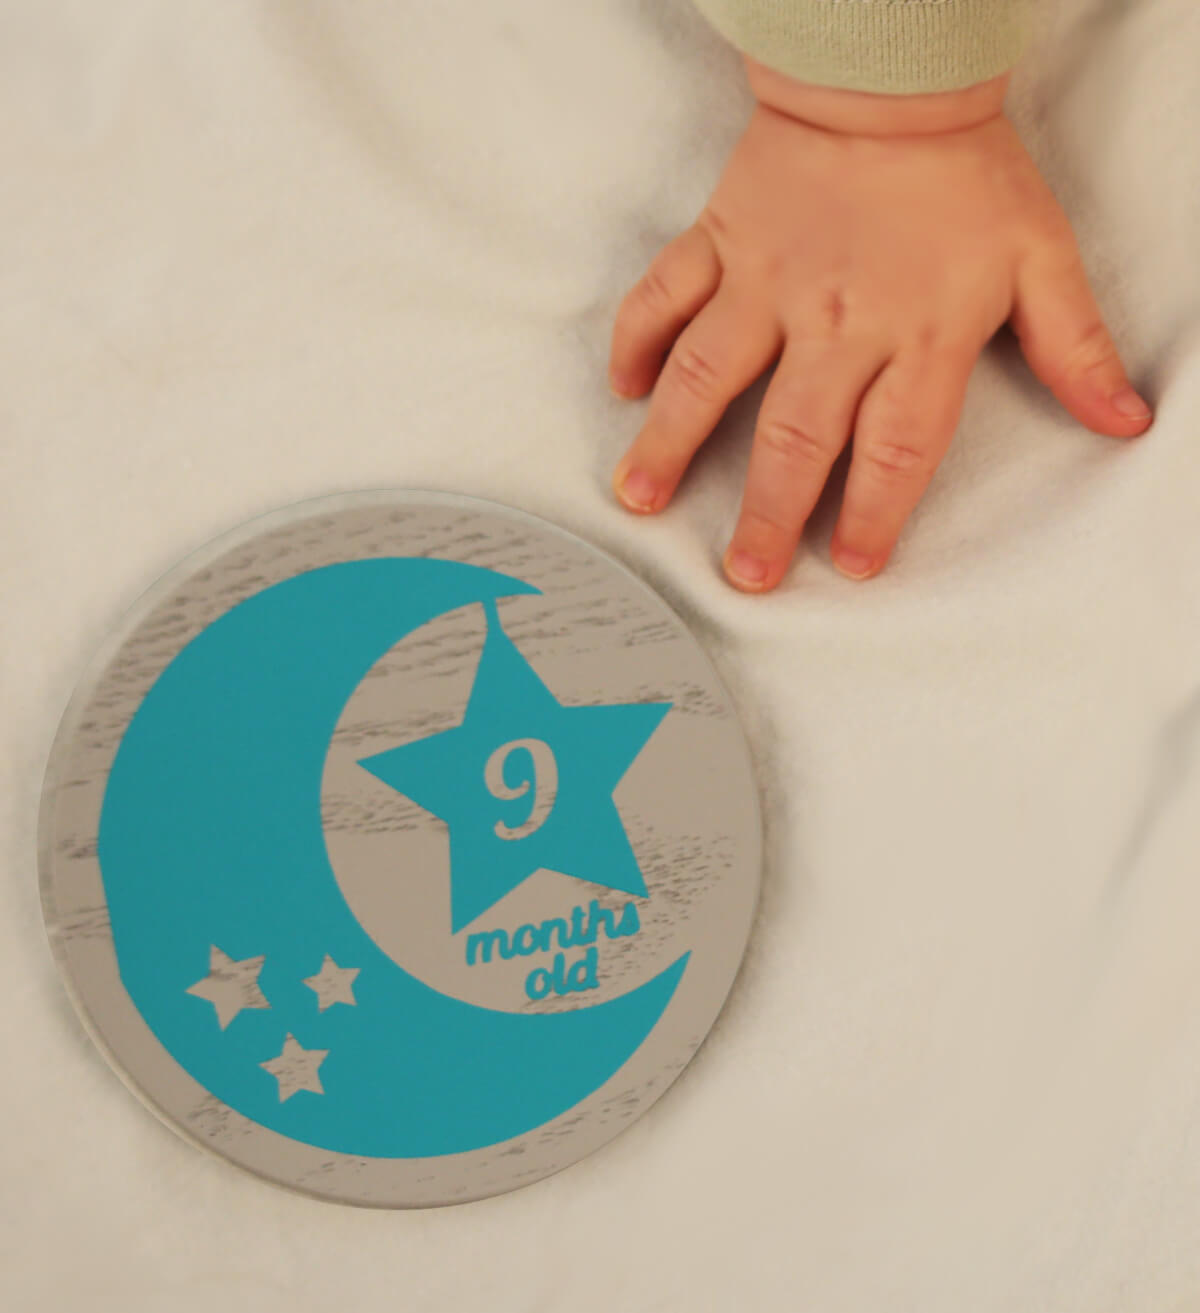
- This then exposes the adhesive side of the sticker. Quickly move the sticker to the desired surface and place the recommended age design in the middle of the coaster or item you used to cut the BabyMilestonesShape SVG. Press down over the sticker very firmly to force the adhesive to tack. The sticker’s own adhesive is much stronger than the masking tape or transfer tape, so once the sticker is applied the tape can be peeled away to reveal the applied sticker.
- Peel off the Transfer Tape to reveal your design.
- Repeat steps 2-13 create the remaining ages as needed.

Free Embroidery Designs
We're excited to offer our free Echidna designs available for download. These free designs are perfect for those at a beginner or an advanced level. Add these designs to your stash and create incredible embroidery!
View all free designs >

Sewing, Quilting and Embroidery Machines
Interested in learning how to sew, quilt or embroider? Take a look at the innovative Brother machines available for purchase at Echidna Sewing. Wherever possible we will beat any deal and you will always receive ongoing service and support!
Find out more >

Learn to Sew or Embroider with Echidna Sewing
Come along to our fun-filled classes to learn more about sewing, embroidery and crafting. Classes cater for all skill levels, whether you're just starting out or already have advanced knowledge.
Find out more >
Echidna project material/ fabric requirements are an indication only and can seem to be generous. This has been intentional. Should you make a cutting or embroidery mistake you will have sufficient fabric to rectify your error.

