All Articles
Self Adhesive Vinyl - How To Guide
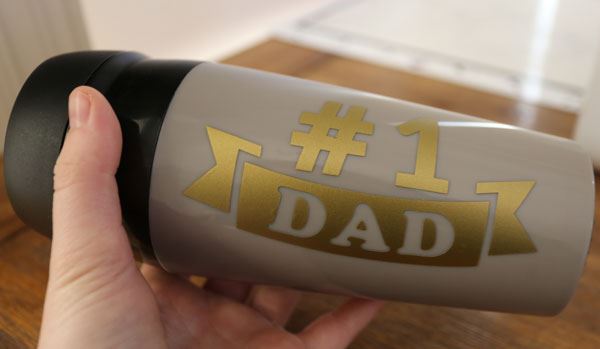
Adhesive vinyl is the perfect media for use on projects with glass, plastic or metal.
Vinyl media is typically made up of 2 layers; the adhesive vinyl itself and a backing sheet. When cutting vinyl on the ScanNCut the blade should only slice through the thin coloured layer, leaving the paper backing intact to hold the design in place.
Vinyl is cut from the front side of the media, so make sure the vinyl is facing up when applying to the mat.
NOTE: Adhesive vinyl is NOT dishwasher safe due to the high temperatures so hand wash only is recommended.
Preparing your project surface
Make sure your project surface is completely clean and dry before you start your project. Grease and dirt can prevent adhesive vinyl from achieving maximum strength. Often soapy water, methylated spirits (or rubbing alcohol) and a microfiber cloth will be effective at cleaning most surfaces.
Cutting Adhesive Vinyl on the Brother ScanNCut
- Download the ScanNCut files for your project and save these onto a USB to plug directly into your ScanNCut machine or if you have a custom artwork file (.svg) upload this to ScanNCut CanvasWorkspace, edit as necessary and send it to your machine via Wireless.
- Install the Standard ScanNCut Blade into your ScanNCut by following the steps outlined in your machines quick reference guide.
- Place a piece of vinyl in your chosen colour onto a Standard tack mat in the top left-hand corner, making sure it is large enough for the required design. Ensure the media is stuck to the mat the correct way up, using a brayer/roller may be helpful.
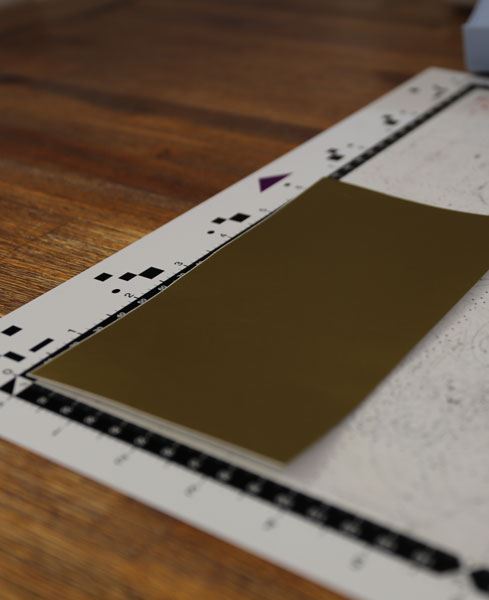
- Load the mat into the ScanNCut by following the steps outlined in your machines quick reference guide (remember to hold the mat level while loading)
- Load the design from either the USB (2) or via CanvasWorkspace using your Wireless connection (3) depending on which method you selected in Step 1.
Note: There is no need to flip the design when using adhesive vinyl.
- Do a scan of the mat to ensure that the design does not go over the edge of the mat and is within the vinyl.
- We suggest doing a test cut to ensure you have your settings correct for the media you are using. On the main screen choose the ‘test’ button. We usually use the ‘triangle’ test and place it towards the edge of the media so that you can check if the cut was correct.
SDX Settings: The SDX models feature a ‘Half Cut’ setting. We recommend using this setting with adhesive vinyl so that it will cut through the first layer and ensure the backing layer remains intact. The thickness of the vinyl can vary so you may find you need to adjust the ‘Cut Pressure’ for the ‘Half Cut’ setting.
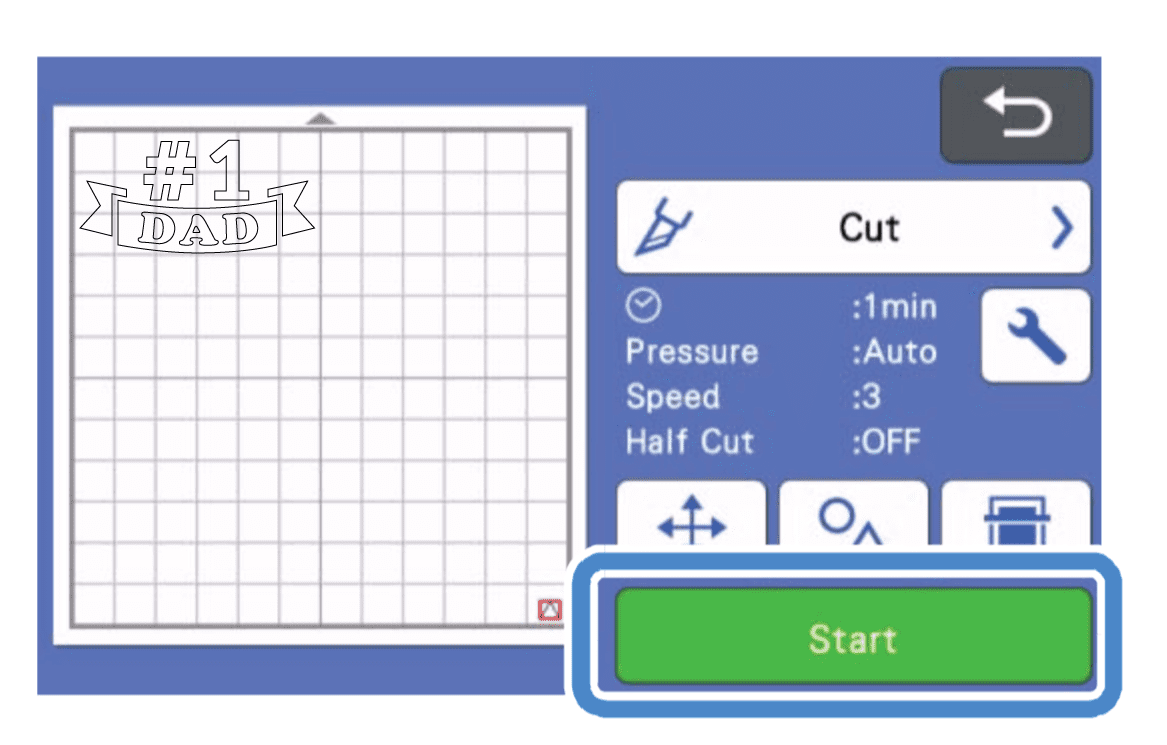
- Once you have the design lined up on the media, choose the ‘cut’ option and select ‘Start’ or press play to cut out your design.
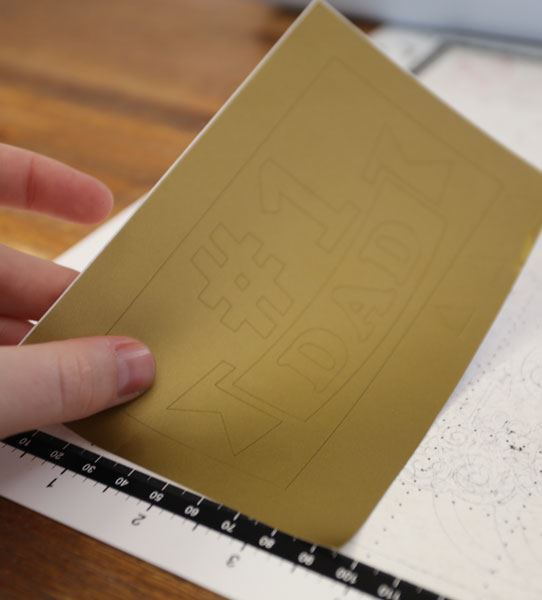
- Once the machine has completed cutting the design, unload the mat from the ScanNCut and gently peel off the vinyl sheet off as a whole.
- Starting from one corner of the media, peel the coloured layer away from the backing (also known as ‘weeding’). Use the spatula and hook set, tweezers or fine scissors may be helpful to get you started.

- Keep peeling the unwanted sections away, leaving the finished design stuck to the backing.
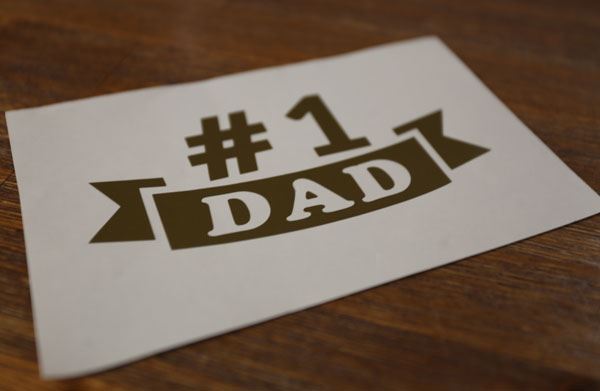
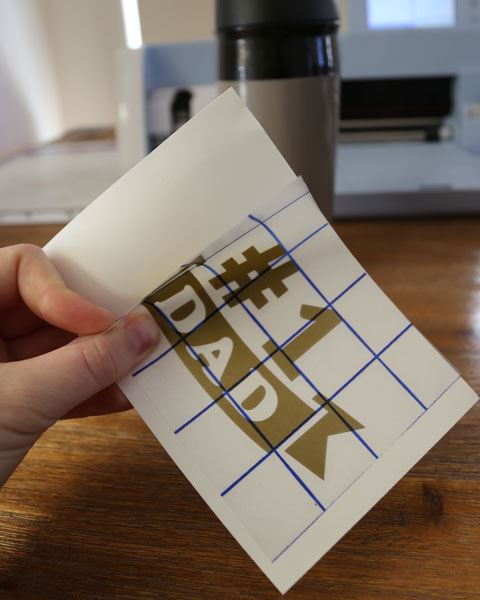
- To remove the sticker from its backing, cut a piece of Transfer Paper large enough to cover your design. Alternatively, you can use masking tape.
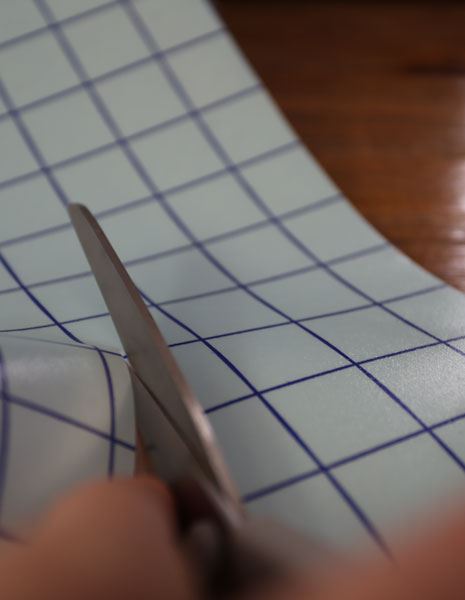
- Peel off the grid side of the Transfer paper. Grid Transfer paper is perfect for this type of application as it will allow you to get the words straight.
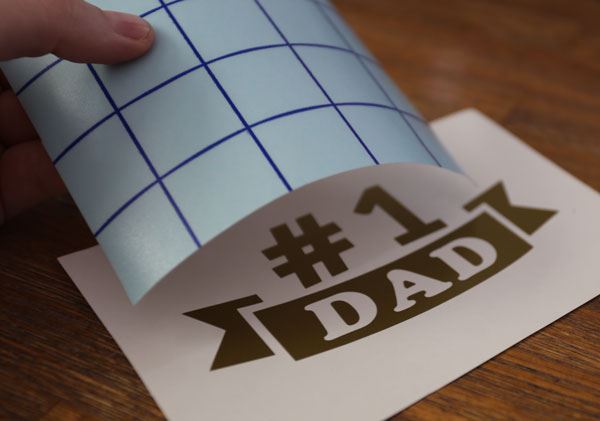
- Place the transfer paper over the cut-out vinyl ensuring all the vinyl is covered. Gently rub the transfer paper whilst on the vinyl.
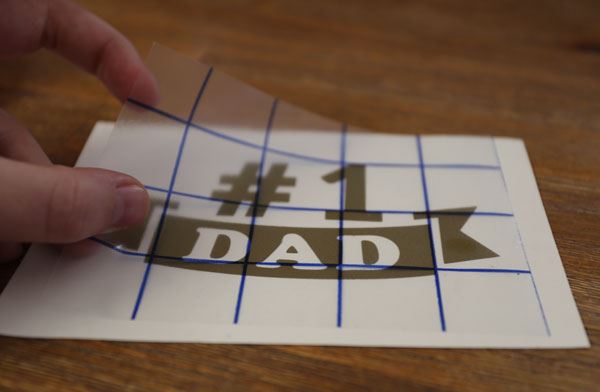
- Gently start peel off the sticker backing. The sticker should lift off with the tape. If not, lay the tape down again and press firmly again. You want your design to stick to the tape so you may need to give it a rub as you go.
- This then exposes the adhesive side of the sticker. Quickly move the sticker to the desired surface.
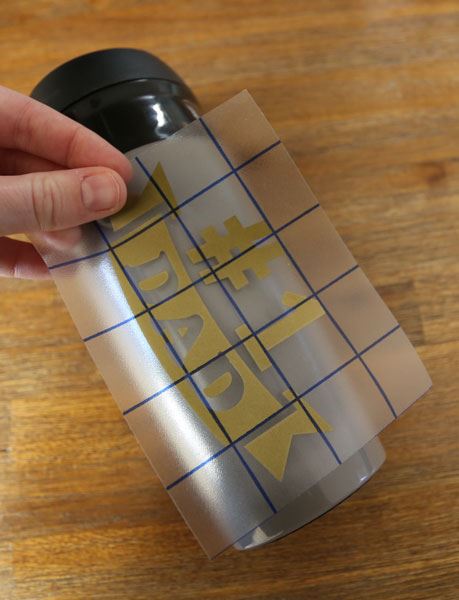
- Place the design on the desired clean hard surface (refer to preparing your project surface) and press down over the sticker very firmly to force the adhesive to tack. The sticker’s own adhesive is much stronger than the masking tape or transfer paper, so once the sticker is applied the tape can be peeled away to reveal the applied sticker.
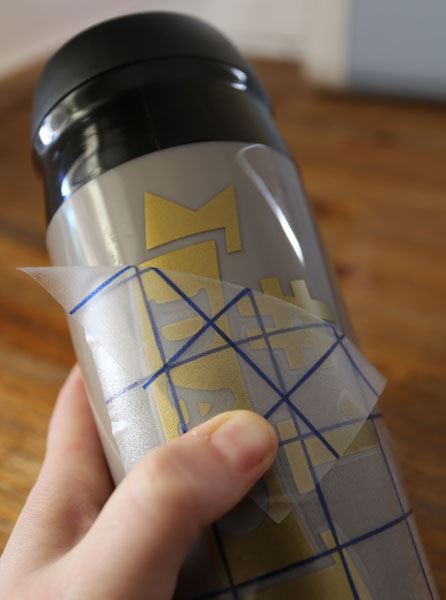
- You're done!