All Projects


Simple Embroidery Applique Letter
Author: Nicole H
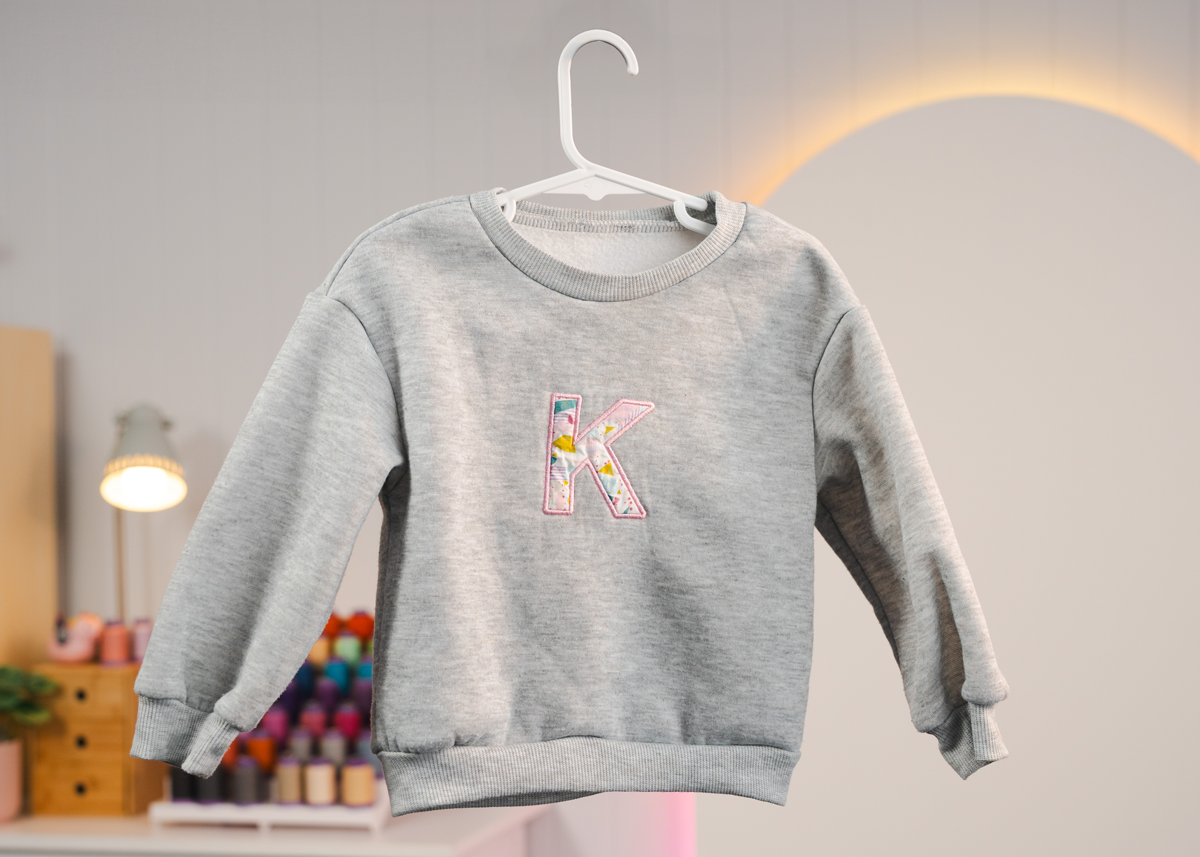
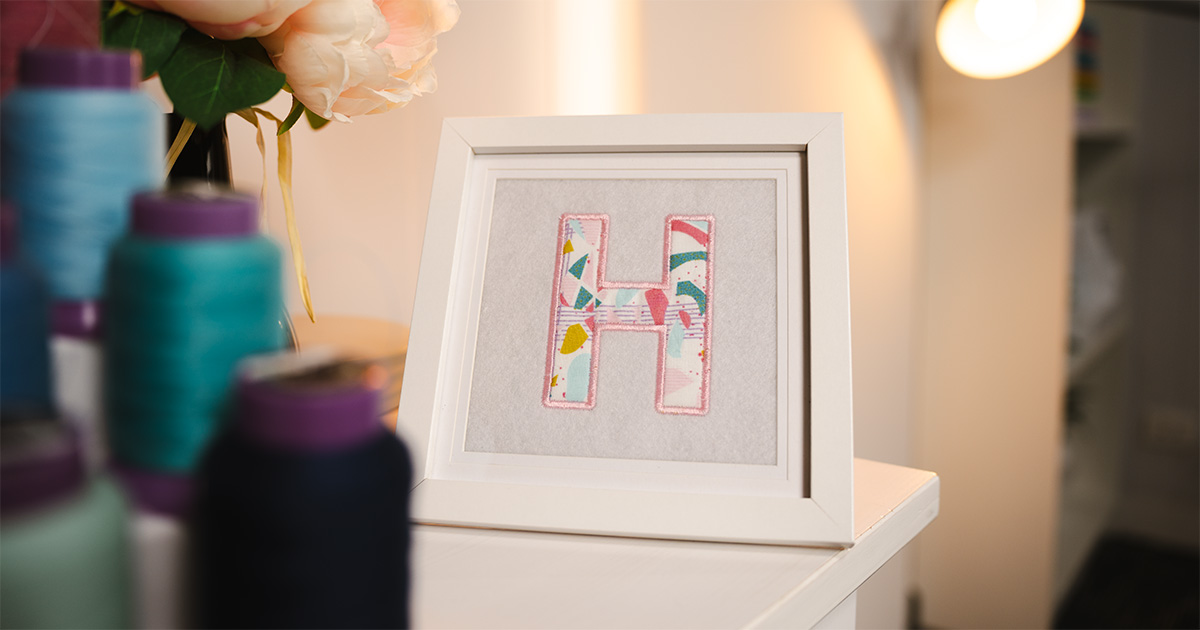
Create a personalised piece of embroidery art with a simple appliqué letter! This beginner-friendly project is a creative way to turn a single initial into a bold, decorative design, perfect for gifting, home décor, or adding a personal touch to any space. By combining fabric and embroidery, you’ll create a layered, textured result that feels both modern and handmade.
In this tutorial, you’ll learn how to design and stitch a clean appliqué letter using Hatch Digitizer, then present it as a finished piece ready for display. While we’ve used Hatch Digitizer for this project, the same approach can be followed using other digitizing software or pre-made appliqué designs.
What You Need
- Embroidery Machine with 100mm x 100mm Hoop (4”x4”)
- Hatch Digitizing Software
- White Wool Felt Fabric
- Appliqué Fabric
- 15cm x 15cm Photo frame (to fit a 13cm x 13cm picture)
- Matching Embroidery Thread
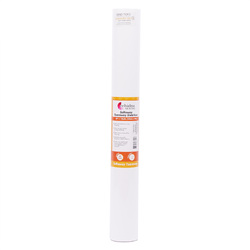
- Softaway Tearaway Stabilizer
- Embroidery Needles
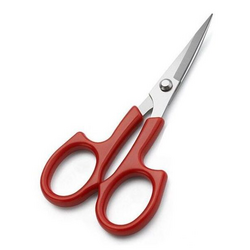
- Appliqué Scissors
- Pre-wound Bobbins
- Mini Iron
- Patchwork Ruler
- Rotary Cutter
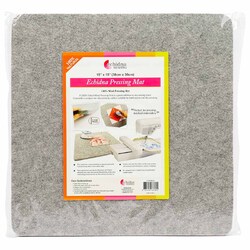
- Wool Pressing Mat
- Double-sided Tape
- Frixion Pen
- [Optional] Shape to Create
Shop Online


Step Overview
Create Appliqué in Hatch
-
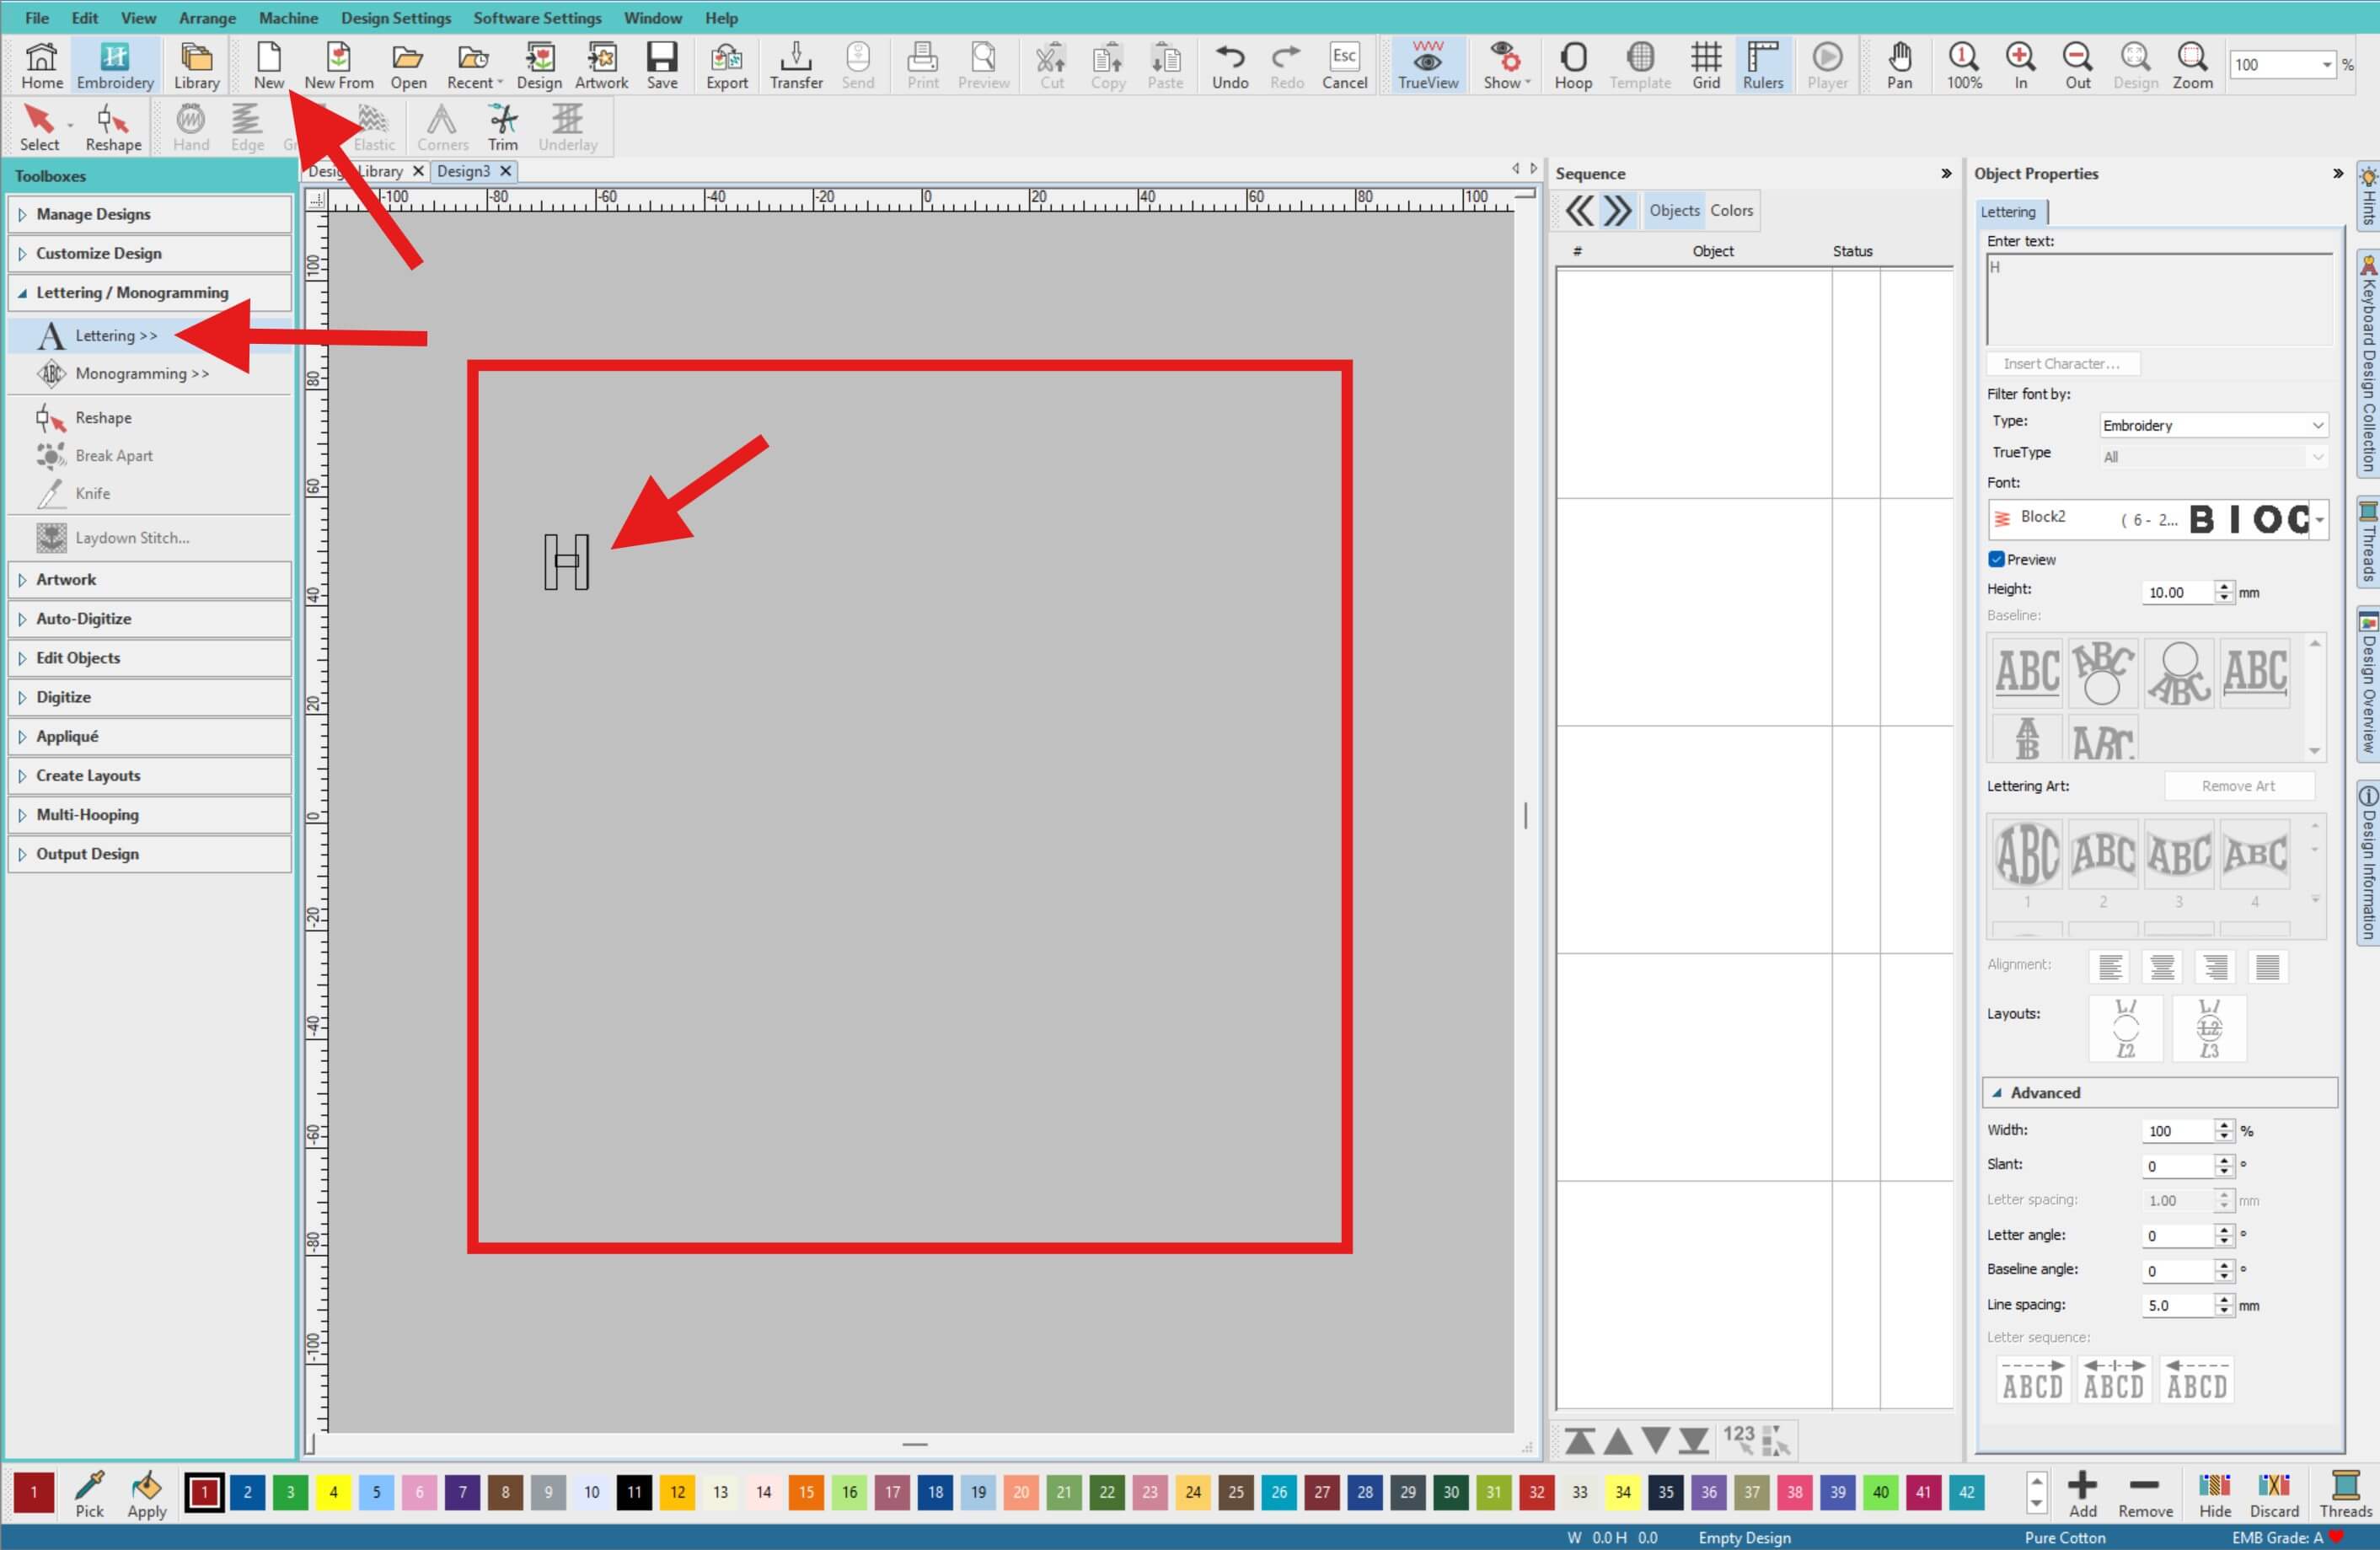
Open Hatch and create a New Document.
-
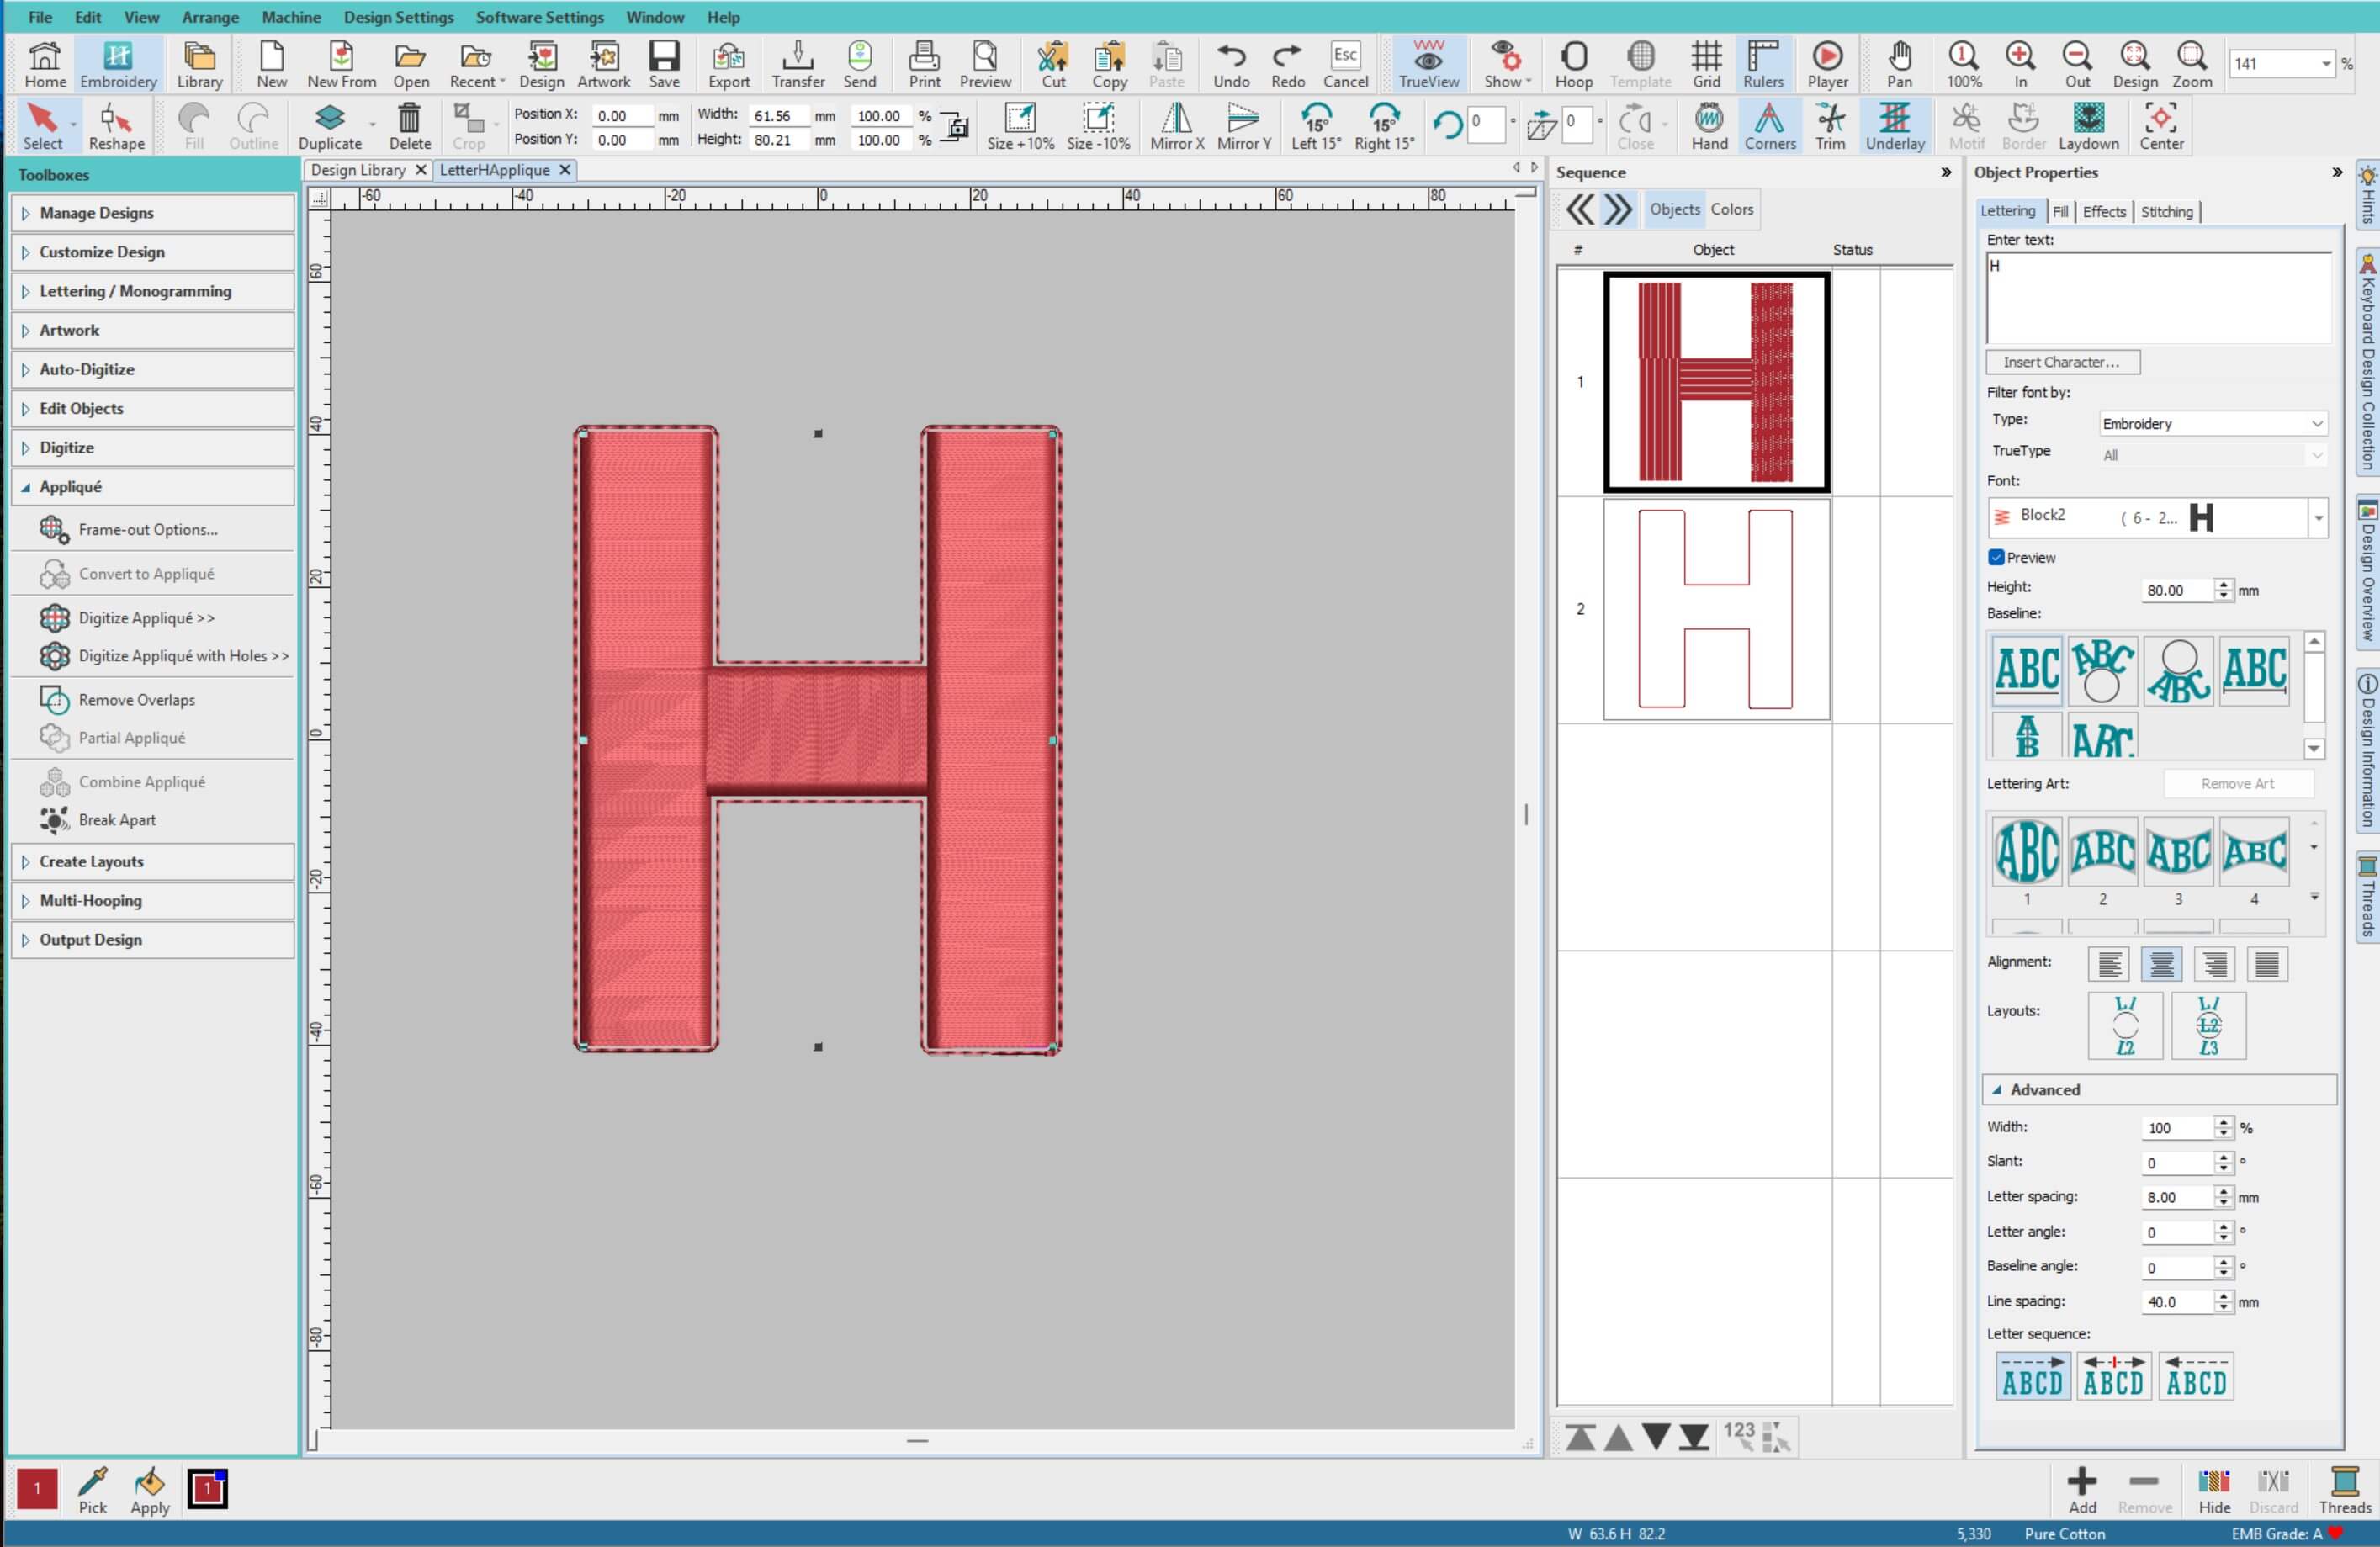
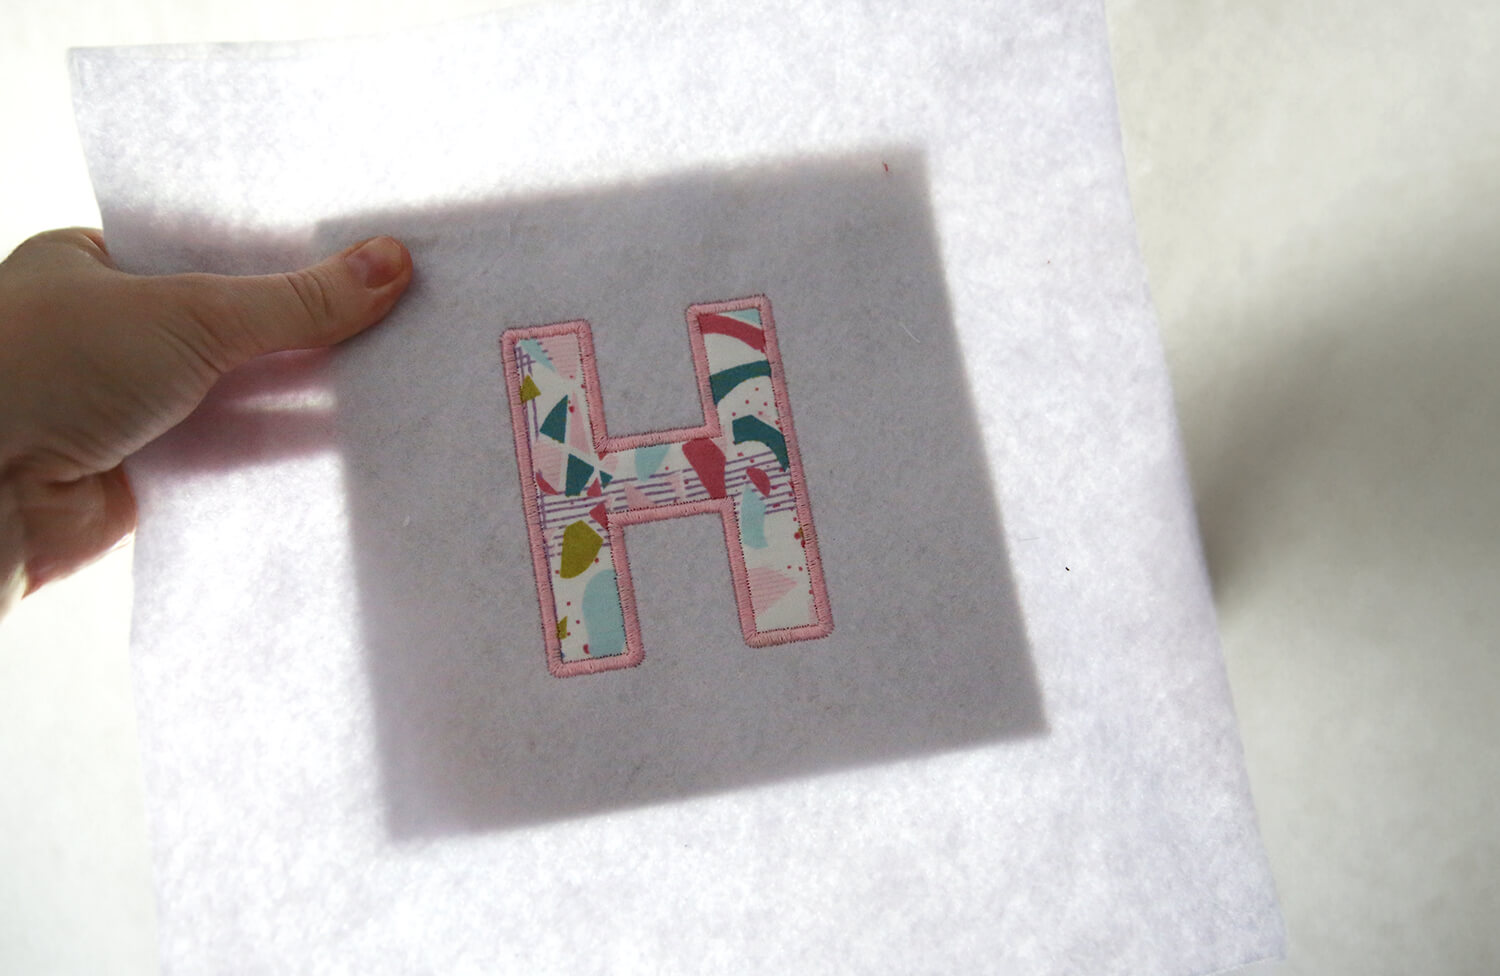
From the left toolbar, select Lettering / Monogramming > Lettering, then click on the Workspace (Design Area) to place your text cursor and type your desired letter. For this project, we will be using a capital letter H.
-
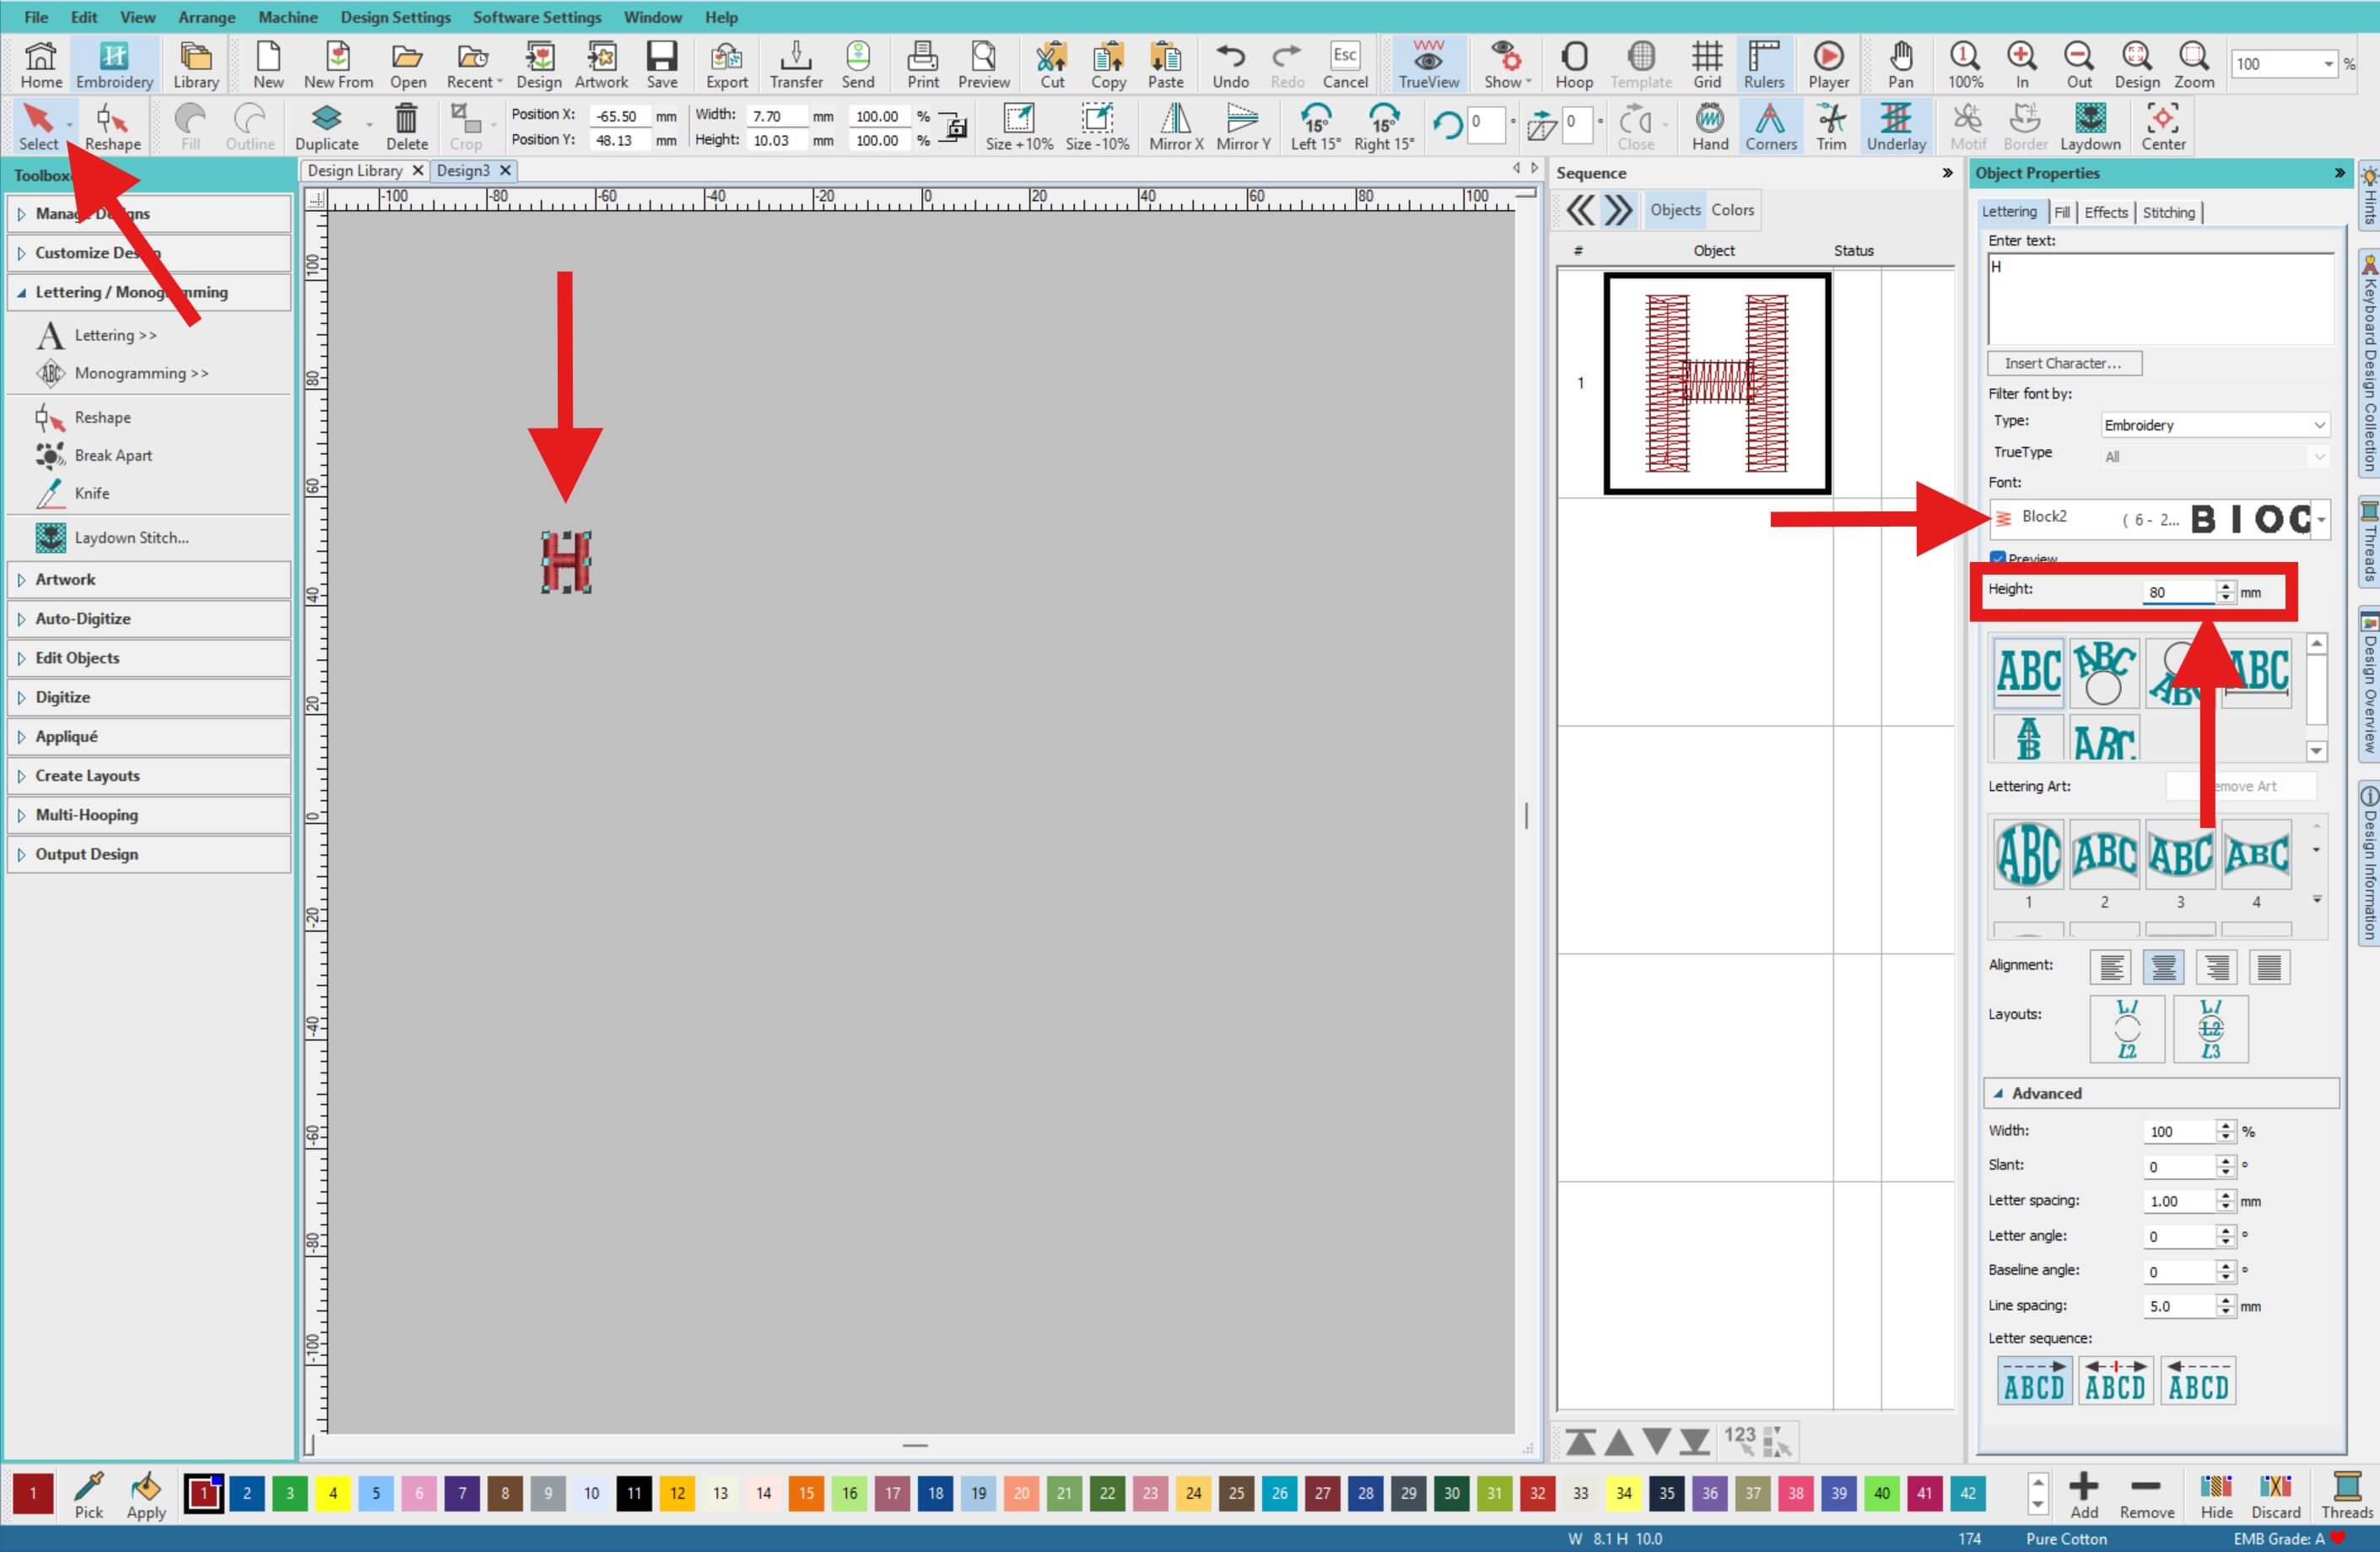
Choose the Select tool (or Keyboard Shortcut: O) and select your letter. In the Object Properties panel on the right, choose the font Block 2 and set the Height to 80 mm. (Adjust the size if needed depending on your project.)
-
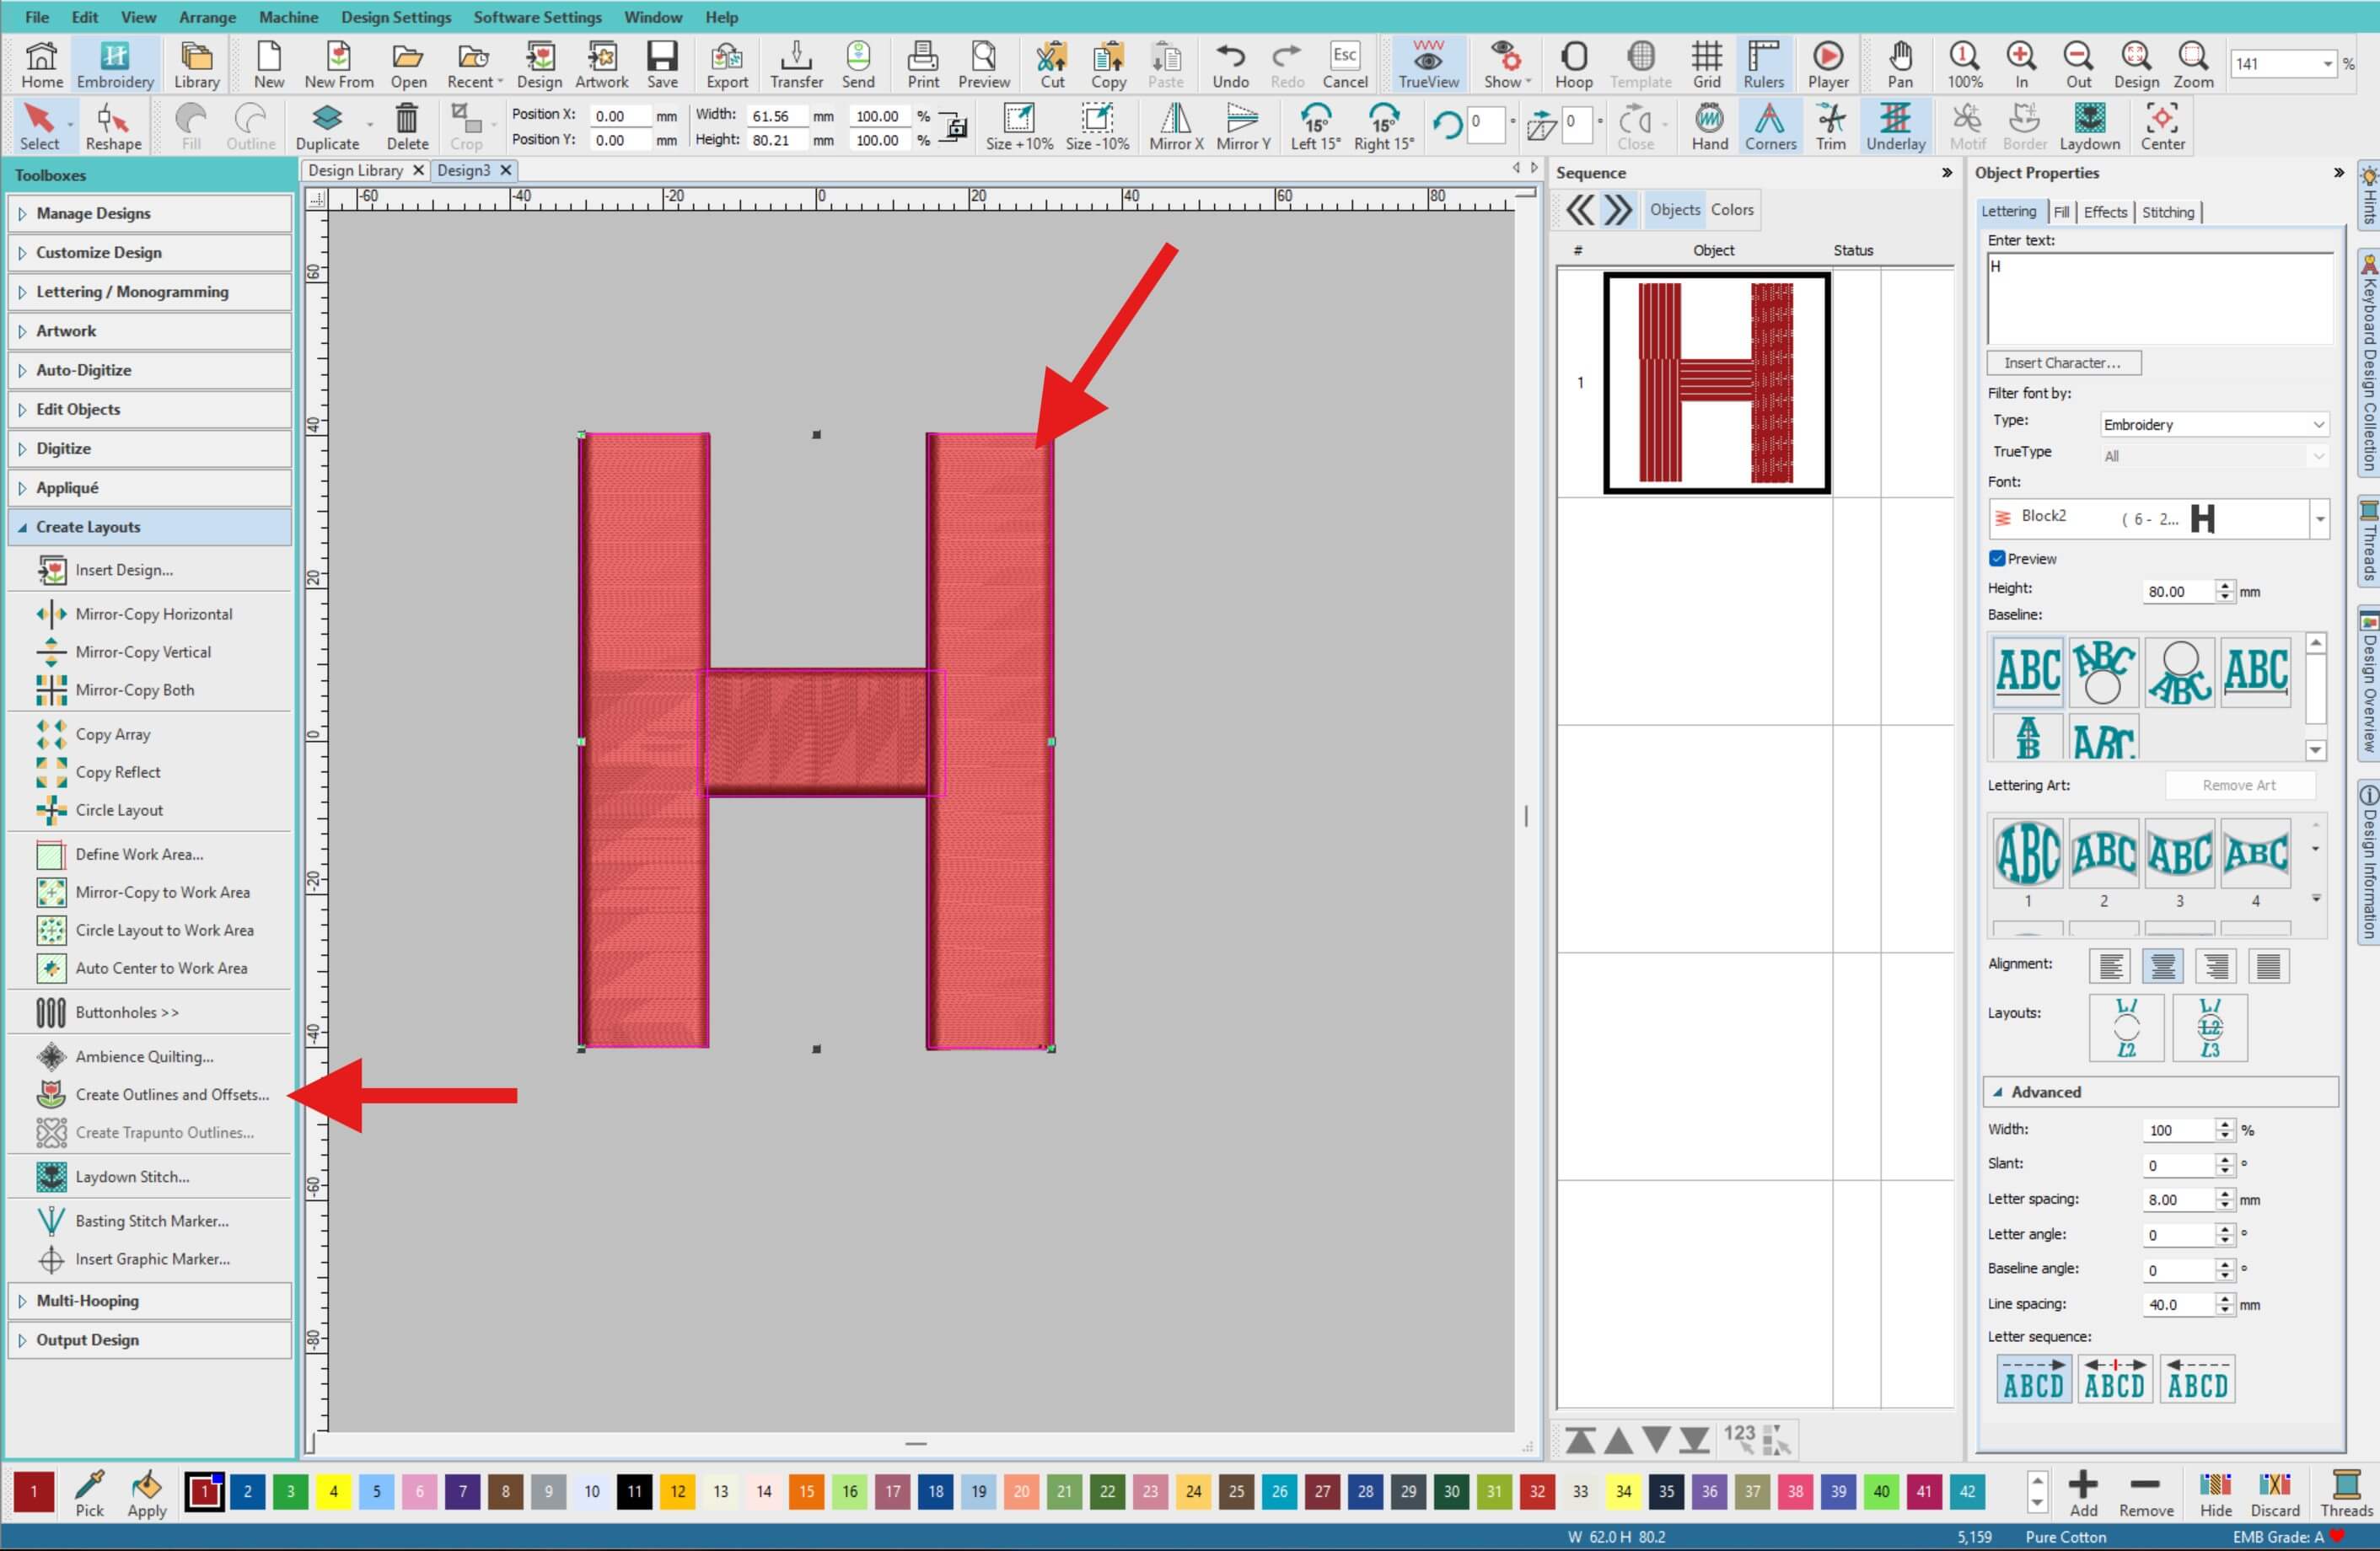
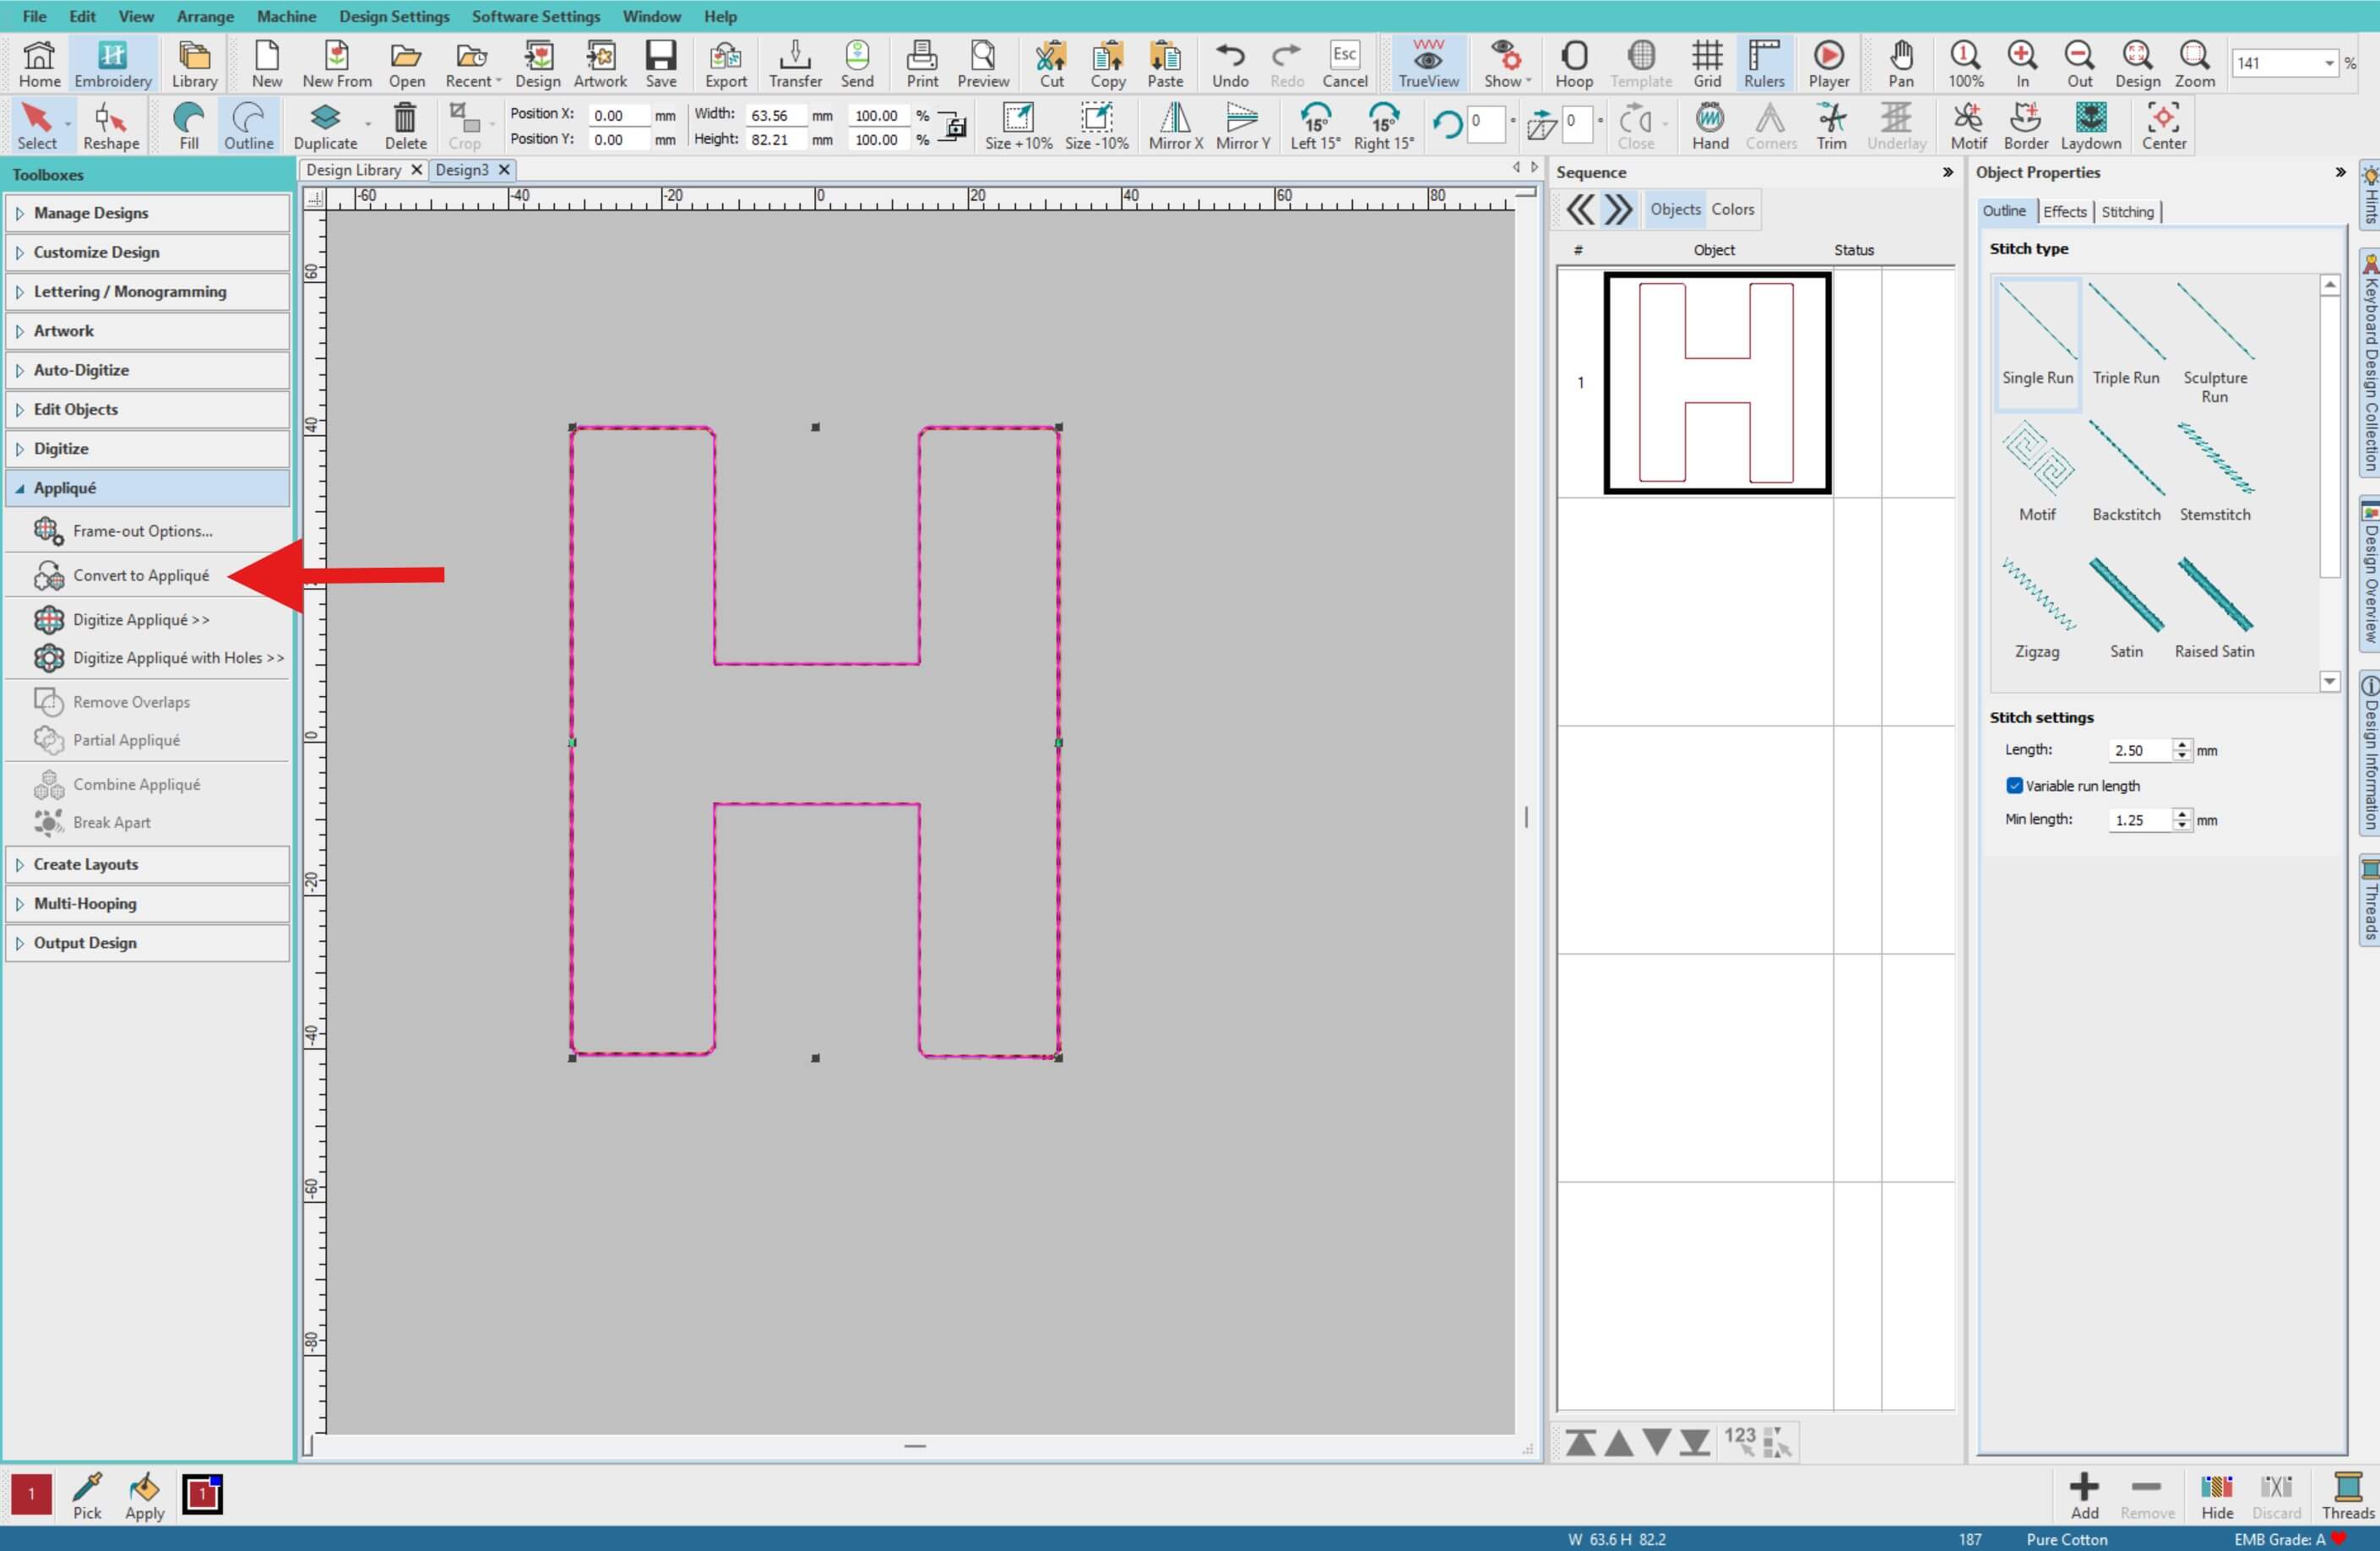
Click on the letter in the Workspace. From the left menu, go to Create Layouts > Create Outlines and Offsets.
-
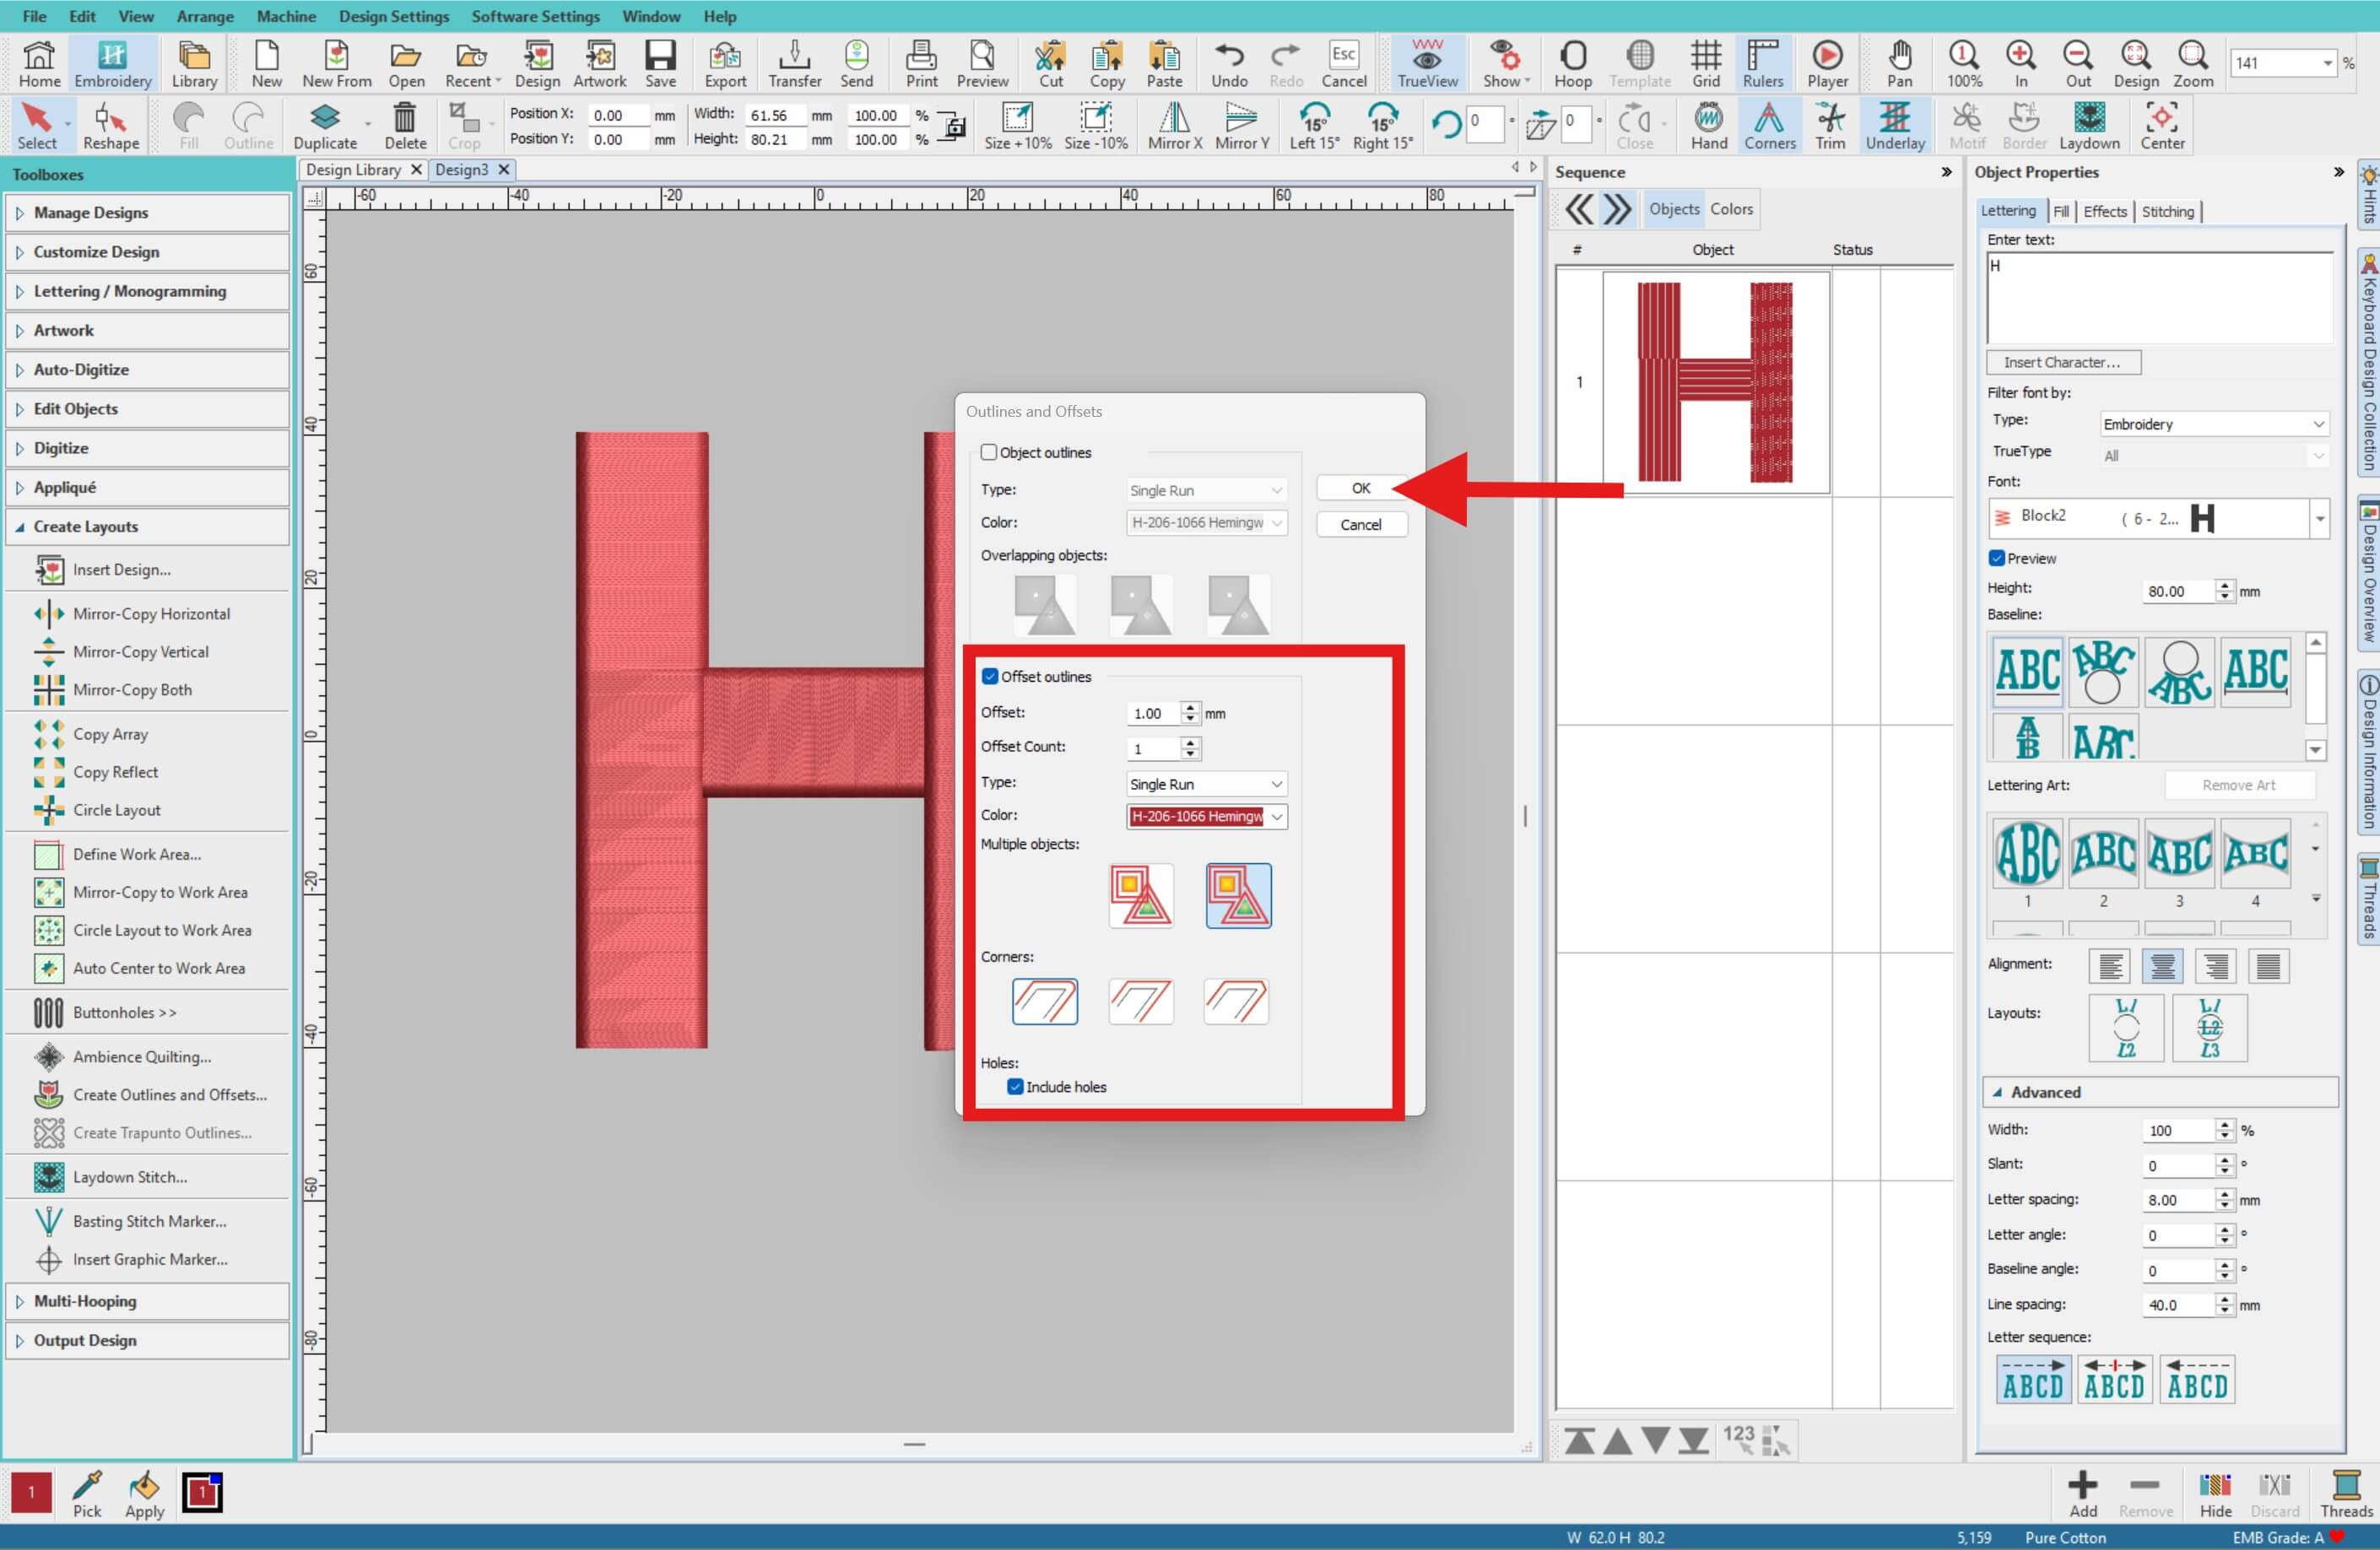
In the settings window, use the following:
- Offset: 1.0 mm
- Offset Count: 1
- Type: Single Run
- Colour: Any
- Multiple Objects: Common Offsets
- Corners: Rounded
- Holes: Include holes (ticked)
Then click OK.
-
This creates a clean outline of your letter, which will be used for the appliqué shape.
-
Delete the original letter object. We only want the outline, as this defines the fabric placement for the appliqué.

-
Select the outline. From the left menu, choose Appliqué > Convert to Appliqué.
-
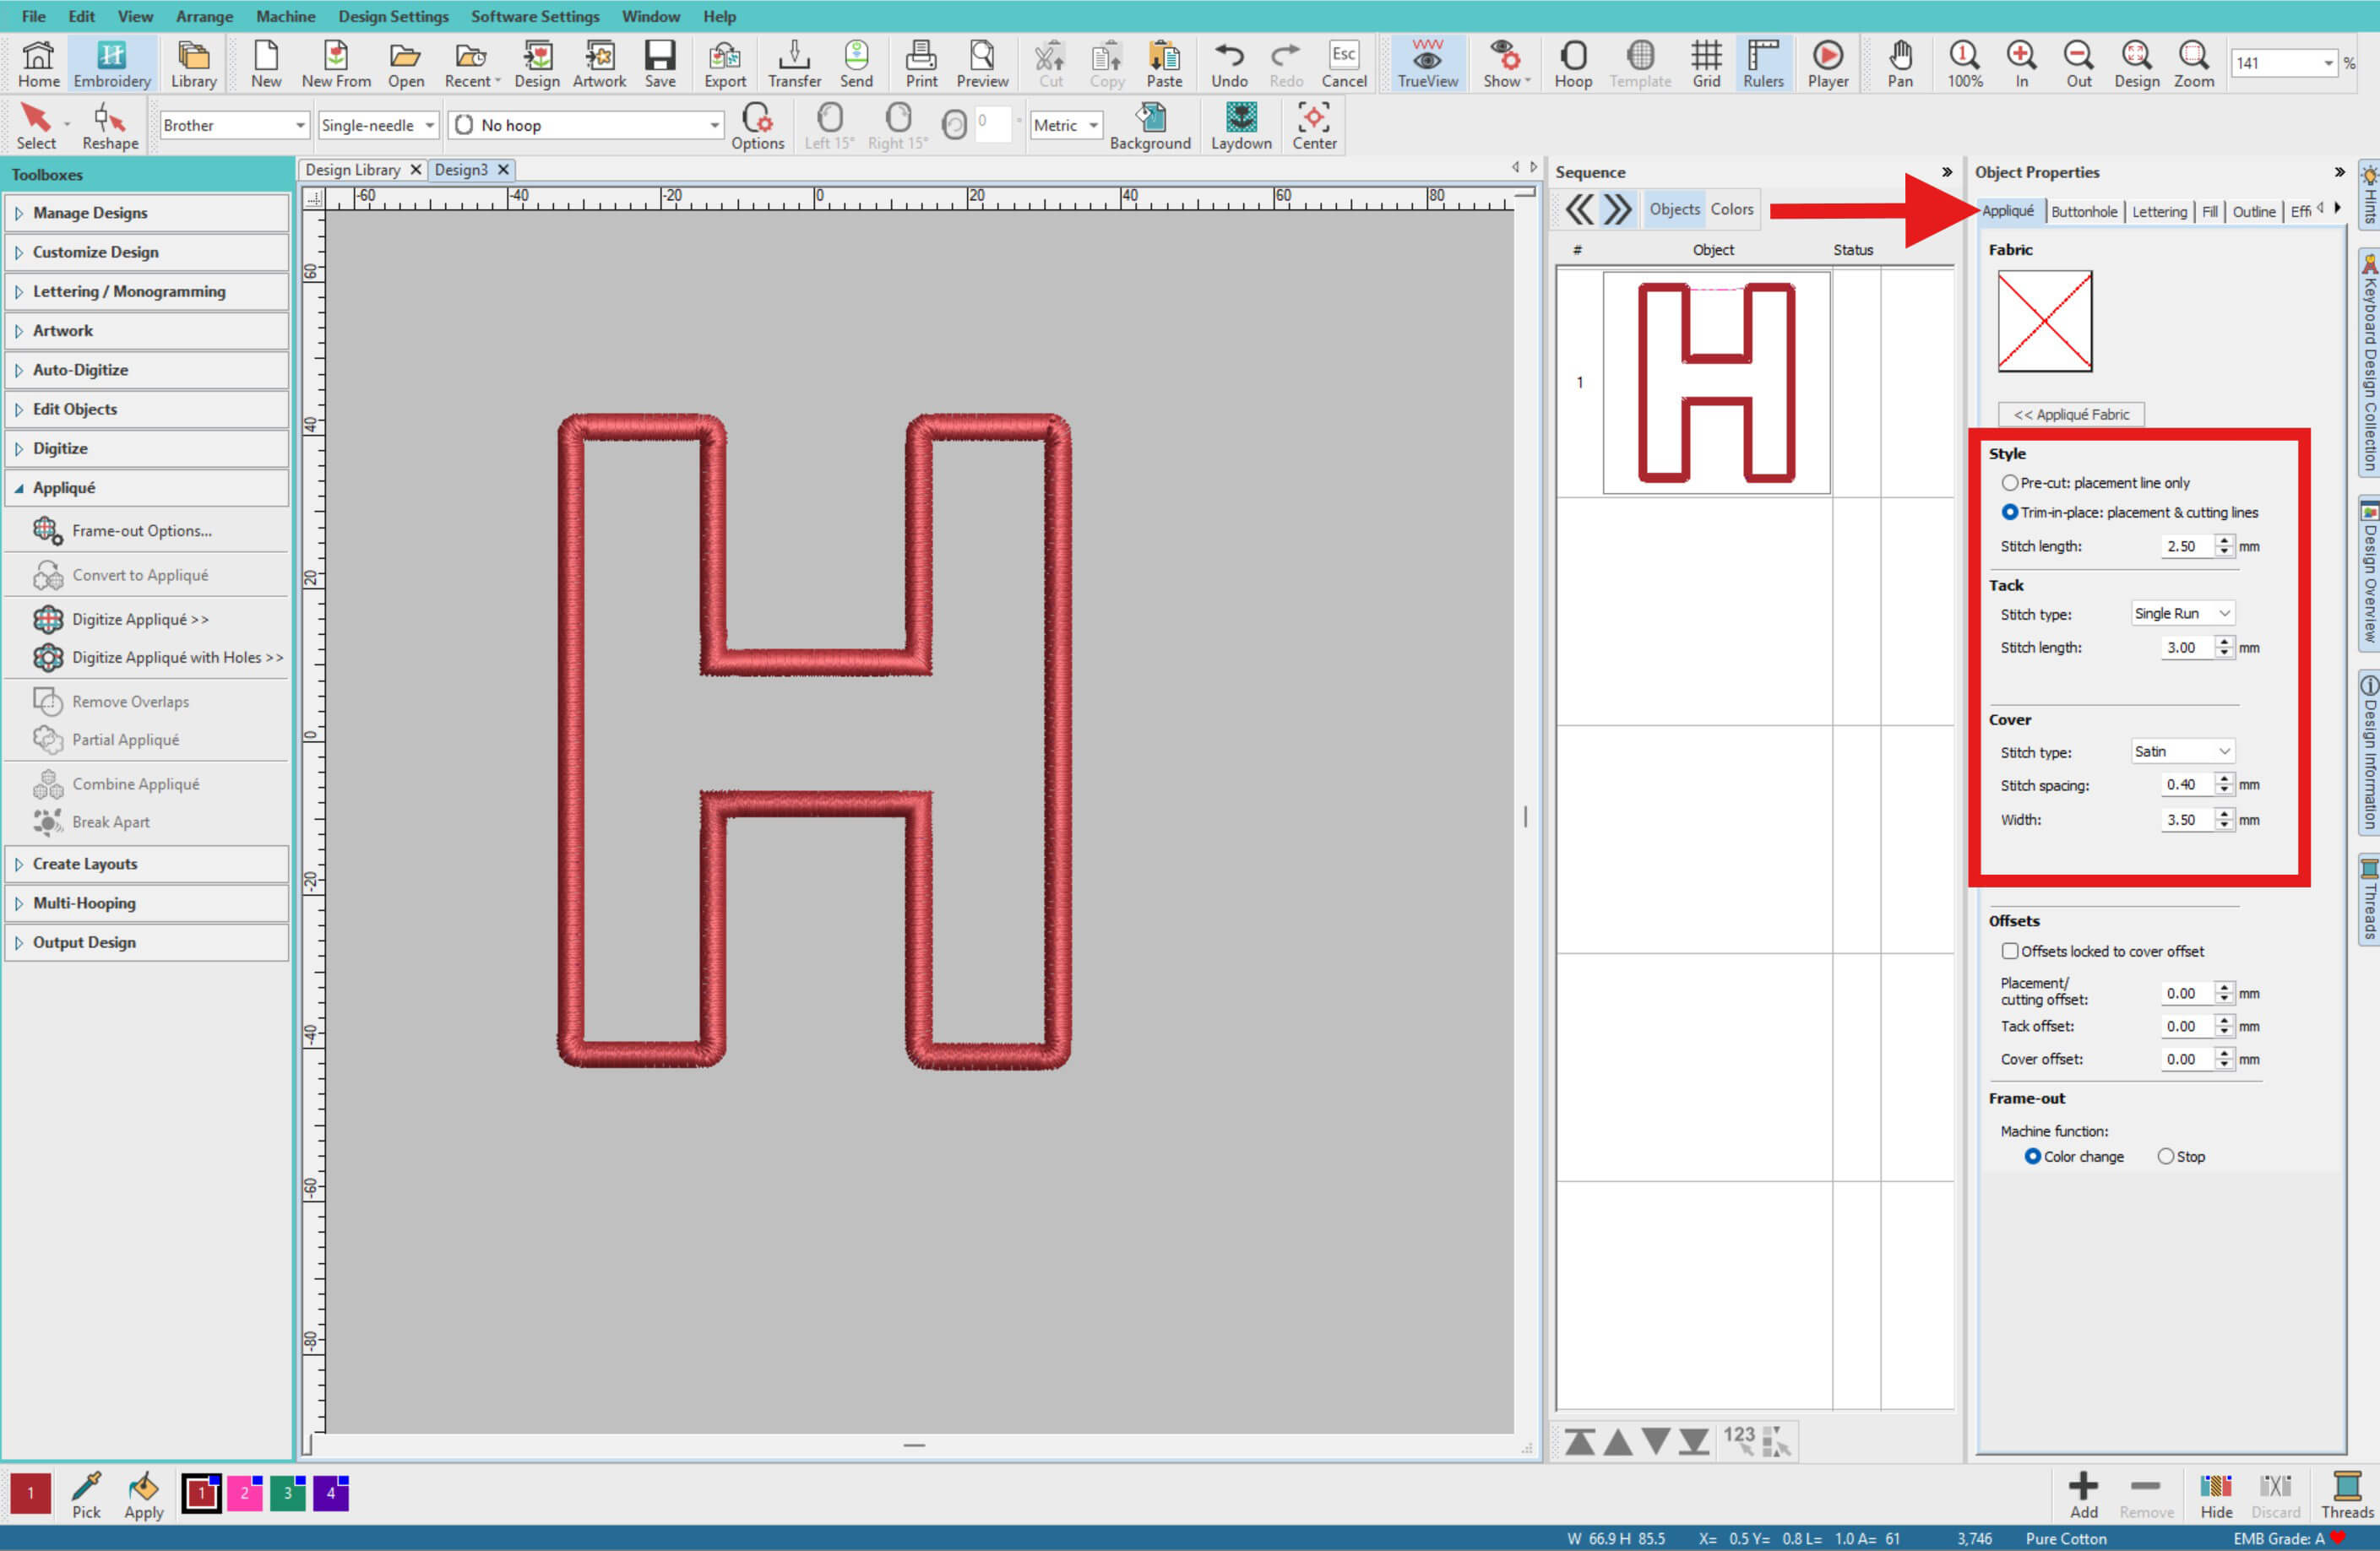
In the appliqué settings, choose your options. For this project, we used:
Style:- Trim in place
- Stitch Length: 2.5mm
Tack:- Stitch Type: Single Run
- Stitch Length: 3
Cover:- Stitch Type: Satin
- Spacing Spacing: 0:40
- Width: 3.5mm
-
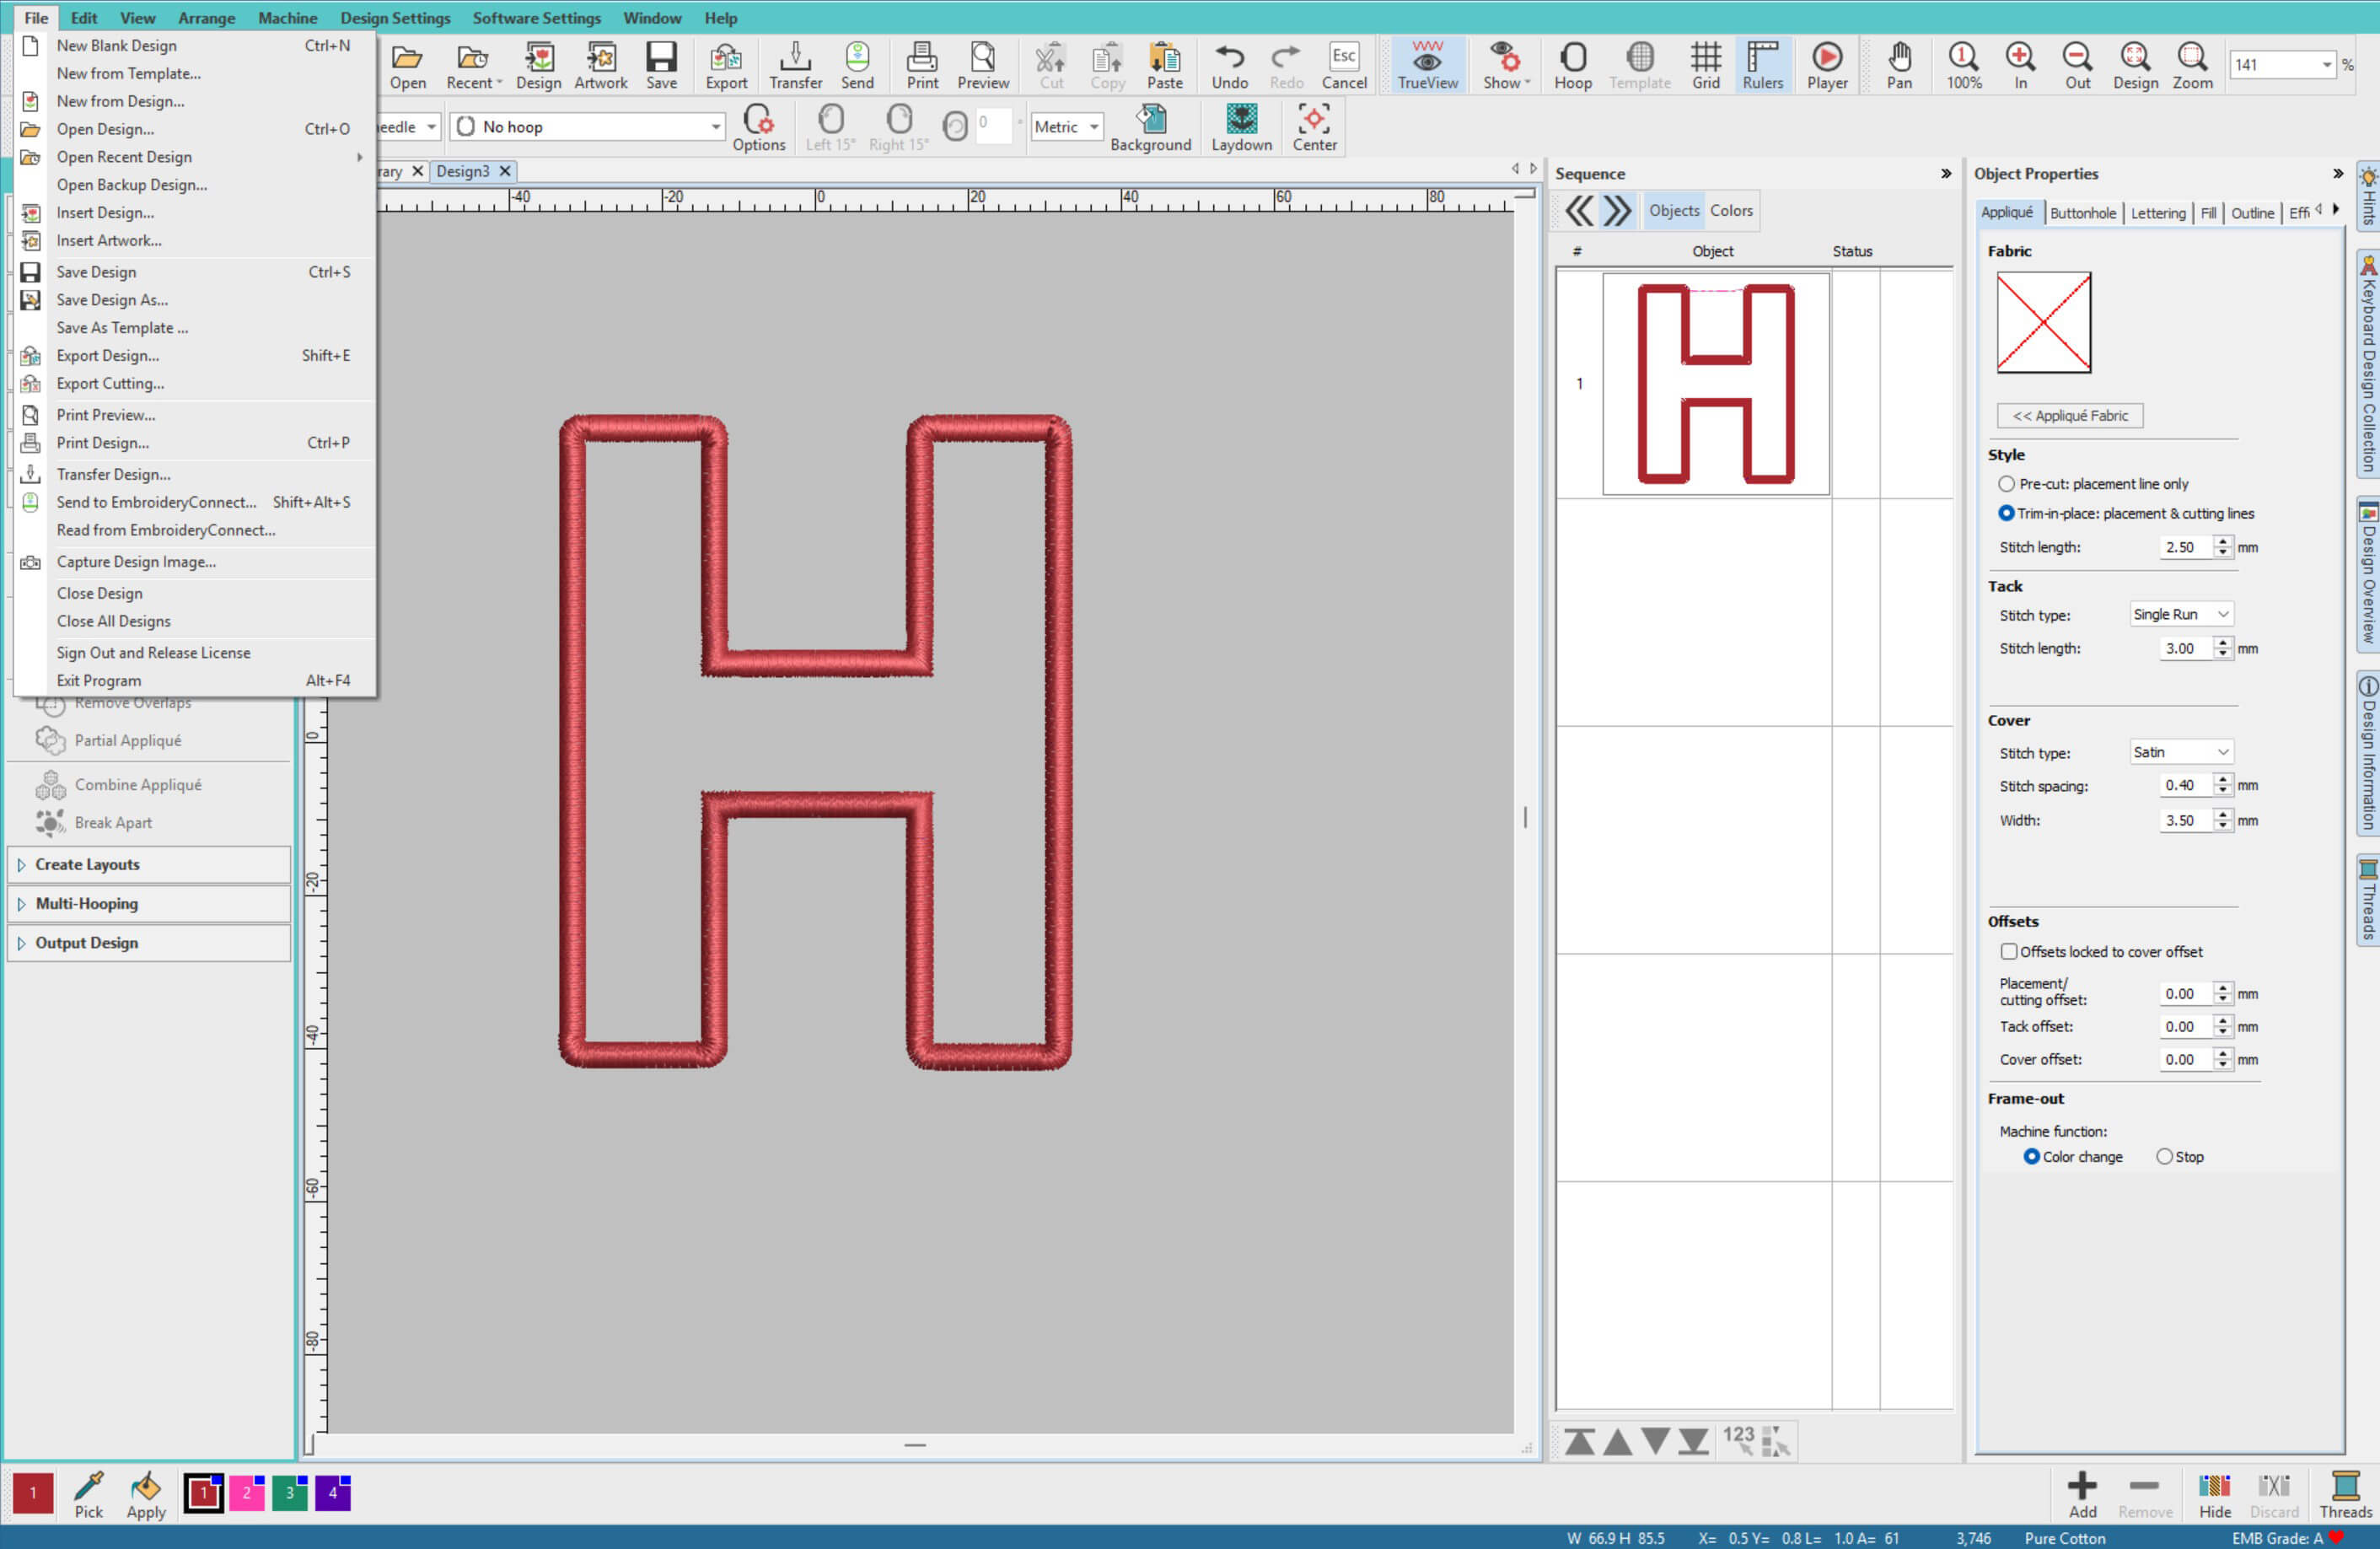
Save your design via File > Save Design As, then export it to your machine format. If you are unsure how to do this Hatch has a great article. View article →
Prepare Your Fabric
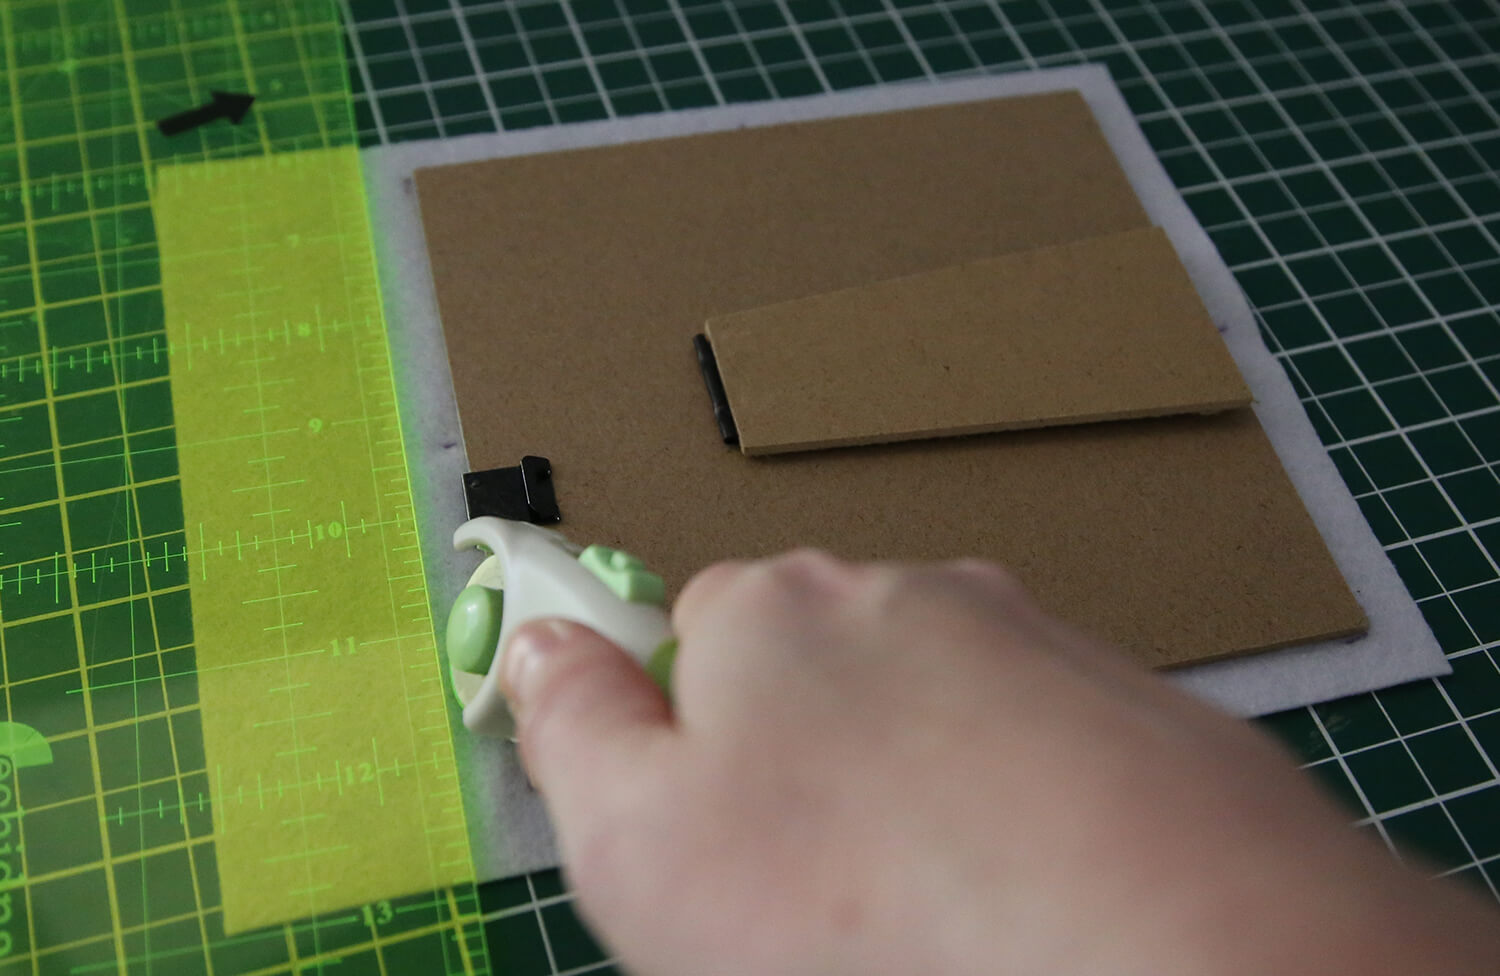
-
Carefully remove the backing board and mat board (border insert) from your photo frame.
-
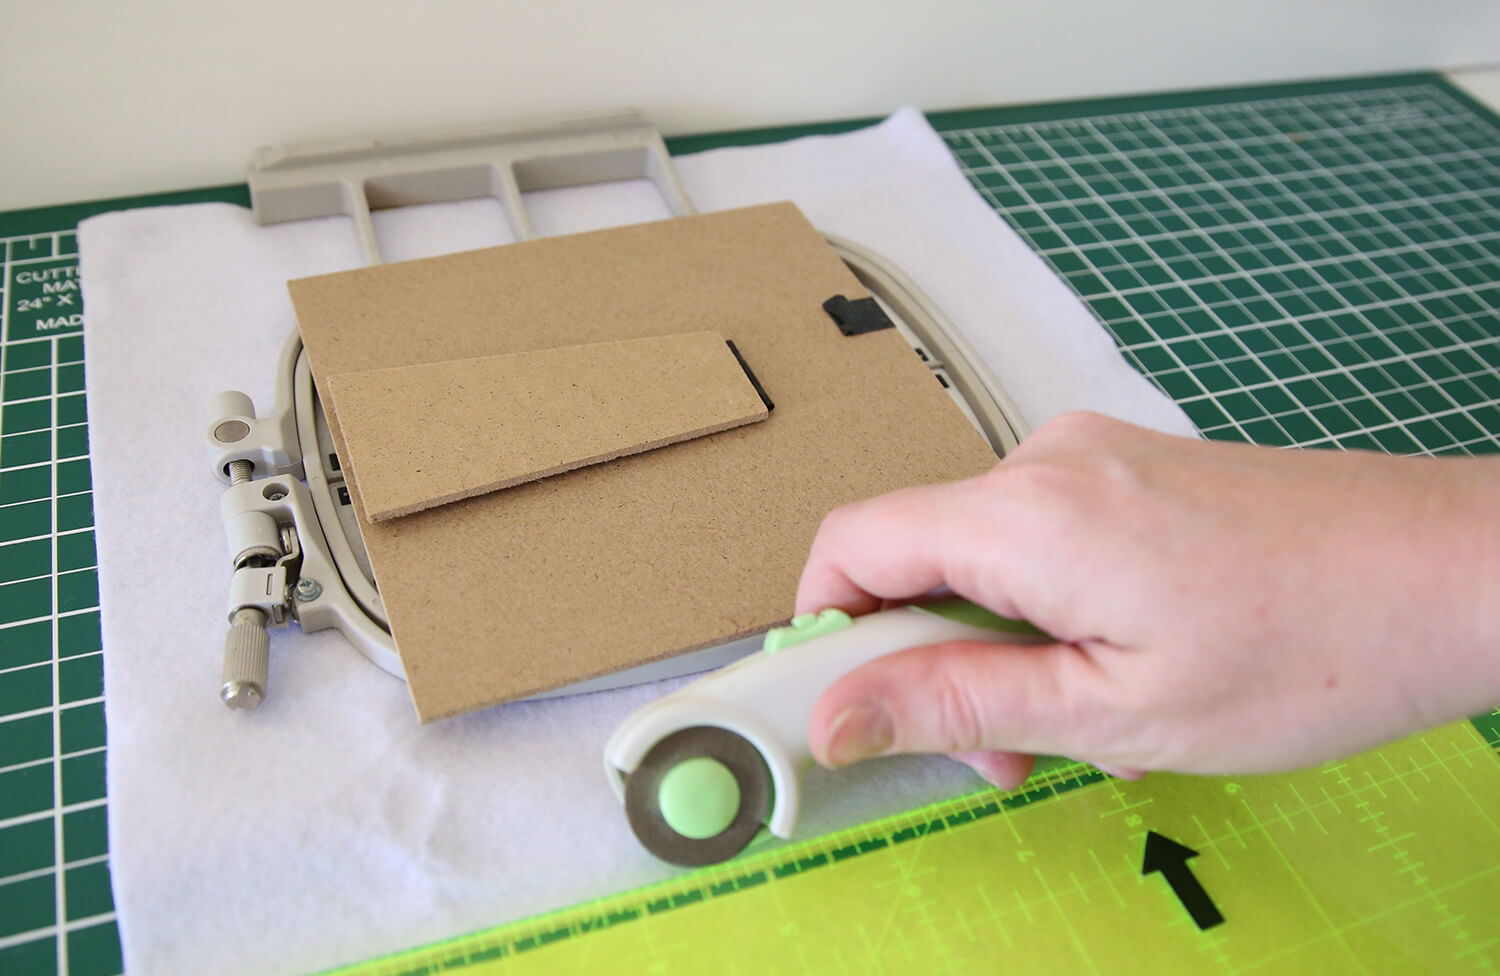
Cut your white wool felt slightly larger than your embroidery hoop size. A helpful tip is to place your picture frame over the embroidery hoop first so you can check that the felt will fit both the hoop and the frame once completed. For this project, we cut approximately 50 mm (2") larger around the frame size to allow enough excess for framing and hooping.
-
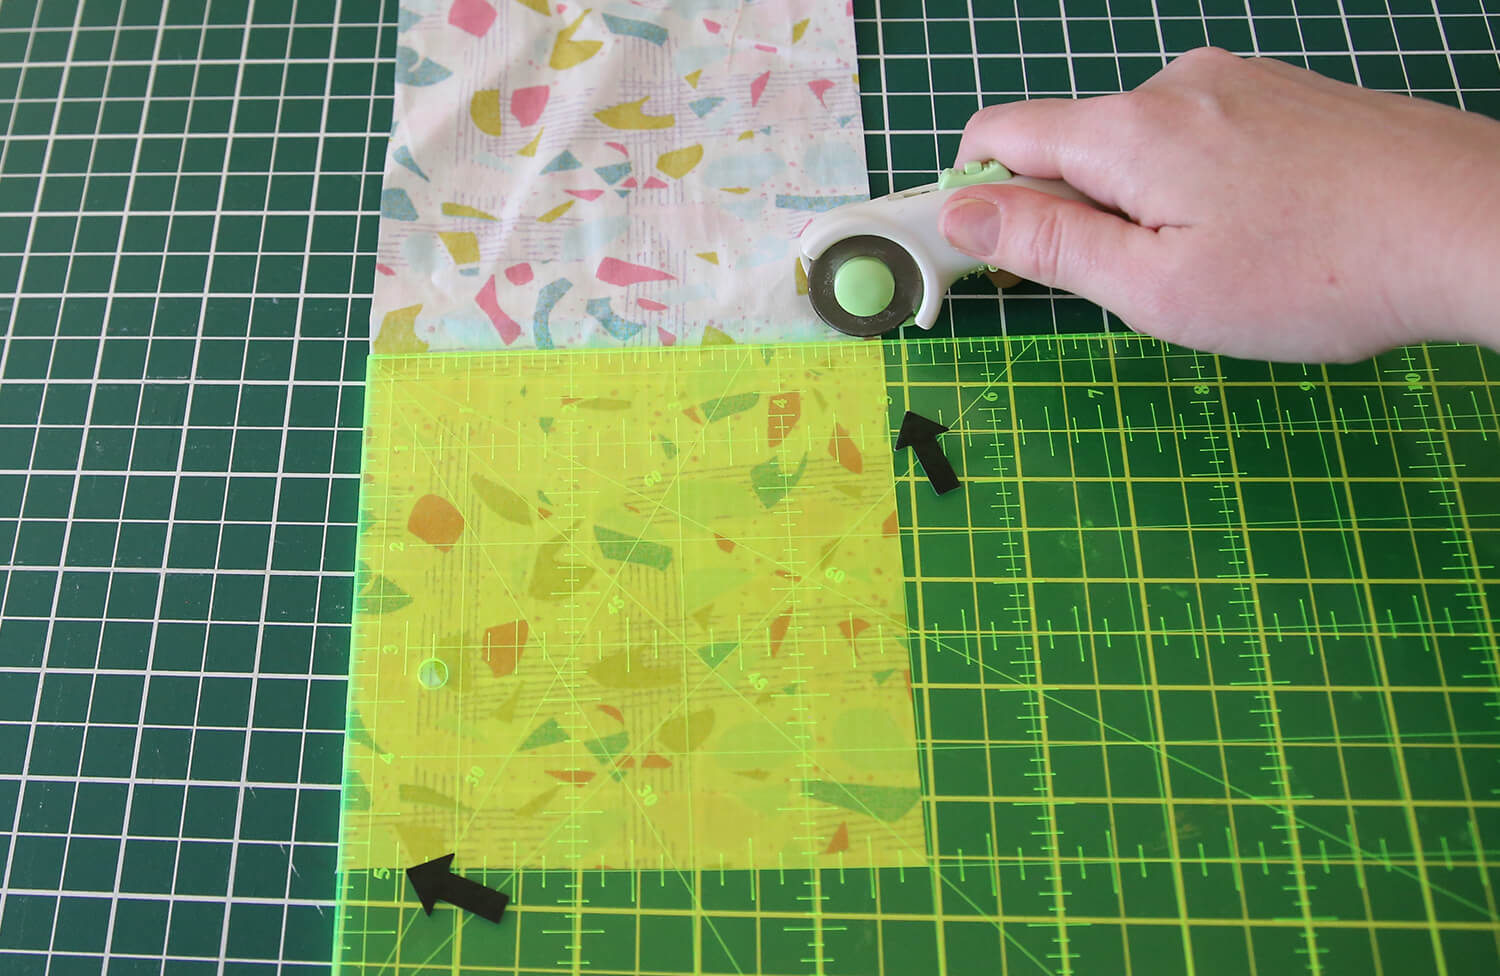
Cut your appliqué cotton fabric to approximately 125 mm x 125 mm (5" x 5").
-
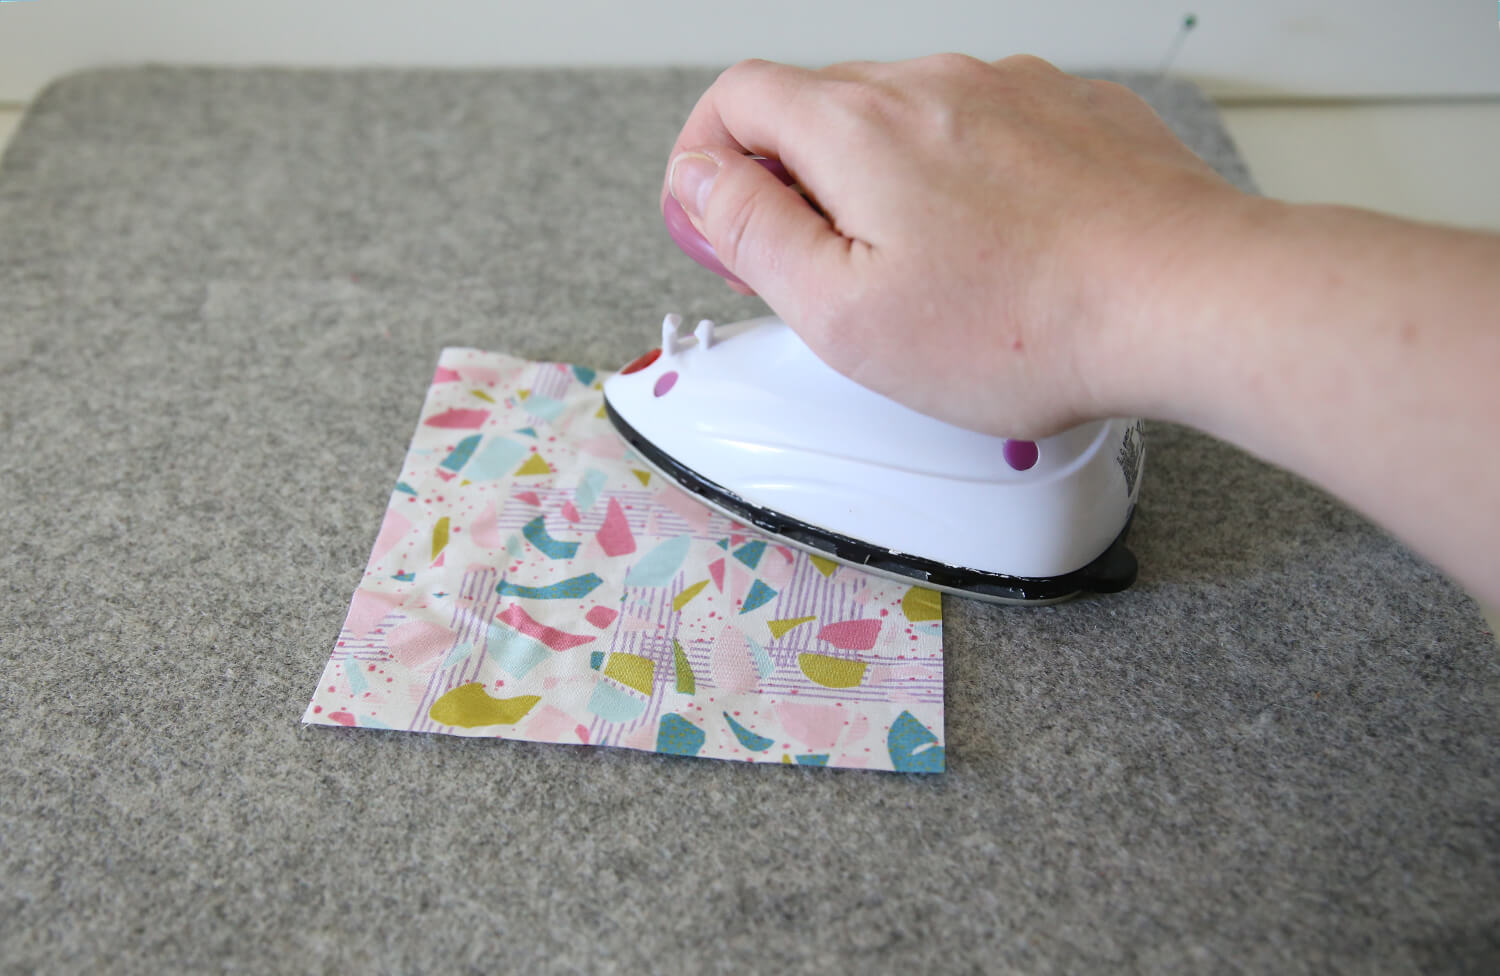
Press the appliqué cotton fabric to remove any creases before stitching.
-
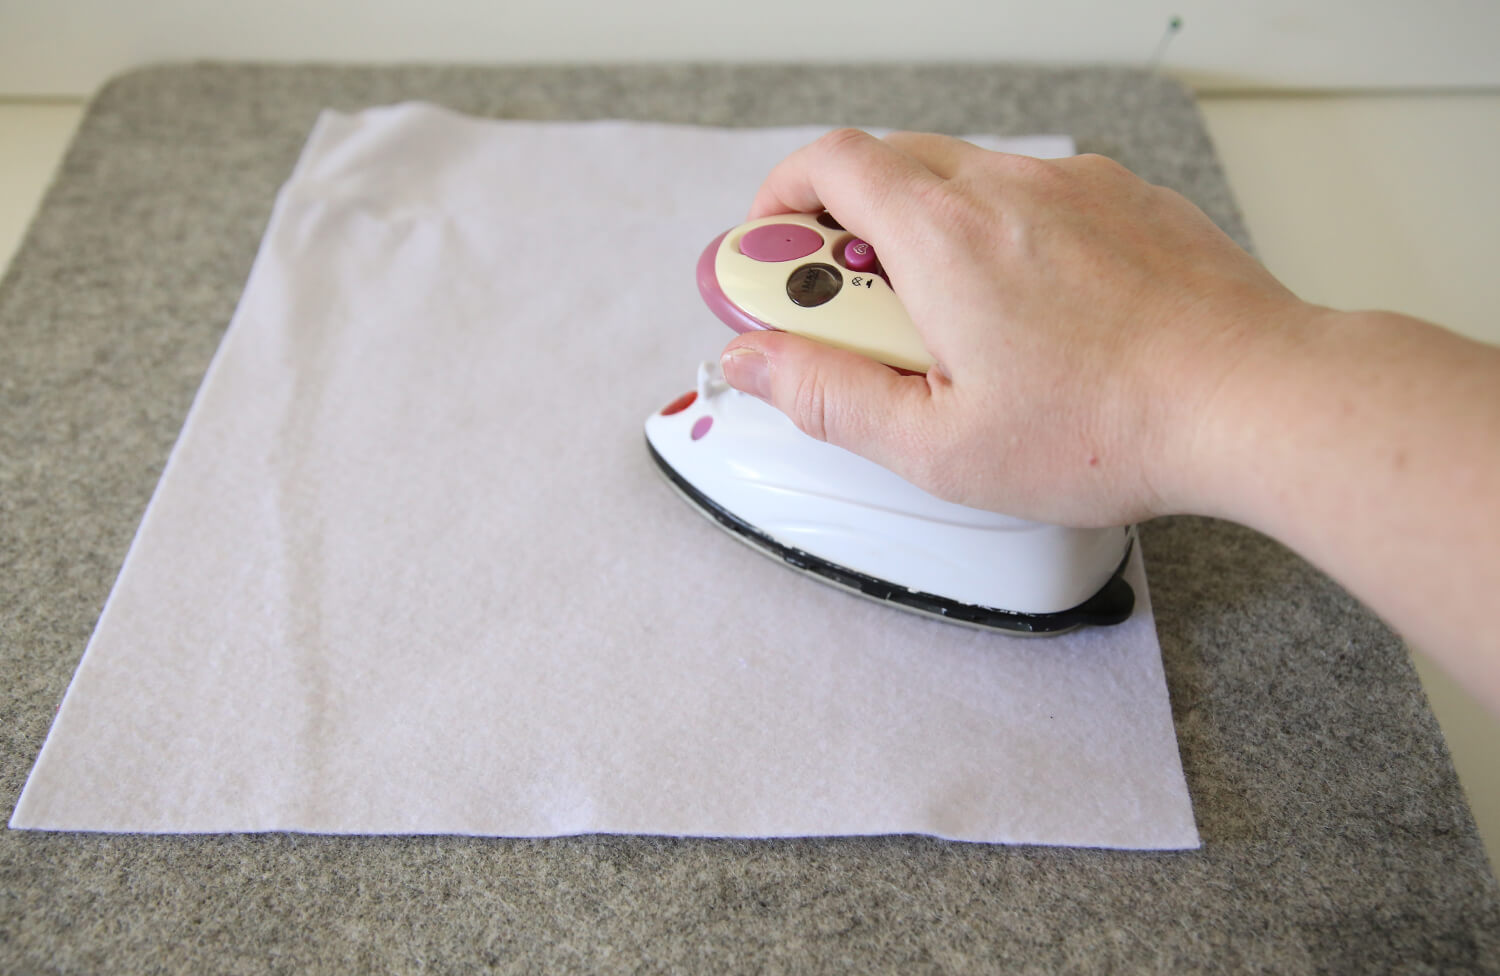
If your felt has any creases or wrinkles, gently steam or press it on a low heat setting before hooping.
-
[Optional] You may wish to apply a light fusible web or iron-on adhesive like Shape to Create to the back of your appliqué fabric before stitching. This can help add a little extra support and stabilisation to the appliqué shape.
Stitch the Appliqué
-
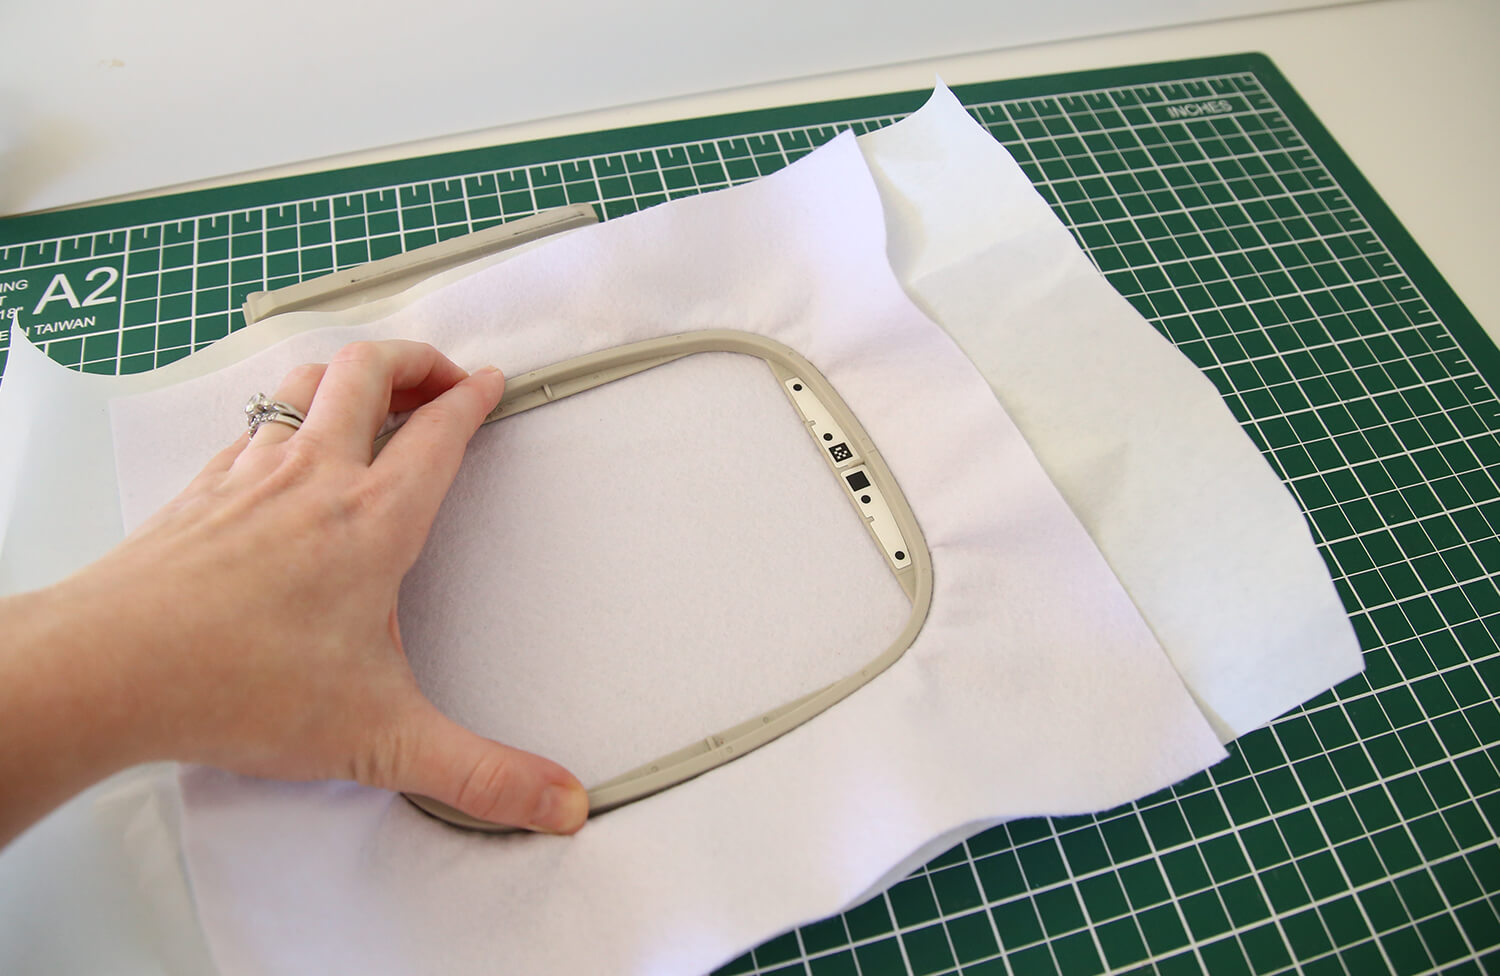
Hoop your felt together with a layer of tearaway stabiliser, ensuring it is smooth and flat without stretching the felt.
-
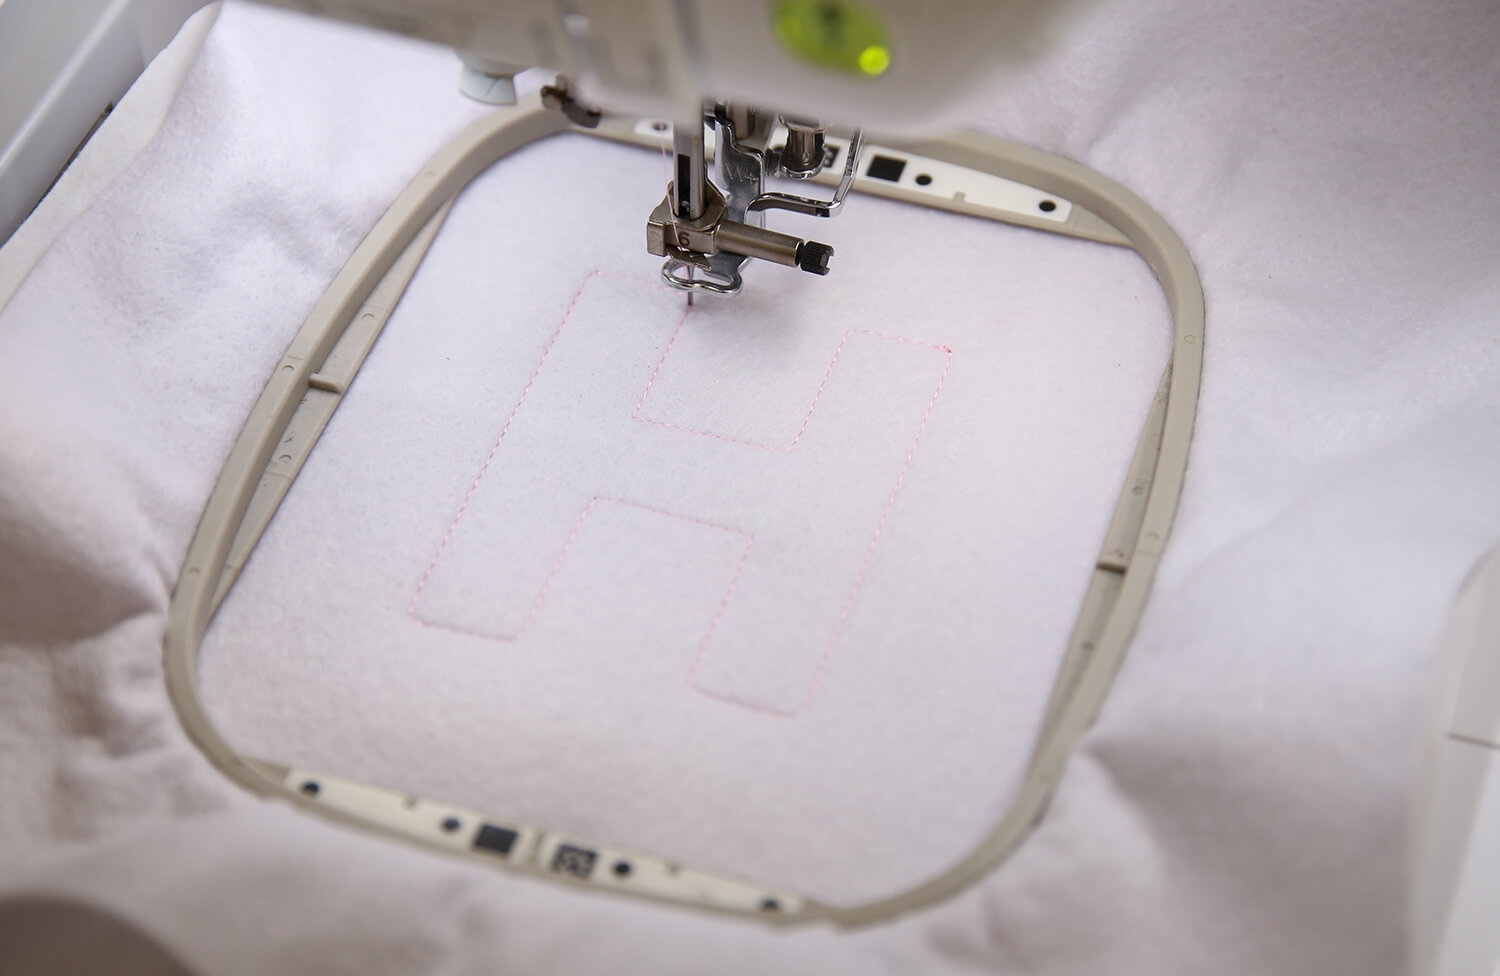
Load your design into your machine.
-
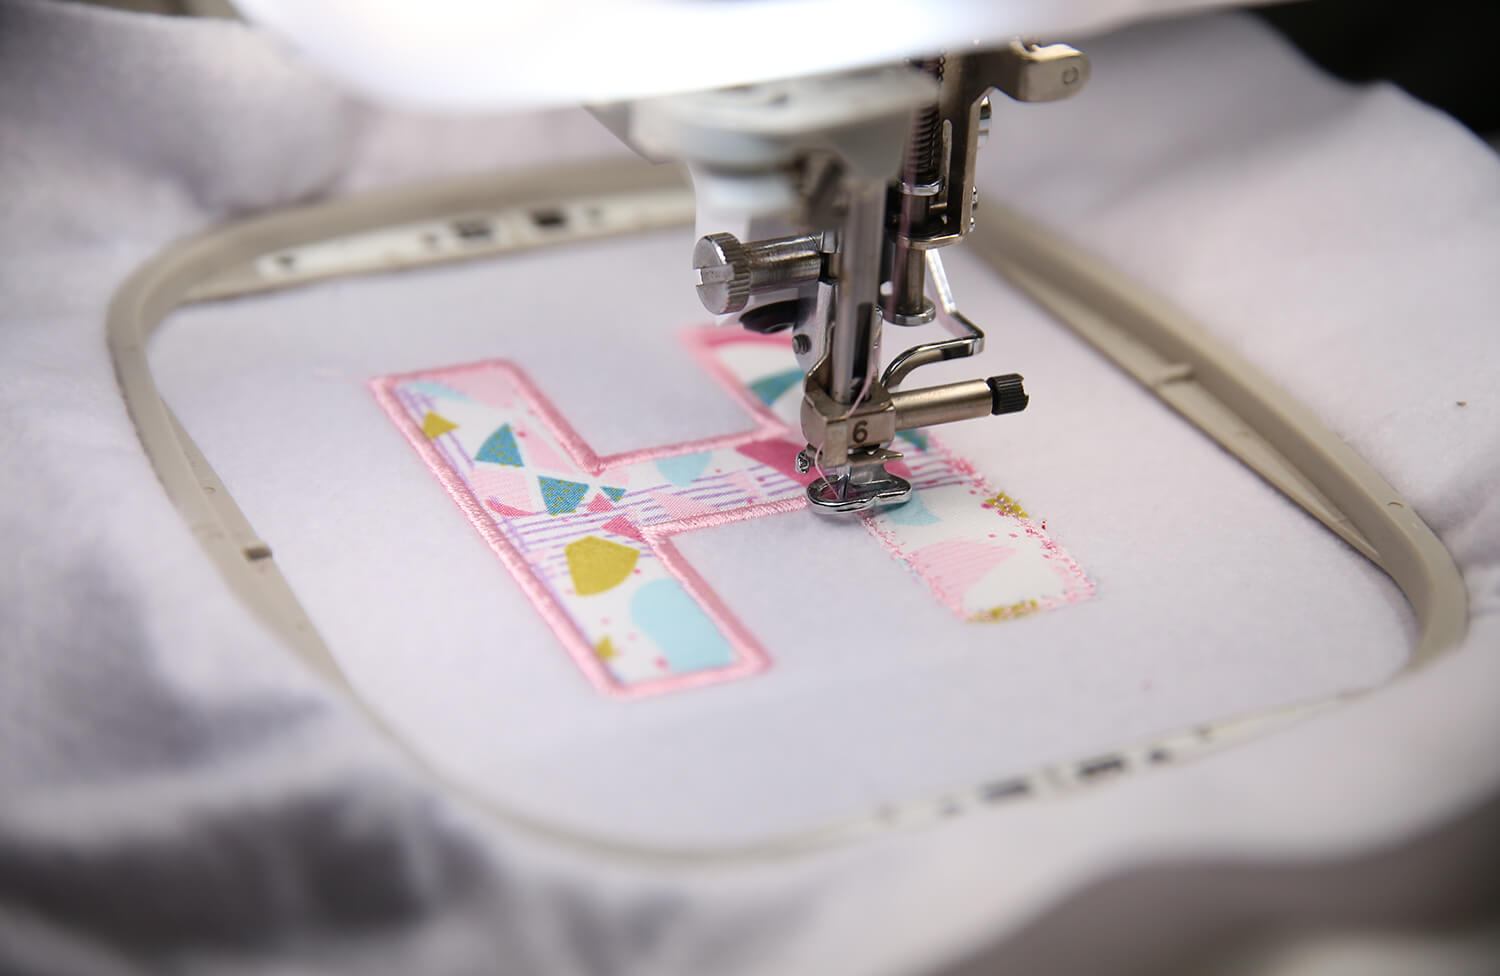
Thread your machine with your chosen embroidery thread and stitch the placement line [COLOUR 1].
-
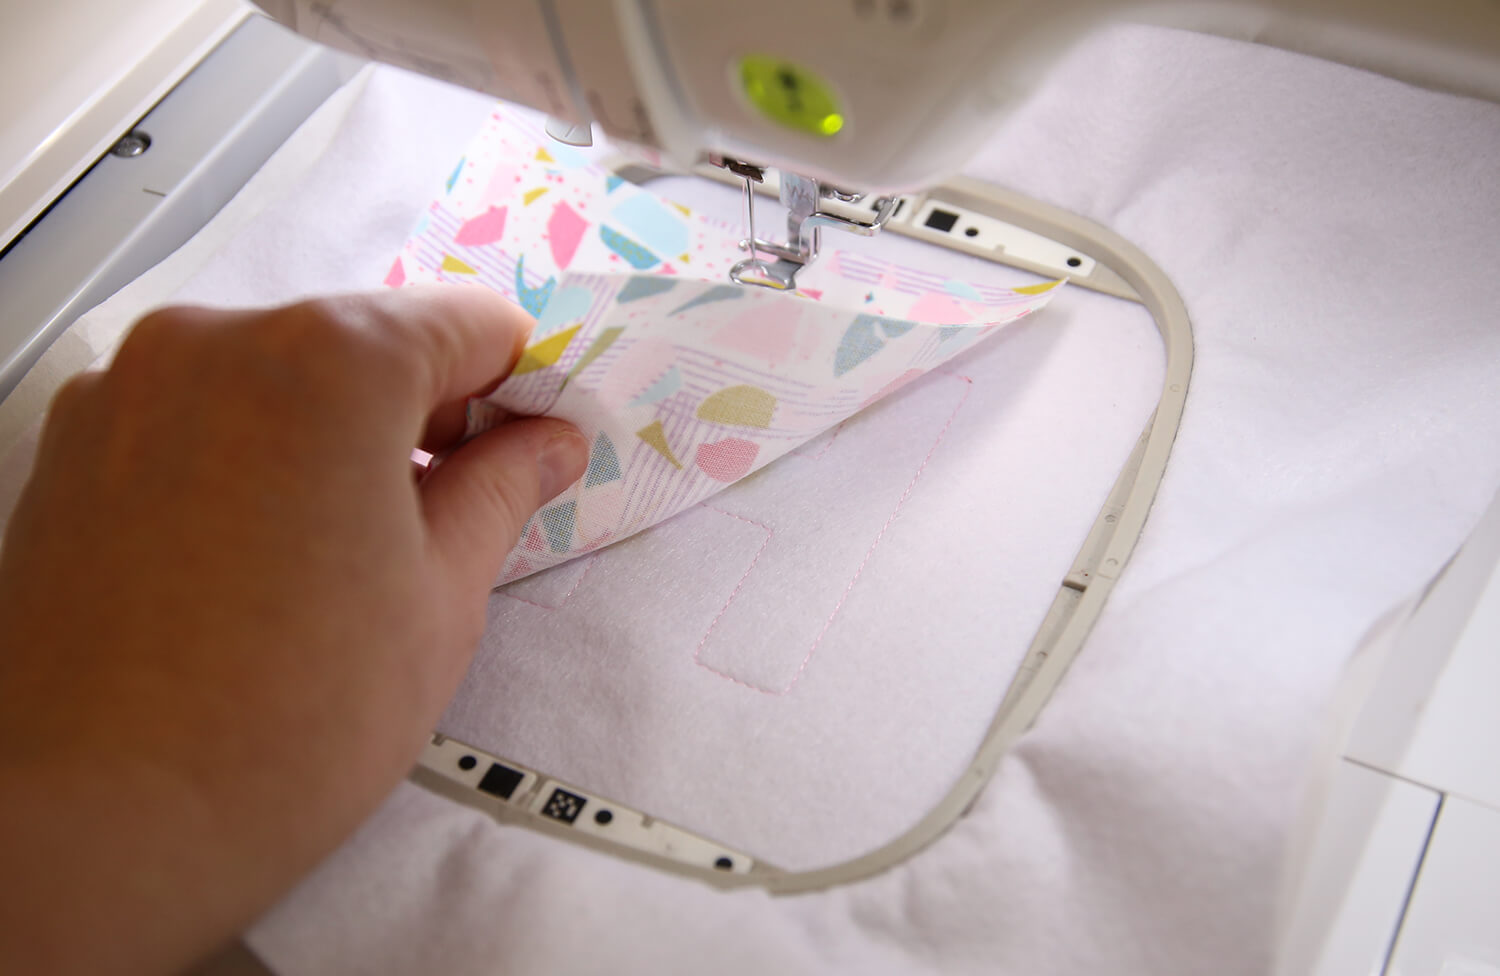
Place your appliqué fabric over the stitched placement line, ensuring it fully covers the outline.
-
Stitch the tack-down stitch [COLOUR 2].
-
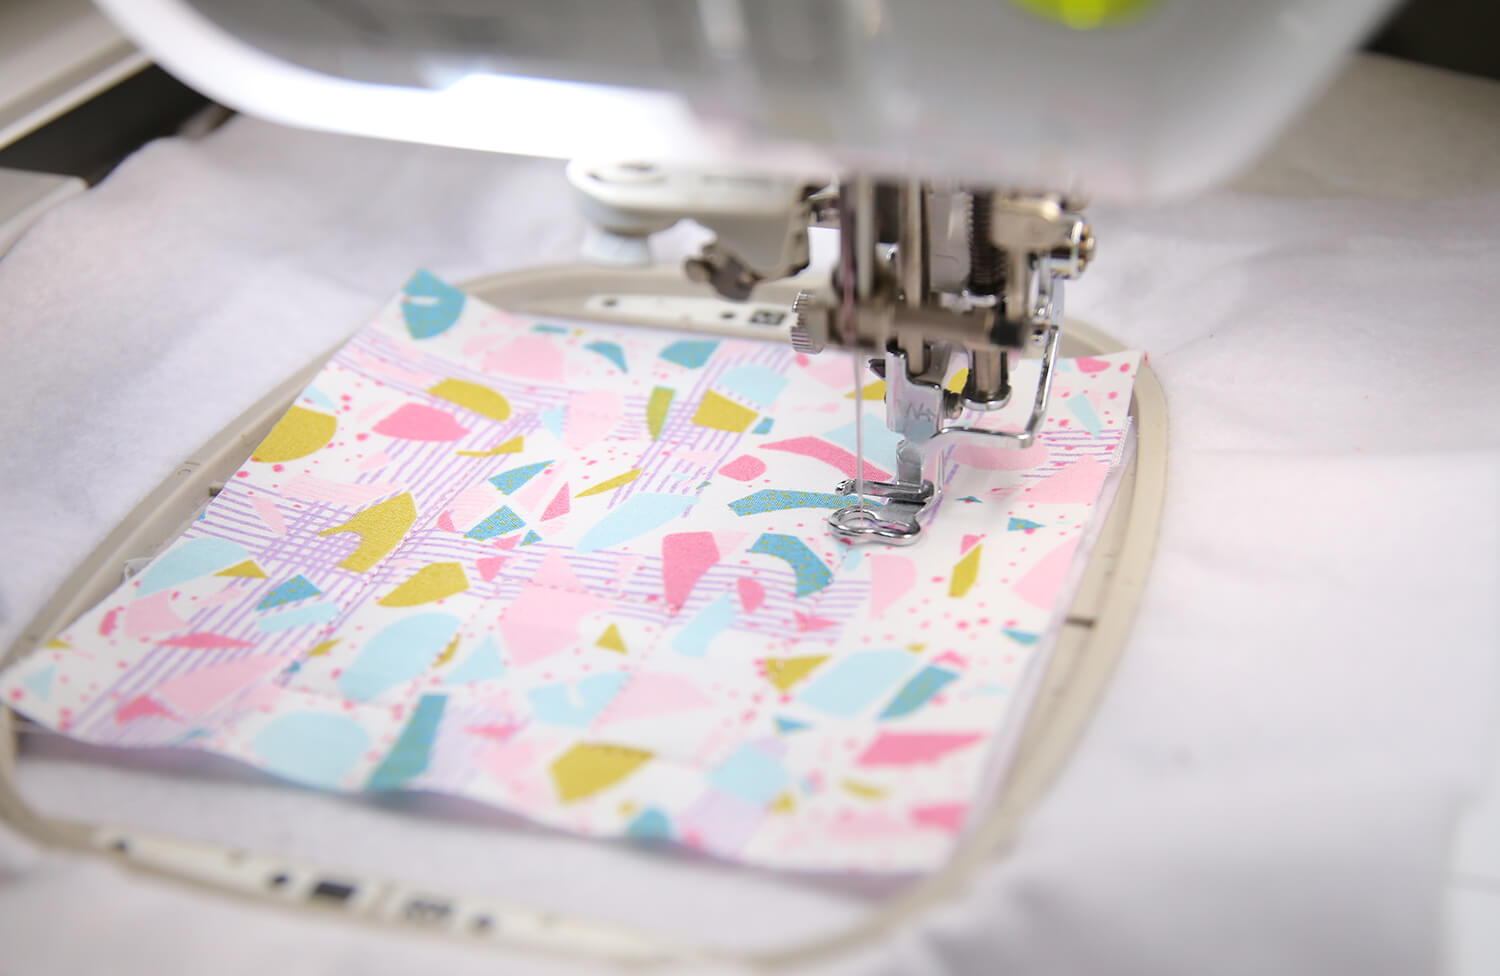
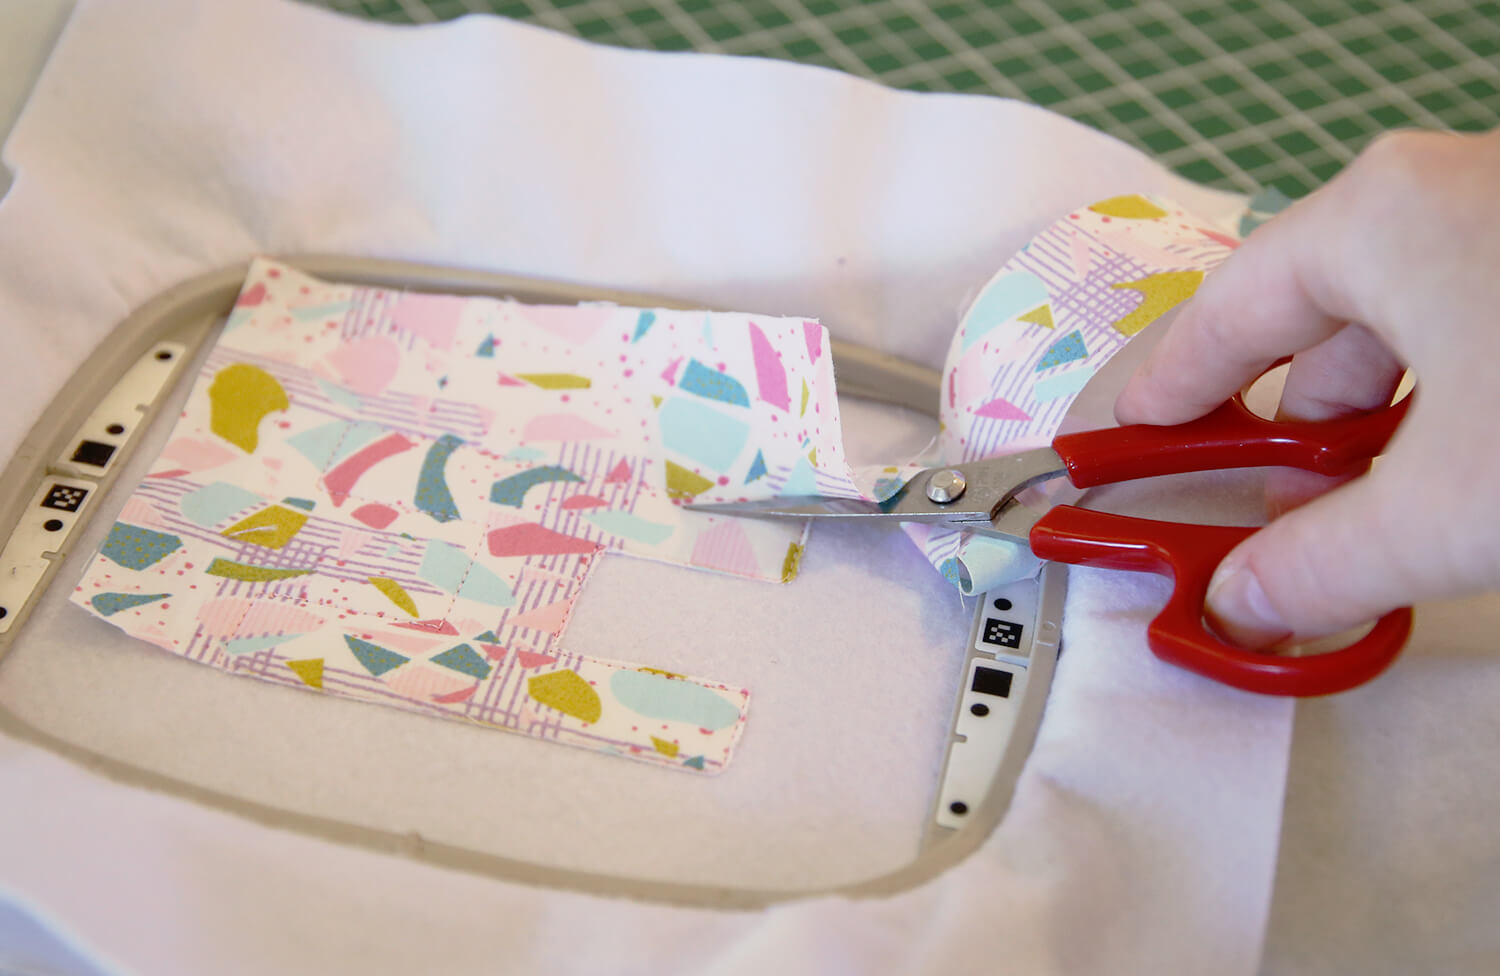
Remove the hoop from the machine (do not unhoop). Carefully trim the appliqué fabric as close to the stitching as possible using appliqué scissors.
-
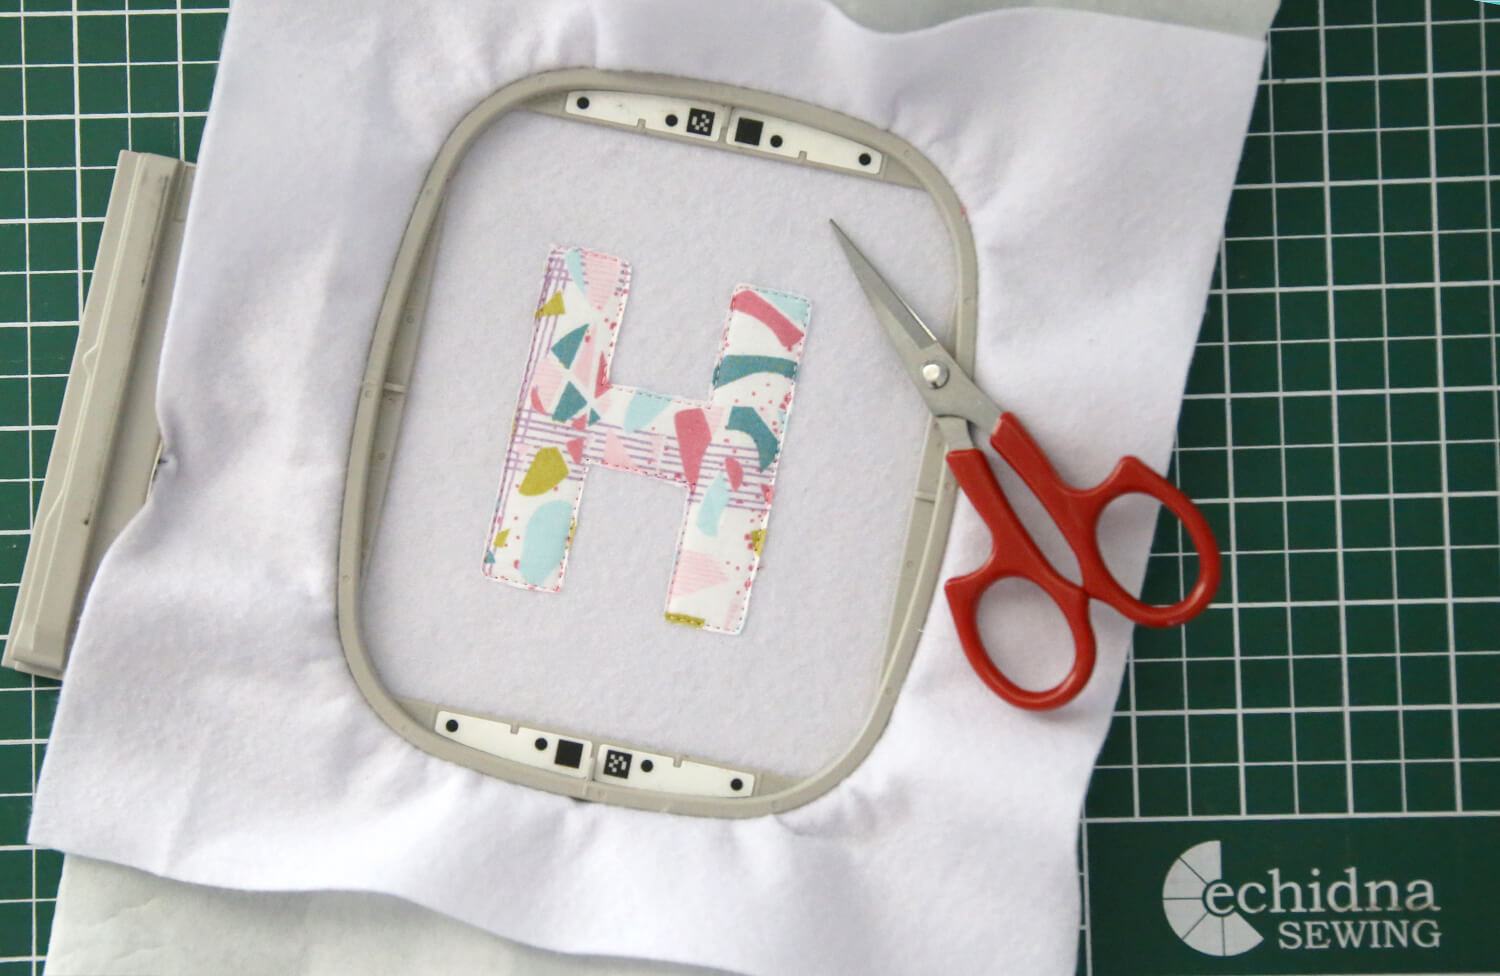
Return the hoop to the machine. Stitch the satin stitch [COLOUR 3].
-
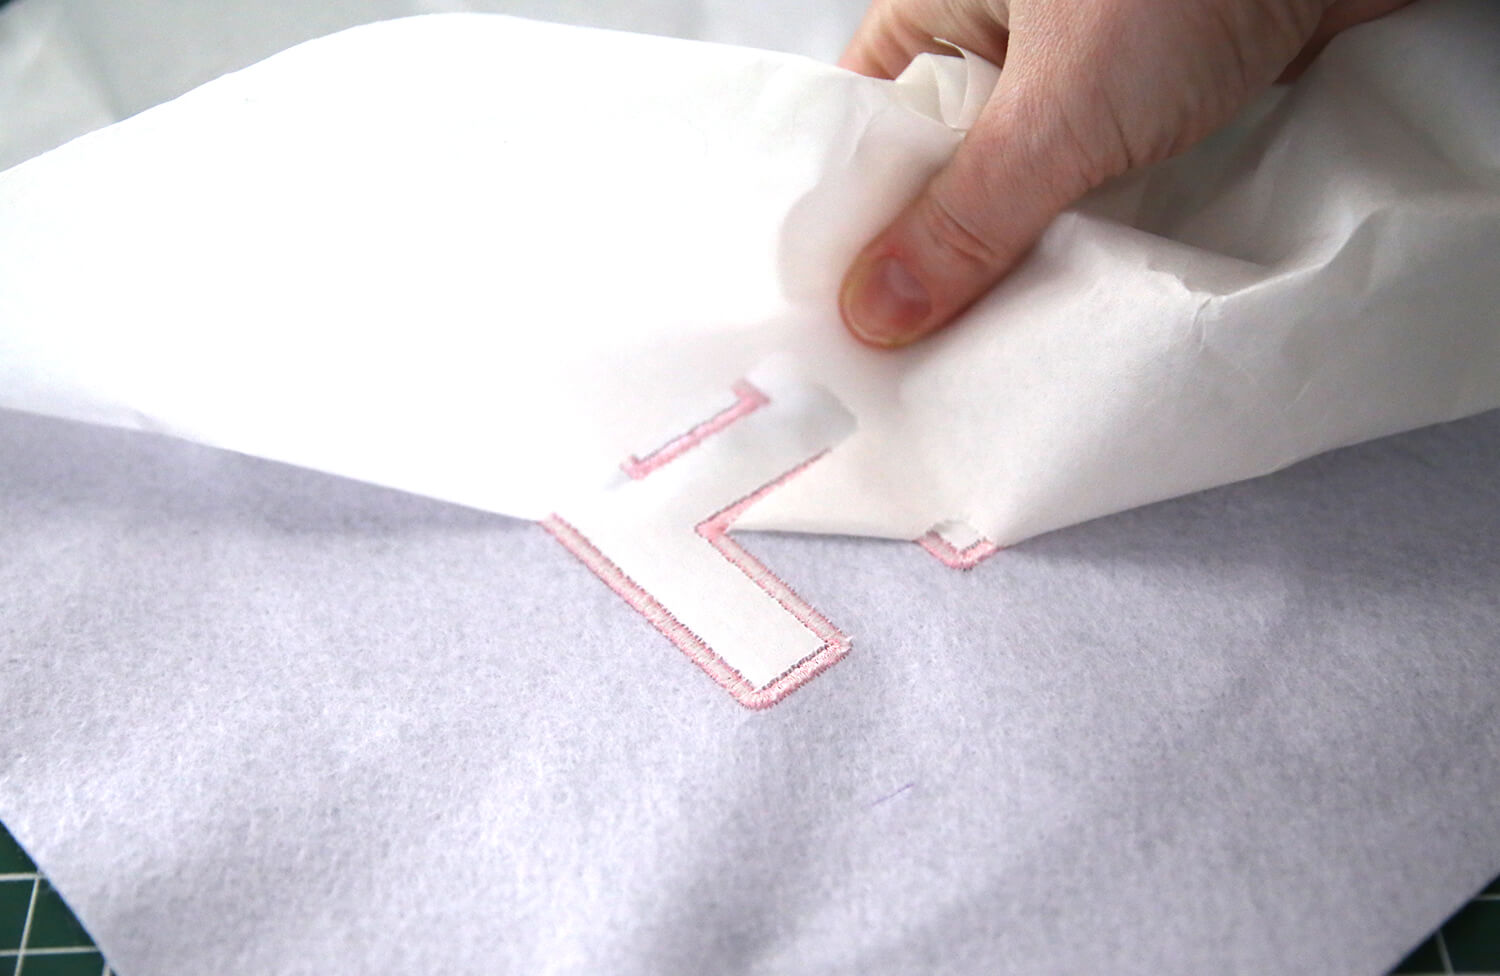
Remove the felt from the hoop and tear away the excess stabiliser from the back.
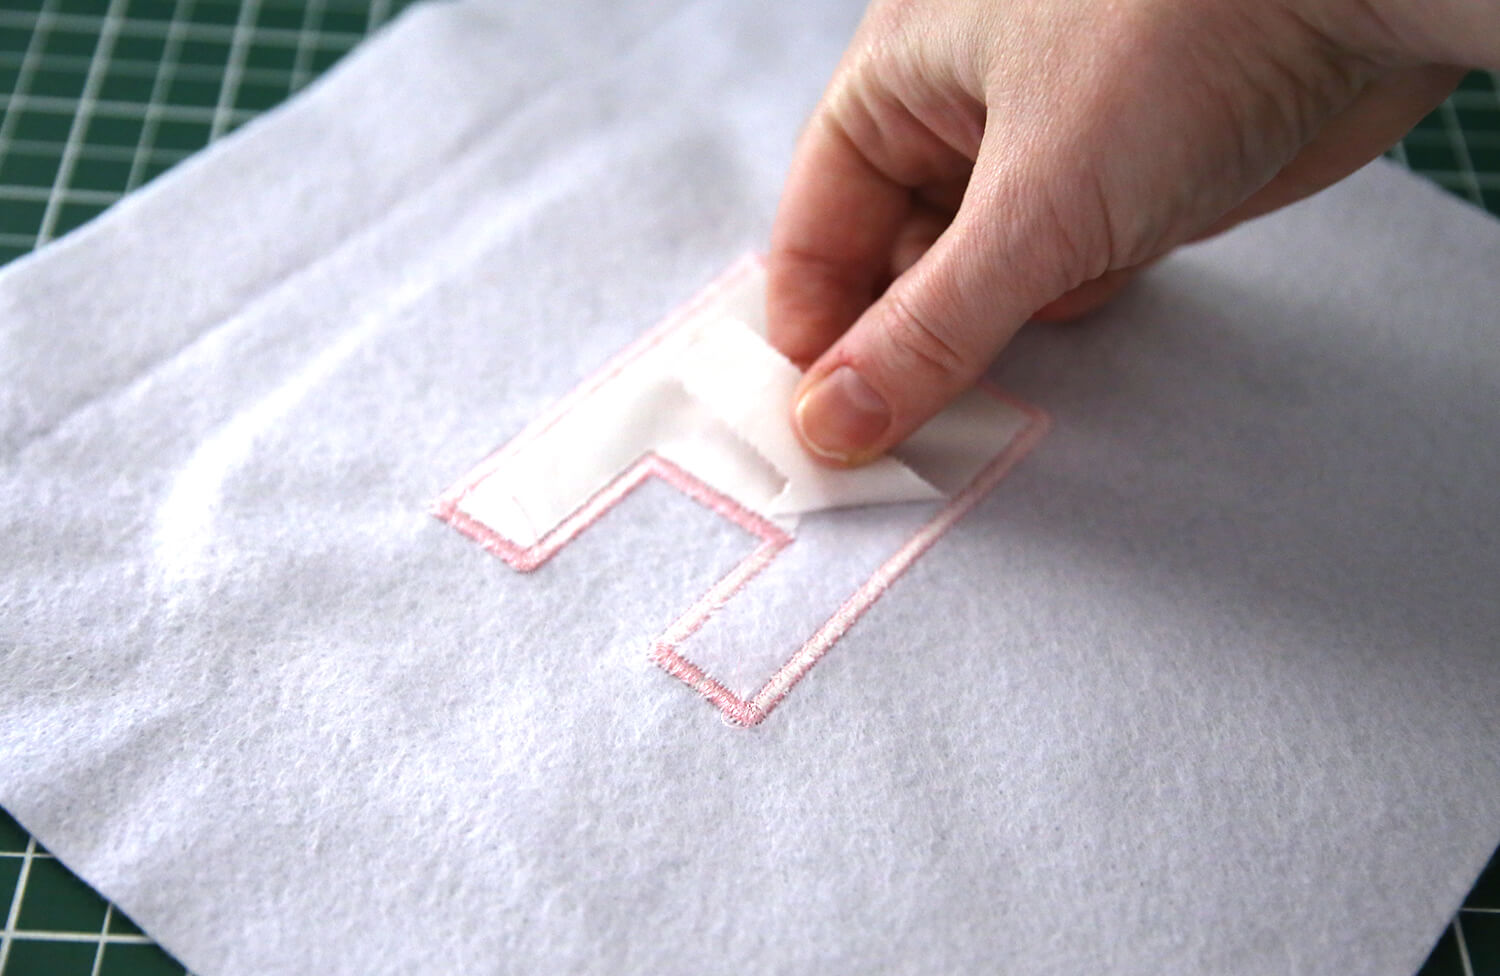
Frame the Artwork
-
Fold the felt gently in half vertically to find the centre of the embroidered letter and lightly mark the edge of the felt with a Frixion pen. Repeat the same process horizontally to create a second centre mark.
-
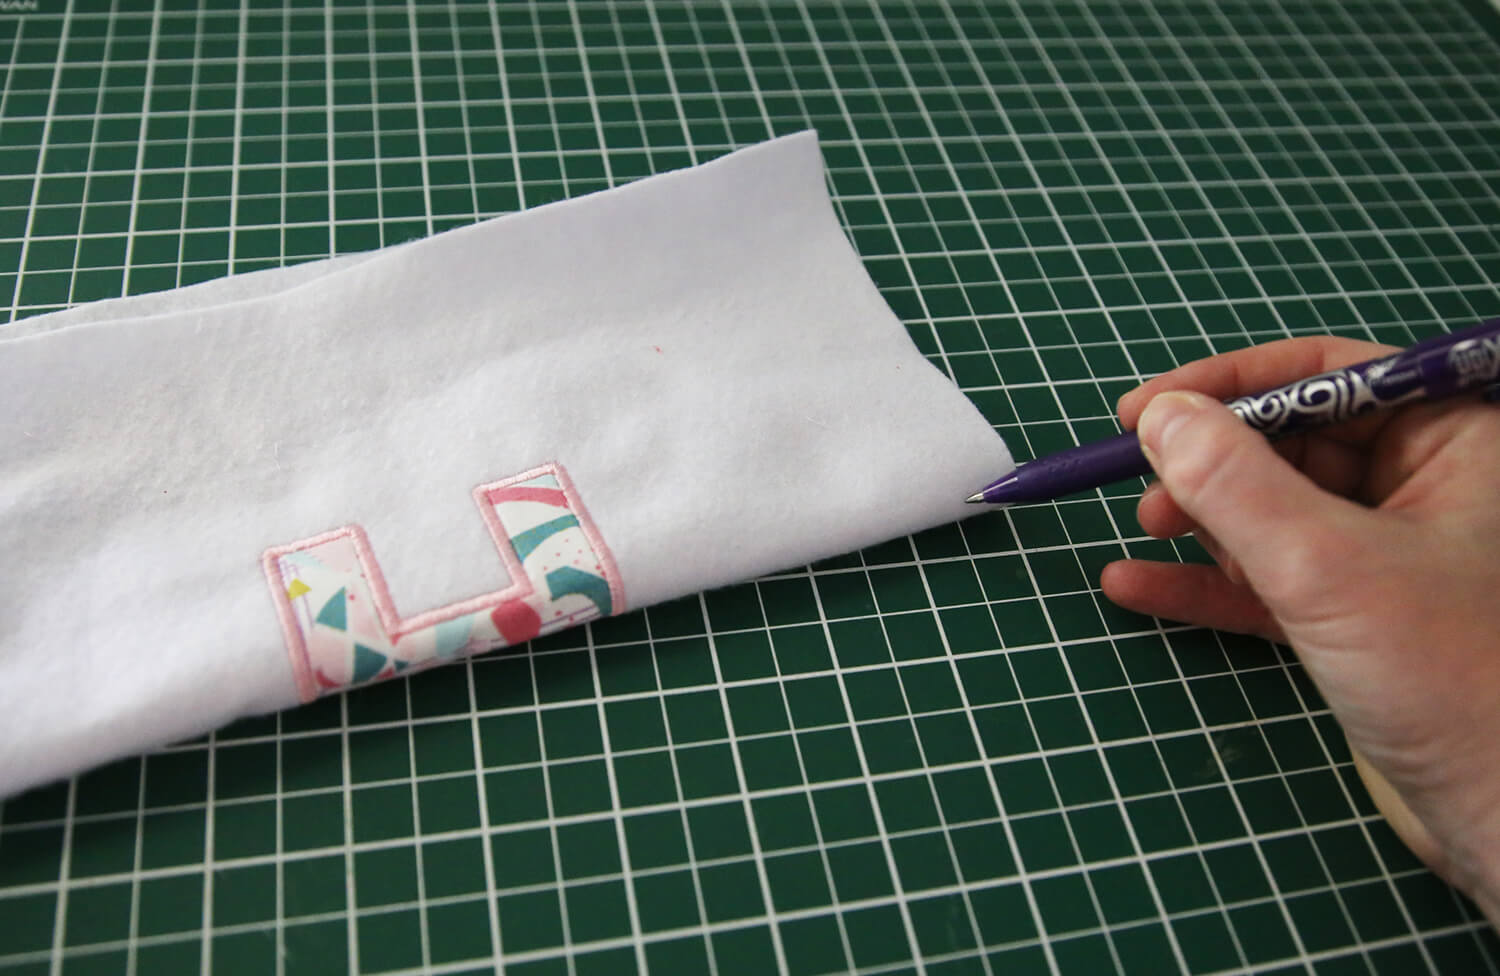
Using your two markings, place the felt onto the frame backing board and line these points up with the centre of the backing board.

-
Holding the backing board and felt up to the light can help check that the design is centred and sitting straight within the frame area.
-
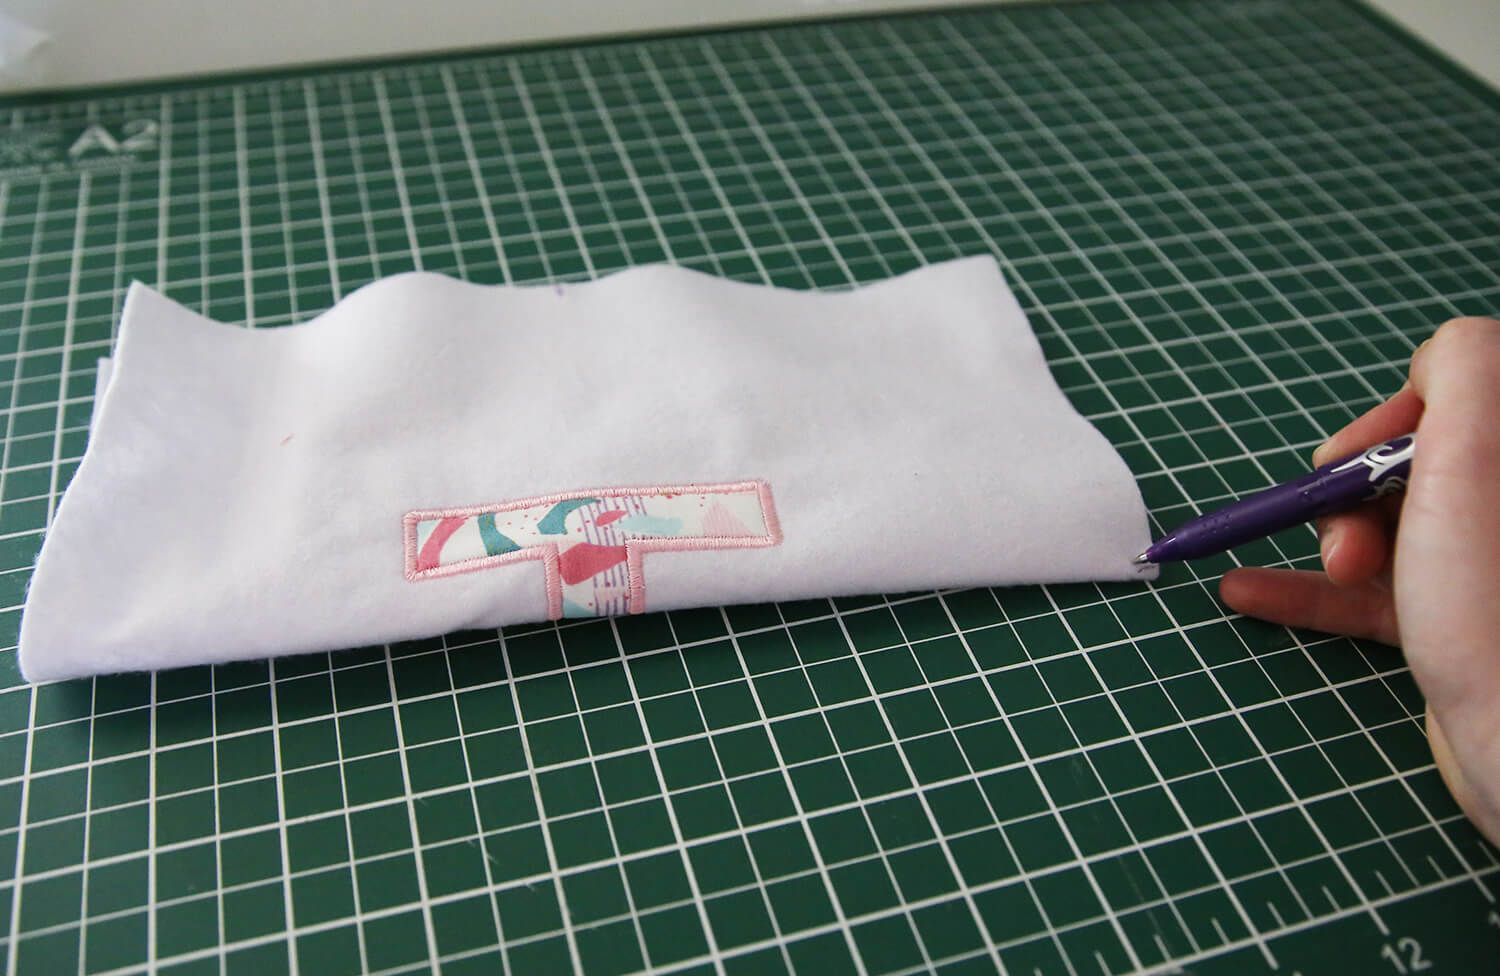
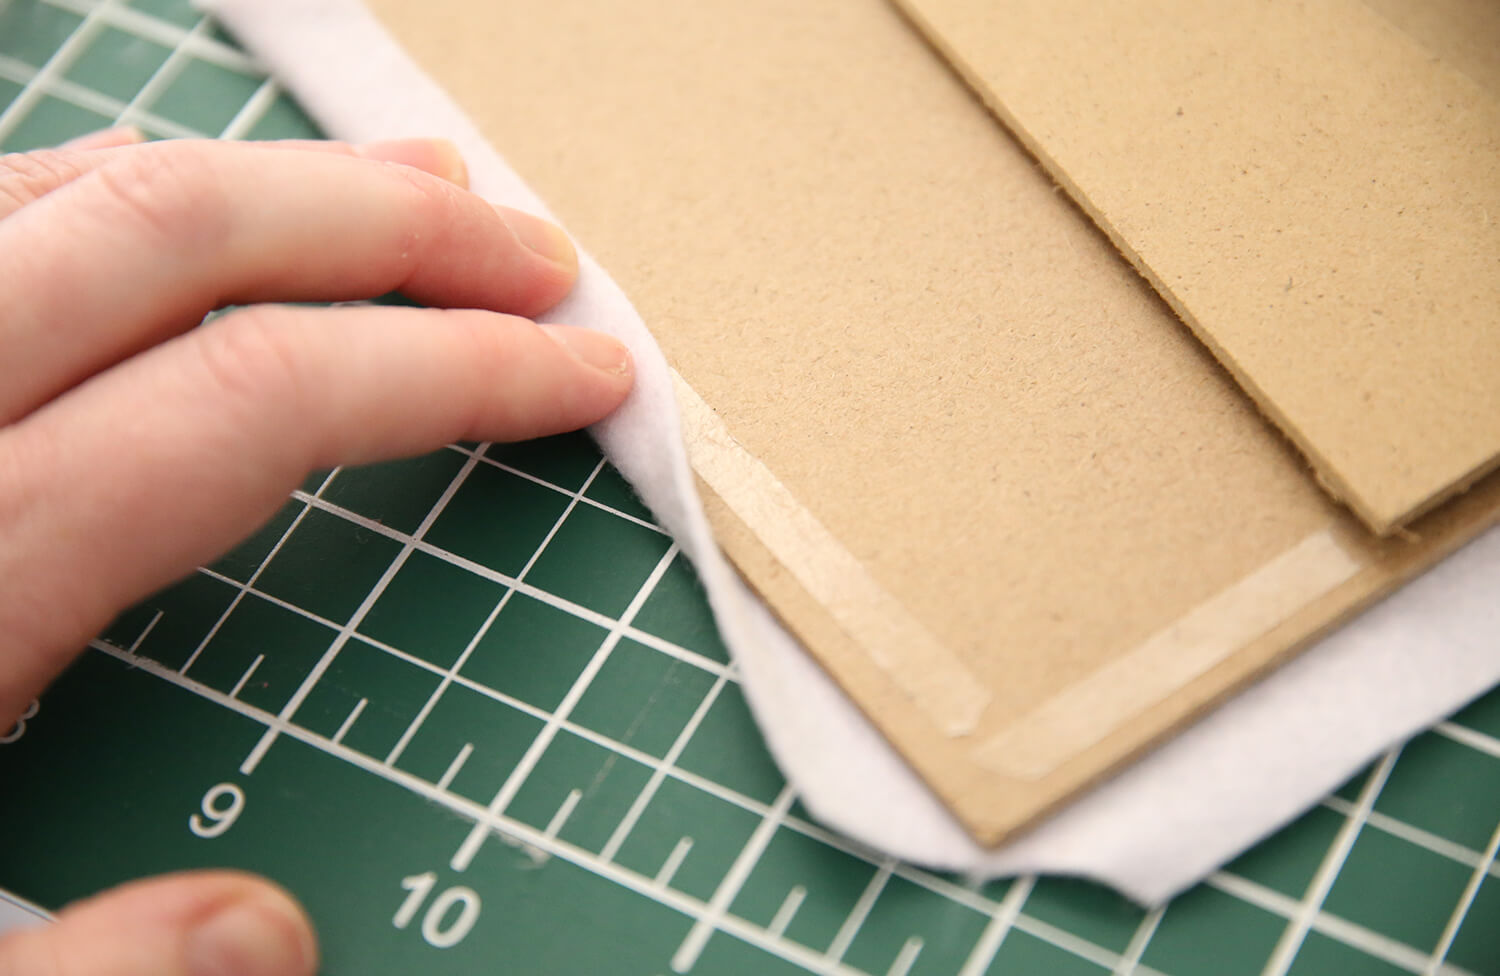
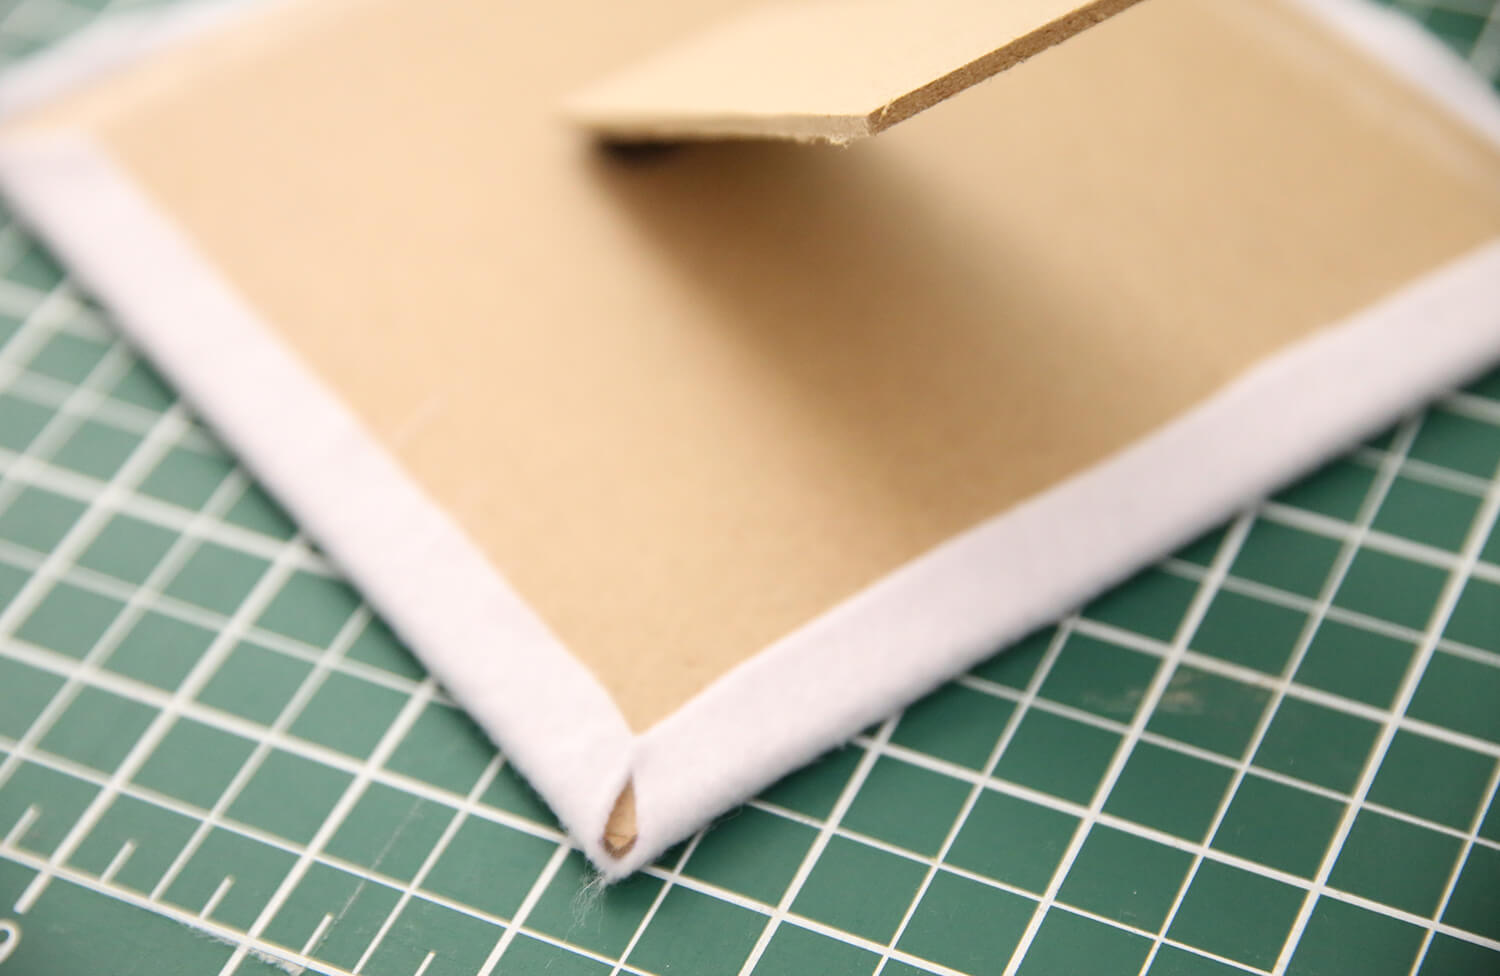
Once happy with the positioning, trim the excess felt around the entire perimeter of the backing board, leaving approximately 12 mm (½") excess.
-
Apply double-sided tape around the edges on the back of the backing board.
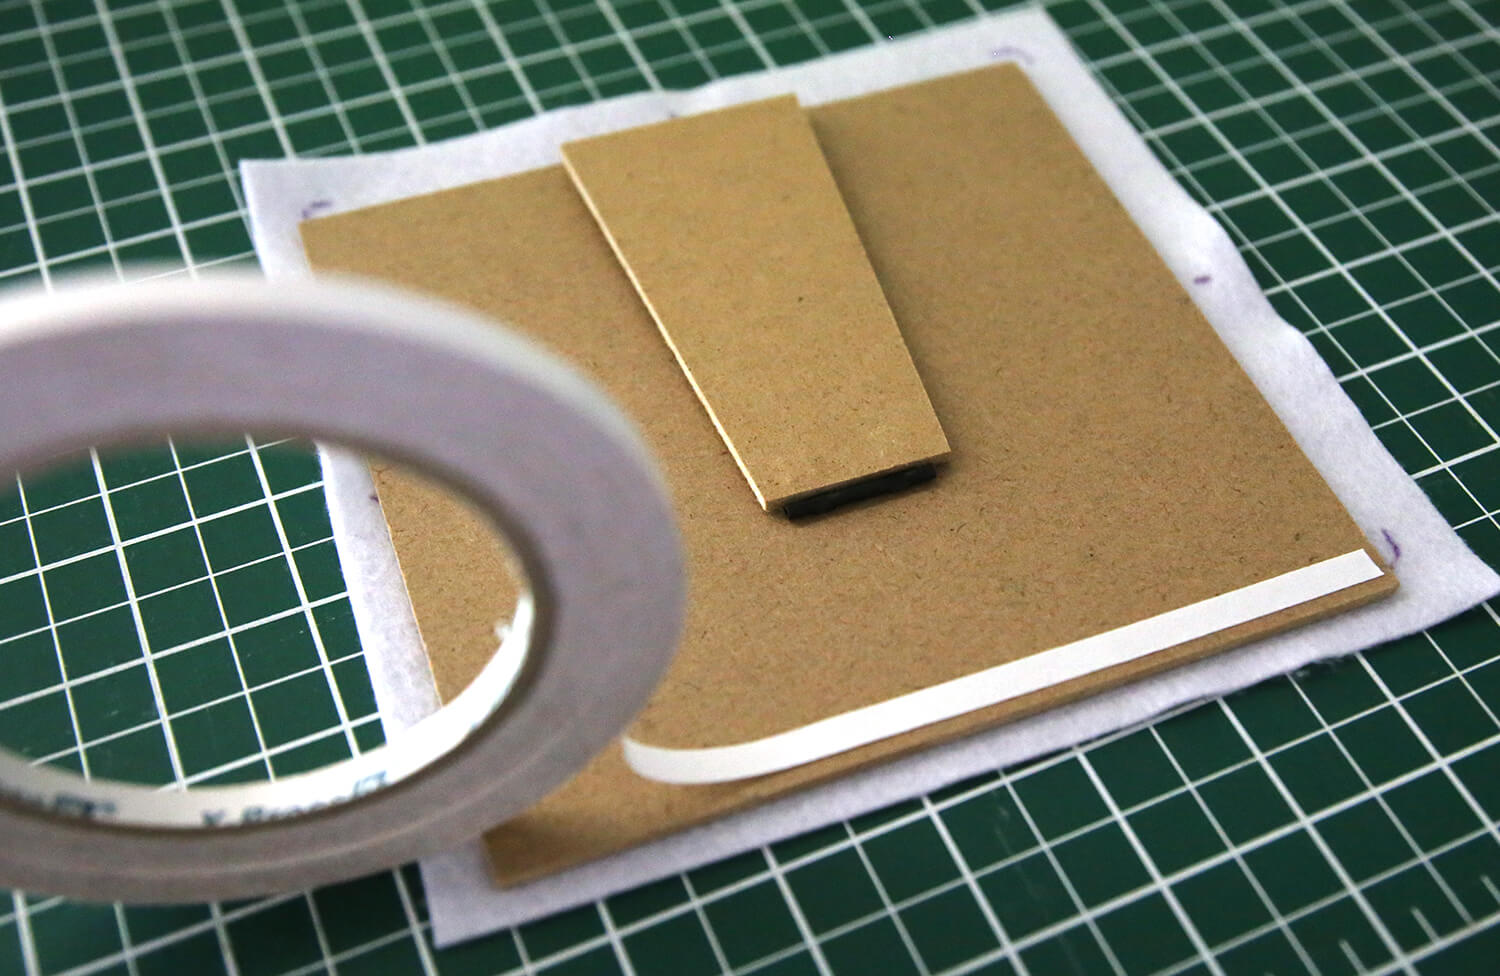
-
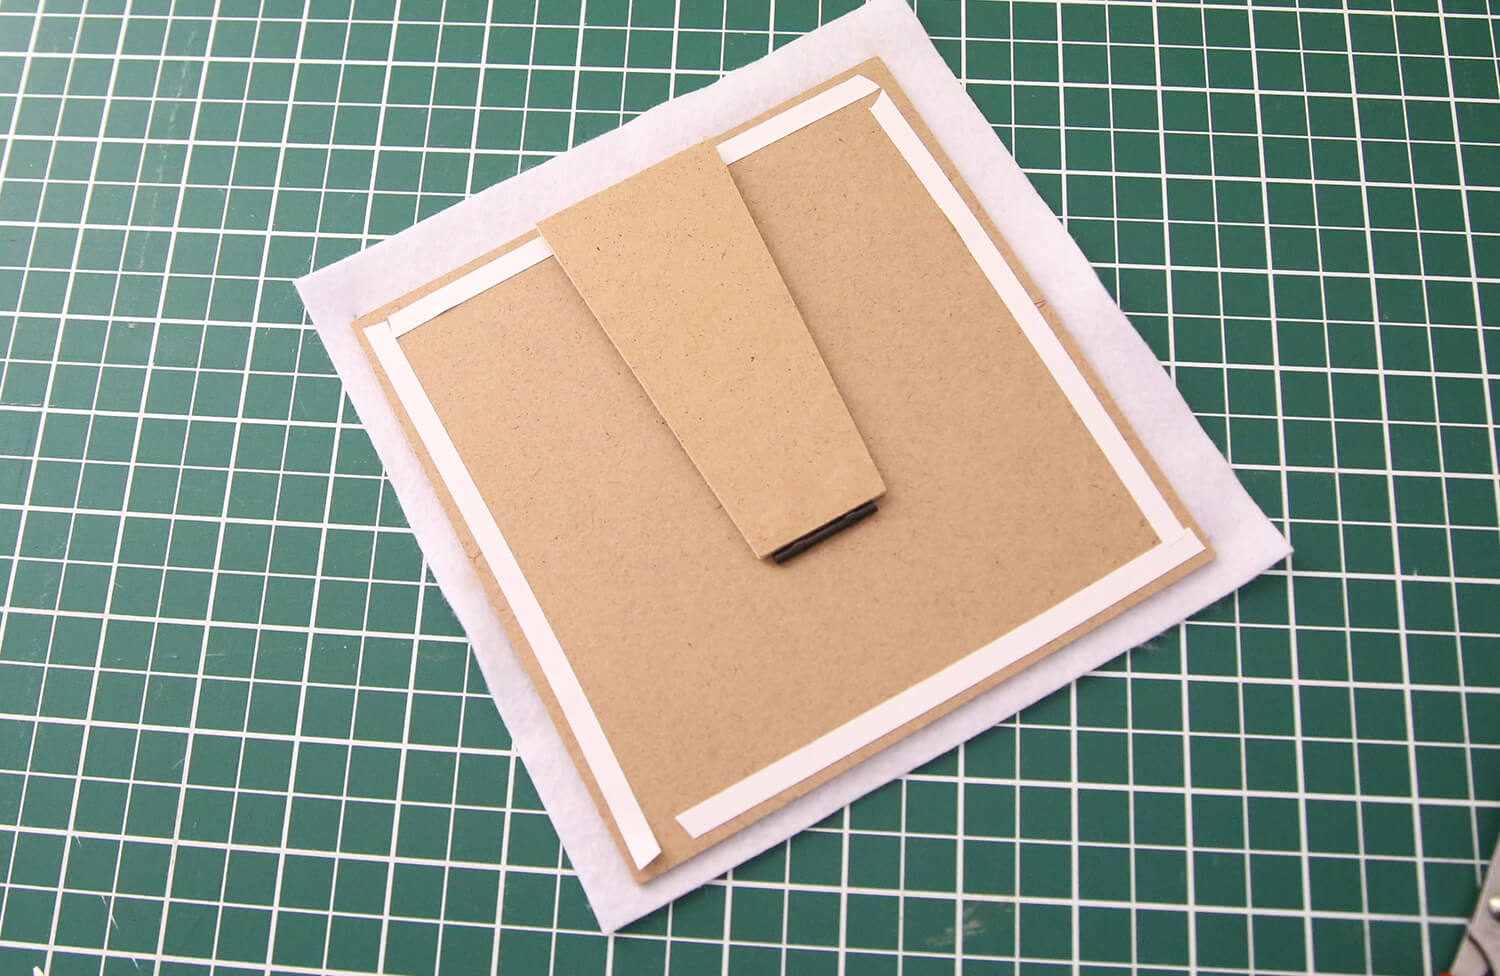
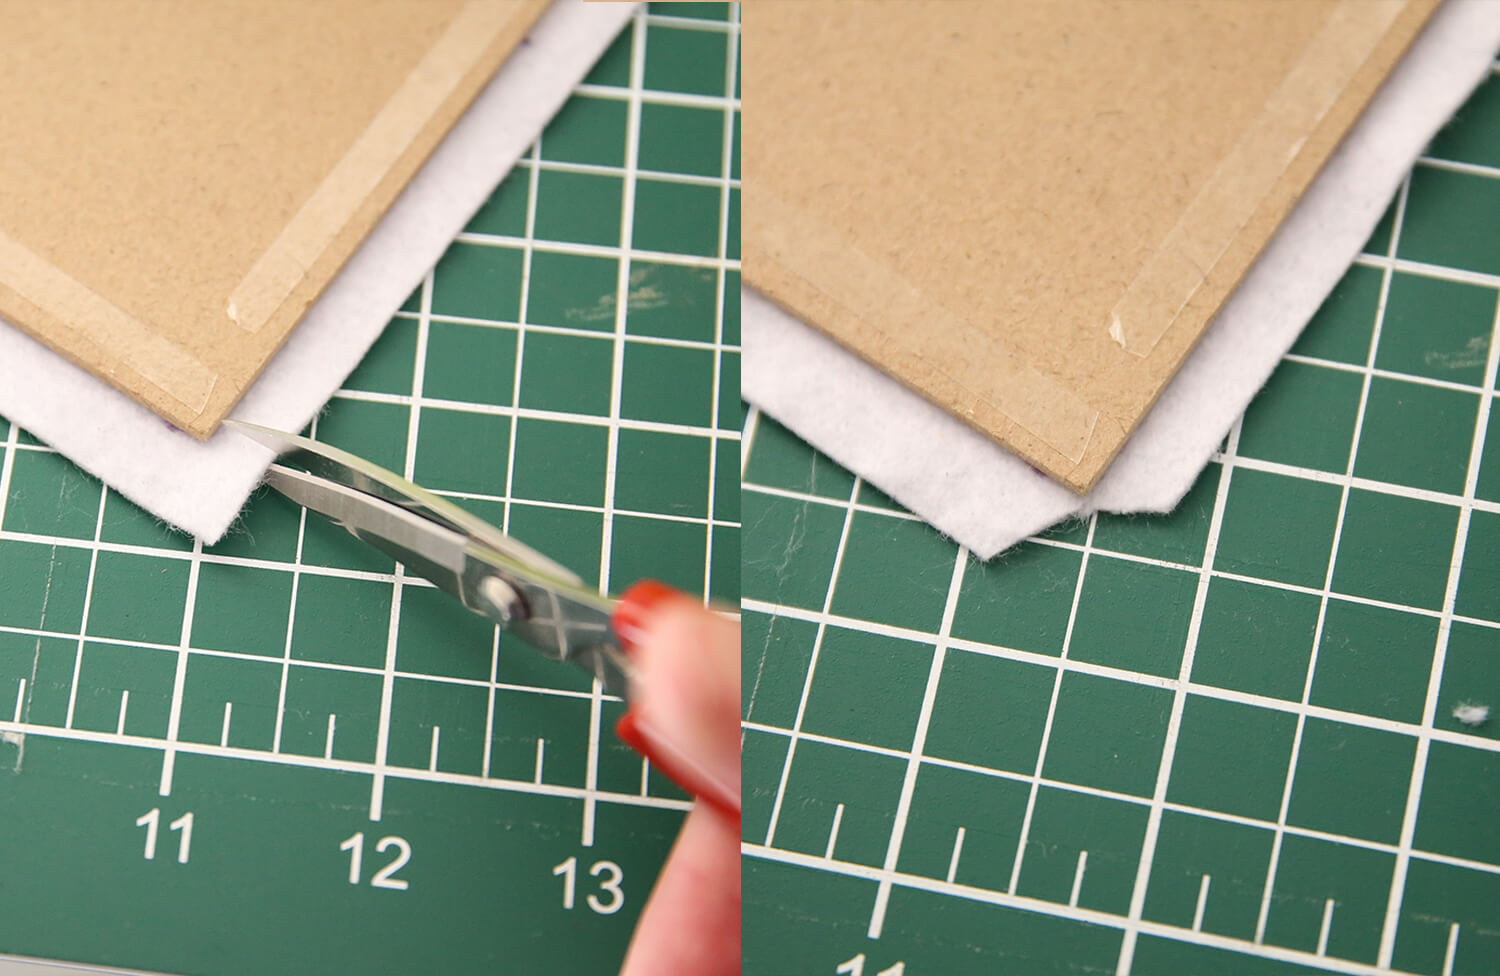
Cut the corners to avoid bulk.
-
Do one final check to confirm the letter is centred, then fold the excess felt over the edges and press firmly onto the tape to secure it neatly to the backing board.
-
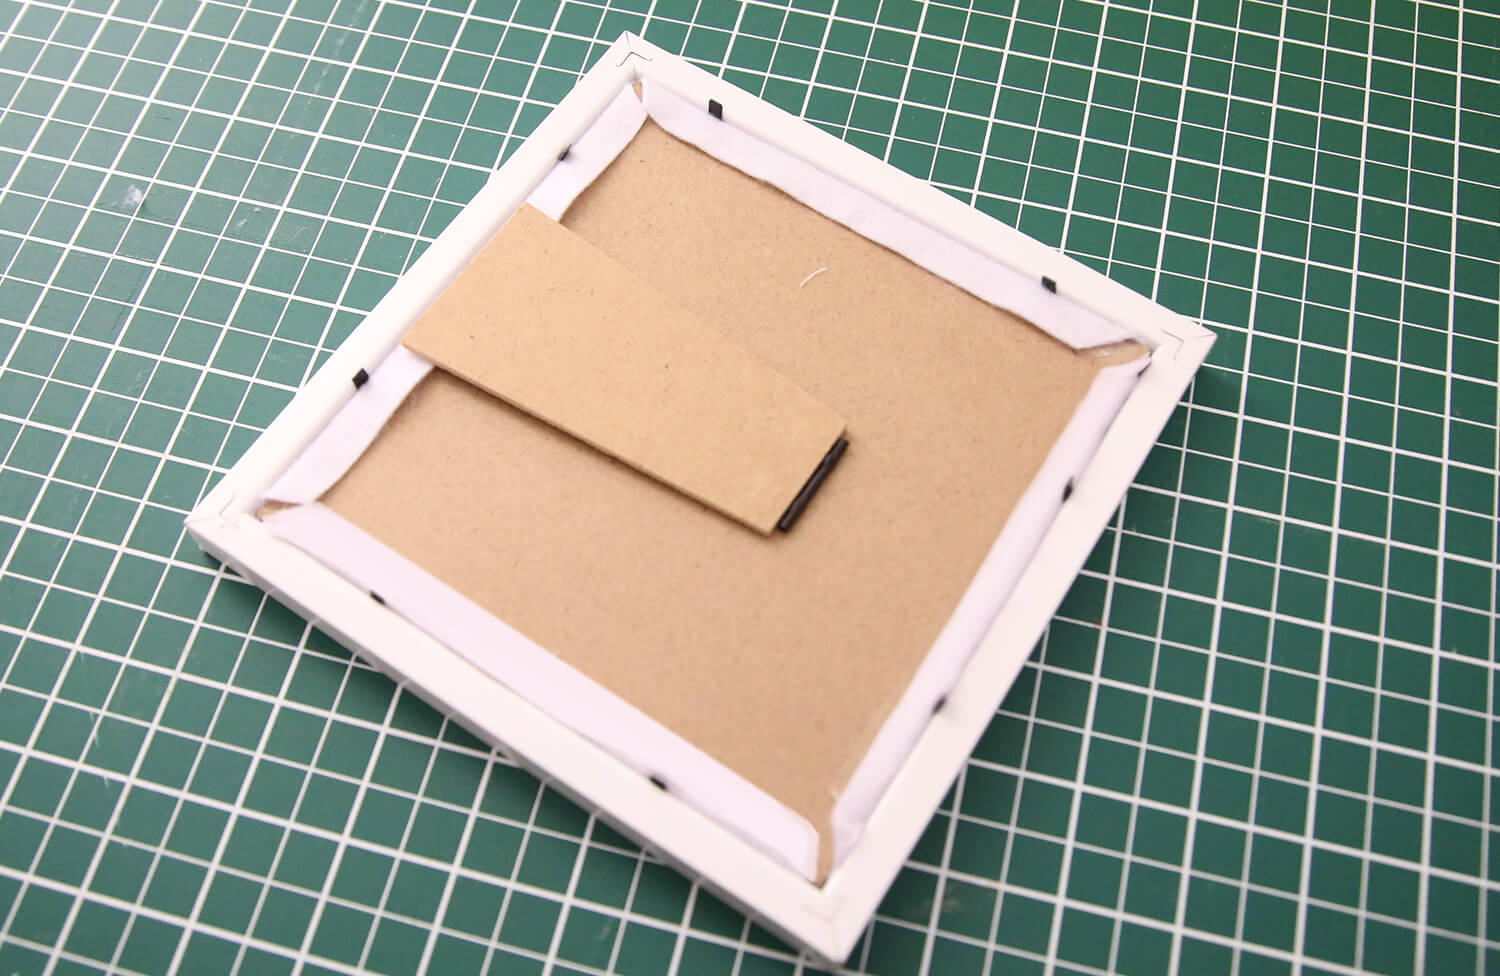
Place the mat board (border insert) back into the frame if using one, then insert the backing board with the felt attached. Secure the frame backing clips or tabs to complete your finished appliqué artwork.
-
Your finished piece is now ready to display on a shelf, desk, or hang on the wall as personalised décor.
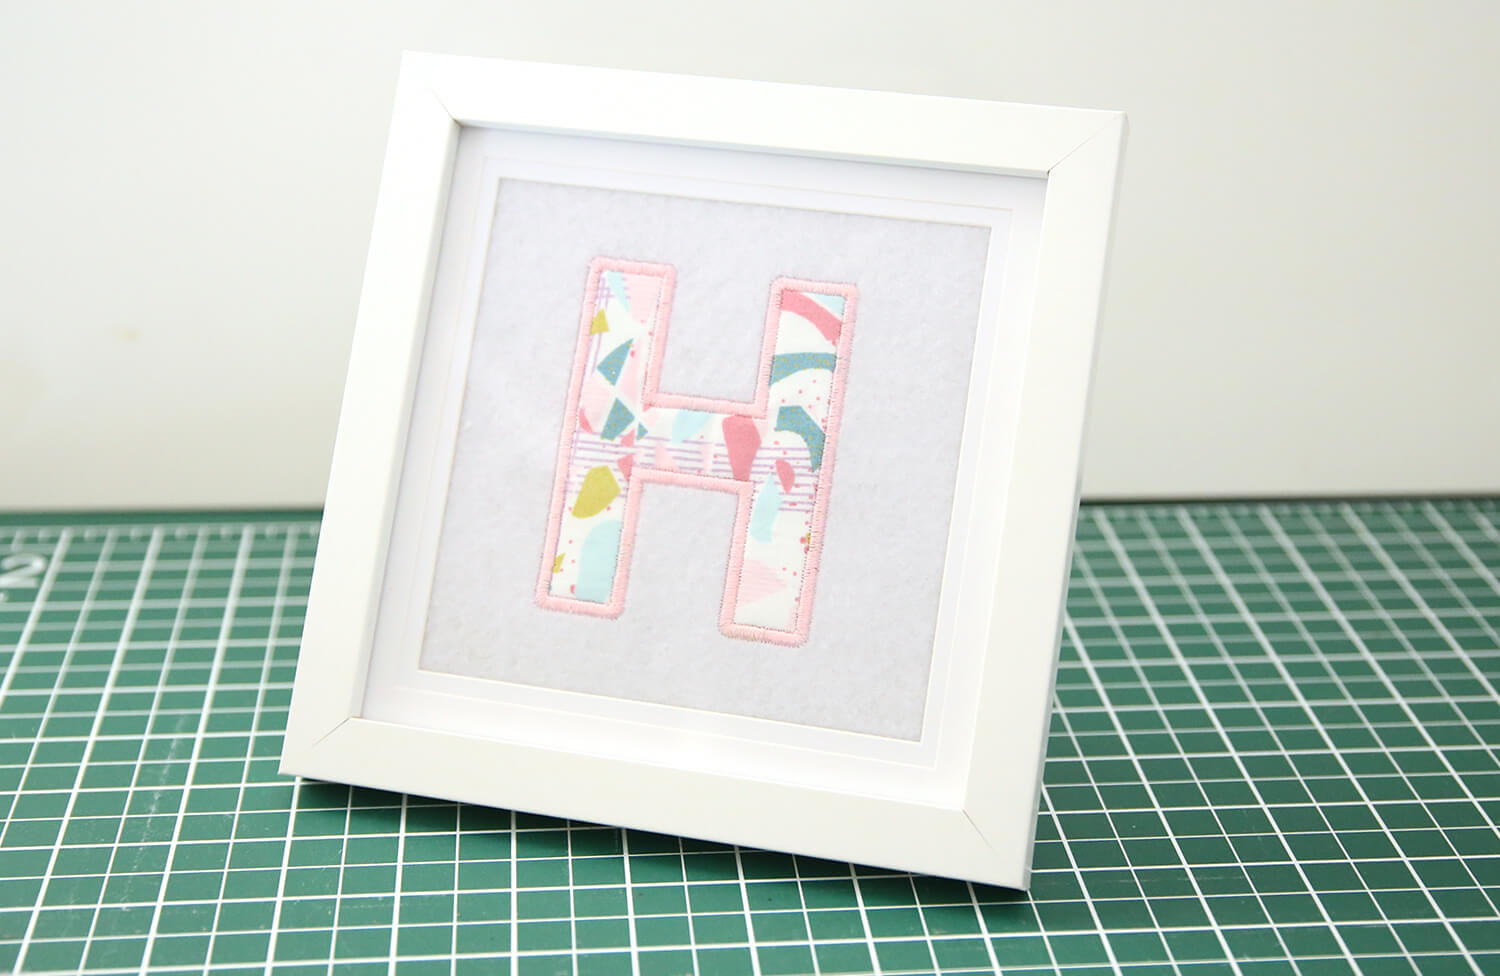
Now that you know how to create a simple appliqué letter, you can use the same technique to personalise garments such as jumpers, T-shirts, tote bags, and more. It’s a great way to customise clothing, create matching family outfits, or add a handmade touch to gifts.
Free Embroidery Designs
We're excited to offer our free Echidna designs available for download. These free designs are perfect for those at a beginner or an advanced level. Add these designs to your stash and create incredible embroidery!
View all free designs >
Sewing, Quilting and Embroidery Machines
Interested in learning how to sew, quilt or embroider? Take a look at the innovative Brother machines available for purchase at Echidna Sewing. Wherever possible we will beat any deal and you will always receive ongoing service and support!
Find out more >
Learn to Sew or Embroider with Echidna Sewing
Come along to our fun-filled classes to learn more about sewing, embroidery and crafting. Classes cater for all skill levels, whether you're just starting out or already have advanced knowledge.
Find out more >
Echidna project material/ fabric requirements are an indication only and can seem to be generous. This has been intentional. Should you make a cutting or embroidery mistake you will have sufficient fabric to rectify your error.


