All Projects
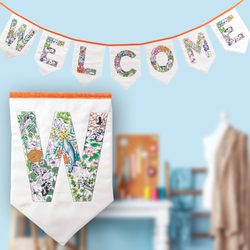


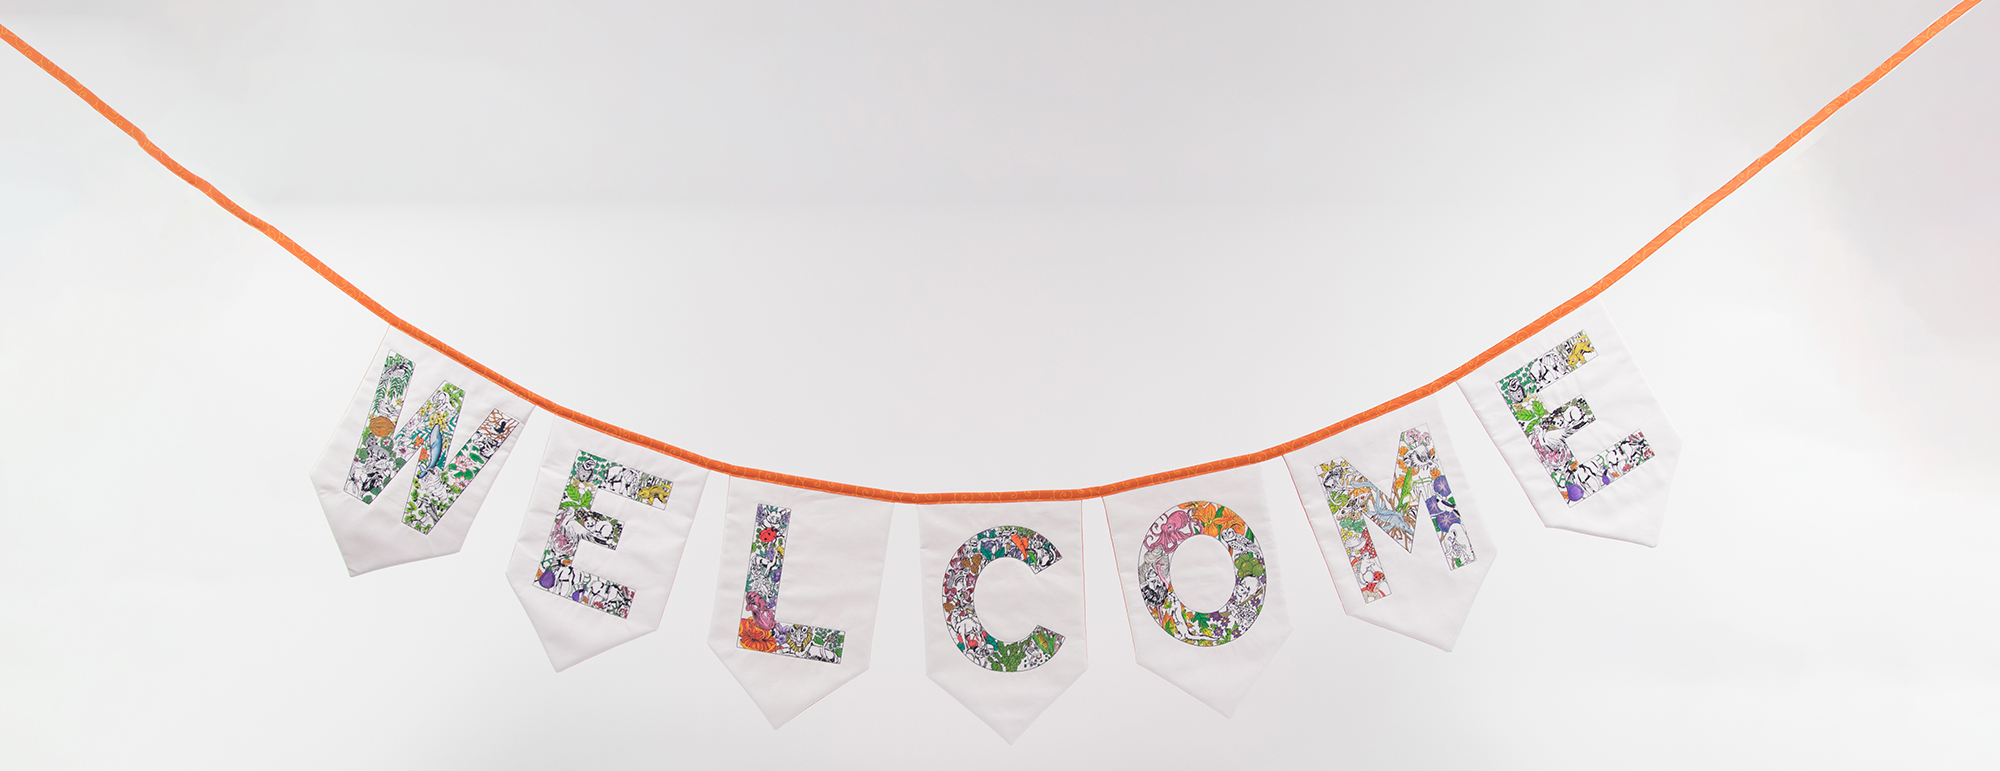
Welcome Banner
Using beautiful Alphabet designs, you can create this awesome 'Welcome' banner for your home, event or any special occasion. It makes a stunning decoration and what a great way to incorporate animals and letters!
Total banner length: 320cm
Finished size of each banner letter: 9" x 14" (to the point)
Requirements
Designs
We created this welcome banner using Nature's Garden Alphabet Designs by Outback Embroidery but you can complete this project using any designs.
Fabric & batting
- 2 x metres - Cream Homespun 16” x 24” (embroidery blocks)
- 25cm binding fabric - 3 x 2.5” strips cut across the width of the fabric (WOF)
- 1 x metre Backing Fabric
- 1x metre Battilizer
Stabilizers for machine embroidery
- Shape to create 7 x pieces 10” x 14”
- Fusible Softaway/Tearaway 7 x pieces 10" x 14”
General accessories used
- Softlight Mercerized Cotton # MC3-001 (embroidered letters)
- Black Prewound Bobbins
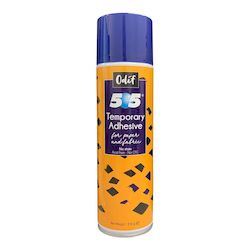
- 505 spray
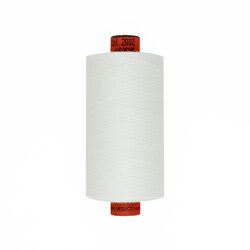
- White Rasant Thread
- Rasant thread to match the binding & backing fabric
- Walking Foot
- Rotating cutting mat
- Olfa Cutter
- Assorted Pilot Pintor colouring pens
Method
1. Iron “Shape to Create” onto the wrong side of each embroidery block fabric.
2. Iron “Fusible Softaway/Tearaway” onto the rear of each embroidery block fabric.
3. Hoop the fabric and stabiliser in the 9” x 14” hoop.
4. Load the letter design & increase the height of each letter to 8” or 207mm.
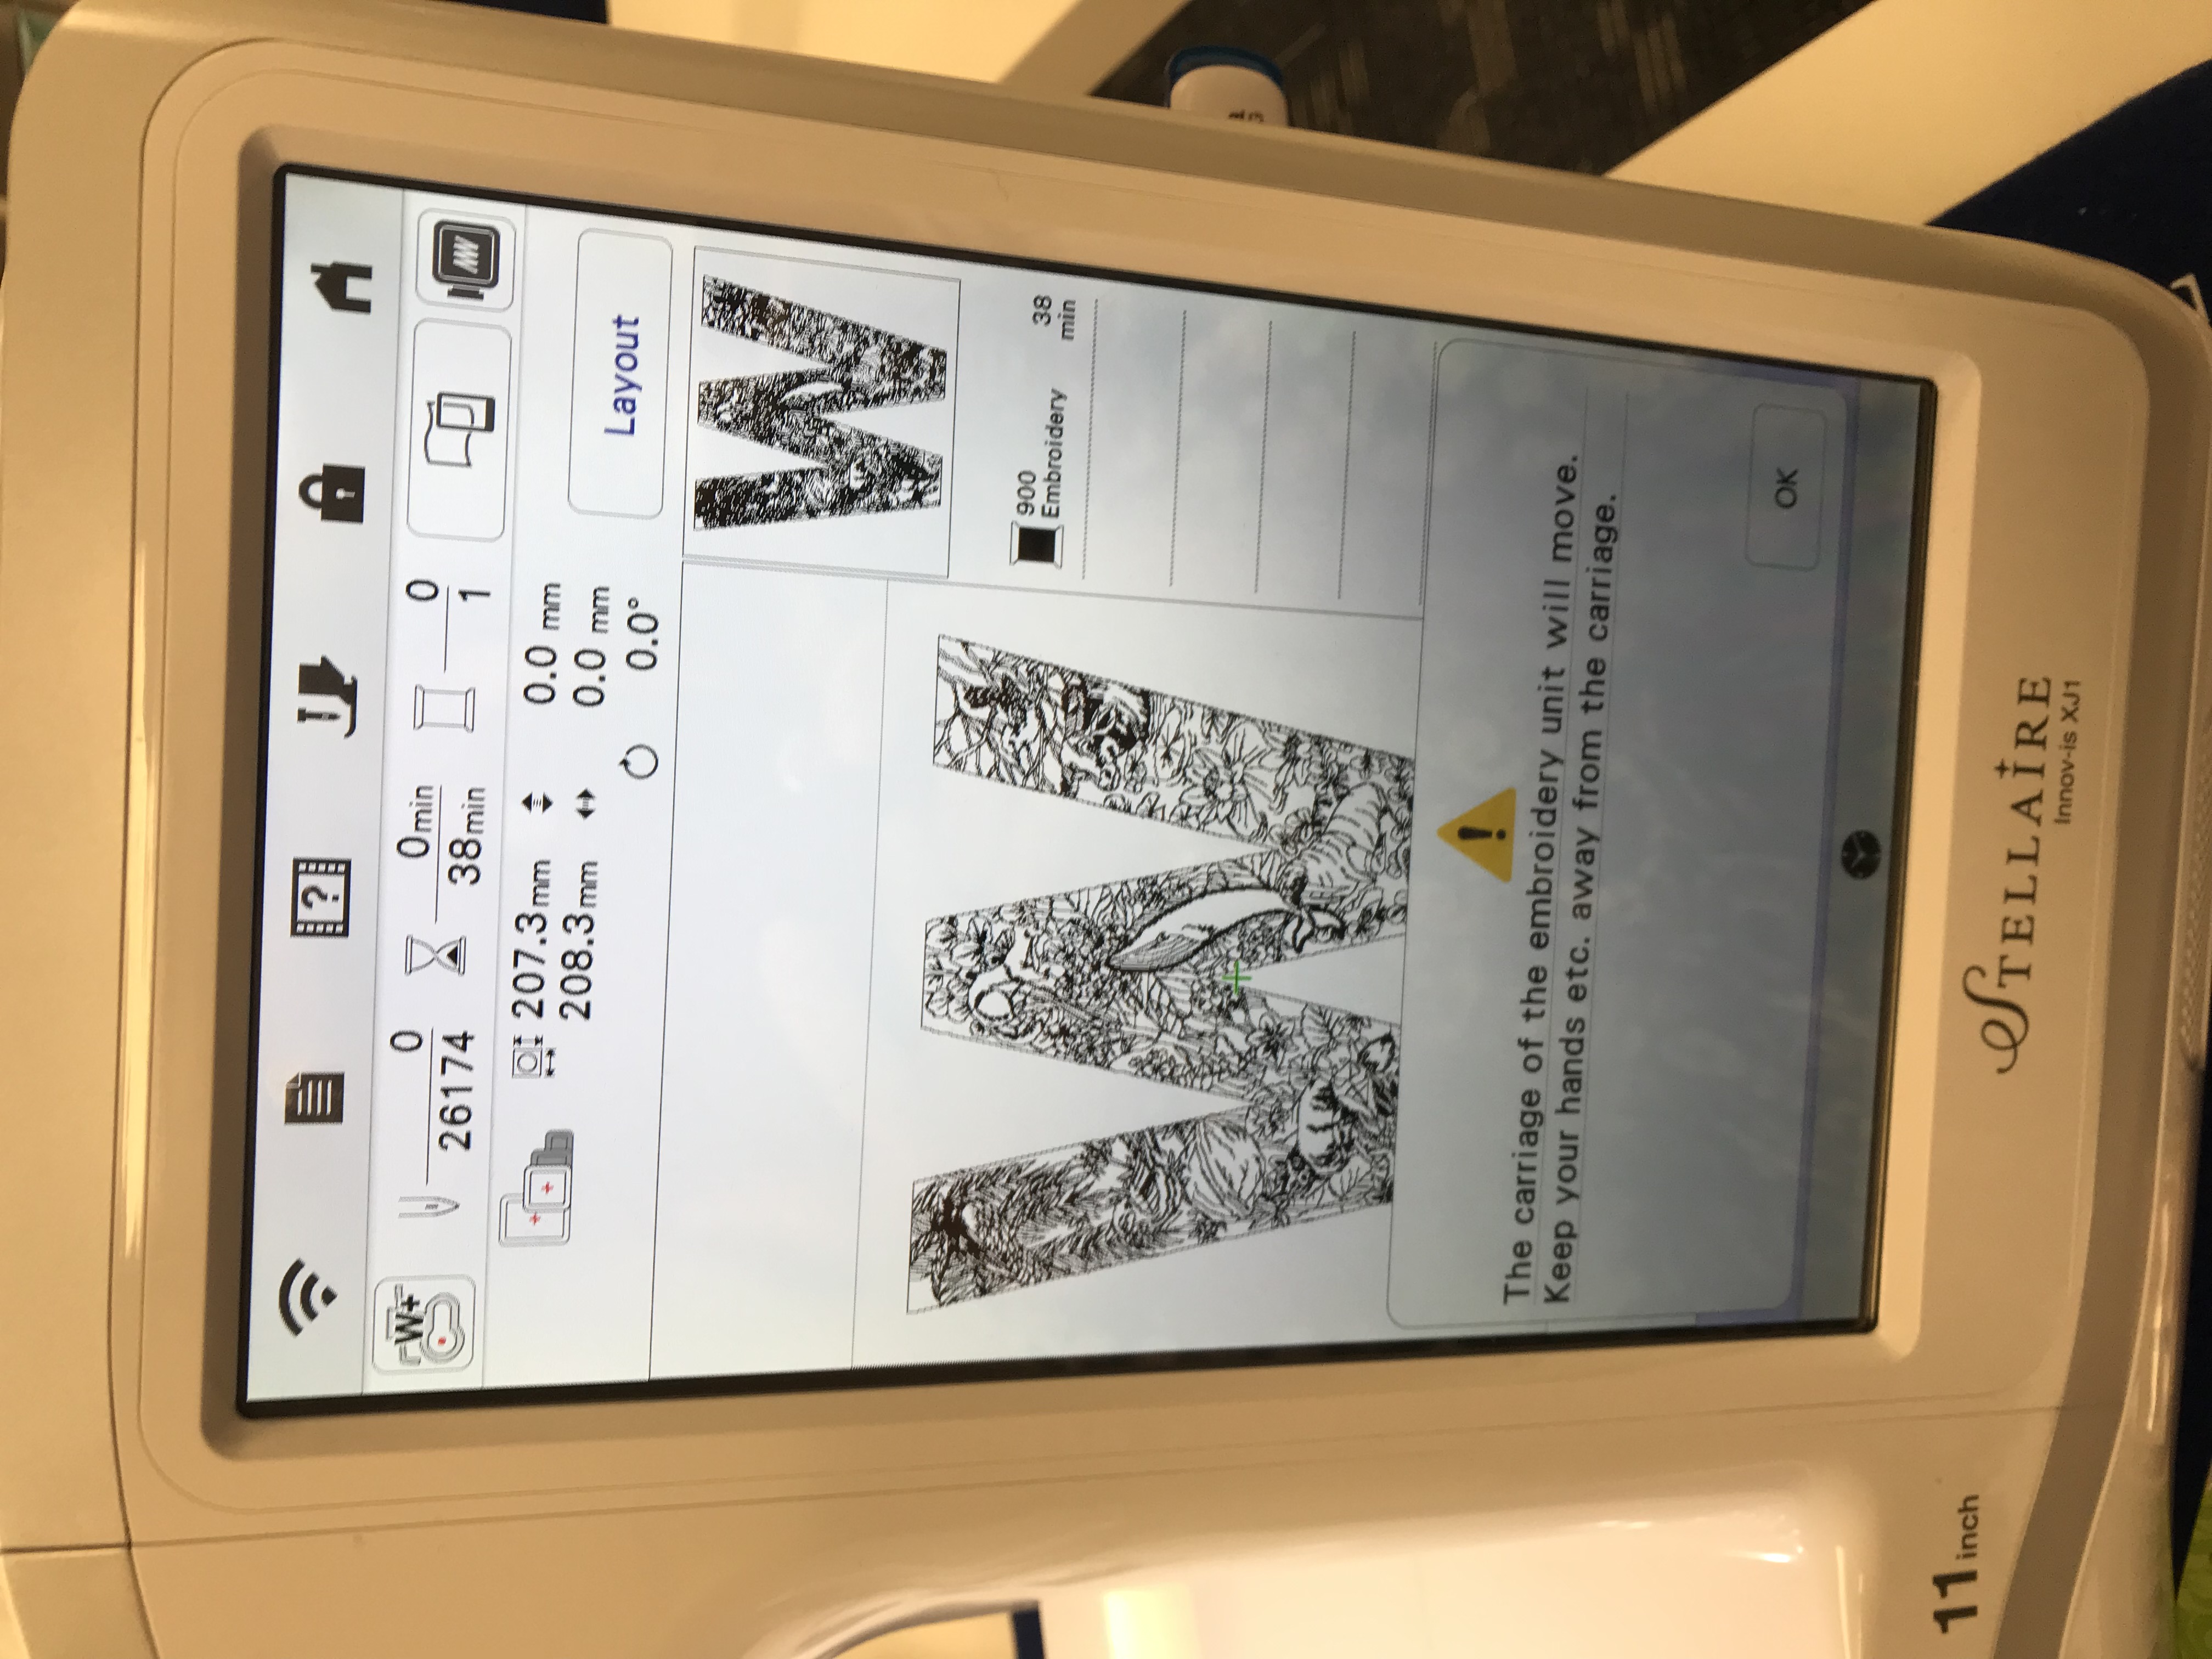
5. Thread the machine with black Softlight thread and change the prewound bobbin thread to black.
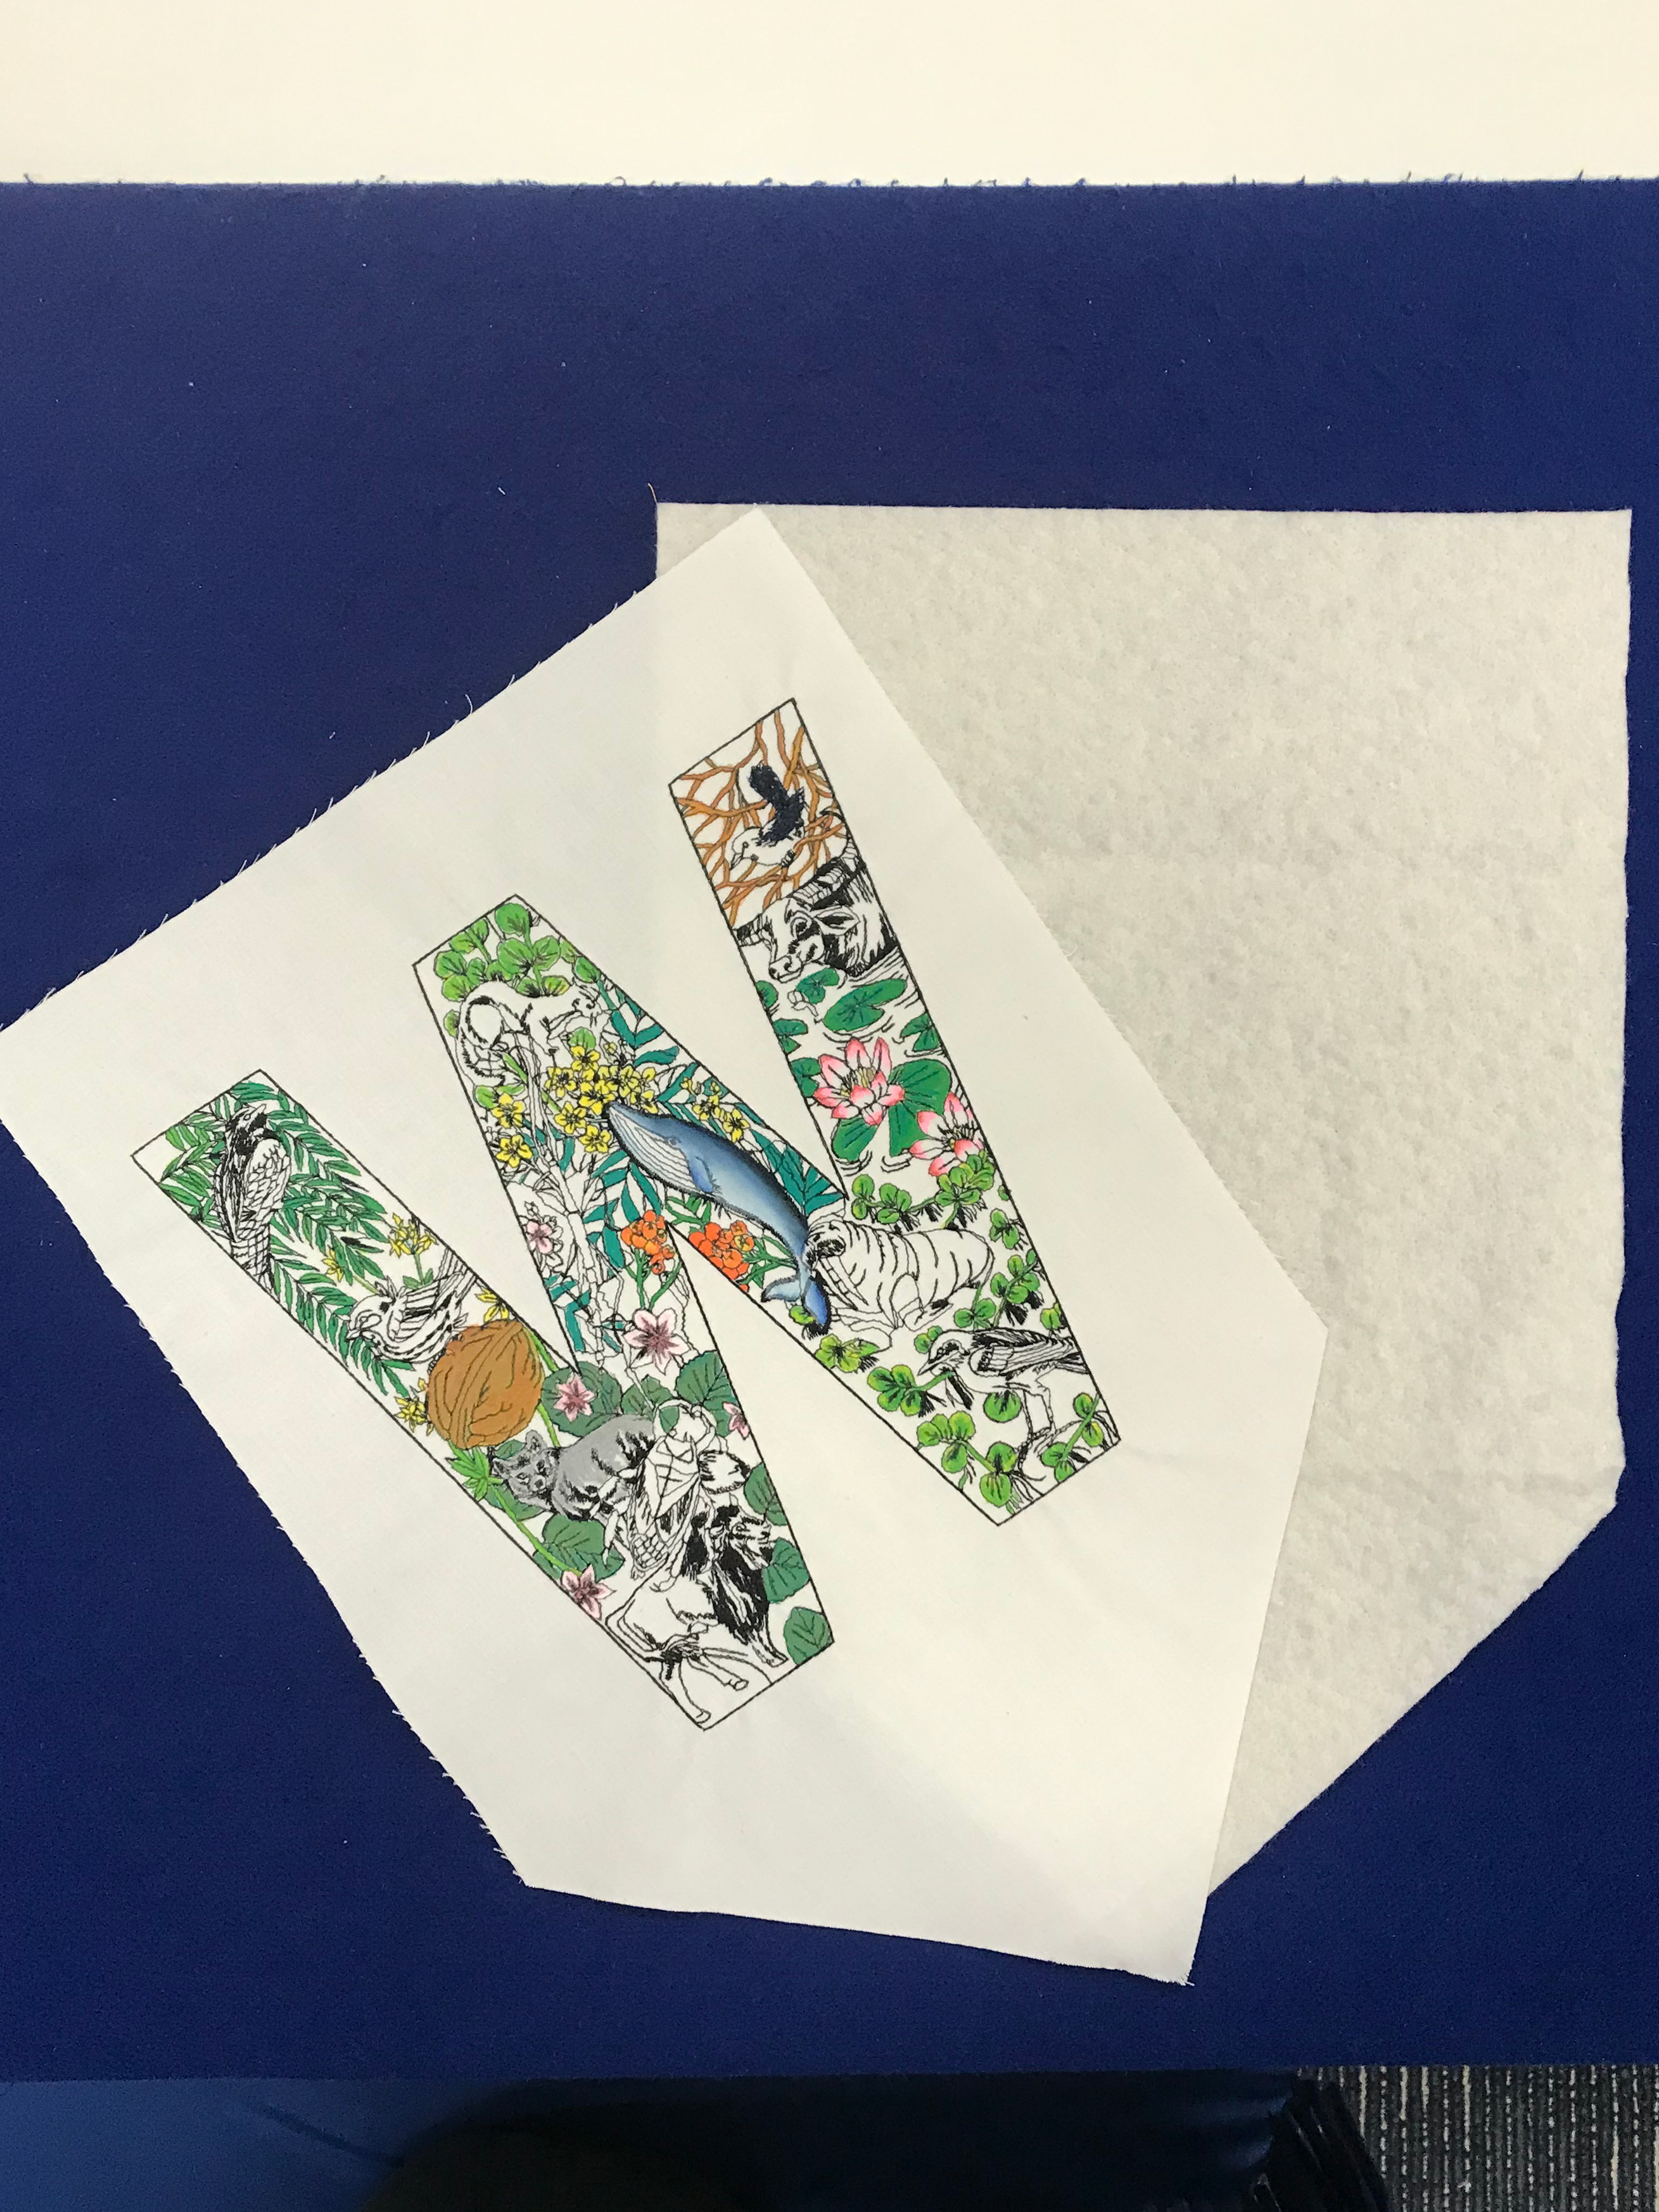
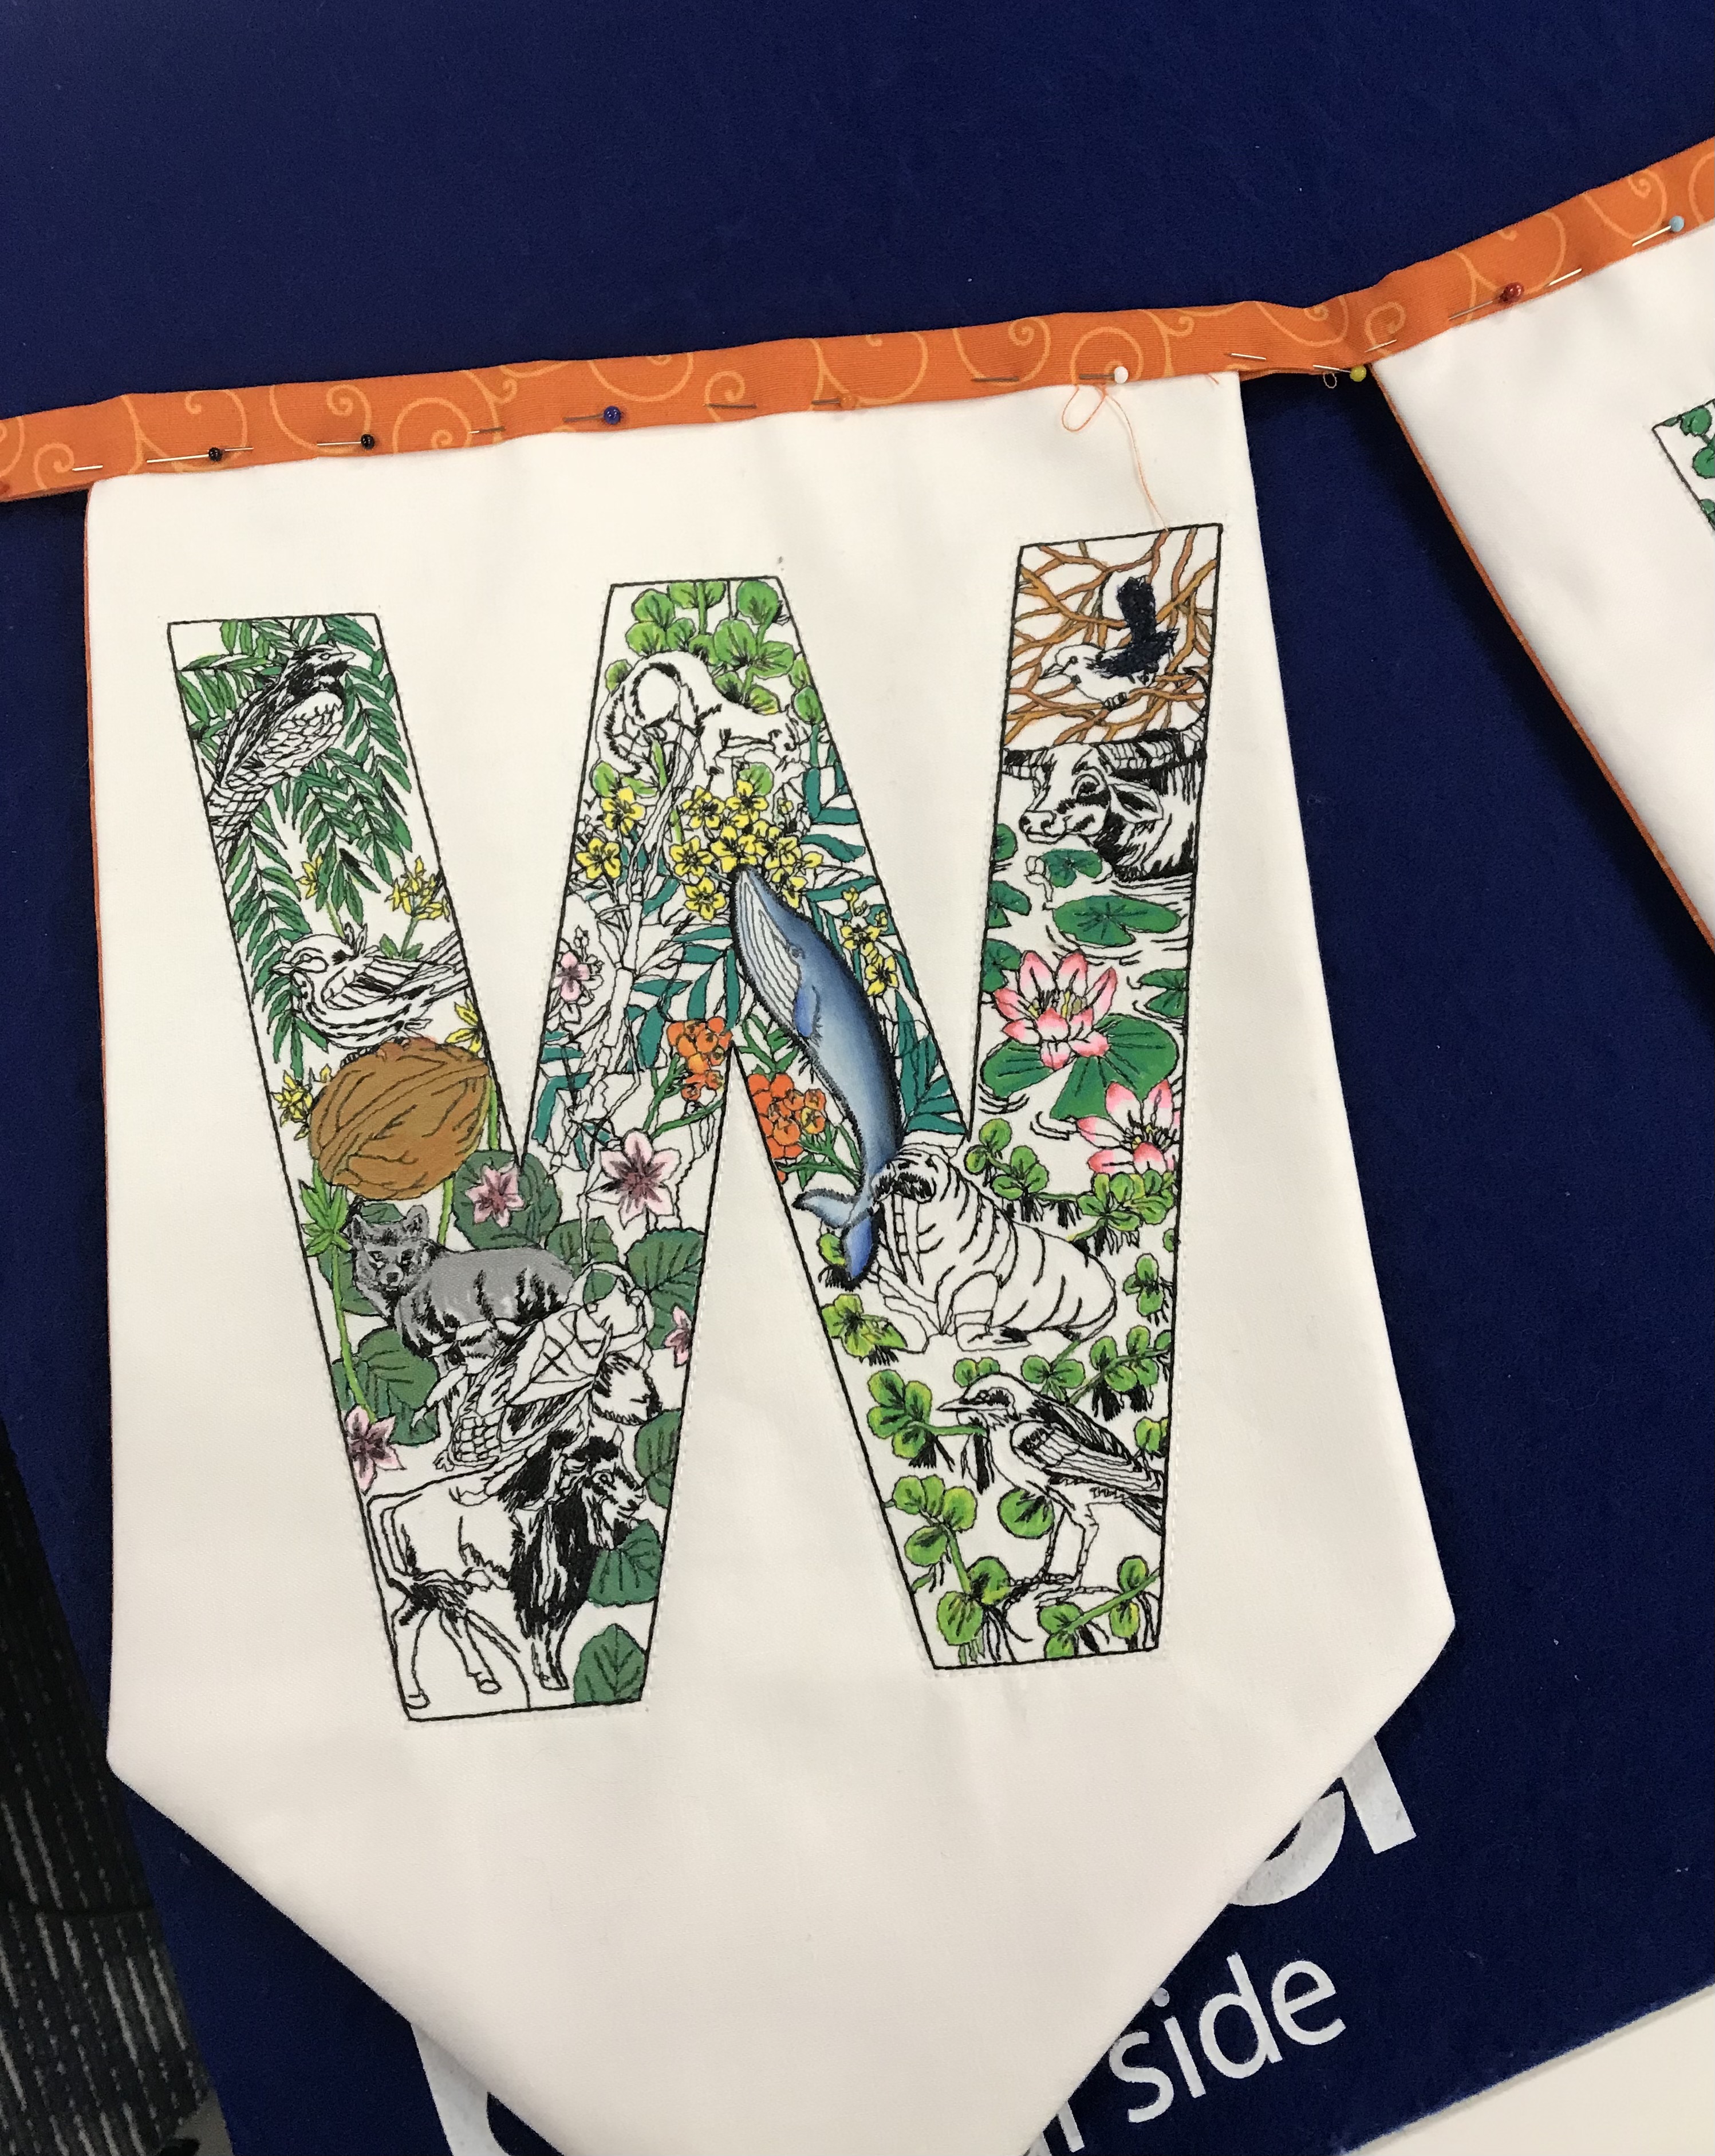
6. Complete the embroidery for the letters to spell “W E L C O M E”.
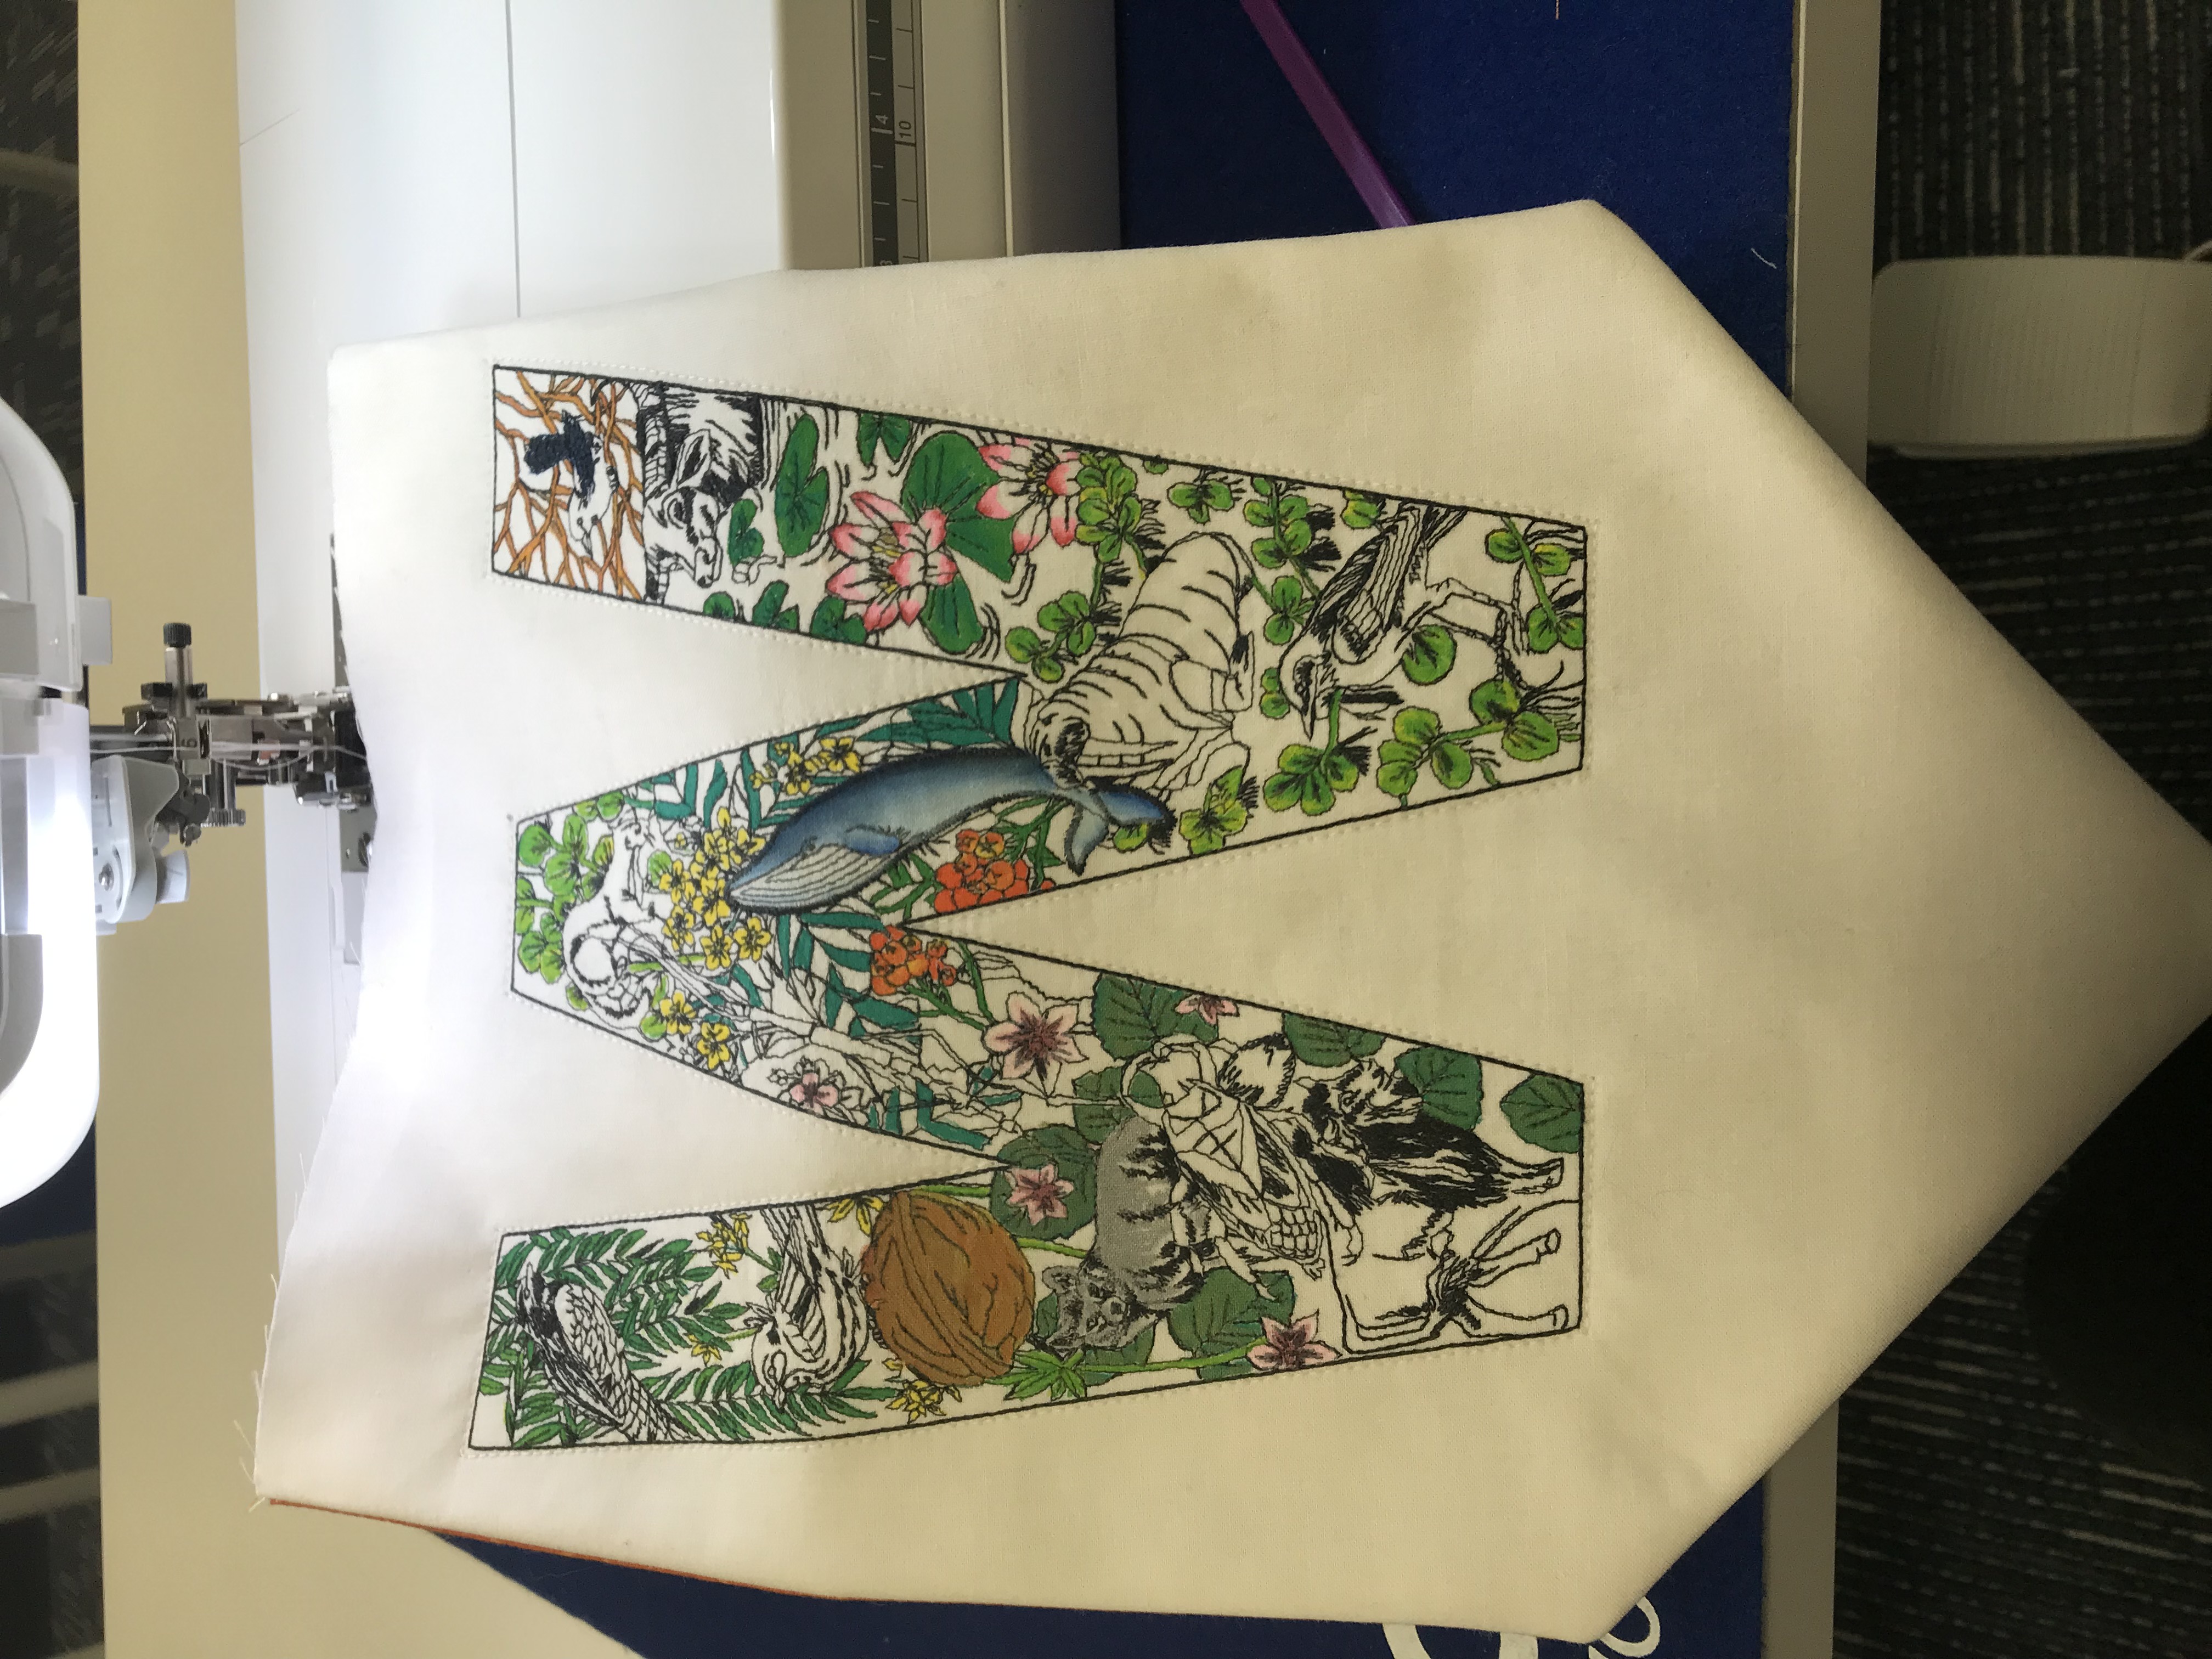
7. Remove the embroidery from the hoop and using Pintor Pilot pens, colour in as desired. Press the front of the embroidery to heat seal the colours.

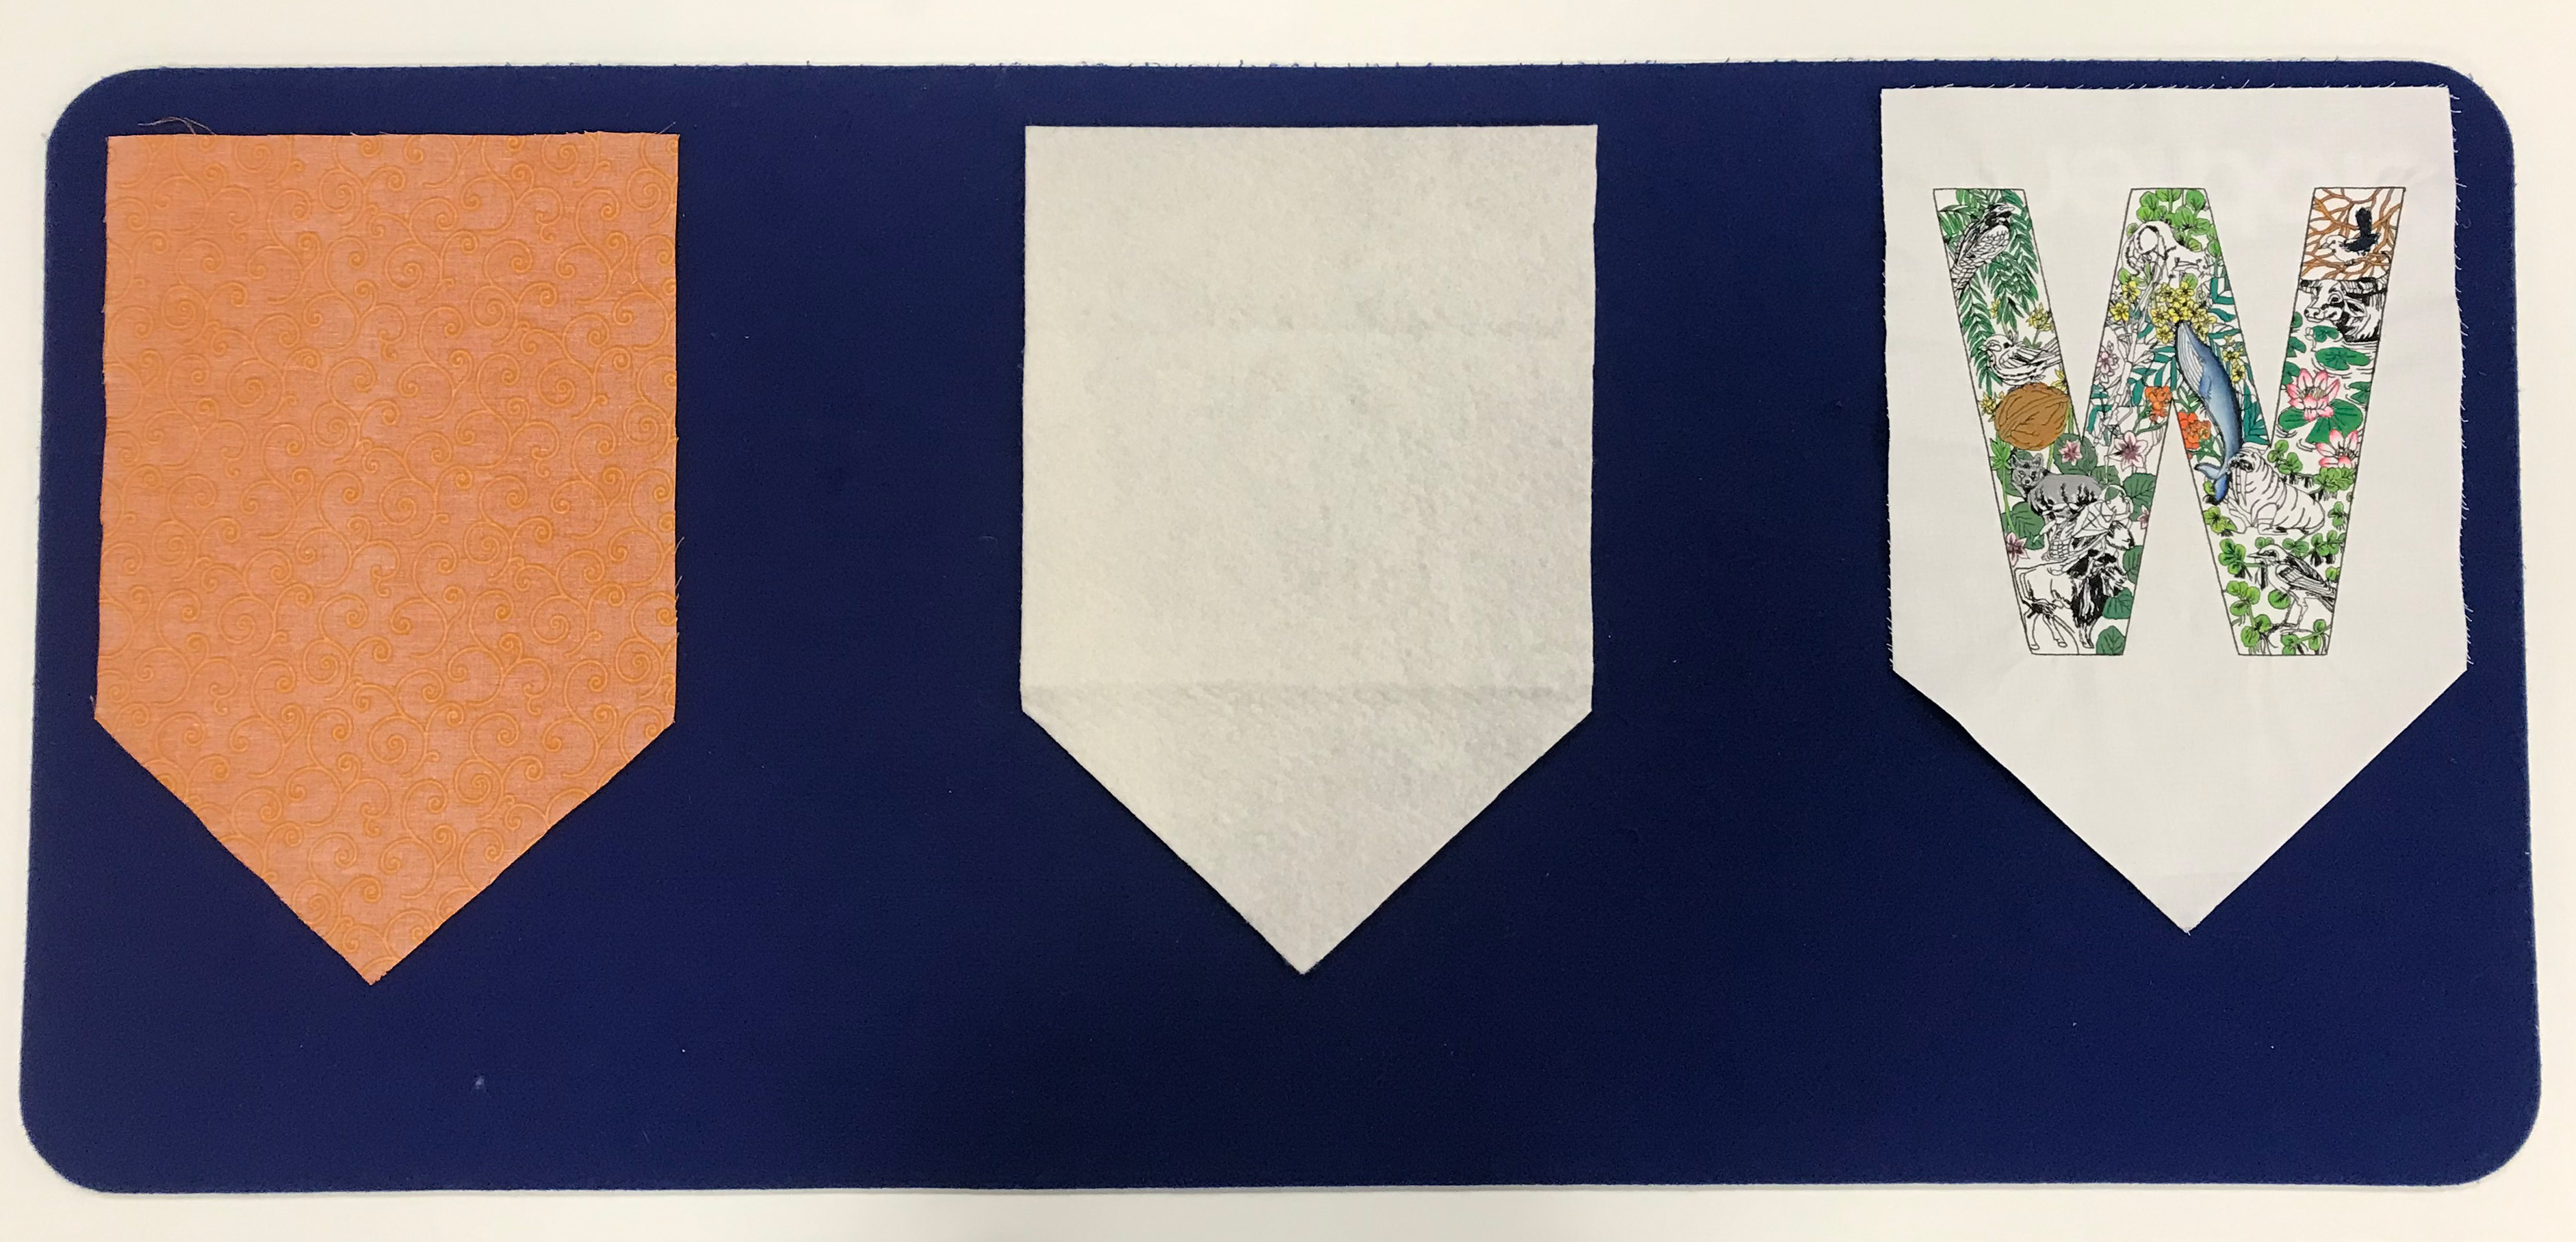
8. Using the template provided, cut each embroidery block, battilizer & backing fabric to create the flag shape for each letter.
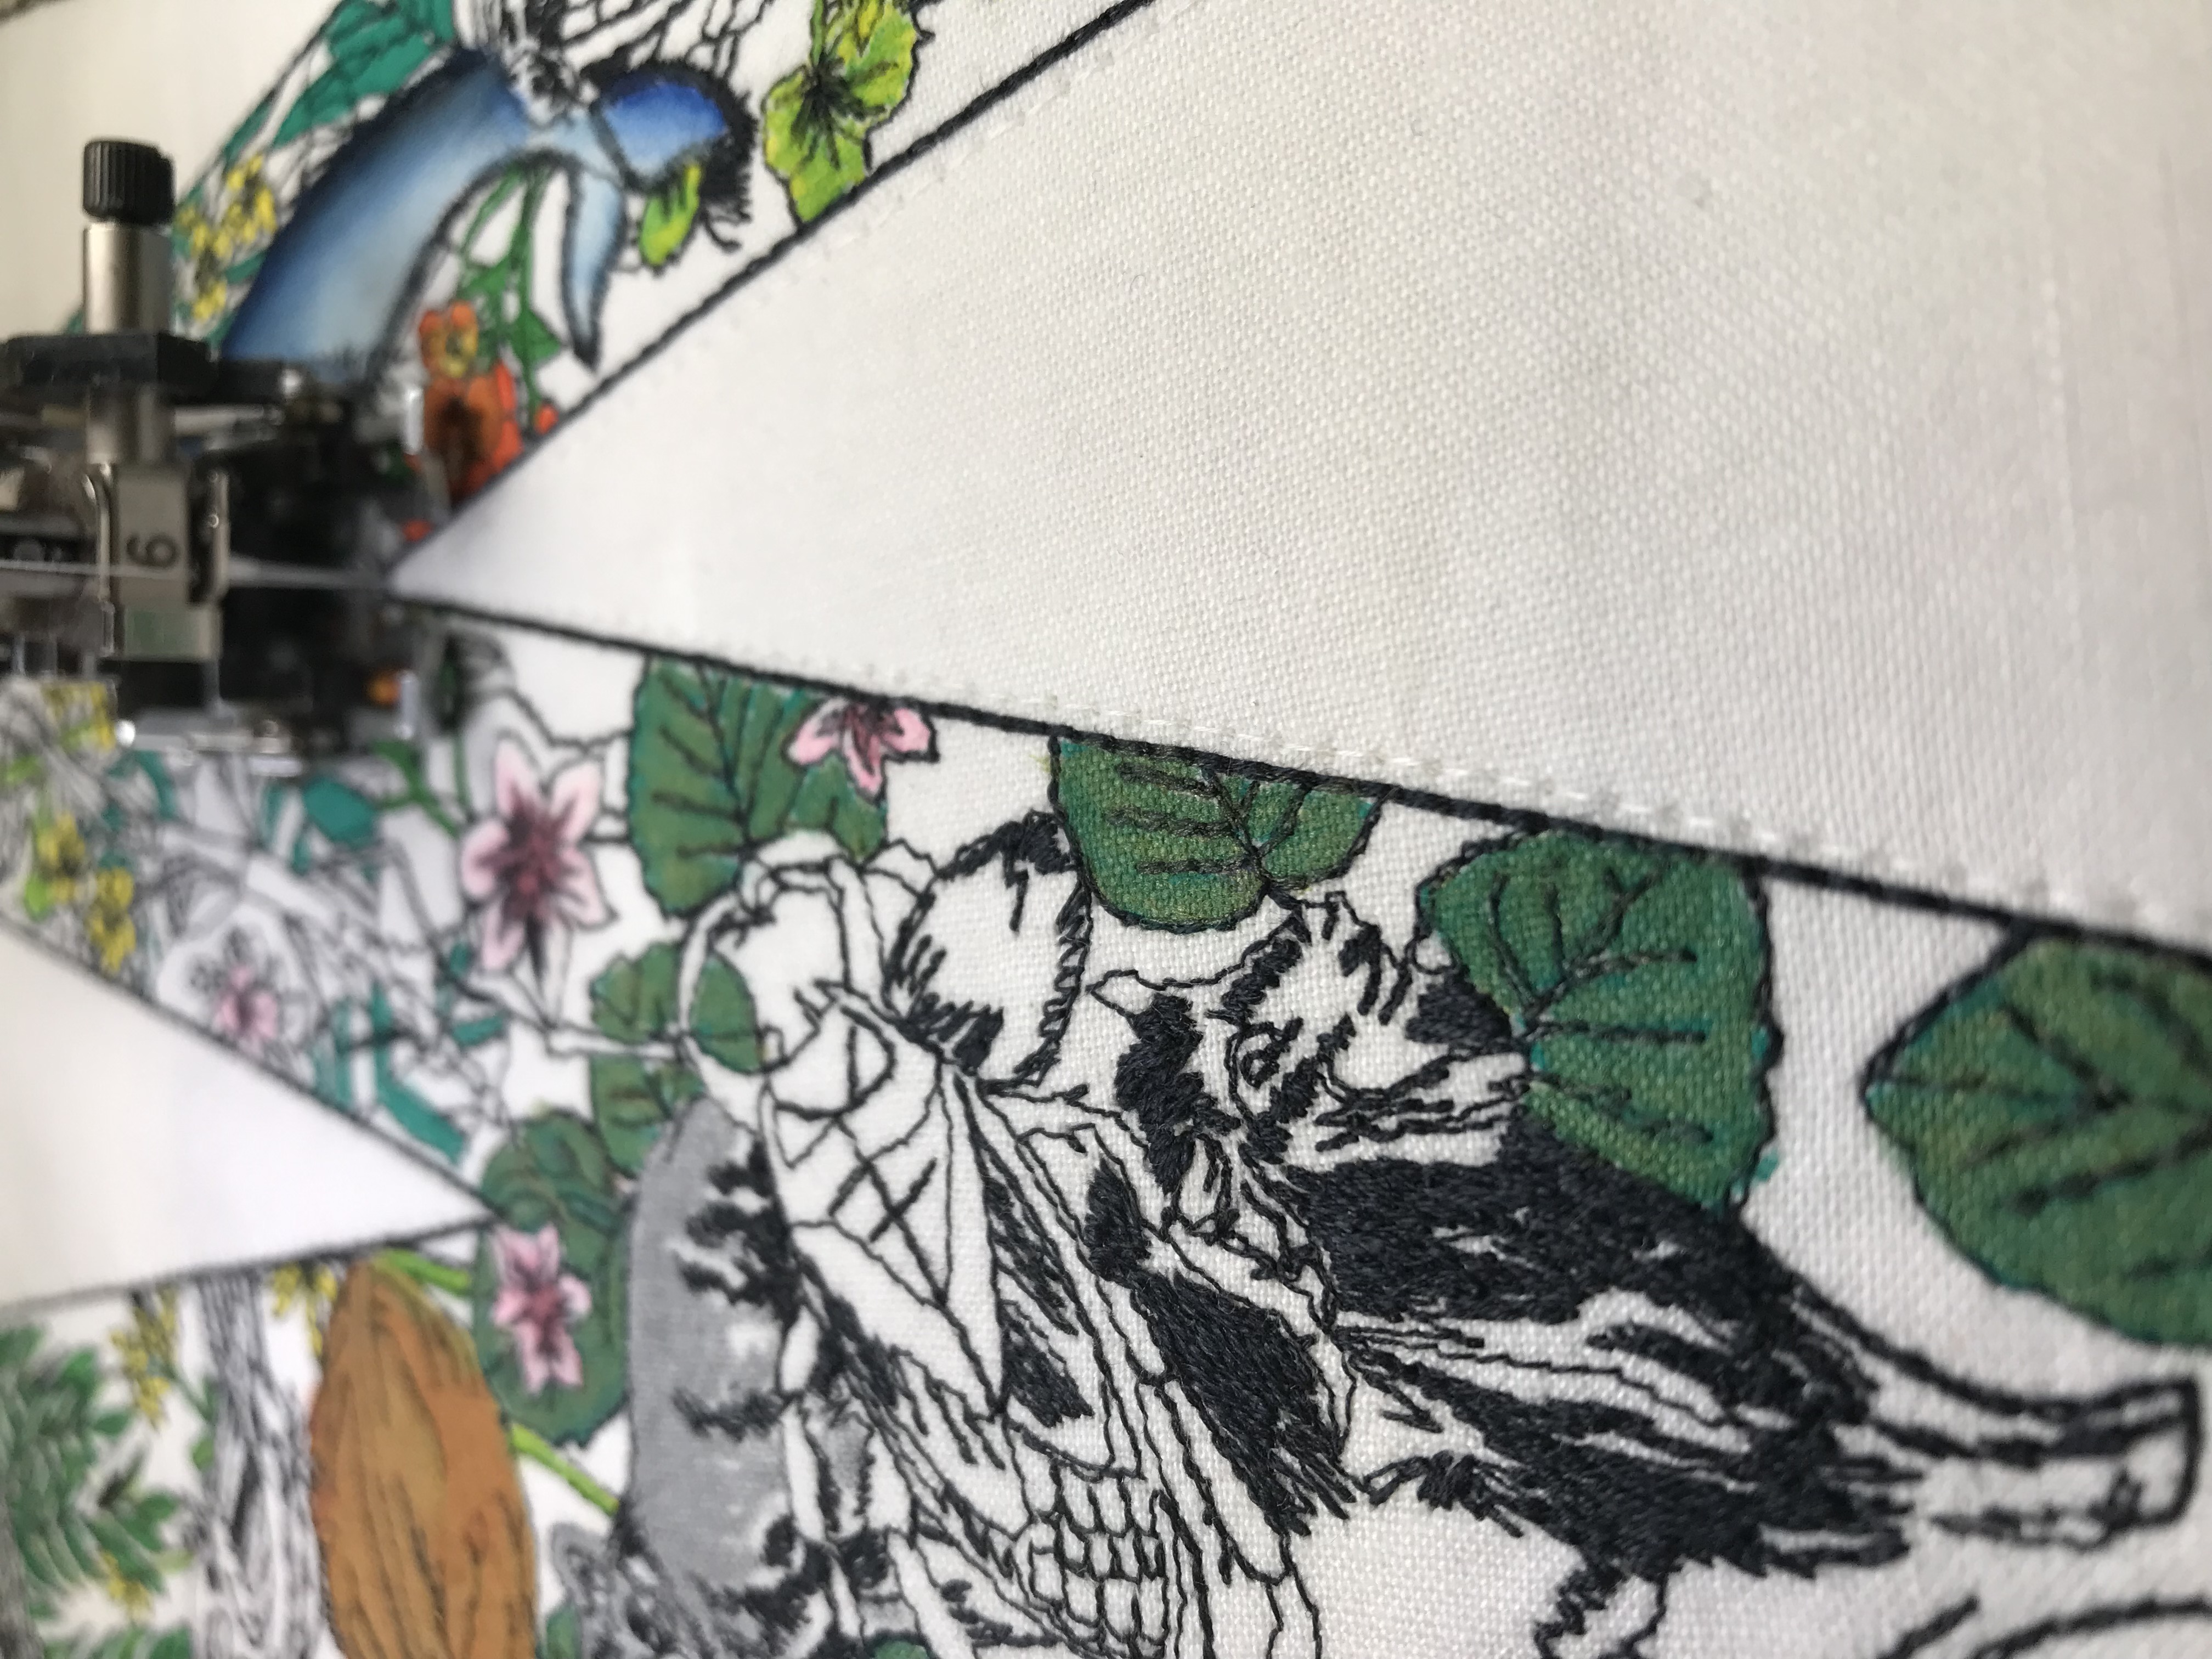
9. Place an embroidered letter and a piece of batting together and using your walking foot, stitch ⅛” around the outside of each letter to secure the two layers together.
10. Lay the backing fabric onto the top of the embroidered letter, right sides together. Using a ½” seam and starting at the top of one side of the flag shape, stitch around the outside. Make sure the top of the flag shape remains open.
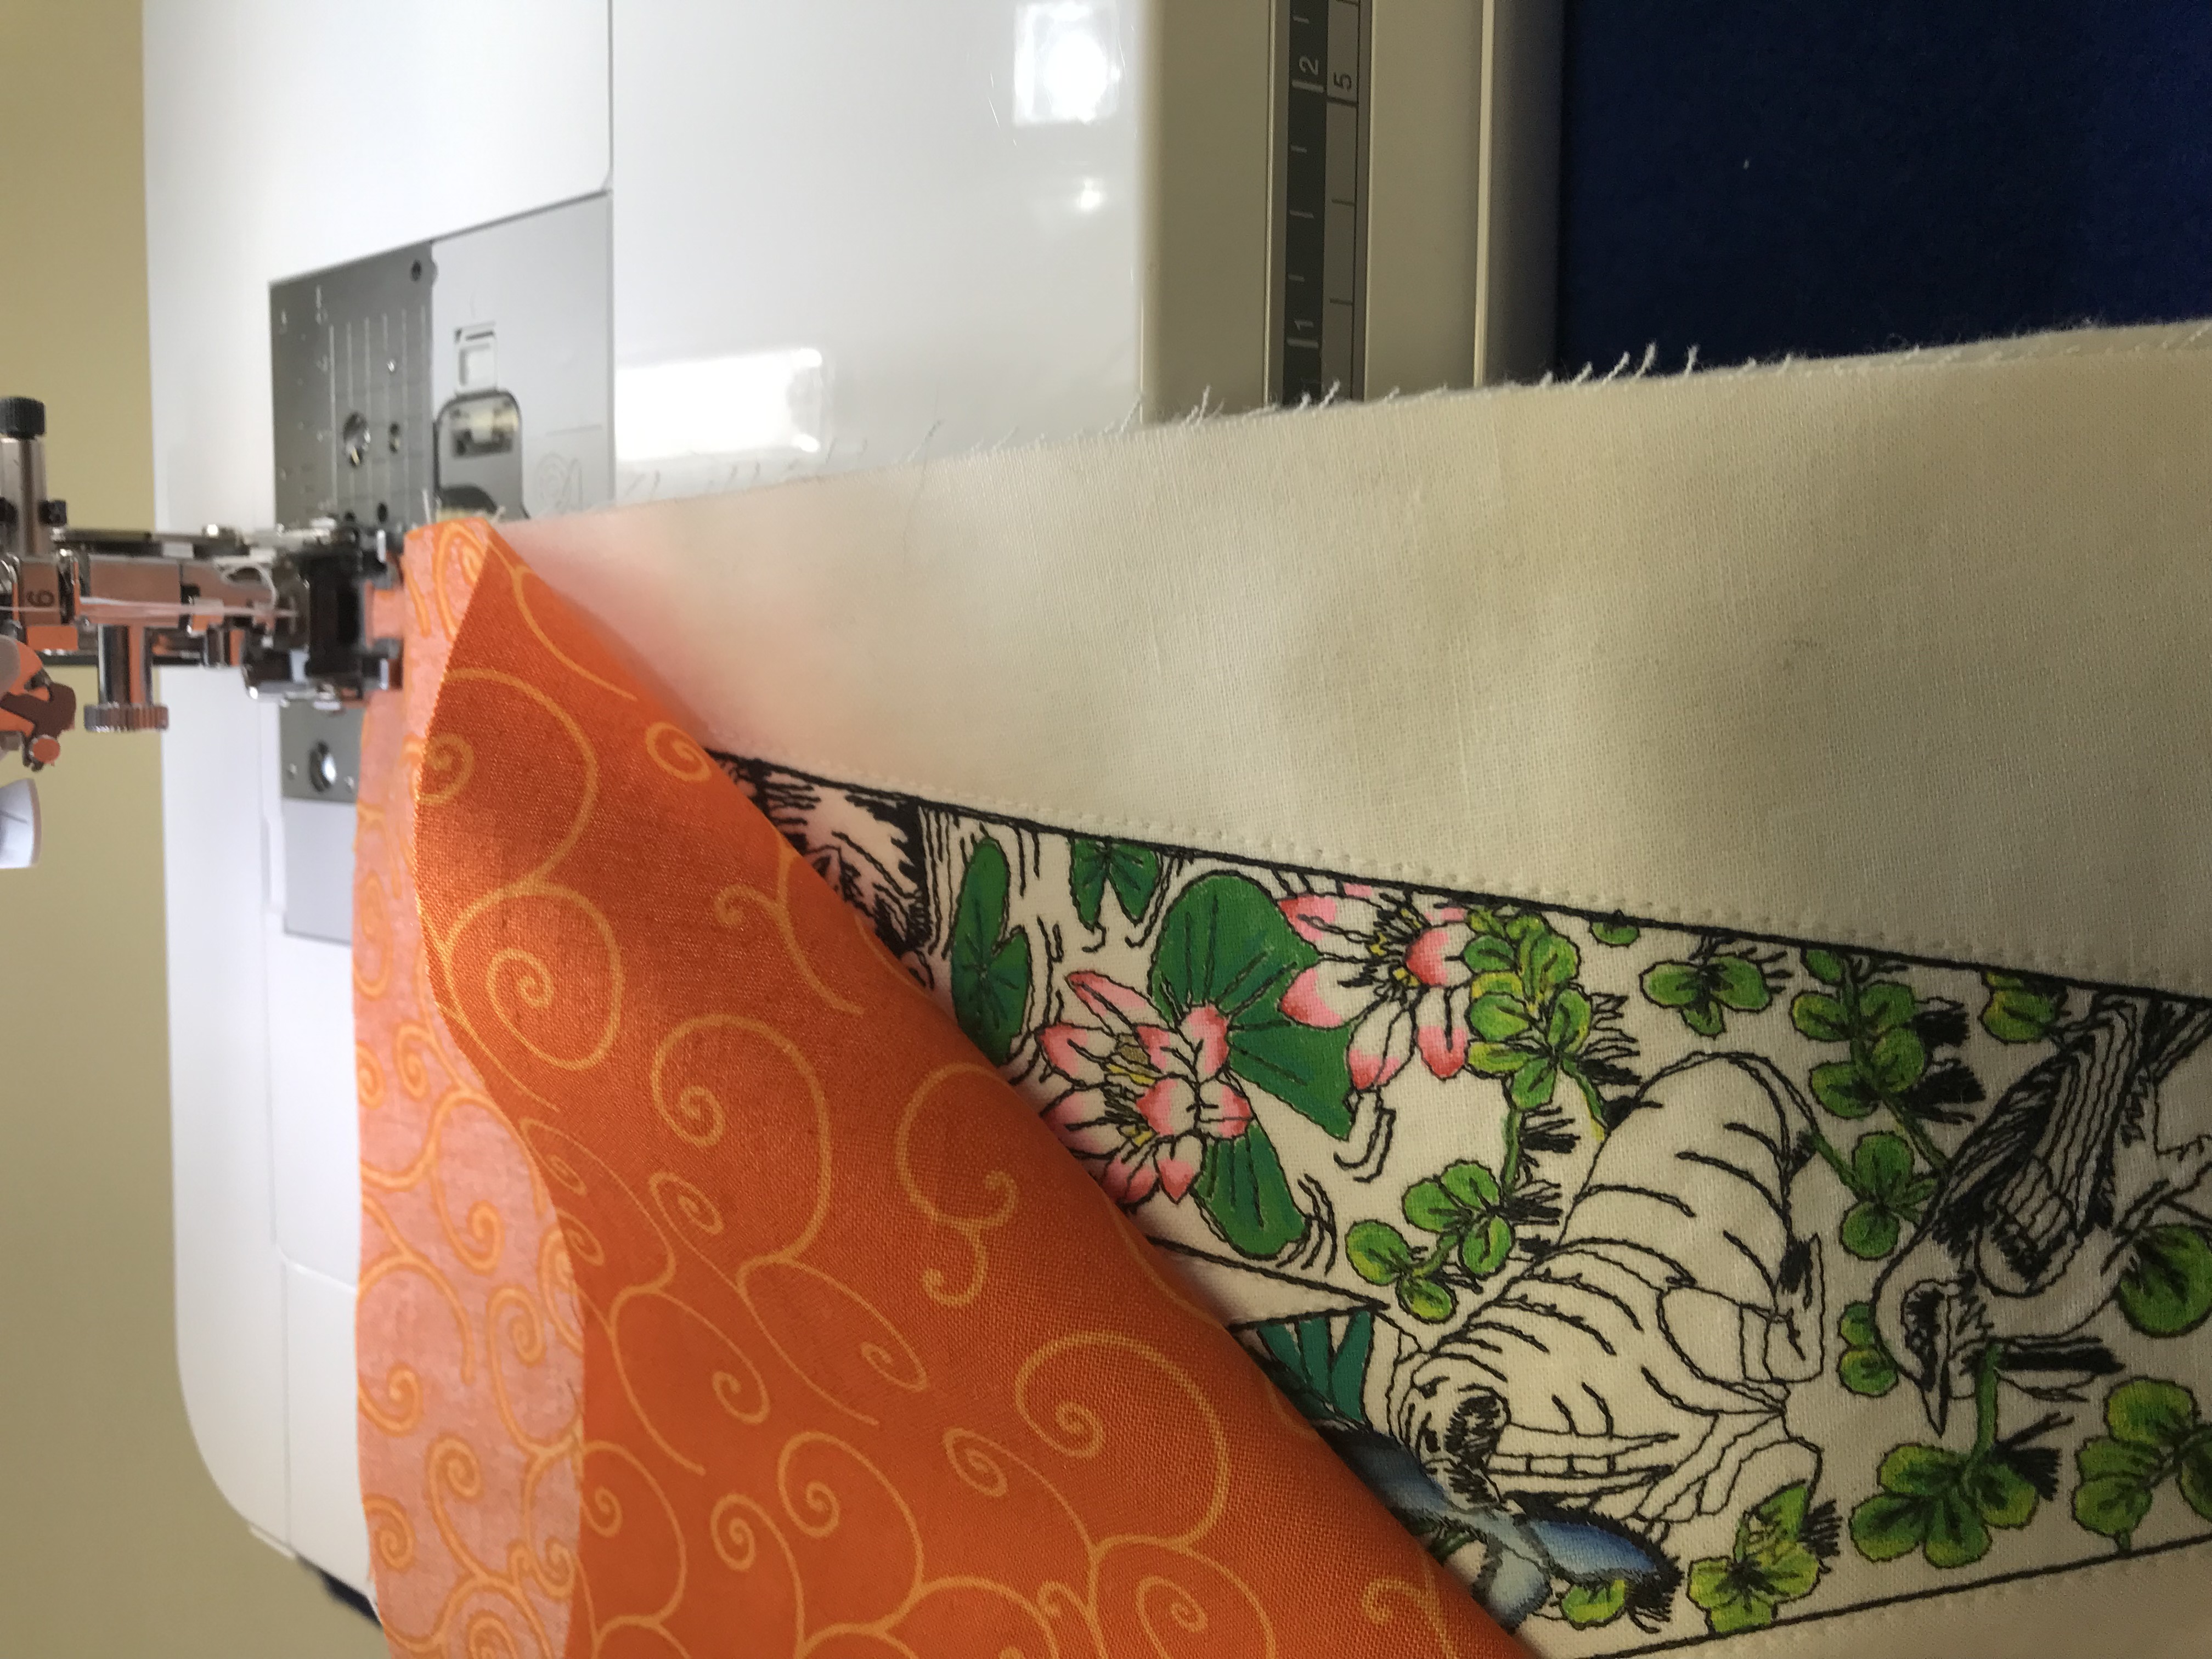
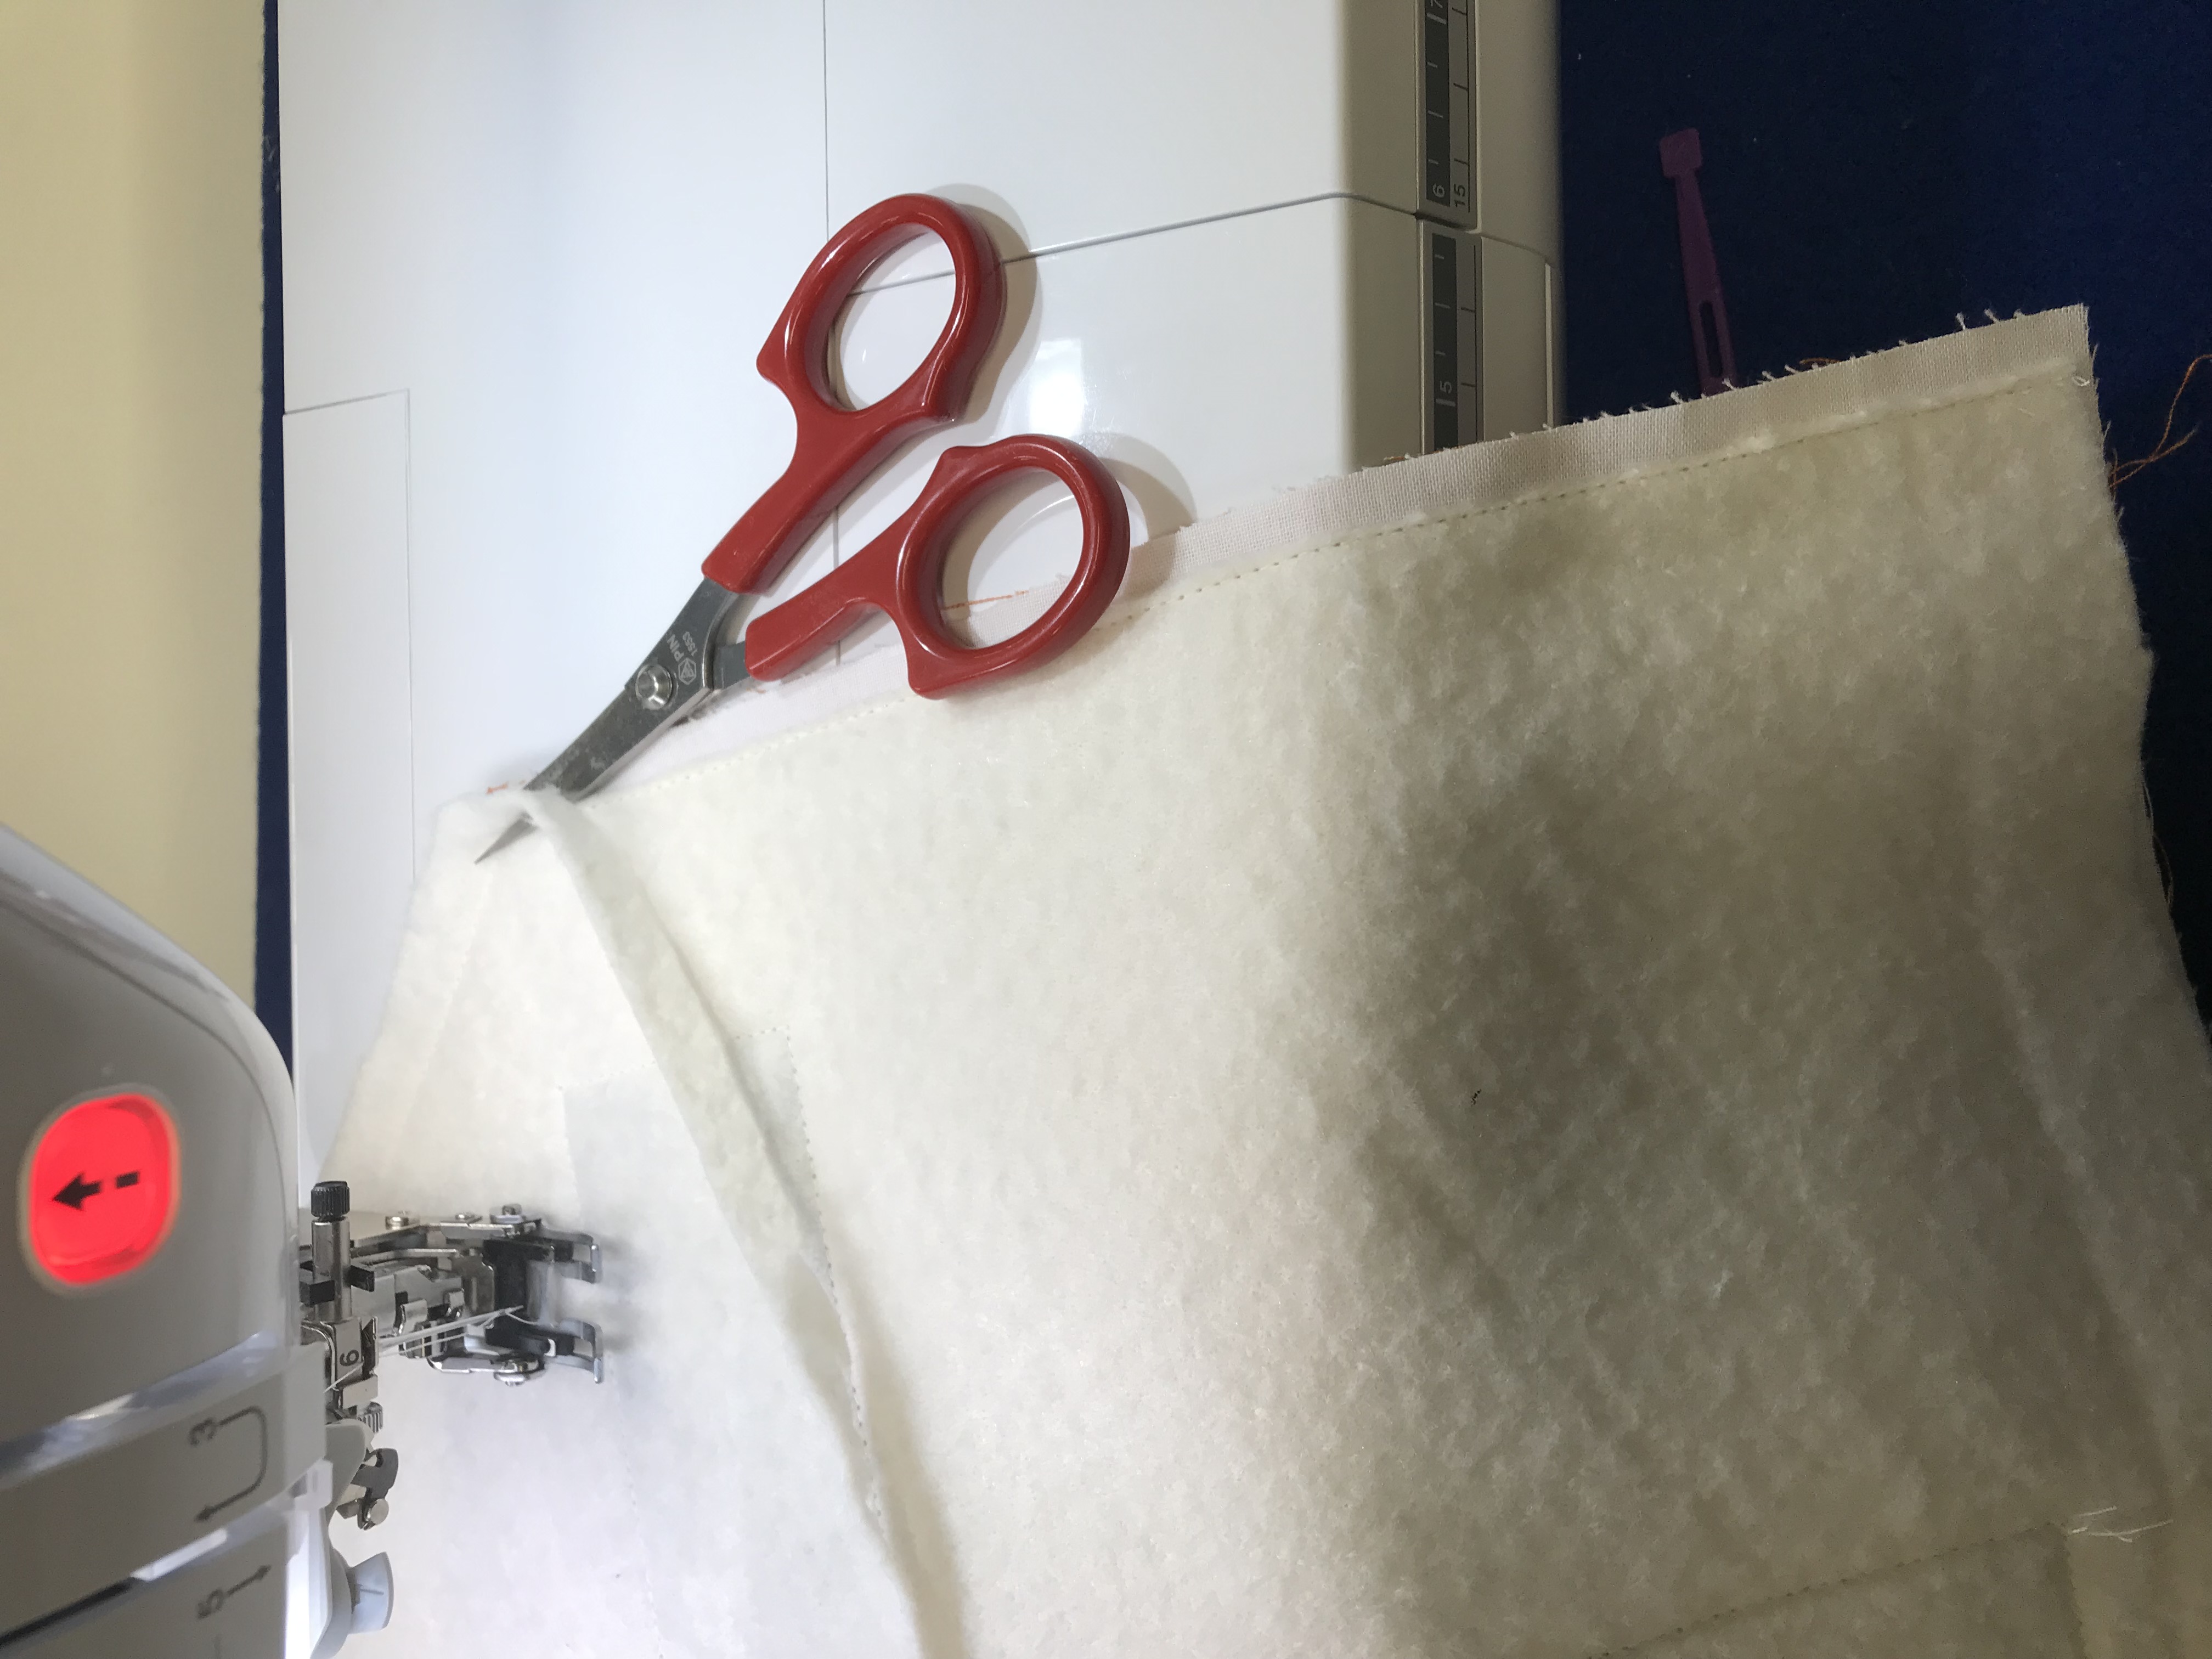
11. Trim the batting back to the seam line on the inside of the flag.
12. Flip each letter to the right side, taking care to poke the corners and V to a point.
13. Repeat this process until all the letters have their backings in place.
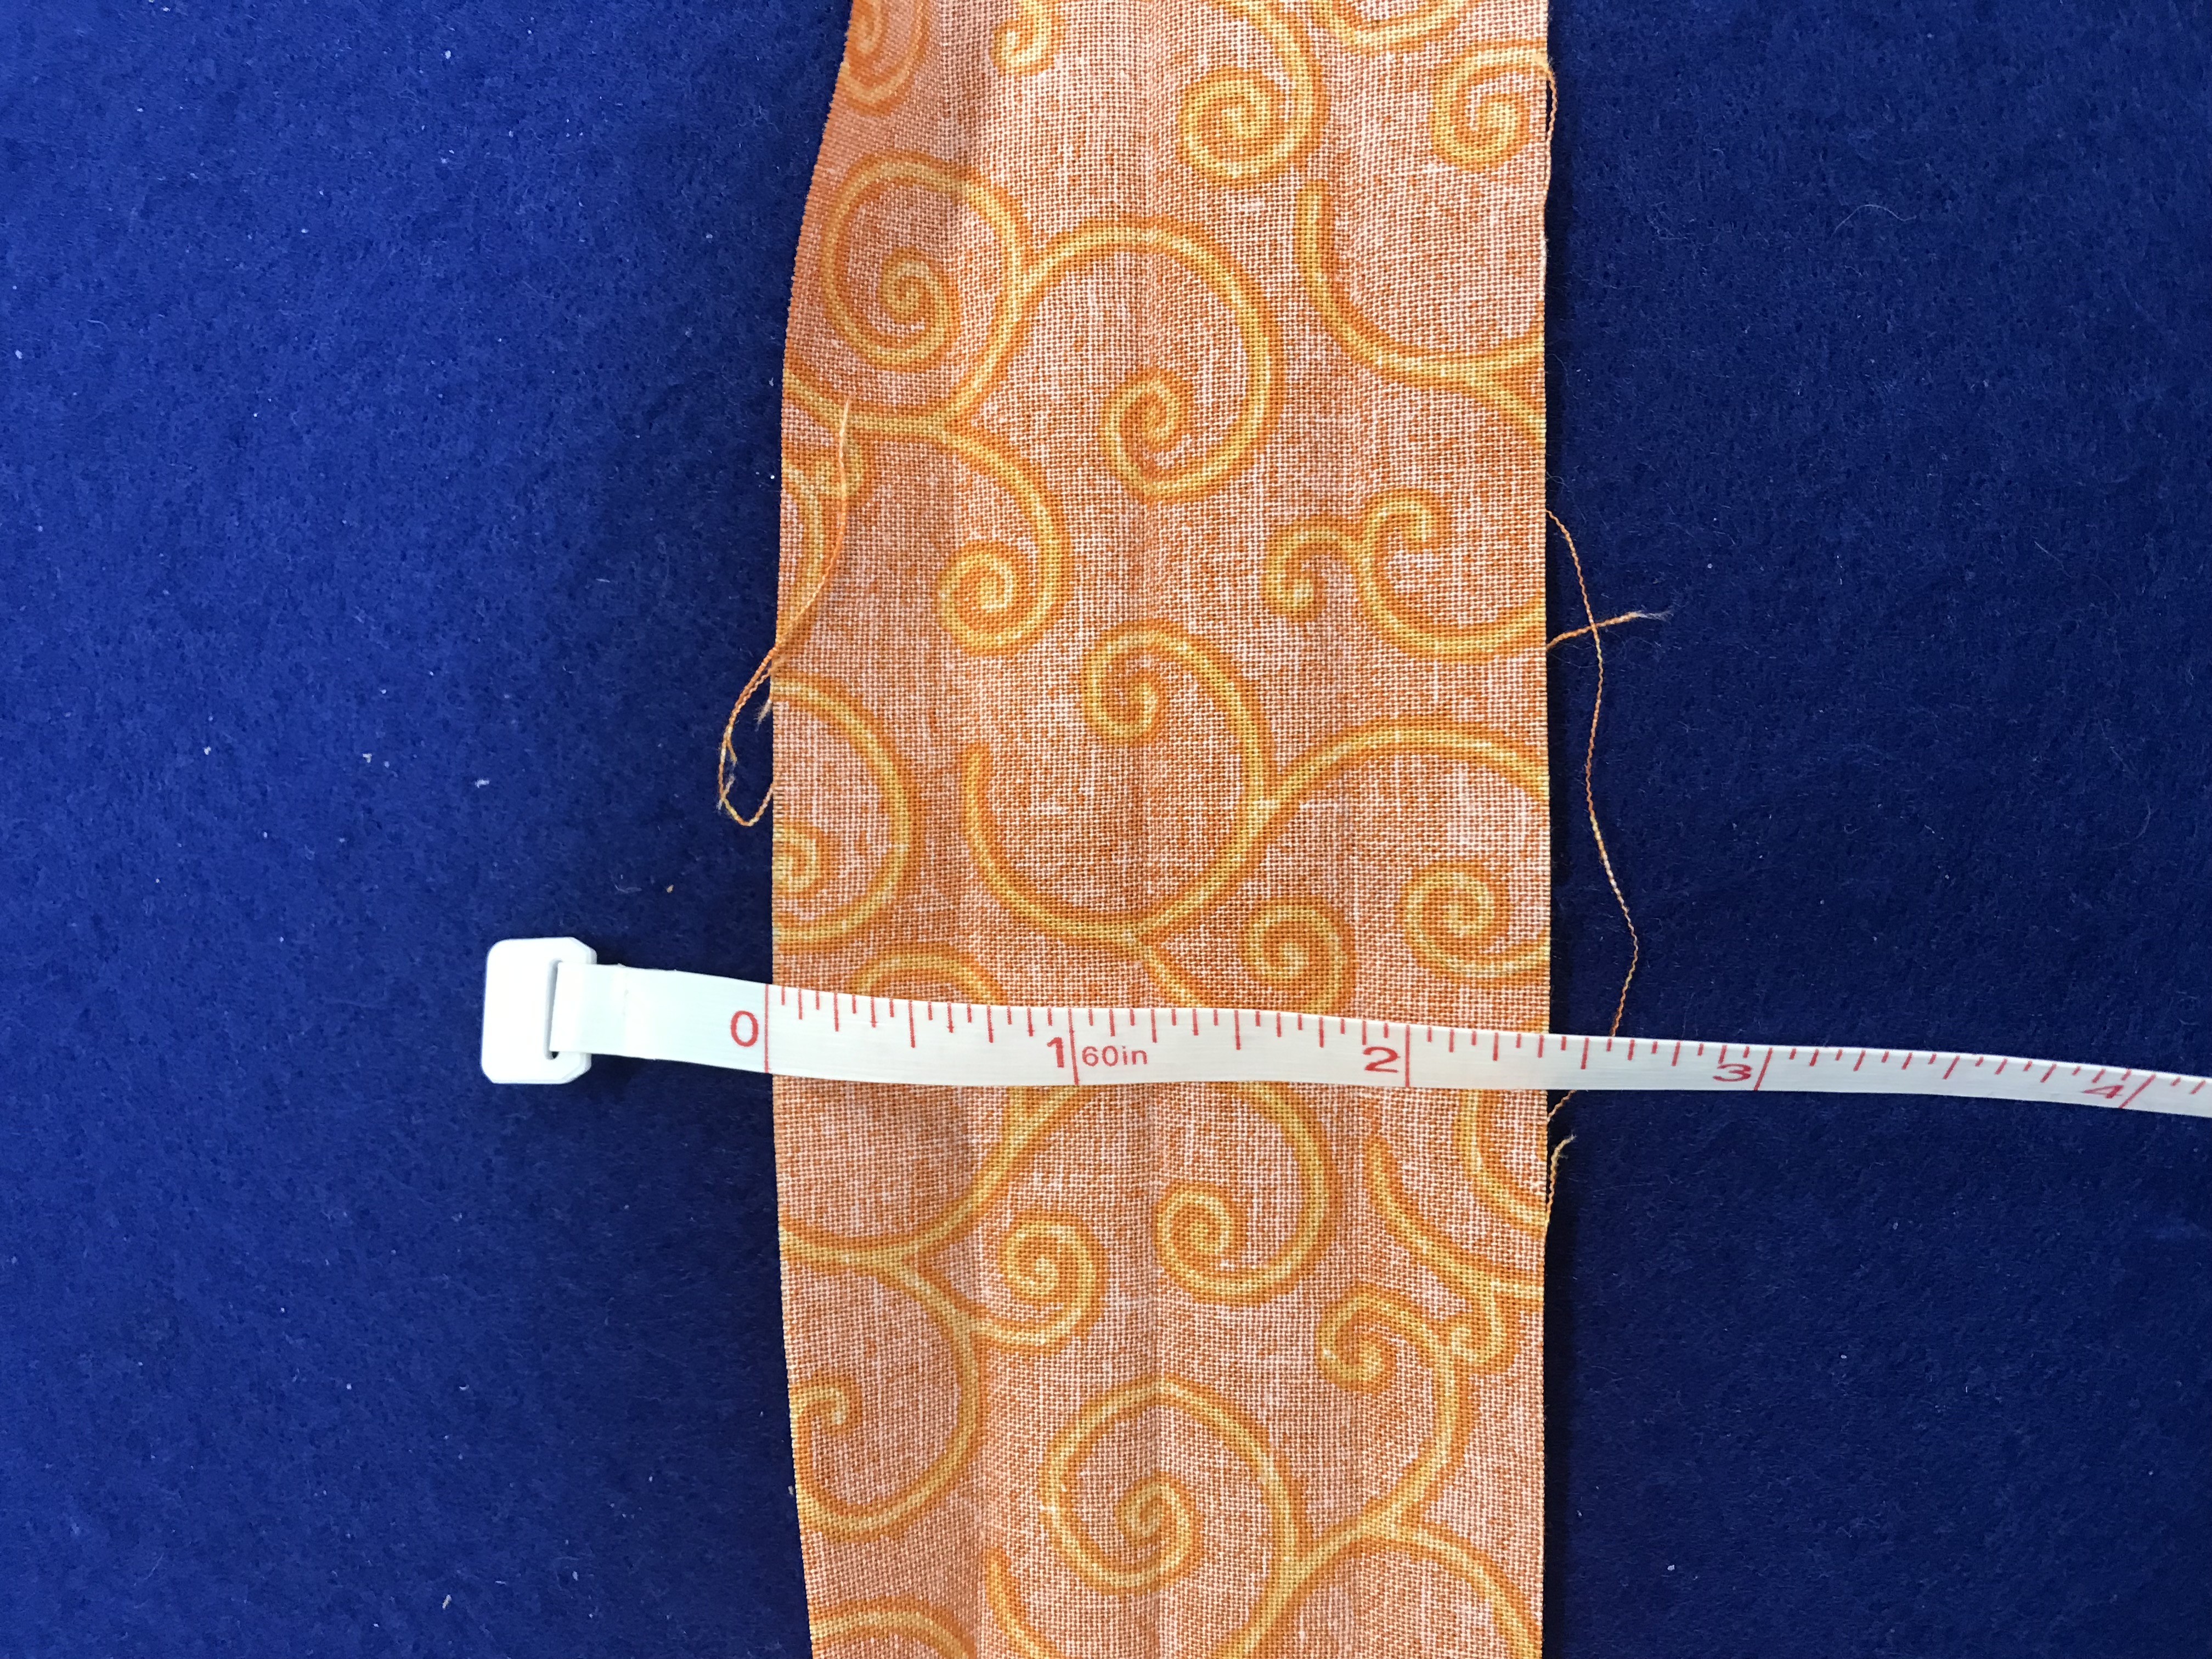
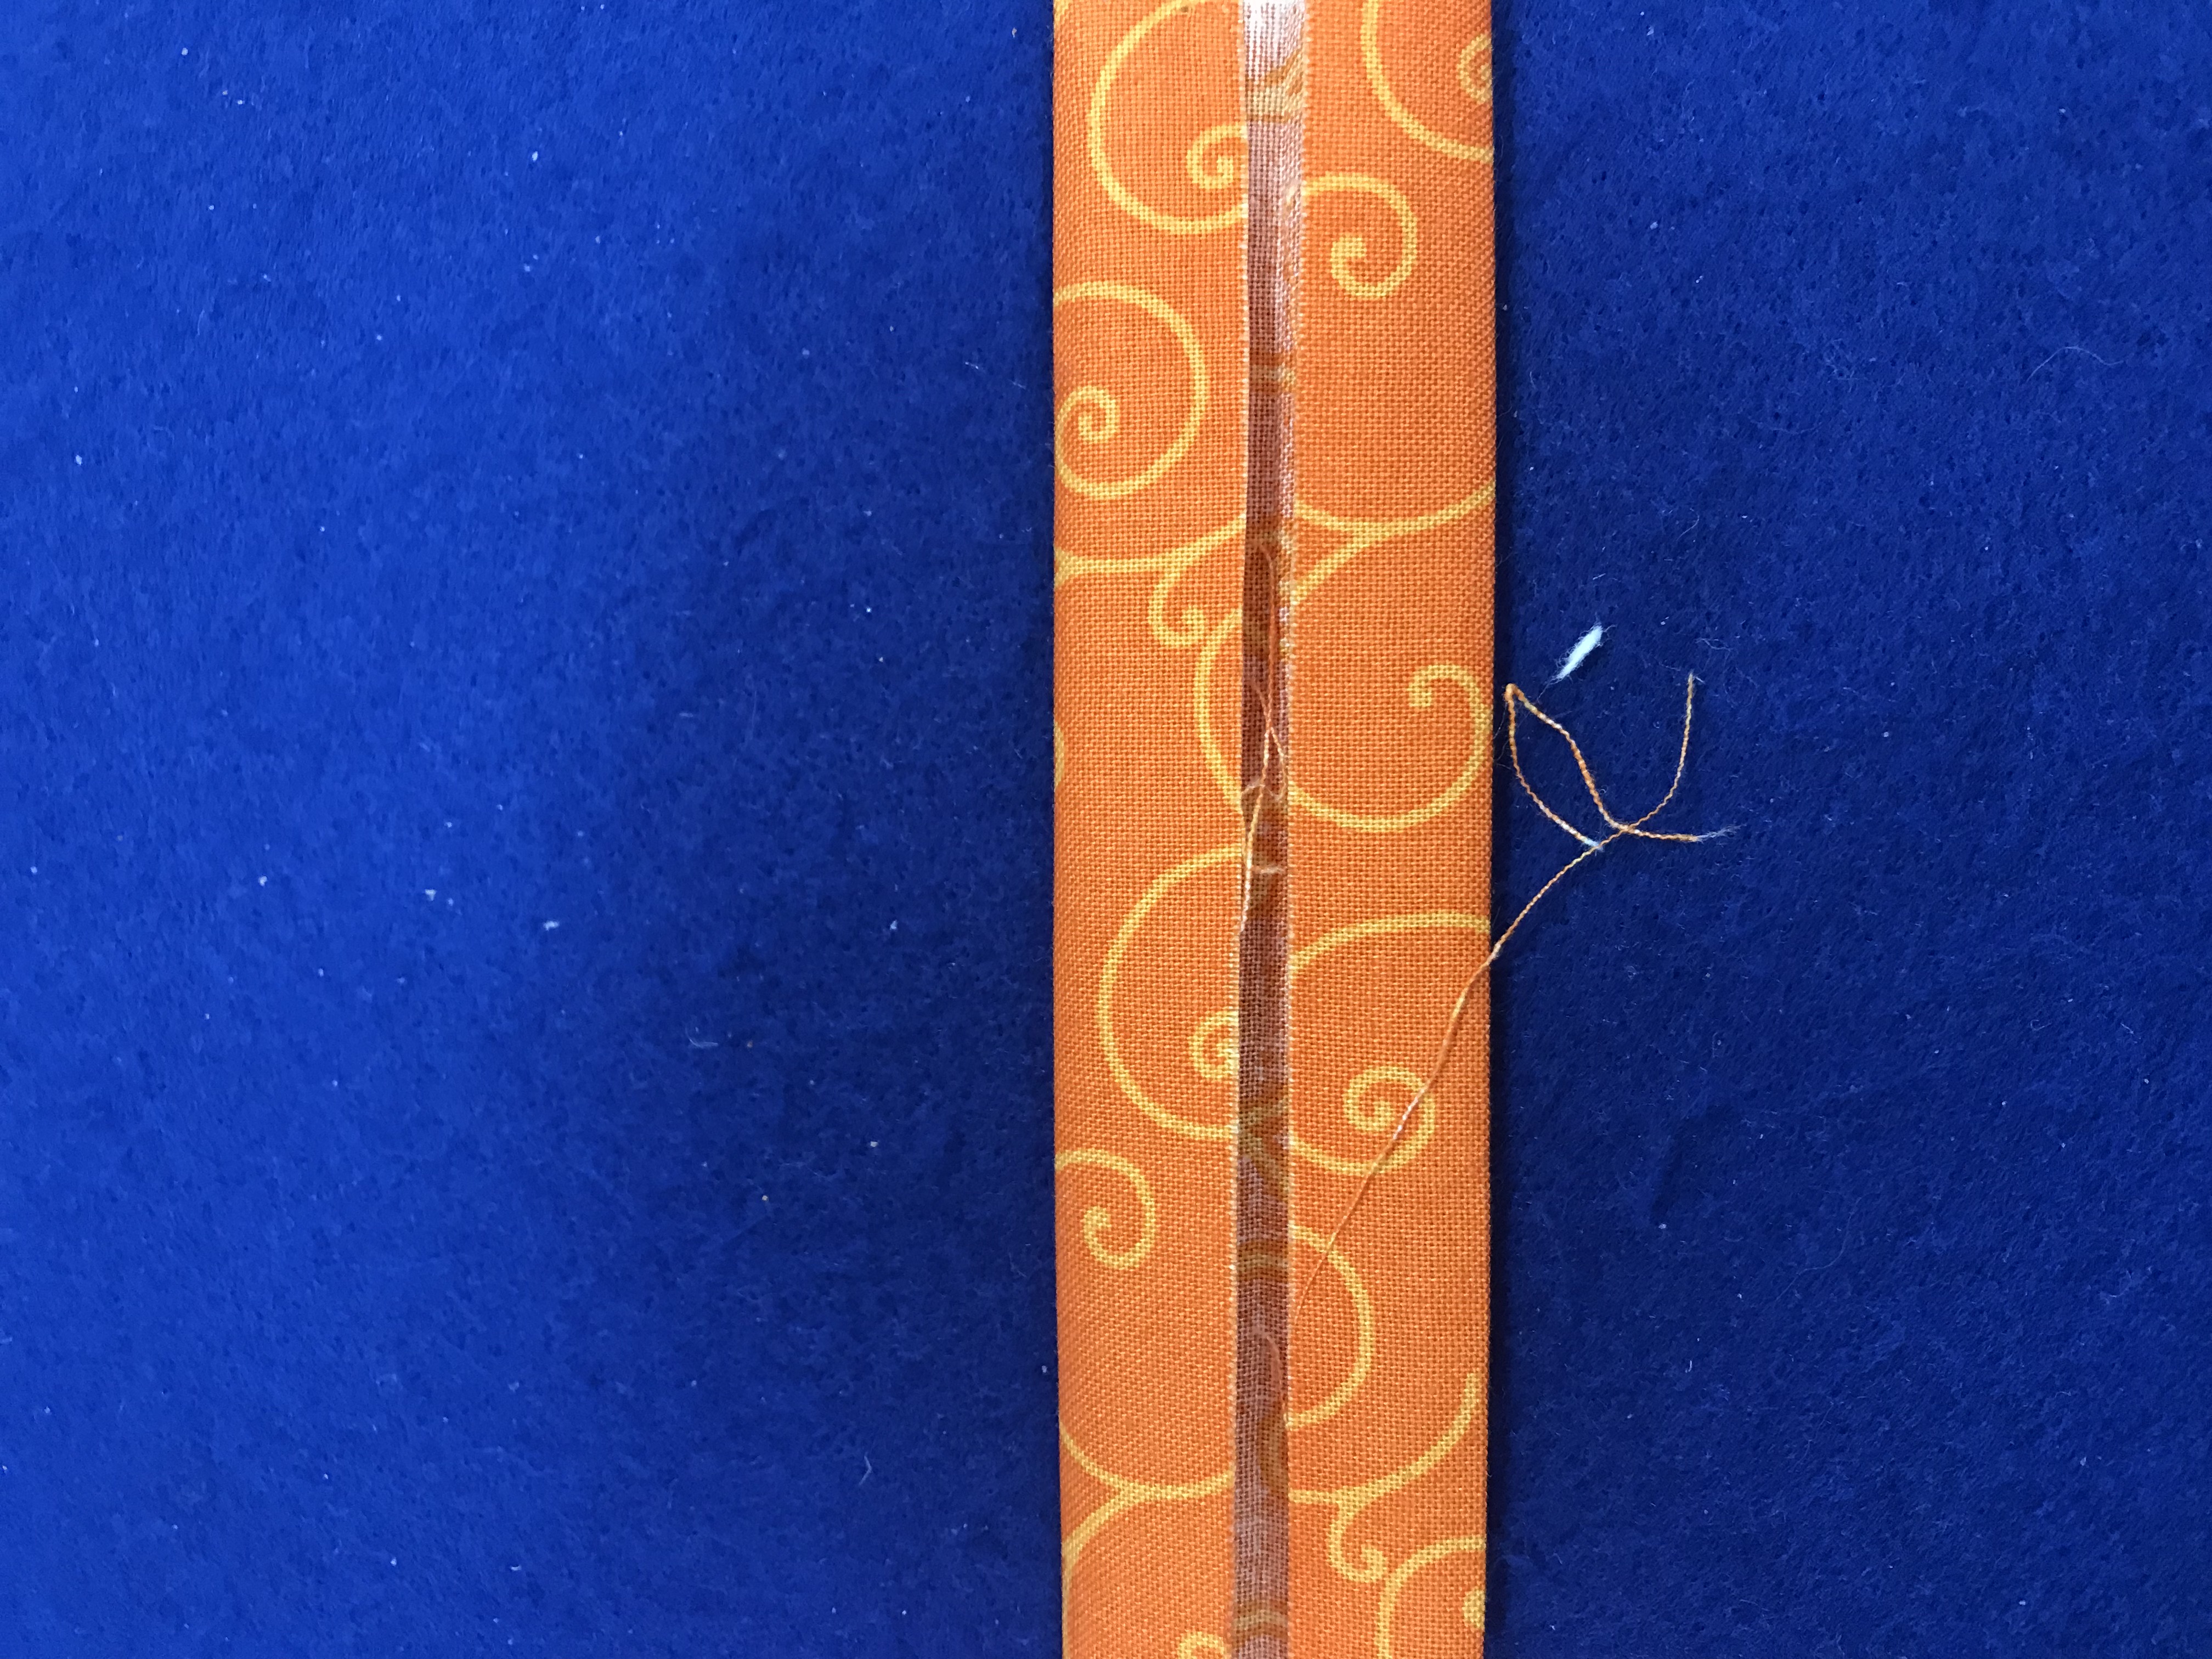
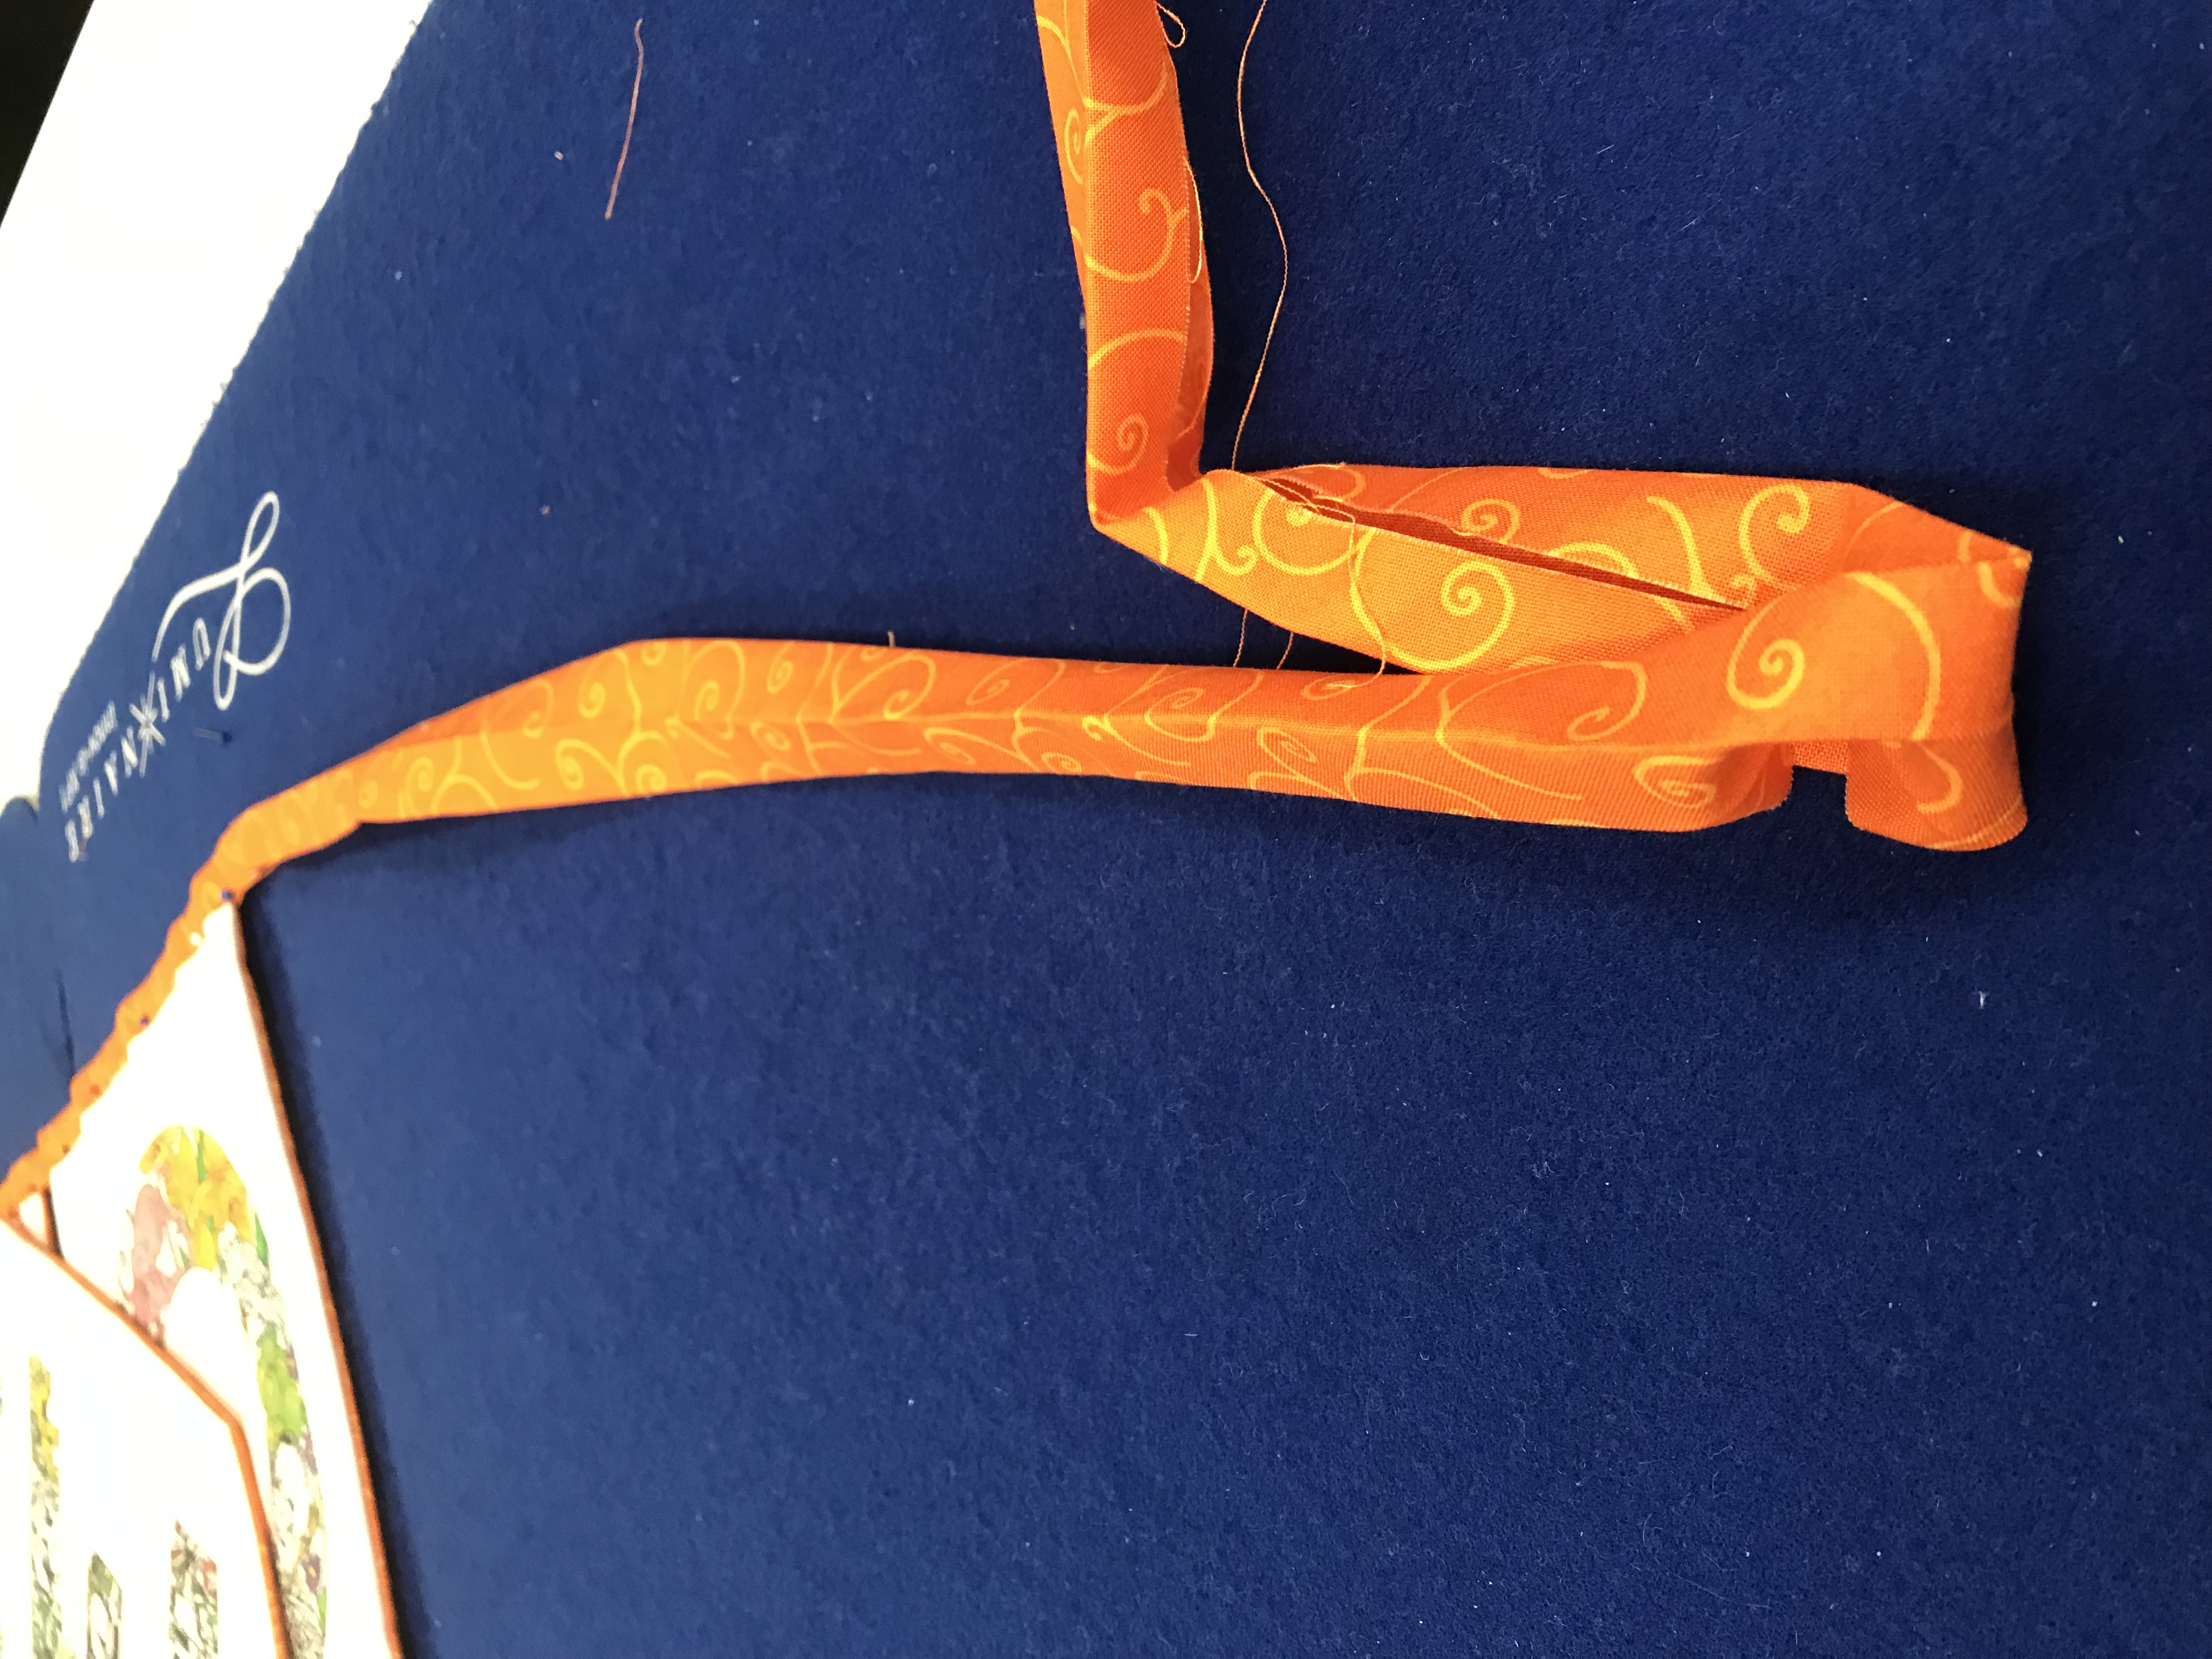
14. If you haven’t already done so, cut the binding fabric to strips of 2 1/2” across the width of the fabric. Join the 3 strips together on the bias to create one continuous length. Press in half, then press in half again to create a long binding strip.Fold the ends in and press so there are no raw edges.
15. Lay the letters “ W E L C O M E” on a table.
16. Place the binding strip on top of the spaced letters, check they are centred correctly. We have spaced the letters 1” apart from the centre of the binding strip. Pin in place.
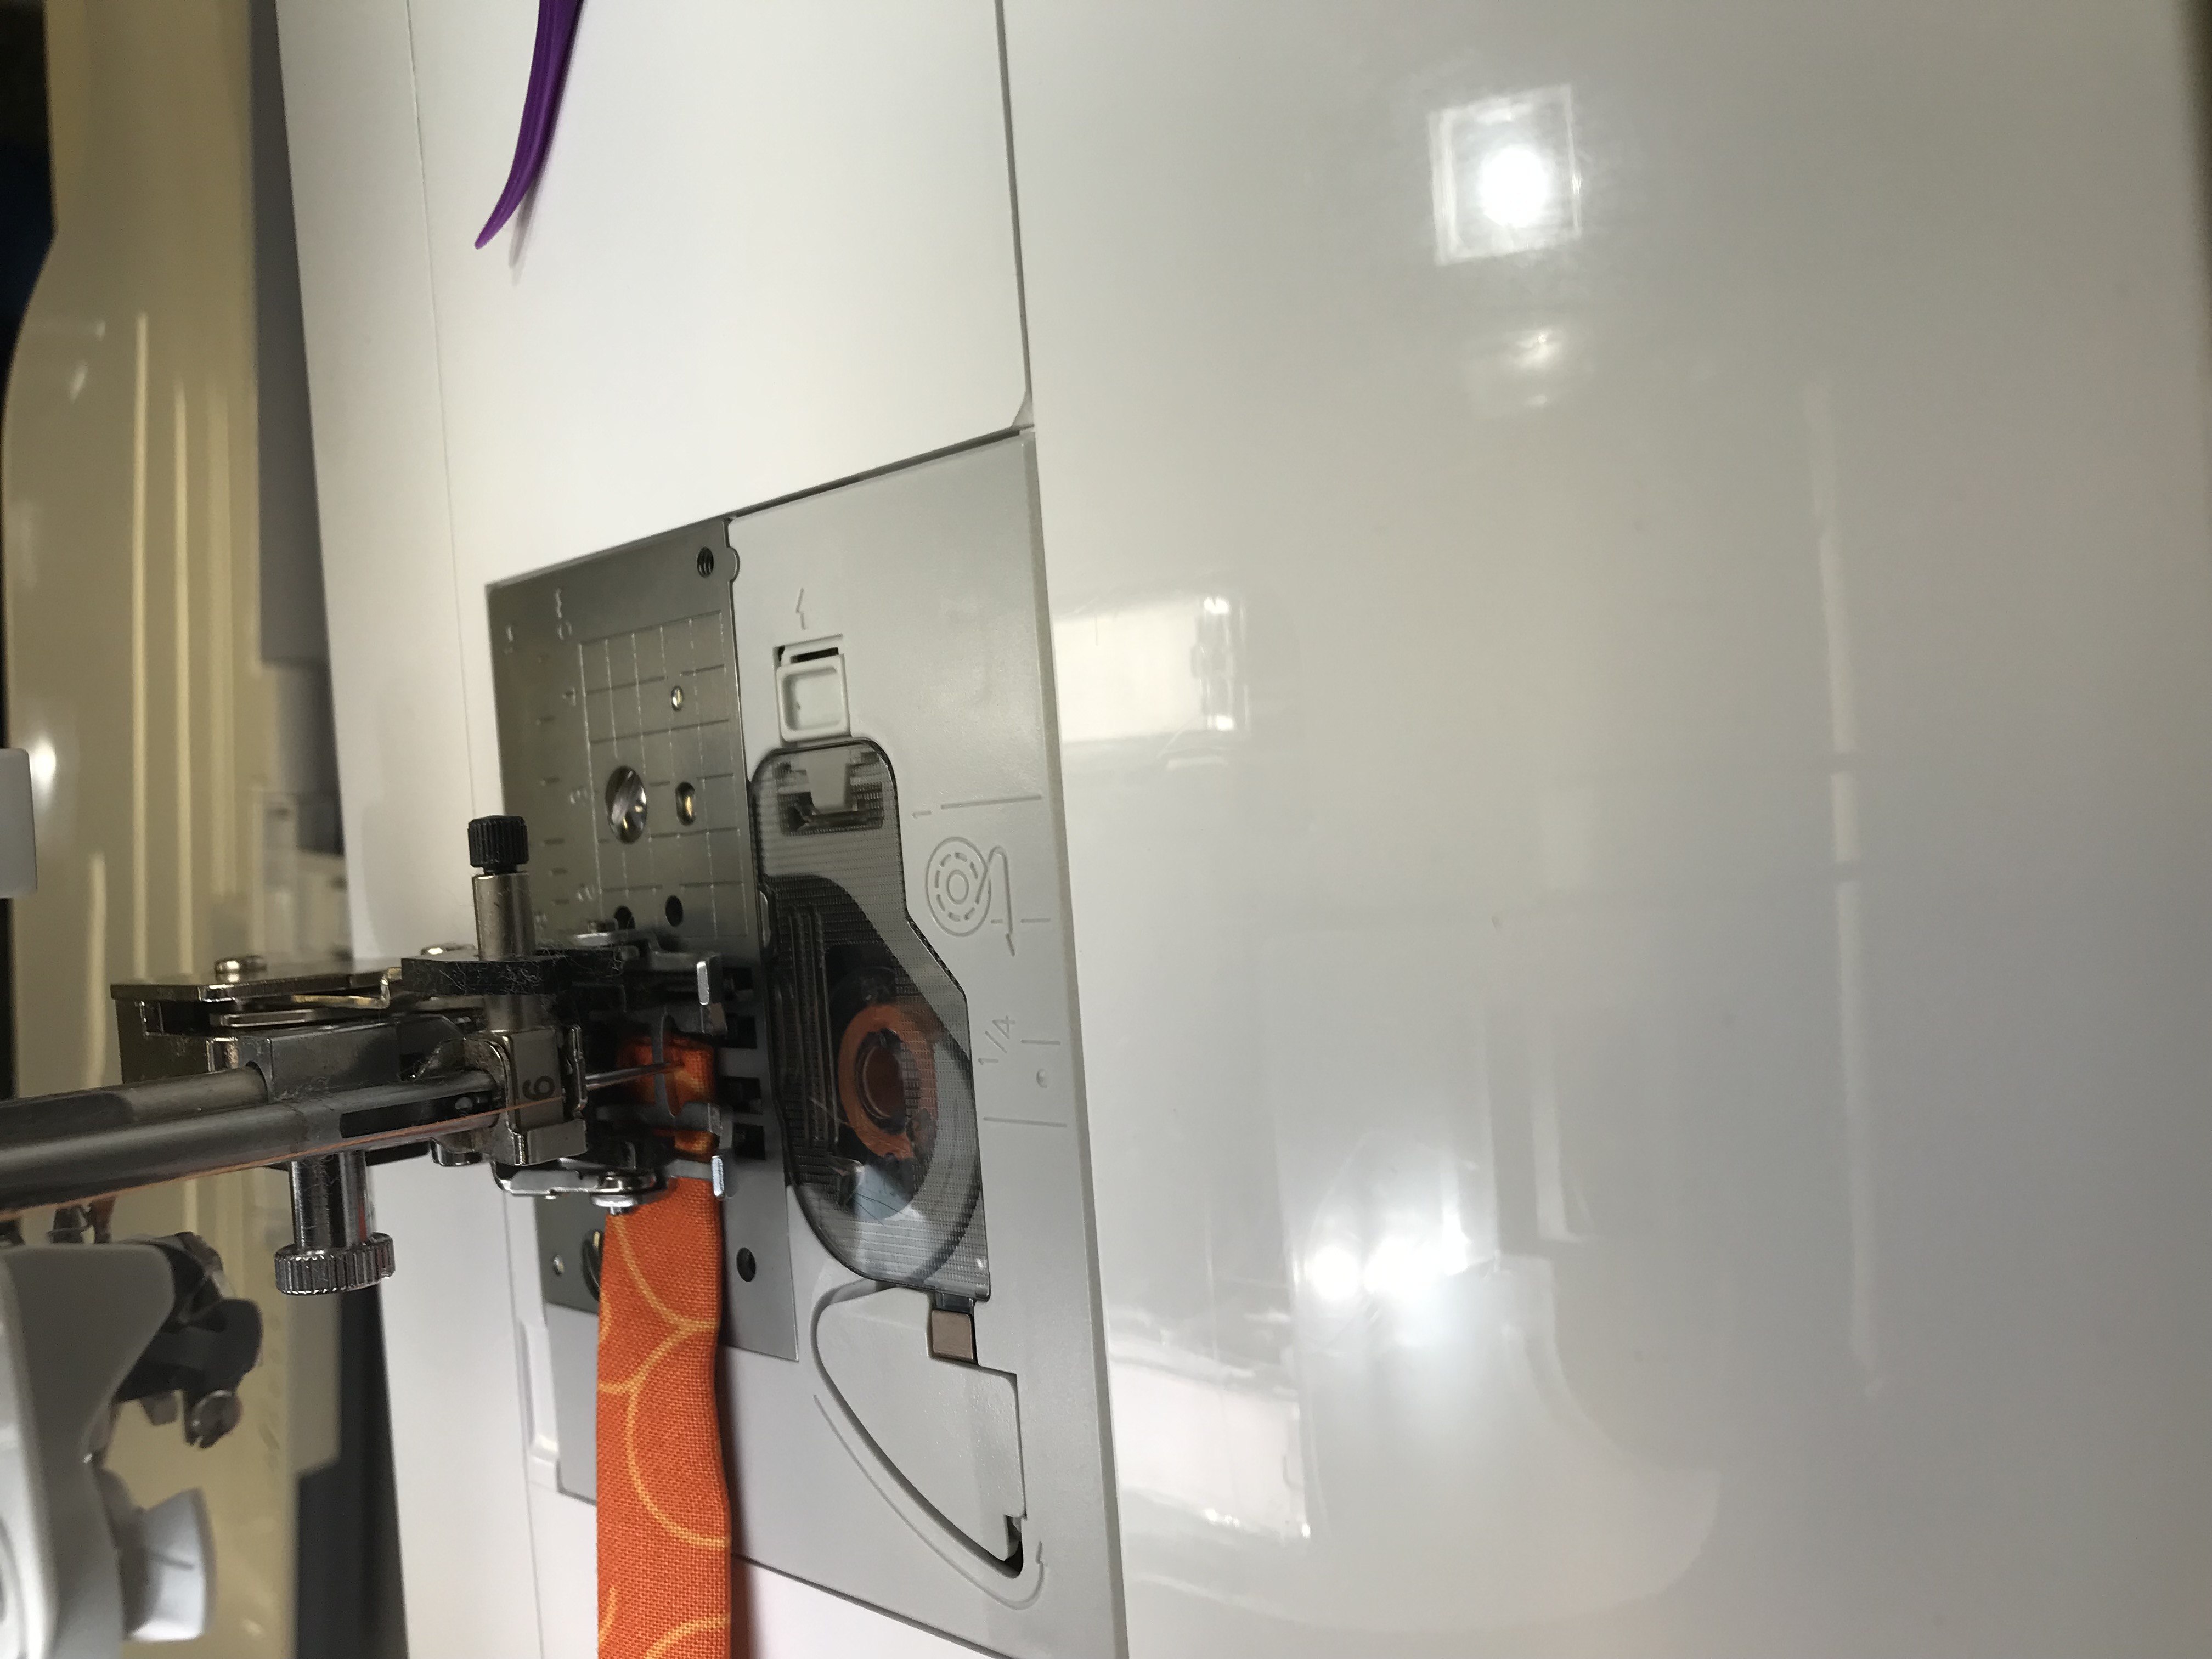
17. Using a walking foot and starting at one end of the binding strip, stitch the open edges together ⅛” from the open edge. Take care to keep each letter snuggly pushed into the binding strip. Continue to stitch until all the letters are attached and the raw edges are stitched together.
18. You are finished!


Free Embroidery Designs
We're excited to offer our free Echidna designs available for download. These free designs are perfect for those at a beginner or an advanced level. Add these designs to your stash and create incredible embroidery!
View all free designs >
Sewing, Quilting and Embroidery Machines
Interested in learning how to sew, quilt or embroider? Take a look at the innovative Brother machines available for purchase at Echidna Sewing. Wherever possible we will beat any deal and you will always receive ongoing service and support!
Find out more >
Learn to Sew or Embroider with Echidna Sewing
Come along to our fun-filled classes to learn more about sewing, embroidery and crafting. Classes cater for all skill levels, whether you're just starting out or already have advanced knowledge.
Find out more >
Echidna project material/ fabric requirements are an indication only and can seem to be generous. This has been intentional. Should you make a cutting or embroidery mistake you will have sufficient fabric to rectify your error.


