All Projects
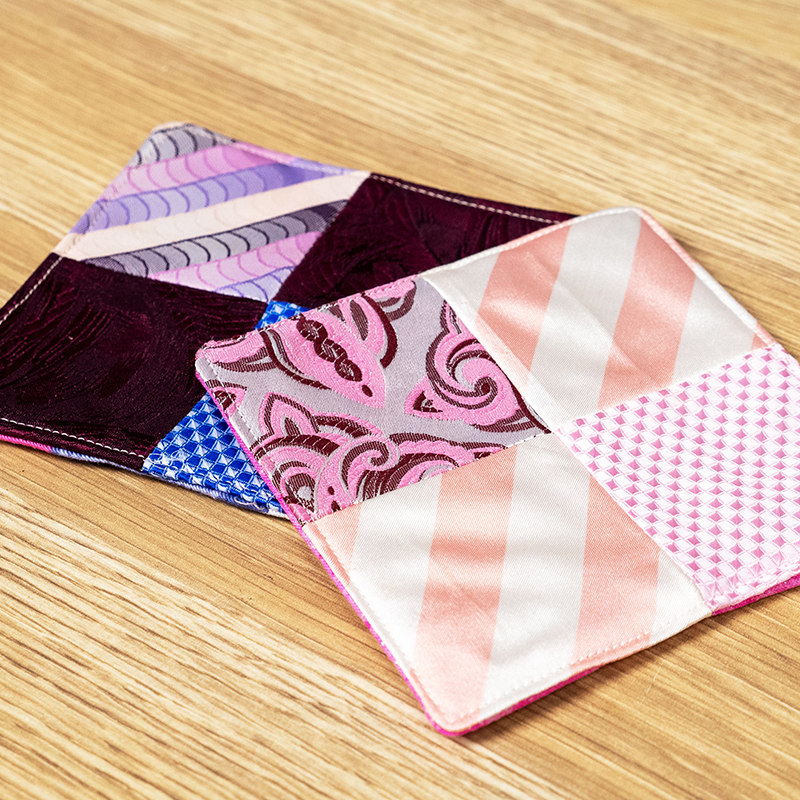
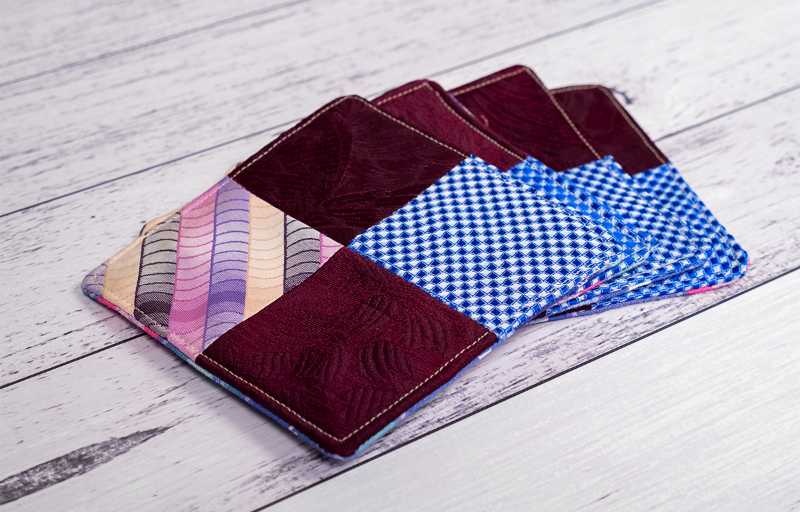

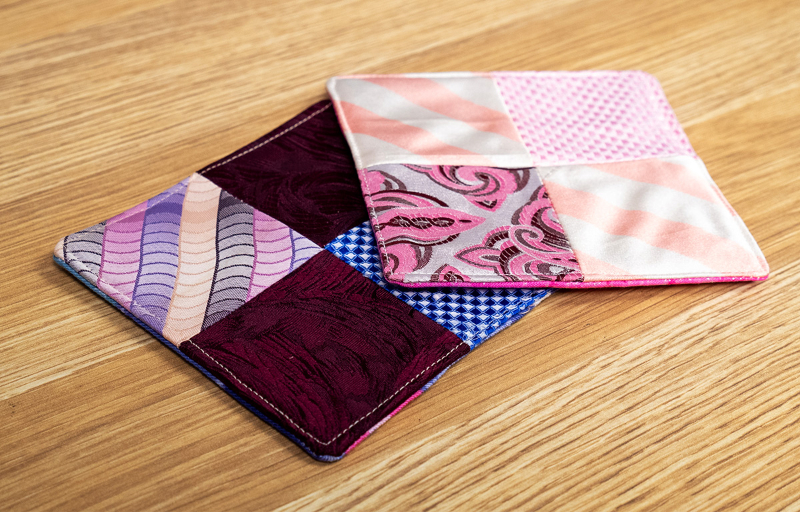


Repurposed Patchwork Coasters
Date Posted:18 September 2022
These patchwork coasters are a great way to reuse old scrap fabric. In this case, we are using leftover tie scraps from another project, our Repurposed Neck Tie Journal Cover, so be sure to check that one out too. These coasters make great gifts or can add a touch of personalisation to your home coffee table.
This project is perfect for all levels of sewing, from beginner to advanced.
What you'll need:
- Sewing machine
- Thread to match your fabric
- Fabric scraps, or your leftover tie scraps
- Lining fabric
- Scissors
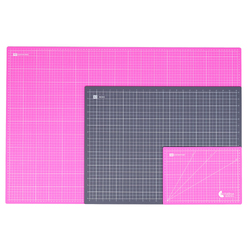
- Rotary cutter + cutting mat
- Ruler (5” square)
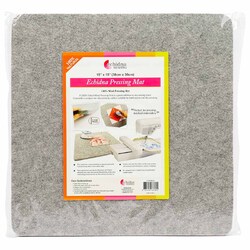
- Iron + wool pressing mat
- Purple thang
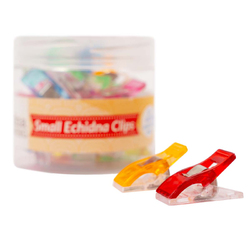
- Pins or small clips
Step Overview
The steps below are just an overview of the project instructions and must be used in conjunction with the tutorial video. Print these steps out to have beside you when watching the video as a reminder.
- Deconstruct your ties using a seam ripper if you have not already.
- Iron your ties flat, being careful with your heat settings if using delicate fabrics.
- Cut out 16 squares measuring 3” from your three ties. 8 squares from one tie, 4 from each of the others.
- Cut out 4 squares measuring 5" from your lining fabric.
- Arrange your squares in a pattern that you like. You should have four coasters with four squares in each.
- Keeping your coasters in order, grab two top pieces from one coaster. Pin or clip along one edge to secure. Stitch together with a straight stitch and a ¼” seam allowance.
- Press the sewn seam open flat.
- Repeat steps 5 and 6 with the rest of your squares. When you are done you should have 8 pieces of two squares.
- Grab one top and one bottom piece and align the long edges together, pin or clip to secure. Stitch the length together with a straight stitch and a ¼” seam allowance.
- Press seams open with your iron.
- Repeat steps 8 and 9 with your remaining pieces. You should now have four pieces with four squares in each.
- Trim each coaster down to a perfect 5” square using your rotary cutter and ruler.
- Place some of the leftover batting on the back of one coaster. Patchwork pieces together until they cover the whole back.
- Cut off any excess batting and pin together to secure.
- Stitch the batting to the coaster with an ⅛” seam allowance and a straight stitch.
- Trim any excess batting off the edges.
- Repeat steps 12-15 with your other coasters.
- Place your patchwork coaster right side up, and place a lining square right side down, aligning the edges together. Pin or clip to secure.
- Mark a 2” gap along one side with your frixion pen, leave this gap open when you sew it together.
- Stitch the coaster together with a ¼” seam allowance and a straight stitch, making sure you leave that gap open for turning.
- Trim off the corners to reduce bulk.
- Repeat steps 18-20 for your other coasters.
- Turn all your coasters right side out, using your purple thang to poke the corners out.
- Tuck in the turning hole and secure it with a pin.
- Press your coaster flat with your iron.
- Top stitch the perimeter of your coaster, making sure you sew your turning hole shut in the process.
- Repeat steps 24-26 with your remaining coasters.
- Done.
Don’t forget to show us your finished projects on Instagram or Facebook #echidnasewing #madebyme


Free Embroidery Designs
We're excited to offer our free Echidna designs available for download. These free designs are perfect for those at a beginner or an advanced level. Add these designs to your stash and create incredible embroidery!
View all free designs >
Sewing, Quilting and Embroidery Machines
Interested in learning how to sew, quilt or embroider? Take a look at the innovative Brother machines available for purchase at Echidna Sewing. Wherever possible we will beat any deal and you will always receive ongoing service and support!
Find out more >
Learn to Sew or Embroider with Echidna Sewing
Come along to our fun-filled classes to learn more about sewing, embroidery and crafting. Classes cater for all skill levels, whether you're just starting out or already have advanced knowledge.
Find out more >
Echidna project material/ fabric requirements are an indication only and can seem to be generous. This has been intentional. Should you make a cutting or embroidery mistake you will have sufficient fabric to rectify your error.


