All Projects


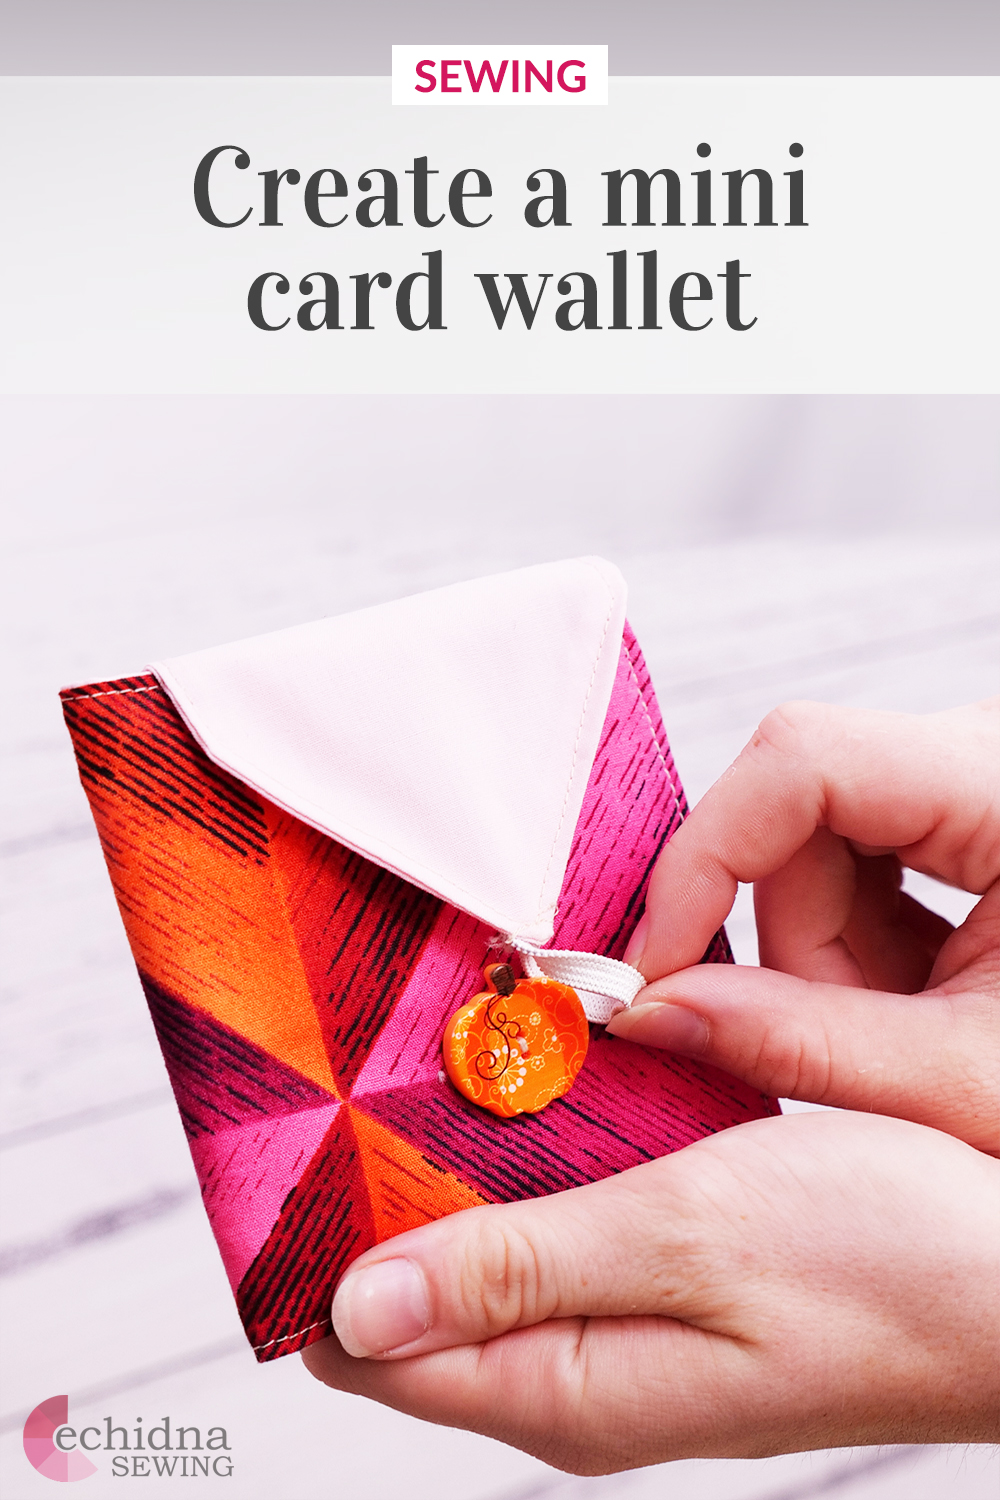
Mini Card Wallet
Date Posted:12 February 2022
This mini card wallet is a perfect sized wallet to keep all your cards in order. It has 6 card slots, and 2 small pouches for train/bus tickets, receipts or anything alike, and then one large pouch for cash. You can add a button, velcro, magnet, or snap clasp to your wallet to secure it. This is a great project for you to use any recycled fabric from old textiles you have around the house. However, I wouldn’t recommend using a thick fabric like thick denim, but rather a thinner fabric, as the wallet does get bulky with a thicker fabric.
This project is suitable for beginner to advanced level sewists.
Machines Used
- Brother NV50S Sewing Machine
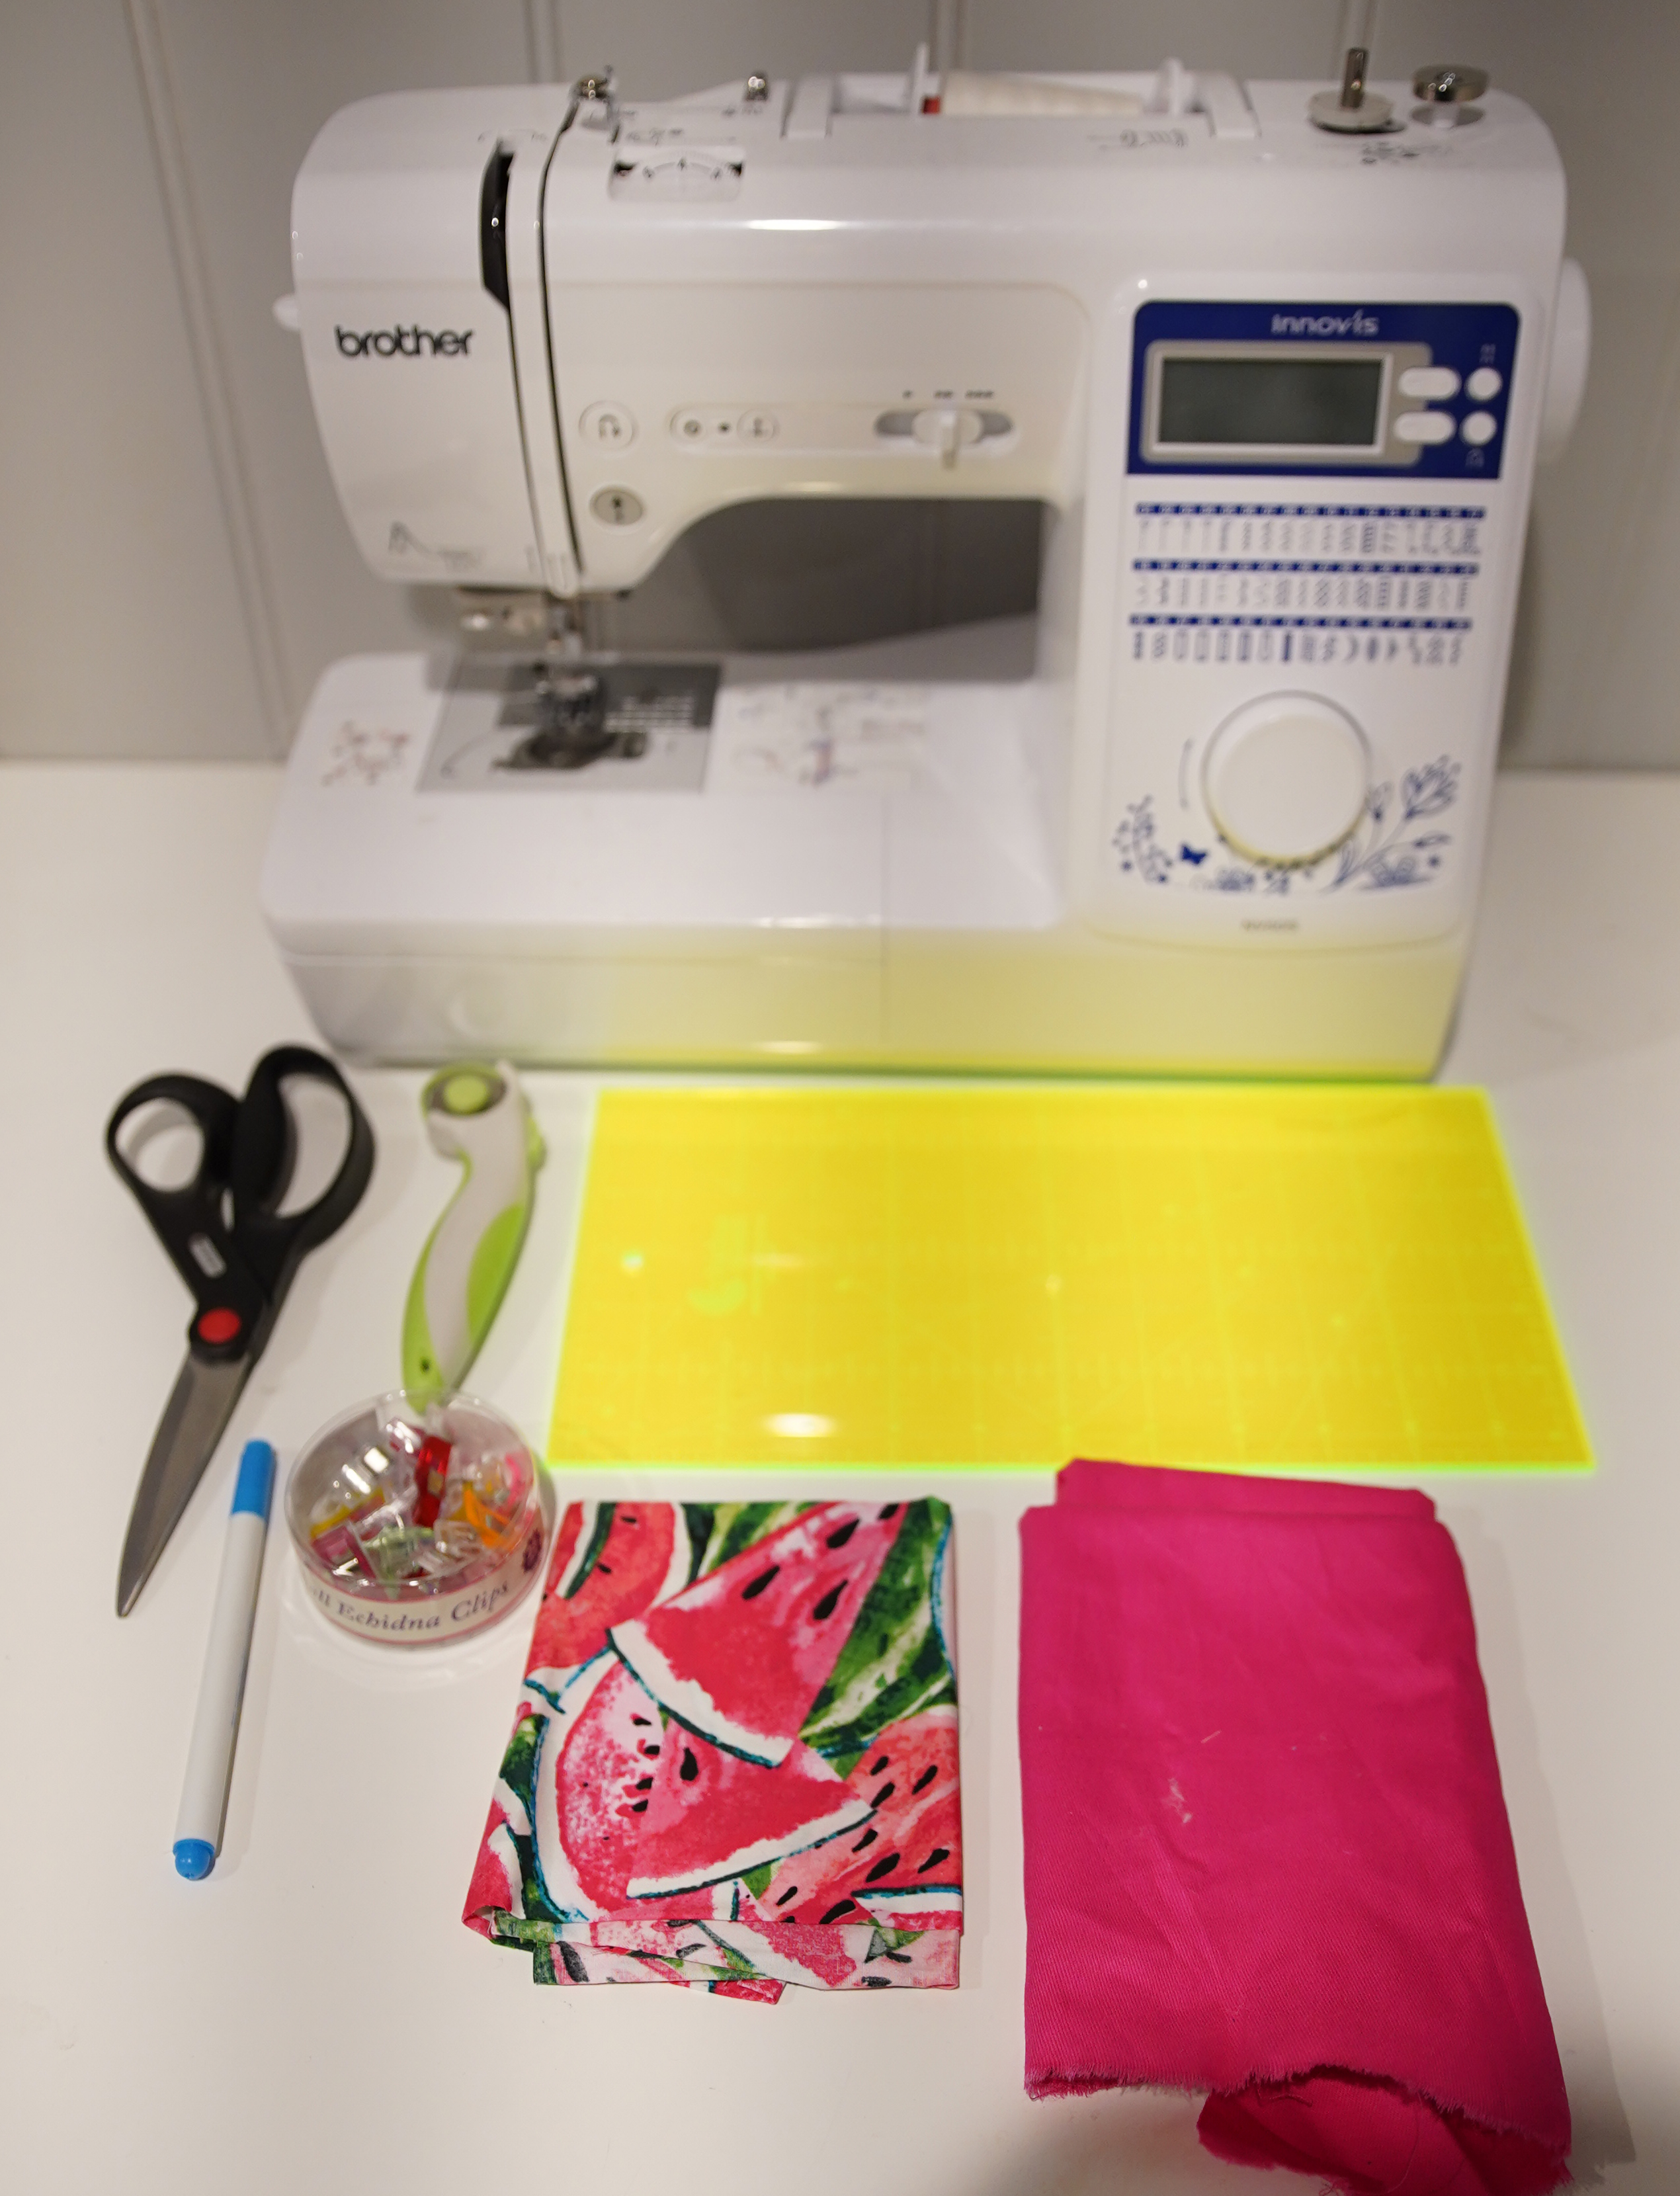
What you'll need:
- Sewing machine with a standard zig zag foot
- Fabric 1 (main fabric) - colour of your choice
- Fabric 2 (lining fabric) - colour of your choice
- Thread - in your colour choice
- Snap clasps (or buttons and elastic)
- Ruler
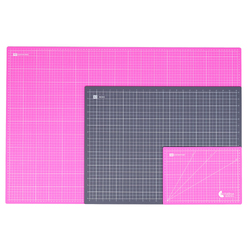
- Sewing scissors (or a rotary cutter and mat)
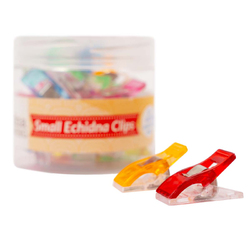
- Small Echidna clips or pins
- Mini Iron
Step Overview
The steps below are just an overview of the project instructions and must be used in conjunction with the tutorial video. Print these steps out to have beside you when watching the video as a reminder.
- Cut out 2 (8.75” x 4.75”) rectangles, one from each fabric.
- Cut out 2 (3.75” x 6.75”) rectangles, both from your lining fabric.
- Cut out 1 (18.75” x 8.75”) rectangle from your lining fabric.
- Using your water soluble pen, mark a line 4.25” from the left of the 18.75” rectangle (on the short edge and right side of the fabric).
- Mark another line 2.25” from your first line.
- Mark another line 1.75” from the previous line.
- Continue step 5 and 6 across the rest of the fabric.
- Starting from the left, fold over the fabric to the first line. Press with your iron.
- Flip your fabric over to the wrong side. Fold the fabric from the right, to the second line. Press.
- Fold fabric from the left, to the third line. Press.
- Repeat steps 10 and 11 until each line has been folded.
- Mark the midway point at the top and the bottom of the pleated pockets.
- Sew a straight stitch between both points, making sure the back flap is not included.
- Place your 8.75” lining piece down face up.
- Place your pockets on top, pocket side facing up.
- Align bottom and side edges, top will have a gap. Pin or clip to secure.
- Sew the two sides and bottom edge together with a straight stitch and a ½” seam allowance. Trim down edges to ¼” seam allowance. Set aside.
- Place your two 6.75” together (right sides together). Fold both pieces in half lengthways.
- Cut a diagonal line an inch down from the raw edges to form an arrow. Unfold, and then pin or clip to secure.
- Sew around the whole perimeter, leaving a 2” gap for turning. Use a straight stitch and a ½” seam allowance. Trim edges down to ⅛” seam allowance.
- Clip points square. Turn right side out and tuck the turning hole inside the flap. Press flat with your iron.
- Fold your main fabric piece in half with the raw edges to the right.
- Align the tab piece on top. You should have even spacing between all three sides. Pin or clip to secure (one layer of main fabric only, not both layers).
- Stitch the tab piece to the main fabric, leaving 1” of space at the top. Use a straight stitch and sew as close to the edge as possible.
- Place your main fabric (with tab) facing up. Place your pocket piece (pocket side down) on top of your main fabric piece. Align all edges, and tuck in your tab piece.
- Pin or clip to secure.
- Sew the perimeter of the wallet together with a straight stitch and inside the previous stitching. Leave a 2” gap for turning.
- Square off the corners and trim the edges down. Turn right side out. Tuck in the turning hole and iron flat.
- Top stitch the whole wallet, securing the turning hole in the process.
- Attach 1 snap clasp to the underside of your tab (don’t sew the top fabric).
- Fold down your tab to see where to put your other clasp.
- Attach the other snap clasp to the front fold of your wallet. Making sure you don’t sew through the pockets.
- All done!
Don’t forget to show us your finished projects on Instagram or Facebook #echidnasewing #madebyme


Free Embroidery Designs
We're excited to offer our free Echidna designs available for download. These free designs are perfect for those at a beginner or an advanced level. Add these designs to your stash and create incredible embroidery!
View all free designs >
Sewing, Quilting and Embroidery Machines
Interested in learning how to sew, quilt or embroider? Take a look at the innovative Brother machines available for purchase at Echidna Sewing. Wherever possible we will beat any deal and you will always receive ongoing service and support!
Find out more >
Learn to Sew or Embroider with Echidna Sewing
Come along to our fun-filled classes to learn more about sewing, embroidery and crafting. Classes cater for all skill levels, whether you're just starting out or already have advanced knowledge.
Find out more >
Echidna project material/ fabric requirements are an indication only and can seem to be generous. This has been intentional. Should you make a cutting or embroidery mistake you will have sufficient fabric to rectify your error.


