All Projects
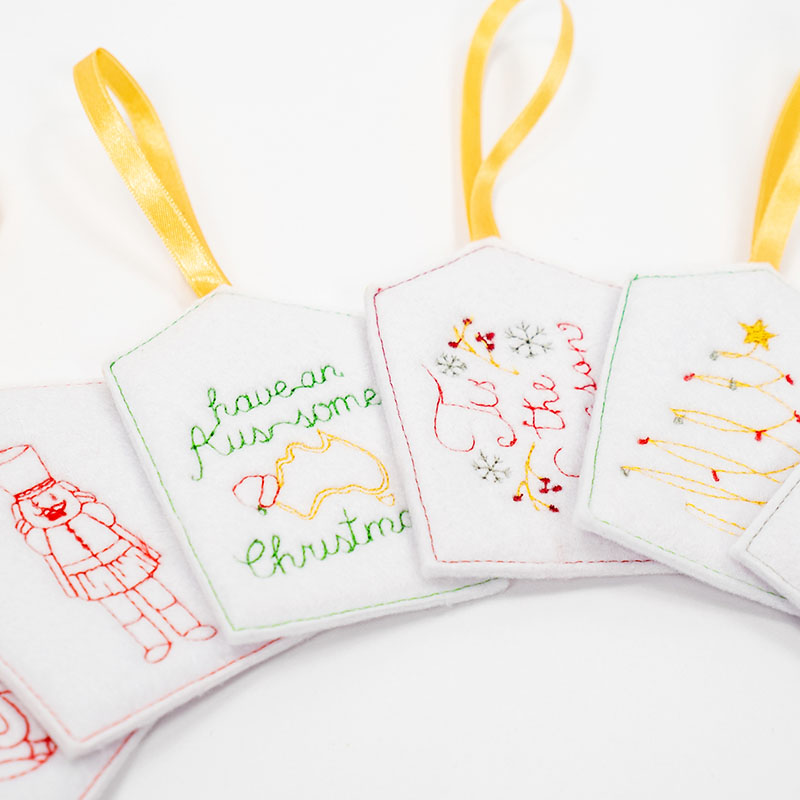
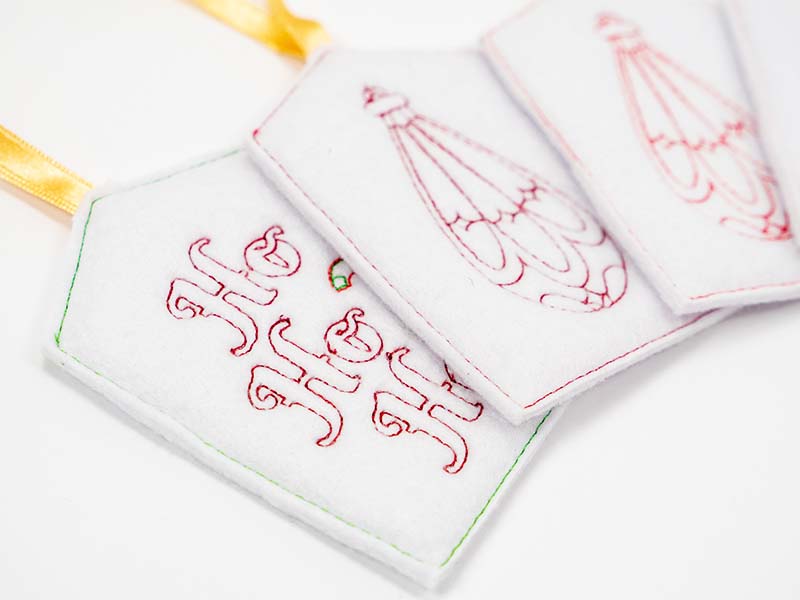
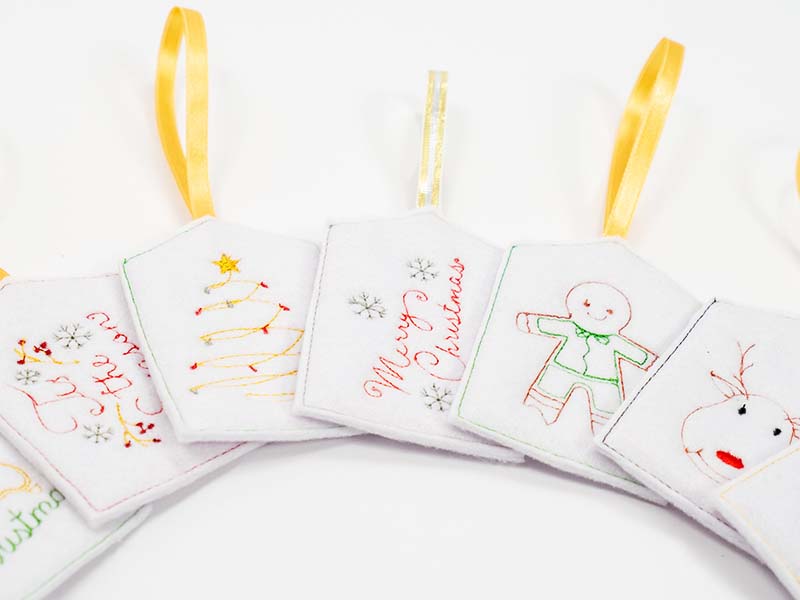
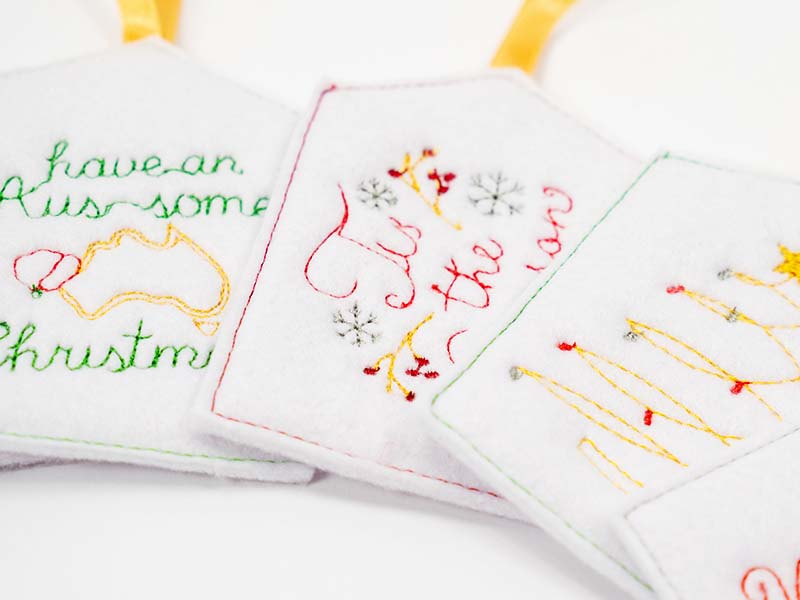


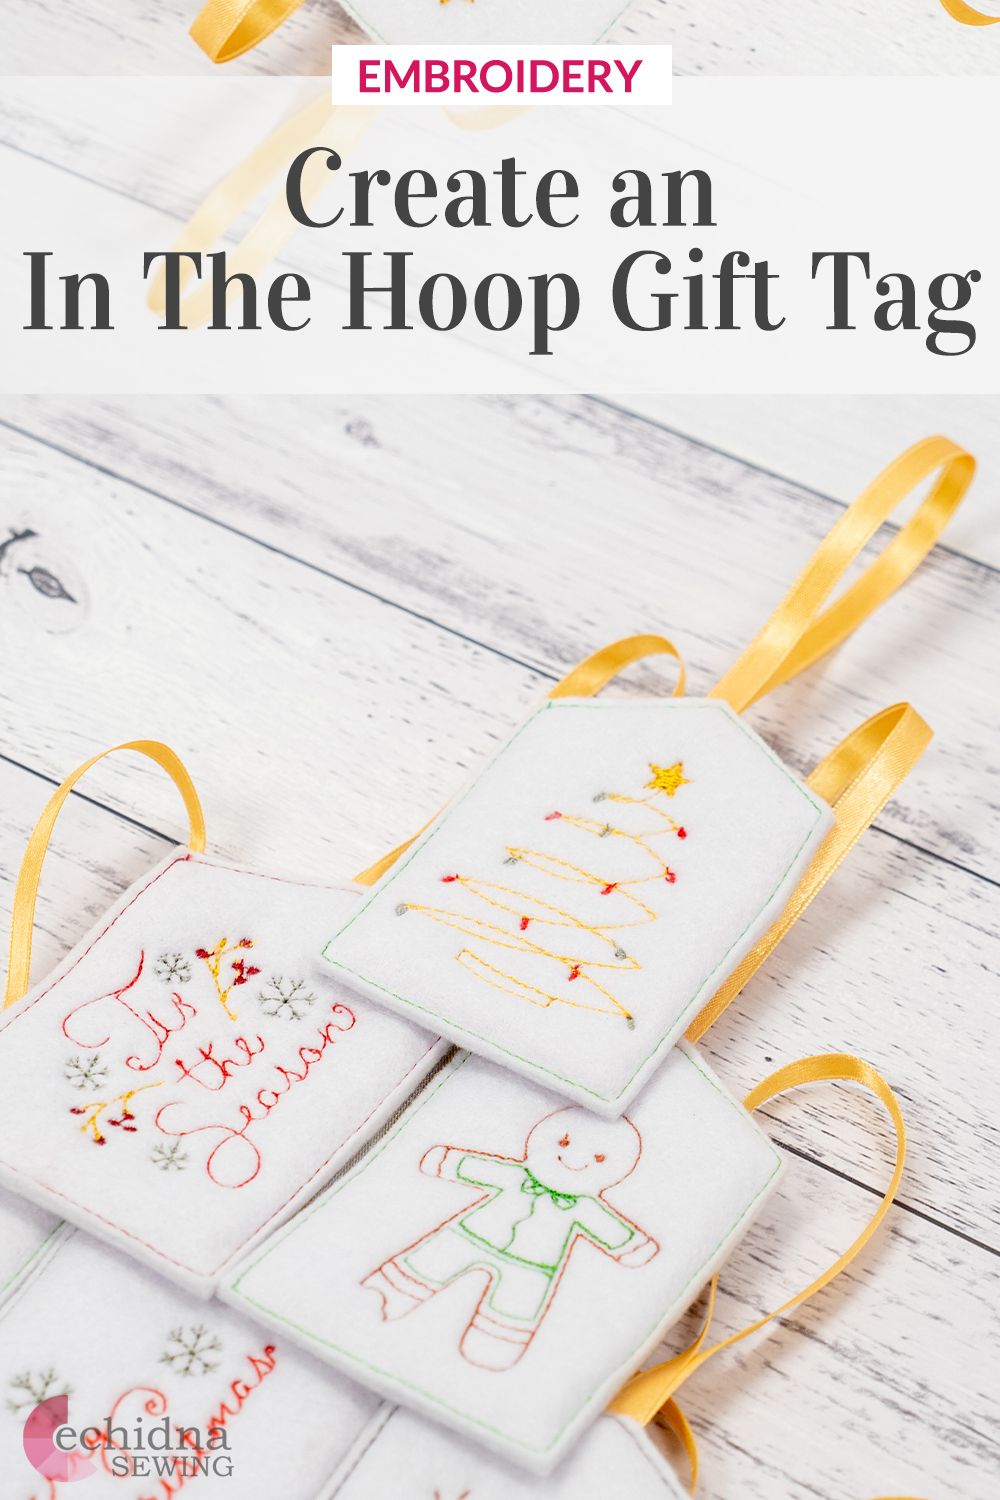
In The Hoop Gift Tag
Author: Nicole H Date Posted:13 December 2024
Put an extra flourish and personal touch on all your gifts with this in-the-hoop gift tag project. It’s perfect for a 100mm x 100mm (4” x 4”) hoop, makes a great last-minute stitch project, and there’s no hand sewing required! This project is great for all sewing levels, from beginner to advanced.
What you'll need:
- Embroidery machine with 100mm x 100mm hoop (4" x 4")
- Embroidery design
- Cutting mat
- Rotary cutter
- Patchwork ruler
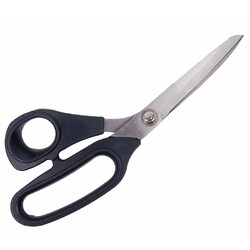
- Applique scissors
- Paper tape
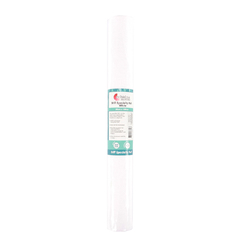
- Washaway stabilizer
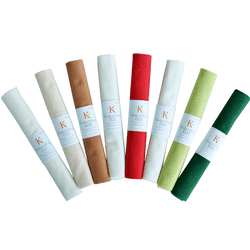
- Stiff Echidna Felt
- White felt
- Thread
- Pre-wound bobbins
- Fabric scissors
- Paint brush
- 10mm wide ribbon - colour of your choice
Cutting requirements:
- Cut two 76mm x 100mm (3" x 4") pieces of white felt
- Cut one 76mm x 100mm (3" x 4") piece of Stiff Echidna Felt
- Cut a 20cm length of ribbon
Embroider your gift tag with our FREE embroidery design
You can download one of our fabulous designs from our Chrissy Spirit Pack by Echidna Designs collection for FREE! Add some festive detail to your gift tag with our 'Merry Christmas' design. Download now →
Love these designs? You can purchase the full Chrissy Spirit Pack by Echidna Designs with all 10 designs online. Take a look →
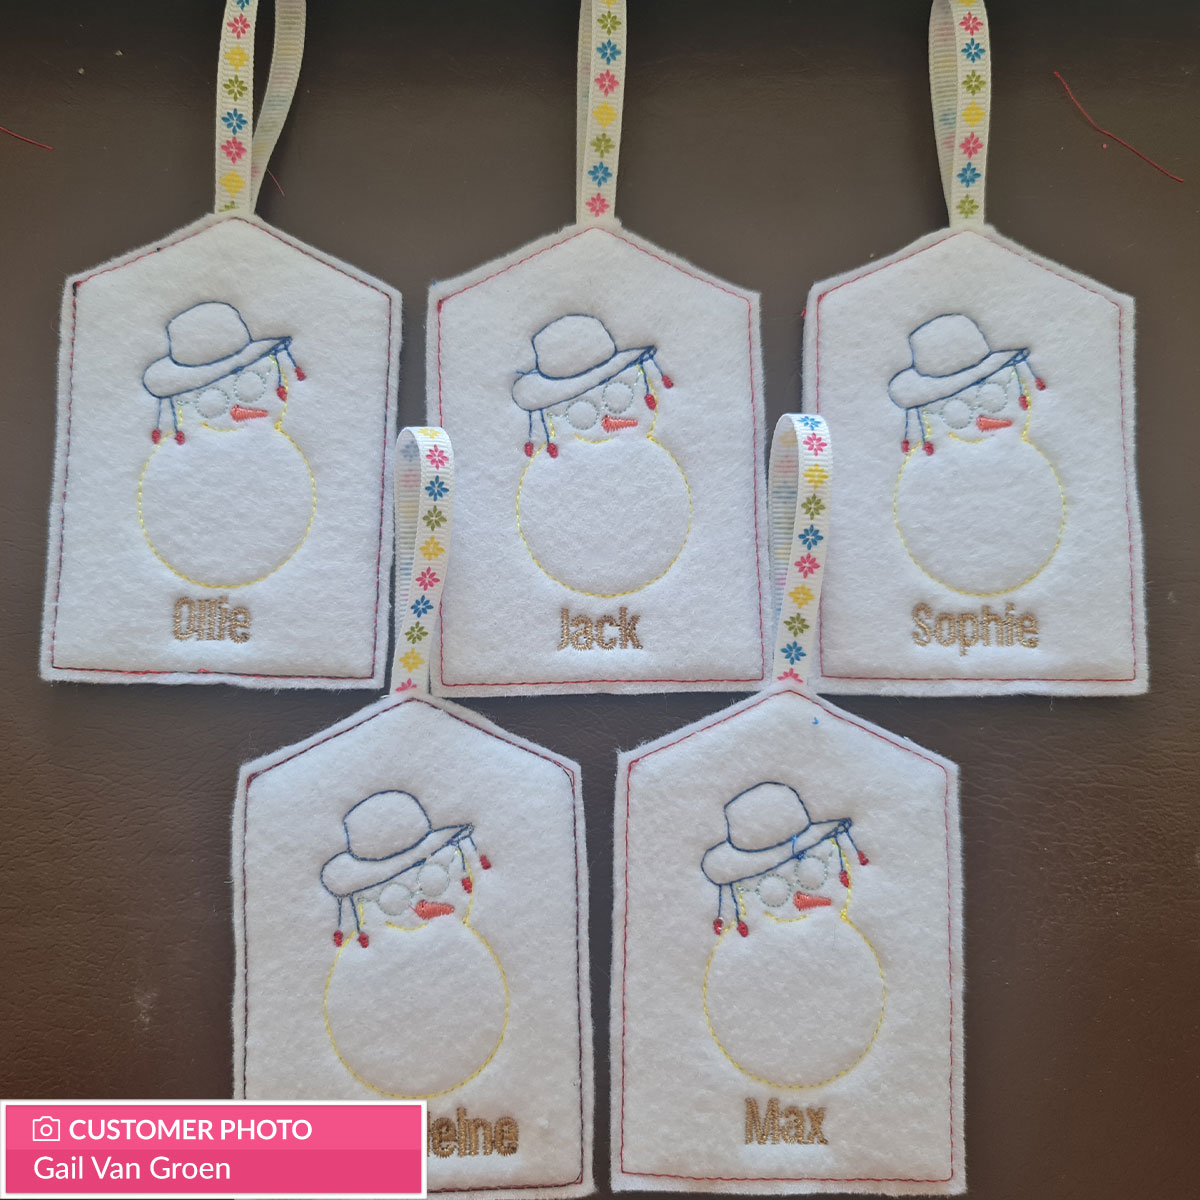
Tip: Do your kids peek beneath the tree to see what they got in the lead up to Christmas? Why not use one of our original Christmas designs to make a gift tags for each youngster. If you had several gifts for that child, you would stitch out several of the same design. The idea is that by leaving their names off the gift tags, the kids won't recognise whose tag belongs to whom and won't know which gifts are theirs.
You can then let them know which gift tag is theirs on Christmas Day and that all presents with that specific design belong to that child.
Want to challenge yourself?
You can download our free blank tag design so you have ultimate creative control and can use it for any occasion you like. Download now →
Step Overview
The steps below are just an overview of the project instructions and must be used in conjunction with the tutorial video. Print these steps out to have beside you when watching the video as a reminder.
- Hoop a single layer of Washaway Stabilizer in your 100mm x 100mm (4" x 4") hoop.
- Load chosen design in your machine.
- Thread your machine with any colour thread (this colour will be hidden and not seen in the finished project). Stitch out Placement line [COLOUR 1].
- Remove hoop from machine.
- Fold your piece of ribbon in half and tape in place; making sure the tape is outside the stitch line but the ends of the ribbon are inside of the stitch line. Then place your piece of Stiff Felt or bag batting down making sure to cover the stitches of the placement line. Tape in place.
- Return hoop to machine and stitch the batting tack down stitch. [COLOUR 2]
- Remove the hoop from the machine, remove any tape that is holding the batting in place and trim batting as close to the tack down stitch as possible using applique scissors. Take care when cutting near the ribbon.
- Place white felt making sure to cover the stitches of the original placement line and tape in place. Ensure that the ribbon is still sitting out of the hoop and has not accidentally tucked under the felt.
- Return the hoop to the machine and stitch the tack down (do not trim at this time) [COLOUR 3]
- Stitch embroidery design in chosen colours.
- Remove hoop from the machine, turn upside down and place the backing felt to cover the visible stitches. Tape in place. Be careful when placing back on the machine that the felt doesn't move out of place.
- Change thread colour to match your fabric (or contrasting if you wish to have the stitching visible). Your bobbin thread colour should match your top thread colour.
- Return the hoop to your machine and stitch tack down stitch to attach backing fabric using the final colour in the sequence [LAST COLOUR].
- Remove project from the hoop, remove any tape and cut along the outer stitch line using your fabric scissors. Take care when cutting near the ribbon.
- Optional: If you wish to seal the edges of the tag, simply use the paint brush with a bit of water and wet the washaway stabilizer between the 2 layers of felt. This will make the stabilizer sticky and then allow you to press the front and back felt together to seal the edges.
- And your tag is complete!
Don’t forget to show us your finished projects on Instagram or Facebook #echidnasewing #madebyme


Free Embroidery Designs
We're excited to offer our free Echidna designs available for download. These free designs are perfect for those at a beginner or an advanced level. Add these designs to your stash and create incredible embroidery!
View all free designs >
Sewing, Quilting and Embroidery Machines
Interested in learning how to sew, quilt or embroider? Take a look at the innovative Brother machines available for purchase at Echidna Sewing. Wherever possible we will beat any deal and you will always receive ongoing service and support!
Find out more >
Learn to Sew or Embroider with Echidna Sewing
Come along to our fun-filled classes to learn more about sewing, embroidery and crafting. Classes cater for all skill levels, whether you're just starting out or already have advanced knowledge.
Find out more >
Echidna project material/ fabric requirements are an indication only and can seem to be generous. This has been intentional. Should you make a cutting or embroidery mistake you will have sufficient fabric to rectify your error.


