All Projects


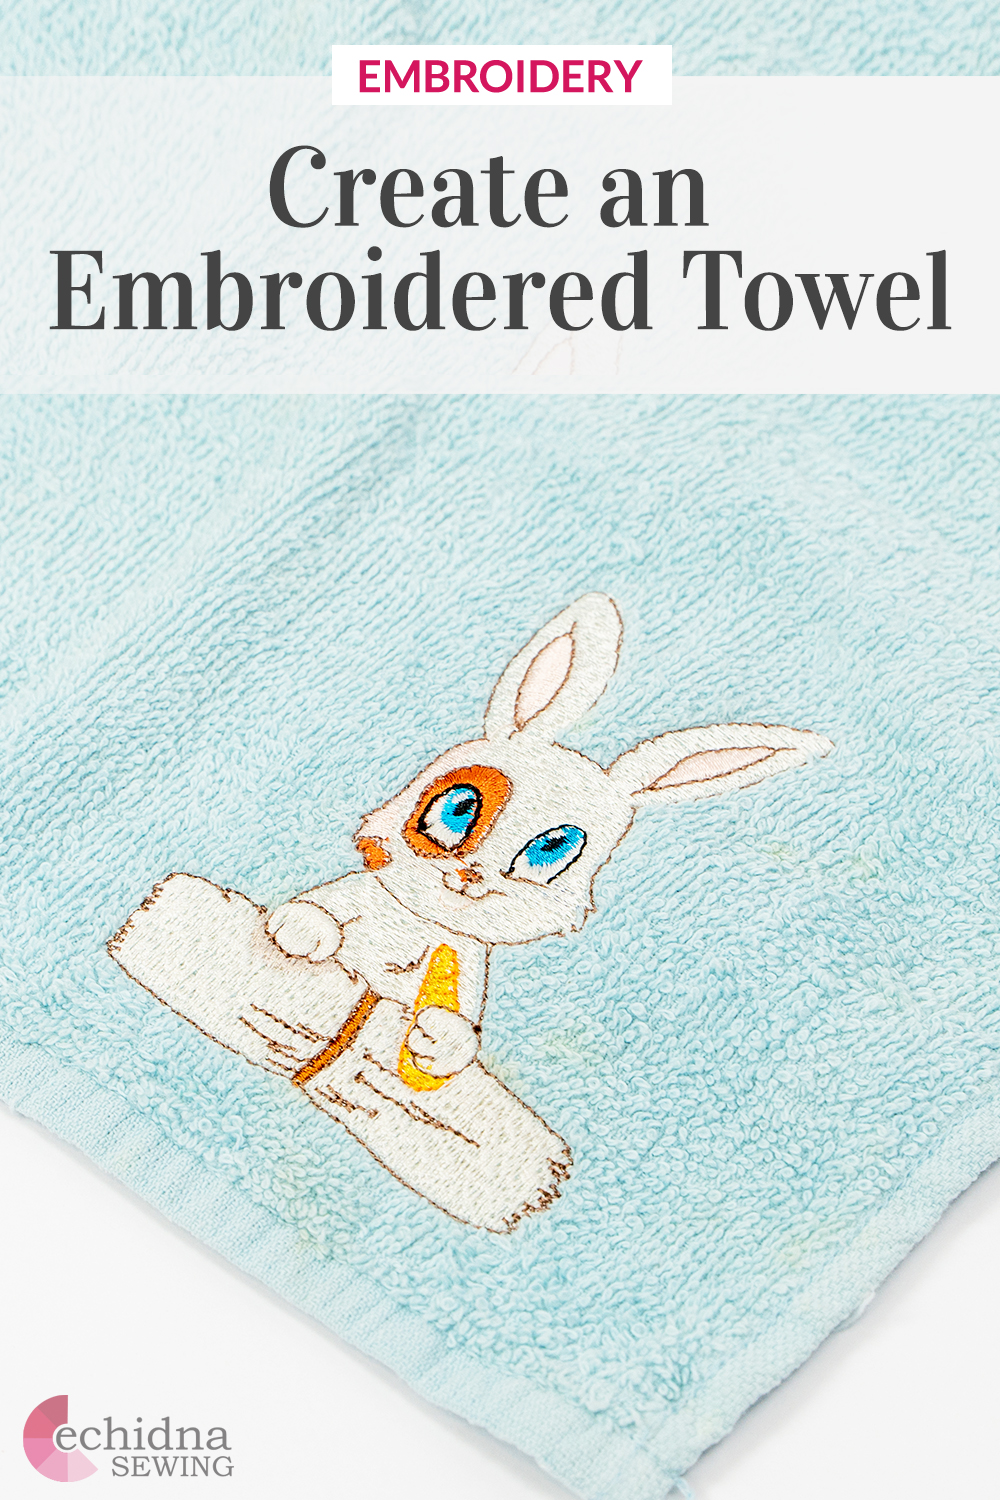
How to embroider a towel
Date Posted:19 December 2022
Embroidering a towel can add touches of personalisation to your home bathroom or make perfect gifts for friends and family. Below is a simple guide to help you embroider a towel using stabilisers, a basting stitch and SuperSolv to embroider your favourite design with ease.
This project is great for all embroidery levels, from beginner to advanced.
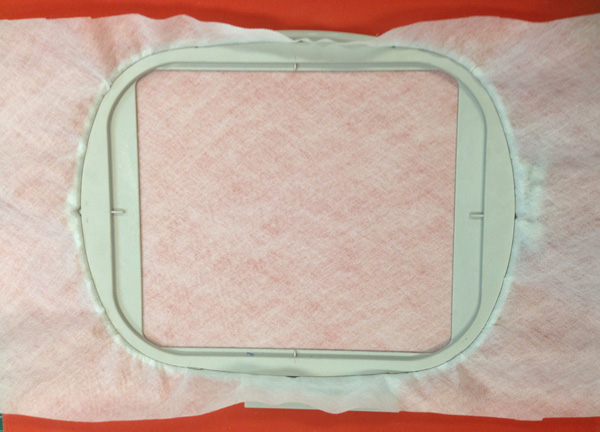
- Hoop one layer of washaway stabilizer as shown below.
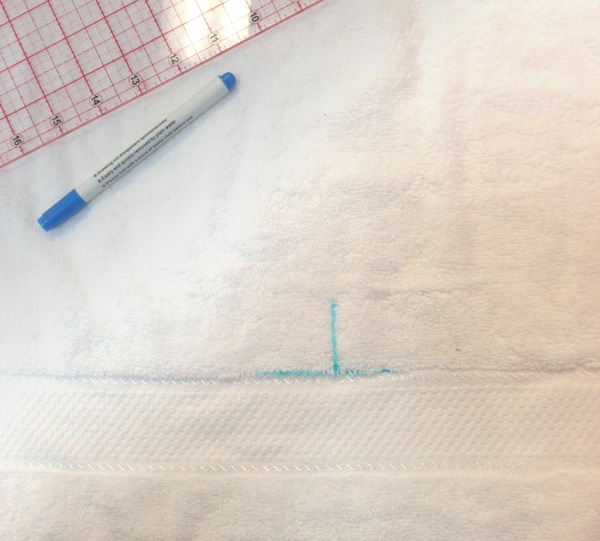
- Mark your towel using a wash or iron out pen to show where you want your design to be stitched.
- Place the hoop in the machine, then transfer and select your design.
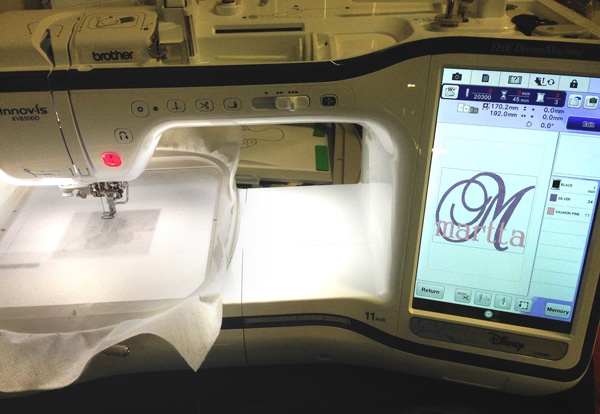
- Position the design using your favourite method. This will depend on which machine you are using.
-
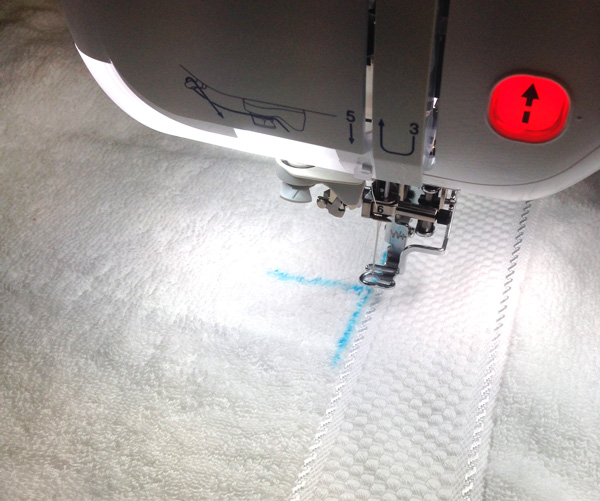
Run a basting stitch around the outline of your embroidery design to keep your garment in place whilst the embroidery is being stitched out. A basting stitch also helps you to visually check the position of the design on the towel before you start stitching. If you find that the design is not at the desired angle, you can unstitch and redo this step to get the perfect position.
There are a number of ways you can baste stitch your embroidery designs. These are outlined below:
USE YOUR MACHINE’S BUILT-IN BASTING STITCH
If you are unsure if your machine has this function please refer to your machine user manual. The manual should also guide you through step-by-step instructions on how to complete a basting stitch.
APPLY A BASTING STITCH TO YOUR EMBROIDERY DESIGN
This can be done on your computer before you transfer your design over to your embroidery machine, and it will be displayed as the first step when you run this embroidery design on your machine. Each software program will have different steps to complete this task. It is normally in the top File navigation menu, under tools or utility as “Baste Design, Auto Baste etc.”. If you are unsure use your program “Help” and type in Baste.
DOWNLOAD A FREE BASTE STITCH FOR YOUR HOOP SIZE FROM ECHIDNA SEWING
Simply download the basting stitch and choose the right size for your machine. 13 sizes included!
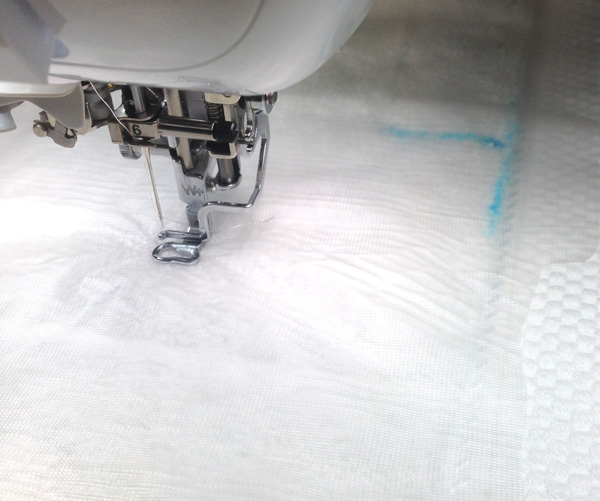
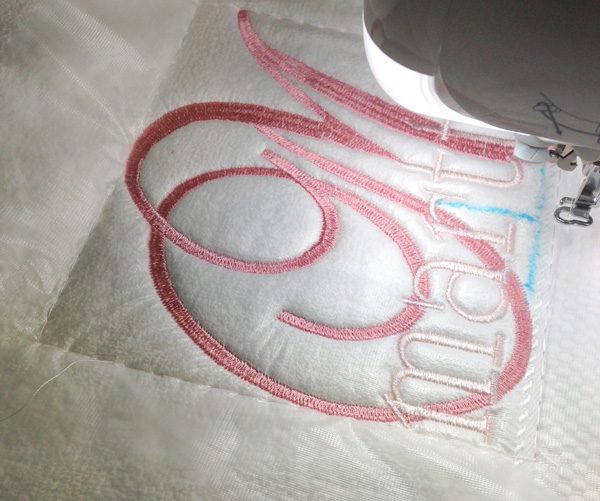
Download → - Once you are happy with the placement of the basting stitch, place a layer of Supersolv over the top and run the basting stitch again to hold it in place.
- Check presser foot height. It should be sitting just above the top layer of Supersolv as it starts to stitch. If the foot is set too low or too high, it will cause thread breakage. Adjust it in your machine settings as required.
- Stitch your embroidery design.
- Once the embroidery is complete, remove the hoop from the machine and remove the basting stitch and excess stabilizer/topping from the towel. Launder if you wish (I personally like to) before using or giving away as a gift.
Don’t forget to show us your finished projects on Instagram or Facebook #echidnasewing #madebyme
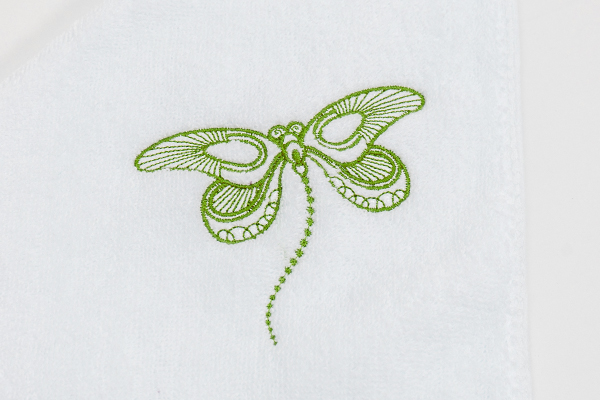
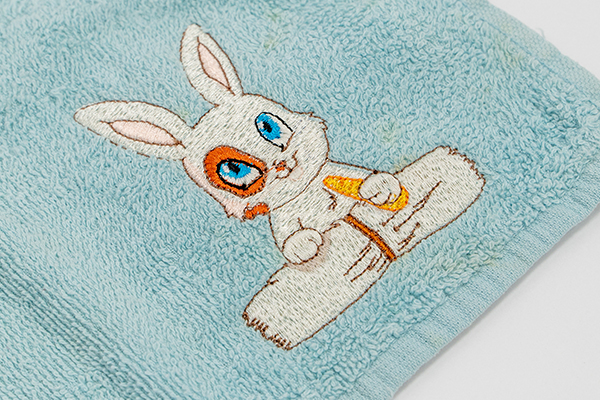
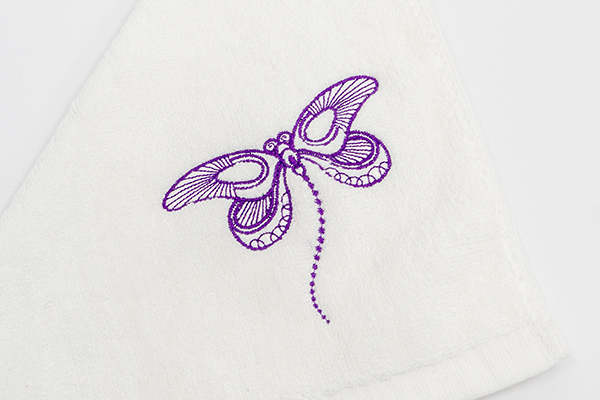
The designs used in our samples are available on our website. We have used the bunny design from Hi There Farm Animals 1 by Echidna Designs and a dragonfly from Dragonfly Suite by Echidna Designs.
Free Embroidery Designs
We're excited to offer our free Echidna designs available for download. These free designs are perfect for those at a beginner or an advanced level. Add these designs to your stash and create incredible embroidery!
View all free designs >
Sewing, Quilting and Embroidery Machines
Interested in learning how to sew, quilt or embroider? Take a look at the innovative Brother machines available for purchase at Echidna Sewing. Wherever possible we will beat any deal and you will always receive ongoing service and support!
Find out more >
Learn to Sew or Embroider with Echidna Sewing
Come along to our fun-filled classes to learn more about sewing, embroidery and crafting. Classes cater for all skill levels, whether you're just starting out or already have advanced knowledge.
Find out more >
Echidna project material/ fabric requirements are an indication only and can seem to be generous. This has been intentional. Should you make a cutting or embroidery mistake you will have sufficient fabric to rectify your error.
Comments (1)
Towel Embroidery or Chenille Embroidery?
23 August 2024Is that Towel Embroidery or Chenille Embroidery?
Echidna Sewing Response
Hi Jack, This project features a satin stitch design embroidery design stitched using a domestic machine.


