All Projects


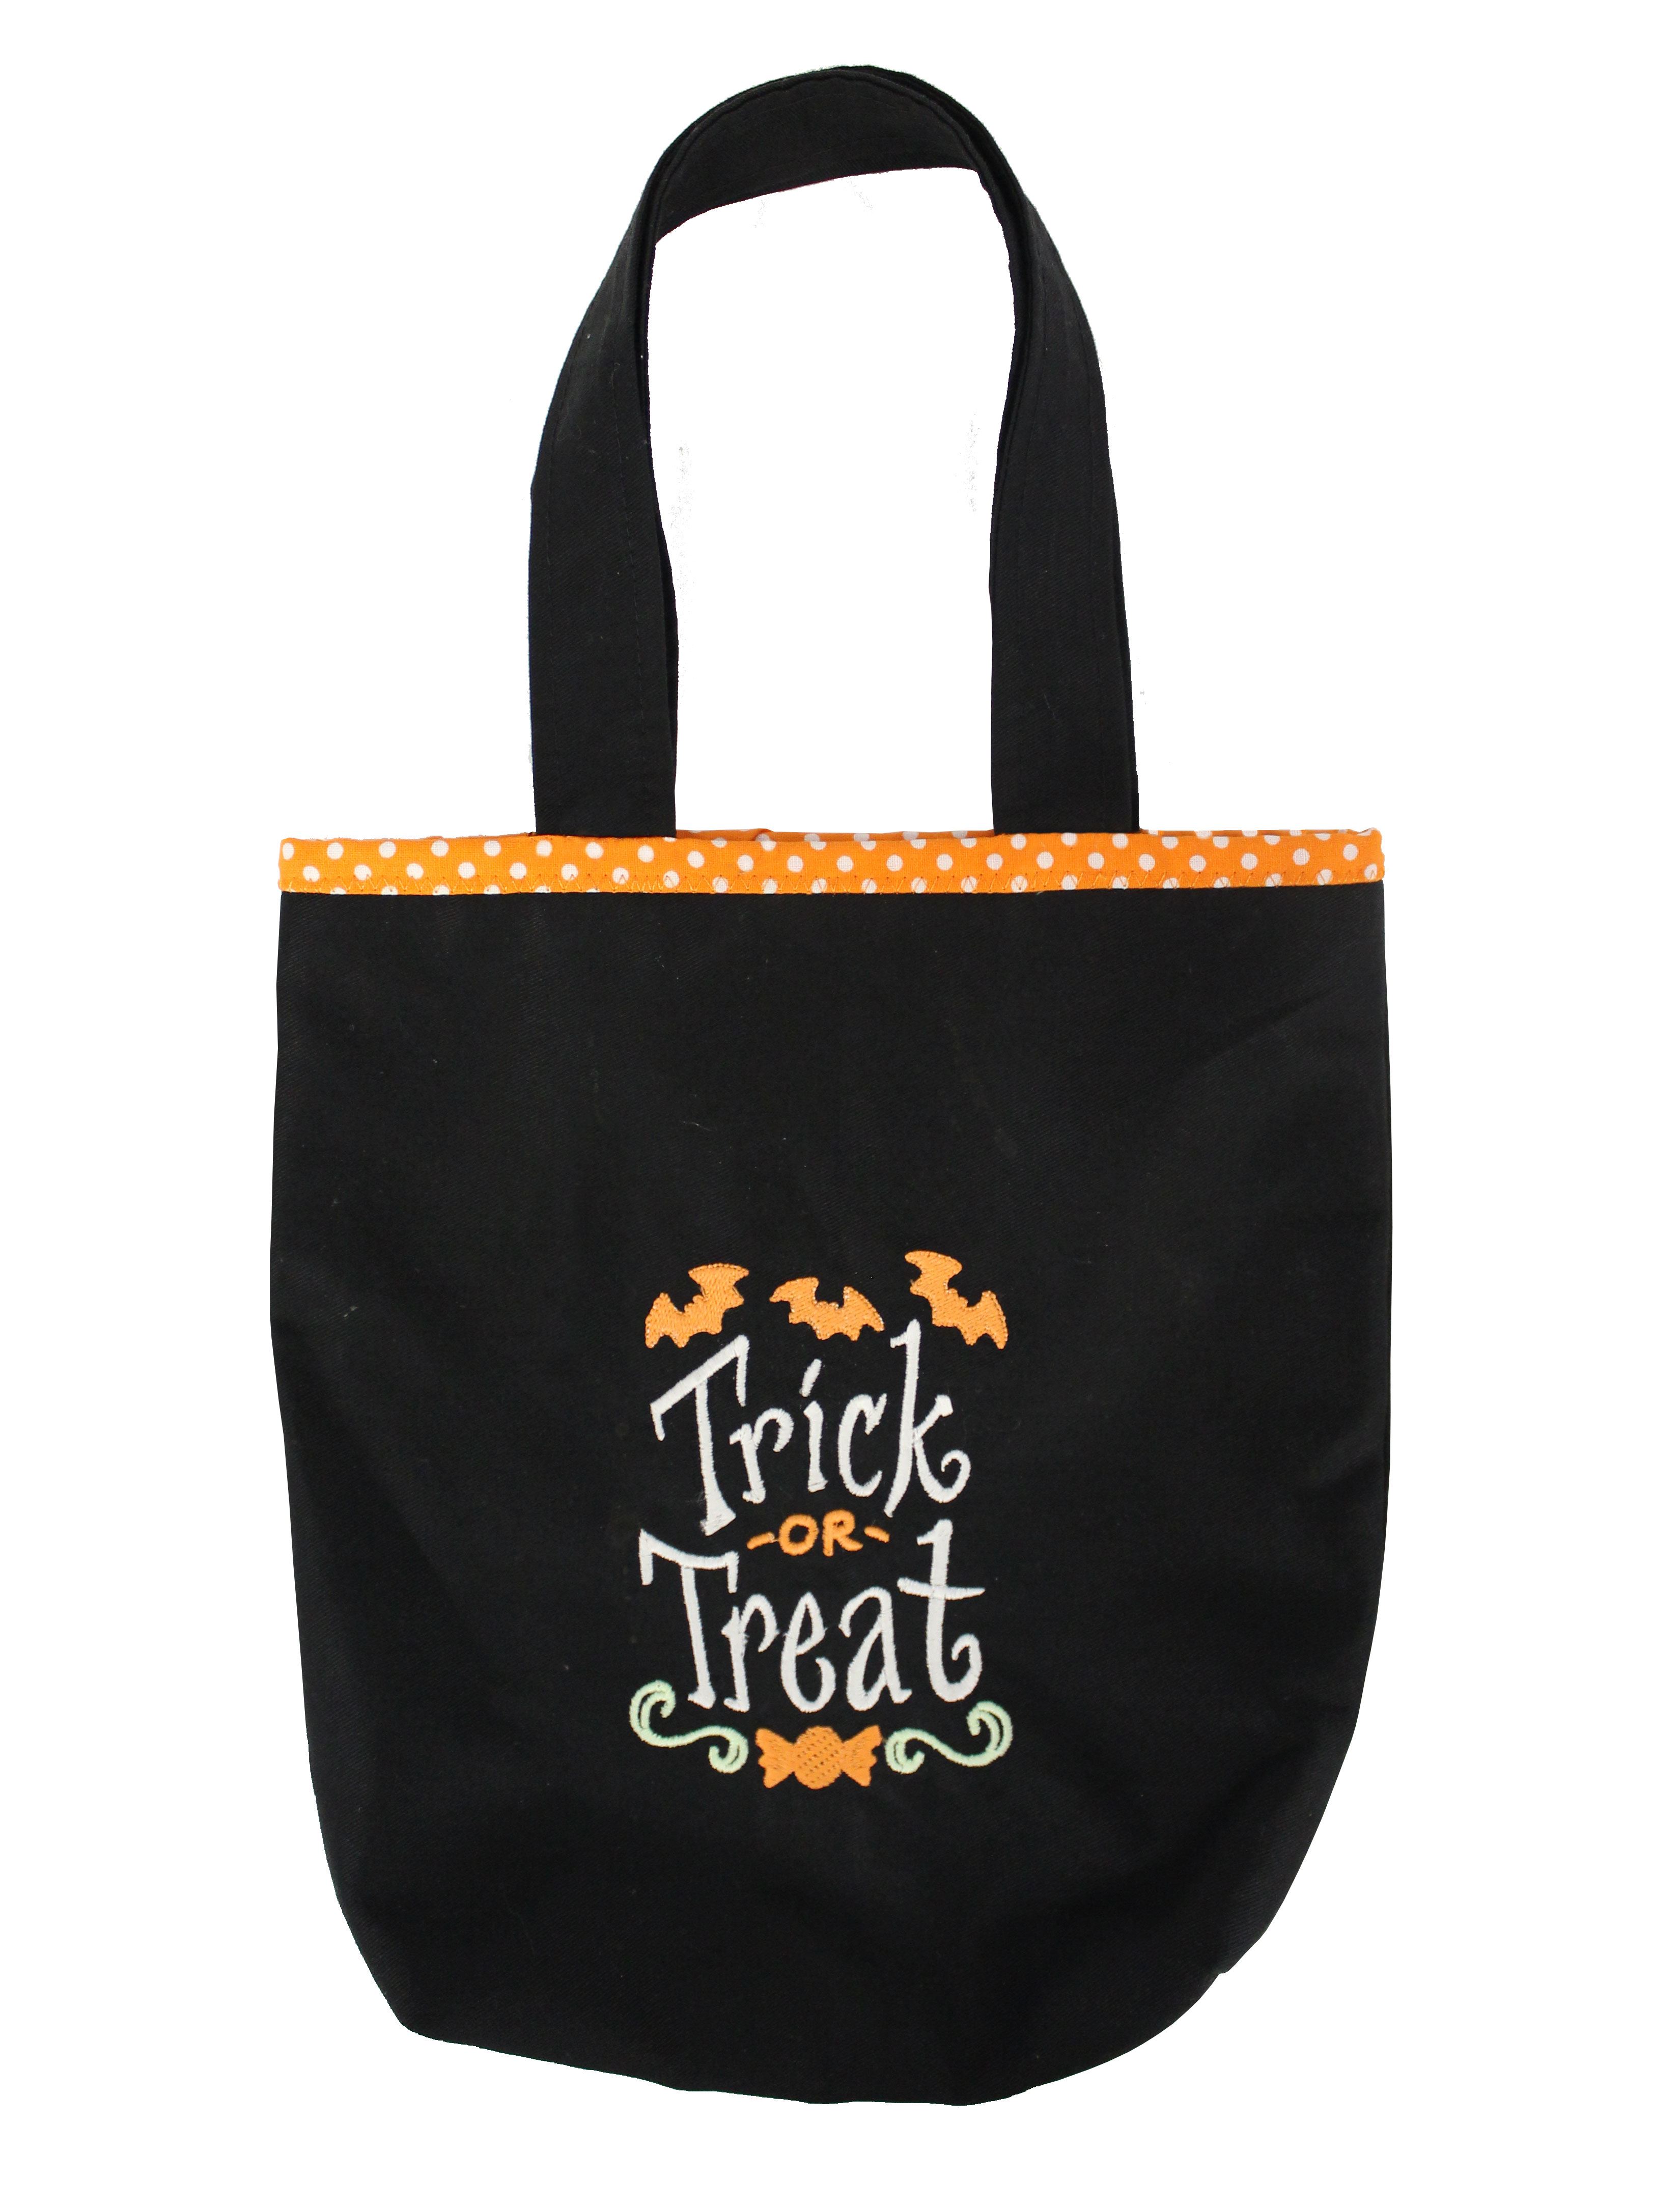
Halloween trick or treat bag
Date Posted:3 October 2025
With Halloween approaching, it's time to get your costumes ready for trick-or-treating! It's the perfect excuse to get creative and make your own trick-or-treat bag to fill with all of your lollies and goodies!
What you need
Bag:
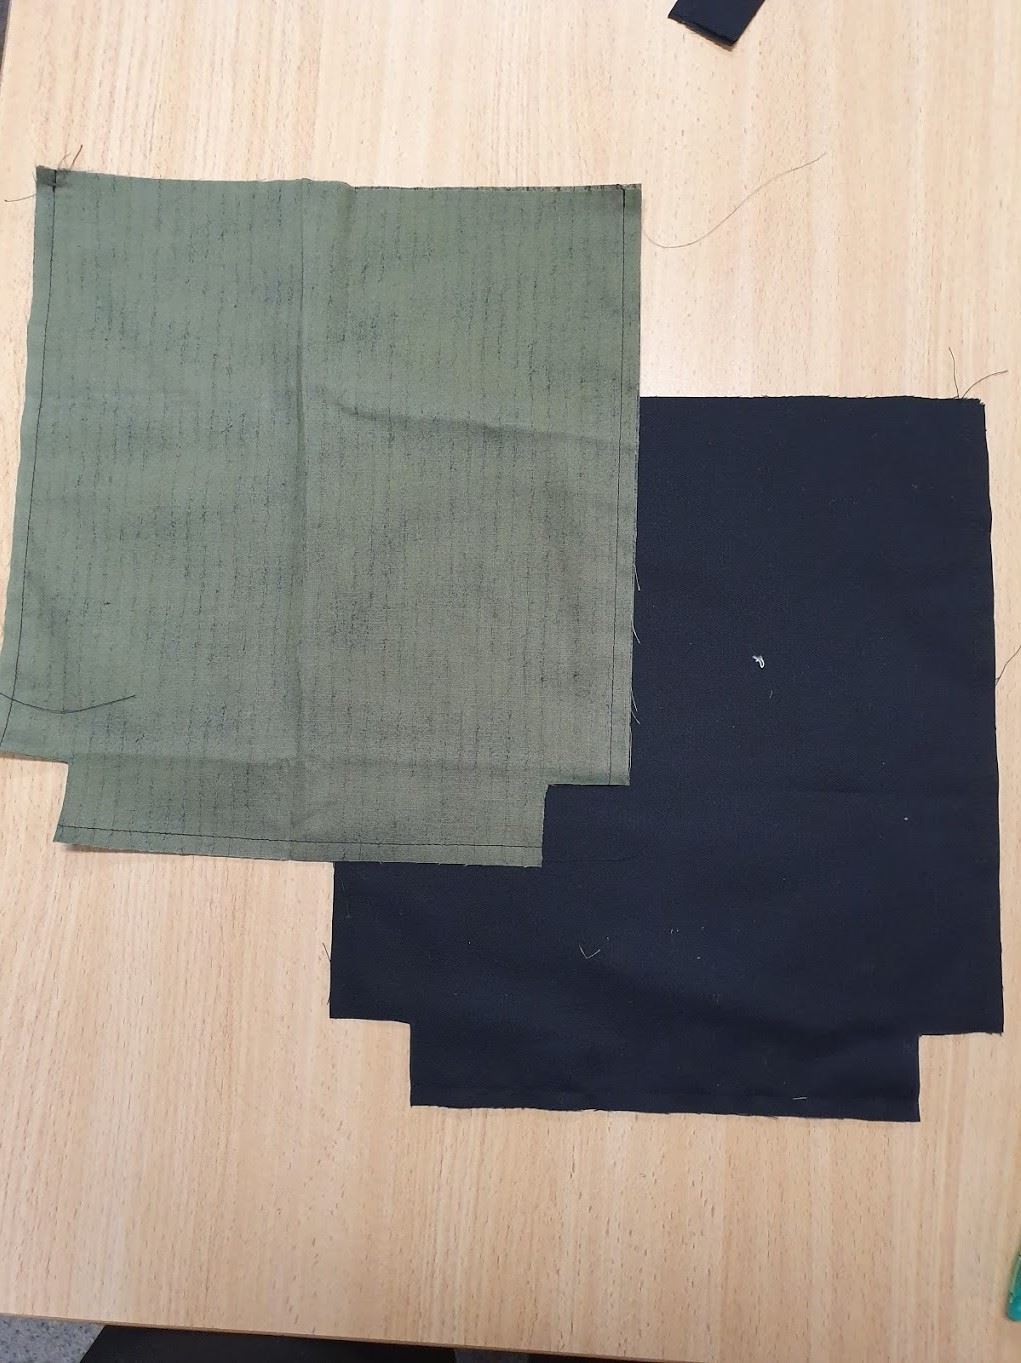
- Main fabric - Gabardine or heavier weight woven fabric (30cm width of fabric). Cut 2 'main bag pieces' from this fabric; 10 ½" x 11 ½". Plus 2 straps; 3" x 18"
- Lining fabric - medium weight woven fabric (30cm width of fabric). Cut 2 pieces from this fabric; 10 ½" x 11 ½"
- Contrast fabric - medium weight woven fabric; 1 piece measuring 2 ½" x 24"
- Sewing thread to match fabric
- TNC Universal 80/12 needles
- Marking pens/pencils
Embroidery:
- Fusible softaway (Medium tearaway)
- Softaway
- Glow in the dark thread - white and a contrasting colour (orange)
- Bobbin fill
- 'Trick or treat' embroidery design →
METHOD
Embroidery design
Download 'Trick or treat' embroidery design →
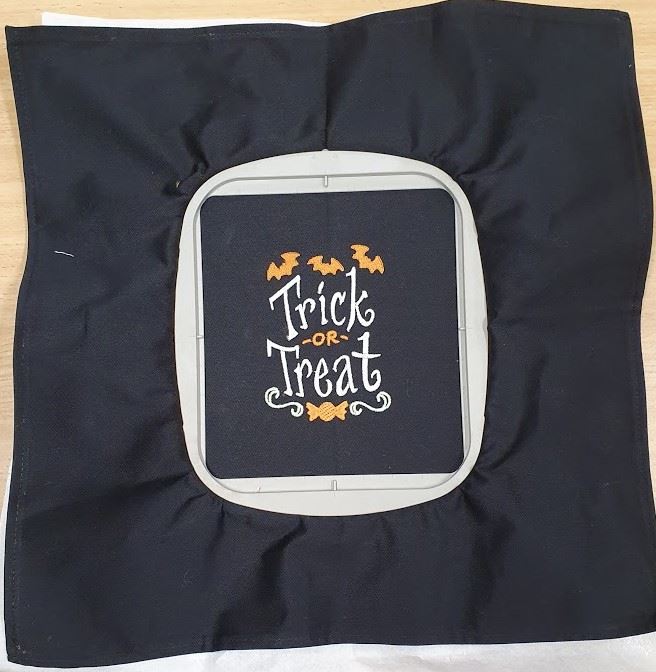
1. Cut a piece of fusible softaway the same size as the main bag pieces (10 ½" x 11 ½"). Press onto wrong side of one of the main bag pieces.
2. Select design. Hoop up fabric in appropriate size hoop.
3. Cut a piece of softaway approximately the same size as the main bag pieces (10 ½" x 11 ½"). Attach hoop to your machine. Slide piece of softaway under the hoop, this term is called 'Floating' of the stabilizer.
4. Embroider the design using the glow in the dark threads. Remove fabric from the hoop and tear away the excess stabilizer from around the outside of the design. Press well.
Completing the bag
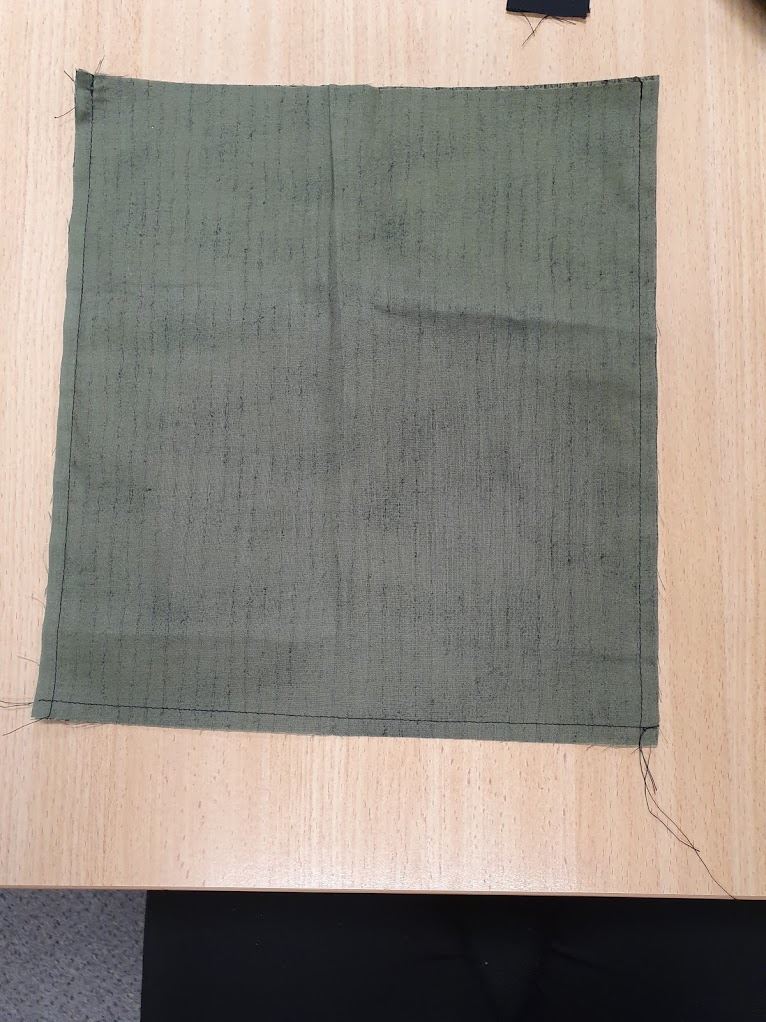
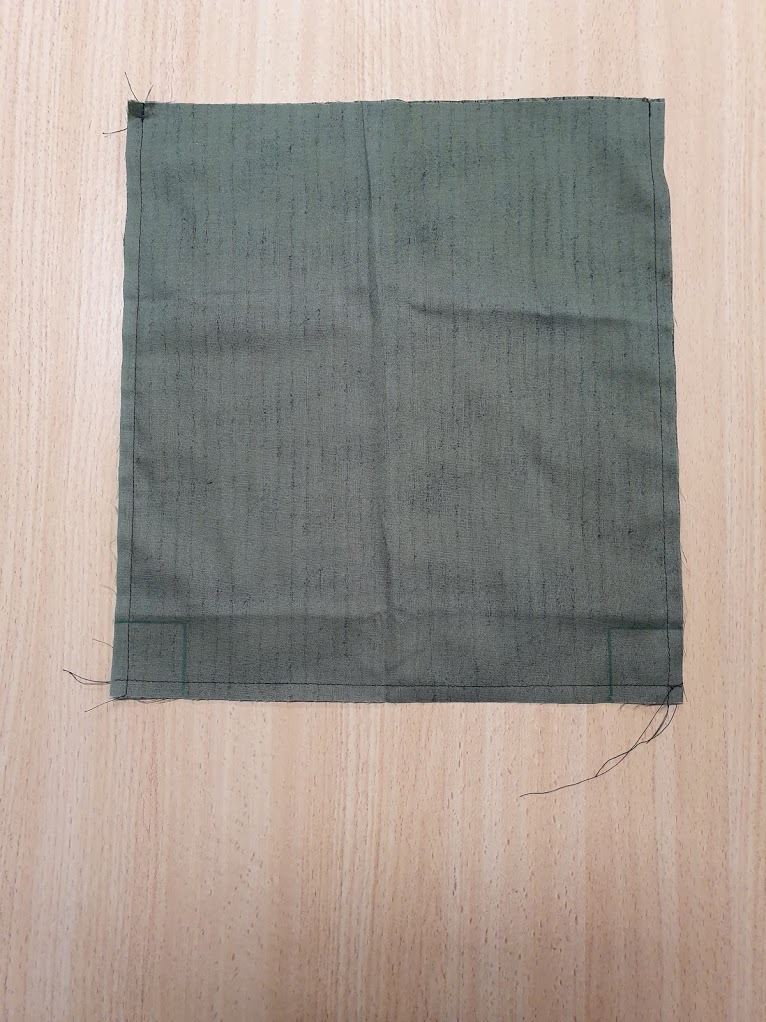
1. Place main fabric pieces, right sides together. Using a ¼" seam allowance, stitch down the long side, across the bottom and down remaining long side, leaving the top short side open.
2. Repeat for the lining fabric.
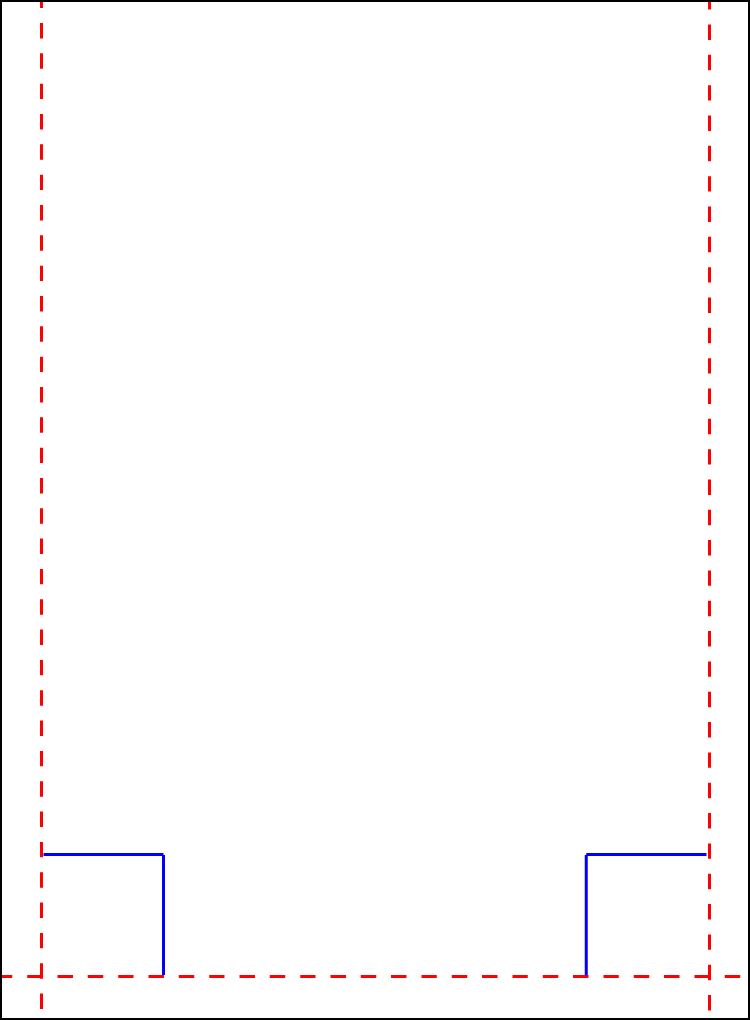
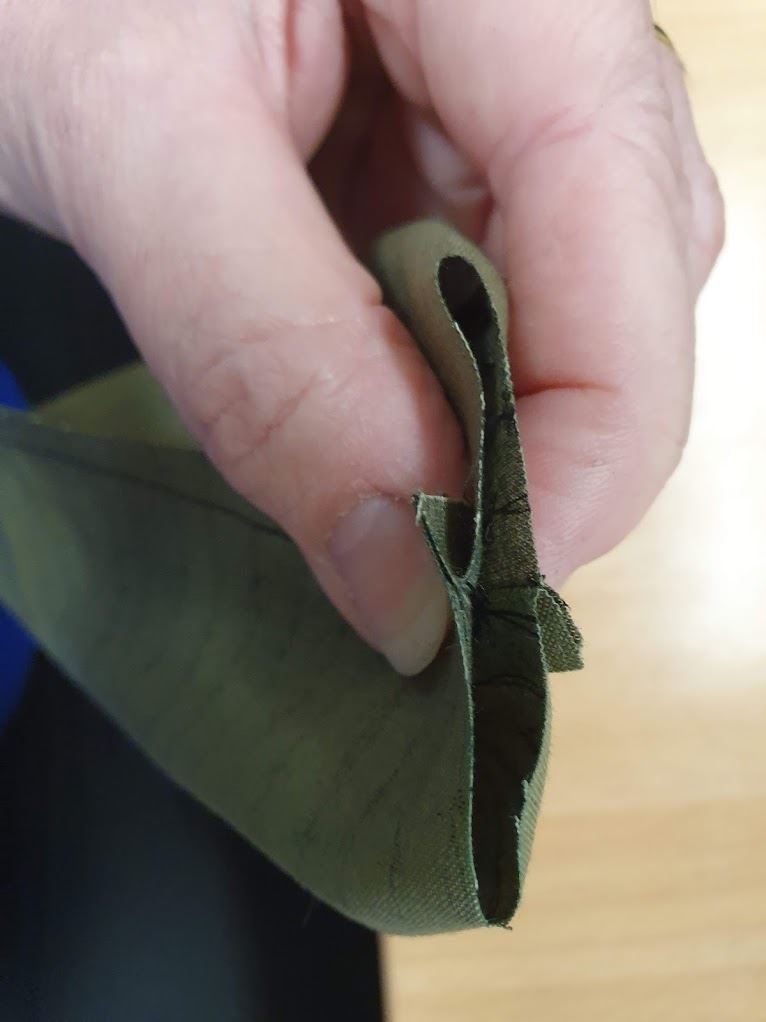
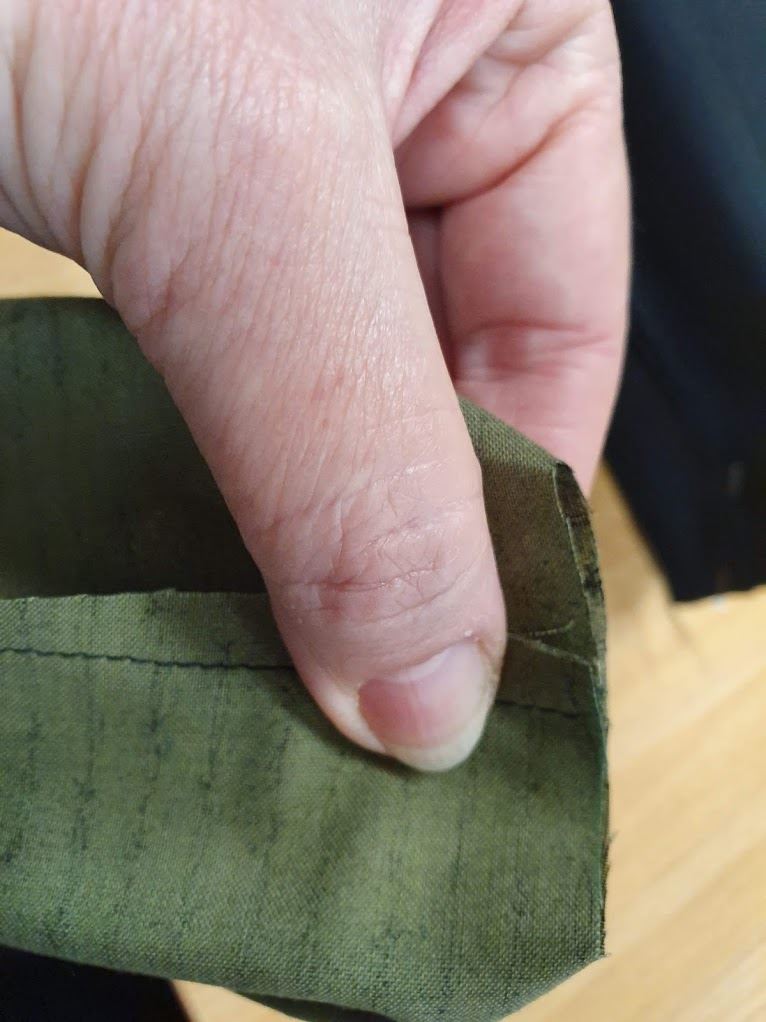
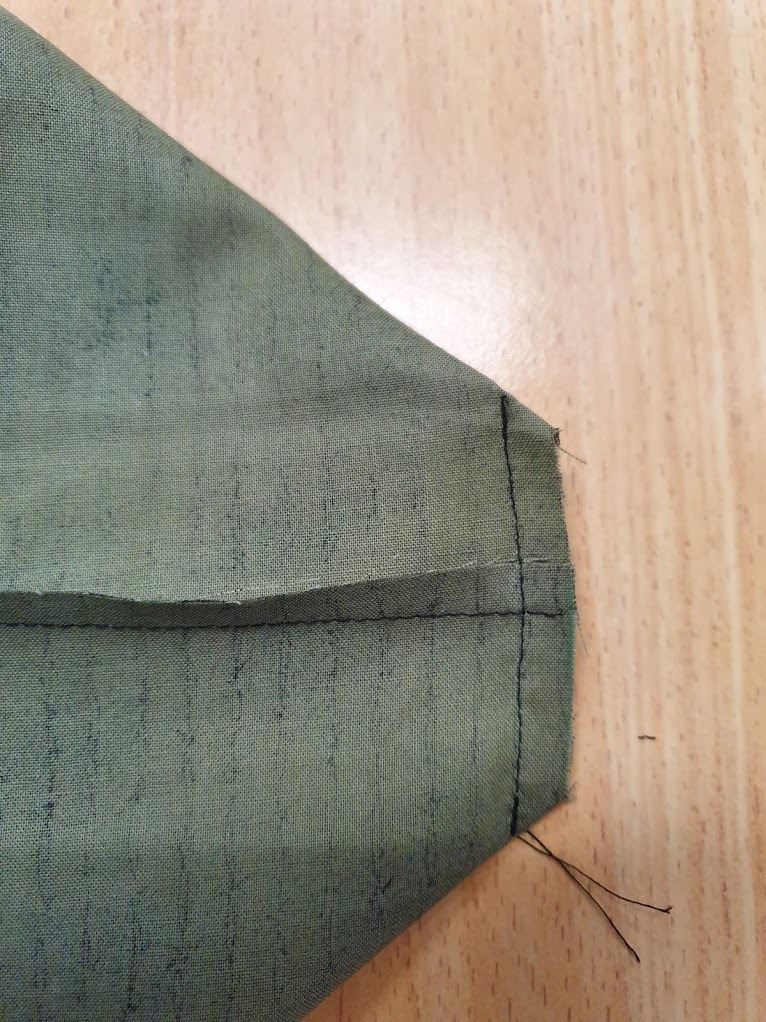
3. Cut out the lower corners of the stitched bag pieces. Measure 1" in from the stitching line from the bottom and the side and draw on cutting lines. Cut on the drawn lines. This is done to both the main bag pieces and the lining piece.
4. To form corners for the base of the main bag and lining, pin seams right sides together and stitch across new seam formed as per picture.
5. Turn main bag right side out. Place lining inside of the main bag. Pin around the top edge.
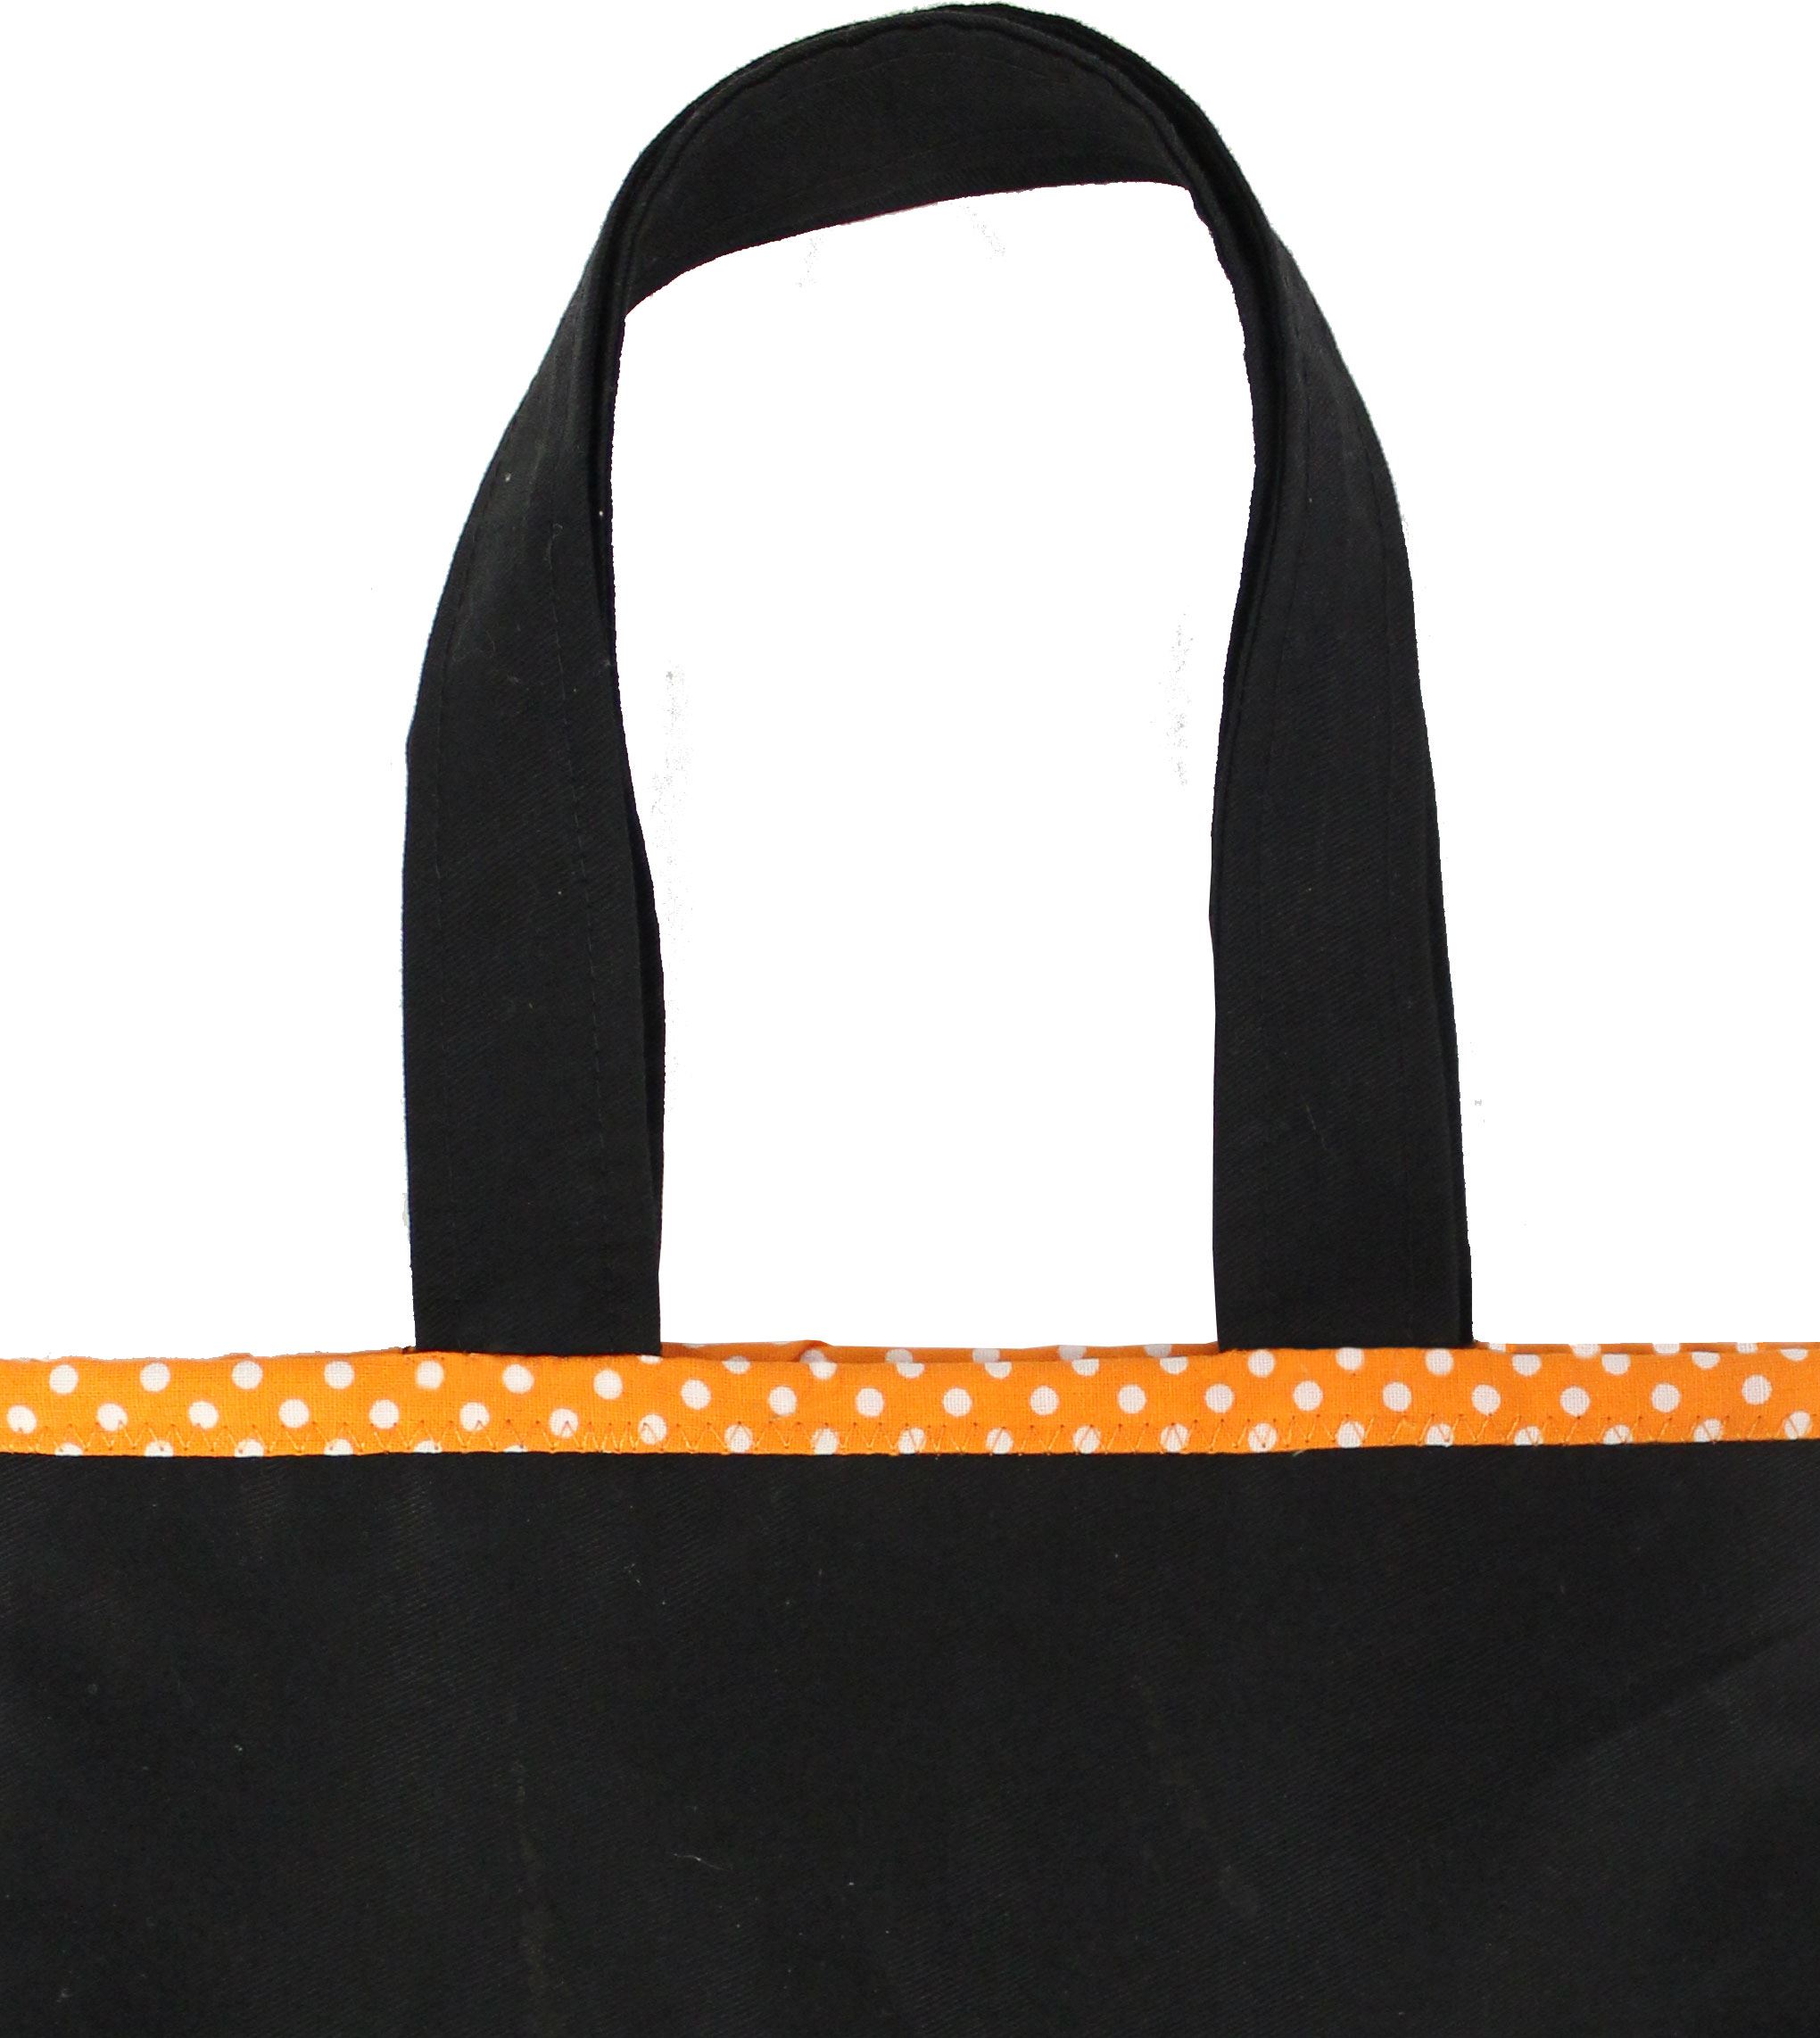
Straps
1. Fold straps in half width ways, and sew down length side using a ¼" seam. Turn to right side and press well. Topstitch down each side of strap.
2. Place a mark 3" in from side seams on both sides of bag lining. Position ends of one strap on 3" markings. Repeat for the other side. Stitch across strap ends to hold in place.
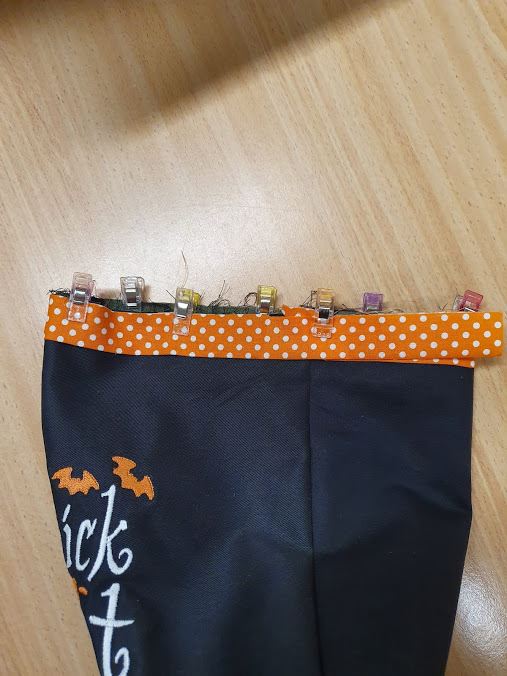
Binding top edge
1. Press binding piece wrong sides together. Fold end of binding over to form a 45 degree angle.
2. Pin binding to top edge of bag, positioning folded end on side seam as per picture. Extend end of binding over where binding has started by approximately 2".
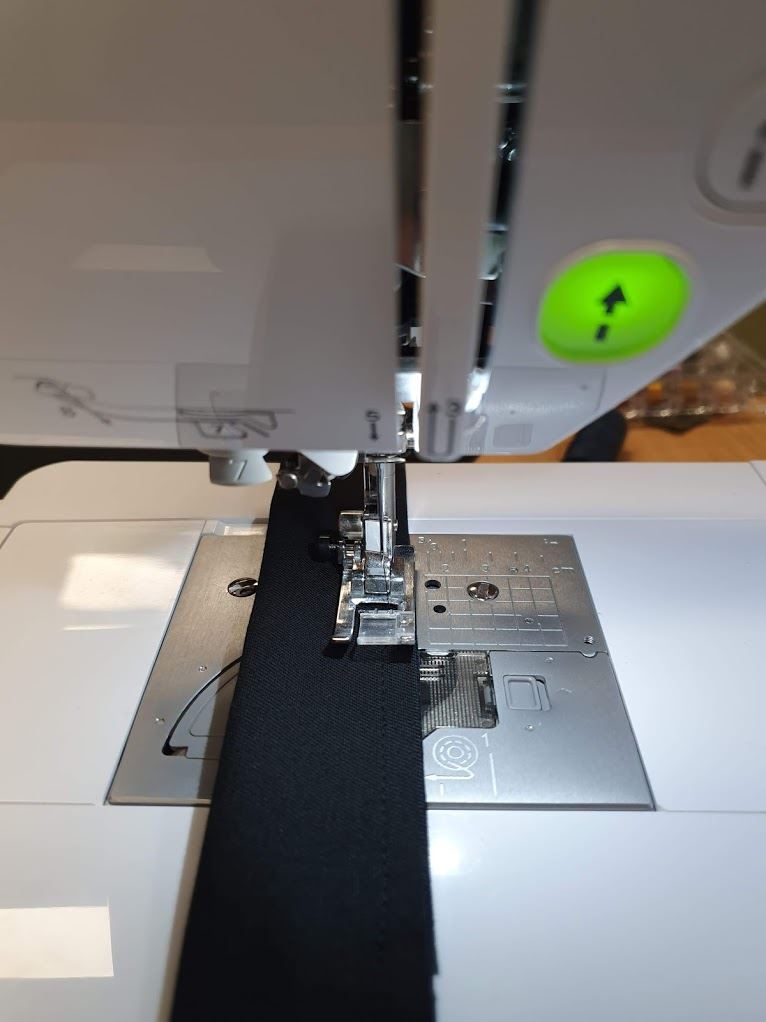
3. Using the width of your foot and needle in centre needle position, stitch binding in place. Press binding up away from main section of bag. Fold binding over top edge of bag. Pin in place. Select a zig zag stitch. Change thread to match binding fabric on top and in the bobbin. Topstitch edge of binding down.
4. Fold handles up towards binding. Stitch handles in place by stitching on the edge of the binding using a zig zag stitch.
Free Embroidery Designs
We're excited to offer our free Echidna designs available for download. These free designs are perfect for those at a beginner or an advanced level. Add these designs to your stash and create incredible embroidery!
View all free designs >
Sewing, Quilting and Embroidery Machines
Interested in learning how to sew, quilt or embroider? Take a look at the innovative Brother machines available for purchase at Echidna Sewing. Wherever possible we will beat any deal and you will always receive ongoing service and support!
Find out more >
Learn to Sew or Embroider with Echidna Sewing
Come along to our fun-filled classes to learn more about sewing, embroidery and crafting. Classes cater for all skill levels, whether you're just starting out or already have advanced knowledge.
Find out more >
Echidna project material/ fabric requirements are an indication only and can seem to be generous. This has been intentional. Should you make a cutting or embroidery mistake you will have sufficient fabric to rectify your error.


