All Projects


Glow in the Dark Face Mask
Date Posted:15 October 2025
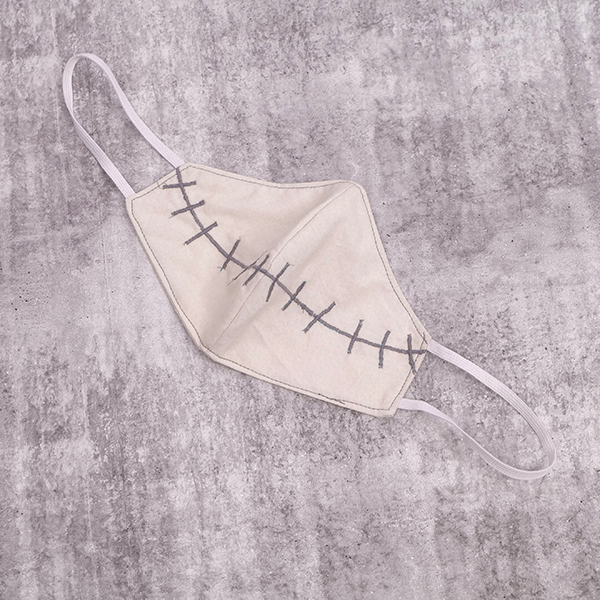
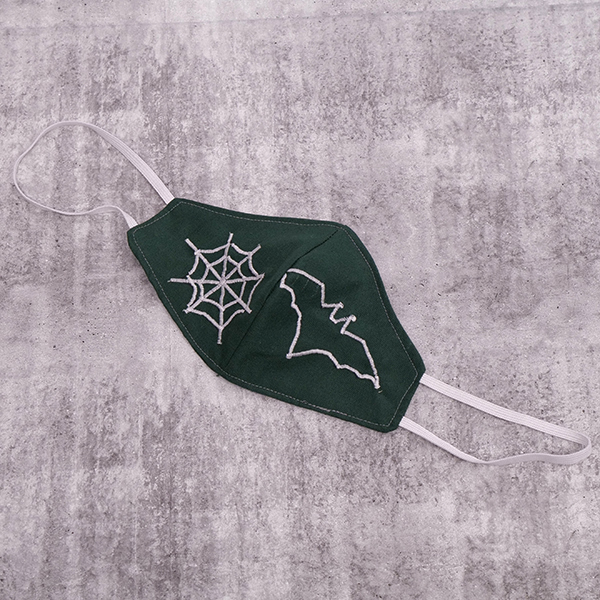
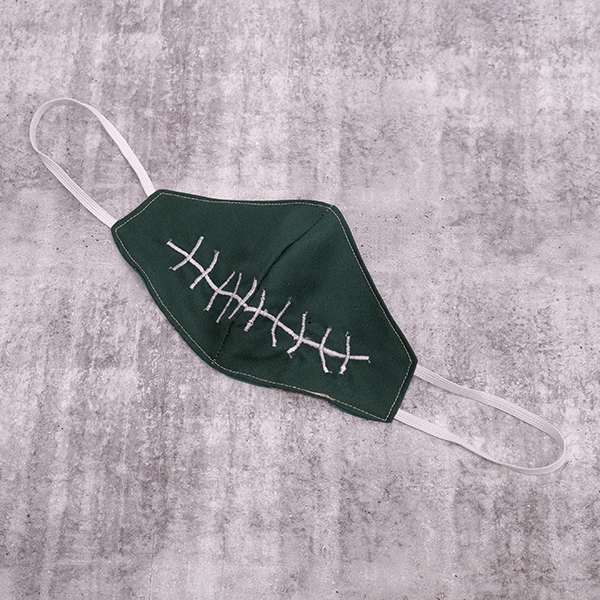
With Halloween fast approaching, what better way to show your spooky spirit than with a mask design that glows in the dark. Today we will be using glow in the dark thread and satin stitching to sew some wicked designs. These instructions follow on from our original mask pattern and sewing tutorial. It is highly recommended you are familiar with how to make our standard mask before you start this project.
Don’t forget to show us your finished projects on Instagram or Facebook #echidnasewing #madebyme
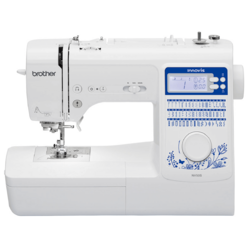
Machines Used
- Brother NV50S Sewing Machine
What you'll need:
- Sewing machine (with the N foot, or the monogramming foot)
- Glow in the dark thread (in your colour choice)
- Normal thread (in your colour choice)
- Fabric 1 (for the outside of your mask)
- Fabric 2 (for the lining of your mask)
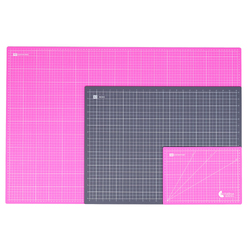
- Sewing scissors (or a rotary cutter + mat)
- Fabric 1 (pattern of your choice)
- Fabric 2 (pattern of your choice)
- Mini iron
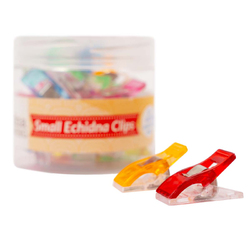
- Small echidna clips or pins
- Washable pen or tailors chalk
- Light box (if you have one)
- A few sheets of copy paper
- Mask pattern & instructions
- Halloween design (printed on paper)
To comply with hygienic and safety standards, face masks should be made with three layers of cotton, or at least a fabric made up of 95% cotton. If you want this for fashion, feel free to replace your fabrics for other textiles, such as lace, velvet, mink, satin etc.
Instructions:
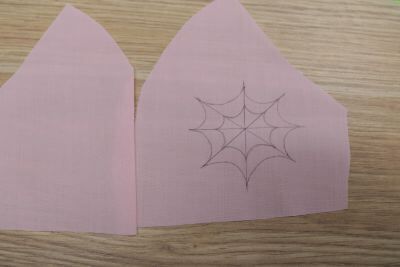
1. Firstly, cut out your printed patterns. Then, we’re going to start by cutting out our mask pieces. You want 2 pieces of your first fabric (for the outside, this is also the layer your glow in the dark stitching will go onto) and then 4 pieces for your lining fabric. I would recommend cutting these mask pieces out with the bigger mask size as it will give you more room for your designs.
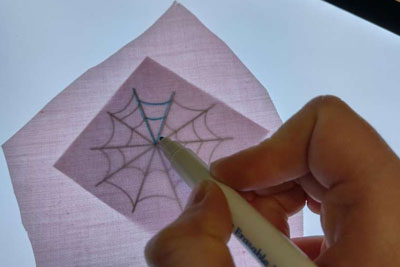
2. Once you’ve cut out your fabric, go ahead and grab your design and place it on your light box (if you don’t have a lightbox, try taping your design to a brightly lit window). Then place one of your fabric 1 pieces over the top of your design and trace the design using your tailor's chalk or washable pen.
3. Now you can go ahead and thread your machine using your glow in the dark thread. (Make sure your bobbin is also wound with the glow in the dark thread). Attach the N foot. Now you want to set your stitch width to about 0.2 or 0.3, and your stitch length to about 2. Also adjust your tension to be a bit looser; about 3.
I would recommend doing a few test stitches on some scrap fabric before you go straight onto the mask, so you can get a feel for the stitching and how it works. Your stitches should be nice and close together with no gaps in the line. The line should appear slightly rounded or curved over the top.
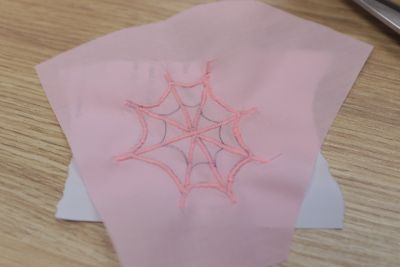
4. When you’re ready, you can pin your mask pieces onto a piece of copy paper, this makes the whole thing much sturdier and provides some stiffness to the piece so your stitches don’t skip or look loose.
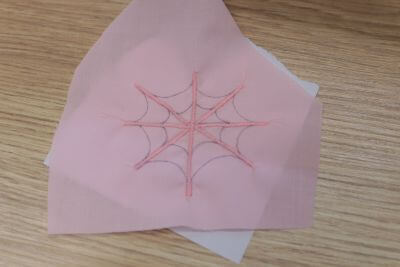
5. Now you can go ahead and start stitching your design. There’s really no right or wrong way to start, just pick a point and start stitching!
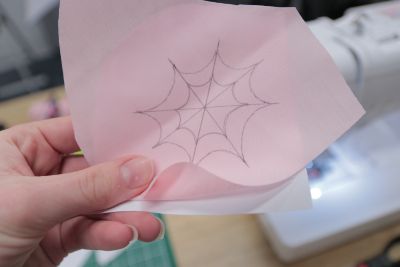
6. After you’ve finished stitching, you can go ahead and tear away the paper on the back. It should come off really easily.

Now you can finish your mask. Refer to our previous mask sewing instructions to finish →


Free Embroidery Designs
We're excited to offer our free Echidna designs available for download. These free designs are perfect for those at a beginner or an advanced level. Add these designs to your stash and create incredible embroidery!
View all free designs >
Sewing, Quilting and Embroidery Machines
Interested in learning how to sew, quilt or embroider? Take a look at the innovative Brother machines available for purchase at Echidna Sewing. Wherever possible we will beat any deal and you will always receive ongoing service and support!
Find out more >
Learn to Sew or Embroider with Echidna Sewing
Come along to our fun-filled classes to learn more about sewing, embroidery and crafting. Classes cater for all skill levels, whether you're just starting out or already have advanced knowledge.
Find out more >
Echidna project material/ fabric requirements are an indication only and can seem to be generous. This has been intentional. Should you make a cutting or embroidery mistake you will have sufficient fabric to rectify your error.


