All Projects


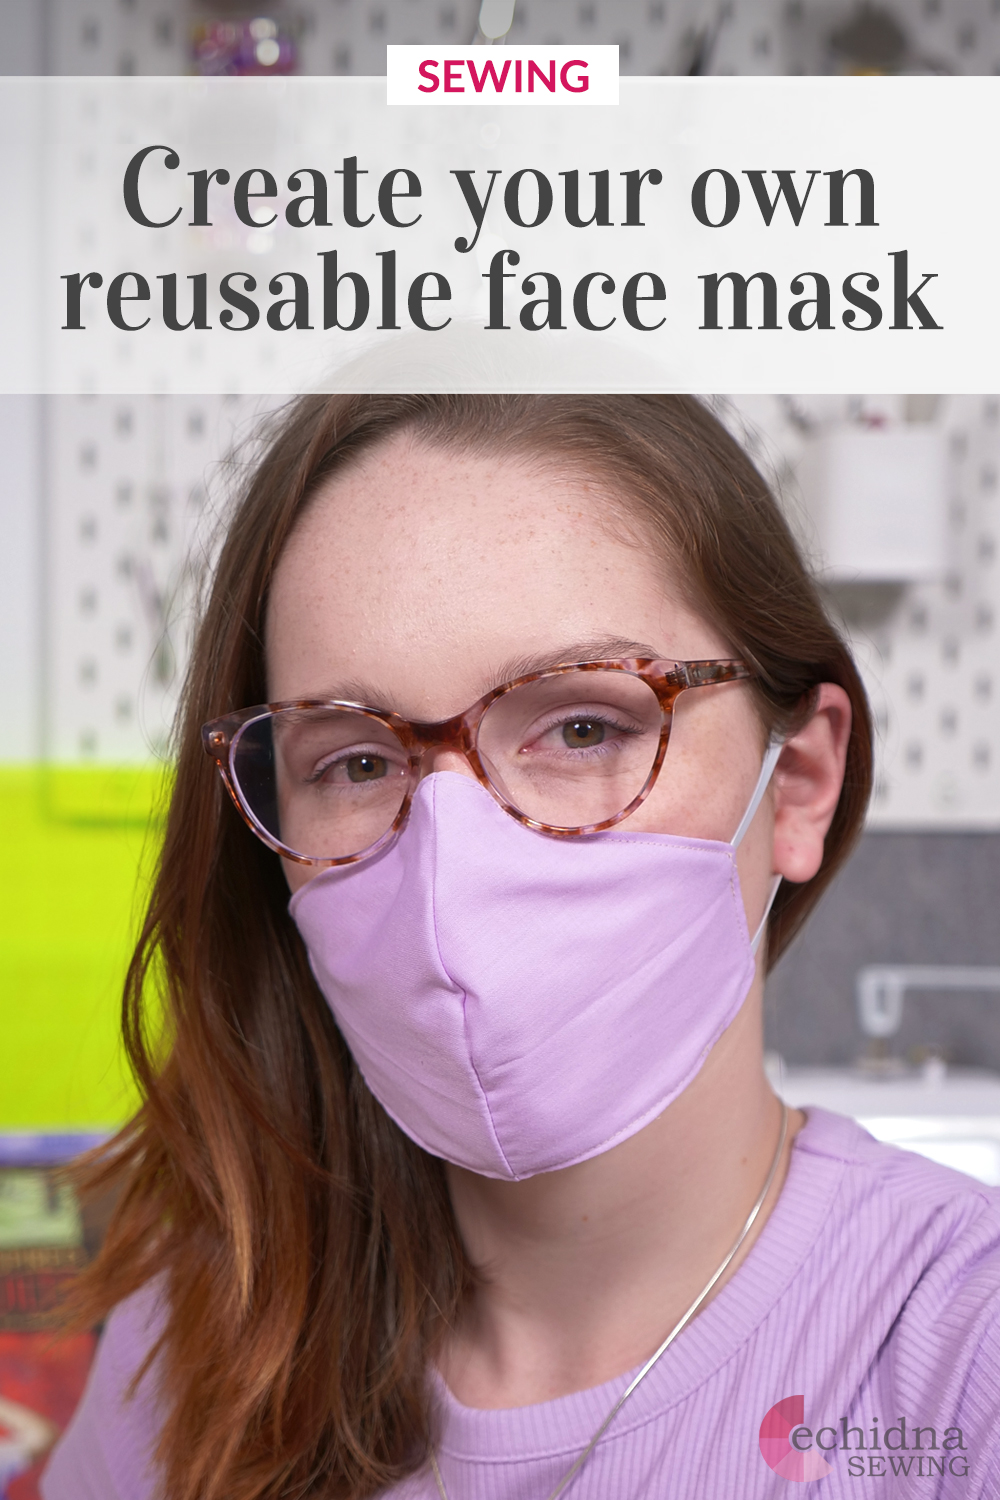
Reversible Face Mask
Date Posted:26 September 2021
Face masks are now more popular than ever and they make a wonderful project for beginners or even just to make use of leftover fabric! Create your own stylish face mask with our project instructions and personalise it to your liking. You can sew a face mask for yourself or others, for hygienic use or a fashion statement! This project is quick, simple and perfect for practicing your sewing skills, from beginners to advanced.
Don’t forget to show us your finished projects on Instagram or Facebook #echidnasewing #madebyme
Machines Used
What you'll need:
- Sewing machine
- Thread (of your colour choice)
- Scissors or a rotary cutter
- Pins or clips
- Iron
- Elastic (5mm-8mm)
- Fabric 1 (pattern of your choice)
- Fabric 2 (pattern of your choice)
- Measuring tape
- Overlocker (optional)
- Face Mask Pattern
Tip:
Don't have an overlocker? Use a built-in zig zag stitch on your machine to finish off the edges to stop the fabric from fraying.
To comply with hygienic and safety standards, face masks should be made with three layers of cotton, or at least a fabric made up of 95% cotton. If you want this for fashion, feel free to replace your fabrics for other textiles, such as lace, velvet, mink, satin etc.
Just remember, ALL masks made for safety and hygiene MUST have 3 layers of cotton as a minimum. These instructions are to make a reversible face mask, so you can use two different patterns if you want to have a trendy 2-in-1 mask. But, if you only want to wear one side, that’s okay! You can just cut four pieces of your solid colour or plain fabric instead of 2 pieces of plain fabric and 2 pieces of your second pattern.
Instructions:
1. Start by downloading the pattern and printing it to scale. The dotted line is a regular fit face mask, and the bold line is a larger fit mask. If you need a bigger mask, simply scale up your pattern by 1cm at a time until you get a pattern that fits you.
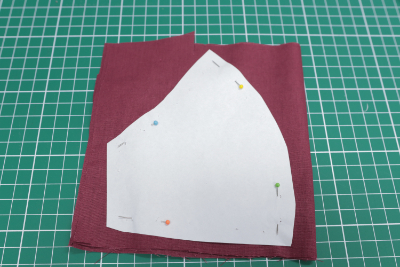
2. You’ll need four pieces of your first fabric (you won’t see two layers). We recommend using a plain colour so you won't need to worry about right or wrong sides. You can easily fold over plain fabric four times and cut it out in one hit.
3. Now you’ll need two pieces of your second fabric. If you’re using a patterned fabric, make sure your right sides are together when you cut the pieces out, otherwise you’ll end up with two pieces for the same side of your face.
4. Wind your bobbin with your desired thread, then thread your sewing machine.
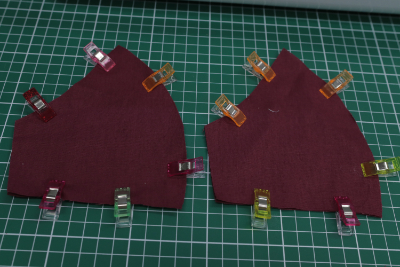
5. Starting with your first fabric (four layers), you need to sew two pieces together to form one piece of fabric, with two layers. So pin the corresponding pieces together and sew a straight stitch around the outside of the piece. Sew generally close to the edge as it’s just to hold the pieces together.
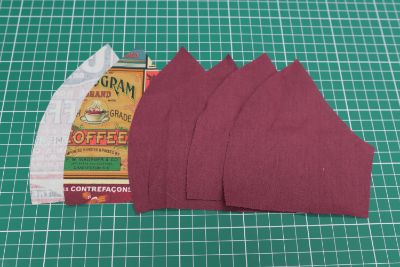
Once you’ve finished this step, you should have two separate mask pieces with two layers each.
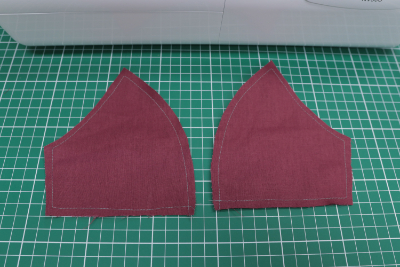
6. Now you can take your fabric 2 (your patterned fabric), pin the right sides together and sew along the long curved seam, about 1.5cm from the edge. Repeat this step for the other two pieces.
Now you should have a front mask piece (patterned fabric) and a back mask piece (double layer pieces).
7. Now you can cut your elastic. We like to use the thinner 5mm elastic, but the thickness is completely up to you. We recommend a maximum thickness of 8mm. Measure out approx 16-20cm of elastic; depending on your face shape - you can measure this by placing the mask up to your face and measuring the length from the edge of the mask, around your ear and back to the mask. Add 1.5 cm to each end for a bit of give. Cut two pieces of this desired length.
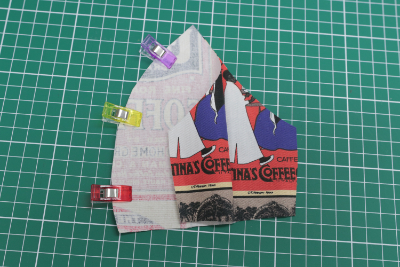
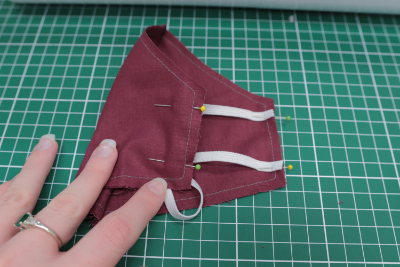
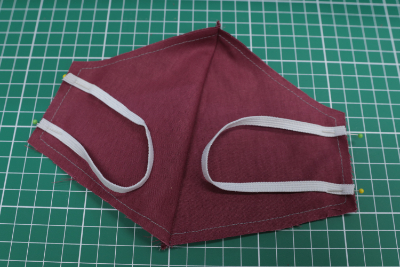
8. With your back mask piece, pin one end of the elastic at the top of the shortest edge, on the right side of the fabric, and then pin the other end to the end of the shortest side. Repeat for the other side.
Make sure your elastic isn’t twisted at all.
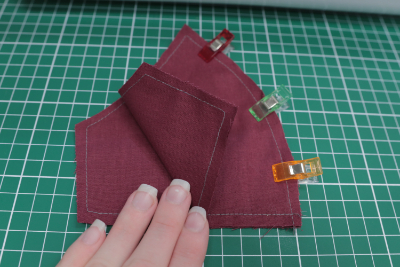
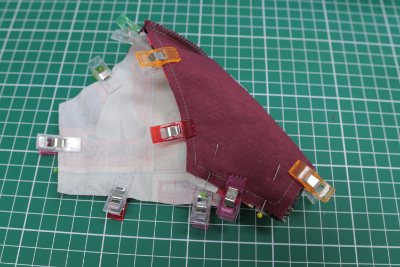
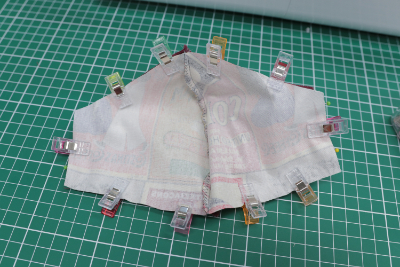
9. Now you can take your front piece and place it onto your back mask piece, with right sides together. Pin or clip together.
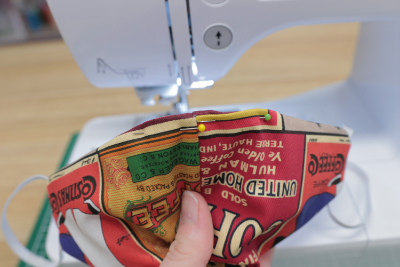
10. Now, place your fabric into the sewing machine. We like to start down the bottom of the mask, as we will have to leave an opening to turn the mask inside out. Having this down the bottom makes it less noticeable. Stitch around the circumference of the mask, 1.5cm from the edge. If you are confident in the place of your elastic, reverse stitch over the elastic so it holds in place. If you are not yet comfortable with your placements, simply single stitch over the elastic for now. Make sure you don’t stitch the whole way around and finish with an opening.
11. Turn the mask the right way out and check the fit. If it is too loose or too tight, unpick one end of the elastic (on both sides) and adjust accordingly. Once you’re happy with the fit, stitch over the elastic (on the wrong side) to hold the elastic in place.
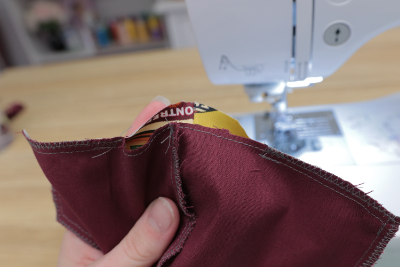
12. Back on the wrong side of the fabric, either trim the edges and zig-zag stitch over the edge, or overlock the edges, and then clip your corner, so that your mask will turn inside out nicely.
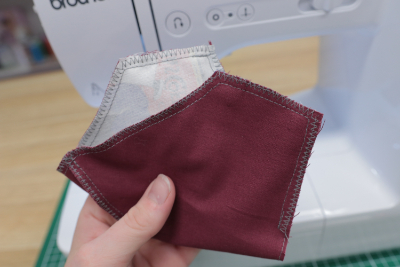
13. Turn your mask right side out and press flat with your iron. Fold in the bottom opening turning hole and pin. Now stitch using a straight stitch around the edge of the mask, as close to the edge as possible.
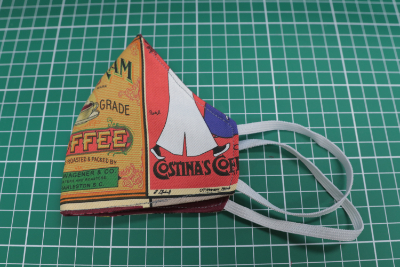
14. Project complete!


Free Embroidery Designs
We're excited to offer our free Echidna designs available for download. These free designs are perfect for those at a beginner or an advanced level. Add these designs to your stash and create incredible embroidery!
View all free designs >
Sewing, Quilting and Embroidery Machines
Interested in learning how to sew, quilt or embroider? Take a look at the innovative Brother machines available for purchase at Echidna Sewing. Wherever possible we will beat any deal and you will always receive ongoing service and support!
Find out more >
Learn to Sew or Embroider with Echidna Sewing
Come along to our fun-filled classes to learn more about sewing, embroidery and crafting. Classes cater for all skill levels, whether you're just starting out or already have advanced knowledge.
Find out more >
Echidna project material/ fabric requirements are an indication only and can seem to be generous. This has been intentional. Should you make a cutting or embroidery mistake you will have sufficient fabric to rectify your error.


