All Projects
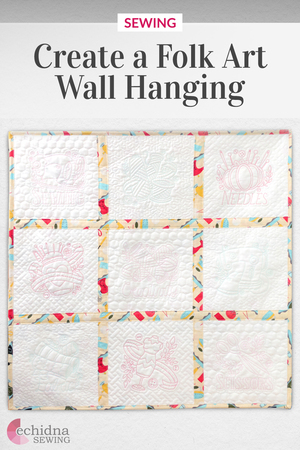


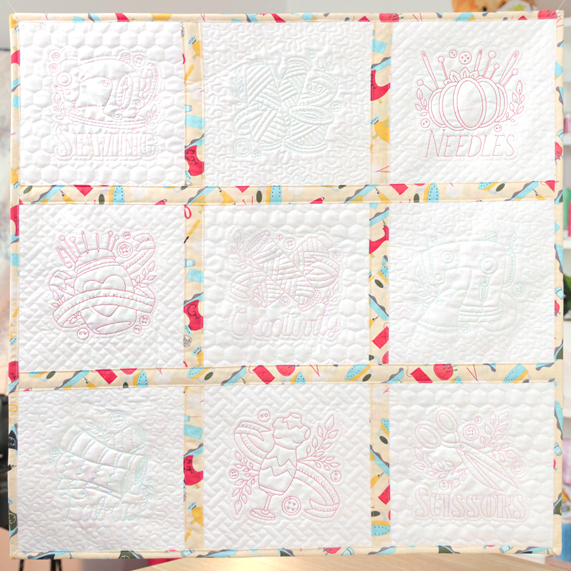
Folk Art Wall Hanging
Date Posted:29 August 2024
Materials required
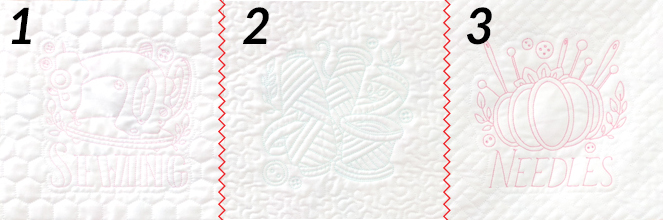
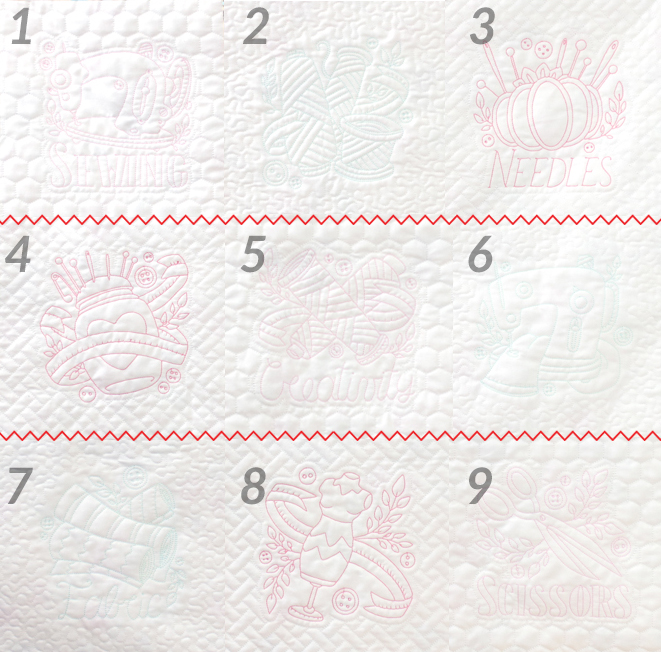
- 9 x Folk art embroidery design (we used Sewing Notions by Echidna)
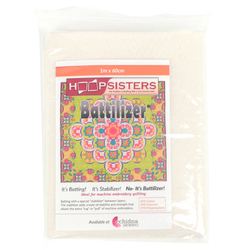
- Quilt Batting, Battilizer or Pellon
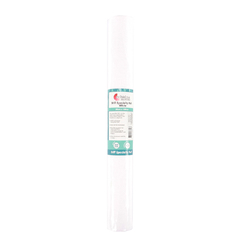
- White See-Through Cutaway
- Hemingworth thread – colour of your choice
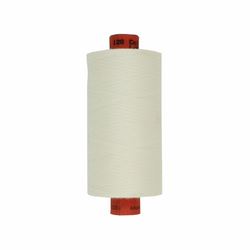
- 1 x Rasant thread (3000)
- Bobbin Thread (To match Rasant)
- 9 x 16” x 20” white fabric
- Shape to Create fusible woven interfacing
- 1.75m of contrasting fabric for backing, binding and bias strips
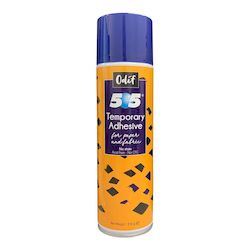
- 505 Basting Spray
- Bias Maker
The featured designs that we used in this project were created on a Brother Luminaire machine using My Design Center and only a .jpg file of the artwork.
Equipment required
- Sewing & embroidery machine
- Hoop used 270mm x 270mm (10⅝” x 10⅝”)
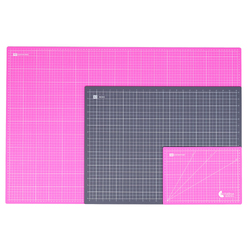
- Rotary cutter
- Self-healing cutting mat
- 6.5” x 24” Patchwork ruler
- 12.5” x 12.5” Patchwork ruler
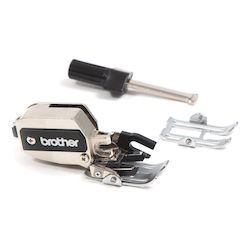
- Dynamic walking foot
- Mini iron
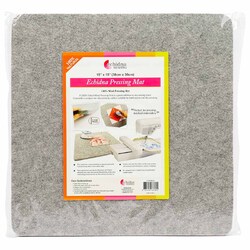
- Wool pressing mat
- Purple thang
Method
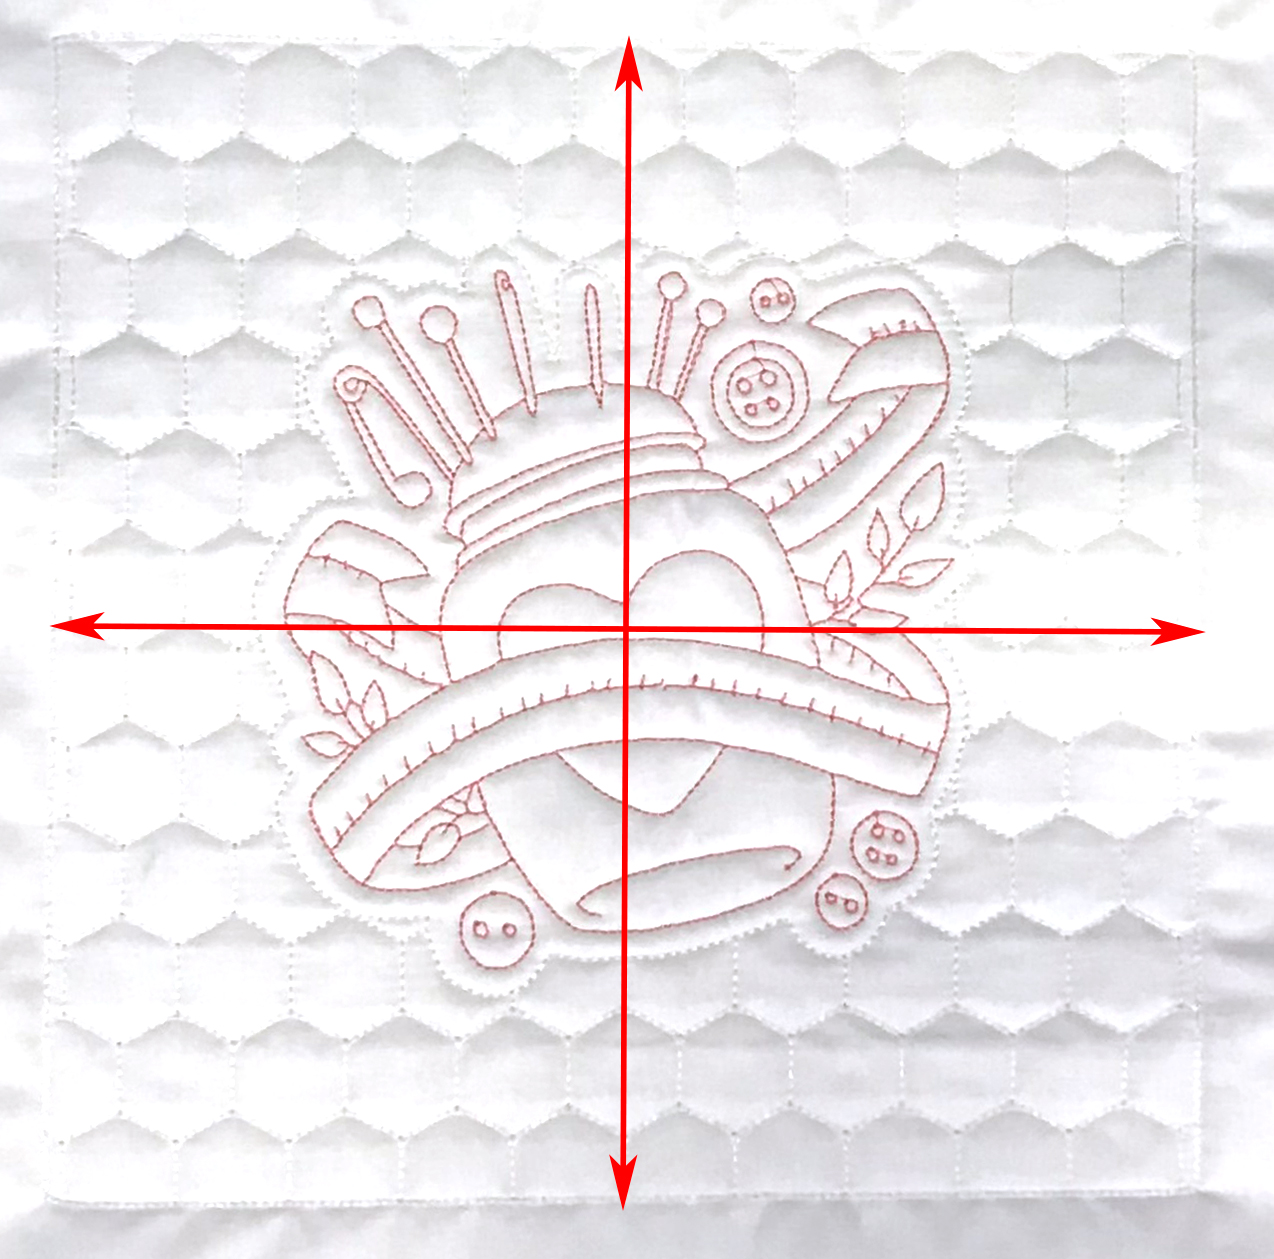
- Embroider the 9 Folk Art embroideries using the 270mm x 270mm (10⅝” x 10⅝”) hoop.
- Trim the embroidery to the edge of design.
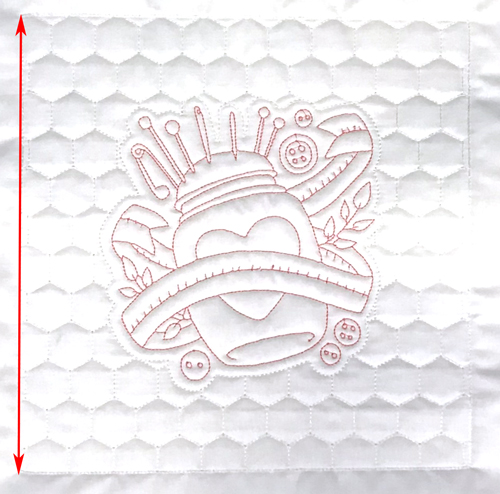
- Measure each block & check sizing, they should all be the same, ours are 9¼” x 9¼”. The blocks size may vary due to different stabilizers, batting and fabrics used.
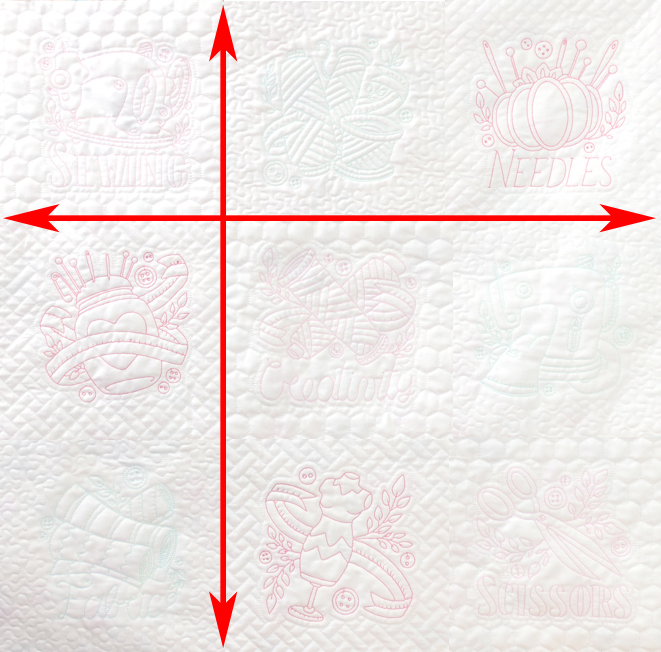
- Place the blocks in the pattern layout you choose.
- Next we stitch the blocks together to create a whole square. On your sewing machine change the top & bottom thread to Rasant.
- Select a triple zigzag stitch and stitch blocks 1 & 2 together by “butting” each edge of the block together. Using an open toe walking foot, stitch the blocks together down the centre ensuring the blocks remain butted up as the zigzag closes the join.
- Stitch block 3 to 1 & 2 using the same method.
- Continue joining the blocks together in rows. (4|5|6 and 7|8|9)
- When all rows are stitched together join row 1 to row 2, and then add row 3 using the same method as previously described to create a square.
- Measure the size of the square through the centre and cut a piece of backing fabric larger than the square.
- Use 505 basting spray to adhere the square onto the centre of the backing fabric, gently smooth the back onto the backing. You may need to flip the wall hanging over to check there are no bubbles!
- Prepare and make 1” continuous bias strips: Cut the contrasting fabric 4“x 2” across the width of the fabric, join together and thread into your bias maker. We cut the fabric on the straight grain rather than the bias as there is no need for the fabric to be flexible in this instance. Choose your preferred method to create the bias strips, we used a Simplicity Bias Maker, you may have a 1” Clover Bias Tape Maker which can be used, or you may have premade 1” bias tape. As long as the bias tape finishes at 1” wide the joins will be covered.
- Measure and cut the bias strip to the length of the square to cover each join ours were 28” x 1”.
- Pin two bias strips in place vertically. Measure the blocks between each edge of the strips to check the bias is straight. Eg the block from the inside edge of each strip measures 8½” at the top and 8½” at the bottom.

- Using a walking foot stitch down each side of the bias tape ⅛” from the edge.
- Repeat this process for the horizontal strips.
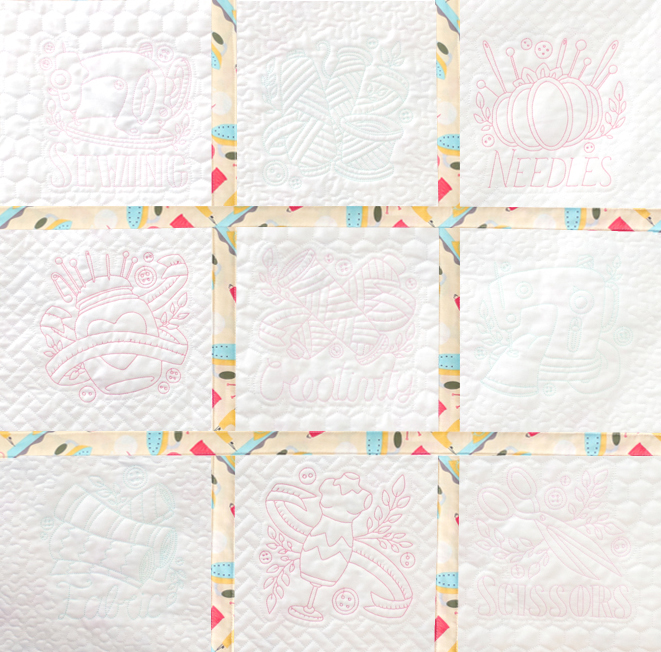
- Bind!
DONATE SOME TO A CHARITY
These quilts can also be donated to charity. If you want to contribute to a great cause, the charities listed below accept handmade quilts for their patients. Just send your creations in to the mailing address provided.
Are you a charity that would accept this item? Contact us to have your details added here.
Victoria
South Eastern Centre Against Sexual Assault and Family Violence
Various locations
View contact details →


Free Embroidery Designs
We're excited to offer our free Echidna designs available for download. These free designs are perfect for those at a beginner or an advanced level. Add these designs to your stash and create incredible embroidery!
View all free designs >
Sewing, Quilting and Embroidery Machines
Interested in learning how to sew, quilt or embroider? Take a look at the innovative Brother machines available for purchase at Echidna Sewing. Wherever possible we will beat any deal and you will always receive ongoing service and support!
Find out more >
Learn to Sew or Embroider with Echidna Sewing
Come along to our fun-filled classes to learn more about sewing, embroidery and crafting. Classes cater for all skill levels, whether you're just starting out or already have advanced knowledge.
Find out more >
Echidna project material/ fabric requirements are an indication only and can seem to be generous. This has been intentional. Should you make a cutting or embroidery mistake you will have sufficient fabric to rectify your error.


