All Projects


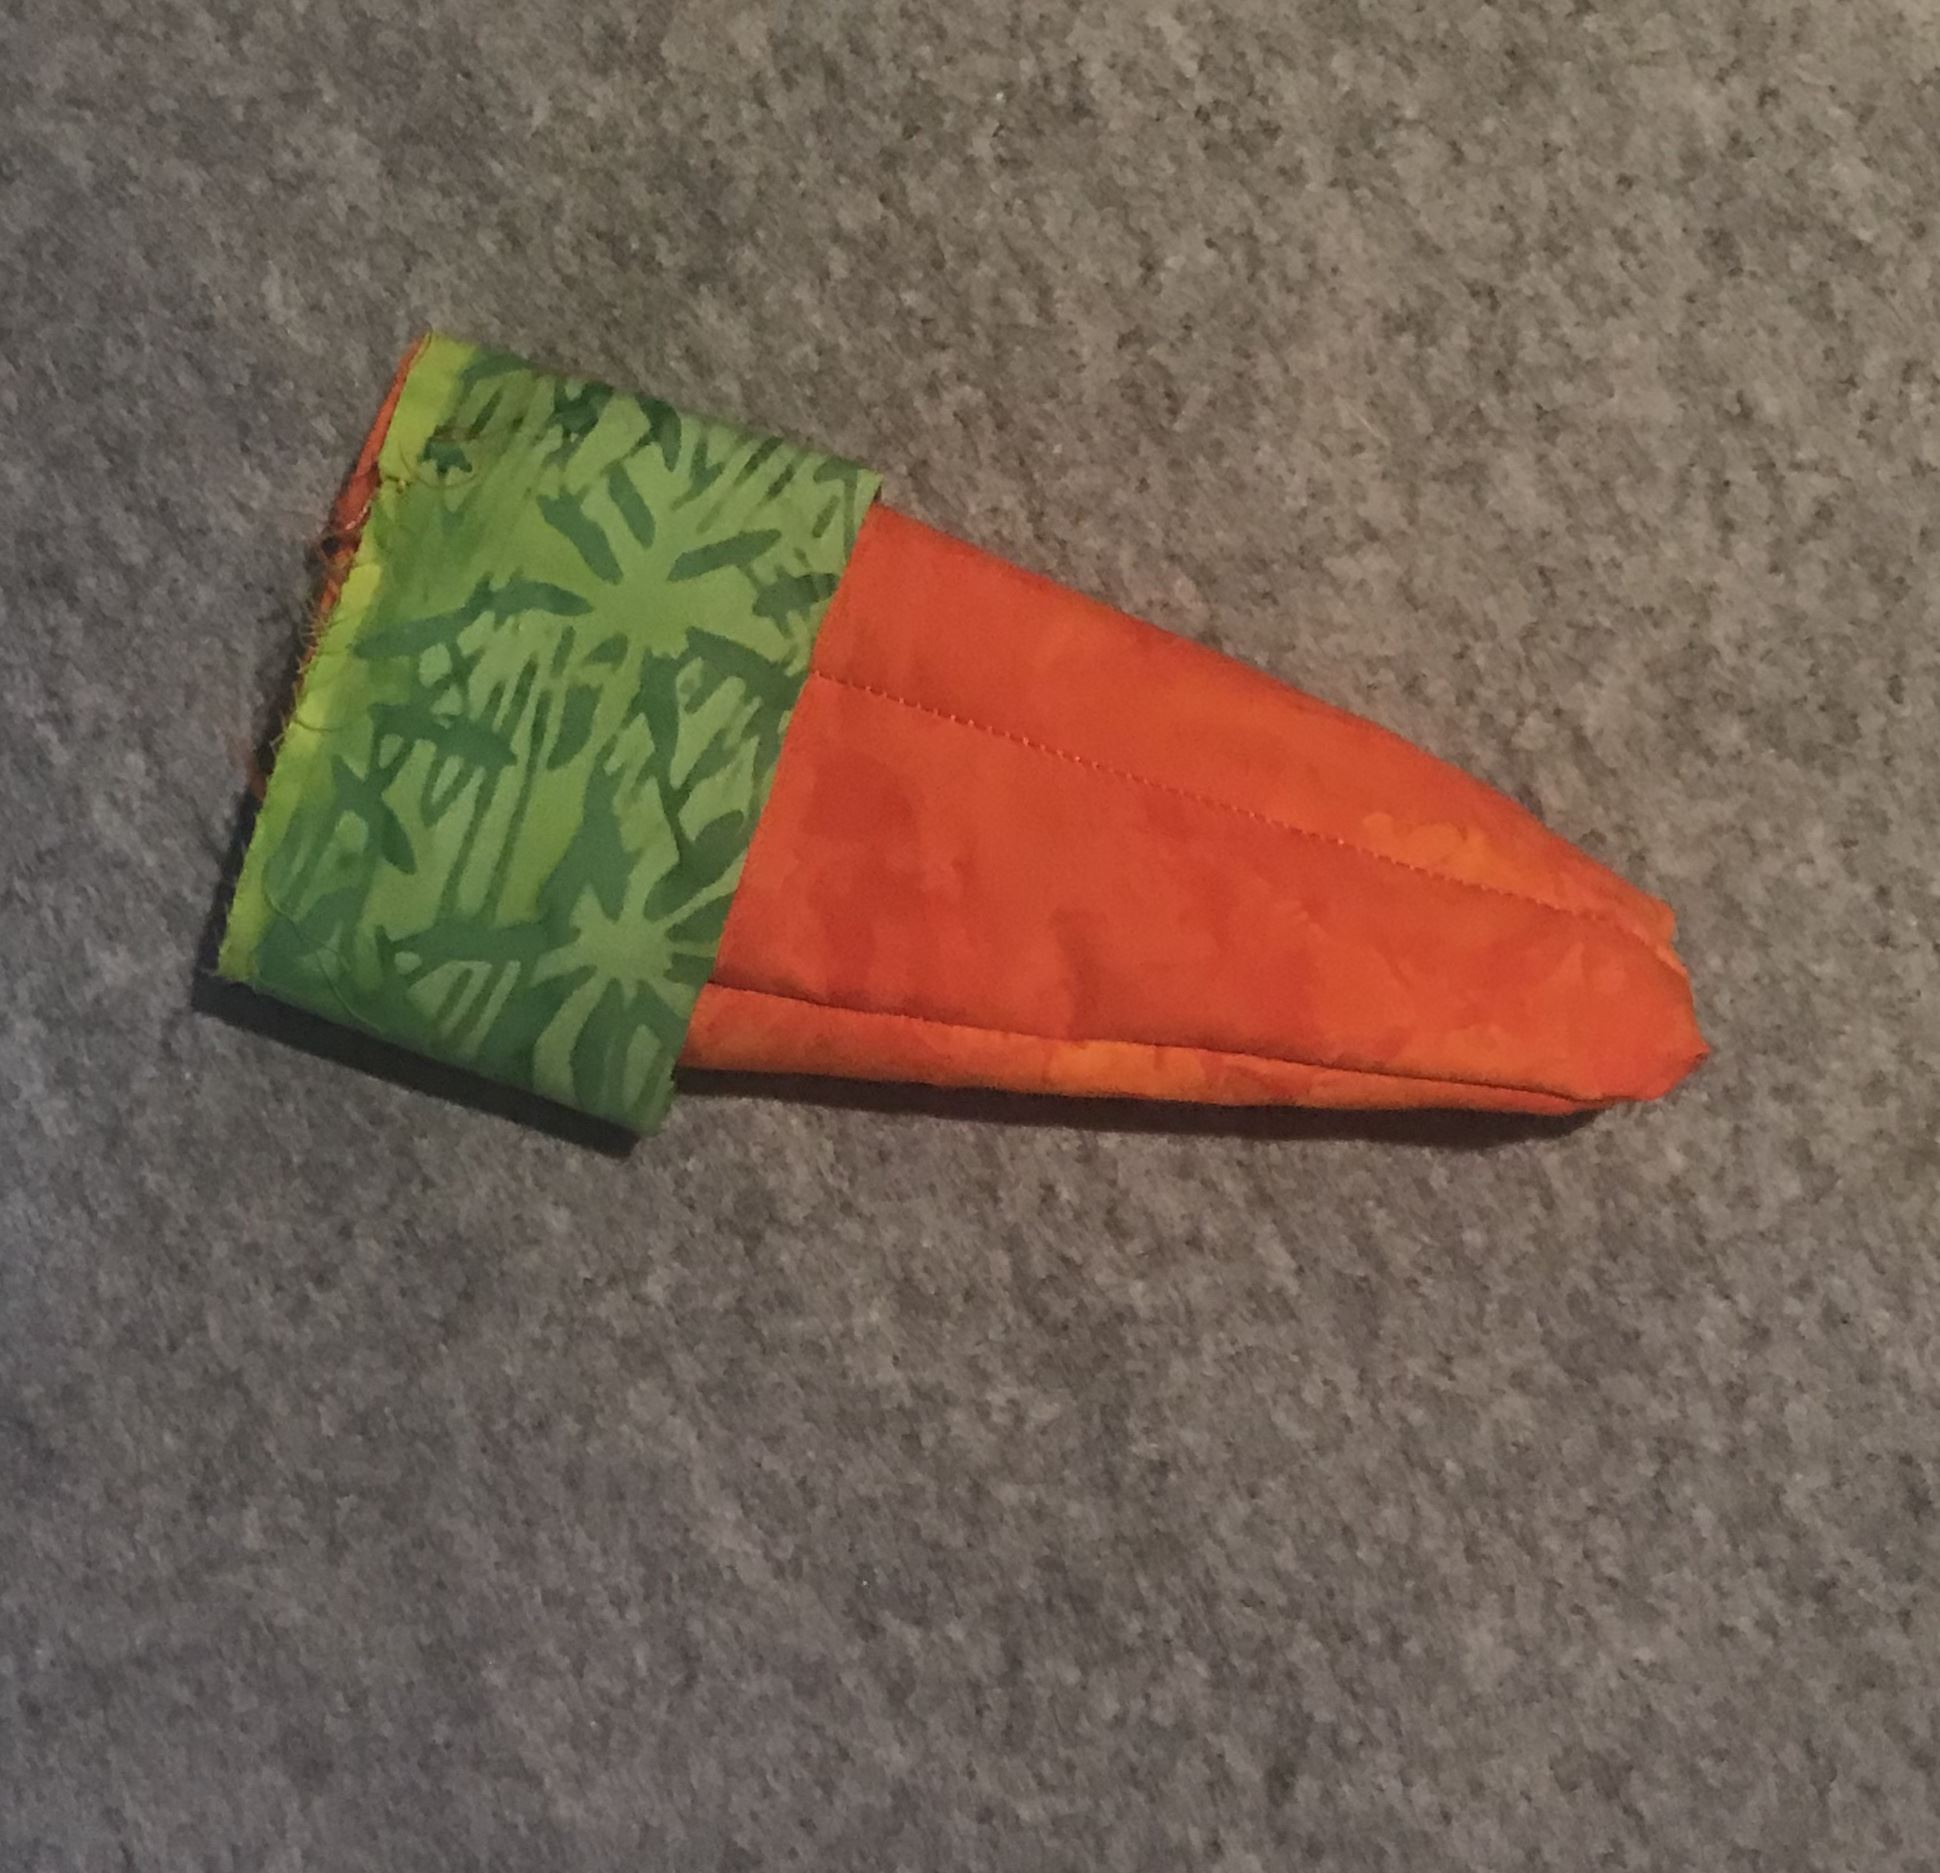
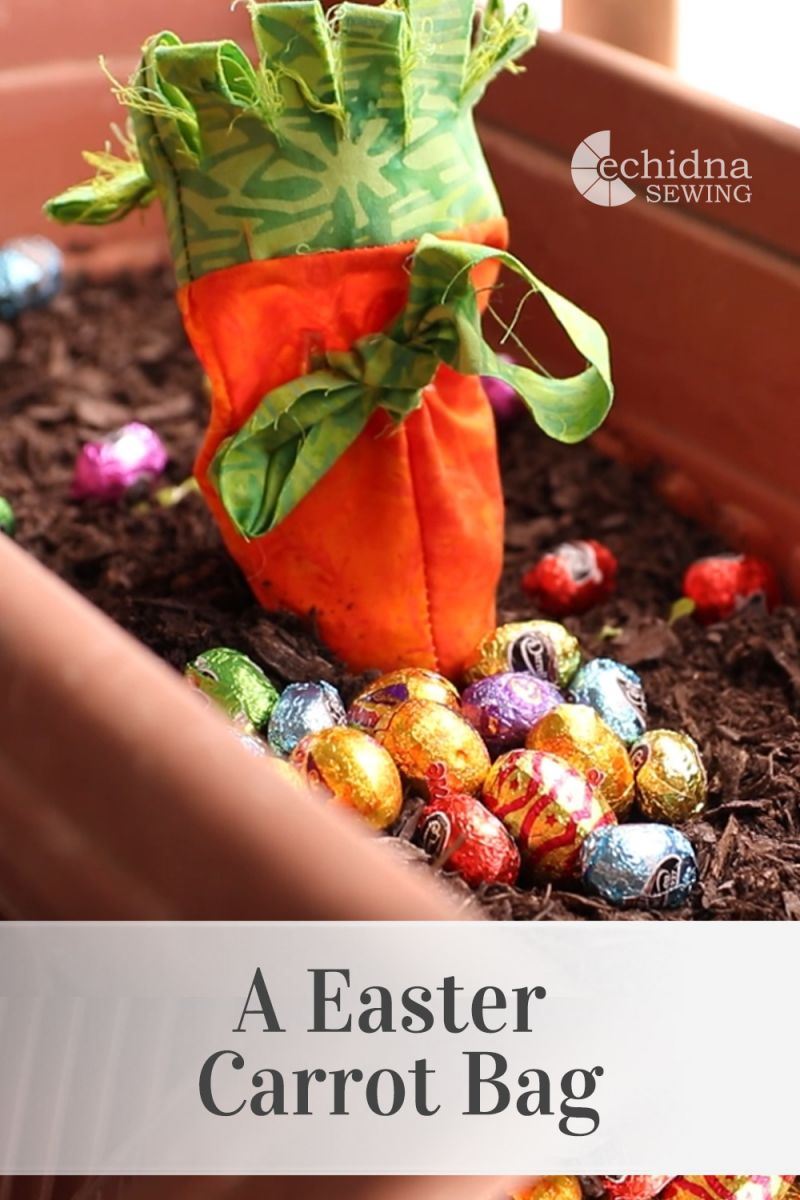
Easter carrot bag
Date Posted:13 March 2025
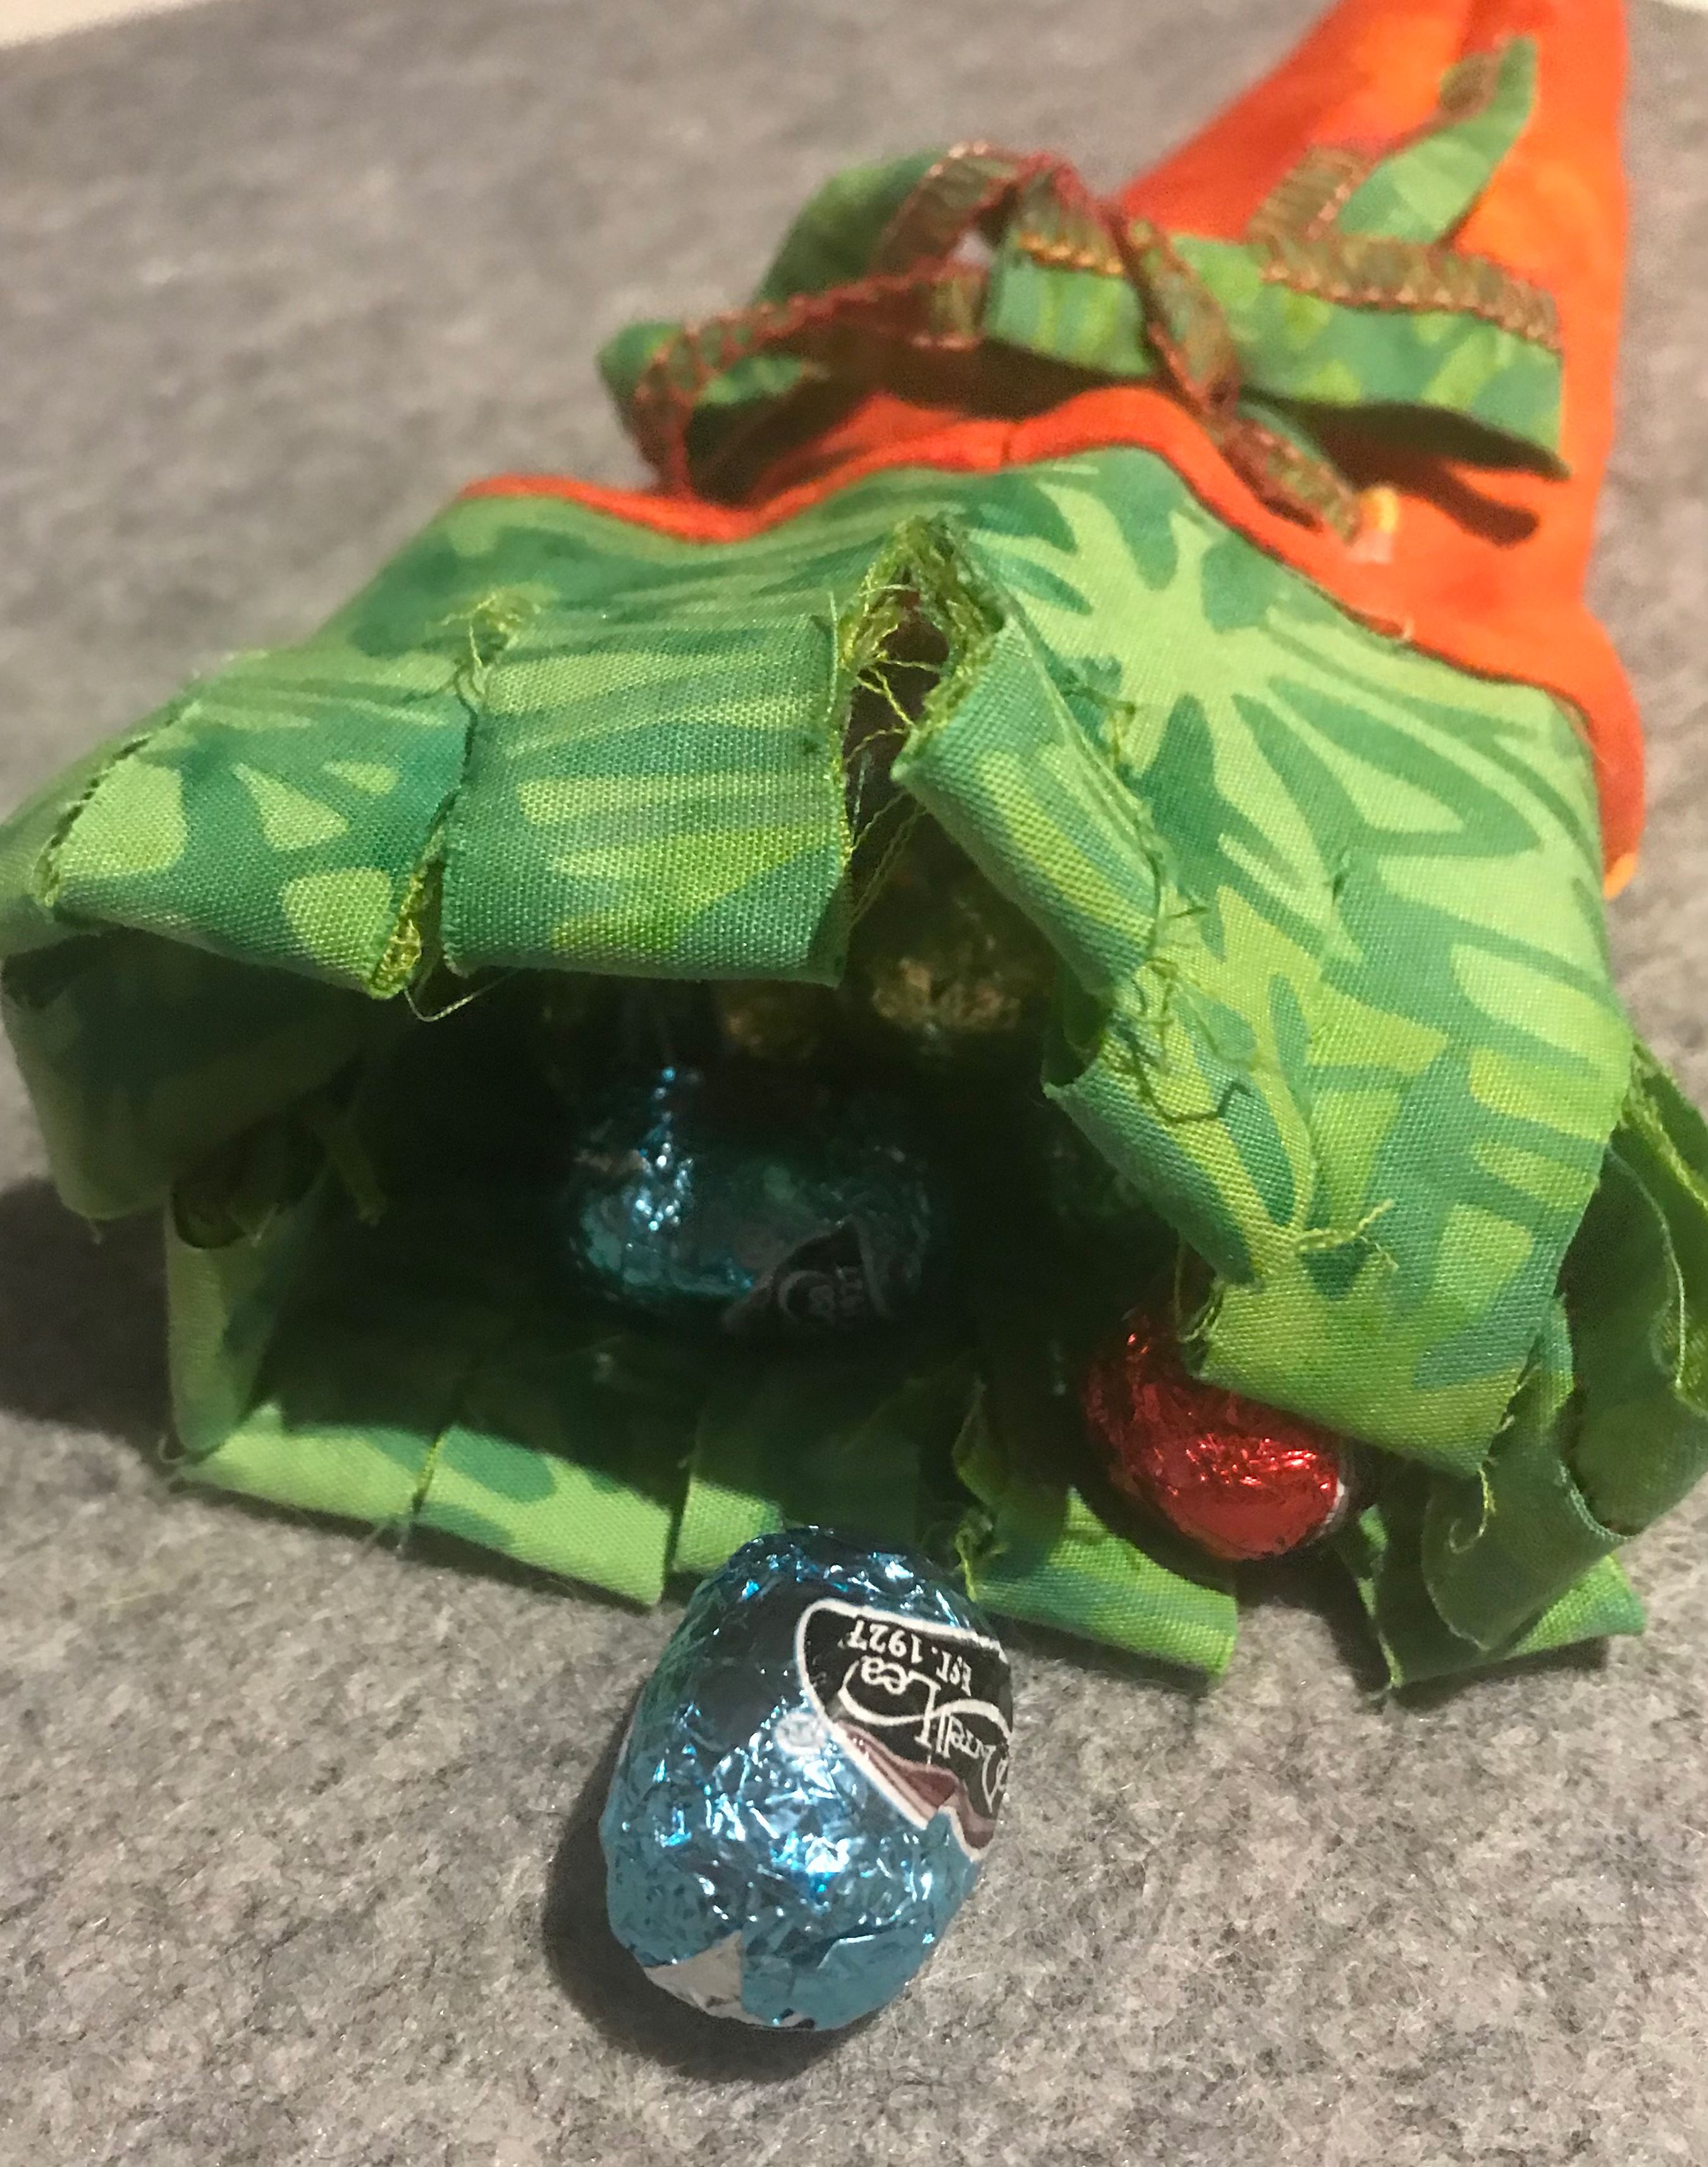
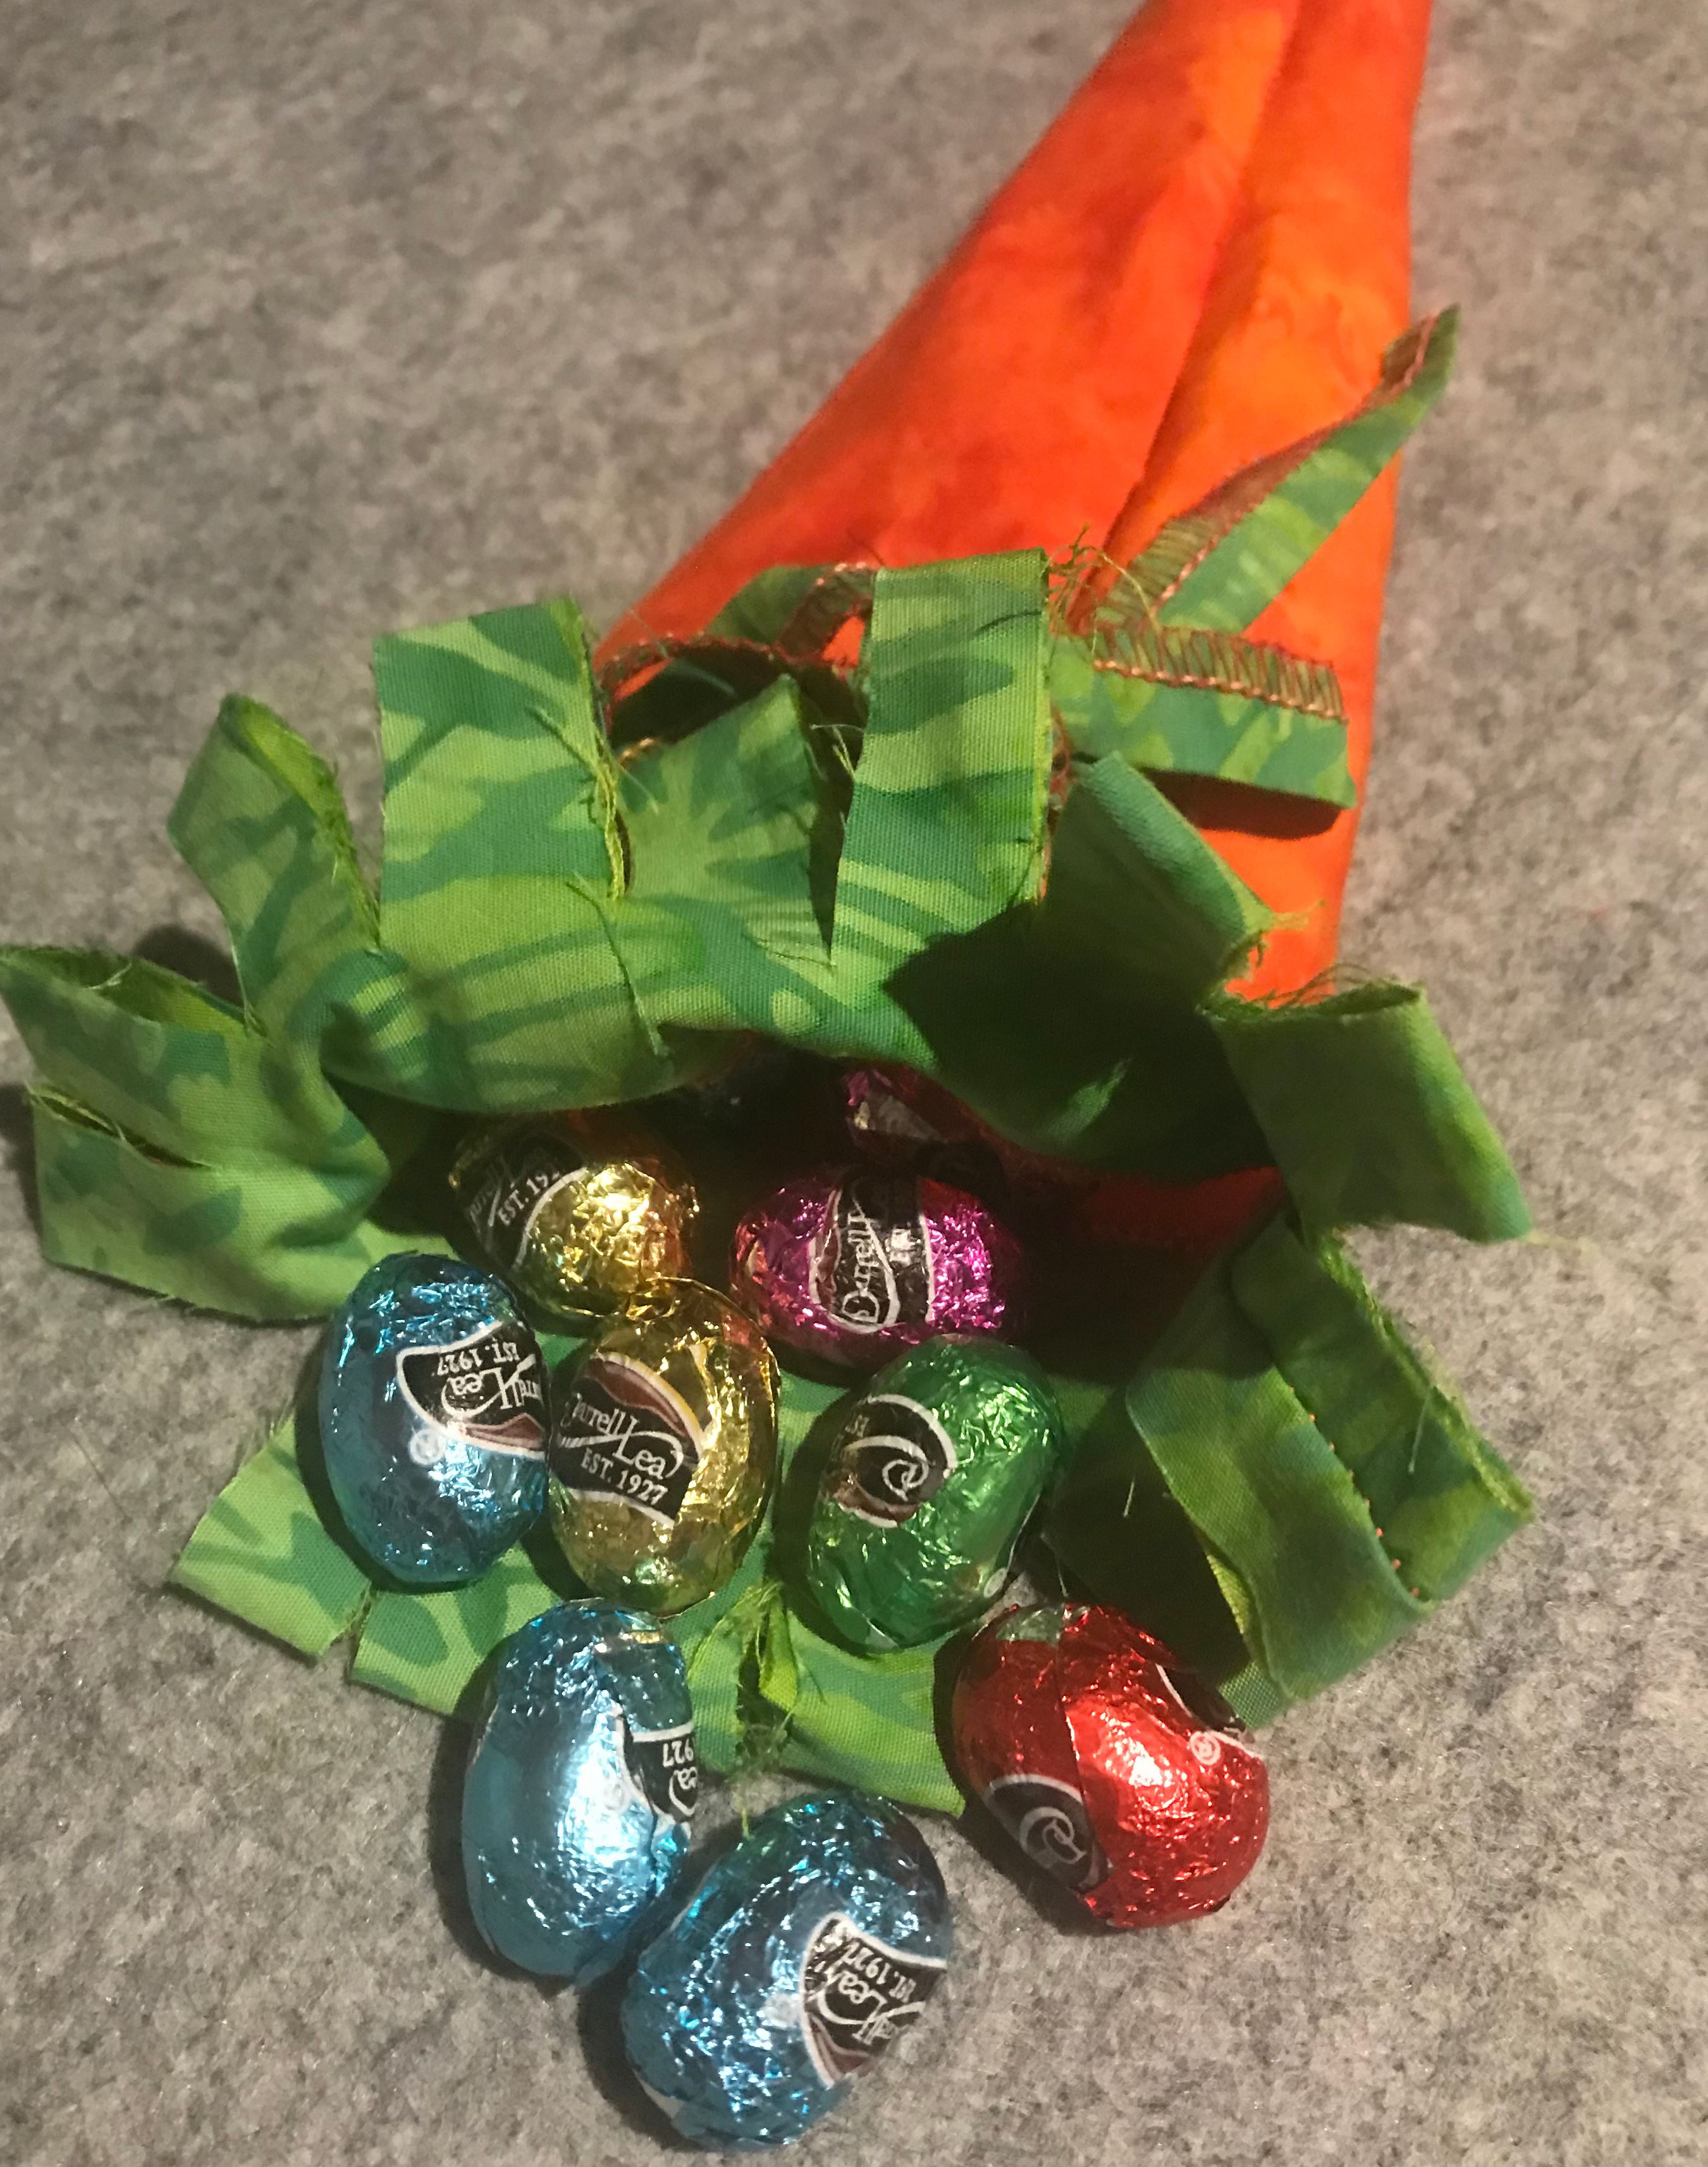
A quick project to make before an Easter hunt on Sunday! These cute little bags are just the right size for a few eggs. We chose an overlocker to piece this project together because it stitches, cuts and neatens seams all at the same time. Don’t forget to show us your finished projects on Instagram or Facebook #echidnasewing #nicolescarrots #madebyme
Machines Used
- Merrylock overlocker - set to 3 thread narrow (If you don’t have an overlocker, use your sewing machine following the same steps and use a ¼” seam, and neaten your seams with a zig zag.)
- NV180 Sewing Machine - Buttonholes
Material Requirements
- PDF Wedge Pattern Download →
- 1 x fat quarter - Carrot base
- 1 x 9" x 5” rectangle Carrot top
- Thread matching Carrot Base
- 3 x threads matching base or top for overlocker
- 4 x pieces softaway stabiliser - cut 1” x 2” (use offcuts from other projects)
- Blue marking pen or tailors chalk
- Small patchwork ruler for measuring
Method
- Cut a 1” strip by the width of the fat quarter and set aside
- Cut 4 x Wedges for the carrot base from the fat quarter
- Cut rectangle to 8 ¾” x 4 ½” - carrot base
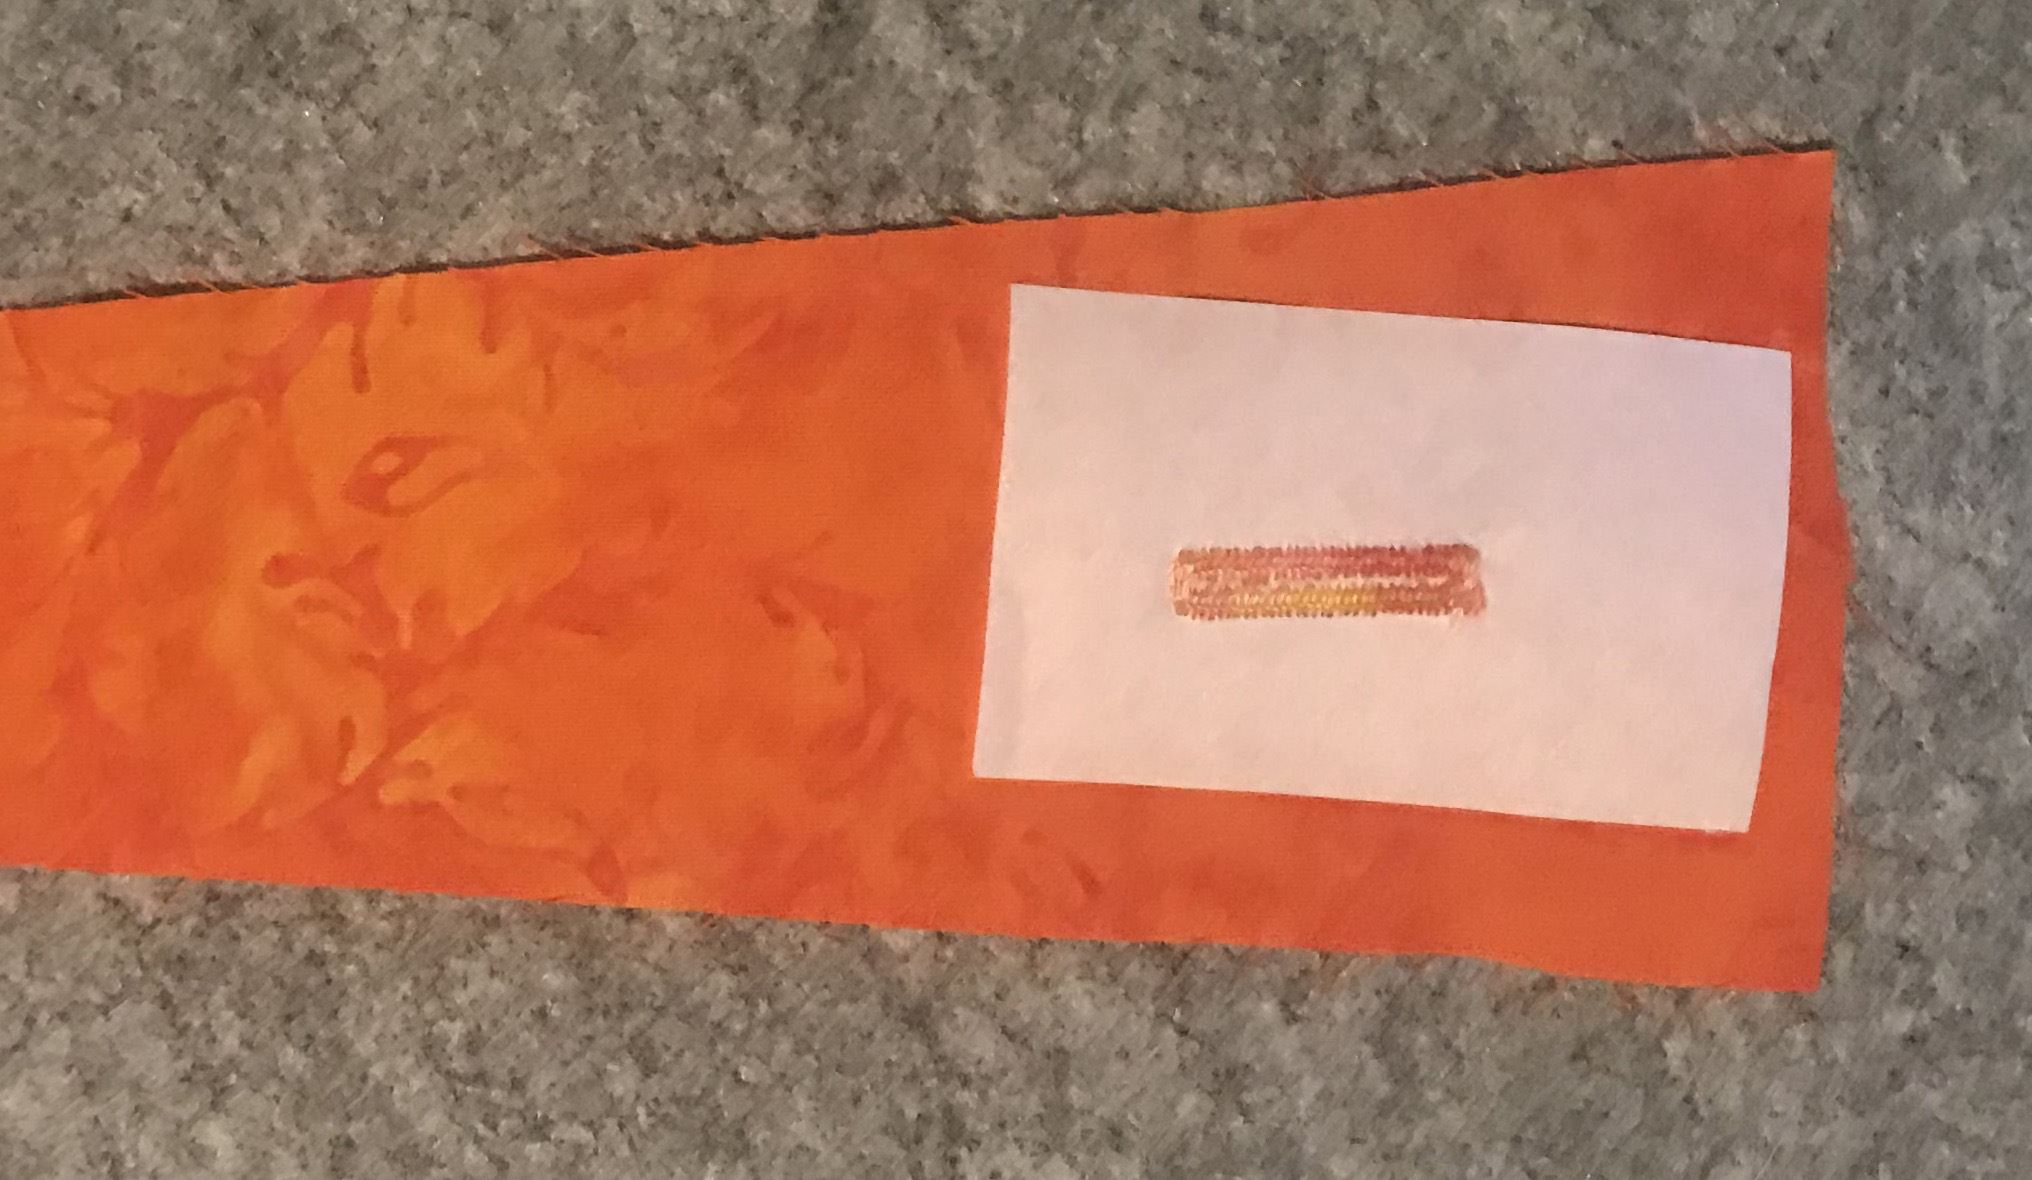
- Fold each wedge in half, and mark with blue pen or tailors chalk. Measure 1” down from the top of the wedge. This is where the button hole will begin. Repeat for the other wedge pieces.
Stitching Steps
Buttonholes
- Place a piece of stabiliser underneath the T marking on your wedge piece and slide under the buttonhole foot.
Using the markings on the foot, line up the top mark and straight line in the buttonhole foot. Stitch your buttonhole. Repeat for the other wedge pieces. - Remove the softaway, and cut open the buttonholes.
Overlocking or Machine piecing
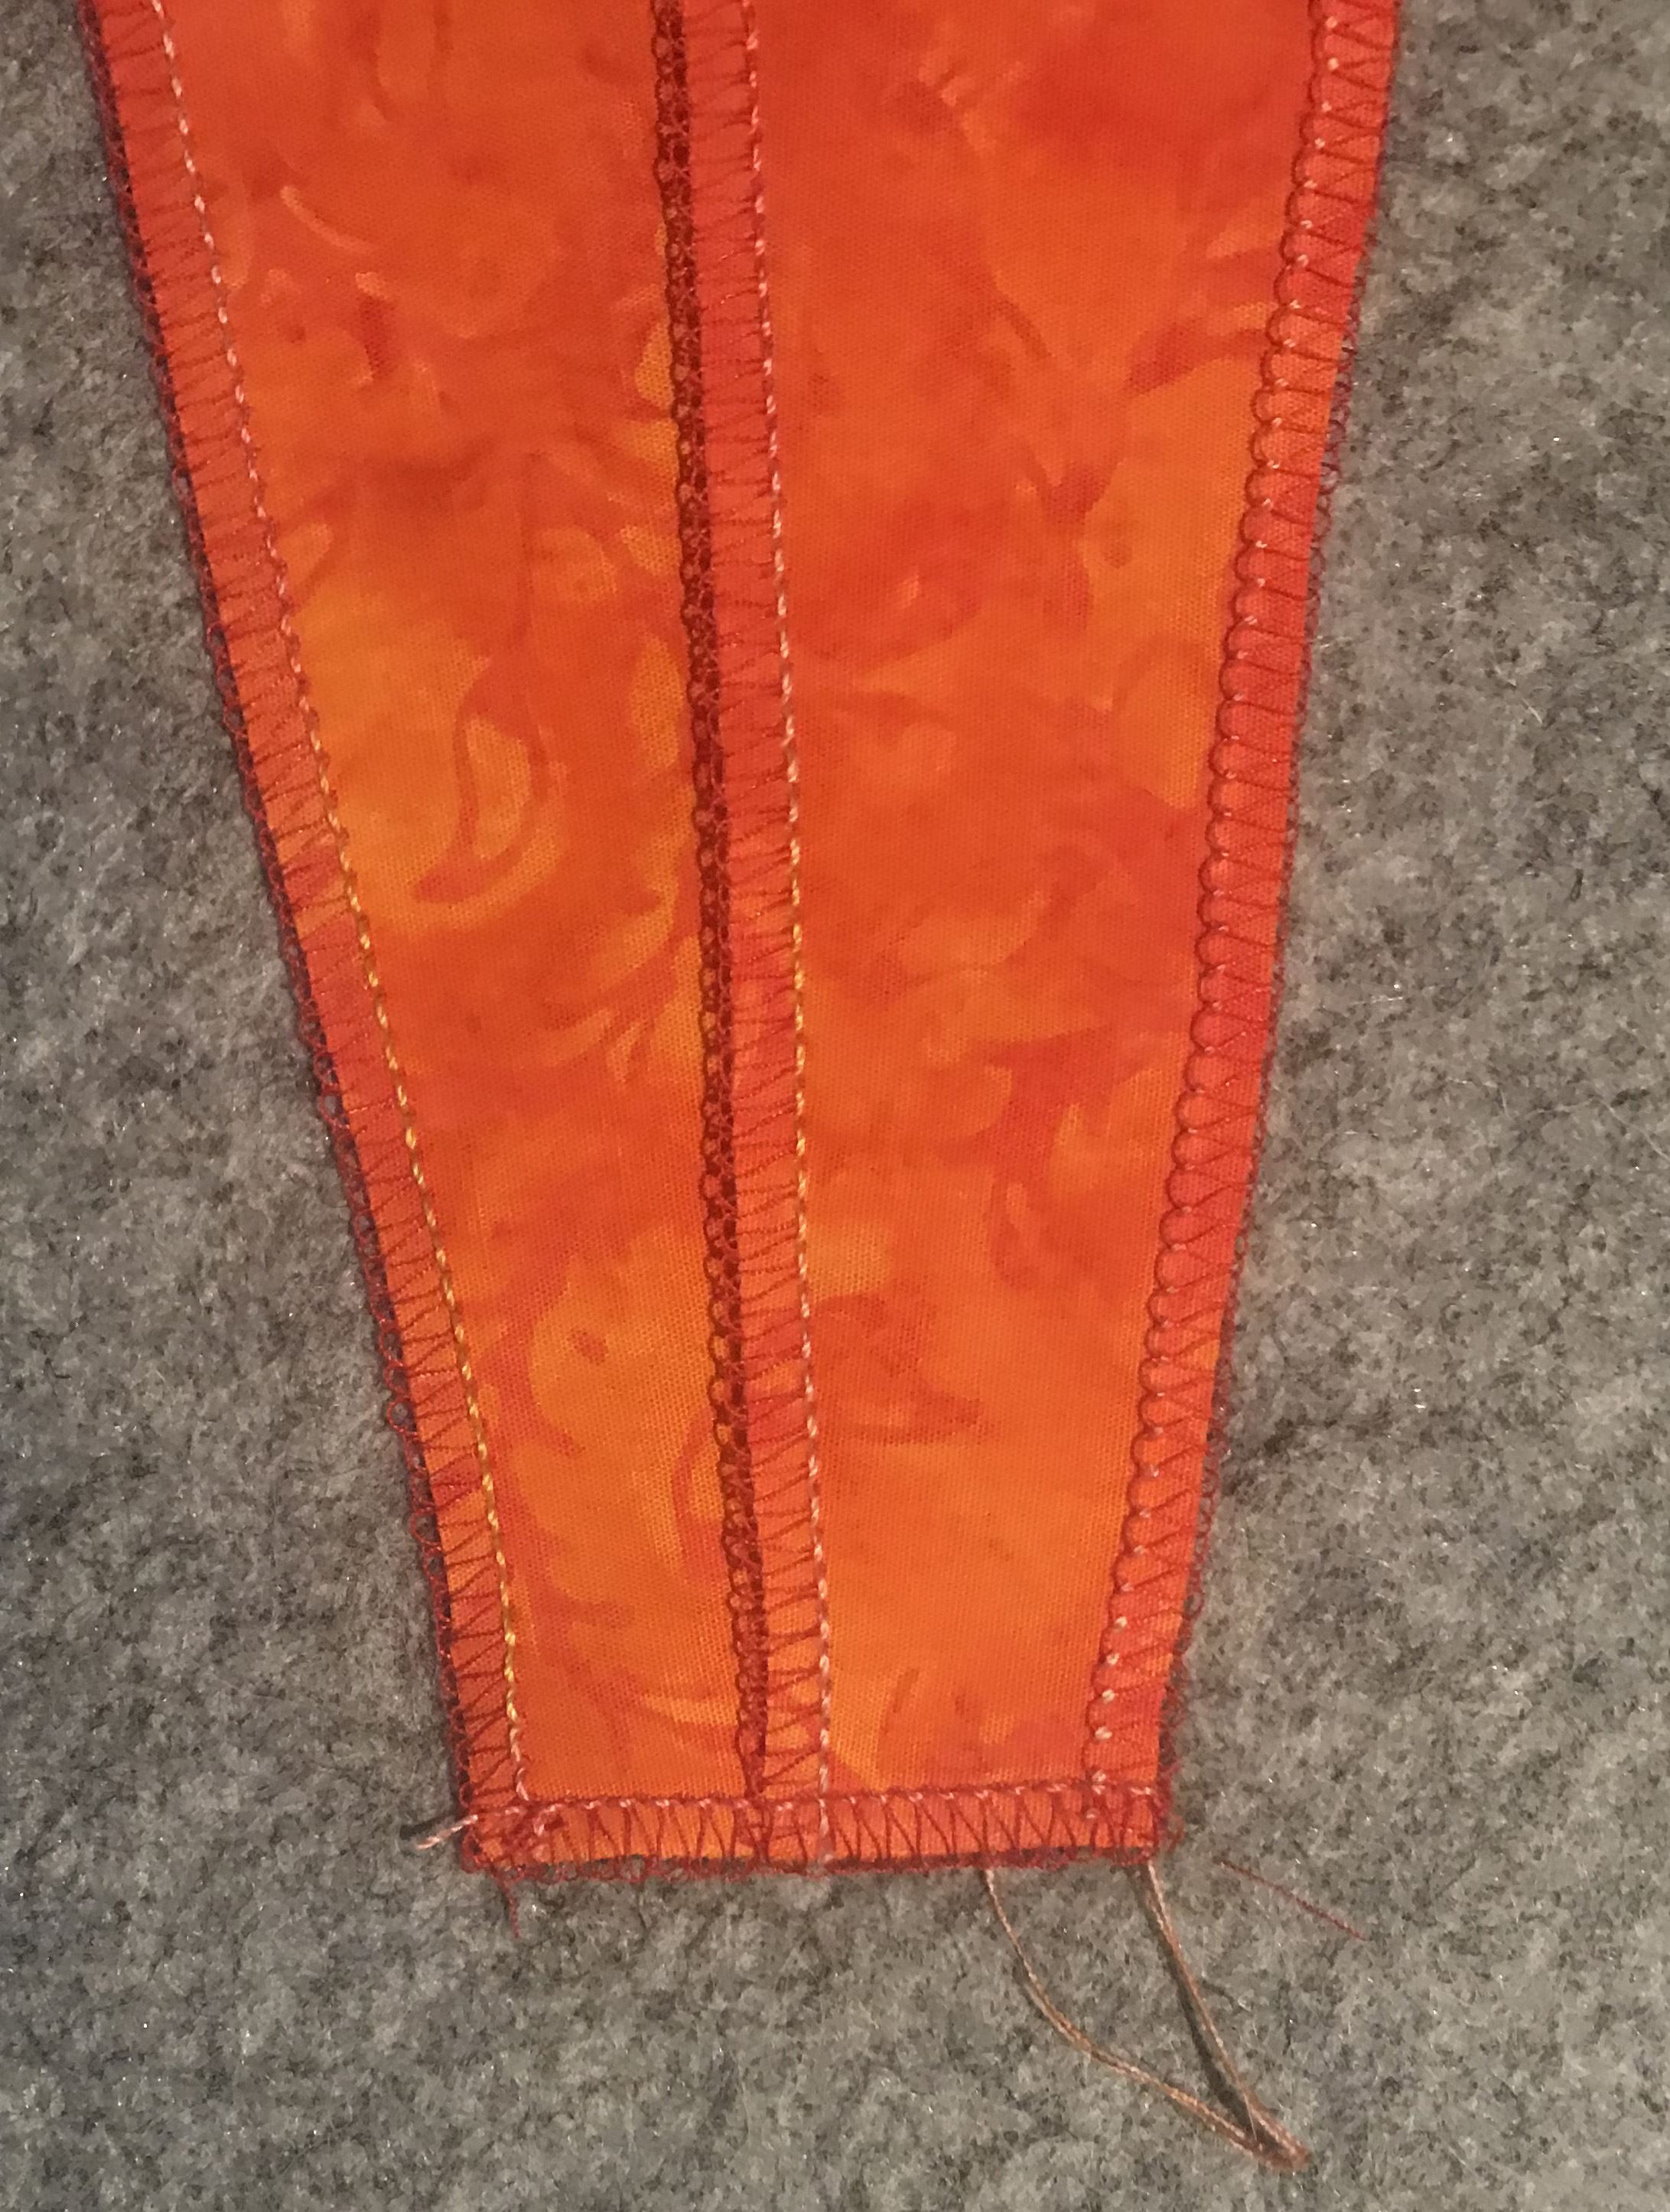
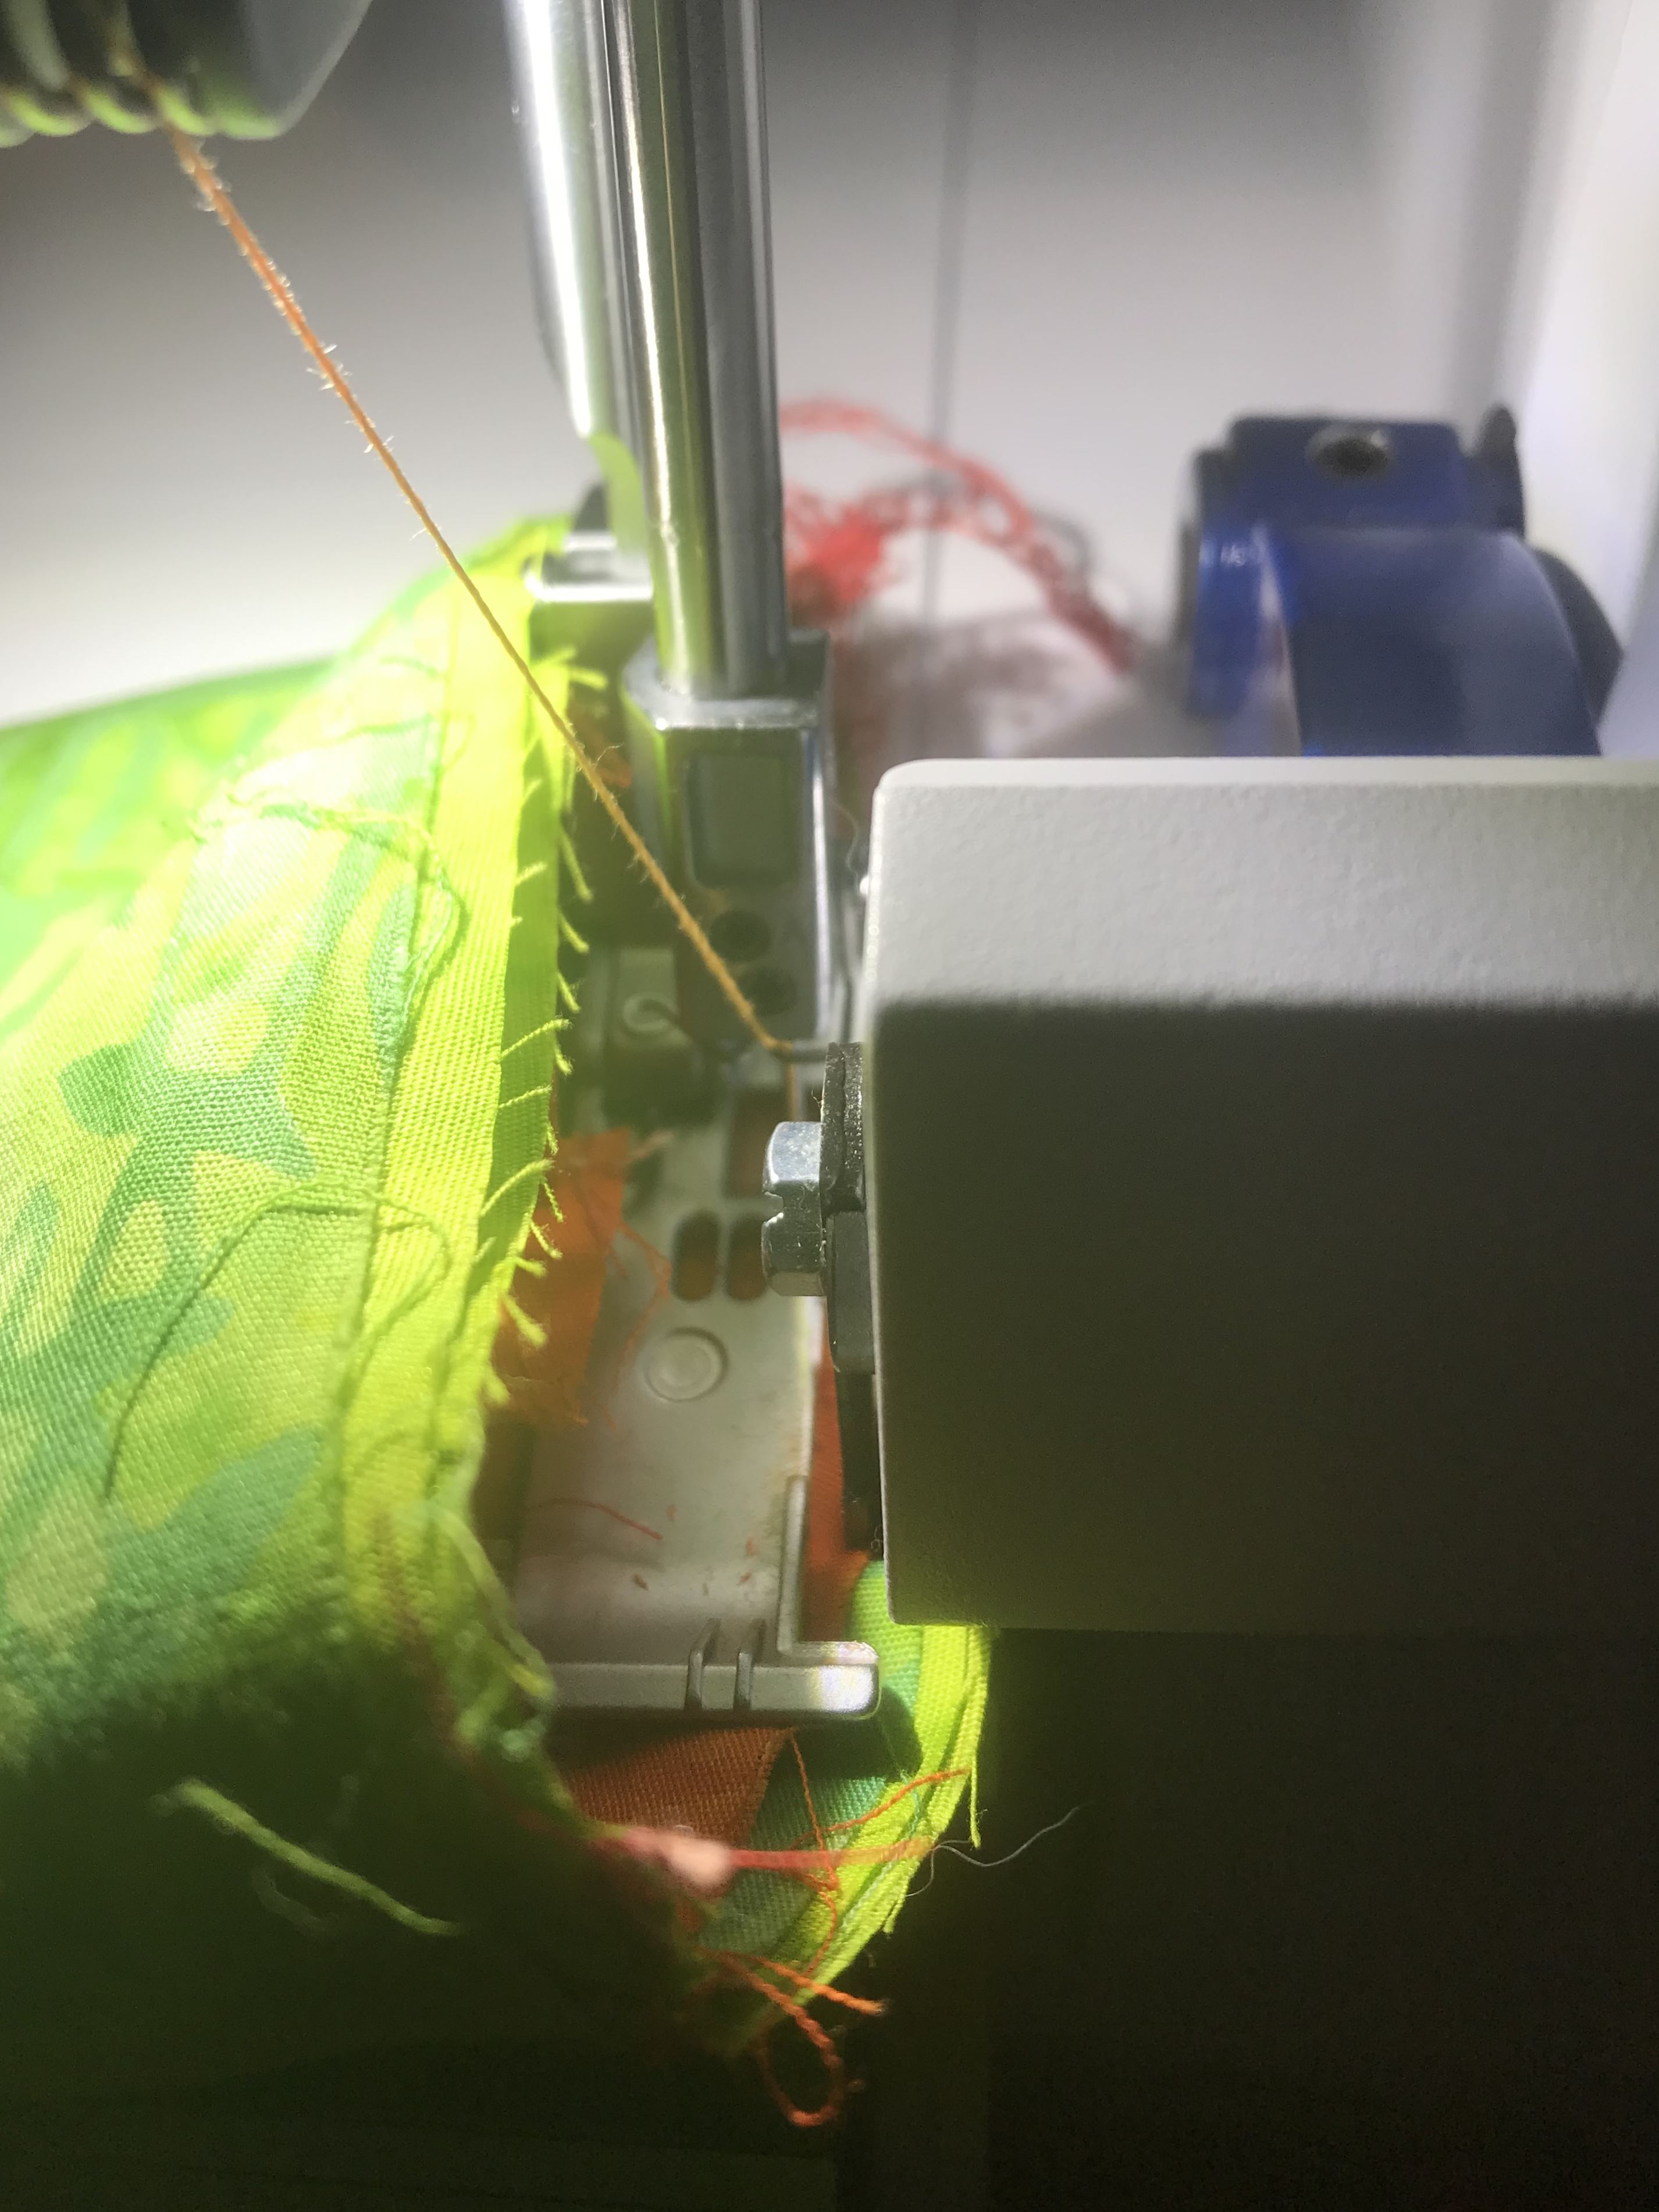
- Set your machine to stitch 3 thread overlock stitch. This stitch has been chosen as it is narrow and about the same size as a ¼” seam.
- Stitch the wedge pieces right sides together in pairs. Begin overlocking from the bottom of the wedge. You should have 2 x sets of 2 wedges.
- Place the two sets together, nesting the seams at the bottom of the carrot. Stitch each side in place.
- Overlock the bottom of the wedge, trim threads.
- Fold the rectangle in half vertically, overlock together.
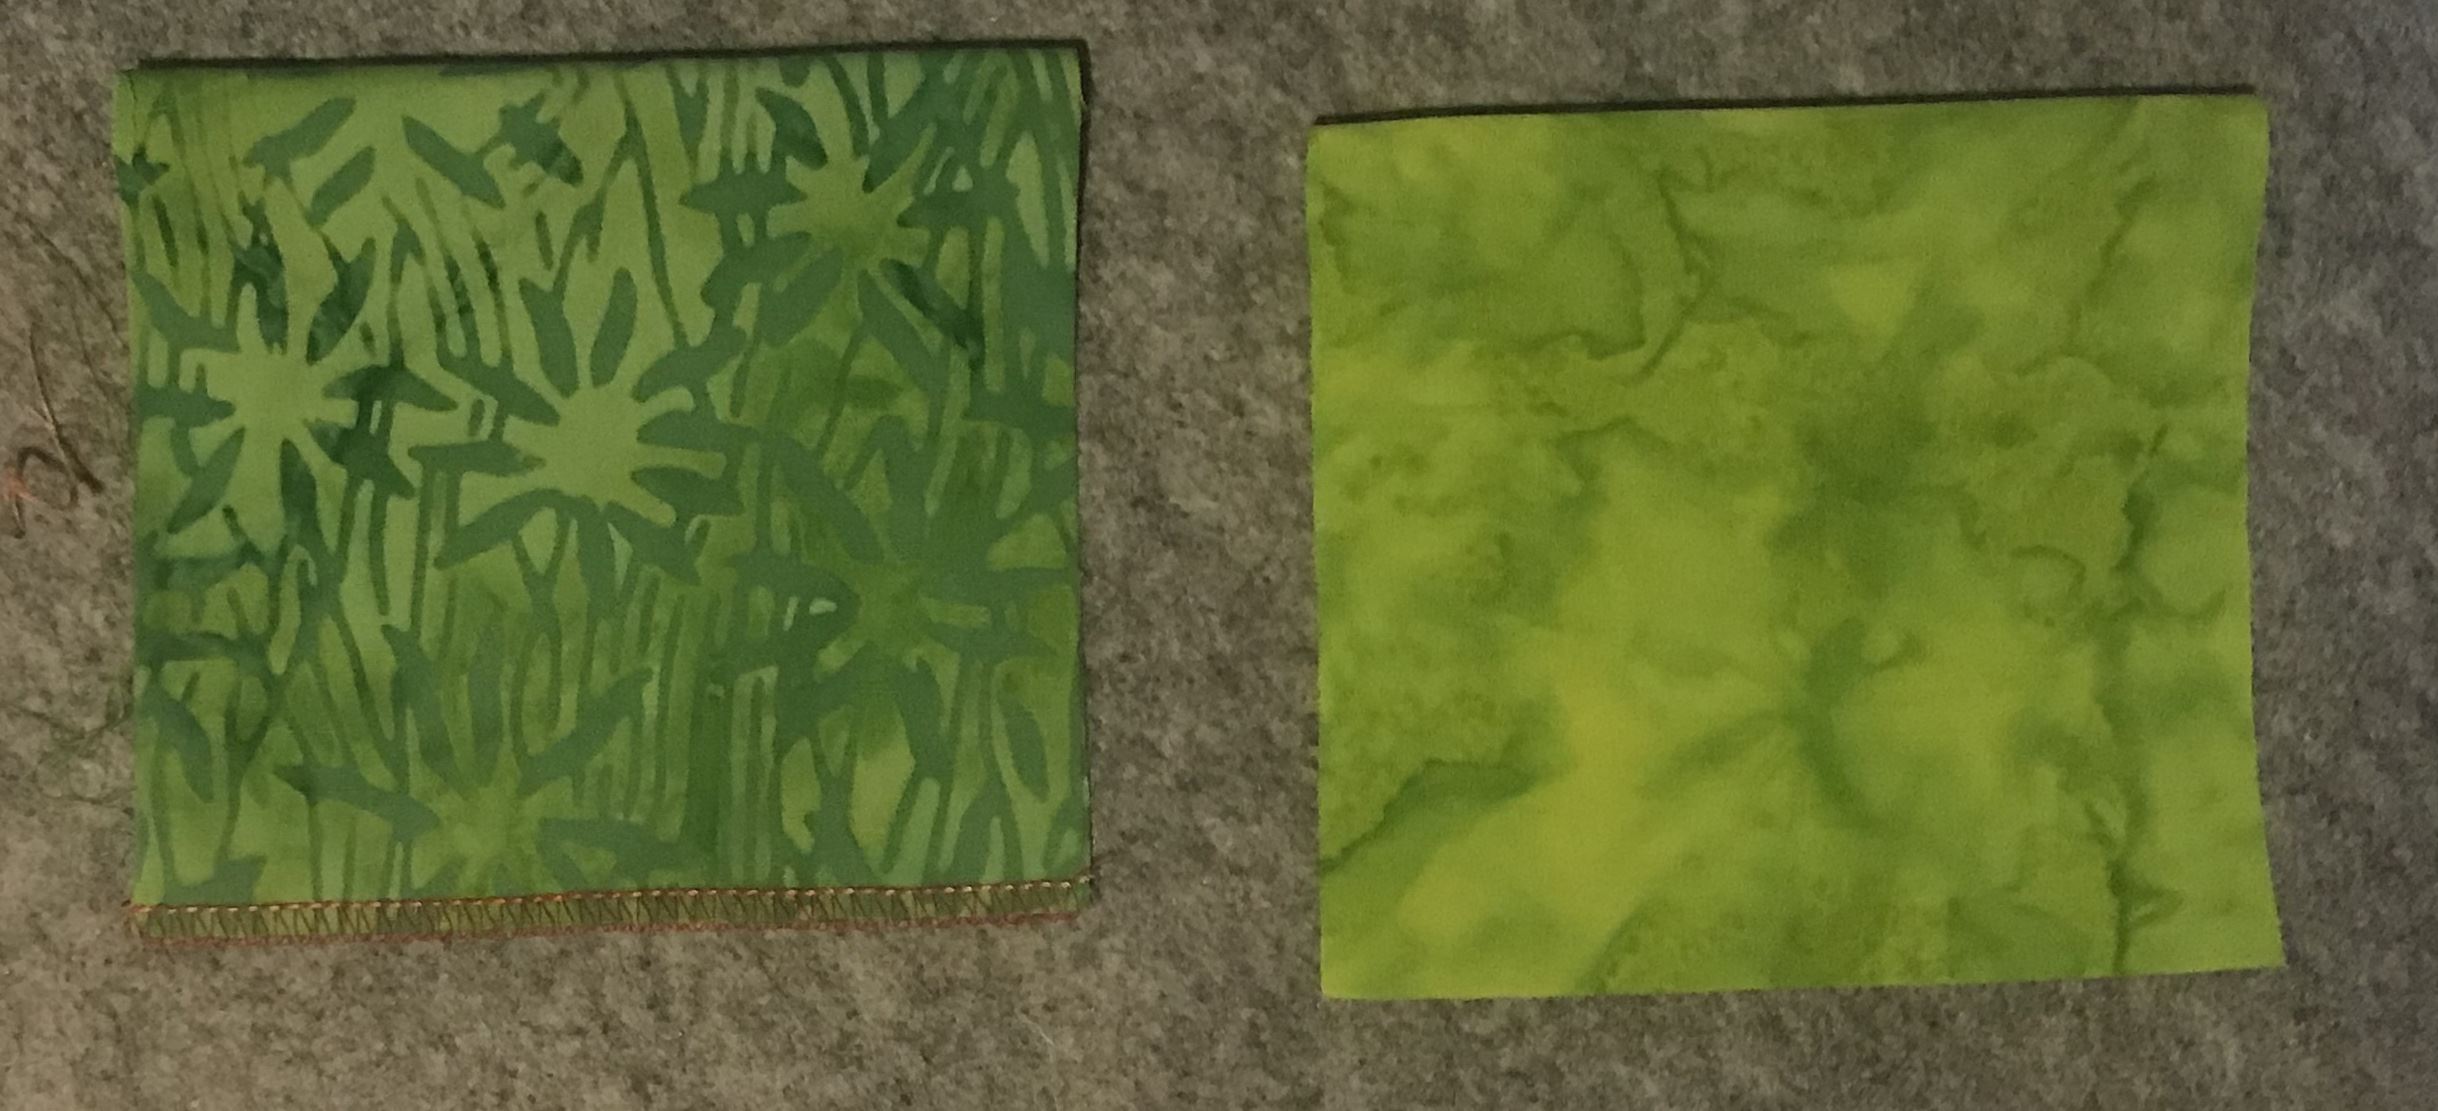
- Fold the rectangle in half again with overlocked seam on the inside of the carrot top.
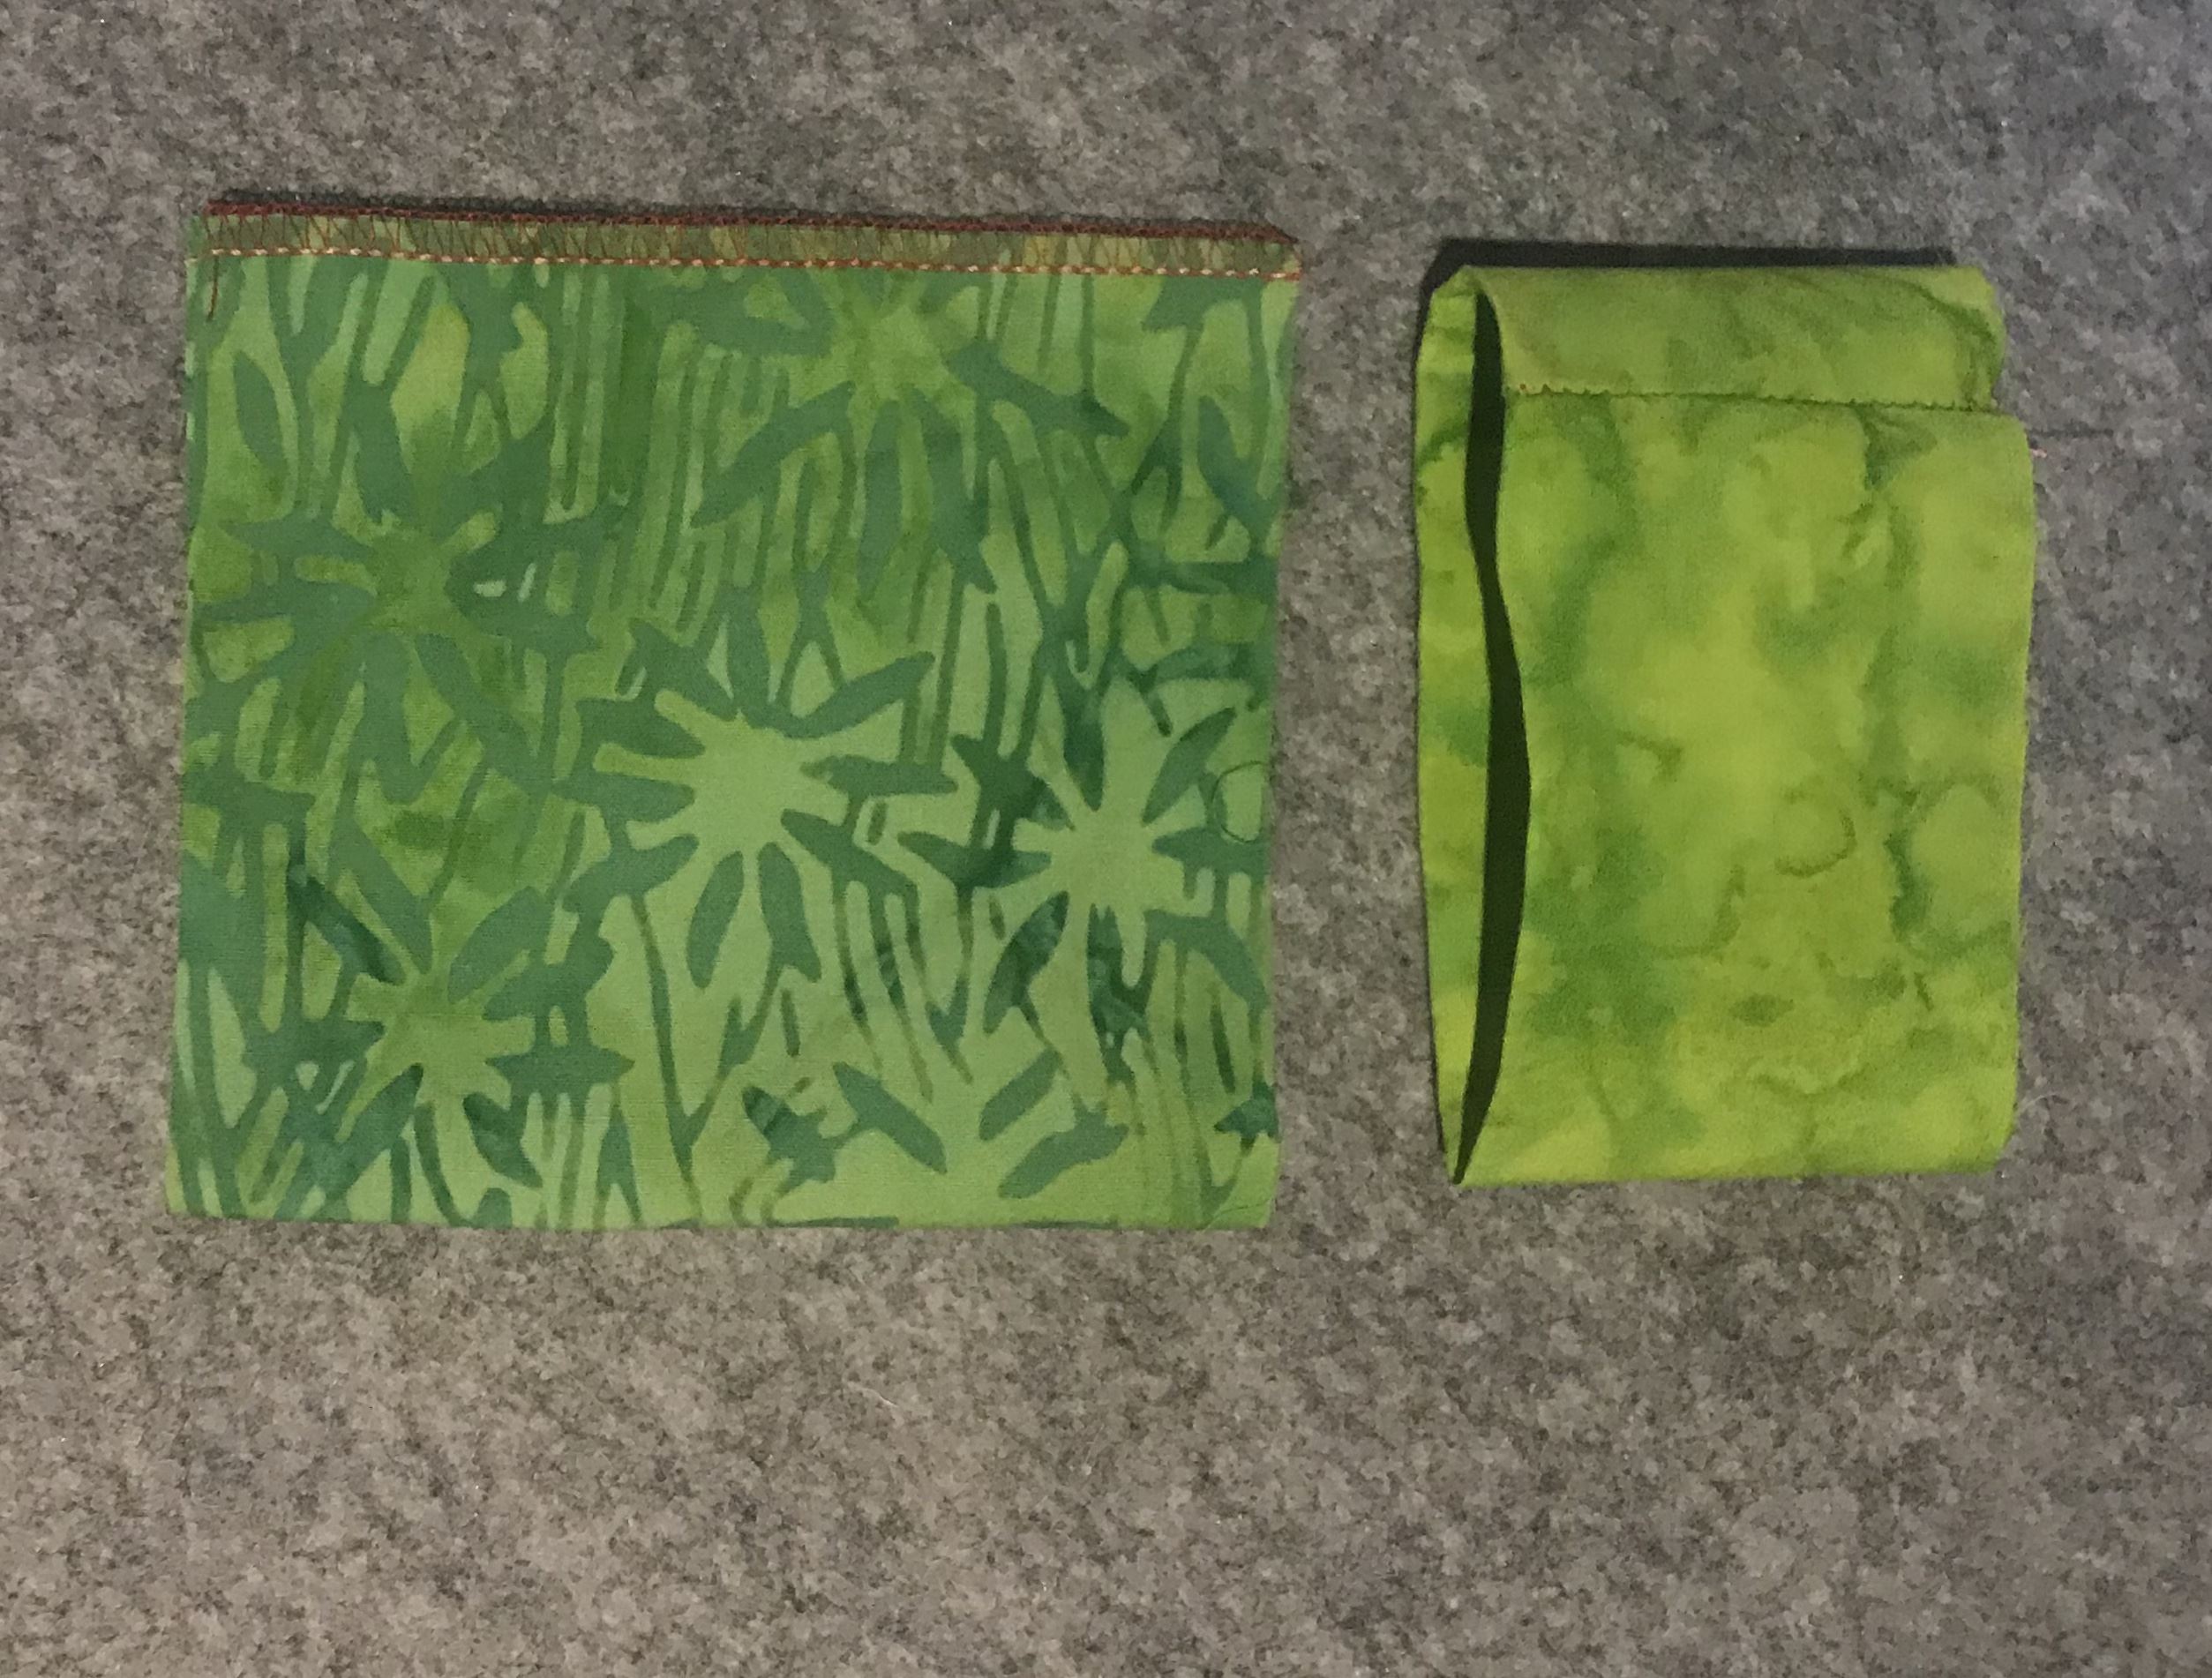
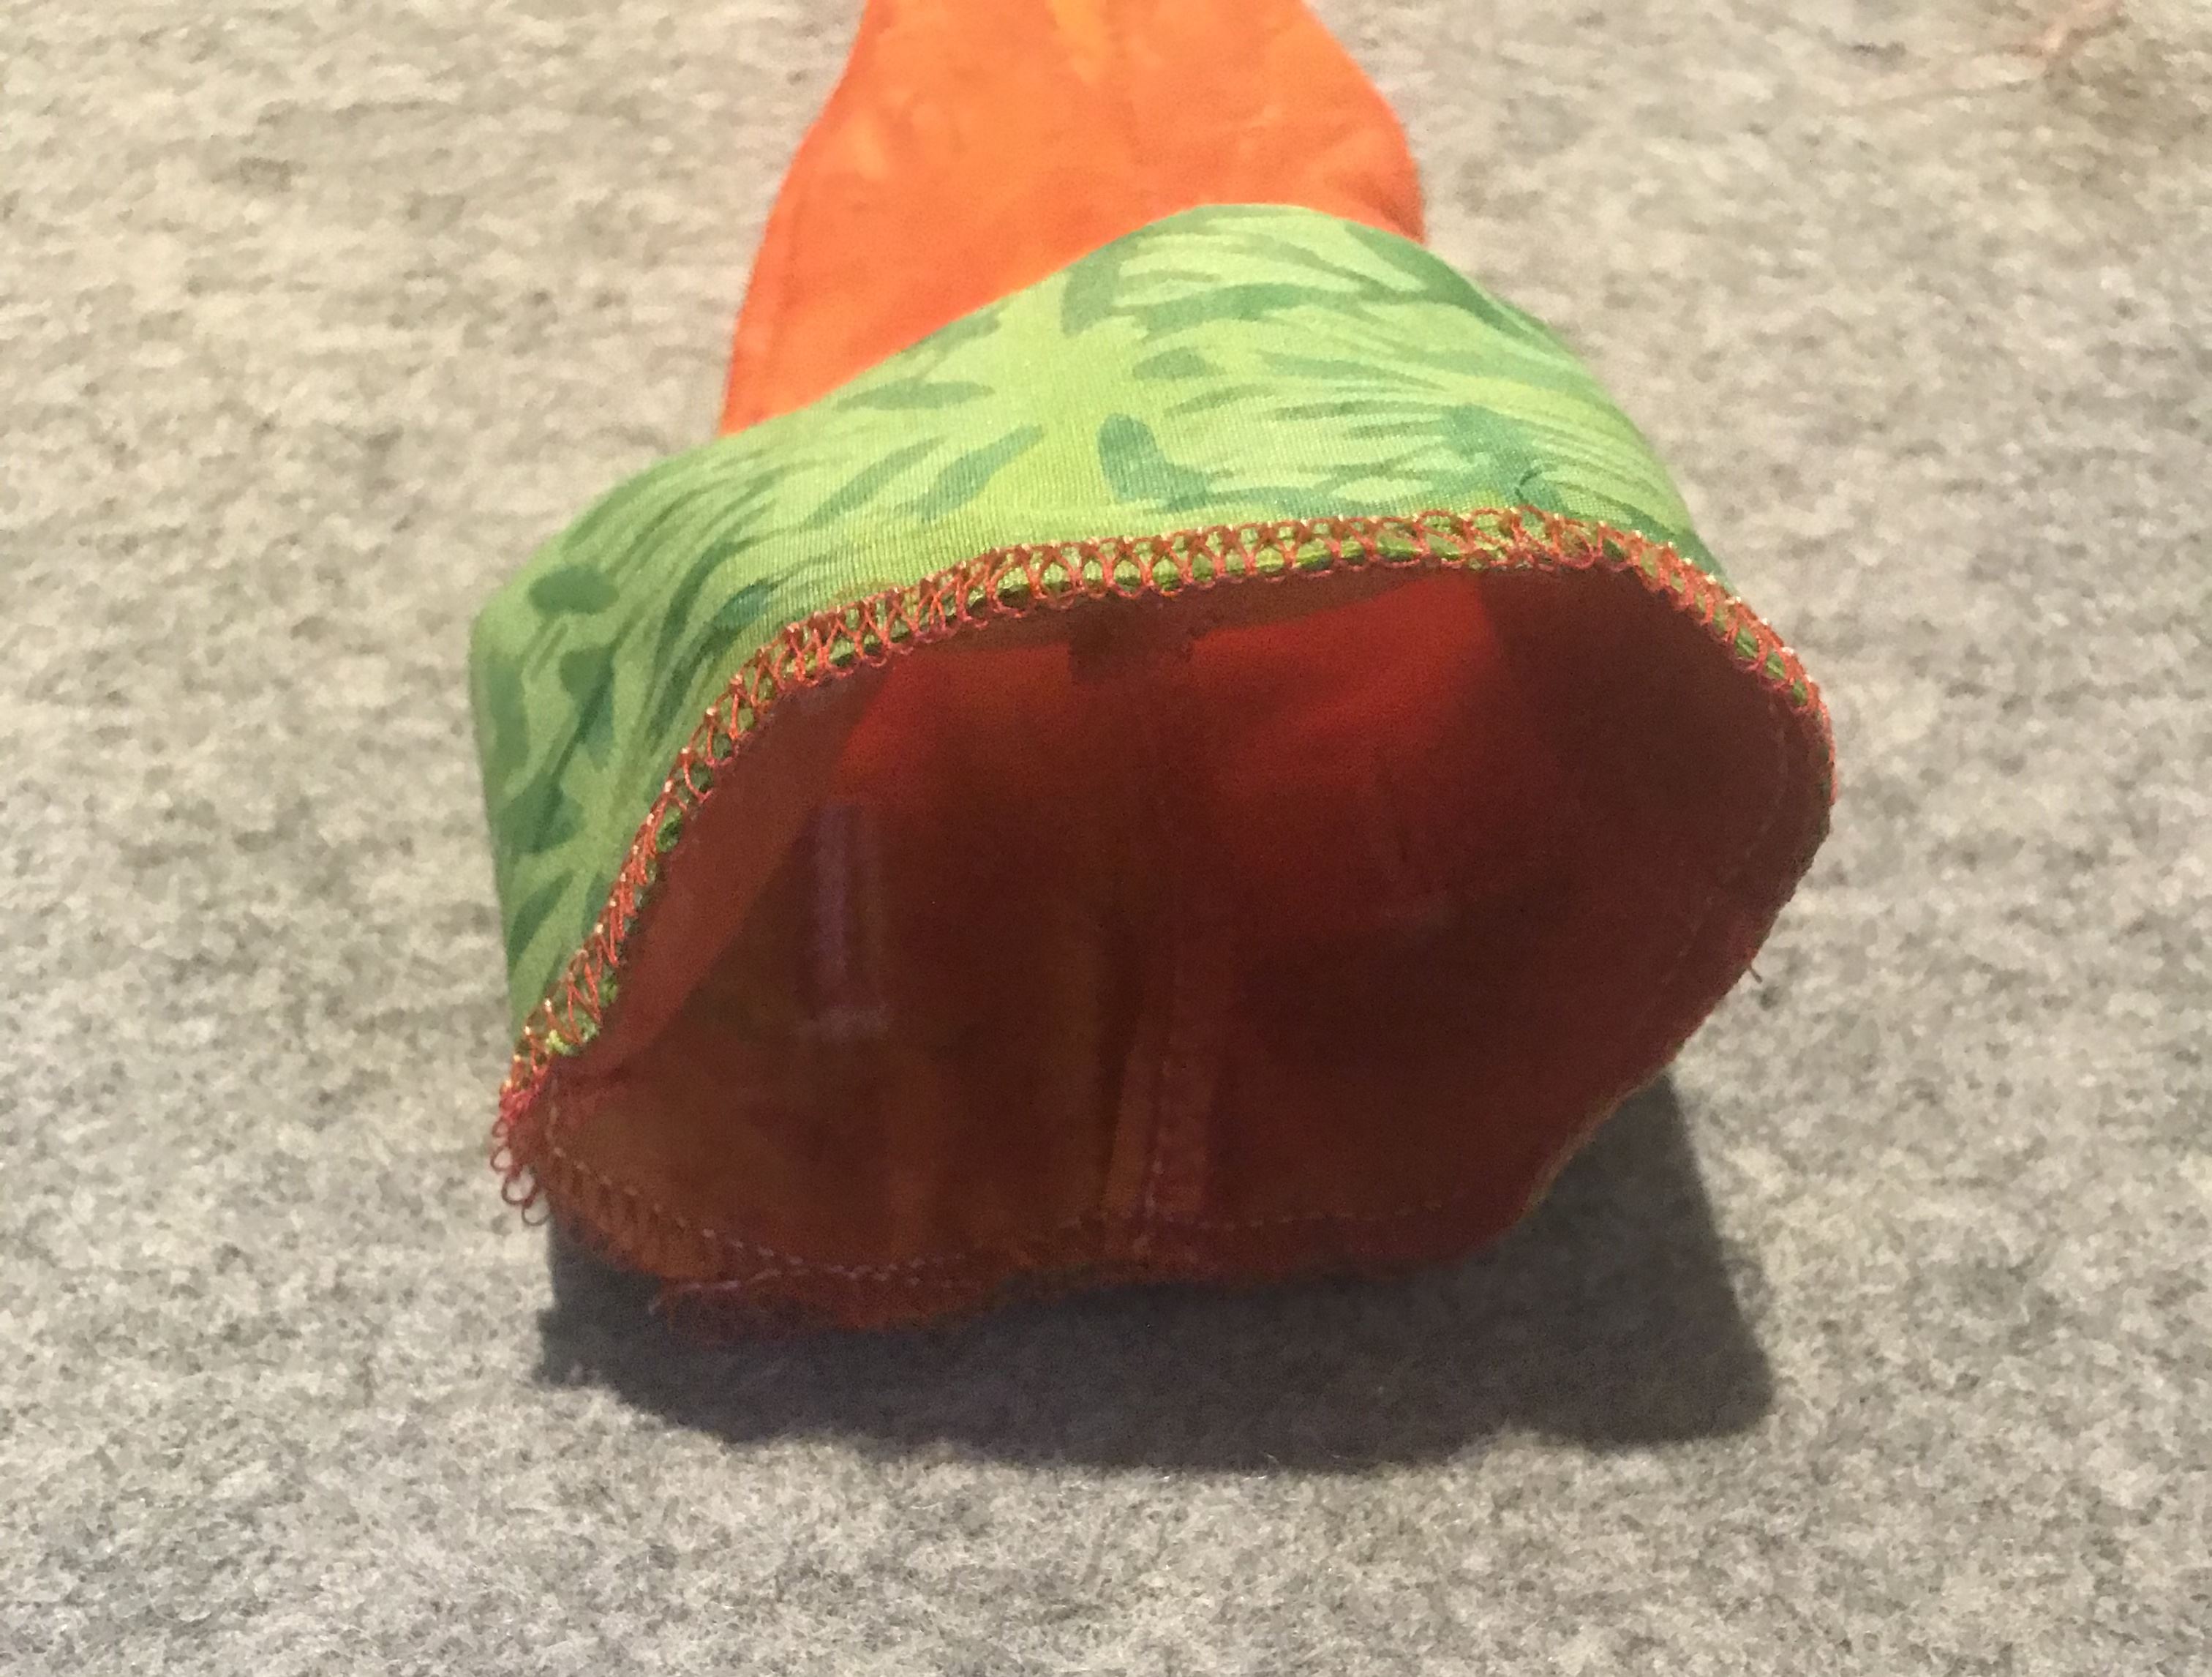
- Attach the carrot top to the top of the carrot base, raw edges together.
- Overlock around the top, ensure raw edges of the fabric stay level as you stitch.
- Turn in the right way and cut the carrot top 1cm apart to create the fluffy finish.
- Thread your 1” piece of fabric through the buttonholes.
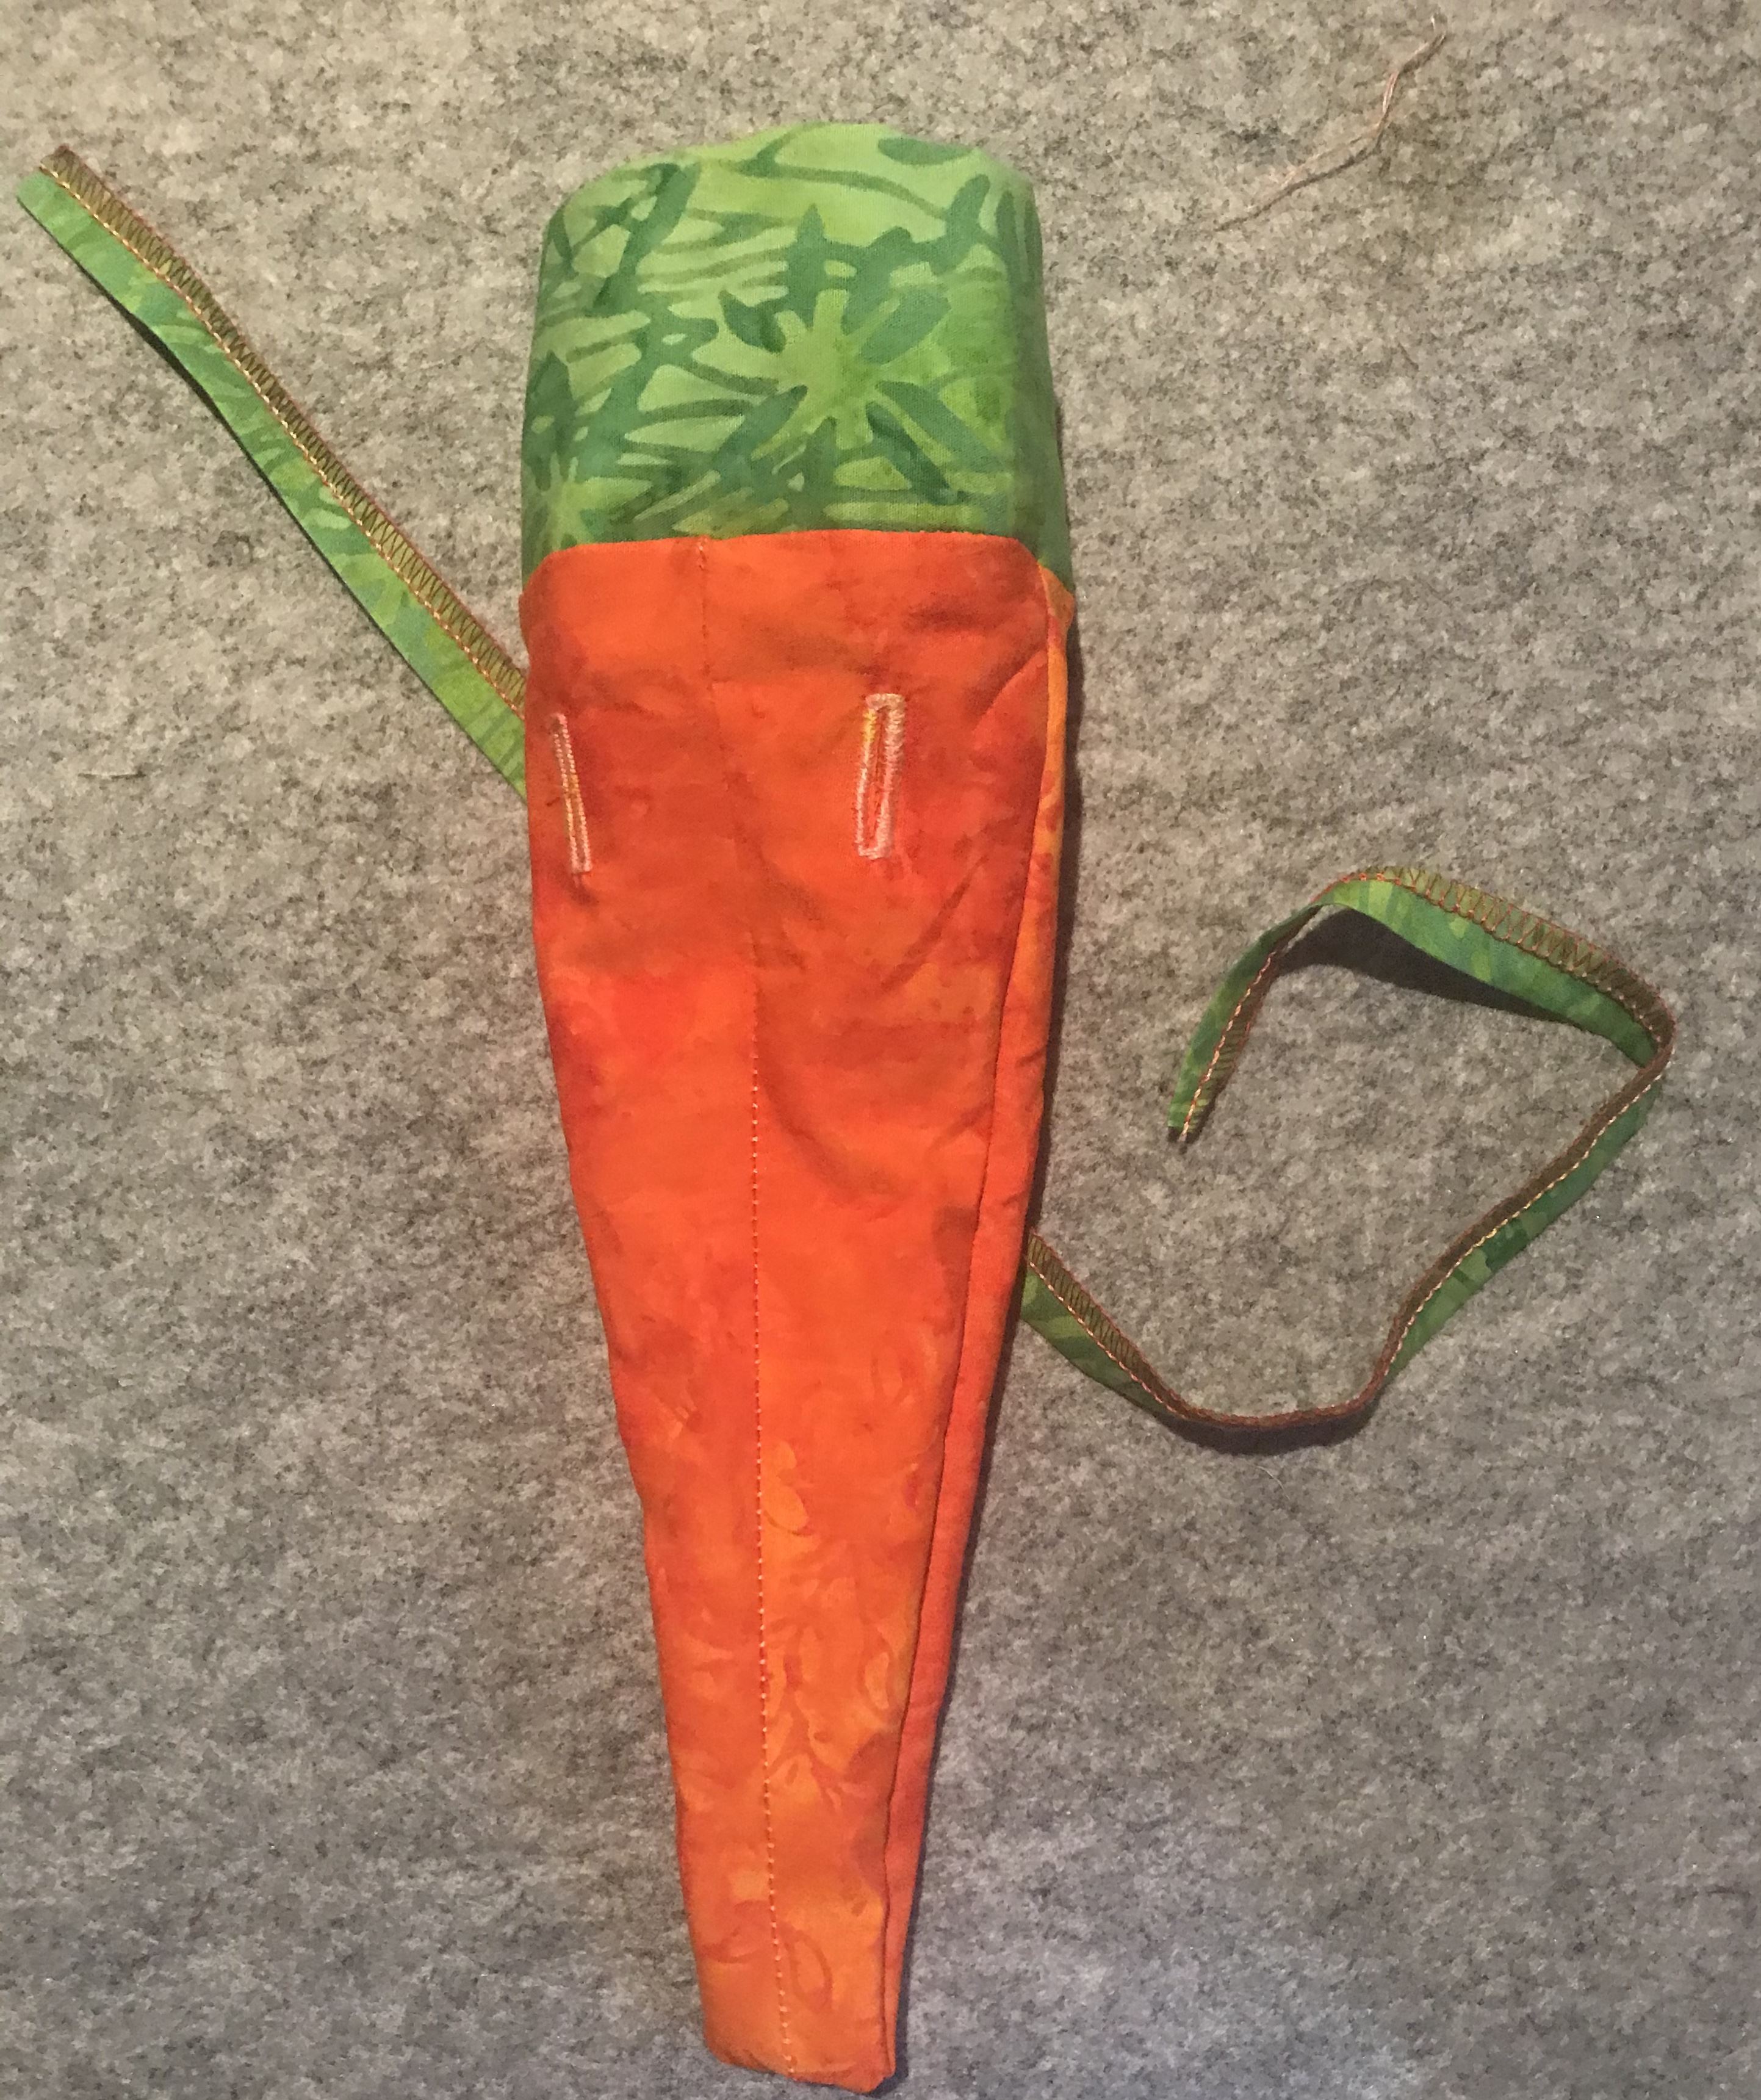
- Stuff with eggs or other goodies that can be found on the Easter Egg Hunt.
Free Embroidery Designs
We're excited to offer our free Echidna designs available for download. These free designs are perfect for those at a beginner or an advanced level. Add these designs to your stash and create incredible embroidery!
View all free designs >
Sewing, Quilting and Embroidery Machines
Interested in learning how to sew, quilt or embroider? Take a look at the innovative Brother machines available for purchase at Echidna Sewing. Wherever possible we will beat any deal and you will always receive ongoing service and support!
Find out more >
Learn to Sew or Embroider with Echidna Sewing
Come along to our fun-filled classes to learn more about sewing, embroidery and crafting. Classes cater for all skill levels, whether you're just starting out or already have advanced knowledge.
Find out more >
Echidna project material/ fabric requirements are an indication only and can seem to be generous. This has been intentional. Should you make a cutting or embroidery mistake you will have sufficient fabric to rectify your error.


