All Projects
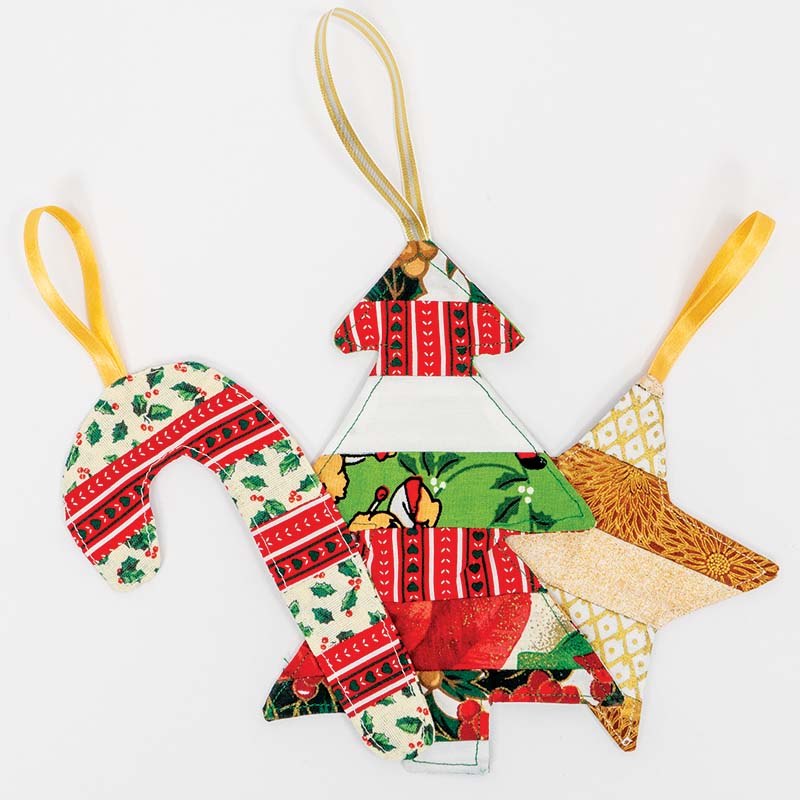
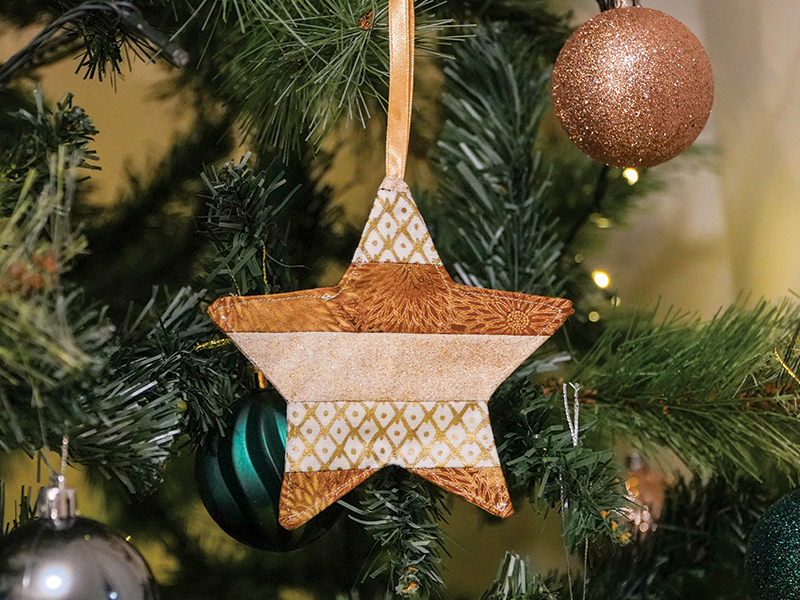
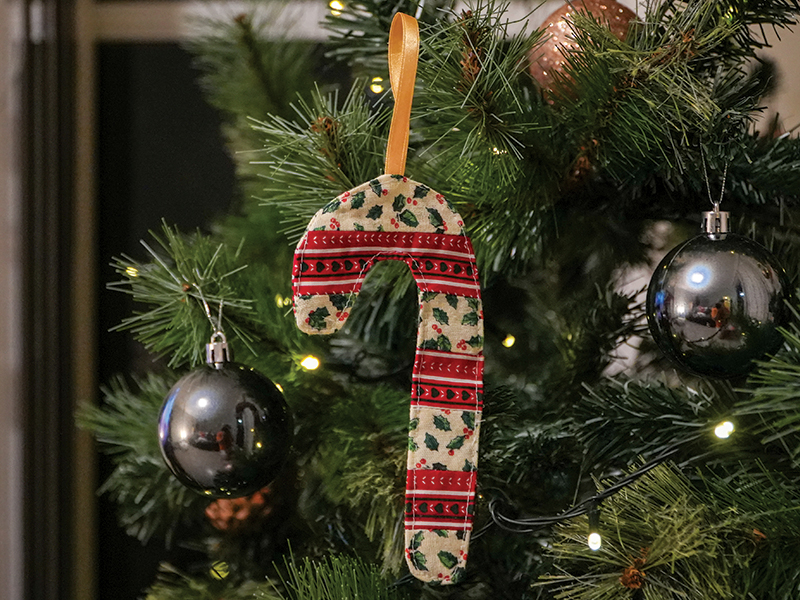
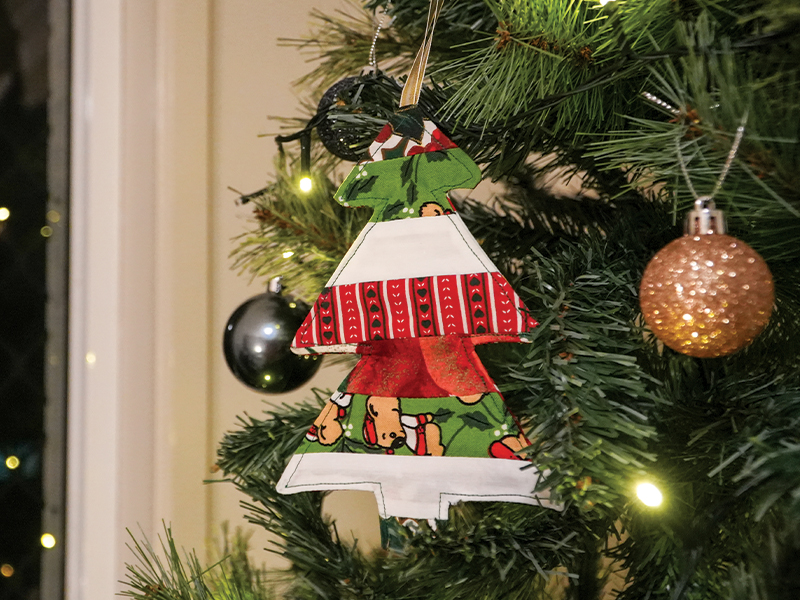


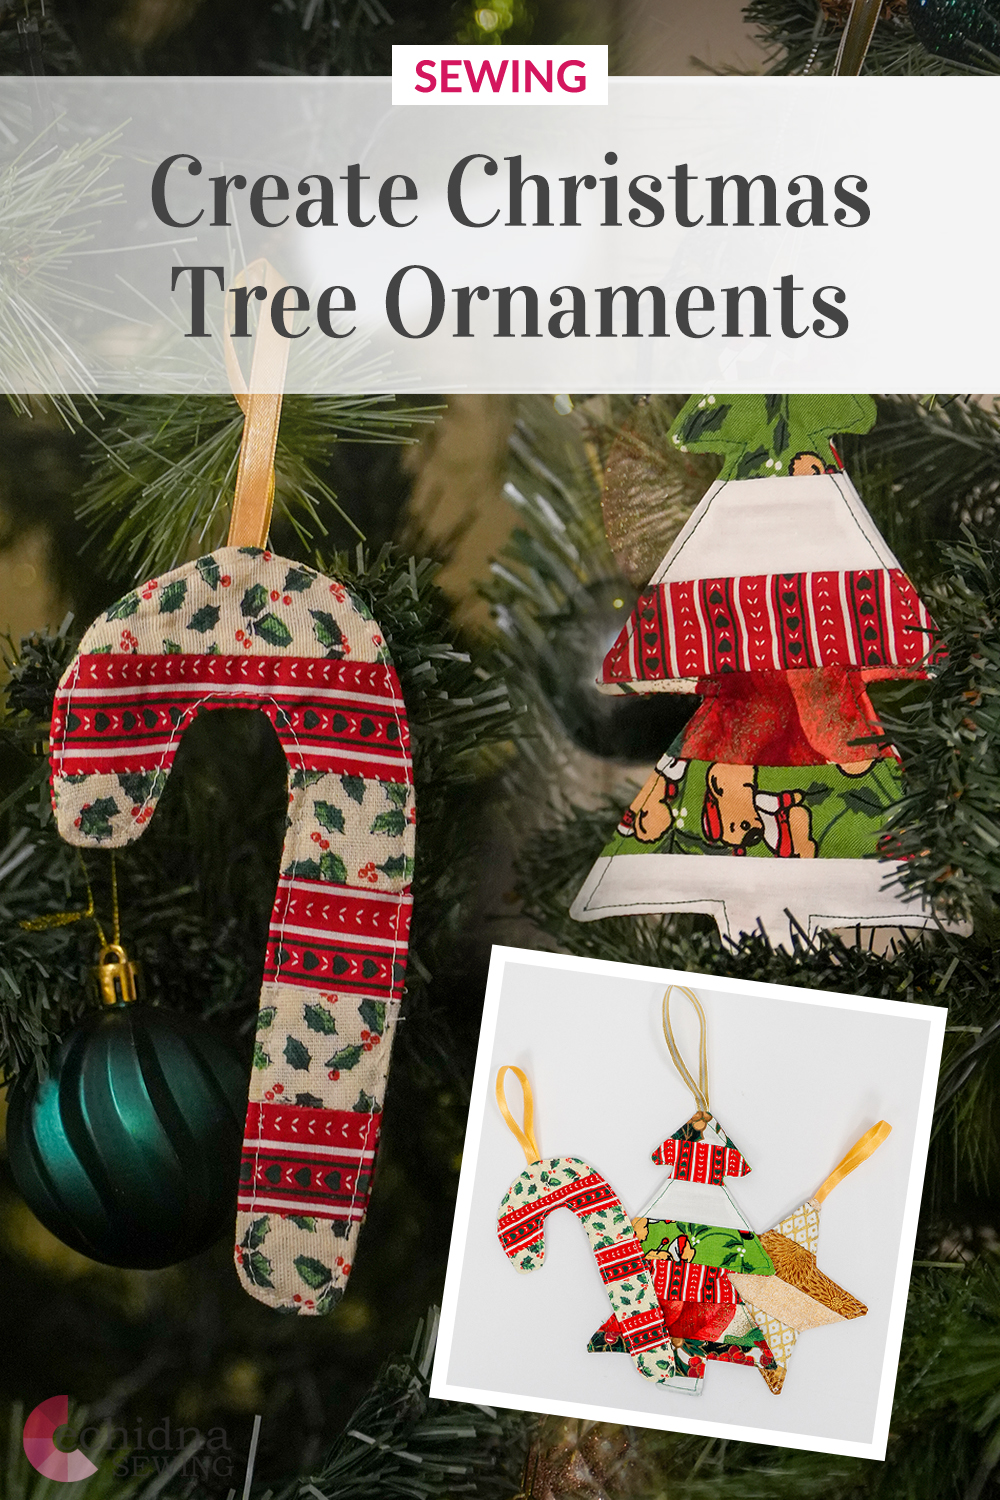
Christmas Tree Ornaments
Date Posted:1 November 2025
Christmas is always a fun and exciting time of the year and no doubt you will be wanting to spruce up the house with an abundance of Christmas decor. These Christmas ornaments add the perfect homemade touch to any Christmas tree and you will want to make more for friends and family once you see how simple it is!
These ornaments are made from lightweight quilting cotton but can be made from any relatively lightweight material. They are quite small, so thicker fabrics would hinder the effect and make sewing a little difficult. This project is great for all sewing levels, from beginner to advanced.
What you'll need:
- Sewing machine
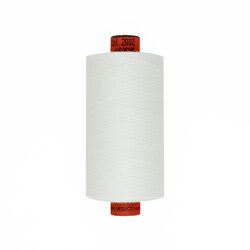
- Rasant thread (To match your fabric)
- Fabric 1 (fat 1/8")
- Fabric 2 (fat 1/8")
- Any other fabrics
- Purple thang
- Sewing scissors
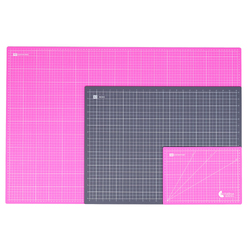
- Rotary cutter and cutting mat
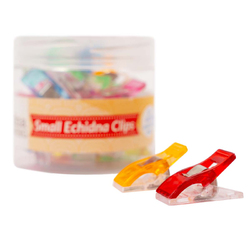
- Pins or small Echidna clips
- Sewing pattern
- 10mm ribbon or thinner (in your colour choice)
- Iron and wool pressing mat
Step Overview
The steps below are just an overview of the project instructions and must be used in conjunction with the tutorial video. Print these steps out to have beside you when watching the video as a reminder.
- Download the pattern from our website.
- Measure the width of your pattern design and add ½”.
- Candy cane = 5”
- Tree = 6.5”
- Star = 6.75”
- Depending on your pattern, cut out 14-20 rectangles that are the width of your pattern, by 1.5”.
- Assemble rectangles in a pattern that you like.
- Place two rectangles right side together and pin or clip the raw long edge.
- Stitch longer raw edge together with a ¼” seam allowance and a straight stitch.
- Repeat for all remaining rectangles.
- Press all seams open flat.
- From your newly made fabric, cut two pattern pieces of your choice, making sure to mirror the pattern or the fabric. Avoid cutting pattern pieces along or near the seams to reduce bulk in the seam allowance.
- Cut a 20cm piece of ribbon.
- Fold the ribbon in half and pin the raw edge of the ribbon to the raw edge of the top most point of one of your pattern pieces.
- Place fabric pieces right side together and pin or clip to secure together.
- Along one edge, mark a 2” gap with your frixion pen. Leave this open when sewing together.
- Sew together the ornament using a straight stitch and a ¼” seam allowance, pivoting at corners when needed. Reinforce the area where the ribbon is by back stitching a few times.
- Backtrack at the beginning and end to secure stitches.
- Trim down seam allowances and trim notches where applicable.
- Flip the ornament right side out and use your purple thang to push out the corners nice and sharp, you can use the ribbon to pull the piece right side out.
- Tuck and pin the turning hole shut.
- Press flat with your iron.
- Top stitch the entire perimeter of the piece, making sure to stitch the turning hole shut.
- All done!
Don’t forget to show us your finished projects on Instagram or Facebook #echidnasewing #madebyme


Free Embroidery Designs
We're excited to offer our free Echidna designs available for download. These free designs are perfect for those at a beginner or an advanced level. Add these designs to your stash and create incredible embroidery!
View all free designs >
Sewing, Quilting and Embroidery Machines
Interested in learning how to sew, quilt or embroider? Take a look at the innovative Brother machines available for purchase at Echidna Sewing. Wherever possible we will beat any deal and you will always receive ongoing service and support!
Find out more >
Learn to Sew or Embroider with Echidna Sewing
Come along to our fun-filled classes to learn more about sewing, embroidery and crafting. Classes cater for all skill levels, whether you're just starting out or already have advanced knowledge.
Find out more >
Echidna project material/ fabric requirements are an indication only and can seem to be generous. This has been intentional. Should you make a cutting or embroidery mistake you will have sufficient fabric to rectify your error.


