All Projects


Personalised Document Holder
Author: Nicole
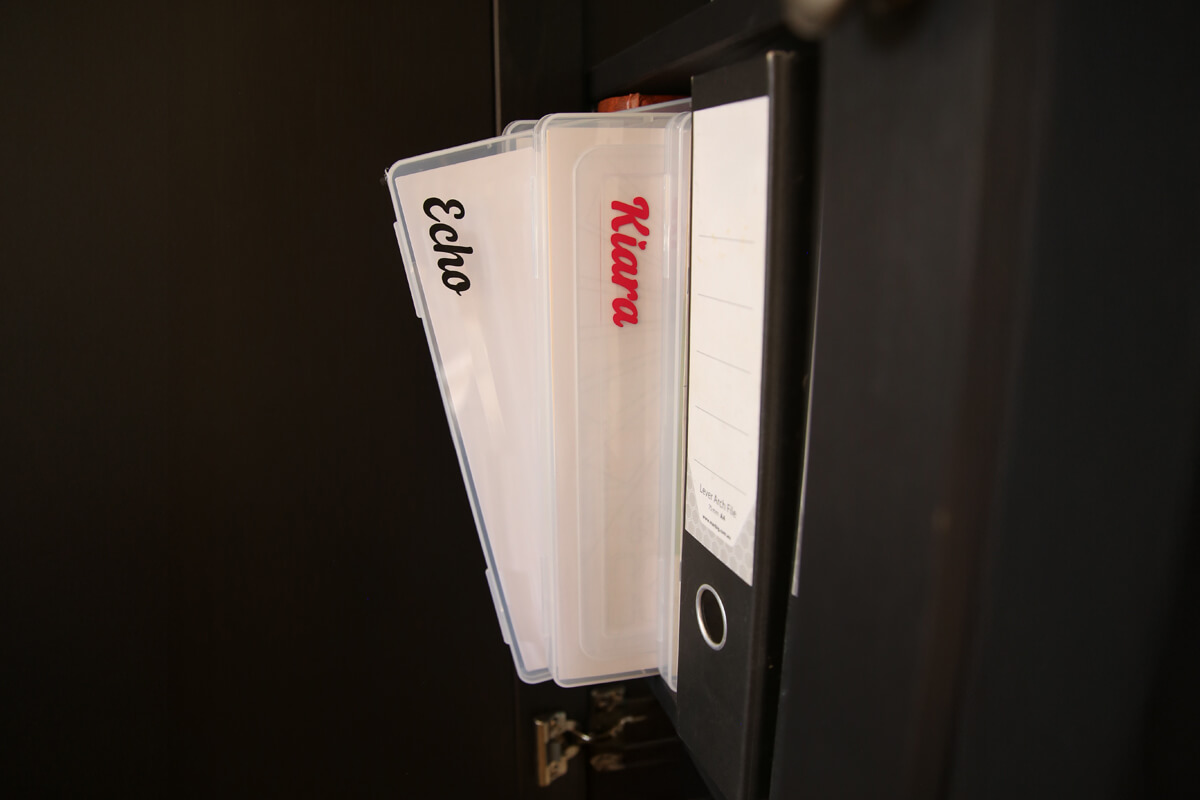
Turn a plain hard-cased document holder into a stylish way to stay organised using adhesive vinyl and your Brother ScanNCut – or any cutting machine. It’s perfect for keeping documents, schoolwork, or household papers neatly in order.
You could add a family member’s name – whether it’s for the kids, your partner, or even the dog’s vet papers – or create dedicated cases for categories like bills, receipts, insurance and medical documents. They also work beautifully for school or study by labelling with a child’s name and subjects.
What you will need:
- Cutting Machine (Brother ScanNCut, Cricut, Silhouette etc)
- Document Holder (We’ll be using a Kmart document holder for this project, but you can use any type of document holder you like to organise your paperwork, whether it’s plastic or card.)
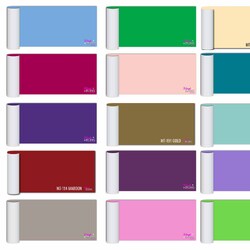
- Adhesive Vinyl in your preferred colour
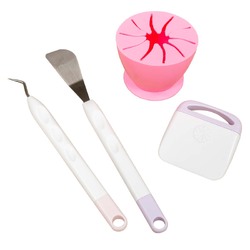
- Weeding Tools
- Transfer Tape
Shop Online:

Detailed instructions:
Design your own label in CanvasWorkspace:
Before jumping into the design, work out how big you would like the text on the document holder and measure where you plan to place the label. This will help you decide the maximum size your vinyl sticker should be.
⚠️ Tip: The smaller the label, the finer the design elements will be. Avoid overly delicate fonts or tiny details, as these may not cut cleanly or weed easily when scaled down.
-
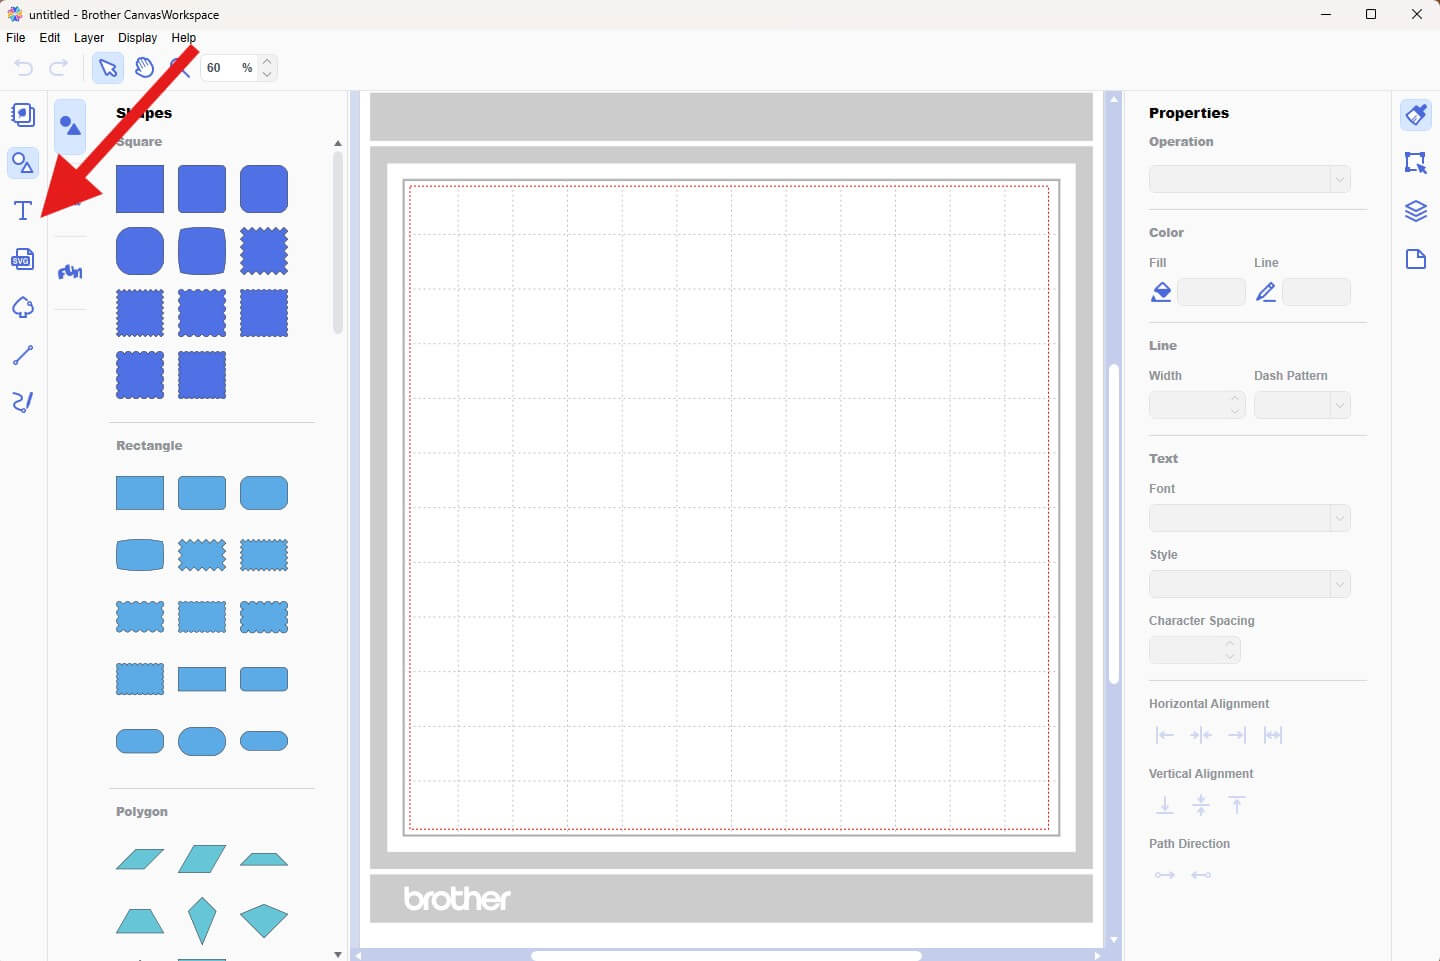
Open the desktop version of CanvasWorkspace and login to your account.
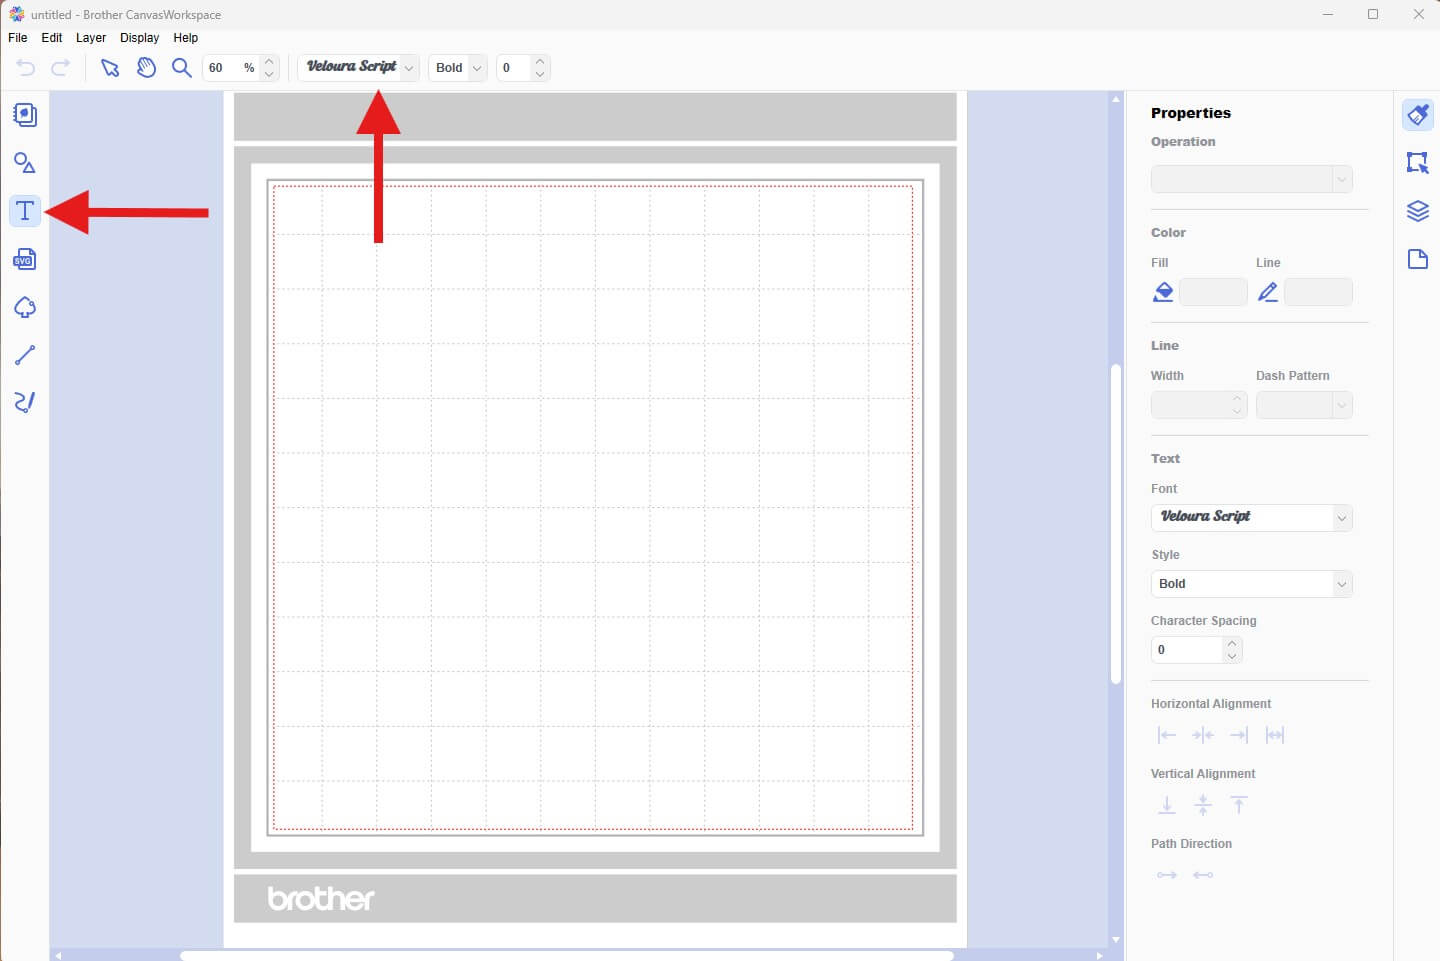
Click the Text Tool (left-hand toolbar).
-
Once you have the Text Tool (left-hand toolbar) selected you will be able to choose the font. Click on the font selector dropdown and choose your desired font. We will be using the Veloura font from CreativeFabrica.
-
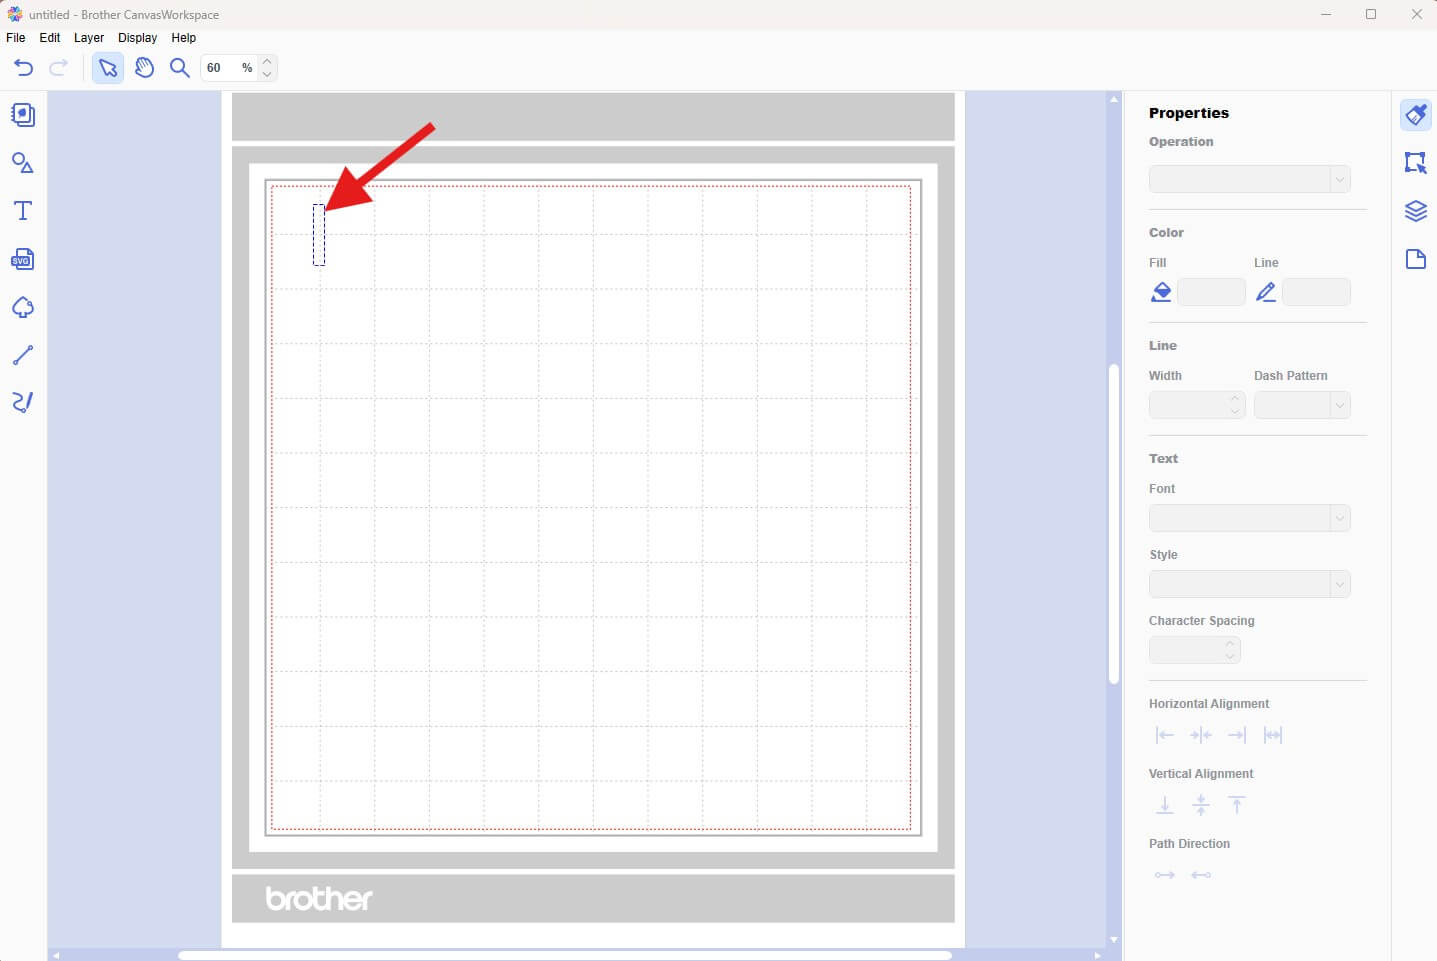
Click on your mat to create a text box.
-
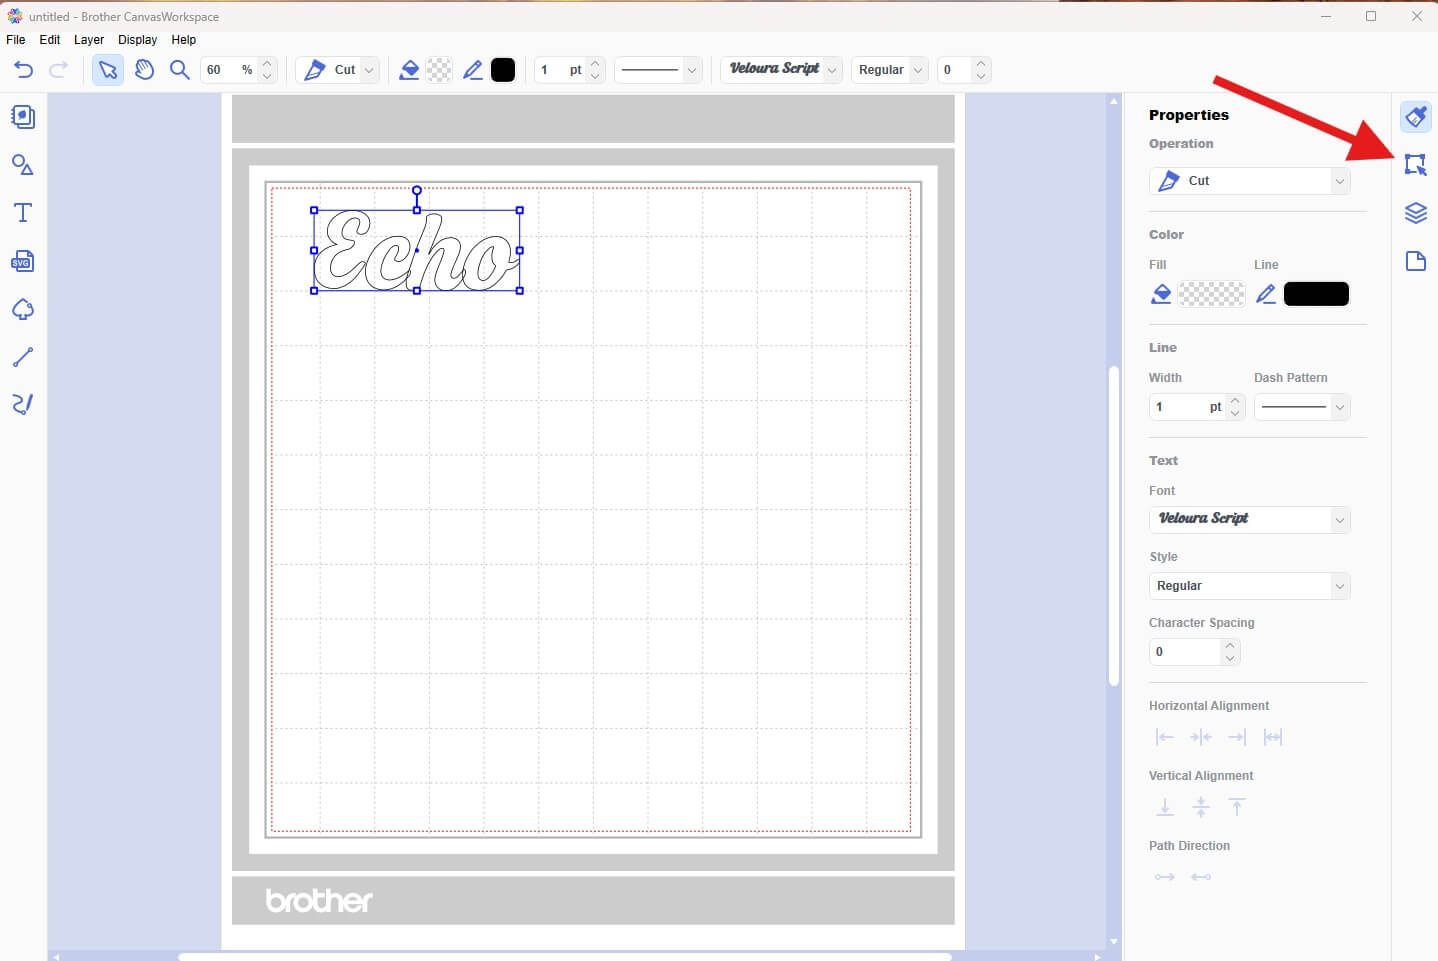
Type your desired text.

-
Select the Properties icon (right-hand toolbar) to bring up the element properties.
-
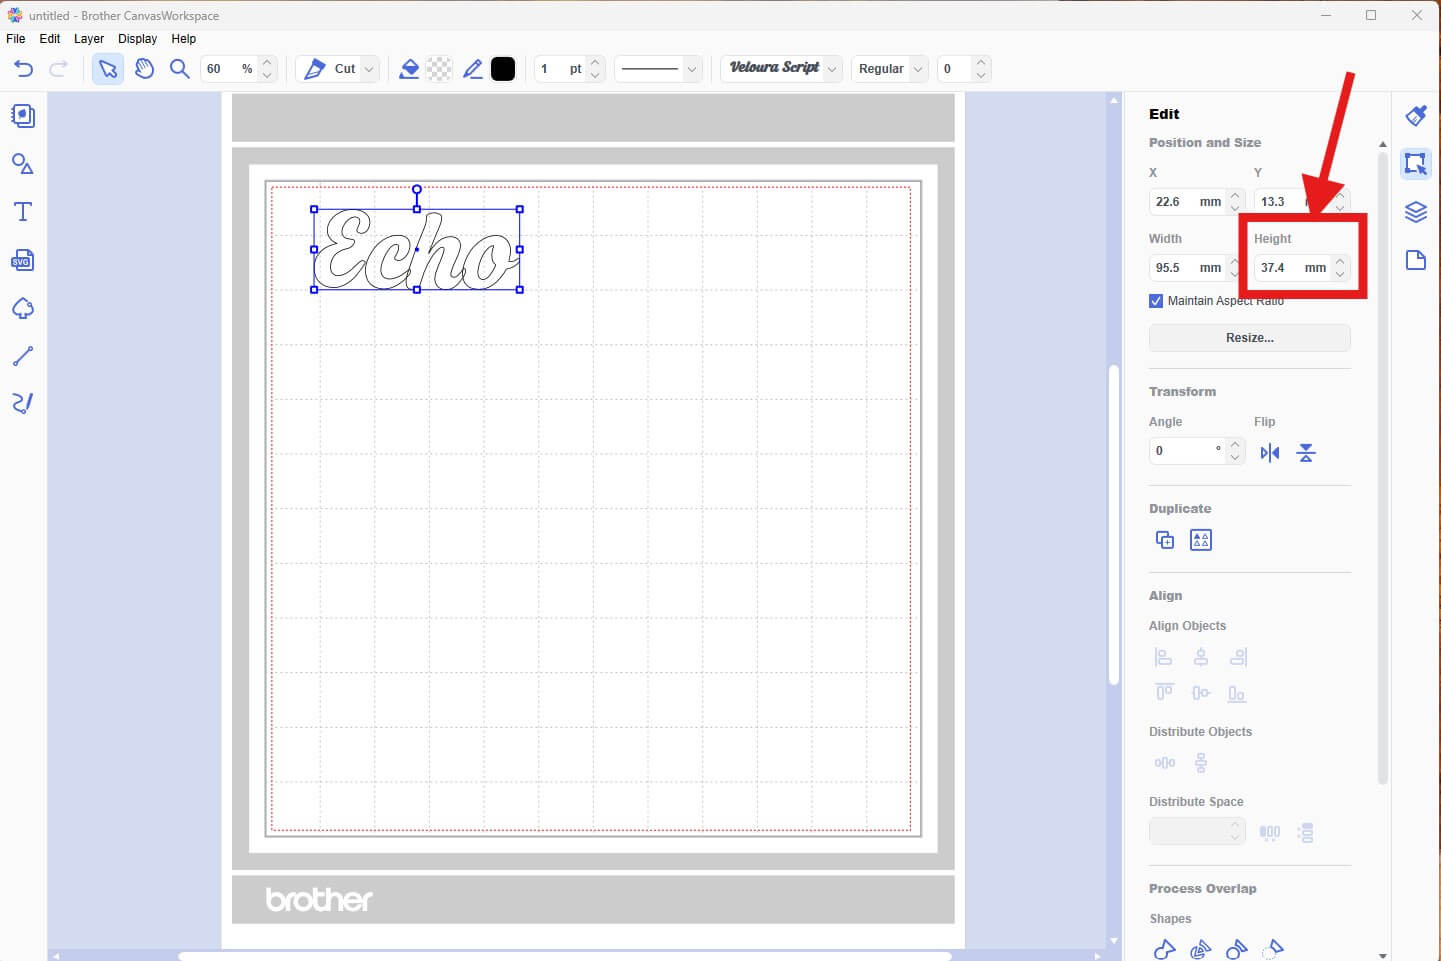
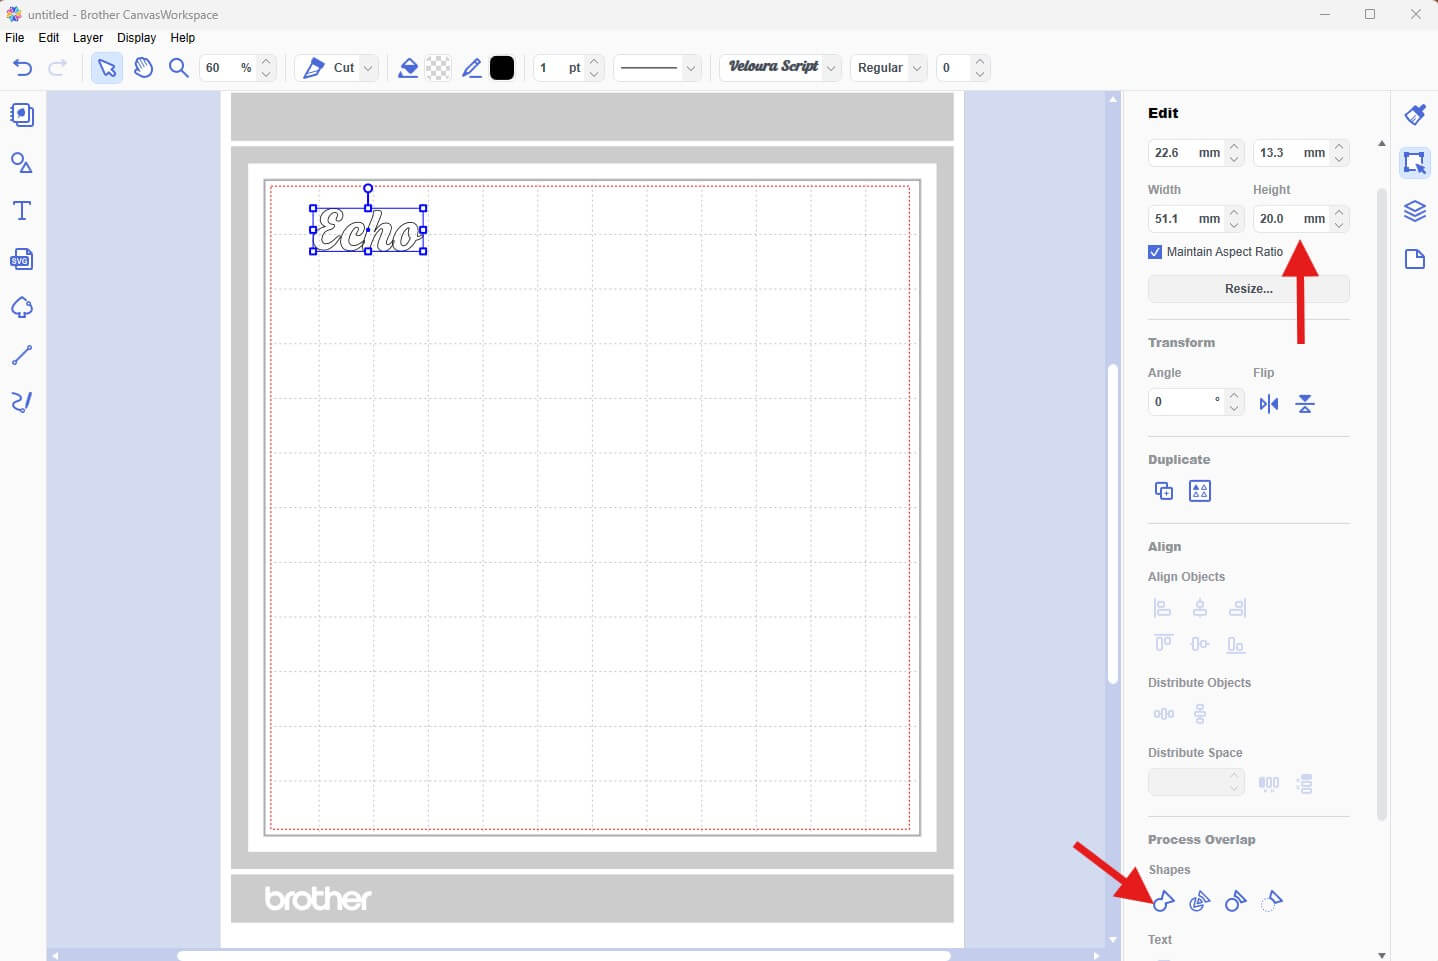
Adjust the height of the text to match the desired size. Make sure to keep "Maintain Aspect Ratio" checked.
-
Once you have resized the text, select the Weld Icon (1st Icon) under the Process Overlap > Shapes section of the Properties menu. This will combine any text that is overlapping into one shape to make a single clean cut of the vinyl.
-
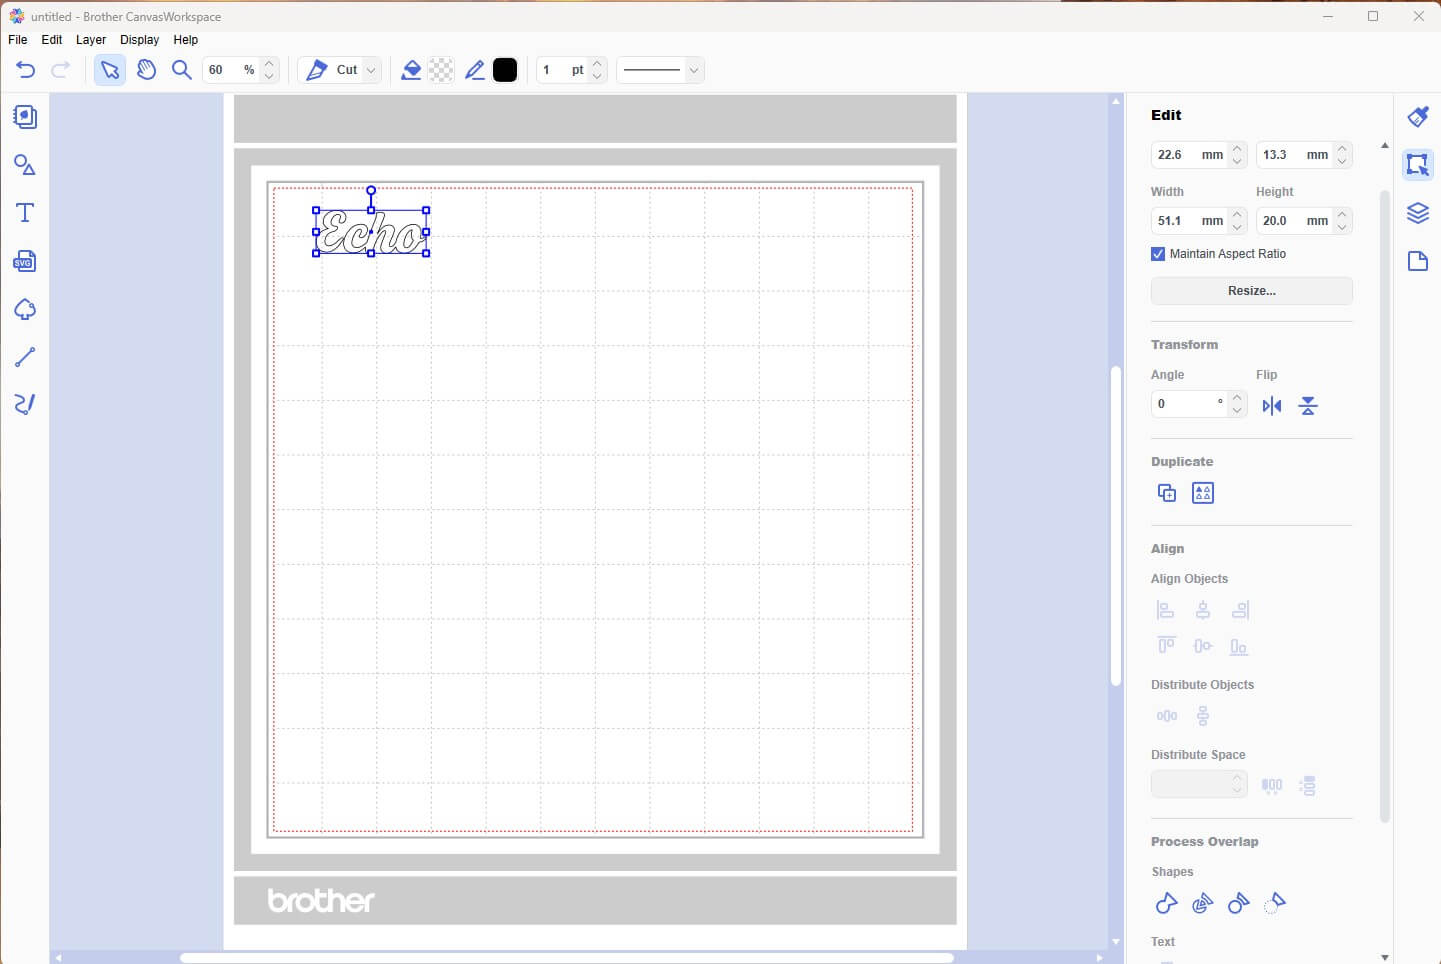
Once you do this the text will become a shape and no longer be editable.
-
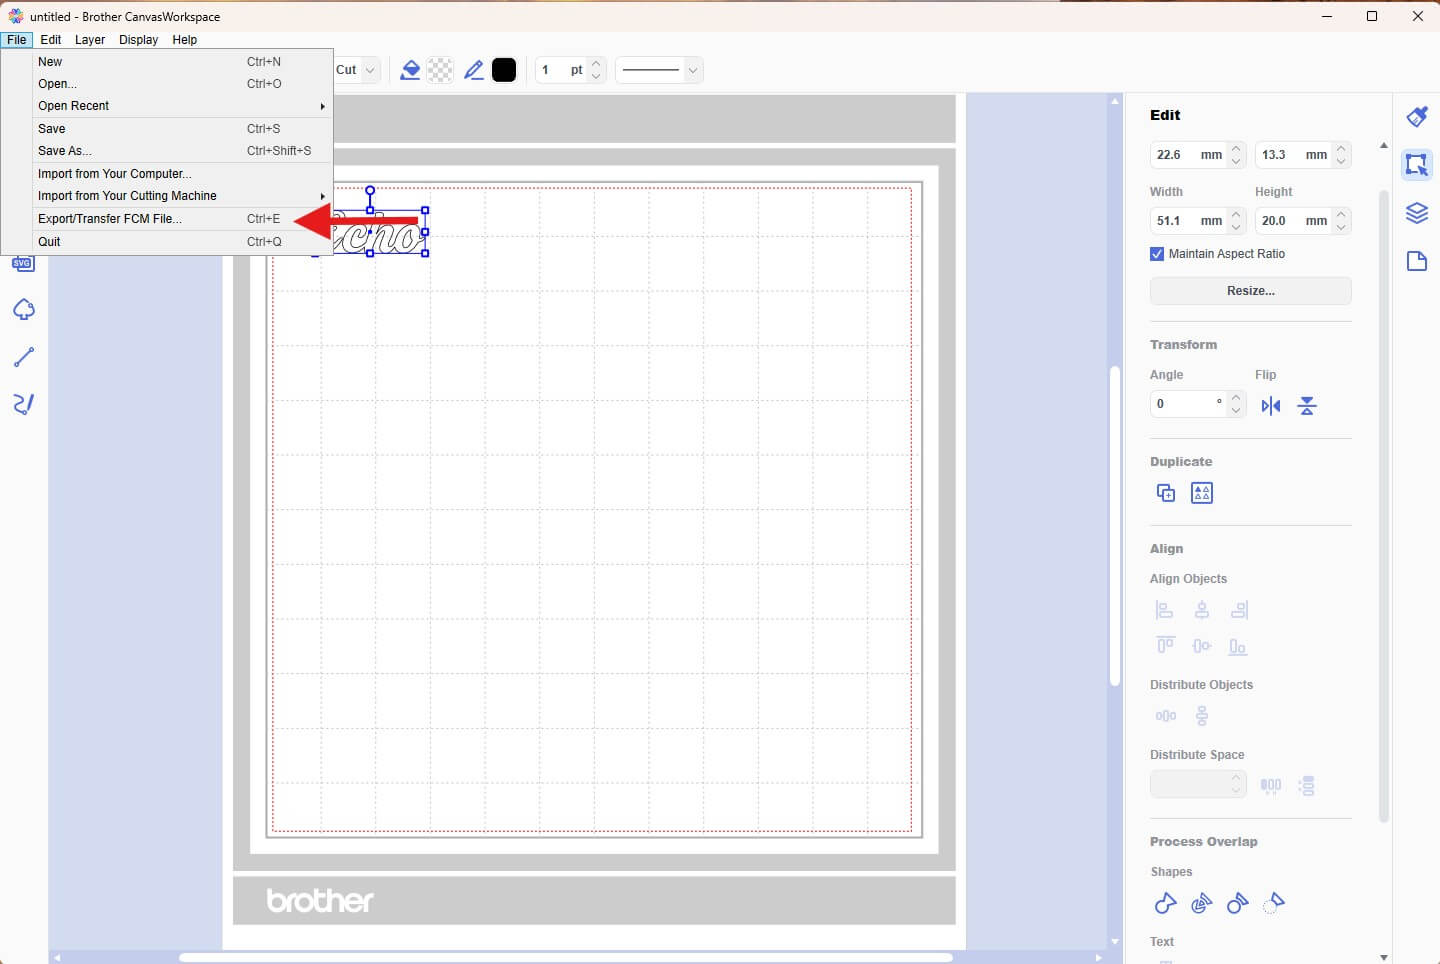
Now we simply need to export the design. To do this select File > Export/Transfer FCM File from the top menu.
-
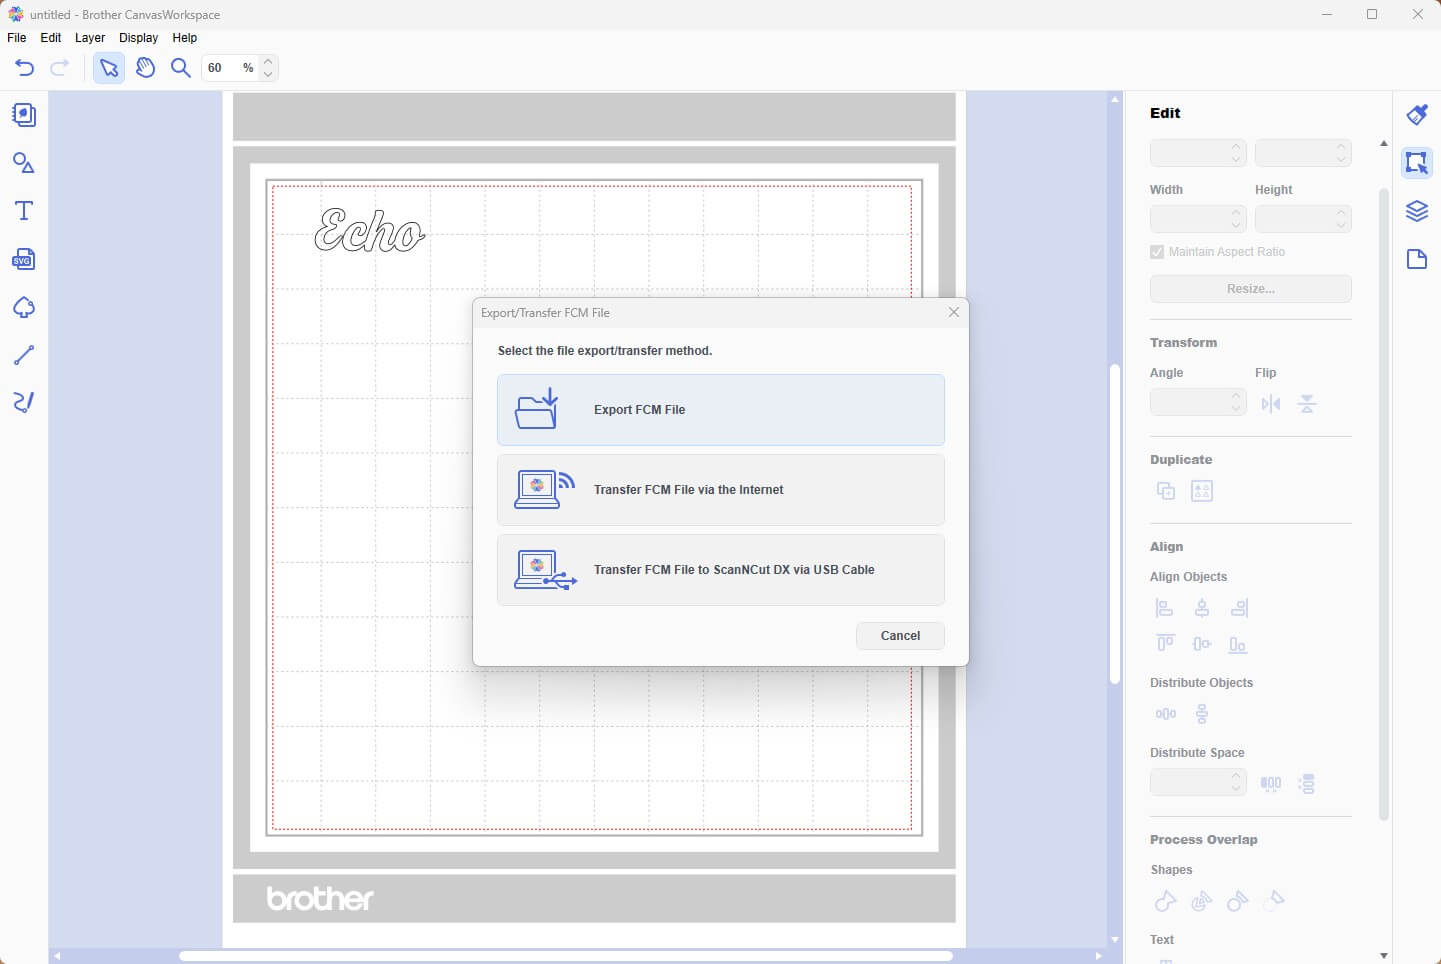
Choose USB or Direct Transfer to send the file to your ScanNCut.
Prepare Your Design:
- Download the SVG files and save them to a USB to load directly into your cutting machine or send via CanvasWorkspace desktop.
- Place a piece of vinyl in your chosen colour onto your machine mat, making sure it is large enough for the required design. Ensure the media is stuck to the mat the correct way up, using a brayer/roller may be helpful. Masking tape can help tape it down if your mat is starting to lose its tack.
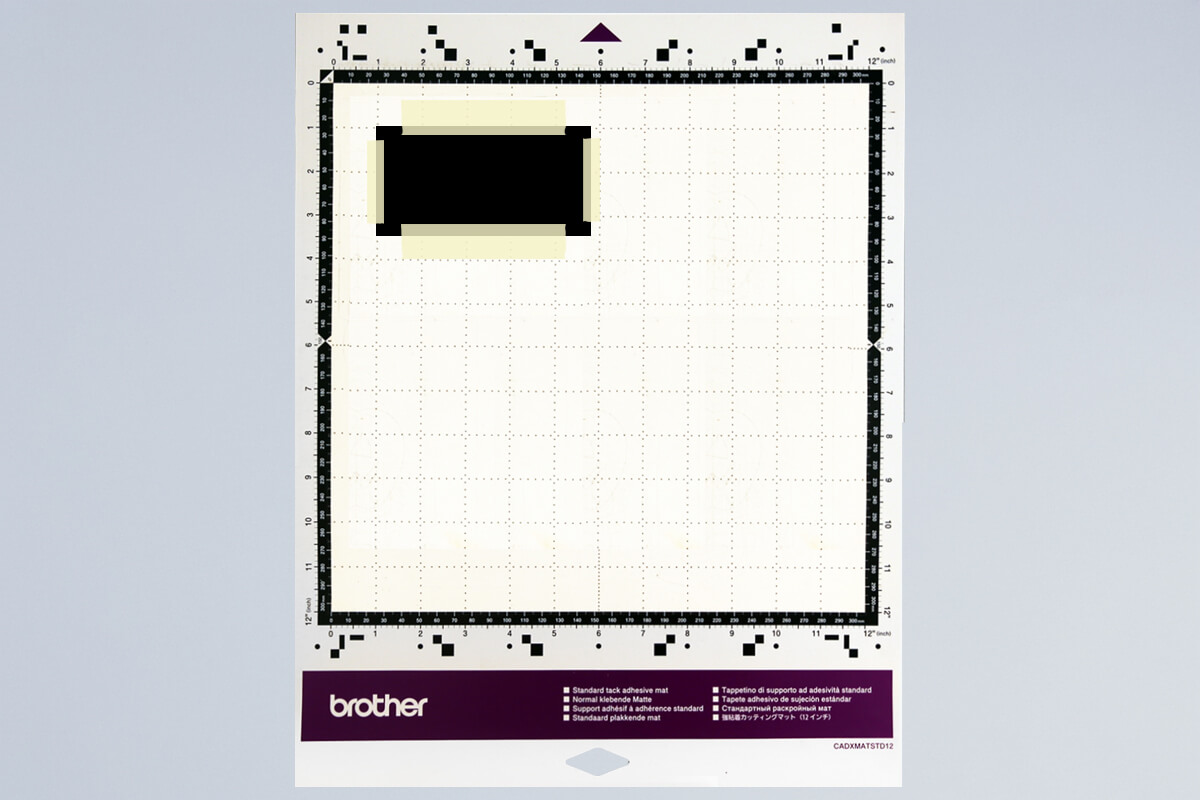
- Load the mat into your machine, holding it level as it feeds in.
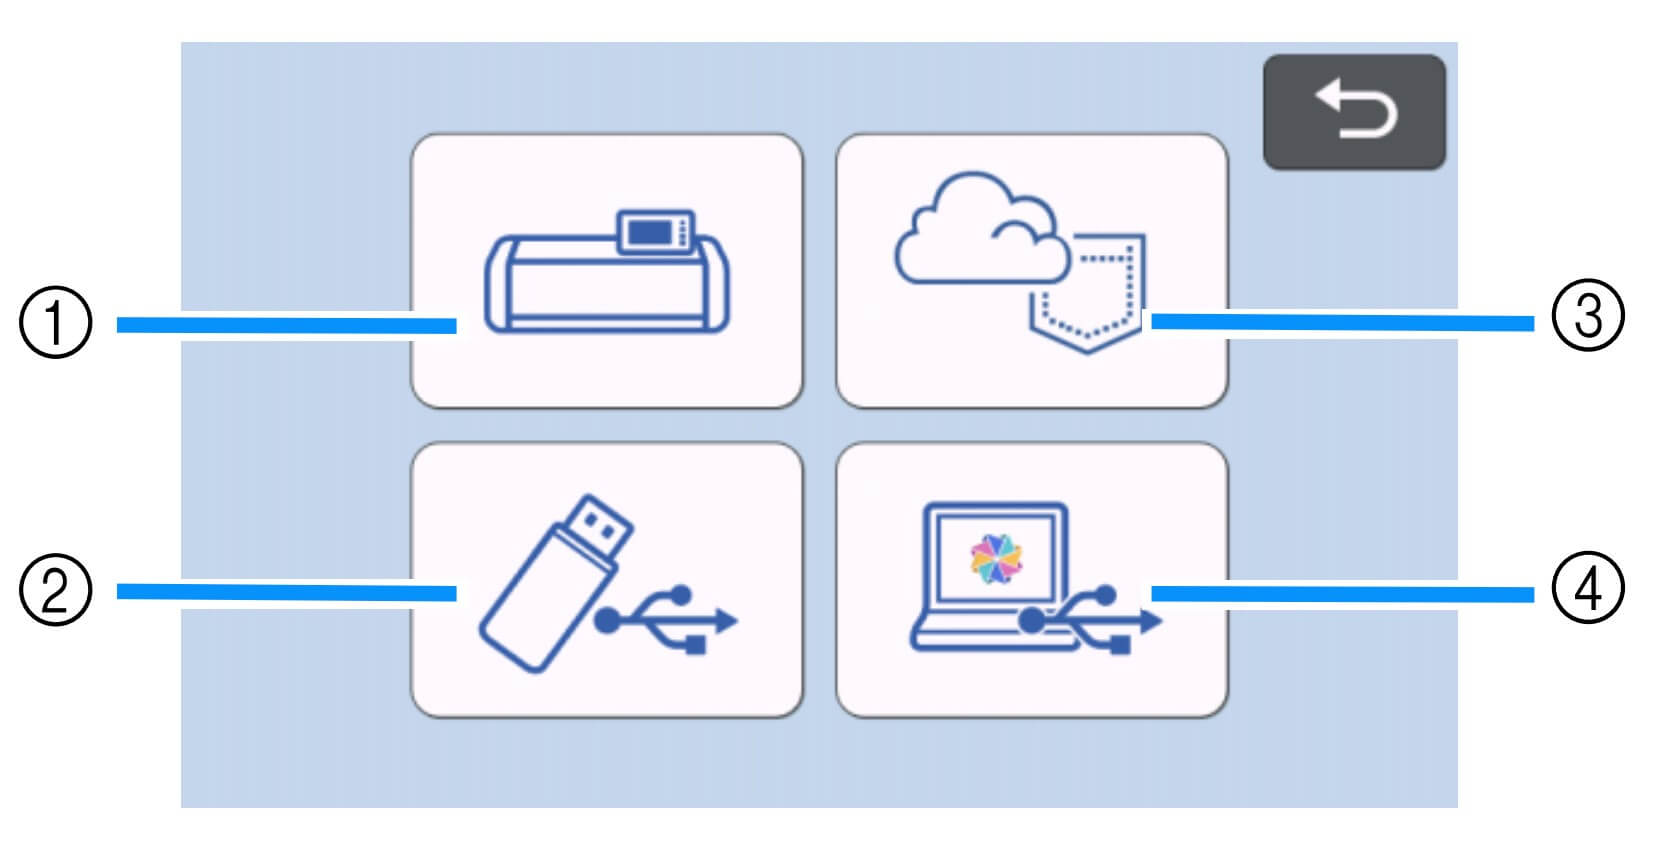
- Load the design from the USB (2). If you are sending from CanvasWorkspace via Wifi select (3).
- Scan the mat to check placement and adjust if needed.
- Adjust your machine settings to be suitable for cutting vinyl. For ScanNCut users you will need to enable the half cut option.Tip: We suggest doing a test cut to ensure you have your settings correct for the medium you are using. Cutting a small hole in the corner of your mat is a lot less upsetting than cutting a large design straight through your mat.
- Proceed with cutting the design.
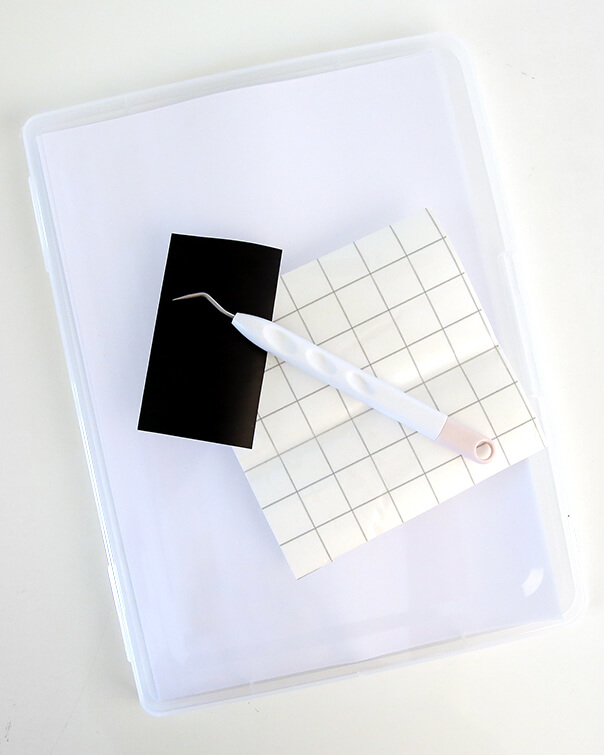
- Once the cutting is complete, unload the mat from the machine and gently peel the vinyl sheet off as a whole.
- Starting from one corner of the media, peel the coloured layer away from the backing (also known as ‘weeding’). Using a weeding tool may be helpful to get you started.
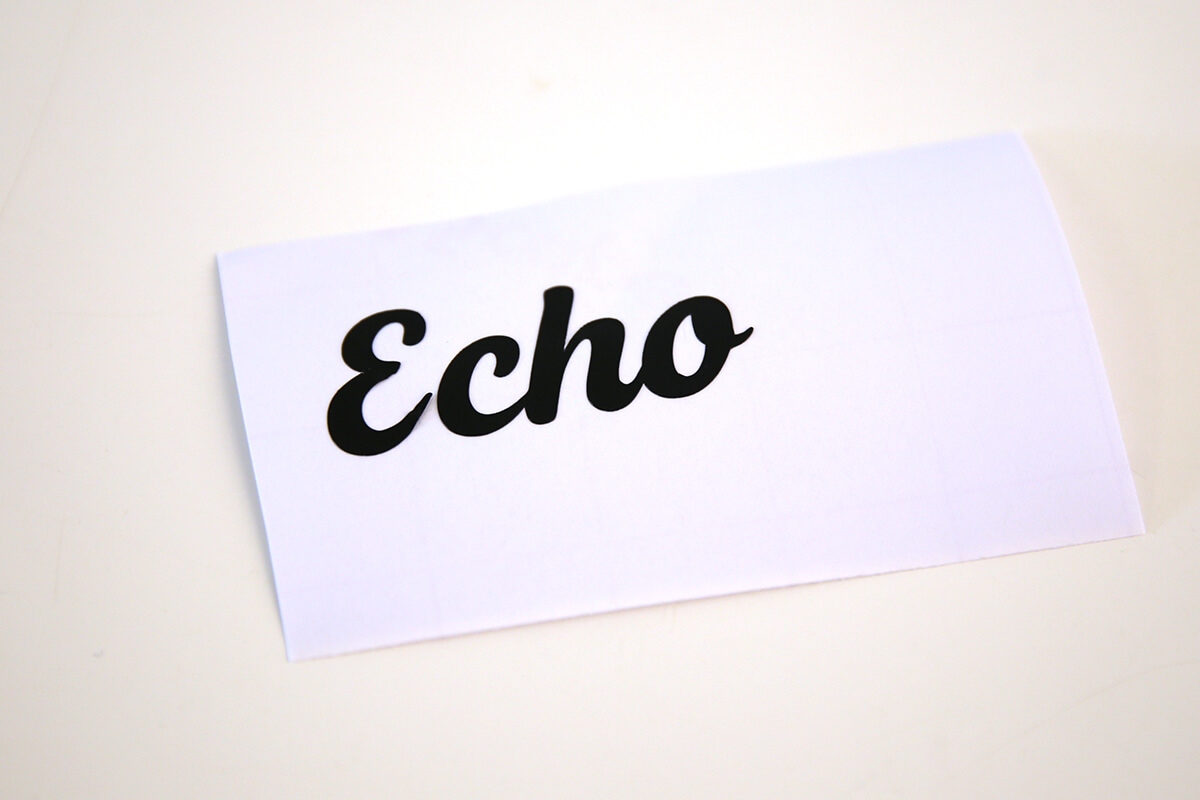
- You should be left with your design on the backing.
- To remove the sticker from its backing, cut a piece of Transfer Tape large enough to cover your design. Peel off the grid side of the Transfer Tape. Grid Transfer Tape is perfect for this type of application as it will allow you to get the words straight.
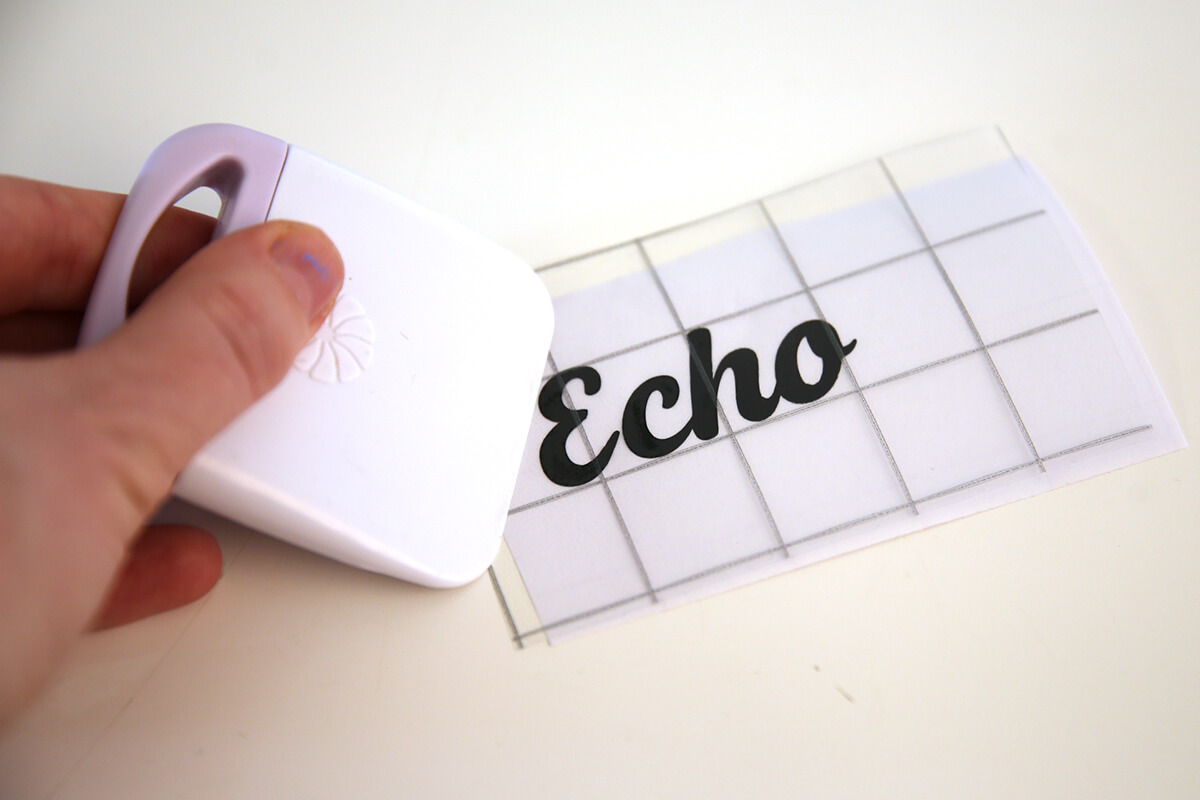
- Place the Transfer Tape over the cut-out vinyl ensuring all the vinyl is covered. Gently rub the Transfer Tape whilst on the vinyl.

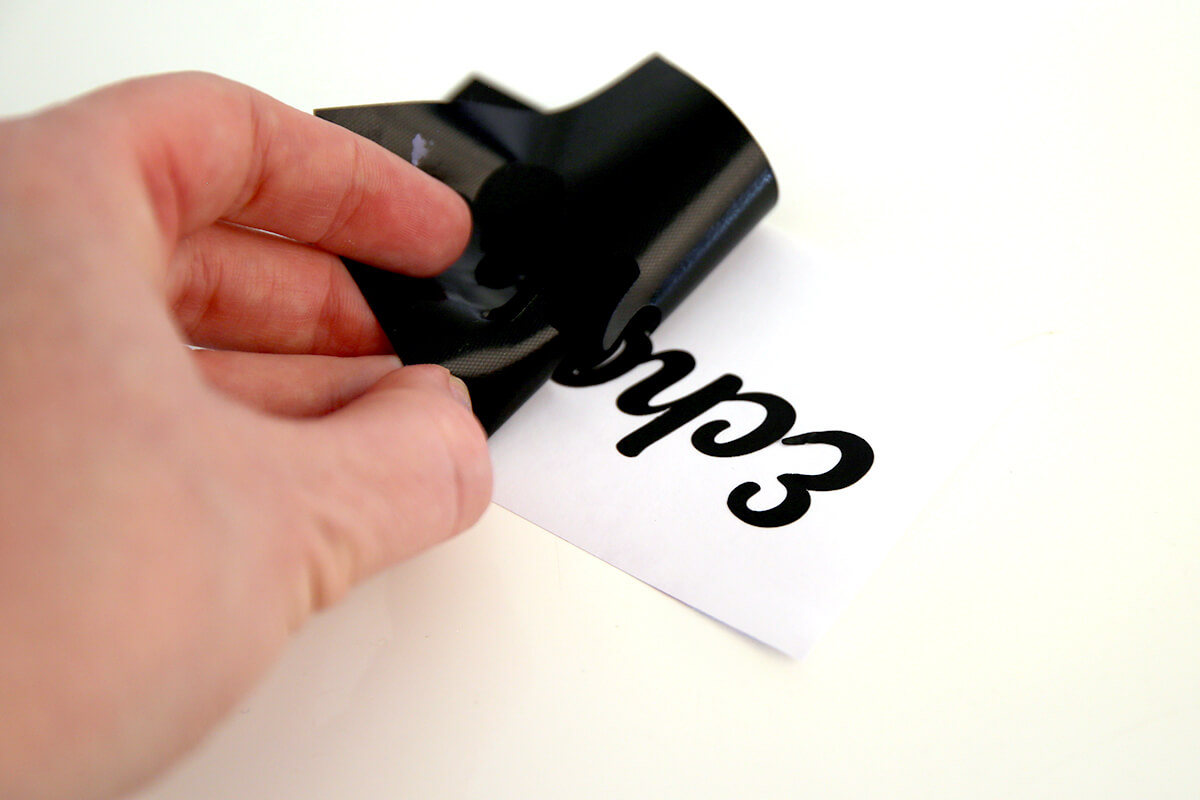
- Gently start peeling off the sticker backing. The sticker should lift off with the tape. If not, lay the tape back down and press firmly again. You want your design to stick to the tape so you may need to give it a rub as you go.
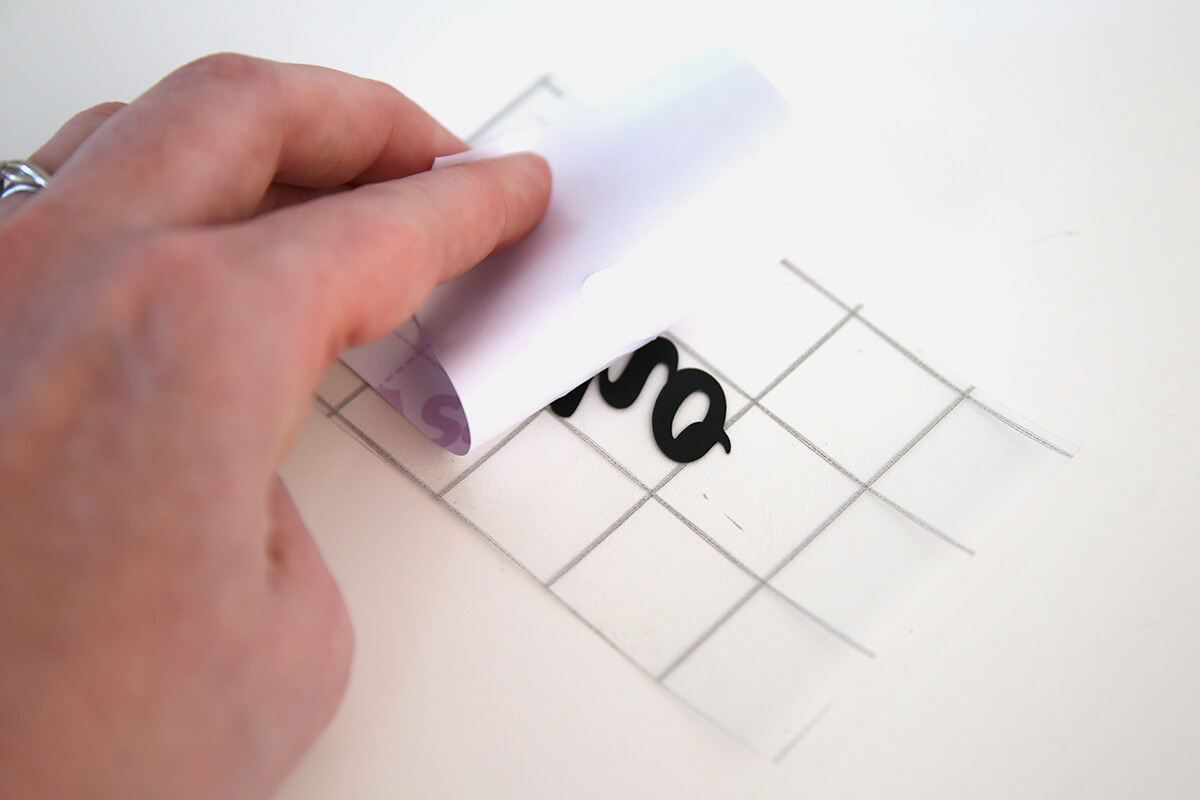
- This then exposes the adhesive side of the sticker.

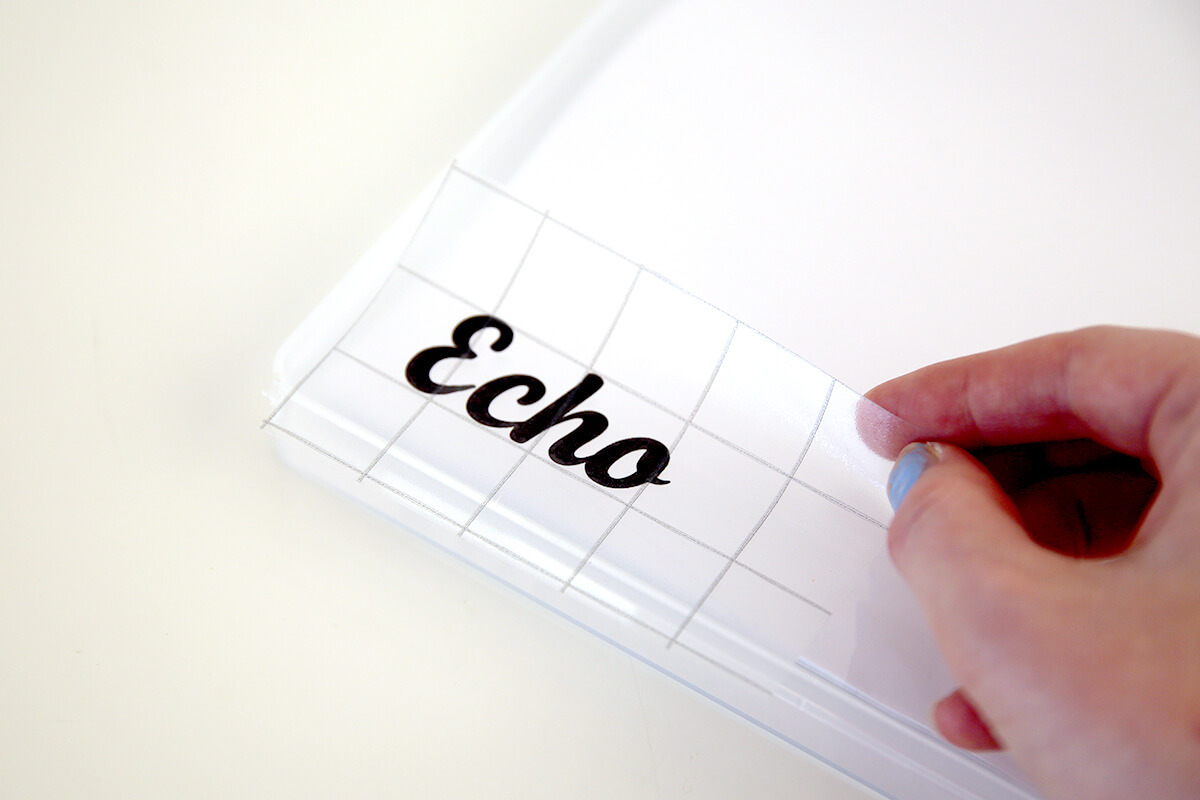
- Quickly move the sticker to the desired surface and place the design in the desired location. Press down over the sticker very firmly to force the adhesive to tack.
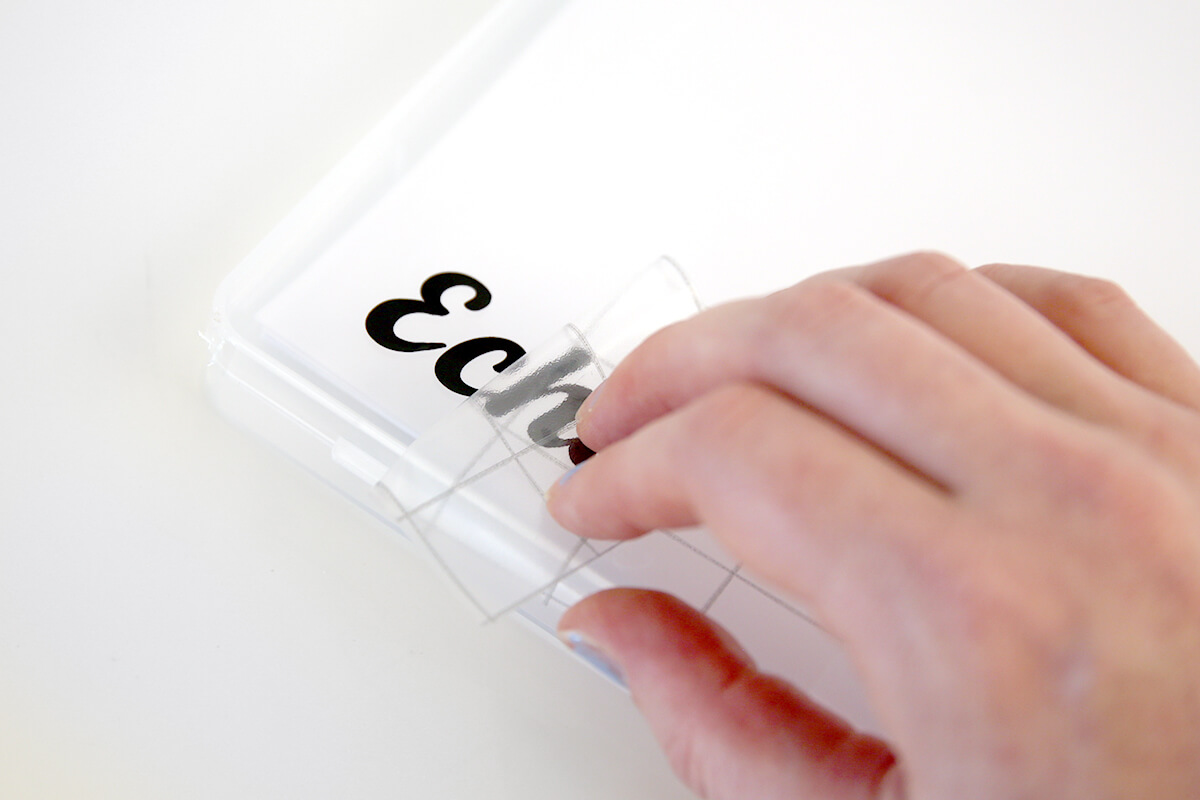
- The sticker’s own adhesive is much stronger than the masking tape or transfer tape, so once the sticker is applied the tape can be peeled away to reveal the applied sticker.
- Add your papers to the folder and store in a cupboard to stay organised.

This project may engage in affiliate marketing, which is done by embedding tracking links into the Website. If you click on a link for an affiliate partnership, a cookie will be placed on your browser to track any sales for purposes of commissions.
Free Embroidery Designs
We're excited to offer our free Echidna designs available for download. These free designs are perfect for those at a beginner or an advanced level. Add these designs to your stash and create incredible embroidery!
View all free designs >
Sewing, Quilting and Embroidery Machines
Interested in learning how to sew, quilt or embroider? Take a look at the innovative Brother machines available for purchase at Echidna Sewing. Wherever possible we will beat any deal and you will always receive ongoing service and support!
Find out more >
Learn to Sew or Embroider with Echidna Sewing
Come along to our fun-filled classes to learn more about sewing, embroidery and crafting. Classes cater for all skill levels, whether you're just starting out or already have advanced knowledge.
Find out more >
Echidna project material/ fabric requirements are an indication only and can seem to be generous. This has been intentional. Should you make a cutting or embroidery mistake you will have sufficient fabric to rectify your error.


