All Projects


Laminated Bookmarks
Author: Nicole H
There’s something special about a handmade gift, especially when it’s created by little hands. In this advanced project, you’ll use your Brother ScanNCut to create beautifully laminated bookmarks with a personal touch.
Perfect for:
- Mother’s Day
- Daycare or teacher gifts
- Father’s Day
- Grandparents
The ScanNCut’s built-in scanning feature makes lining up your laminated cuts simple and accurate, something other cutting machines just can’t do the same way.
Design Files
We’ve included a flower bookmark design from our ________________________ for you to use for this project. After a different style? Check out the full pack for additional bookmark shapes and styles.
What you will need:
- Brother ScanNCut
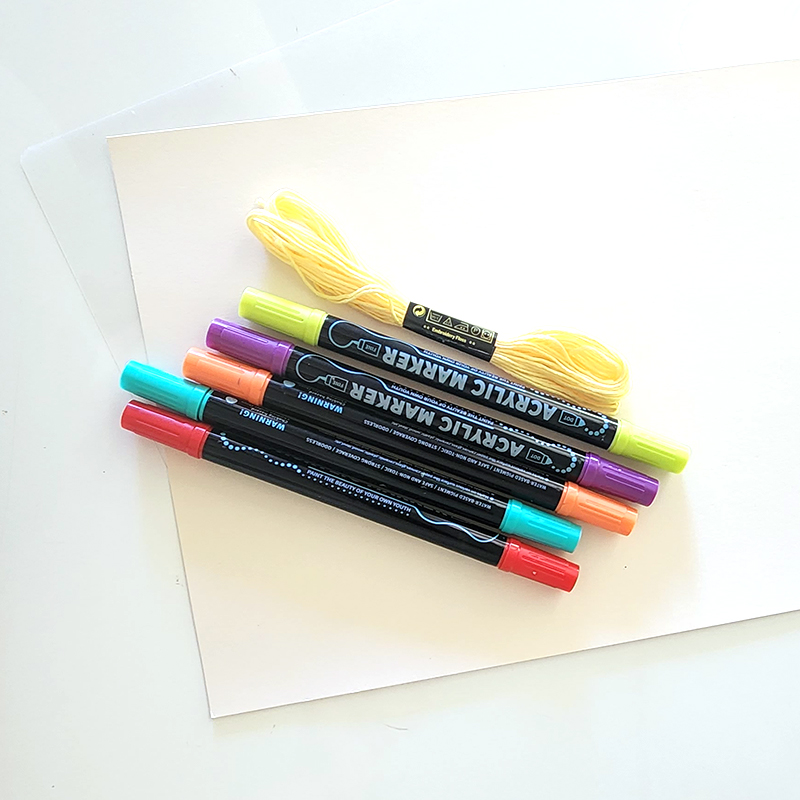
- Cardstock
- Paint pens, pencils or crayons
- A4 Laminator
- A4 laminator sheet
- Ribbon or Embroidery Floss (hand embroidery thread)
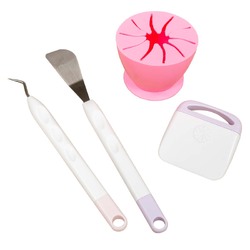
- Mini scissors
- Vinyl Scraper
- ScanNCut pen holder and pen (optional)
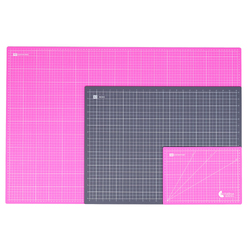
- Gridded Cutting Mat
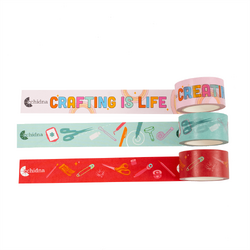
- Washi Tape
- Free design files (Download here →)
Shop Online:

Can I Use Any Cutting Machine?
There are many cutting machines available on the market, such as Cricut and Silhouette. However, this project relies heavily on the built-in scanning feature of the Brother ScanNCut.
Because we are cutting the design twice — once before laminating and once after — we need the ability to scan the laminated sheet and manually align the offset cut lines. Machines without scanning functionality do not allow this same level of precision.
Detailed instructions:
- Download the SVG file for your chosen bookmark shape and save it onto a USB to load directly into your cutting machine, or send it via CanvasWorkspace Desktop.
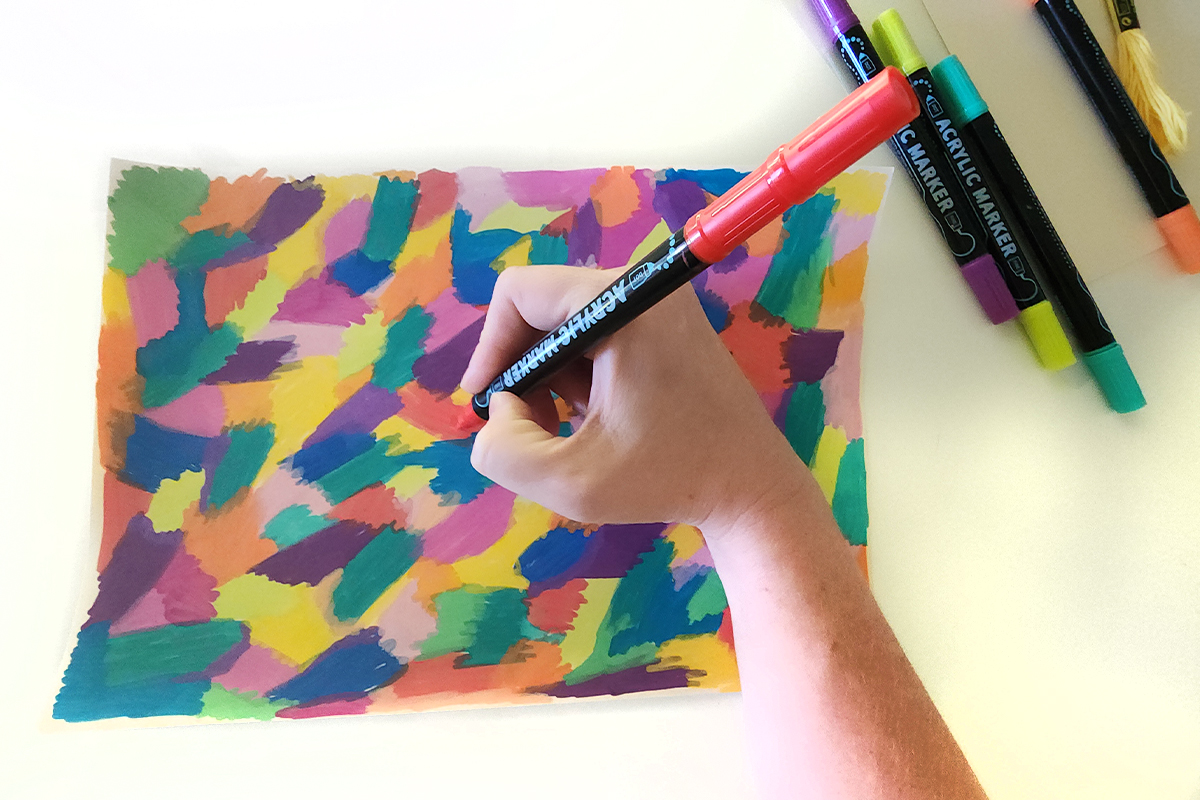
- Colour in your cardstock using your chosen drawing utensils. We’ve used acrylic paint pens, but paint or crayons work just as well.
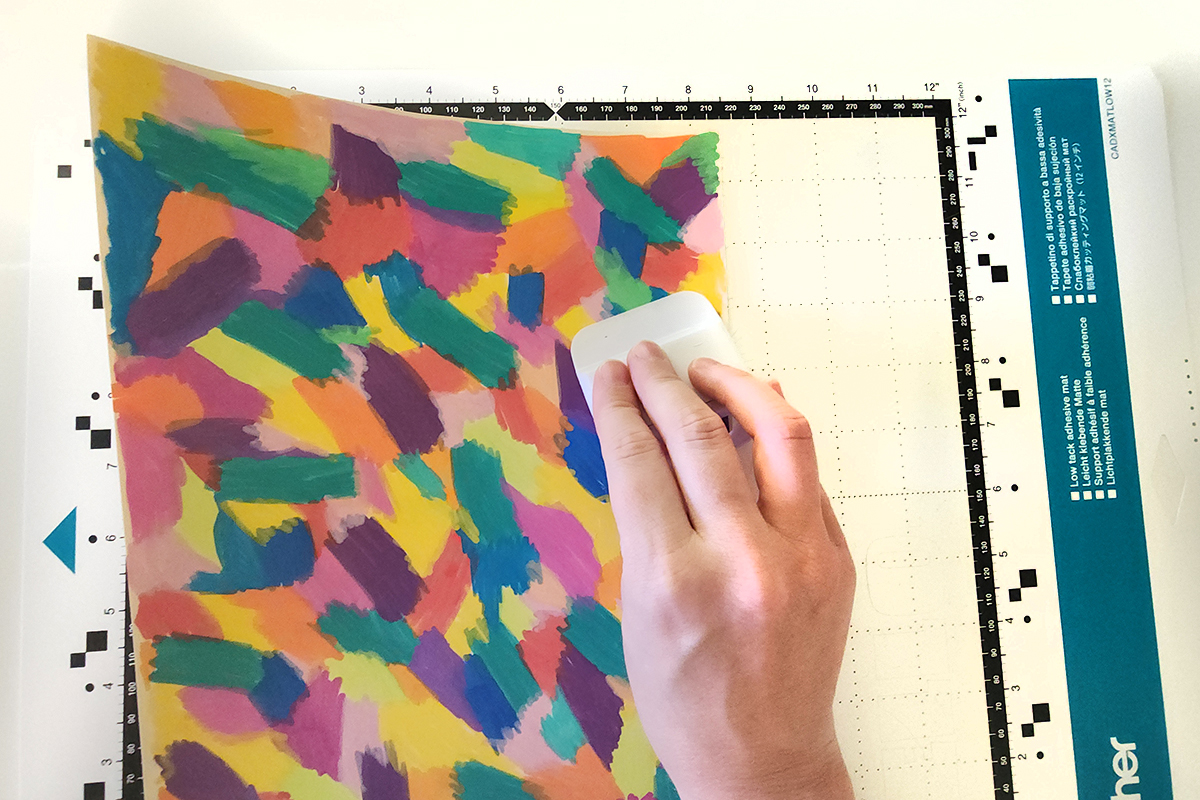
- Place your coloured cardstock in the top left-hand corner of the low-tack cutting mat. Use a brayer to secure it firmly, and masking tape if your mat is losing tack.
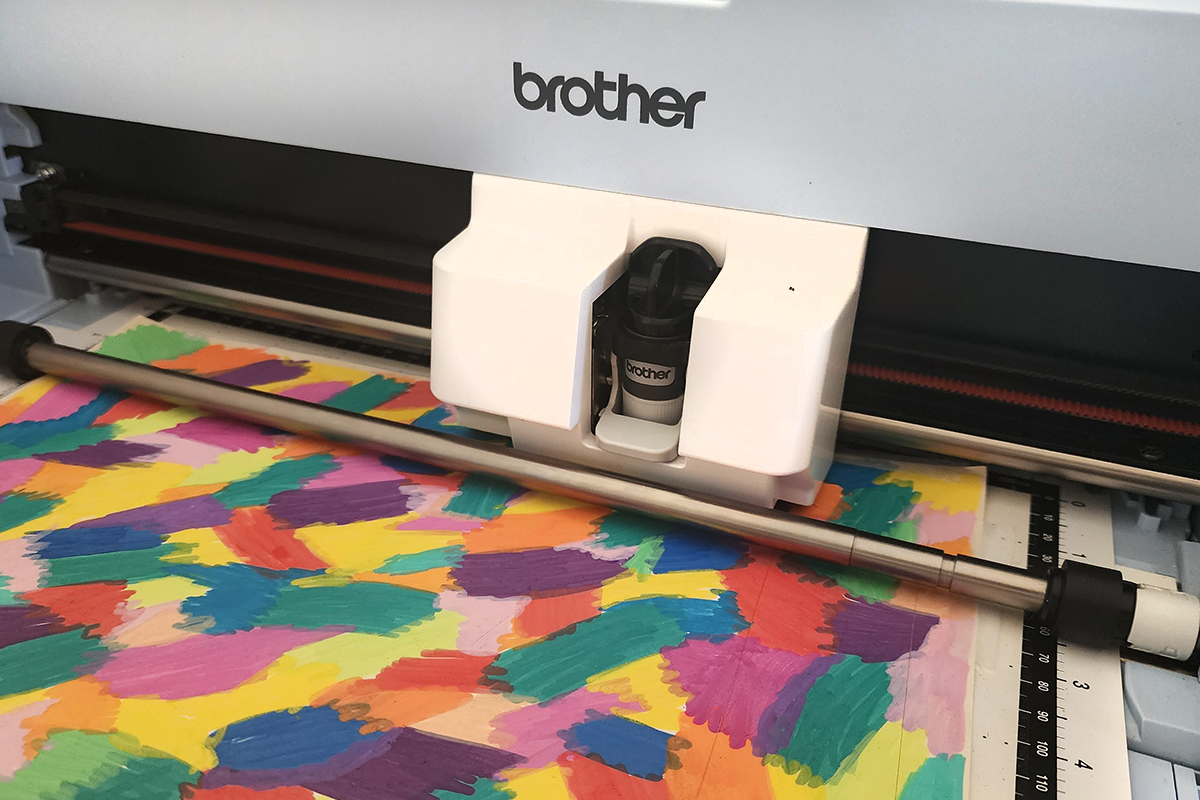
- Load the mat into your ScanNCut, holding it level as it feeds in.
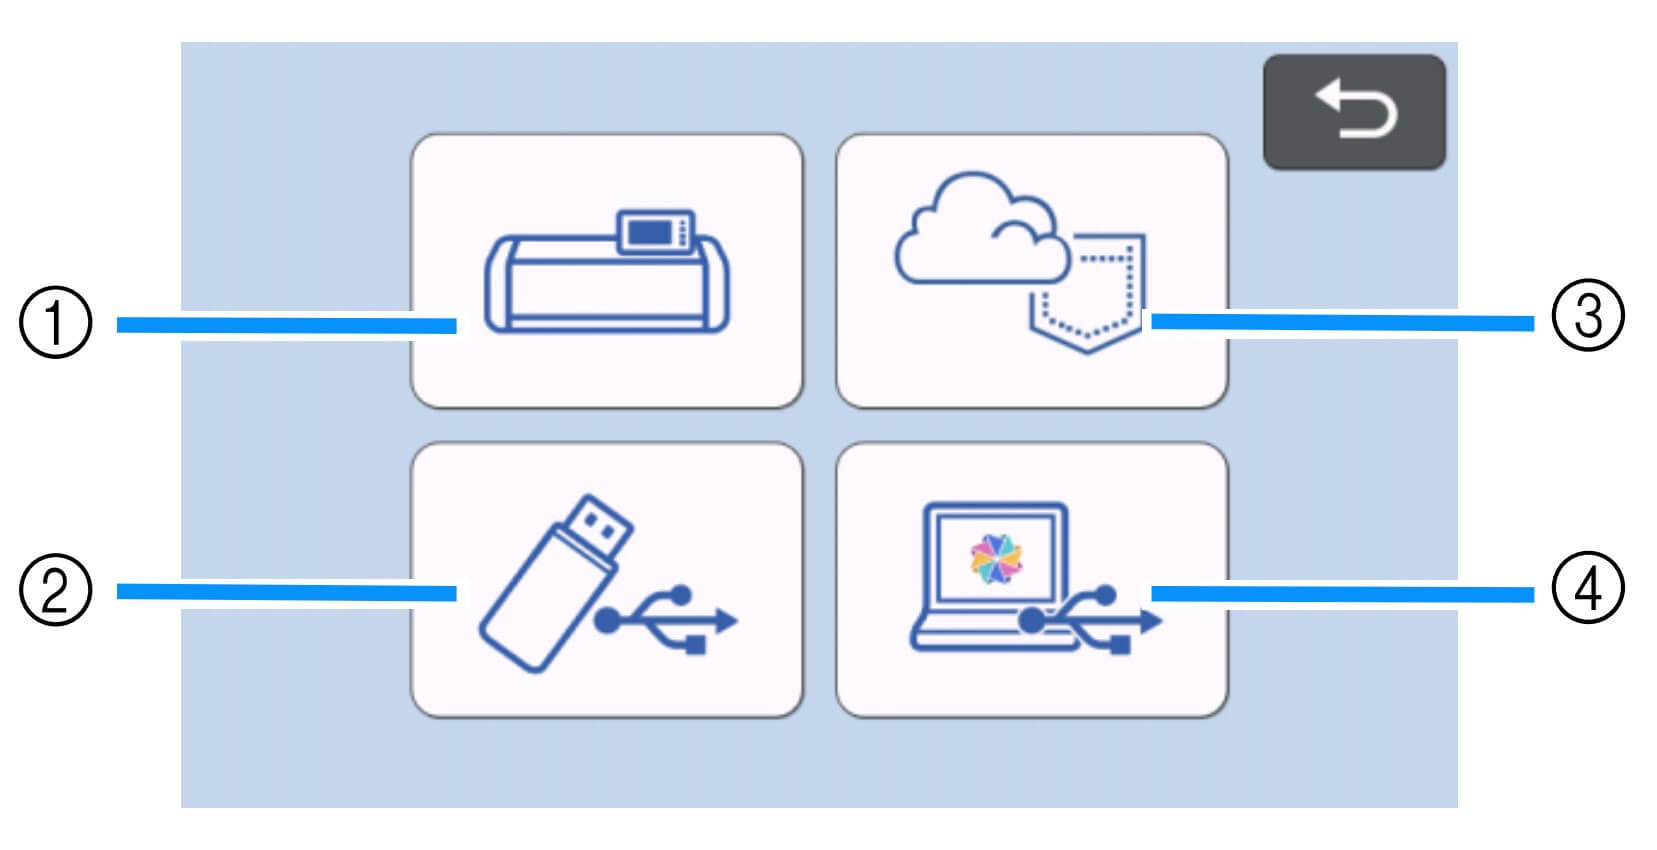
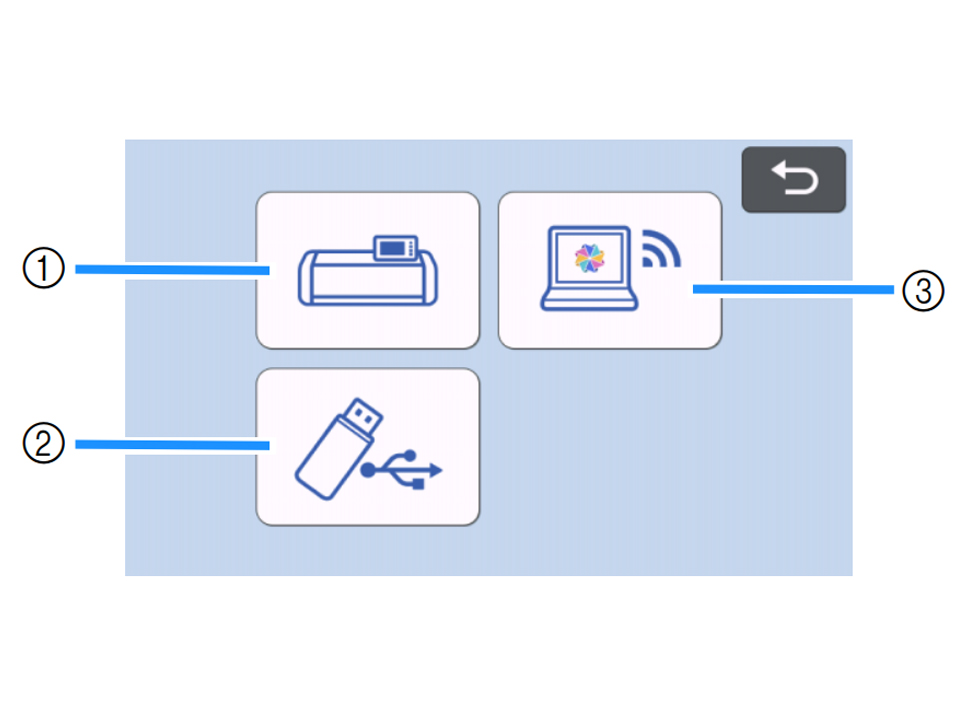
- Load the design from the USB (2). If you are sending from CanvasWorkspace via Wifi select (3).
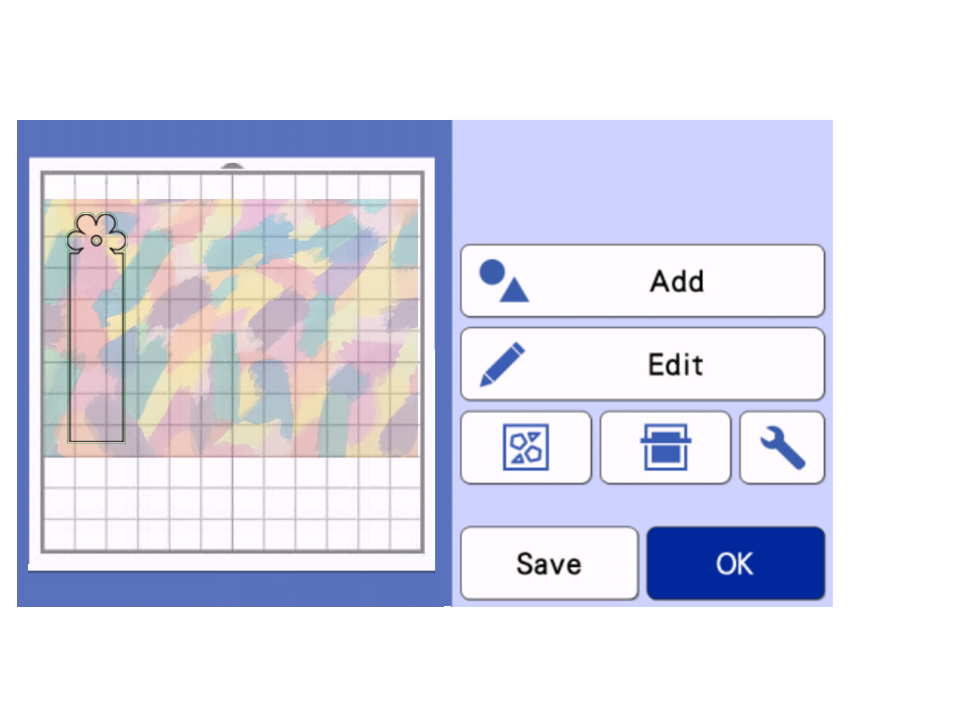
- Select the bookmark shape, click Edit, then choose Object Edit.
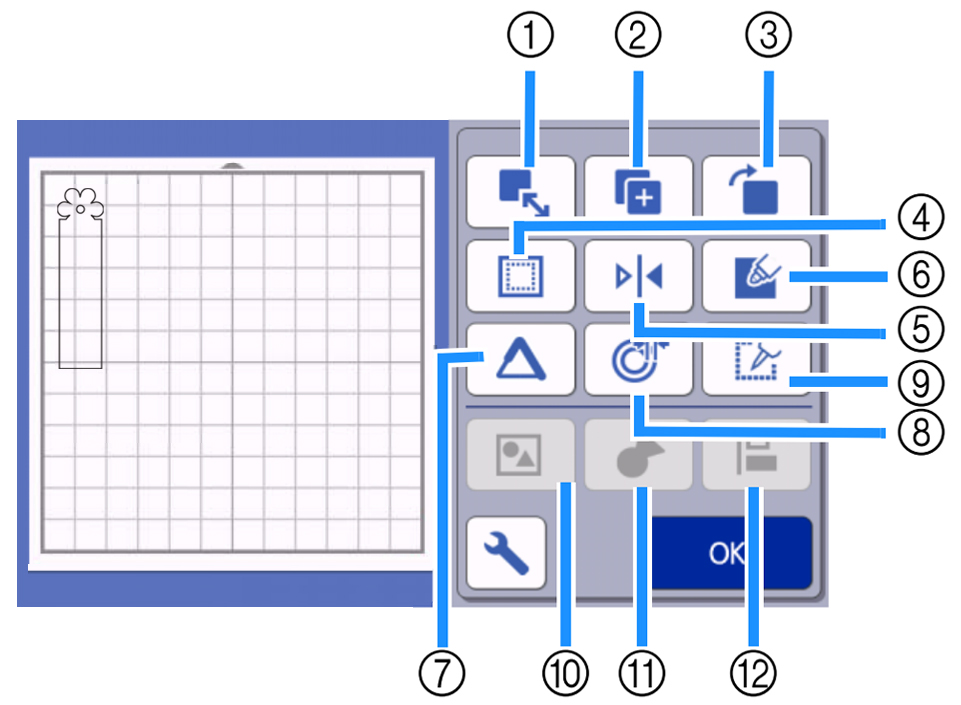
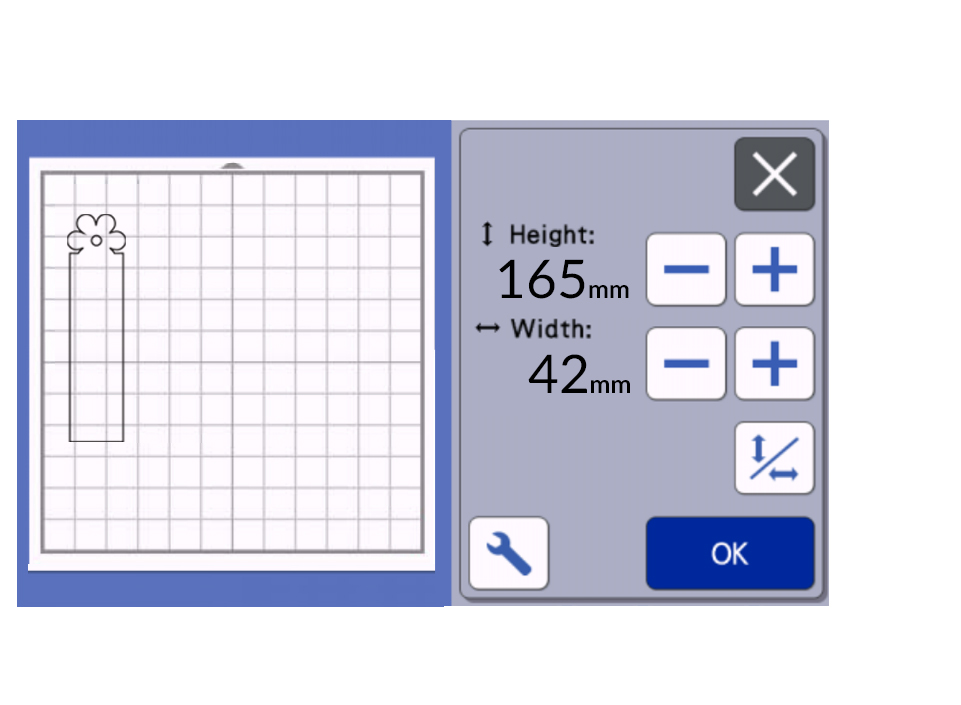
- Resize the bookmark shape by selecting the Resize icon (1).
- Ensure the aspect ratio button is not selected as this means it is locked, then adjust the Height (we used 165mm). Click OK.
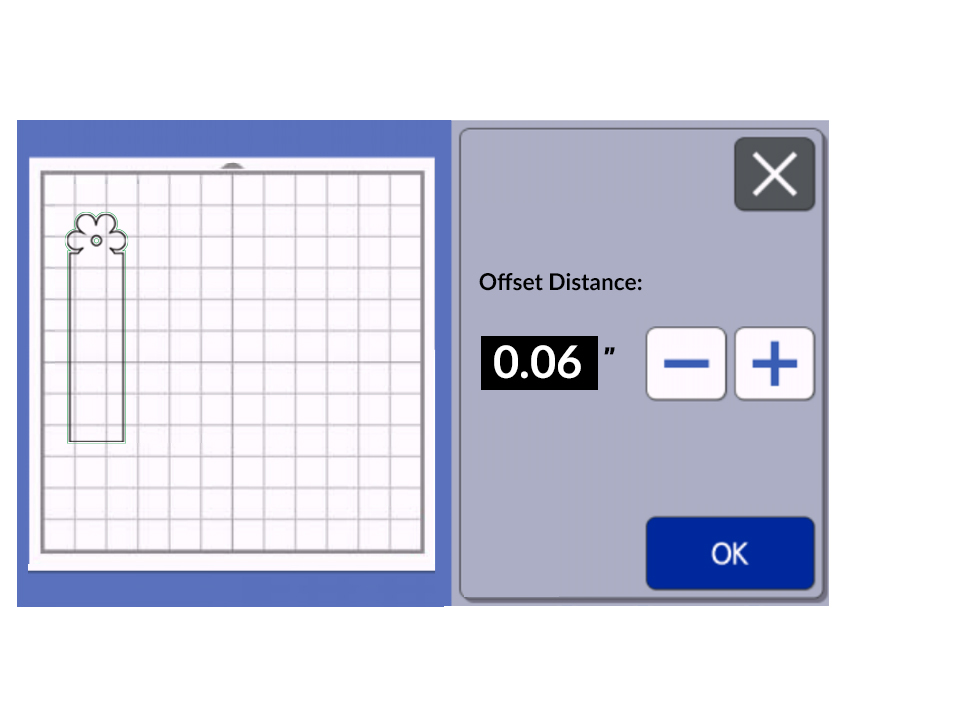
- Click the Offset icon (8).

- Set the offset distance to approximately 0.06” or 1.5mm. Click OK, then OK again to exit the Edit screen.
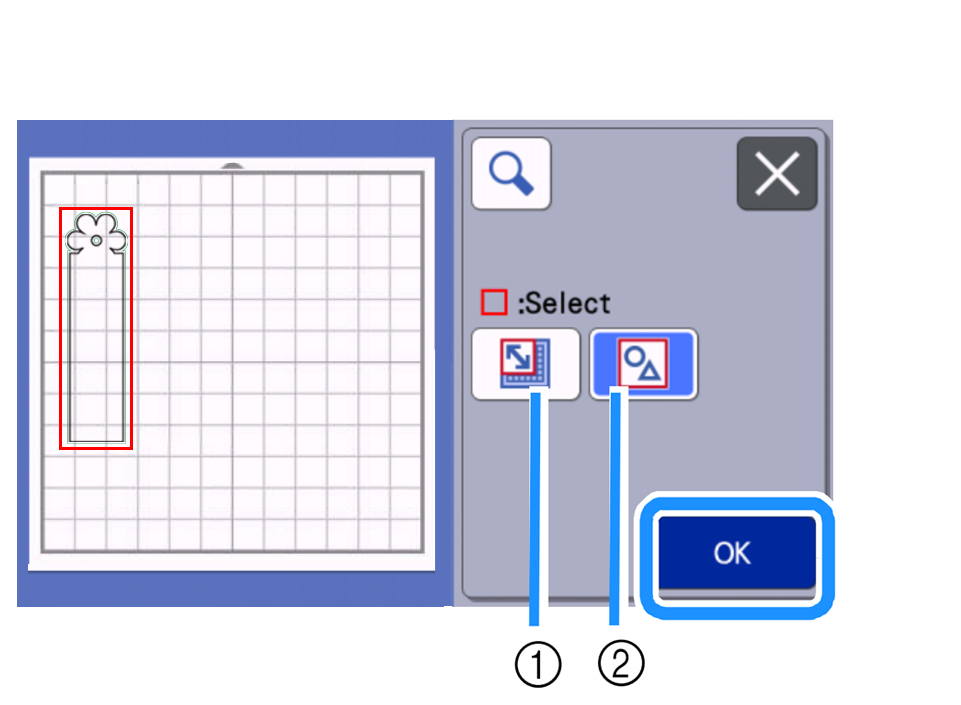
- Tap the icon with the three red squares on the mat editing screen and select Select All Patterns (2). Click OK to highlight all shapes.
- Click Object Edit and select the Group icon (10) so both shapes can be moved together.
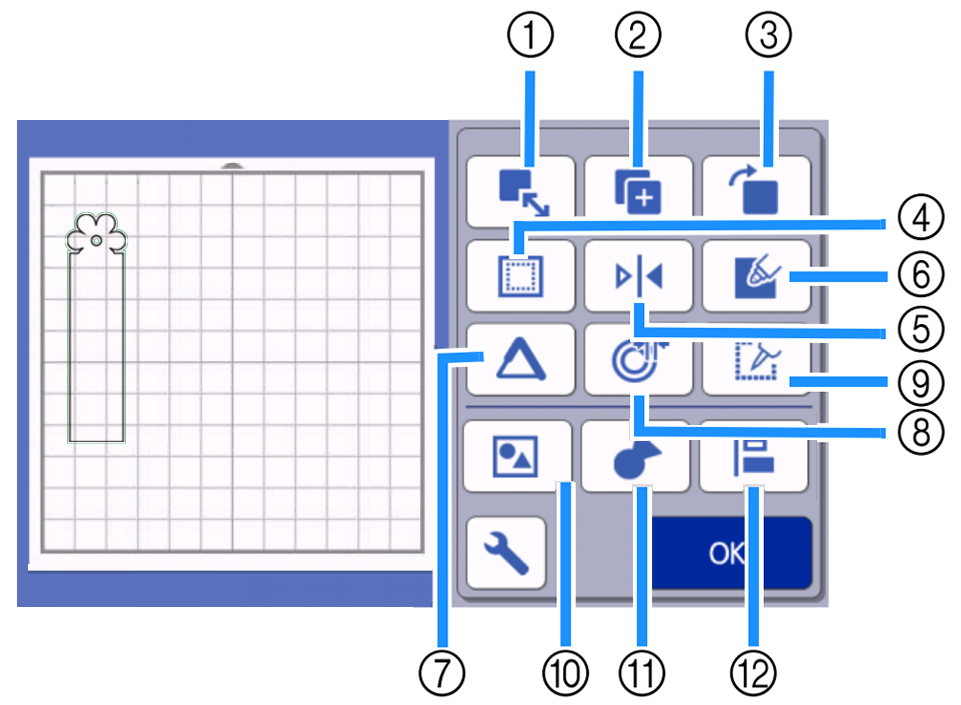
- [Optional] If creating multiple bookmarks, use the Duplicate icon (2), then use the Distribute icon (12) to align and space them evenly.
- Click OK and then OK again to return to the main screen. Use the Scan feature to scan in the cardstock and confirm that no shapes are off the edge of the cardstock.
- Move the grouped shapes so they align correctly on the cardstock.
- We now want to Ungroup your objects. Select the objects, choose Edit and then Object Edit, then select the Group icon (10) to ungroup. Click OK. You will need to do this for each shape that is grouped.
- Click OK and then OK again to return to the main screen, then click Save.
- Choose the machine icon. This creates a template with the correct sizing and offset for the laminated cut later.
- Once saved go through and delete the offset shape, keeping only the original bookmark shape. If duplicated, do this for each one. Select shape, click Edit, click trash can icon. Click OK to exit the edit object screen, then click OK to exit the edit screen and the OK one more time to go to the cut screen.
- Send the design to cut. Ensure half cut is turned OFF.
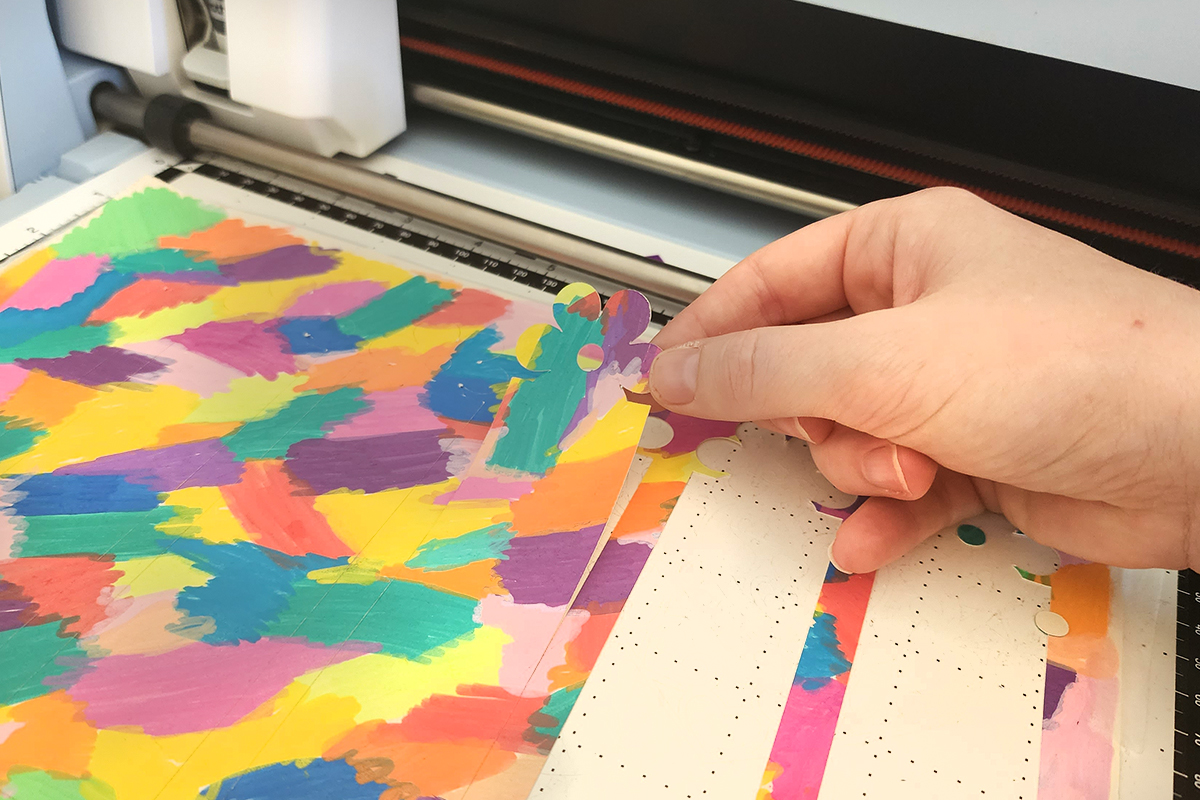
- Remove the cut bookmarks and discard the excess cardstock.
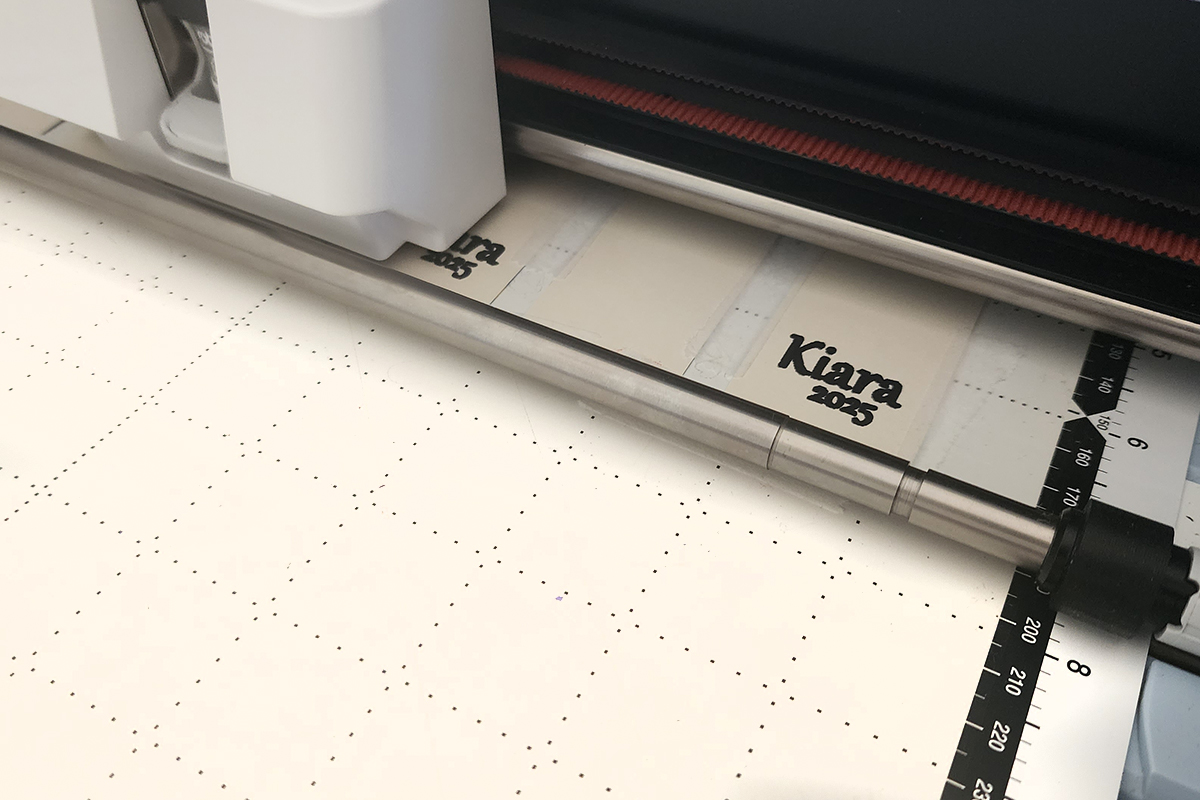
- (Optional) Place the cut bookmarks face down on the mat, scan to confirm placement, switch to a ScanNCut pen attachment and add a name, year or short message. Find out more about the pen options available here https://www.echidnasewing.com.au/article/cutting-crafts/scanncut-pen-holders-compared/
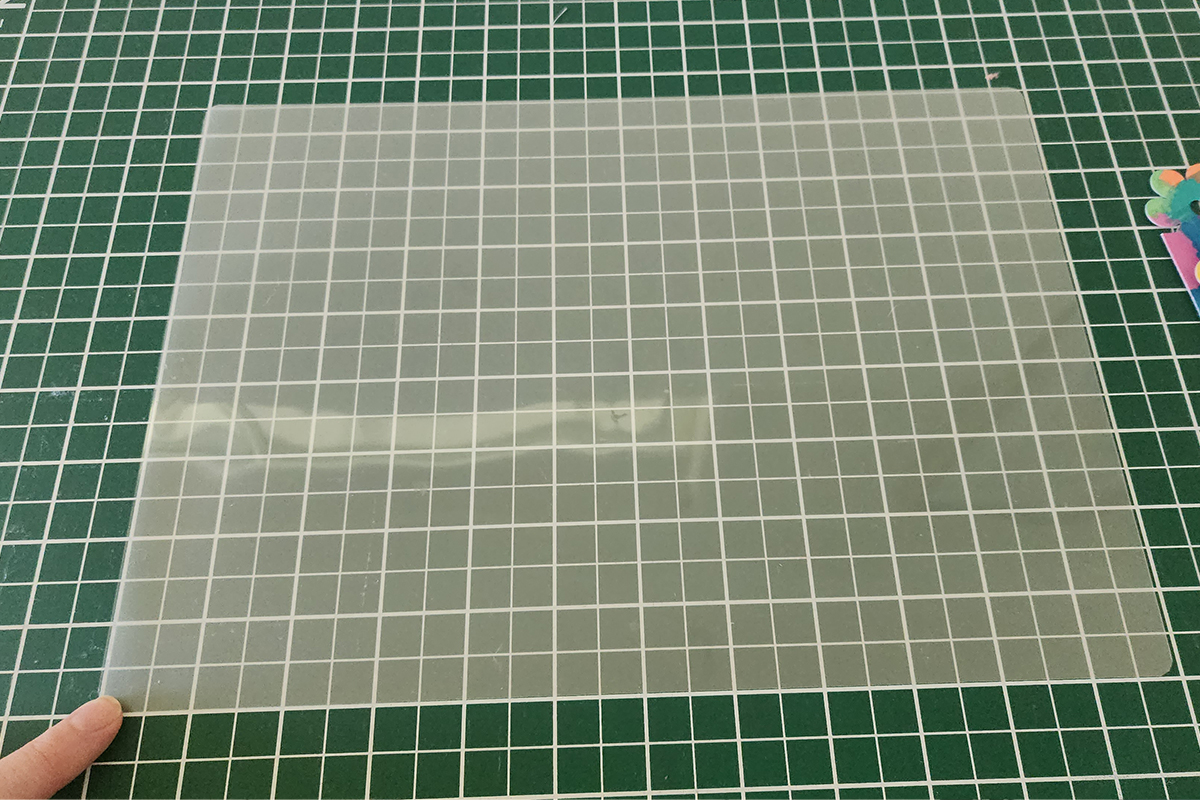
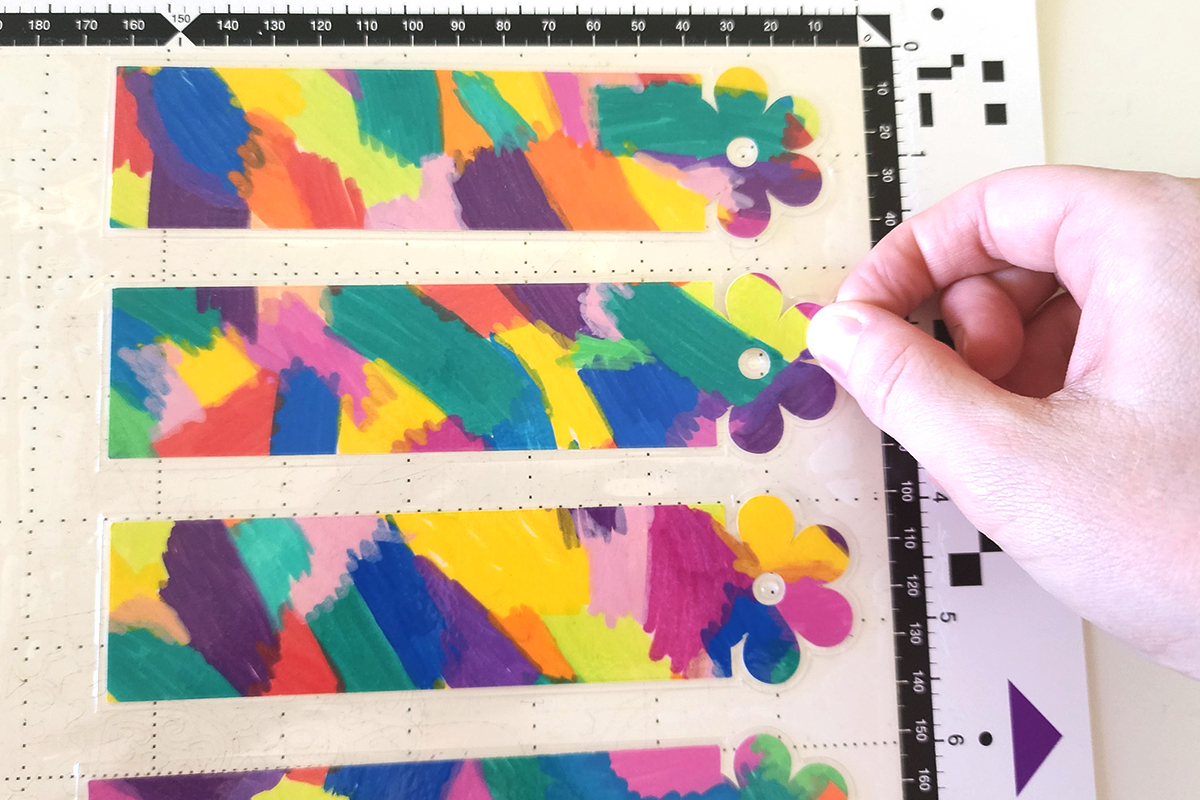
- Place the laminating pouch on your cutting mat and use the grid to line up both sides straight.
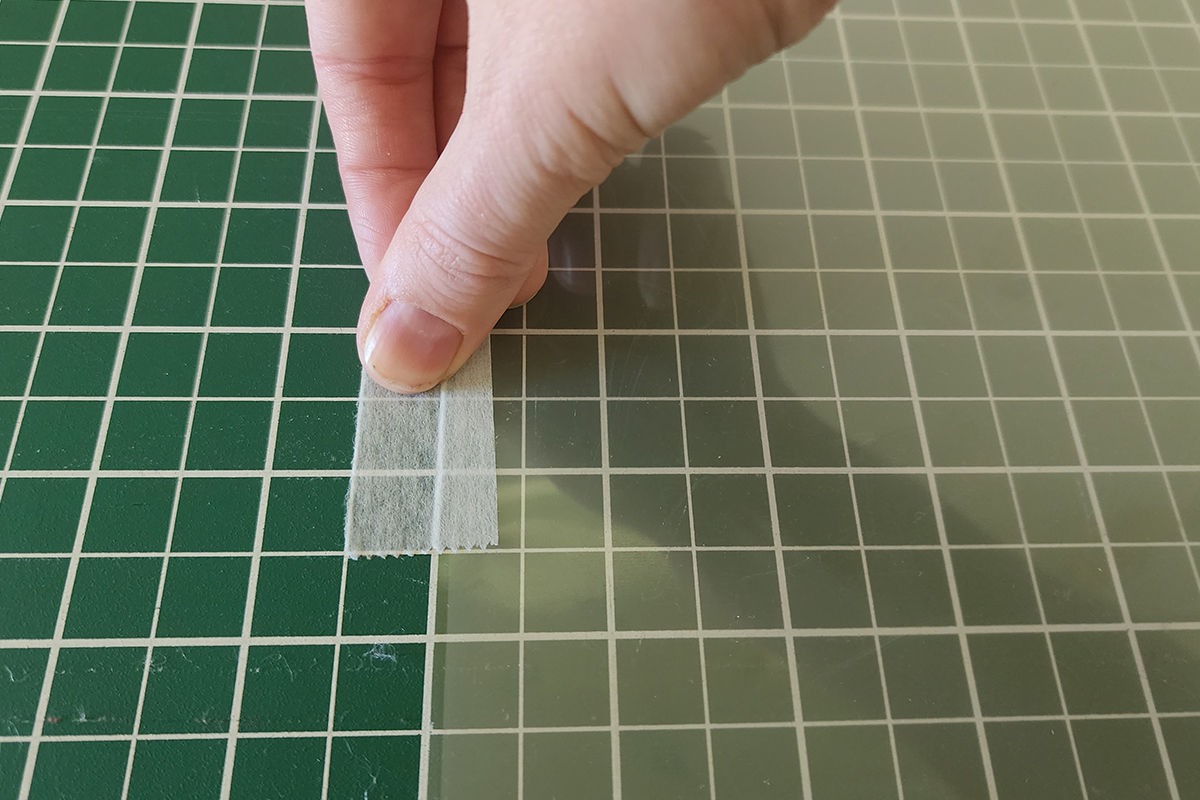
- Tape the closed edge with washi tape.
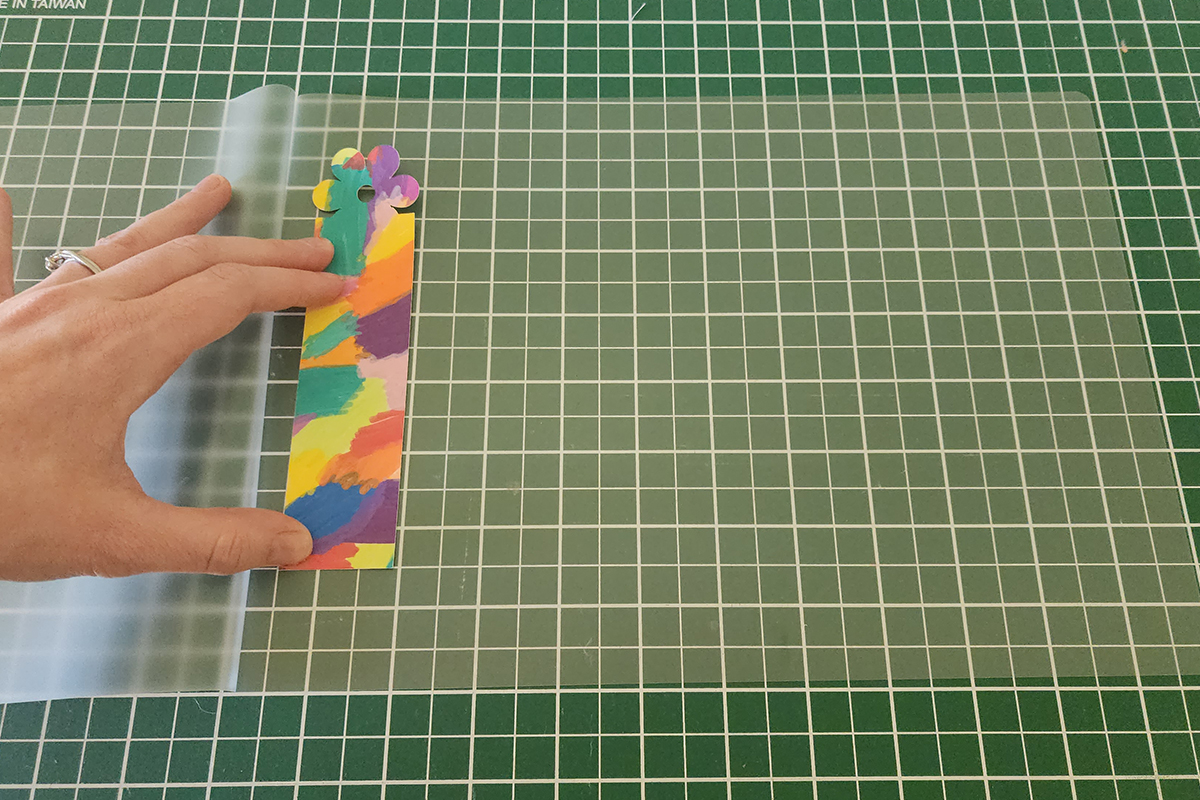
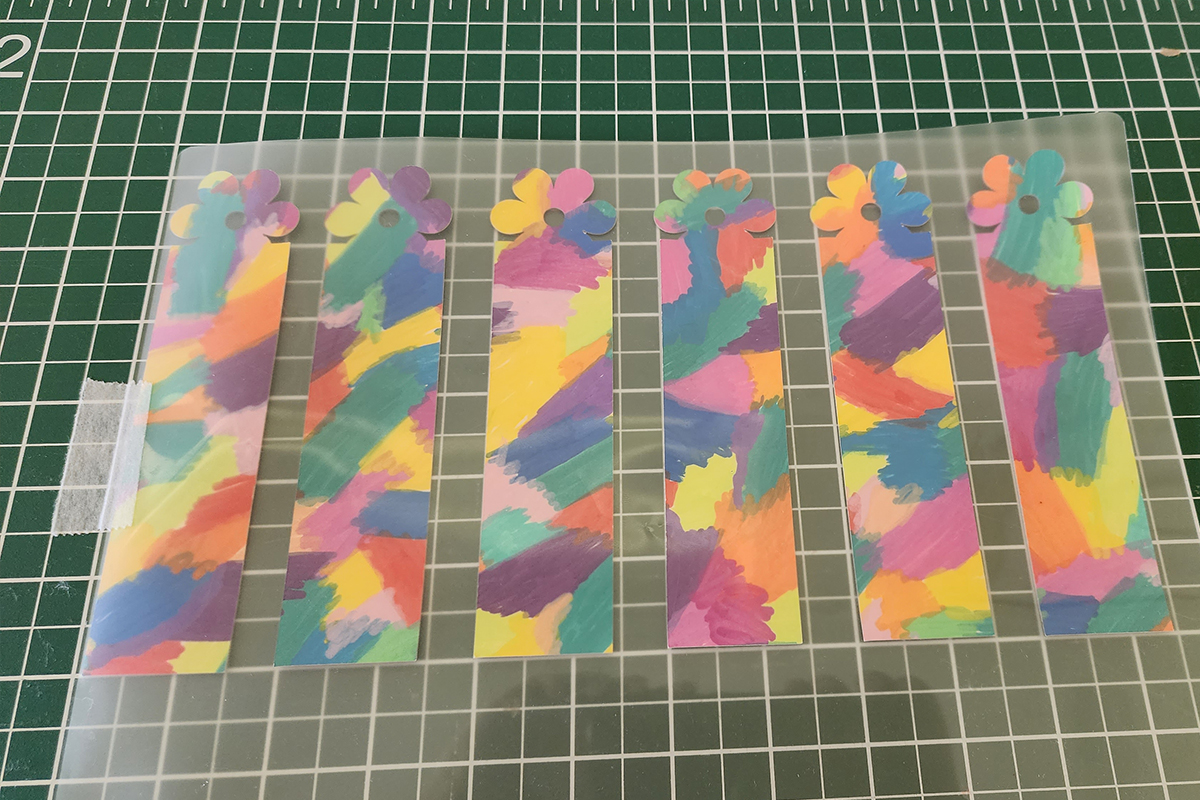
- Open the pouch and position the bookmarks inside, using the grid to align them as straight as possible. Leave space between each one so the laminator can seal properly.
- Close the pouch and run it through the laminator according to the manufacturer’s settings.
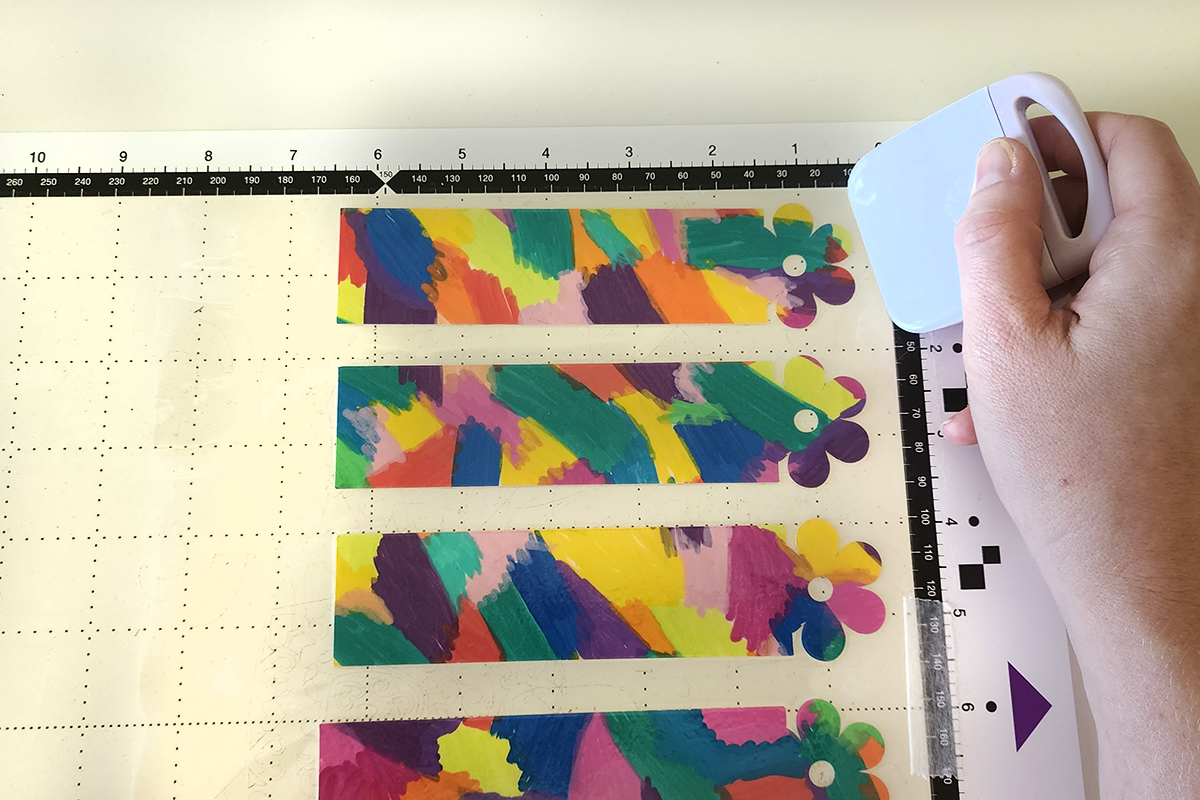
- Place the laminated sheet onto your ScanNCut mat and press with a scraper to secure it firmly.
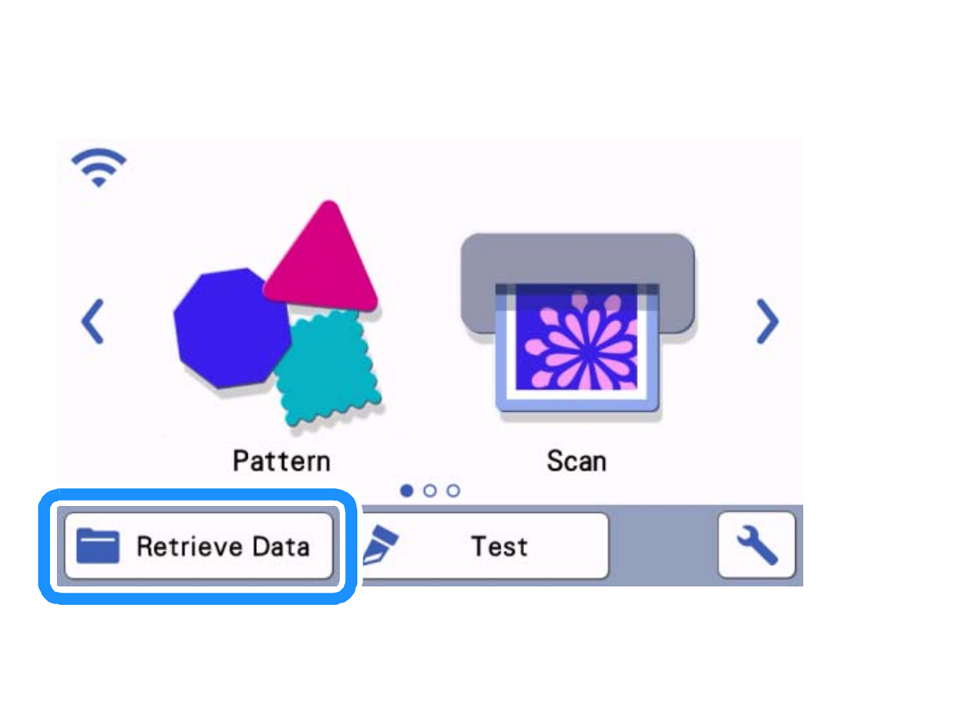
- On the ScanNCut, press HOME and select Retrieve Data to load your previously saved file. It is ok to discard any working file here.
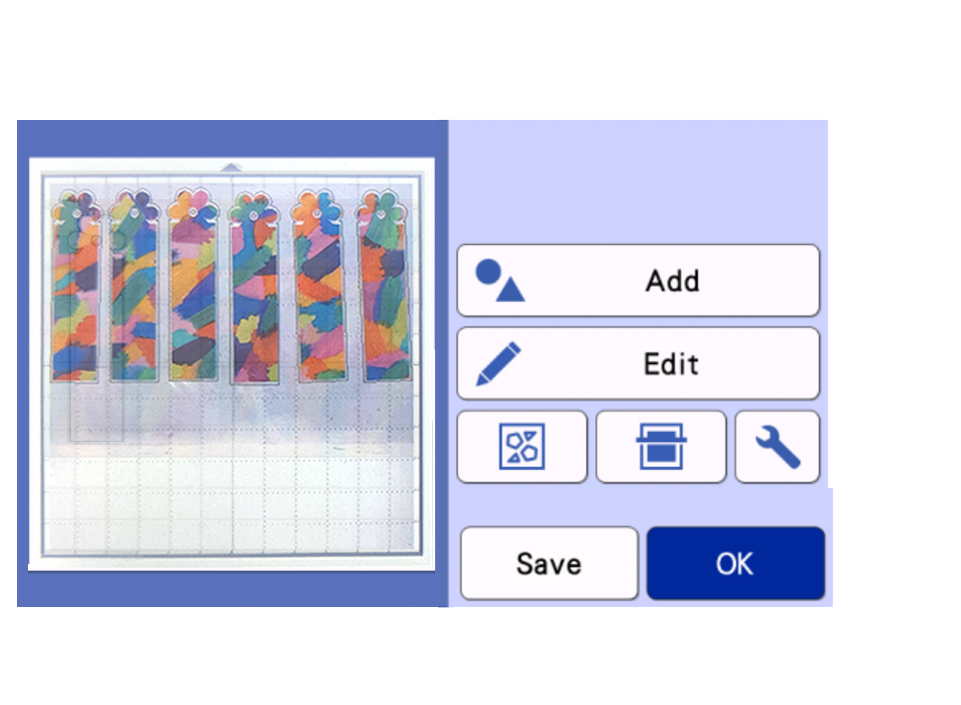
- Delete the original bookmark shapes, leaving only the offset shapes. If duplicated, repeat for each one.
- Load the mat and scan the laminated sheet.
- Check that the offset lines align closely around the bookmarks, avoiding cutting into the cardstock. If they shifted during laminating, use the rotate and move tools to adjust the offset lines accordingly.
- Proceed with cutting. Half cut should remain OFF.
- Remove the finished laminated bookmarks from the mat.
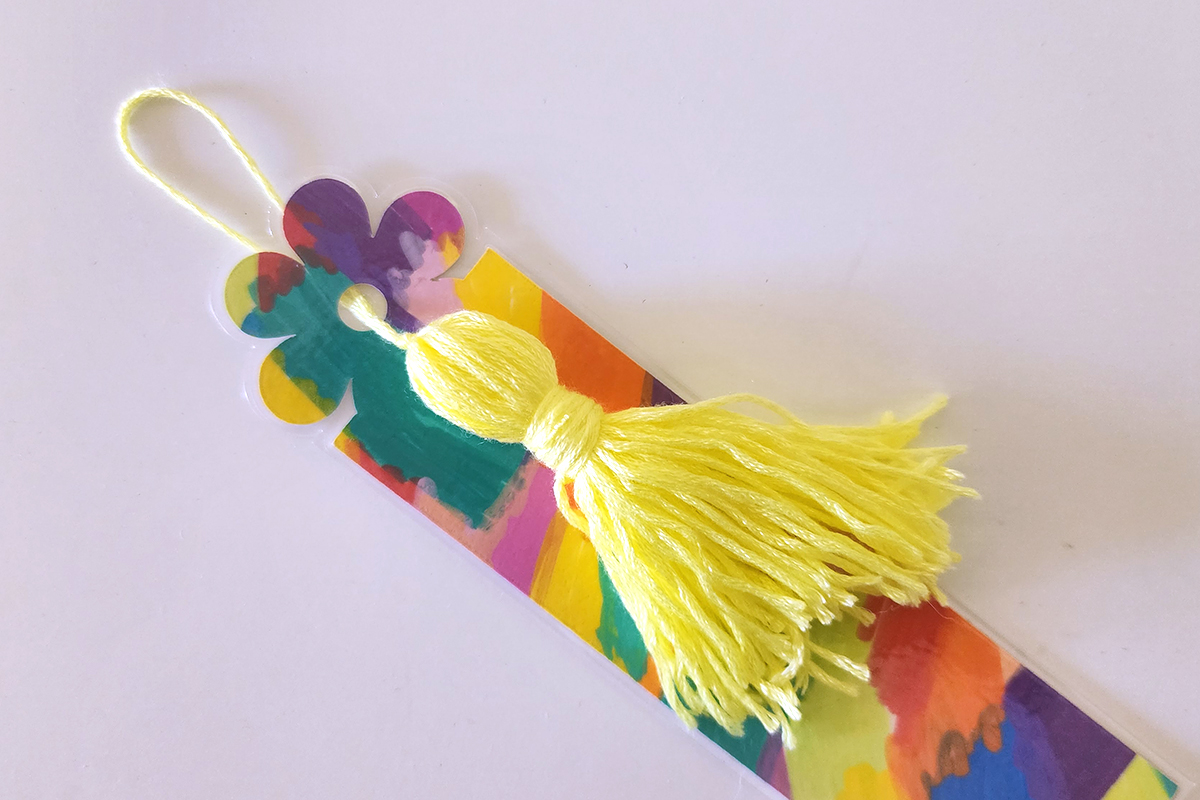
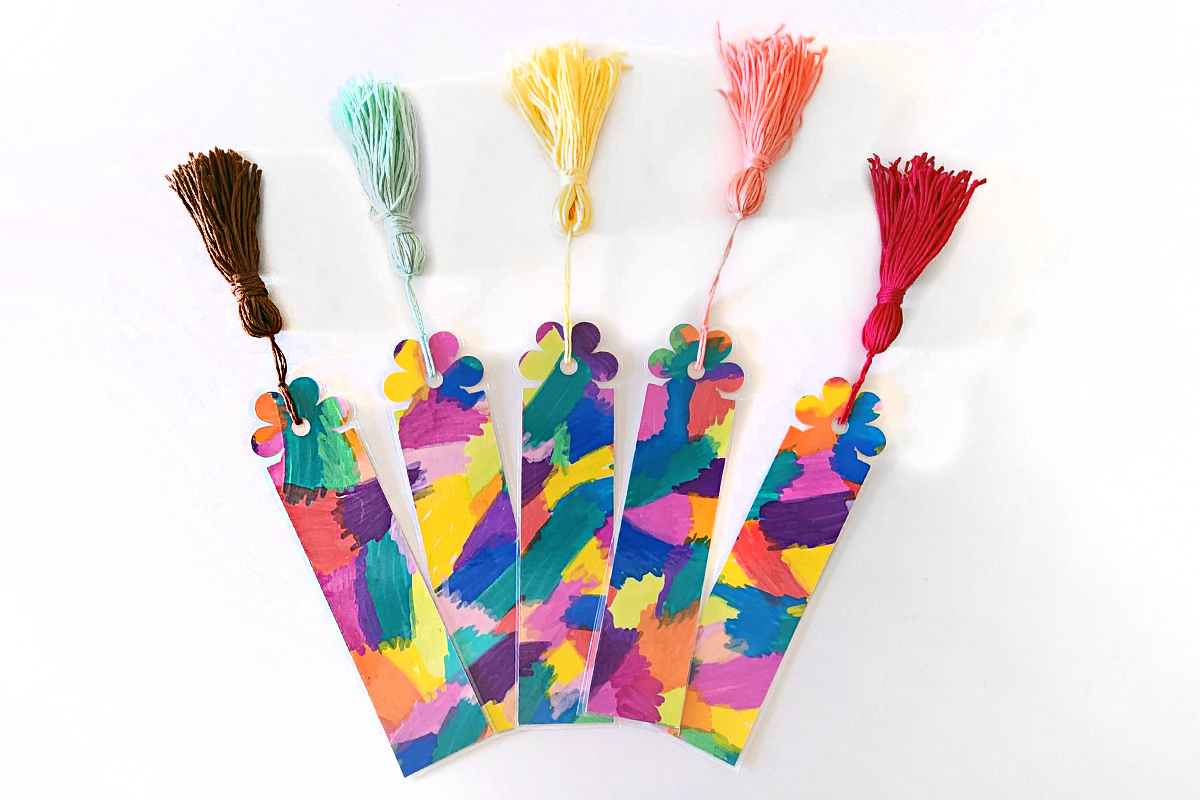
- Add ribbon or create a tassel using embroidery floss to complete your personalised laminated bookmark.

Free Embroidery Designs
We're excited to offer our free Echidna designs available for download. These free designs are perfect for those at a beginner or an advanced level. Add these designs to your stash and create incredible embroidery!
View all free designs >
Sewing, Quilting and Embroidery Machines
Interested in learning how to sew, quilt or embroider? Take a look at the innovative Brother machines available for purchase at Echidna Sewing. Wherever possible we will beat any deal and you will always receive ongoing service and support!
Find out more >
Learn to Sew or Embroider with Echidna Sewing
Come along to our fun-filled classes to learn more about sewing, embroidery and crafting. Classes cater for all skill levels, whether you're just starting out or already have advanced knowledge.
Find out more >
Echidna project material/ fabric requirements are an indication only and can seem to be generous. This has been intentional. Should you make a cutting or embroidery mistake you will have sufficient fabric to rectify your error.


