All Projects
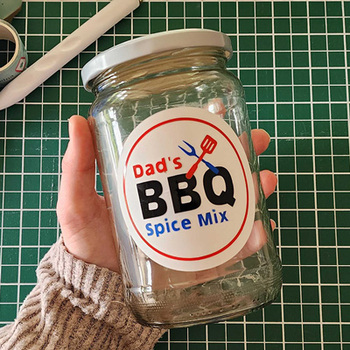


Fathers Day BBQ Spice Jar
Date Posted:1 August 2025
Are you looking for a creative, hands-on way to surprise Dad this Father’s Day? Imagine gifting him a homemade BBQ spice mix, beautifully packaged in a jar personalised with a custom vinyl label that you’ve designed and made yourself! With the help of your cutting machine, like a Brother ScanNCut, you can turn an ordinary jar into a thoughtful, professional-looking gift.
Using layered adhesive vinyl and a bit of design magic in CanvasWorkspace, you’ll create a label that says “Dad’s BBQ Spice Mix”, complete with fun fonts, bold colours and decorative utensils. Whether you’re crafting with the kids, making handmade gifts to sell, or simply love personalising things, this project is the perfect mix of creativity, practicality and heart.
So grab a jar, some vinyl and your ScanNCut, and let’s make something fun for Father’s Day this year!
Free design files:
These include:
- Fork & Spatula Icon (.svg)
- Finished Label (.svg)
- CanvasWorkpace Working File (.cwprj)
- ScanNCut Cut File (.fcm)
What you will need:
- Cutting machine (Brother ScanNCut, Cricut, Silhouette etc)
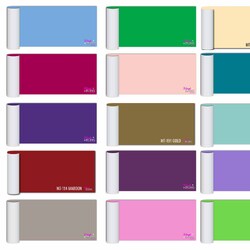
- Adhesive Vinyl (White, Black, Blue, Orange/Red)
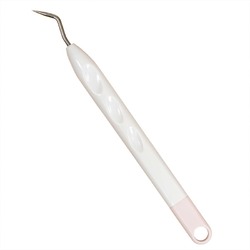
- Scraper
- Masking tape
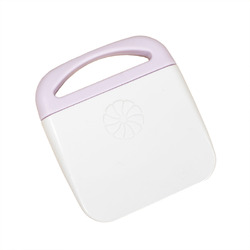
- Transfer tape
- Micro-fibre cloth
- Jar
- Fork & Spatula SVG Download now →
Shop Online:

Detailed instructions:
Design your own label in CanvasWorkspace:
Before jumping into the design, measure the flat surface area of your jar where you plan to place the label. This will help you decide the maximum size your vinyl sticker should be.
⚠️ Tip: The smaller the label, the finer the design elements will be. Avoid overly delicate fonts or tiny details, as these may not cut cleanly or weed easily when scaled down.
- Open the desktop version of CanvasWorkspace and login to your account.
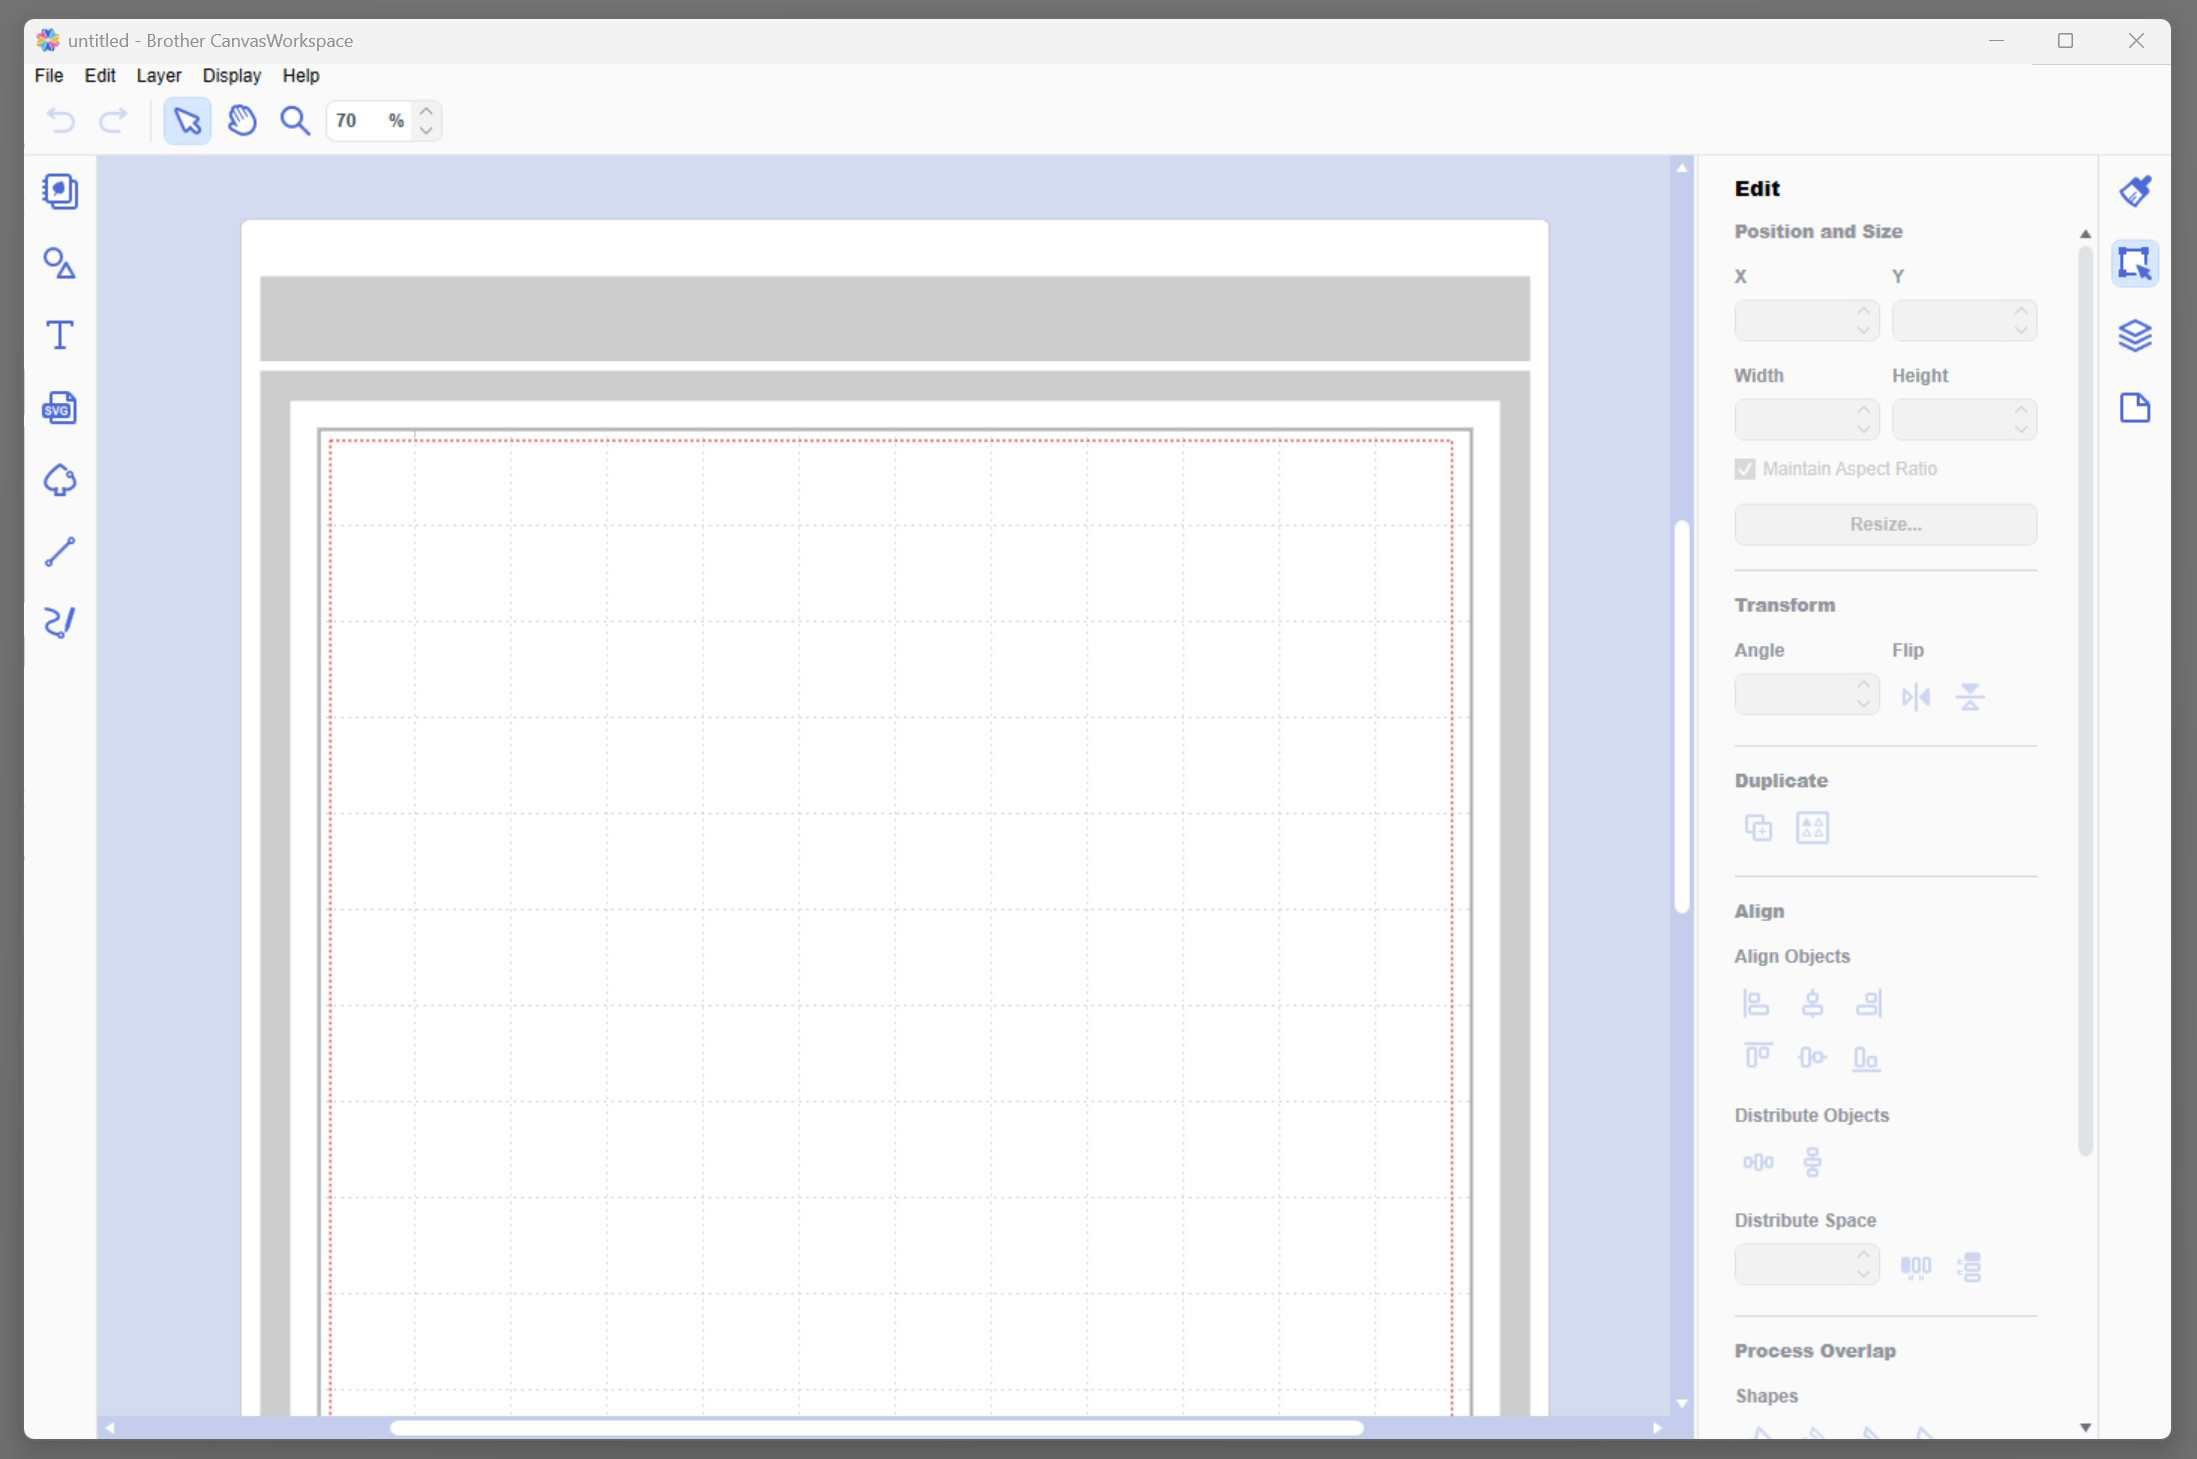
- Create the label base:
- Add a Base Circle:
- Go to Shapes > Shapes > Circle
- Click to add a circle to your mat

- Set the Fill Colour to white (this is the background of your label)
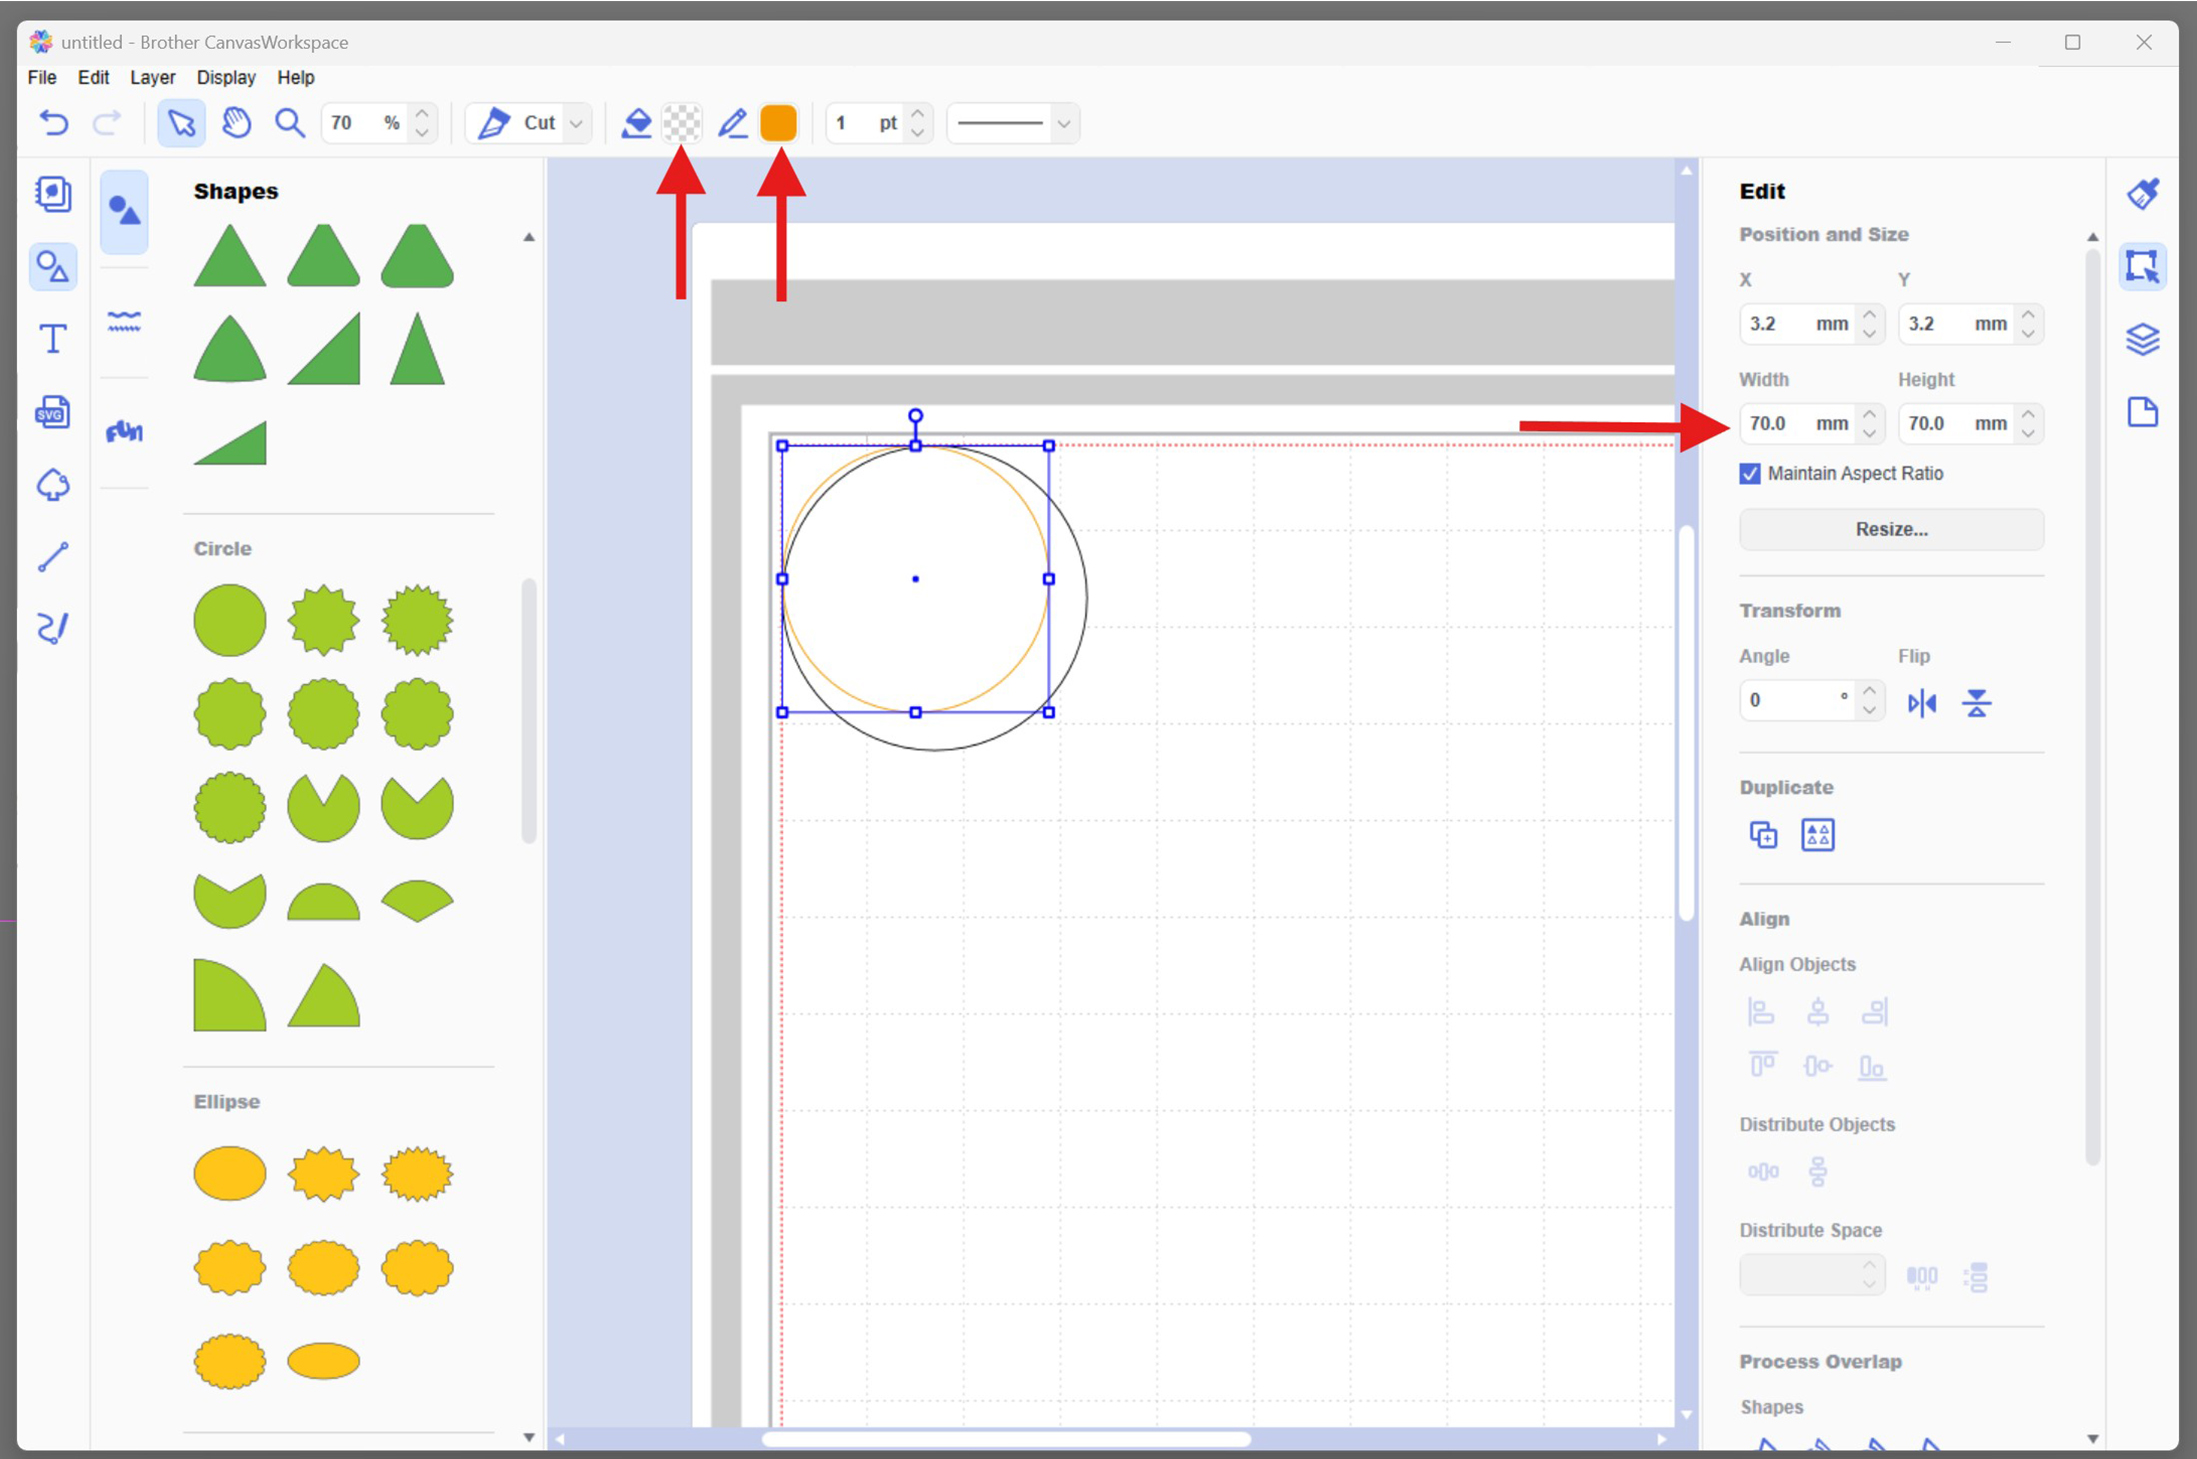
- In the Edit panel, set the size to 80mm x 80mm
- Ensure "Maintain Aspect Ratio" is checked

- Add the First Inner Border Circle:
- Go to Shapes > Shapes > Circle again
- Set this circle to have no fill, and a border line colour (e.g. orange) for visual reference only
- Set the size to 70mm x 70mm (10mm smaller than your first circle)
- Keep "Maintain Aspect Ratio" checked
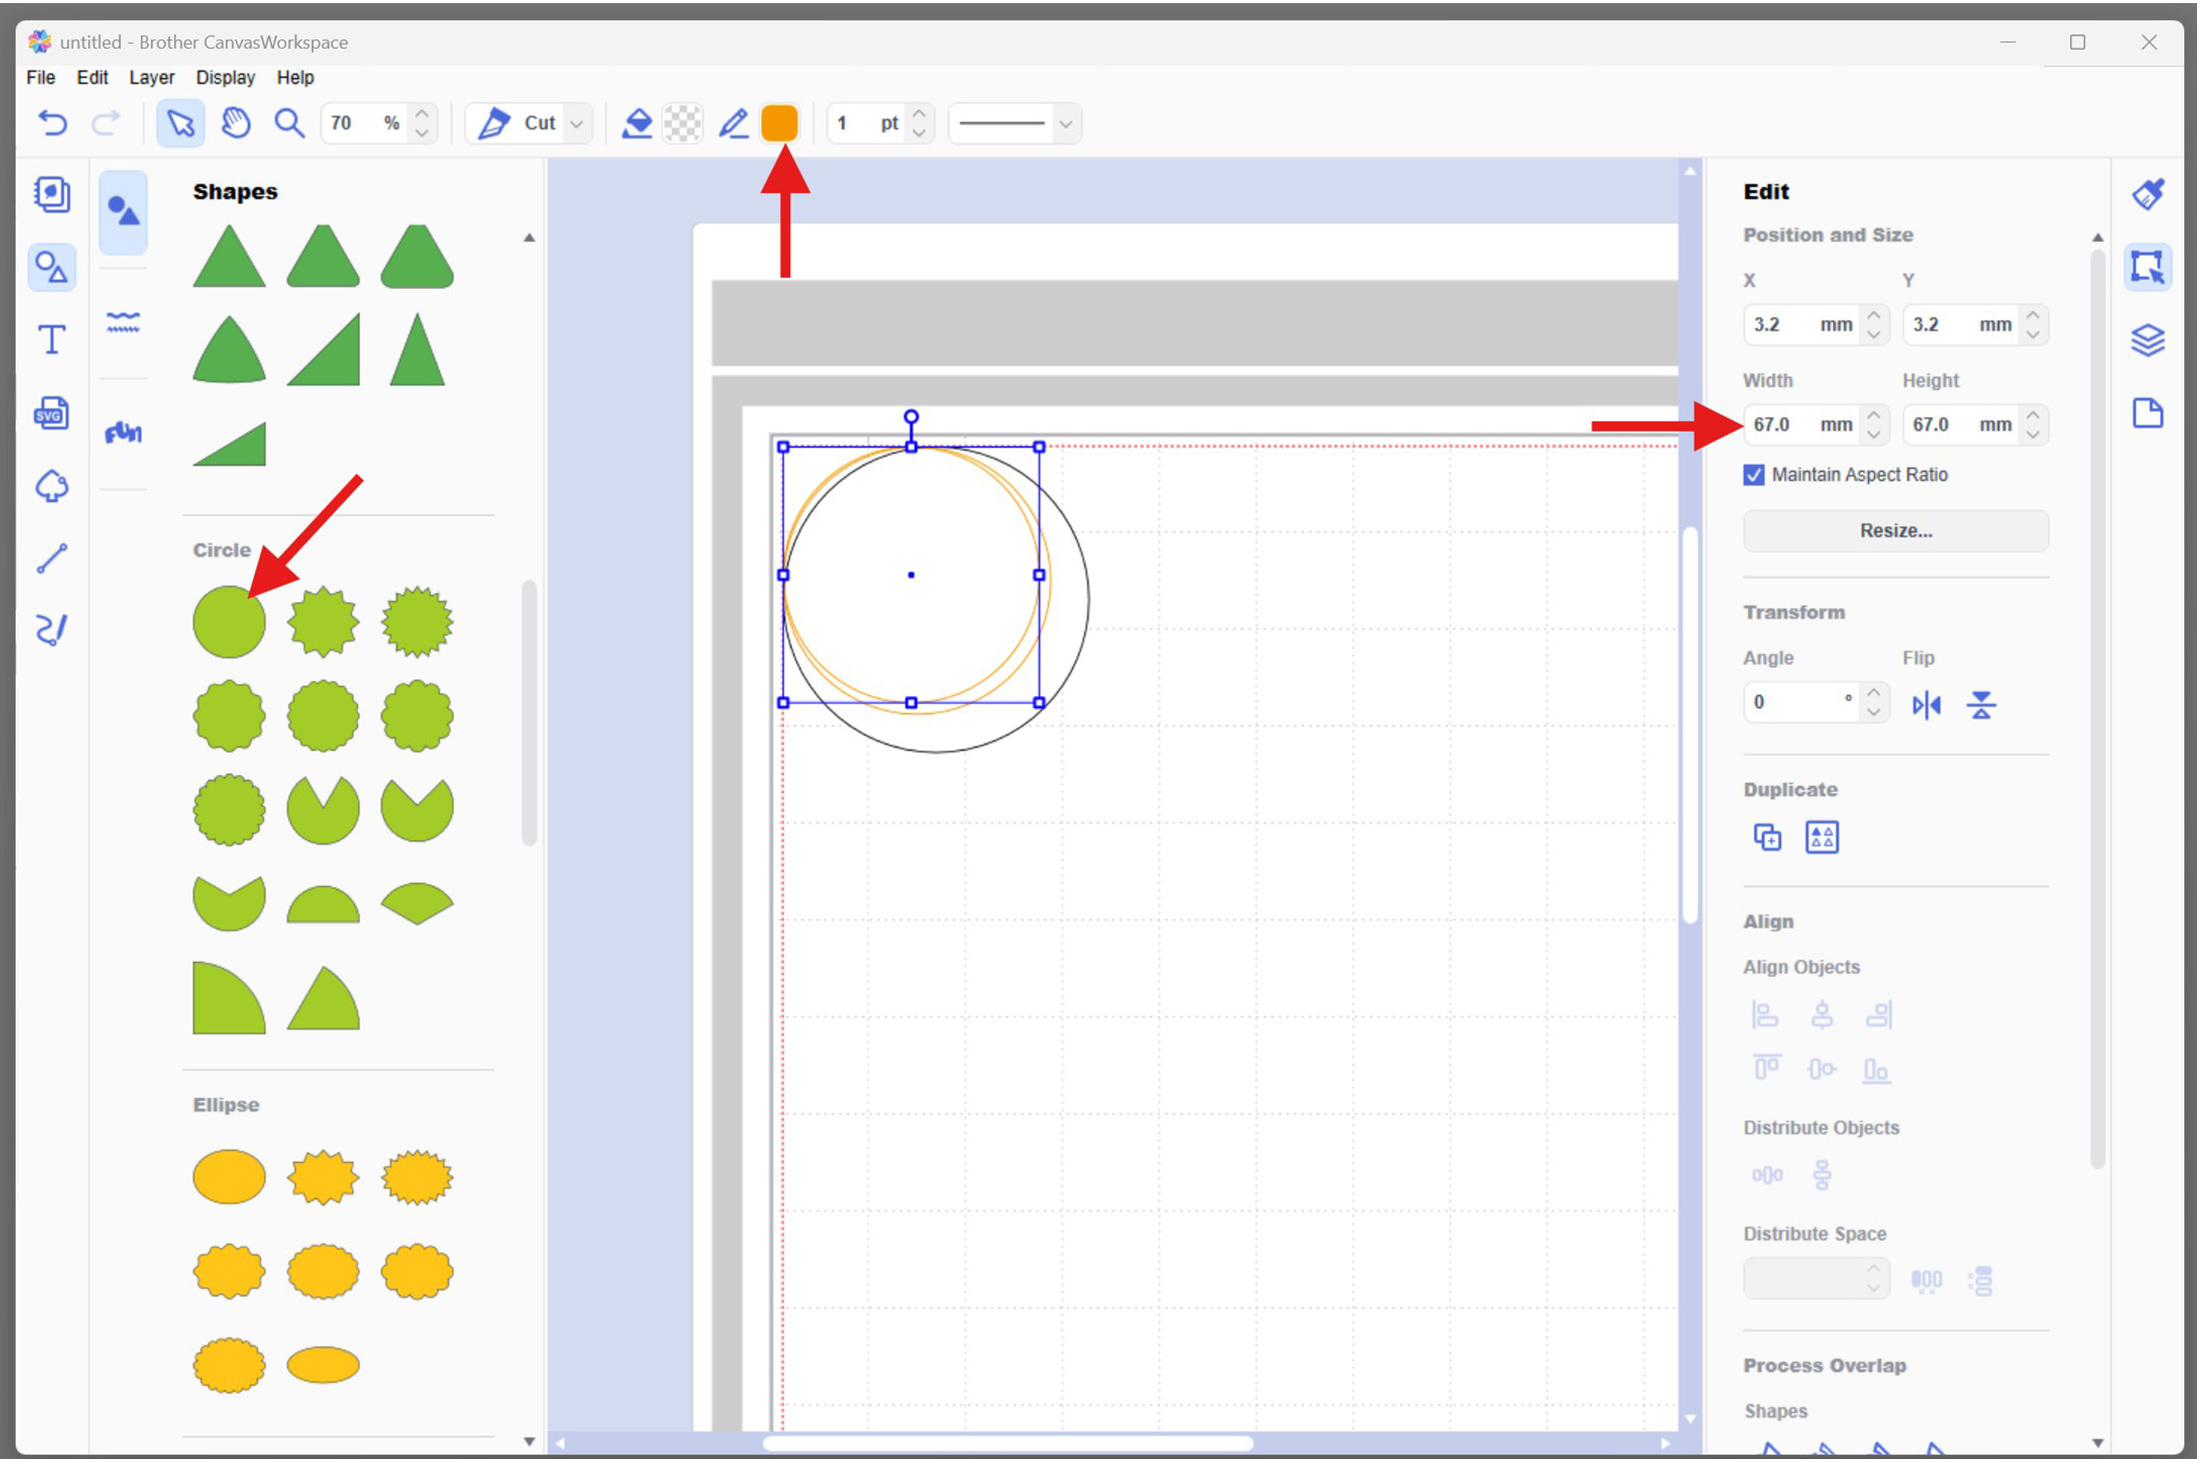
- Add the Second Inner Border Circle:
- Go to Shapes > Shapes > Circle again
- Set this circle to have no fill, and set the line colour to match the first. Example orange
- Set the size to 67mm x 67mm (3mm smaller than the first border circle)
- Keep "Maintain Aspect Ratio" checked
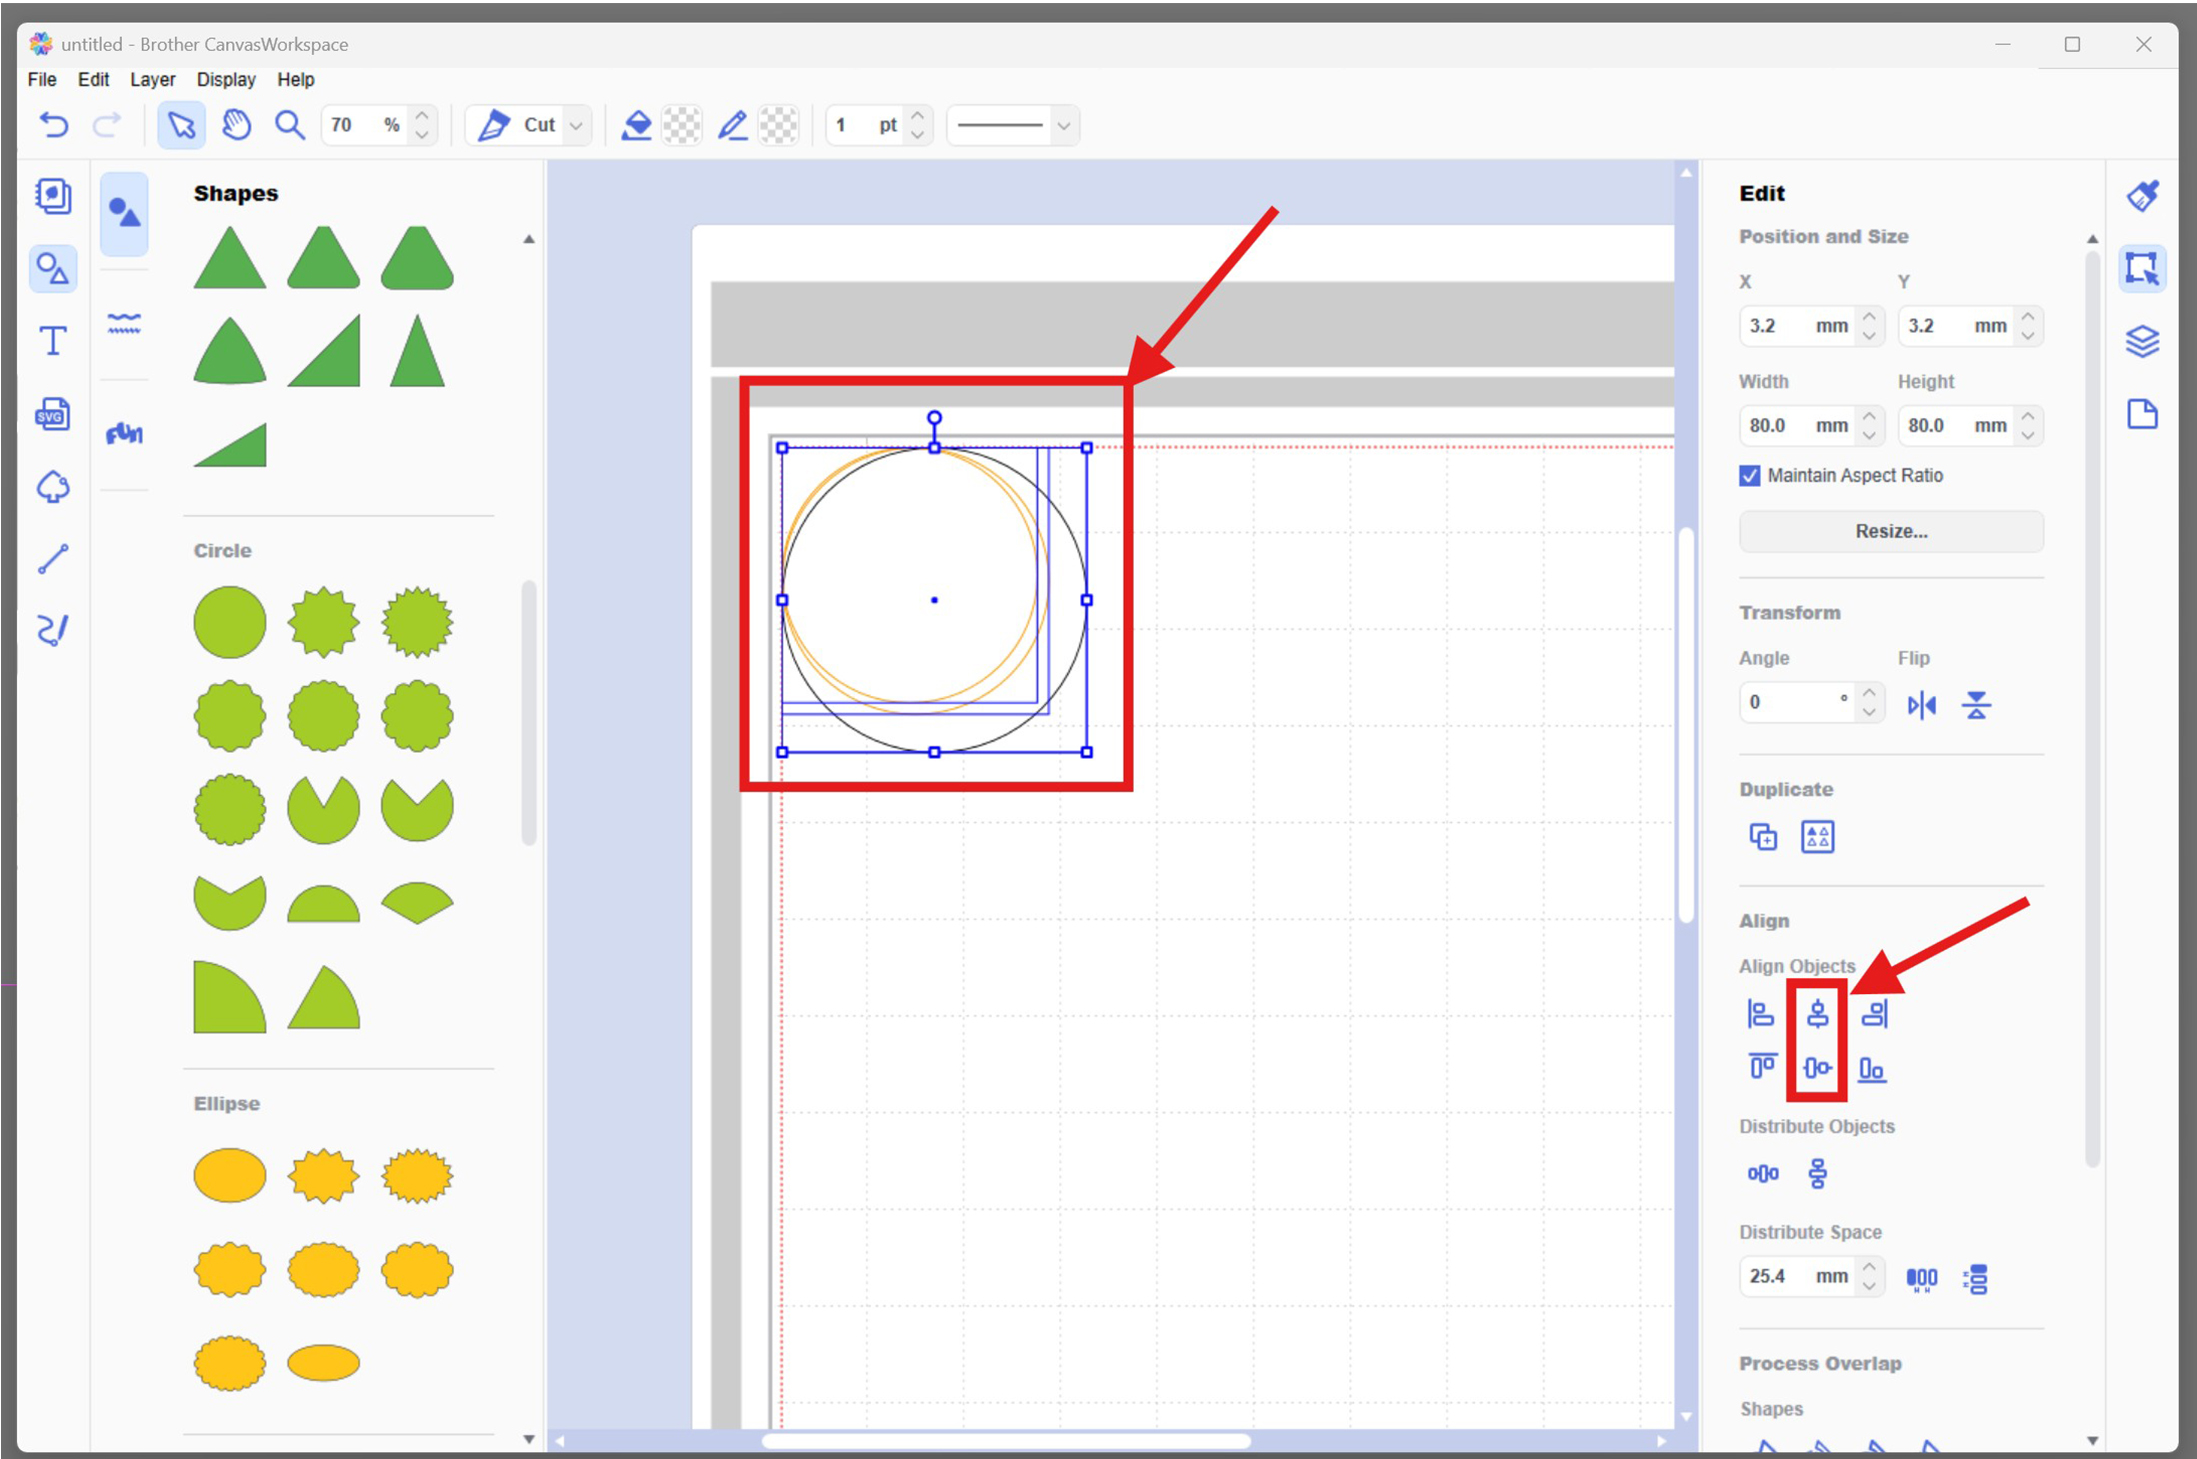
- Align All Circles:
- Select all three circles
- Use the Align > Align Objects options on the right
- Choose Align Centre Horizontally and Align Middle Vertically
- Add a Base Circle:
- Add and format the text:
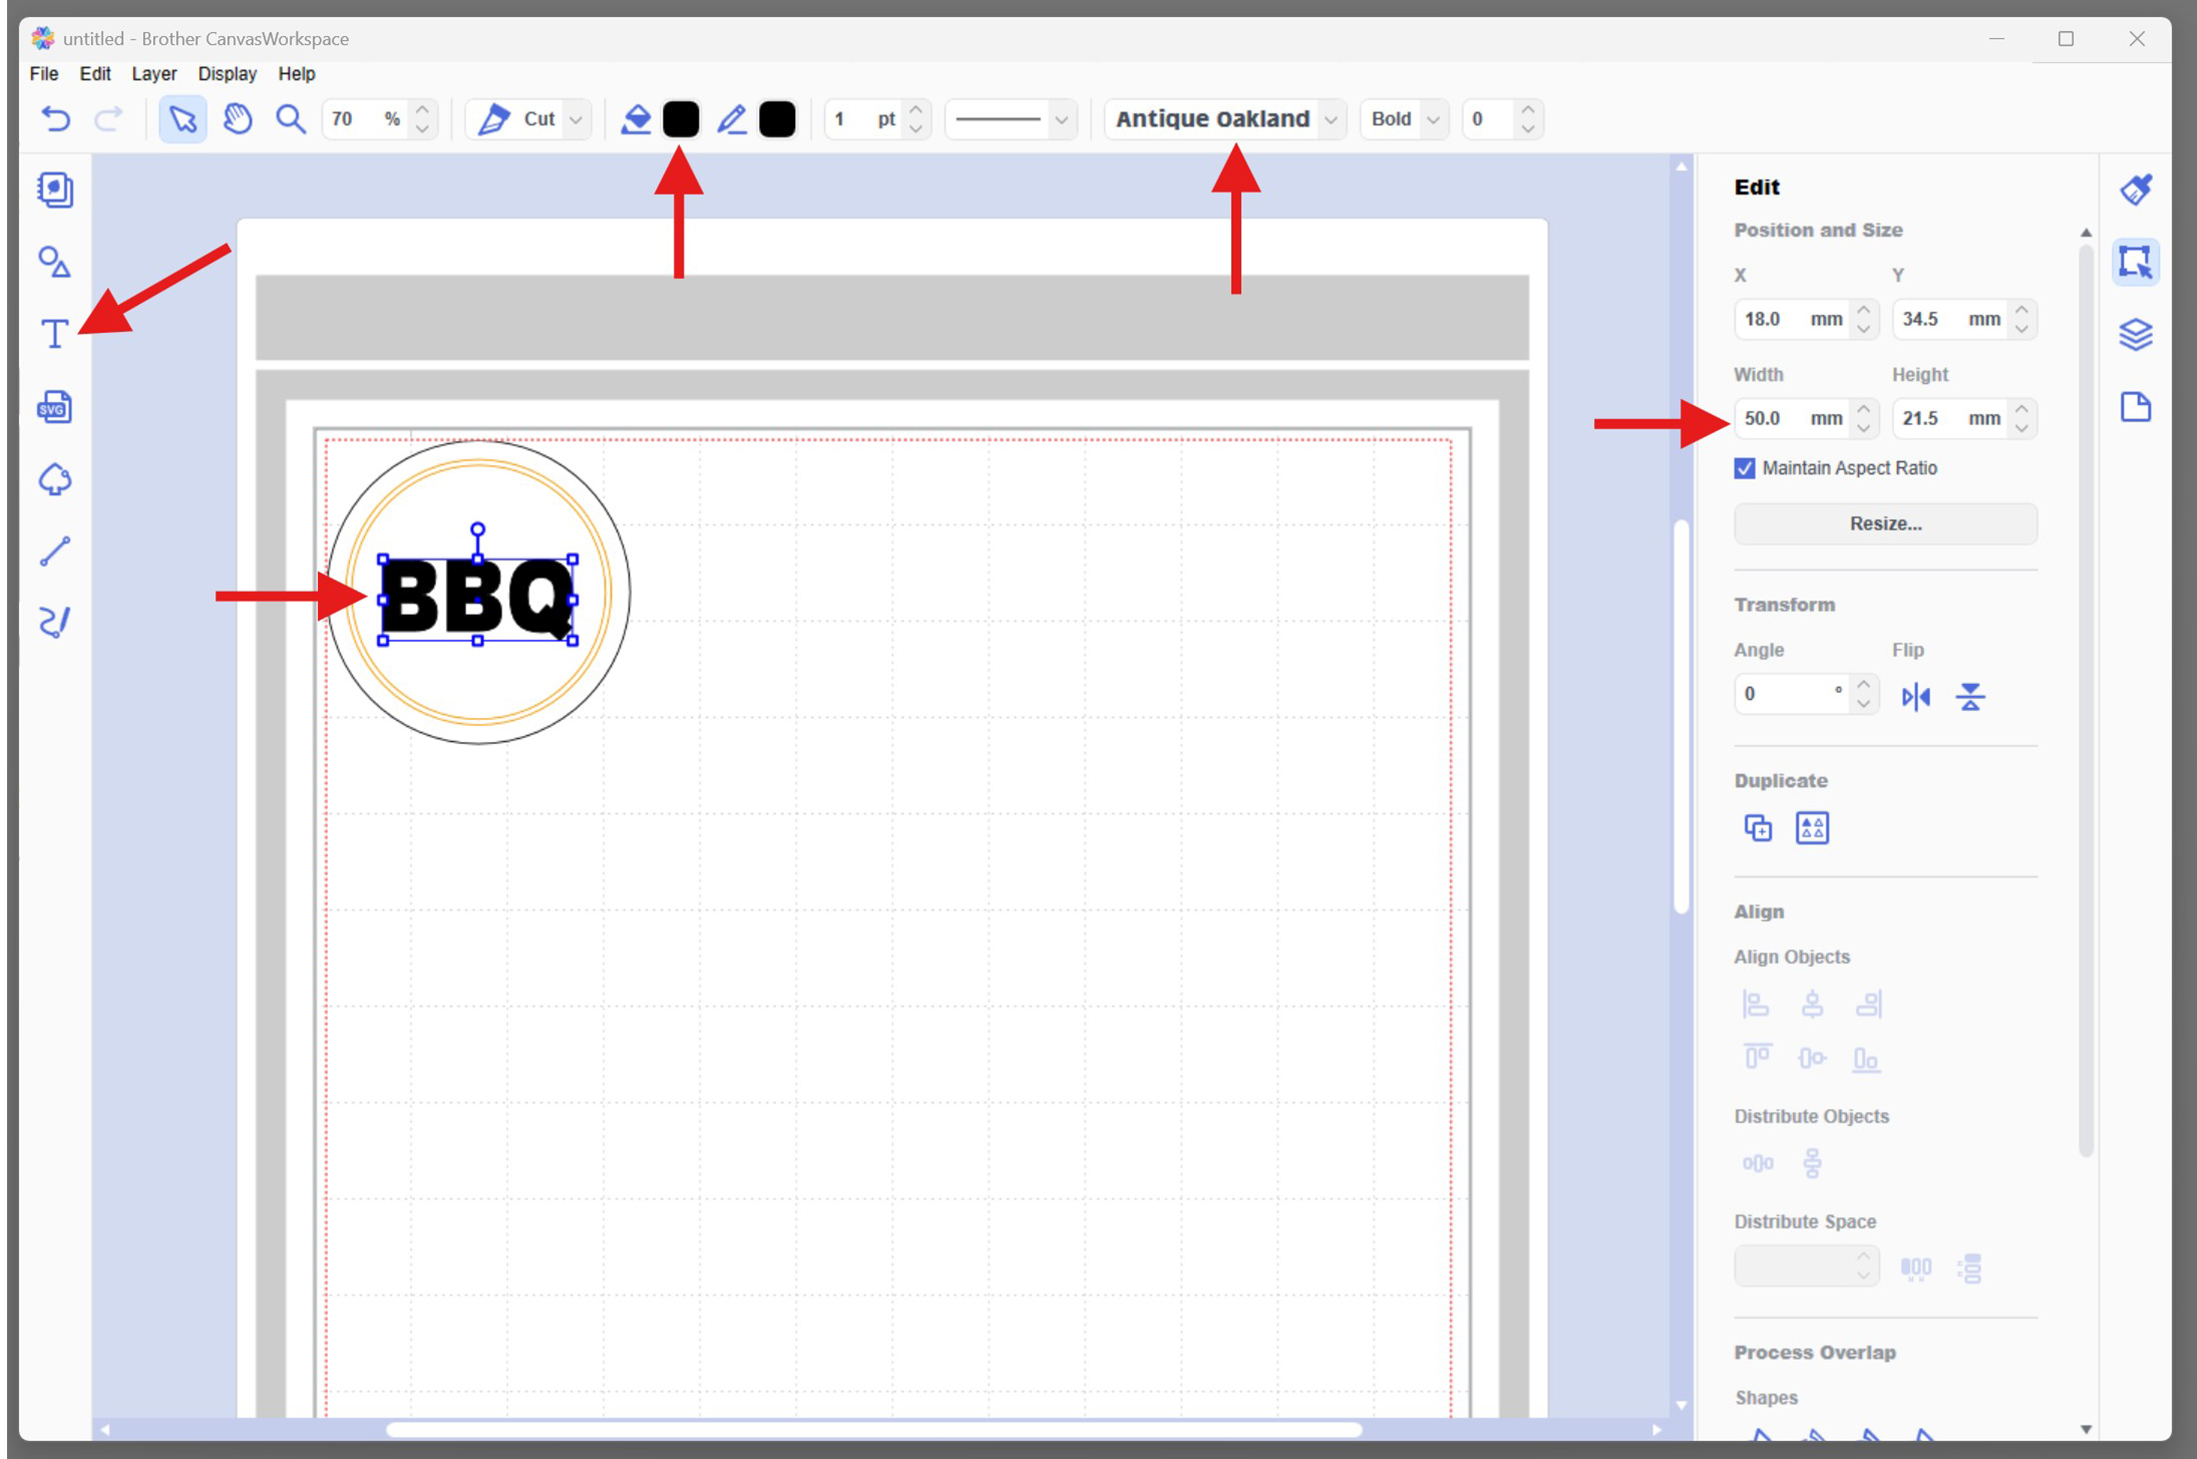
- Add "BBQ":
- Click the Text Tool (left-hand toolbar)
- Type: BBQ
- Set the font to Antique Oakland (or bold block-style font)
- Set the Fill Colour to black
- Resize to approx 50mm wide to centre it inside the inner circle
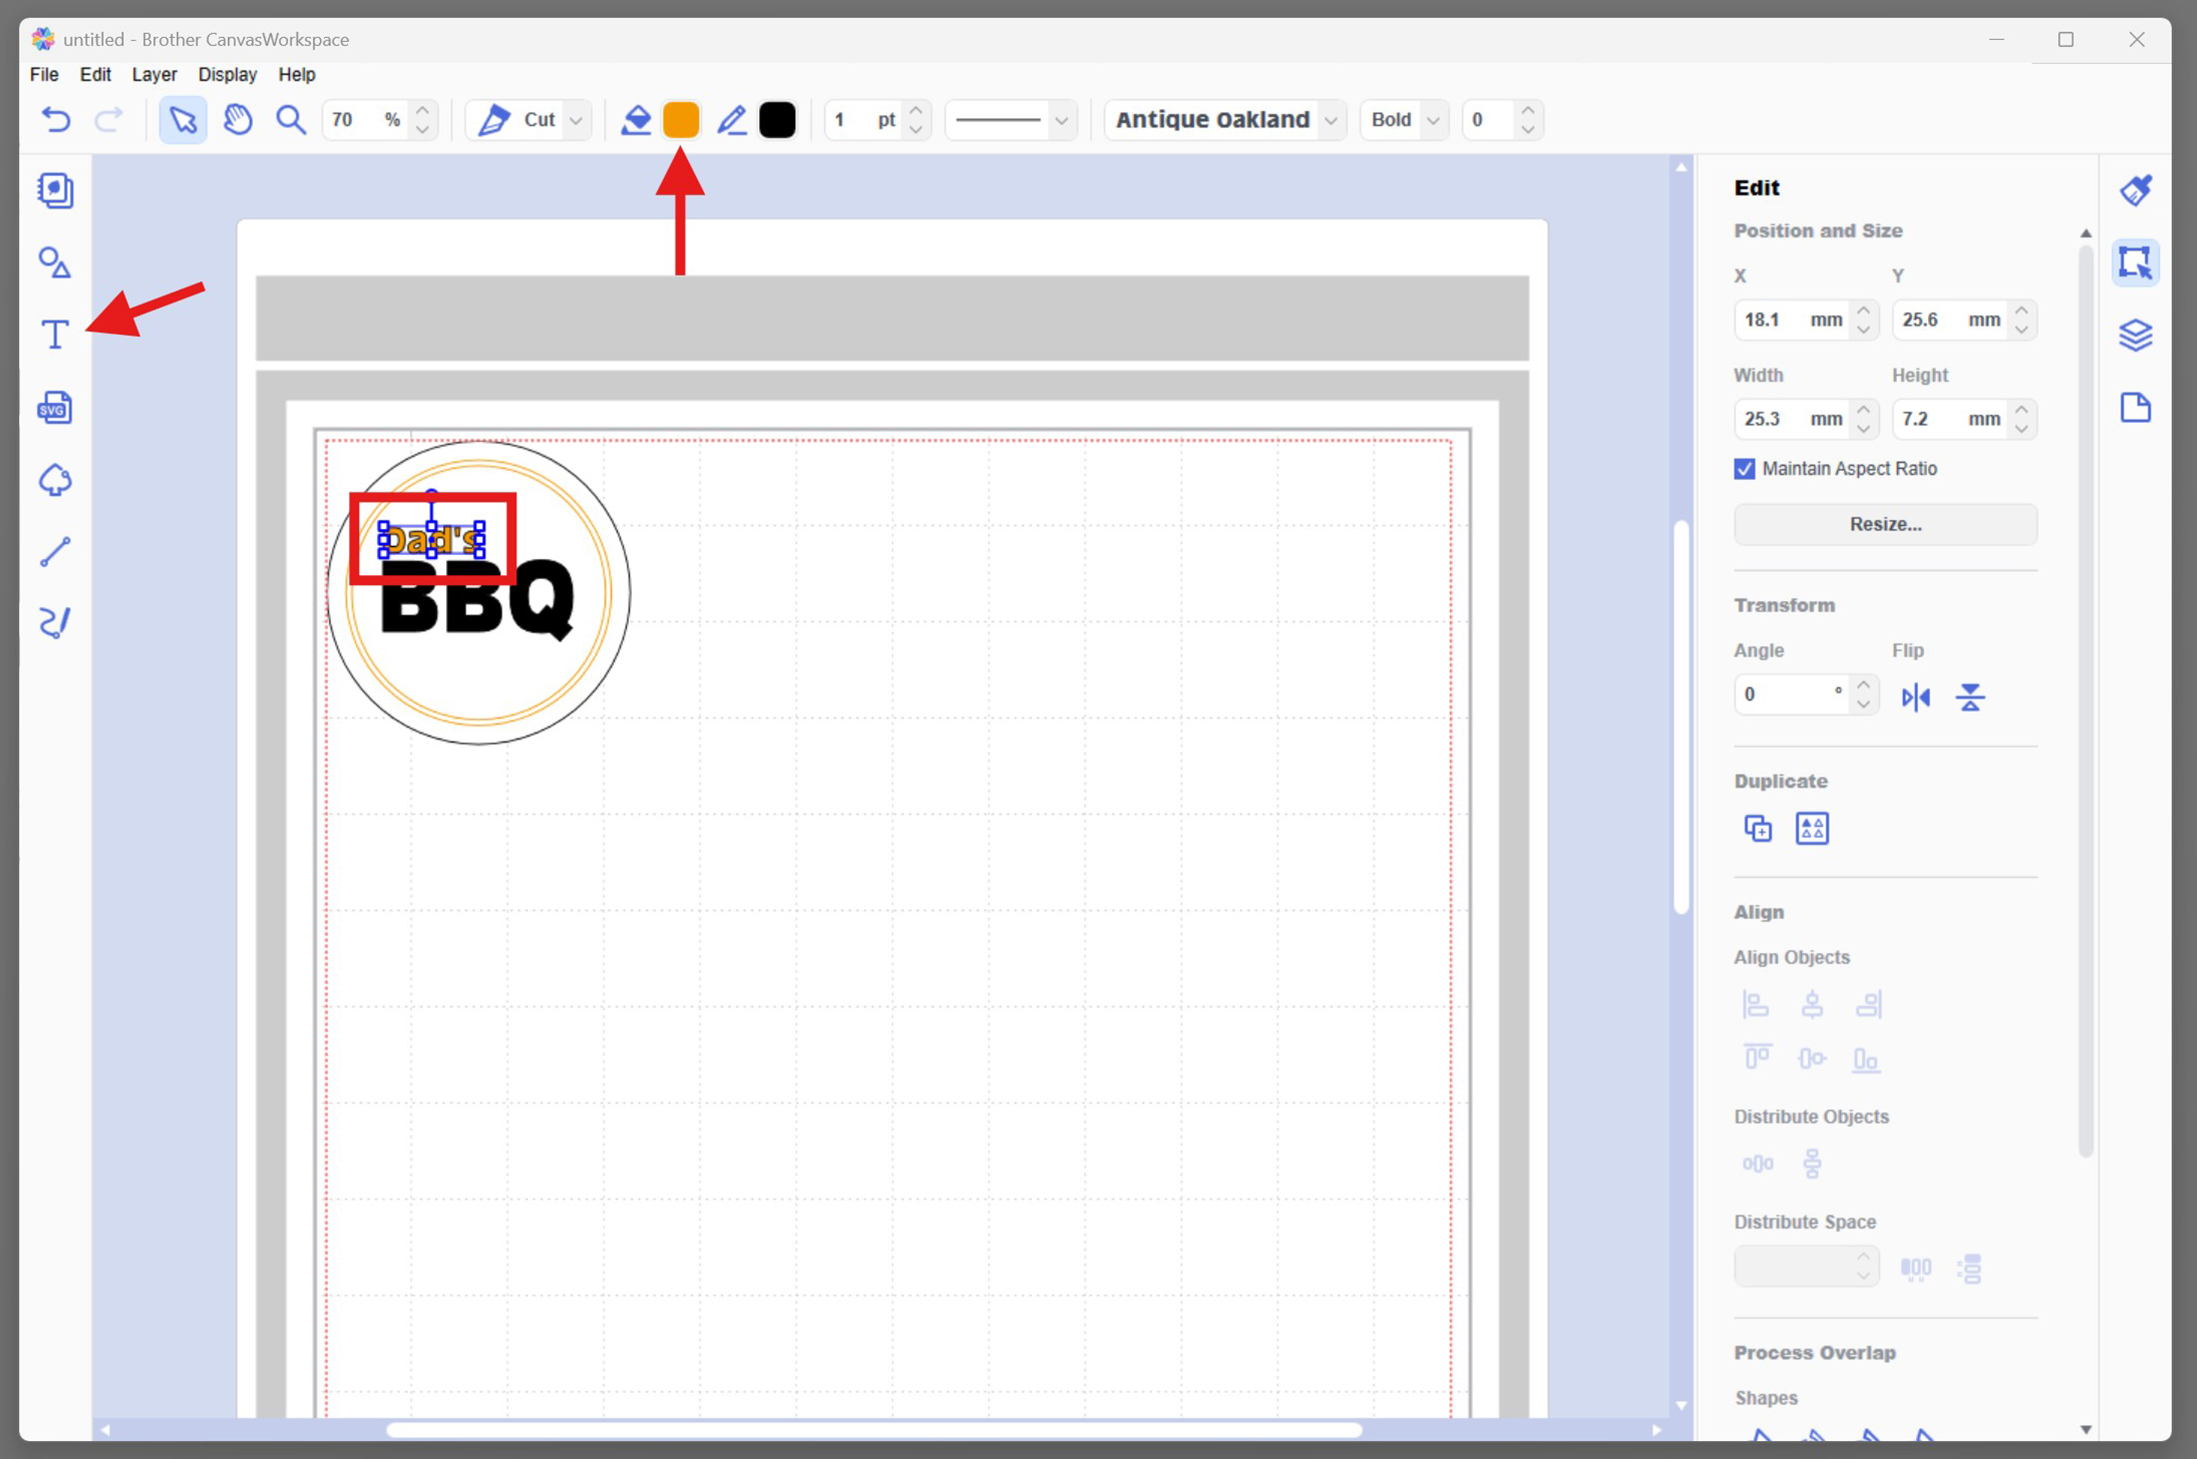
- Add "Dad’s":
- Add a new text box
- Type: Dad’s
- Set the Fill Colour to orange
- Resize to fit overlap the first “B" and half of the second “B" in BBQ
- You can use the same font or change it for visual contrast. Note: Avoid very thin fonts – they may not cut well on vinyl
- Add "Spice Mix":
- Add another text box
- Type: Spice Mix
- Set the Fill Colour to blue
- Resize to fit neatly under the first B and second B, tucking up to the tail of the Q

- Add "BBQ":
- Add decorative elements:
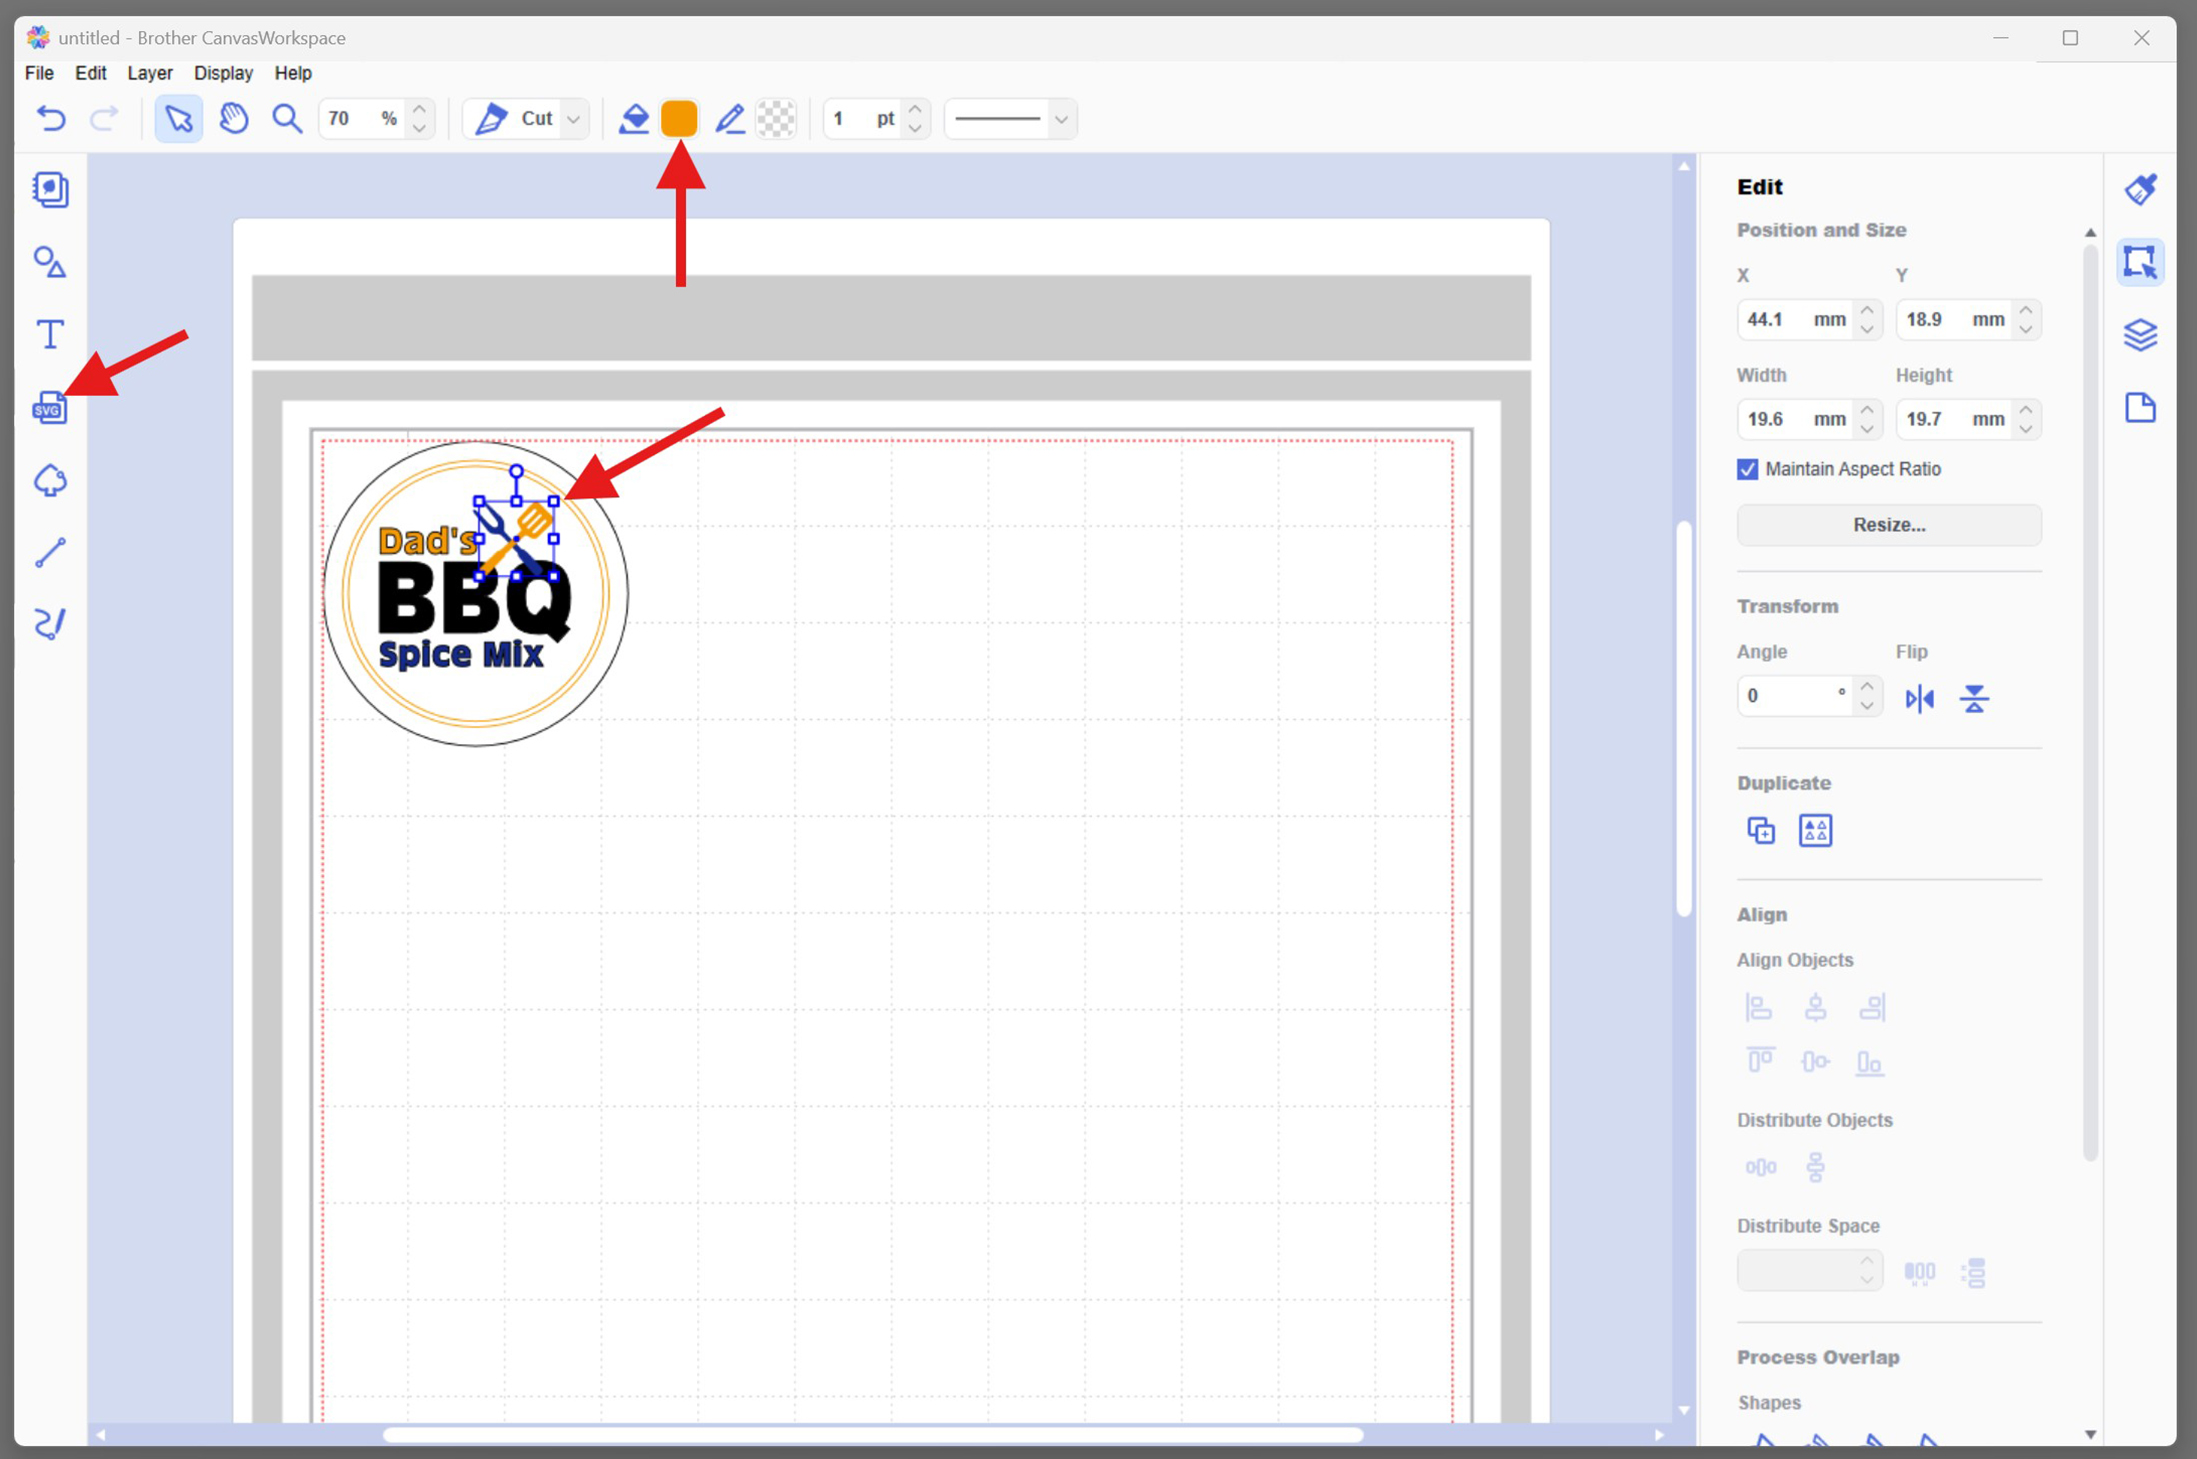
- Upload Fork & Spatula SVG (provided) + colour the elements:
- Click Import and choose your fork and spatula SVG file
- Position the SVG so it sits above the second half of the B and the Q in BBQ
- Change the spatula colour to match “Dad’s" (orange)
- Change the fork colour to match “Spice Mix" (blue)
- Upload Fork & Spatula SVG (provided) + colour the elements:
- Organise and export design:
- Group by Colour:
- Select all orange elements (e.g. "Dad’s" + spatula) <
- Right-click > Group
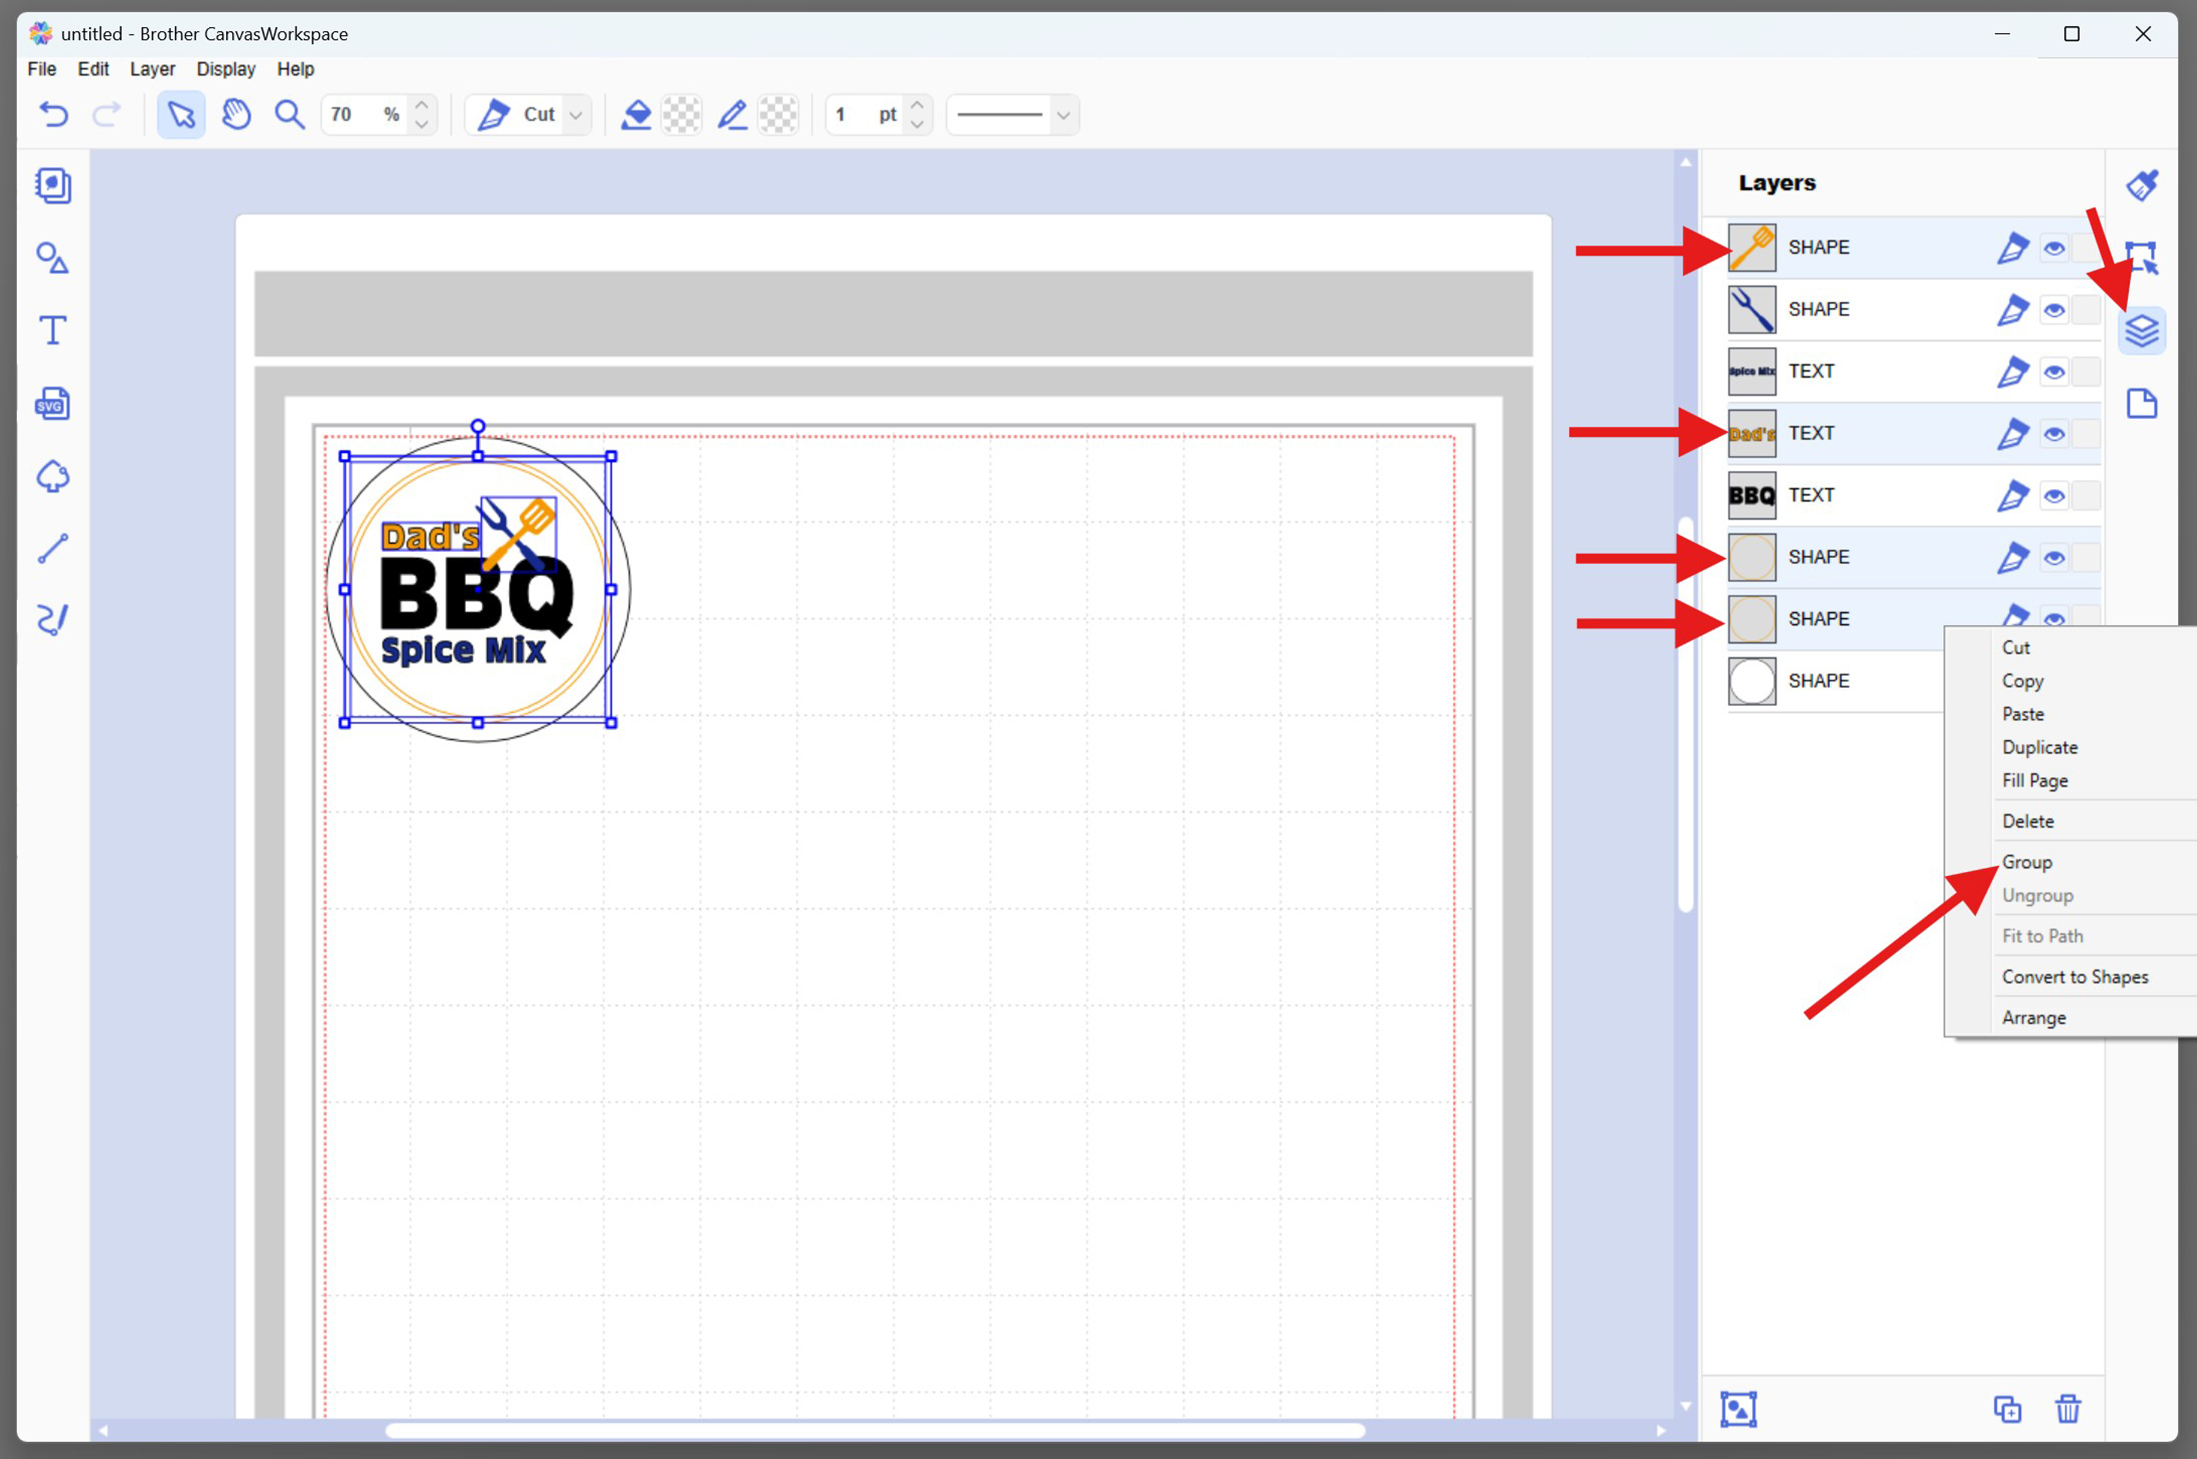
- Select all blue elements (e.g. "Spice Mix" + fork)
- Right-click > Group
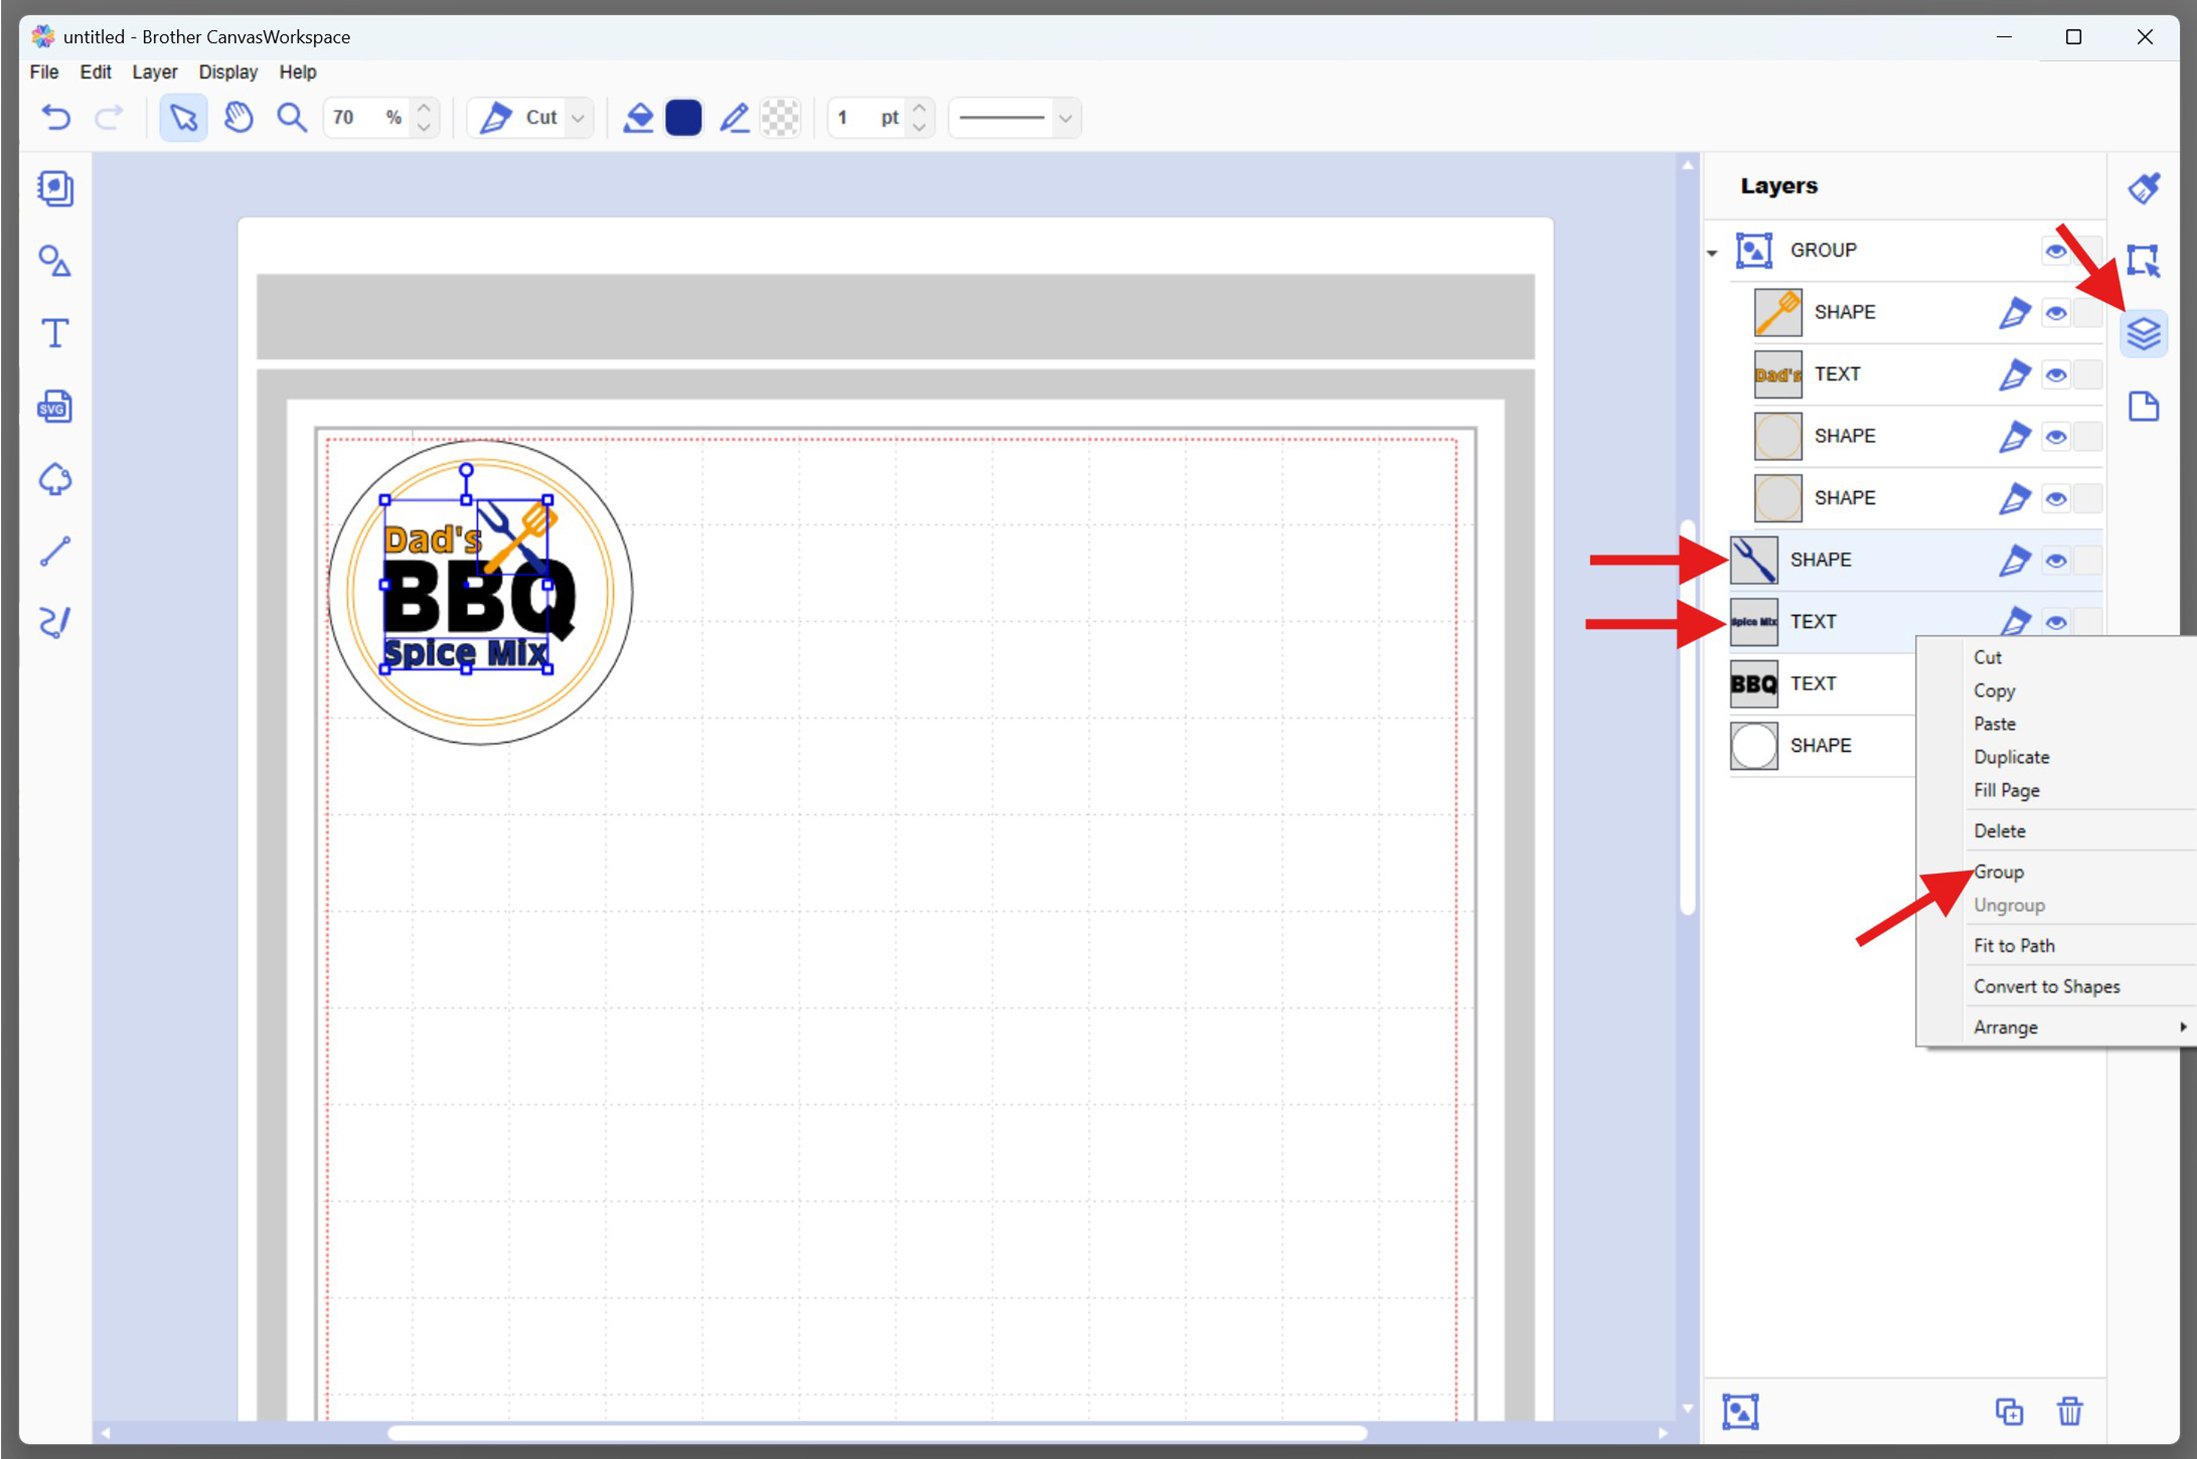
- Black and white can remain separate or grouped for clarity
- Export the Design:
- Save your project
- Click File > Export/Transfer FCM File
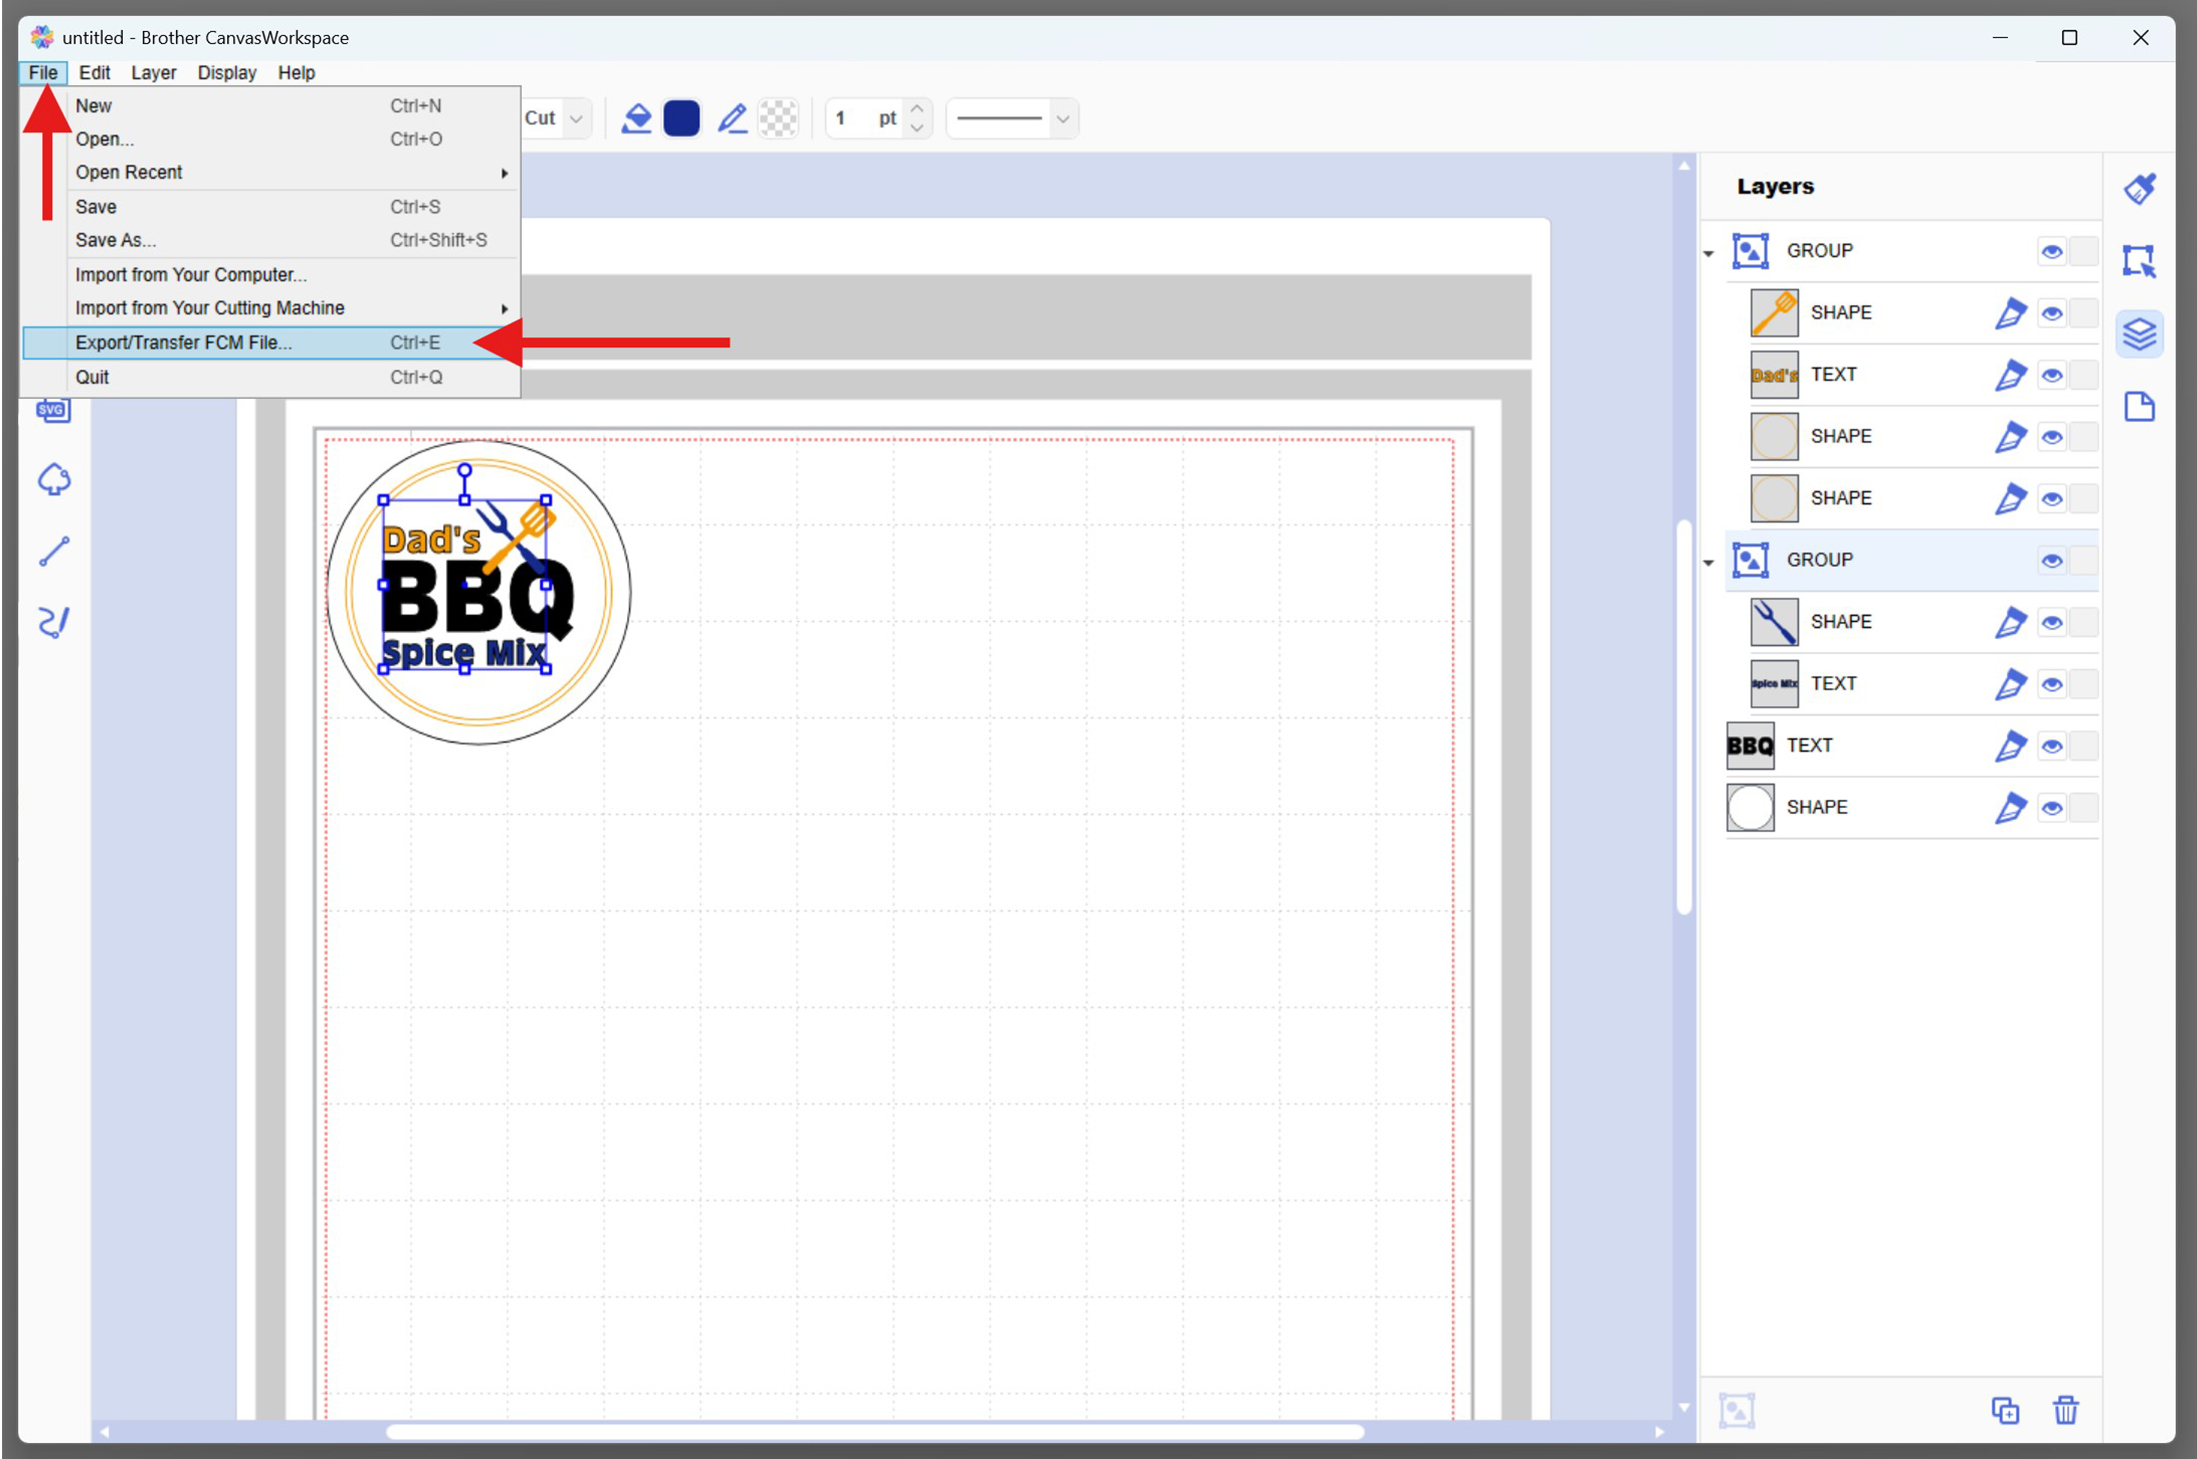
- Choose USB or Direct Transfer to send the file to your ScanNCut

- Group by Colour:
- Load the design & arrange by colour
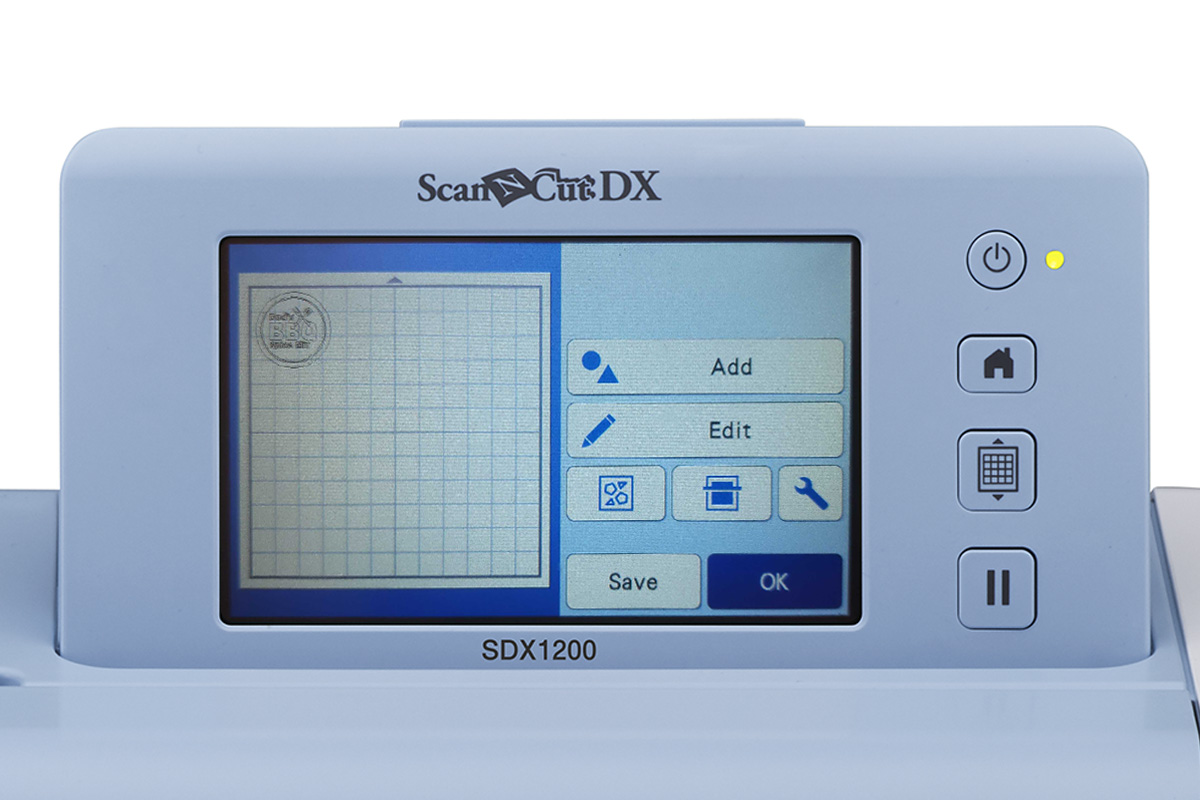
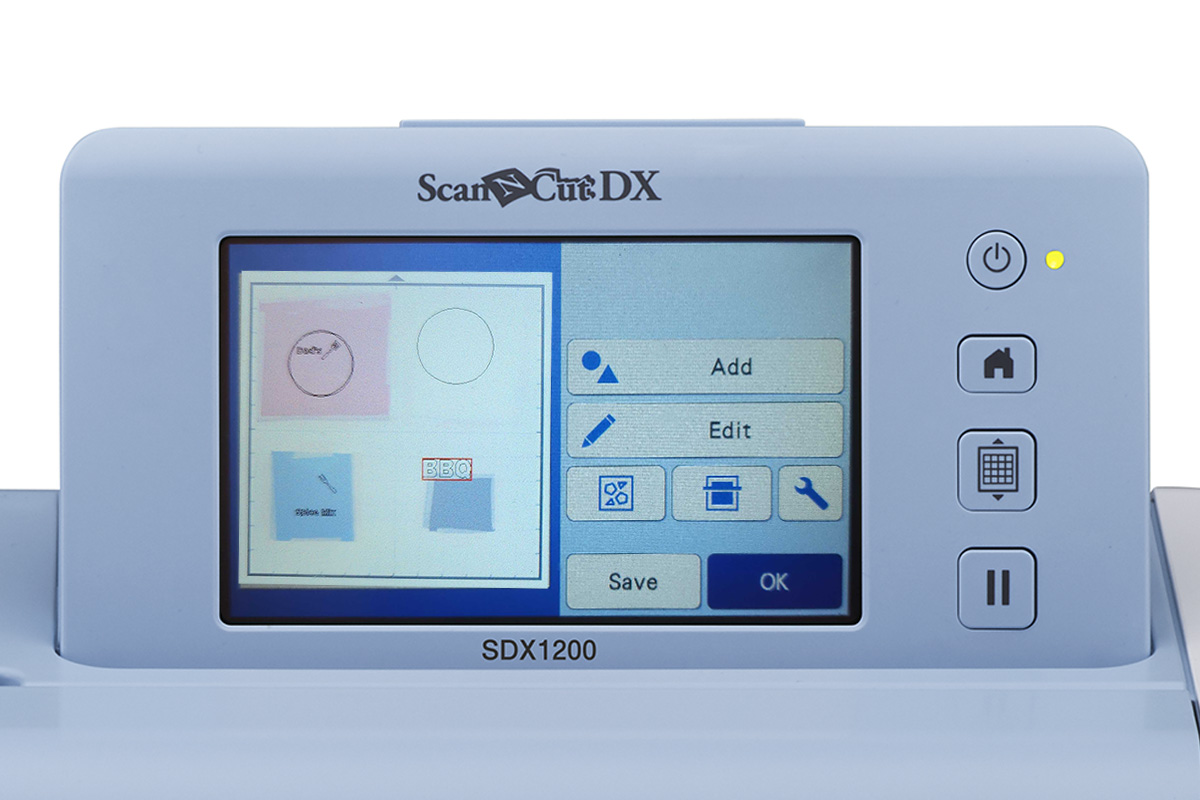
- Load the Design on the Machine Screen:
- Load the design via USB or Direct Transfer (depending on what you selected above)
- Once the file is loaded, tap to open the design
- You’ll see all your grouped colour layers appear on the screen
- Rearrange for Cutting by Colour:
- Drag and reposition each grouped colour section (e.g. orange, blue, black, white) to separate areas of the virtual mat
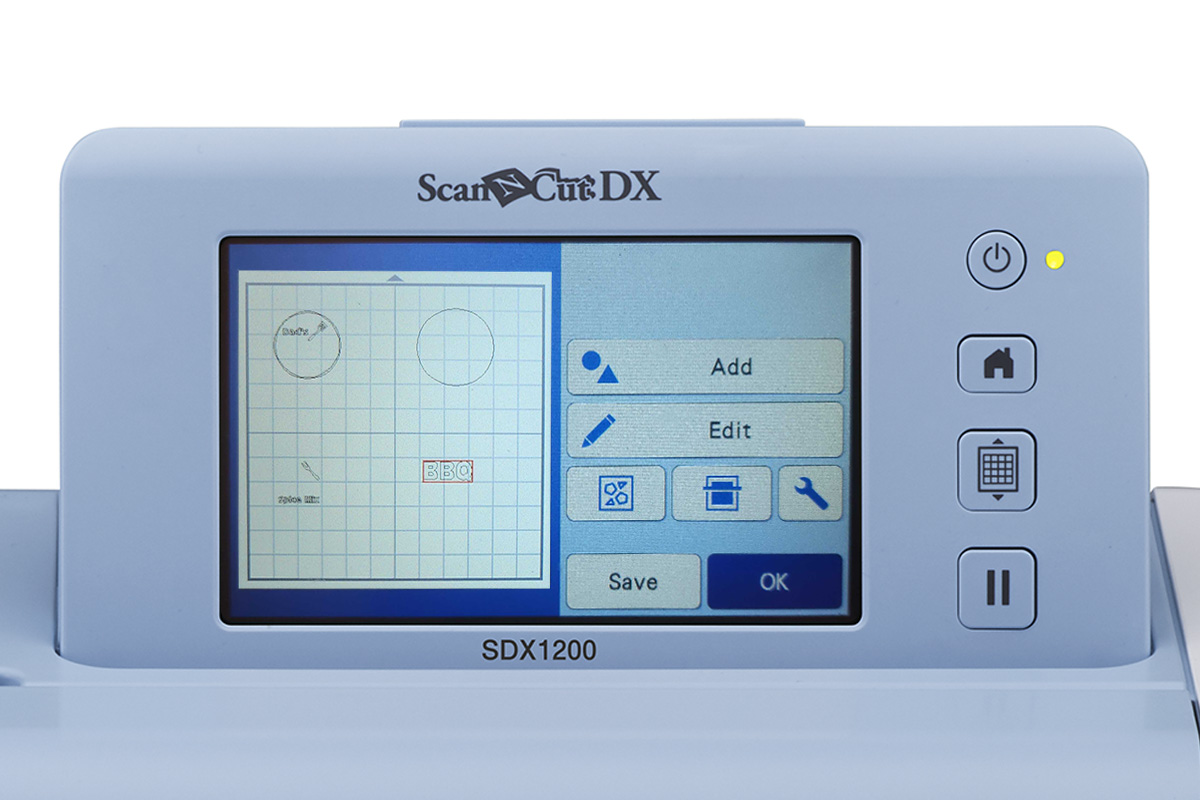
- This allows you to place different coloured vinyl pieces directly onto your physical mat in matching positions, so you can cut everything in one pass. Note: If preferred, you can hide or delete layers and cut one colour at a time for more precise placement
- Drag and reposition each grouped colour section (e.g. orange, blue, black, white) to separate areas of the virtual mat
- Load the Design on the Machine Screen:
- Cut the vinyl
- Place Vinyl on Mat:
- Place each colour (white, black, orange, blue) on your mat – spaced out or cut one at a time.
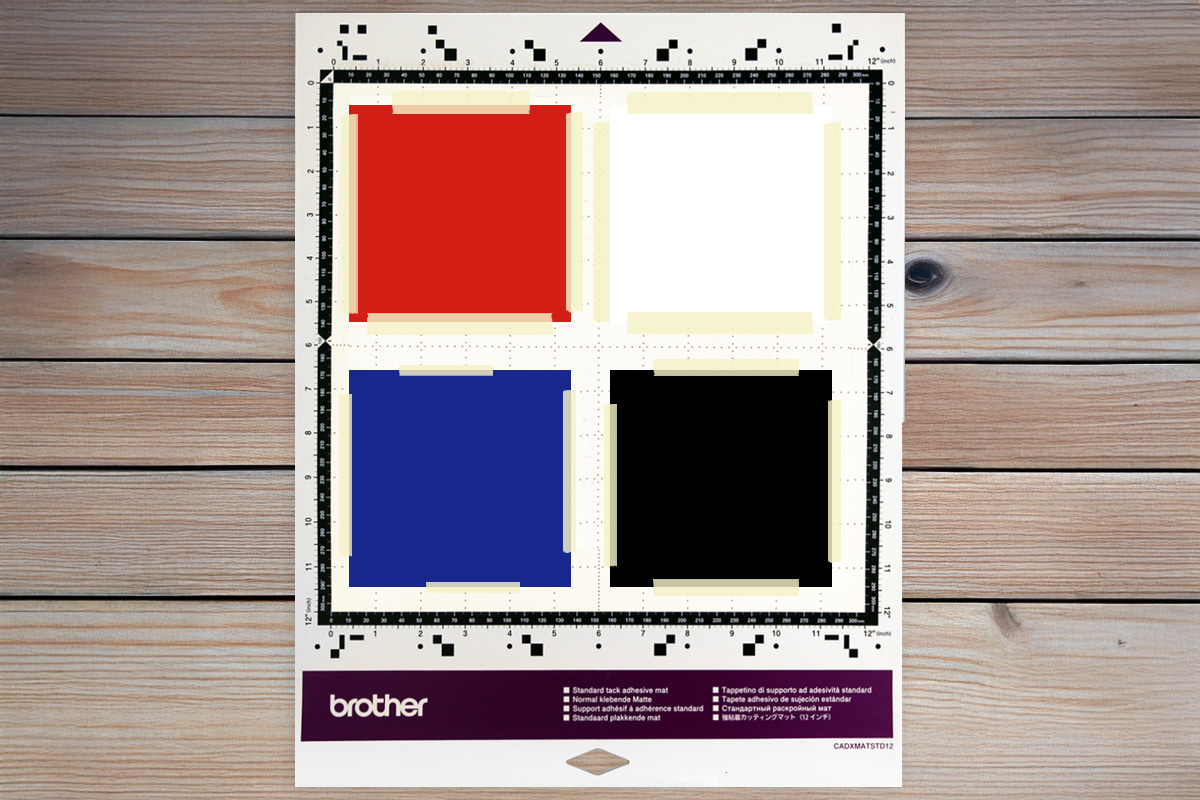
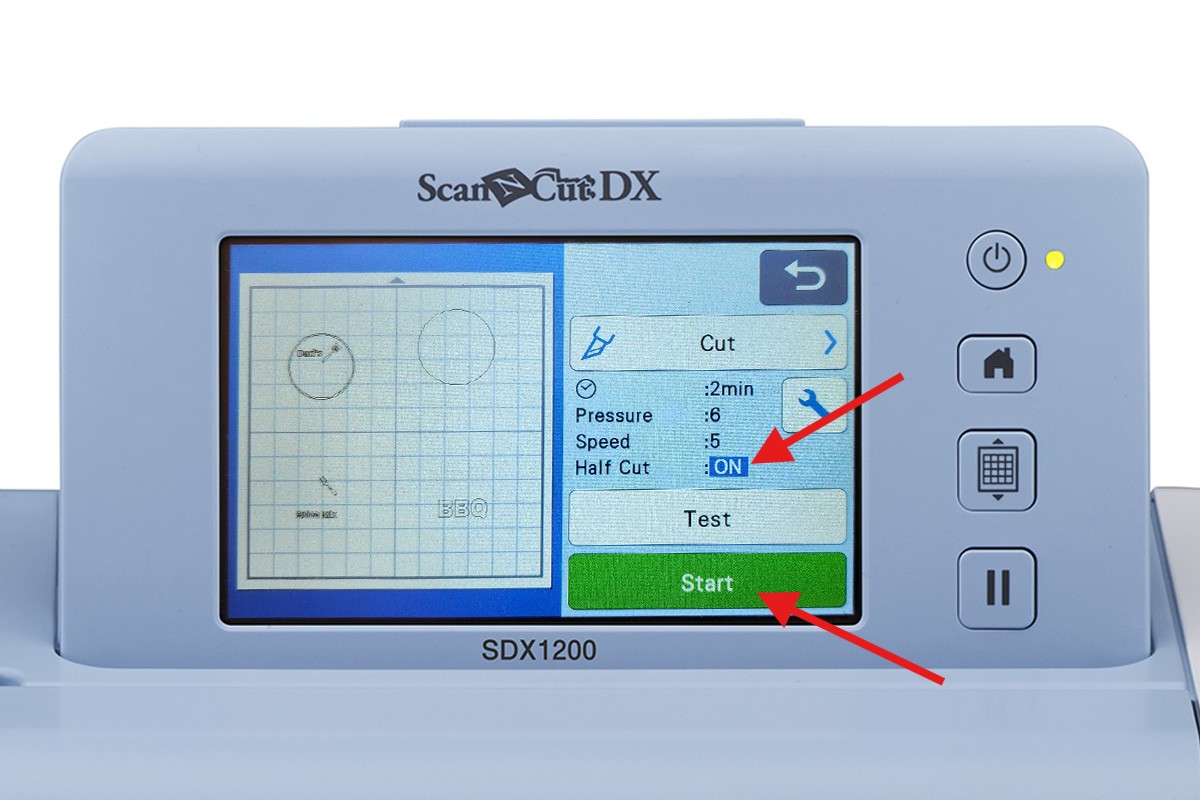
- Load Mat & Cut:
- Load the mat into the ScanNCut and do a scan to check the elements are correctly positioned over the vinyl. Reposition elements if required.
- Use the Vinyl Cut setting (half cut ON if using adhesive vinyl) and click Start
- Load the mat into the ScanNCut and do a scan to check the elements are correctly positioned over the vinyl. Reposition elements if required.
- Place each colour (white, black, orange, blue) on your mat – spaced out or cut one at a time.
- Weed the Layers:
- Use a weeding tool to remove all unwanted vinyl
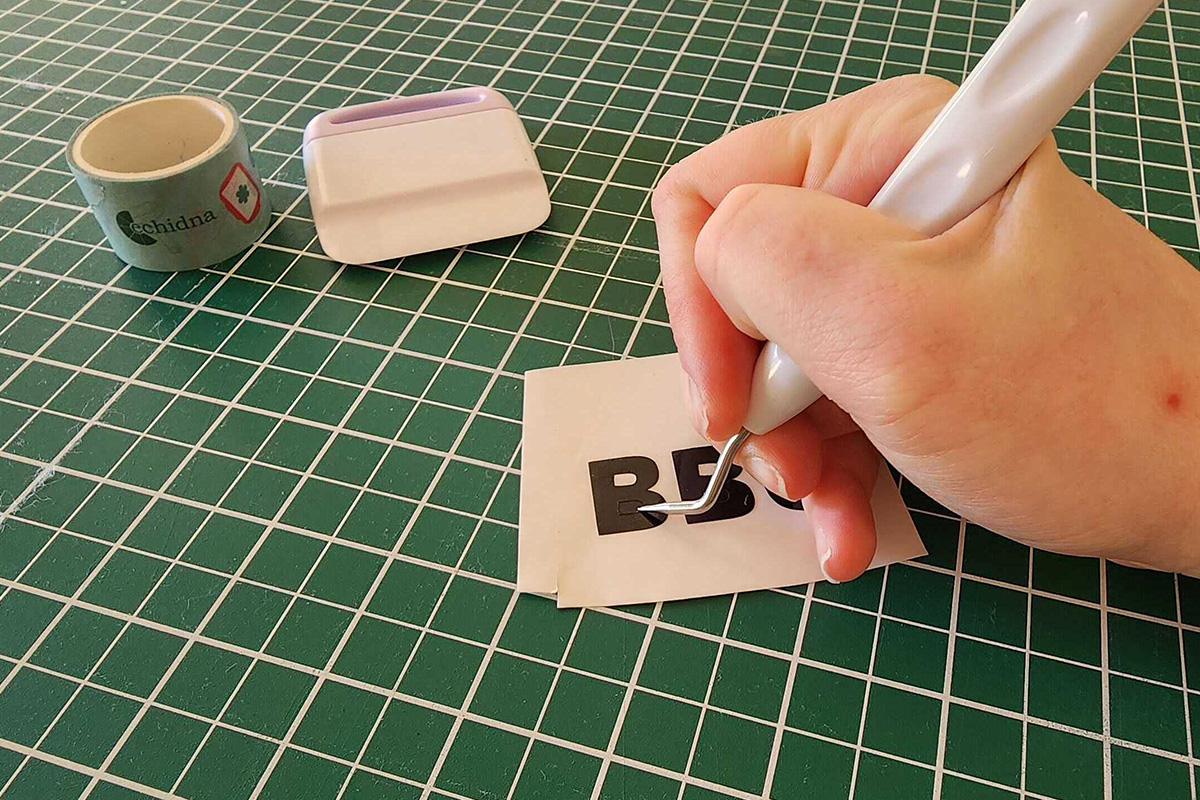
- Keep the parts you designed in place on the carrier sheet
- Use a weeding tool to remove all unwanted vinyl
- Place Vinyl on Mat:
- Layer the vinyl
- Use Transfer Tape:
- Working from top to bottom layers, start with “Dad’s”, the spatula and border (orange group)
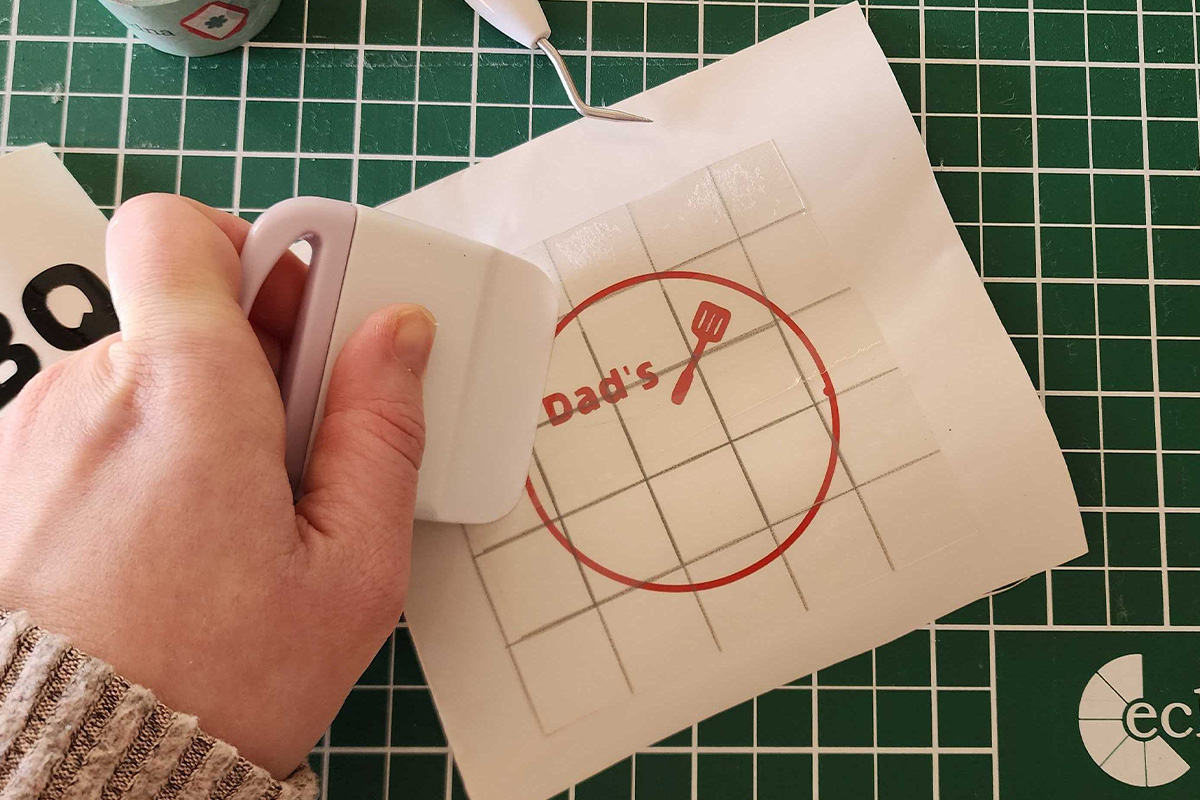
- Then add “Spice Mix” and fork (blue group)
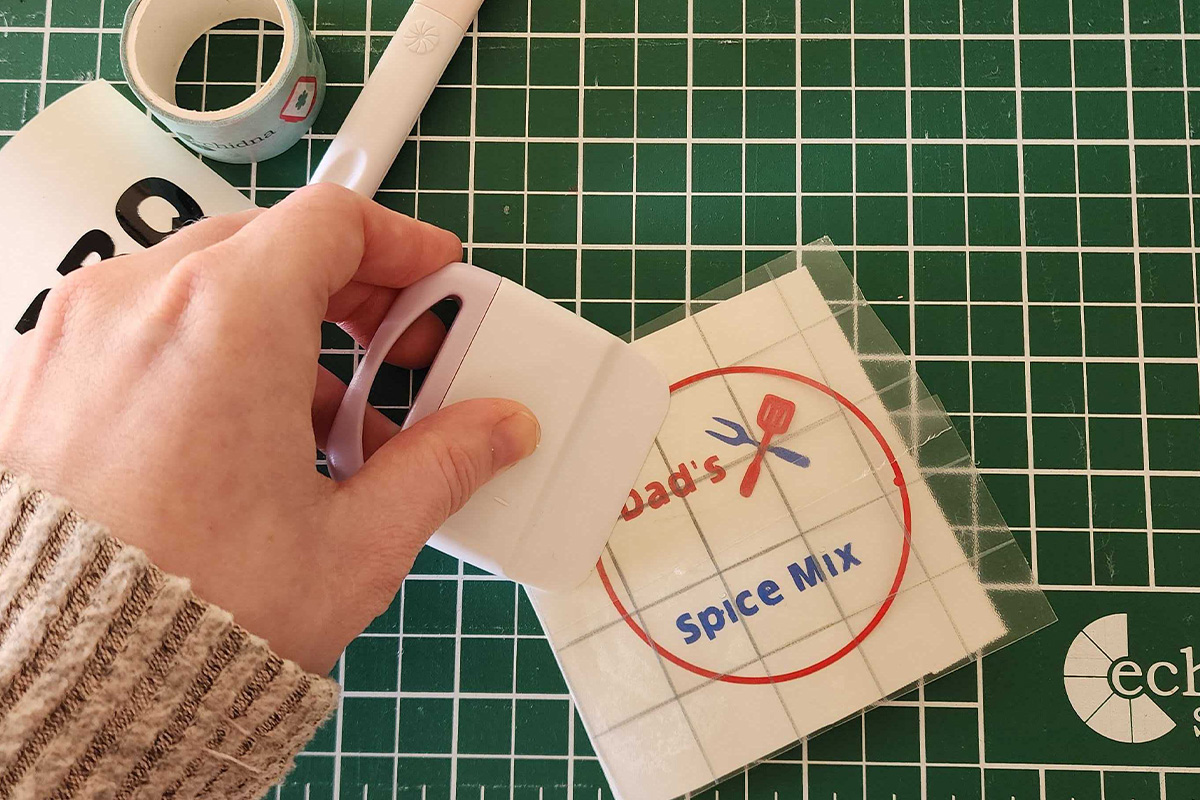
- Apply transfer tape and align onto “BBQ” (black text)
- Finally align and press the full design onto the white label circle
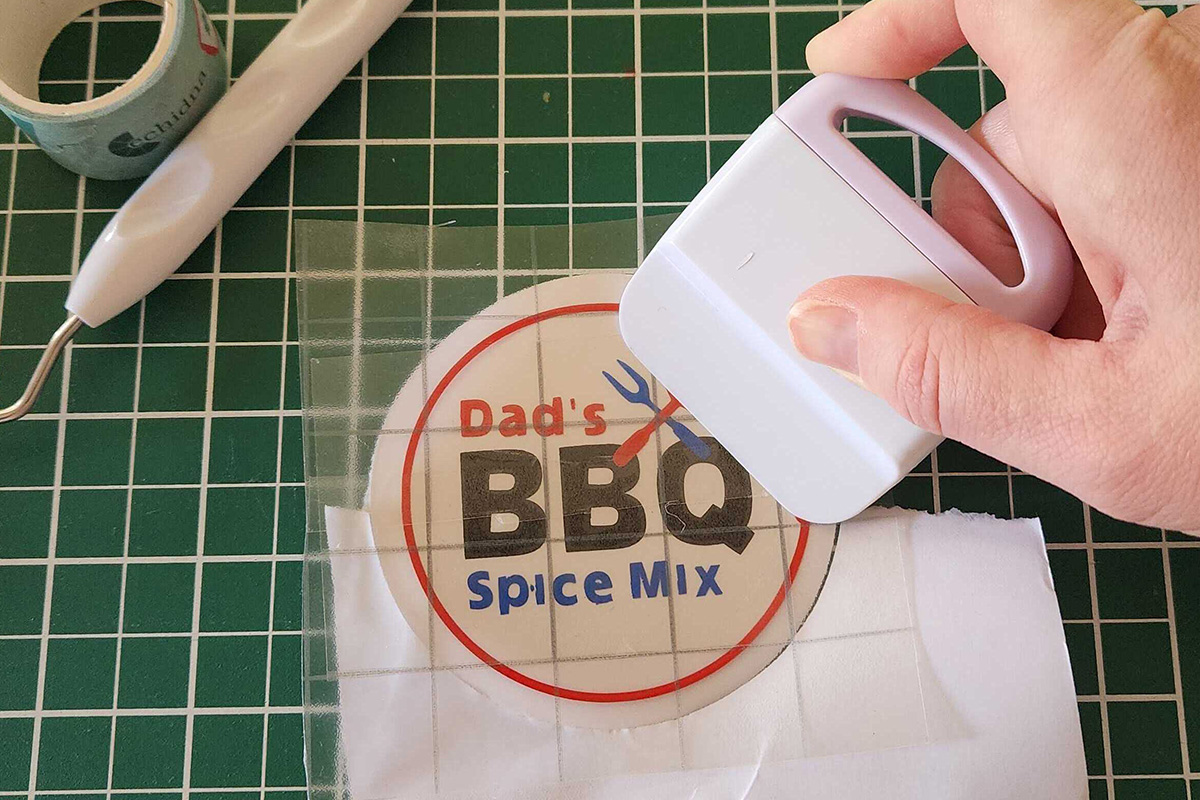
- Use a scraper or squeegee to adhere it well
- Working from top to bottom layers, start with “Dad’s”, the spatula and border (orange group)
- Alternatively, look at our articles on how to layer using baking paper or how to create registration marks for layering.
- Use Transfer Tape:
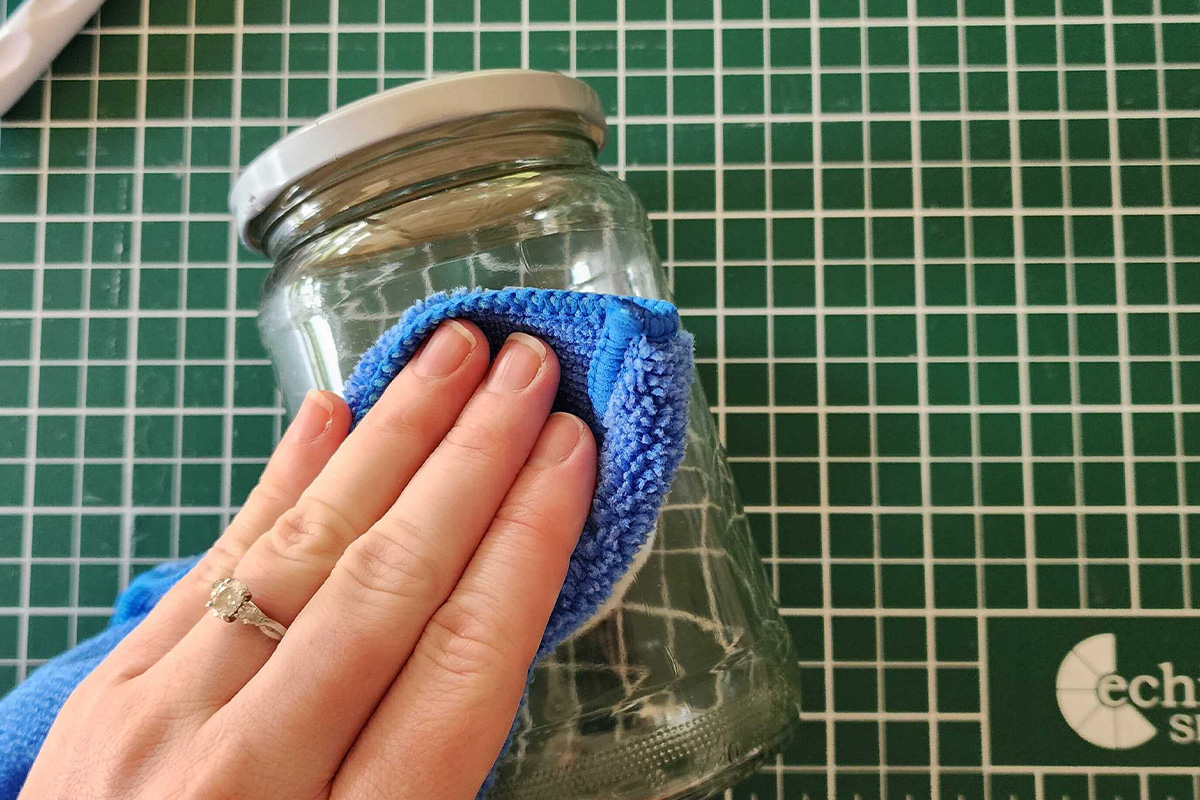
- Add label to jar
- Clean the Jar:
- Wipe the surface with rubbing alcohol
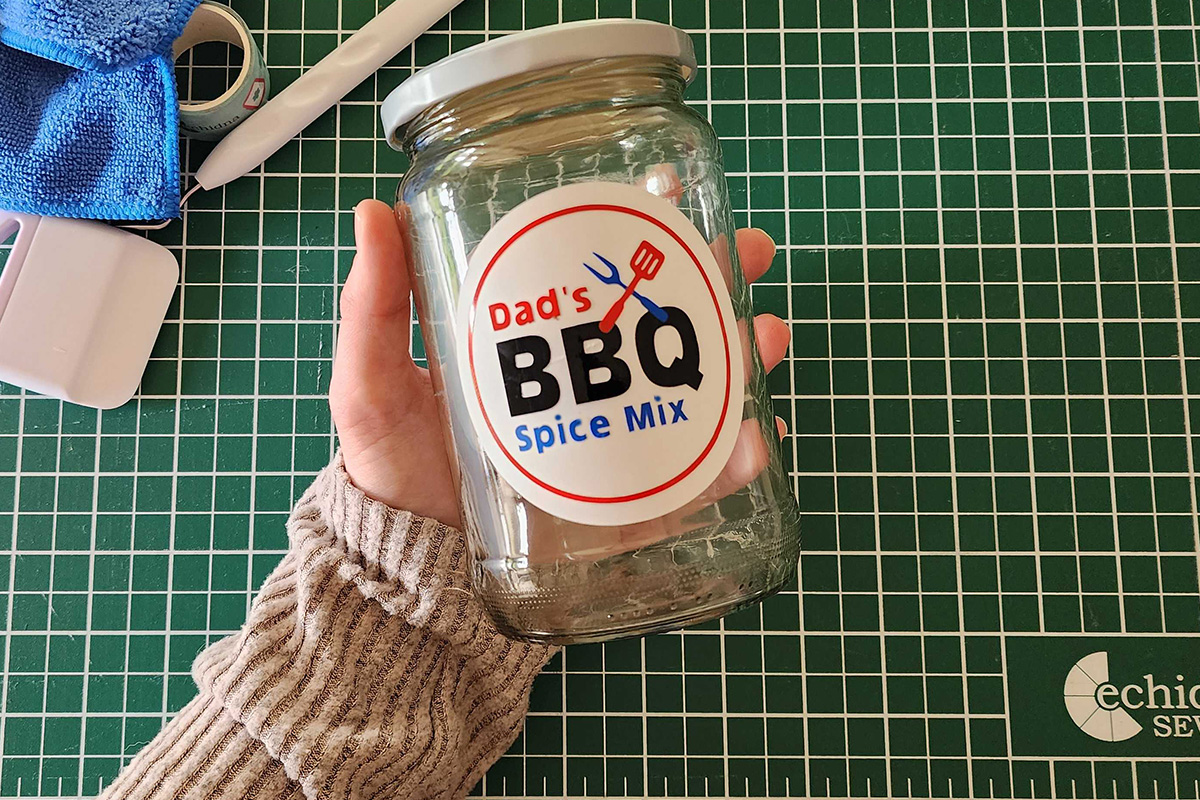
- Apply the Label:
- Use the transfer tape to position the layered label onto the jar
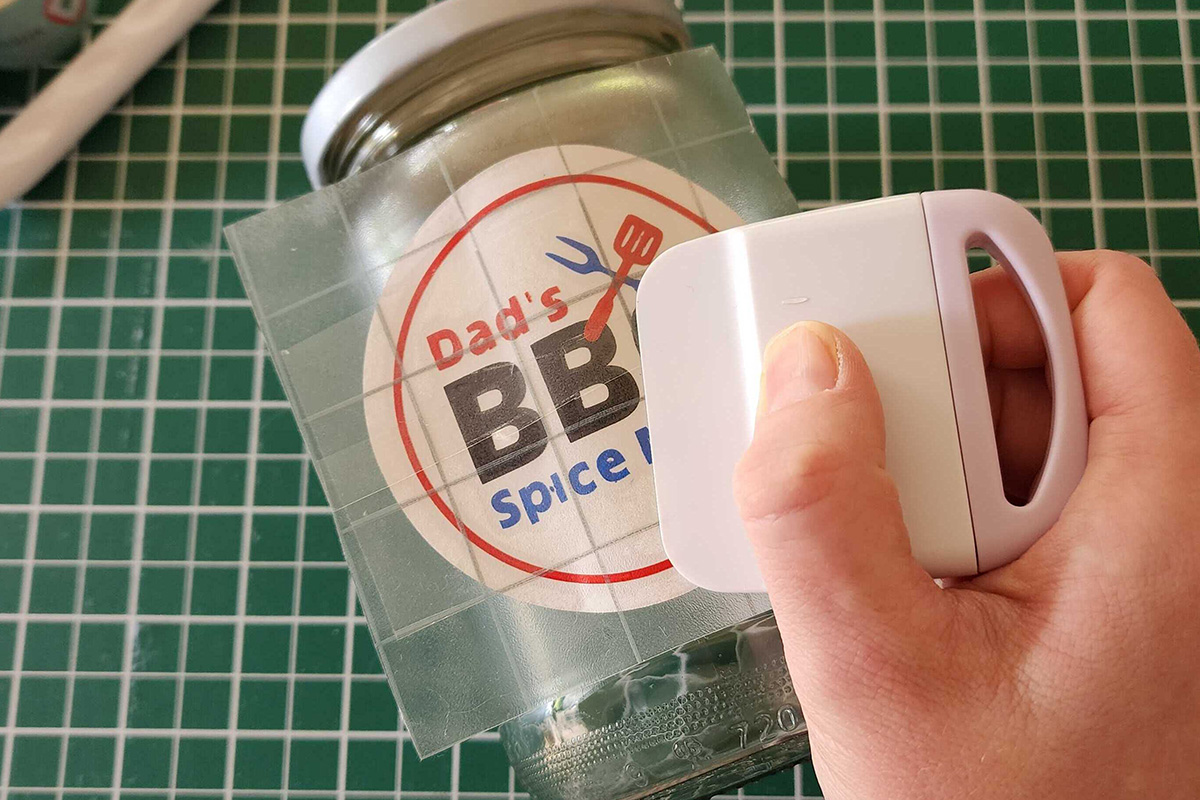
- Press firmly and peel away transfer tape
- Use the transfer tape to position the layered label onto the jar
- Decorate & fill (optional)
- Add ribbon or twine to finish the look
- Add Homemade BBQ Rub - fill it with a delicious spice rub for a perfect Father's Day gift. Try this BBQ Spice Rub Recipe on AllRecipes →
Free Embroidery Designs
We're excited to offer our free Echidna designs available for download. These free designs are perfect for those at a beginner or an advanced level. Add these designs to your stash and create incredible embroidery!
View all free designs >
Sewing, Quilting and Embroidery Machines
Interested in learning how to sew, quilt or embroider? Take a look at the innovative Brother machines available for purchase at Echidna Sewing. Wherever possible we will beat any deal and you will always receive ongoing service and support!
Find out more >
Learn to Sew or Embroider with Echidna Sewing
Come along to our fun-filled classes to learn more about sewing, embroidery and crafting. Classes cater for all skill levels, whether you're just starting out or already have advanced knowledge.
Find out more >
Echidna project material/ fabric requirements are an indication only and can seem to be generous. This has been intentional. Should you make a cutting or embroidery mistake you will have sufficient fabric to rectify your error.


