All Projects
Fabric Christmas Card Envelope
Author: Nicole H
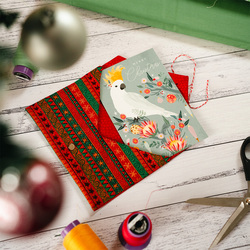
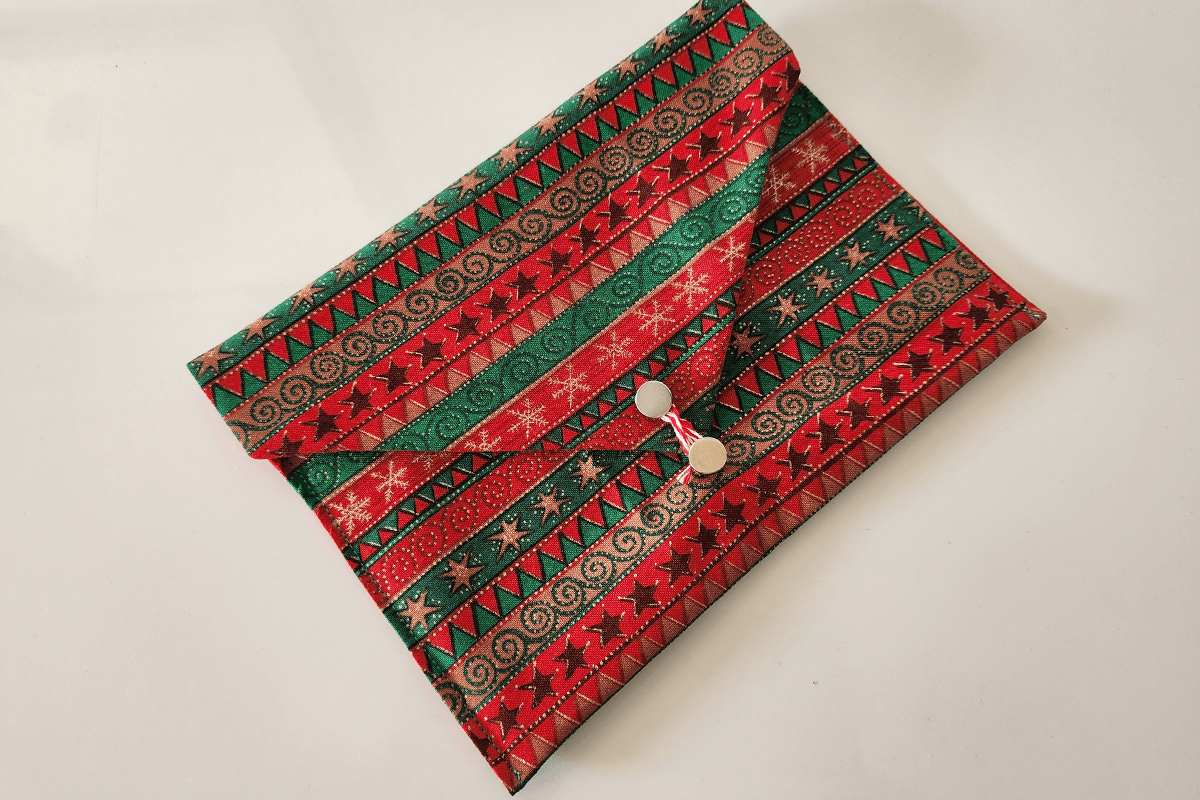
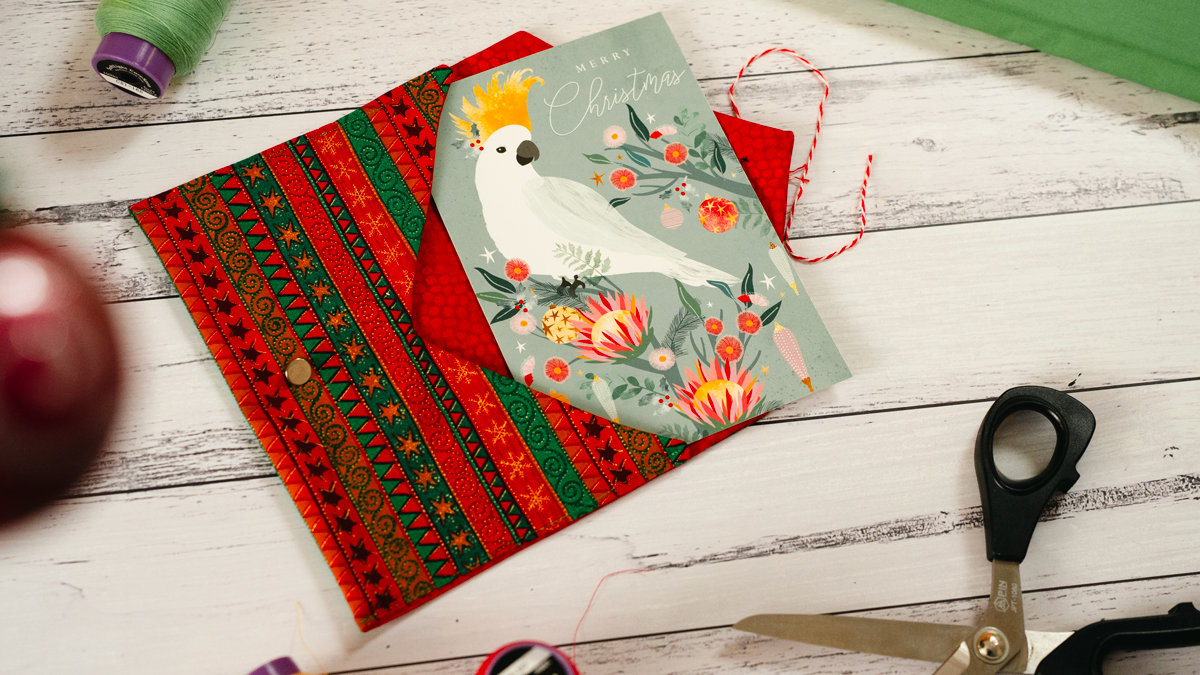
Create a beautiful handmade fabric envelope using simple sewing techniques and coordinating Christmas fabrics. Perfectly sized to hold a 5" × 7" Christmas card, this project is a fun way to add an extra special handmade touch to your festive greetings.
The button and twine closure gives the envelope a traditional mail-inspired look, while the fabric lining creates a neat finish inside. Once you've mastered the basic construction, you can easily change the fabrics and embellishments to create reusable fabric envelopes for birthdays, weddings, celebrations and other special occasions.
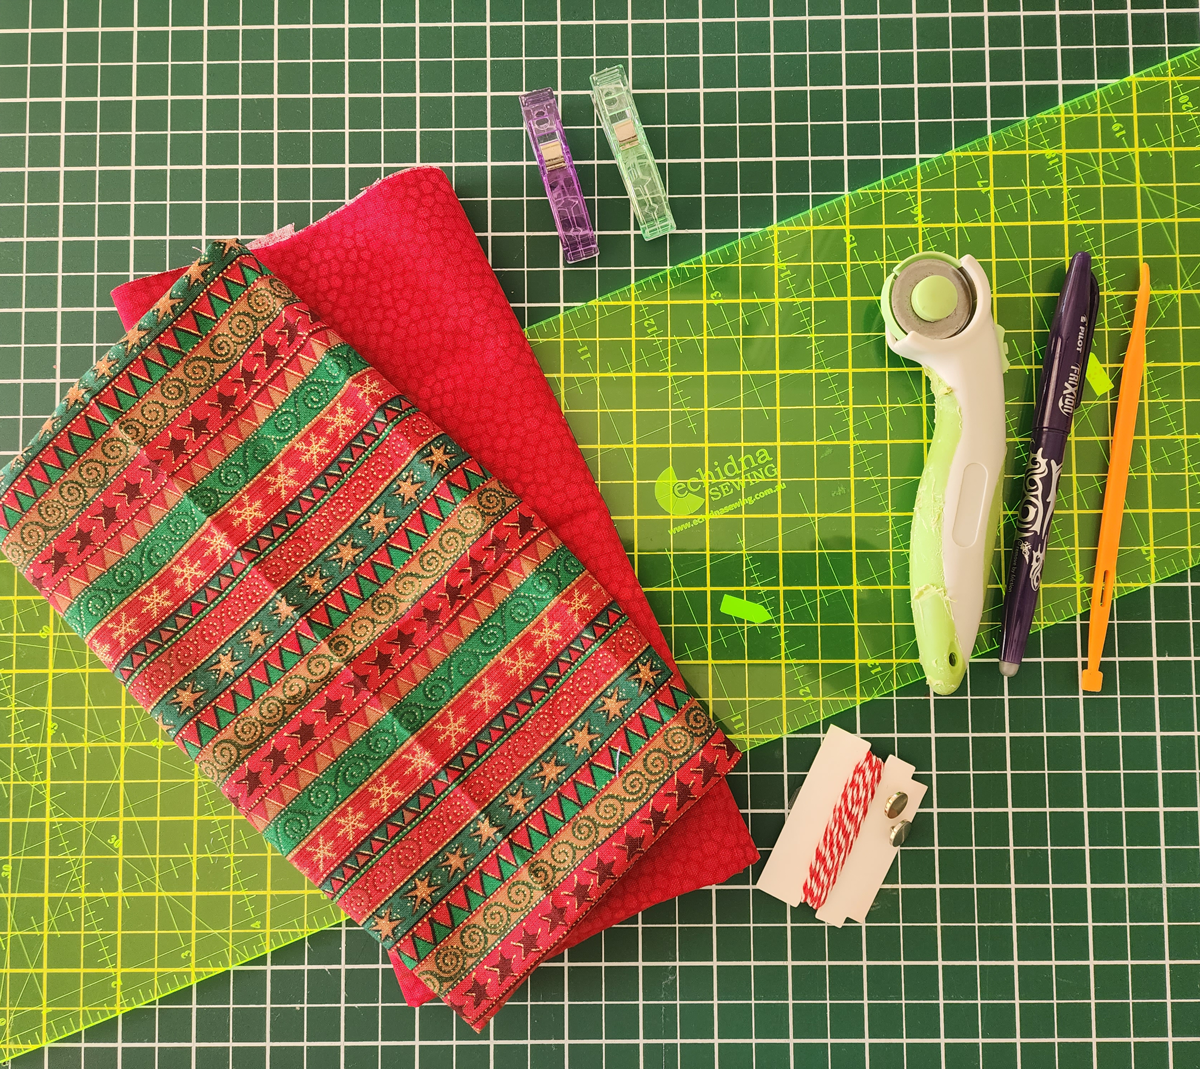
What You Will Need
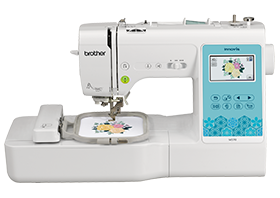
- Sewing Machine
- Fat Quarter of Christmas Print Fabric for Outer
- Fat Quarter of Coordinating Fabric for Lining
- Matching Sewing Thread
- Bobbin
- Spray Starch
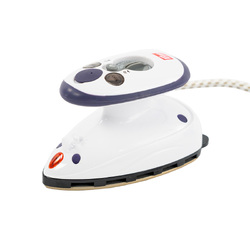
- Mini Iron or Iron
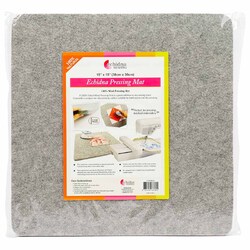
- Wool Pressing Mat
- Quilting Ruler
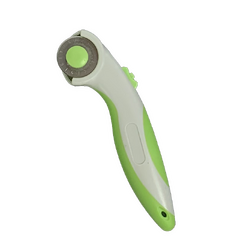
- Rotary Cutter
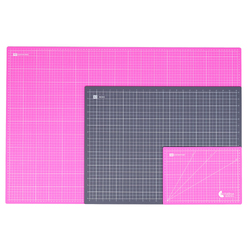
- Cutting Mat
- Fabric Marker
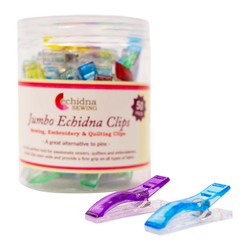
- Pins or Sewing Clips
- Thread Snips
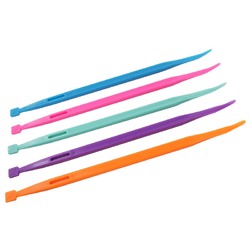
- Point Turner or Blunt Tool
- 2 x Buttons
- Twine
- Hand Sewing Needle
- 5" × 7" Christmas Card
Shop Online
Detailed Instructions
- Wind a bobbin with sewing thread to match your chosen fabric and thread your sewing machine with the same thread.
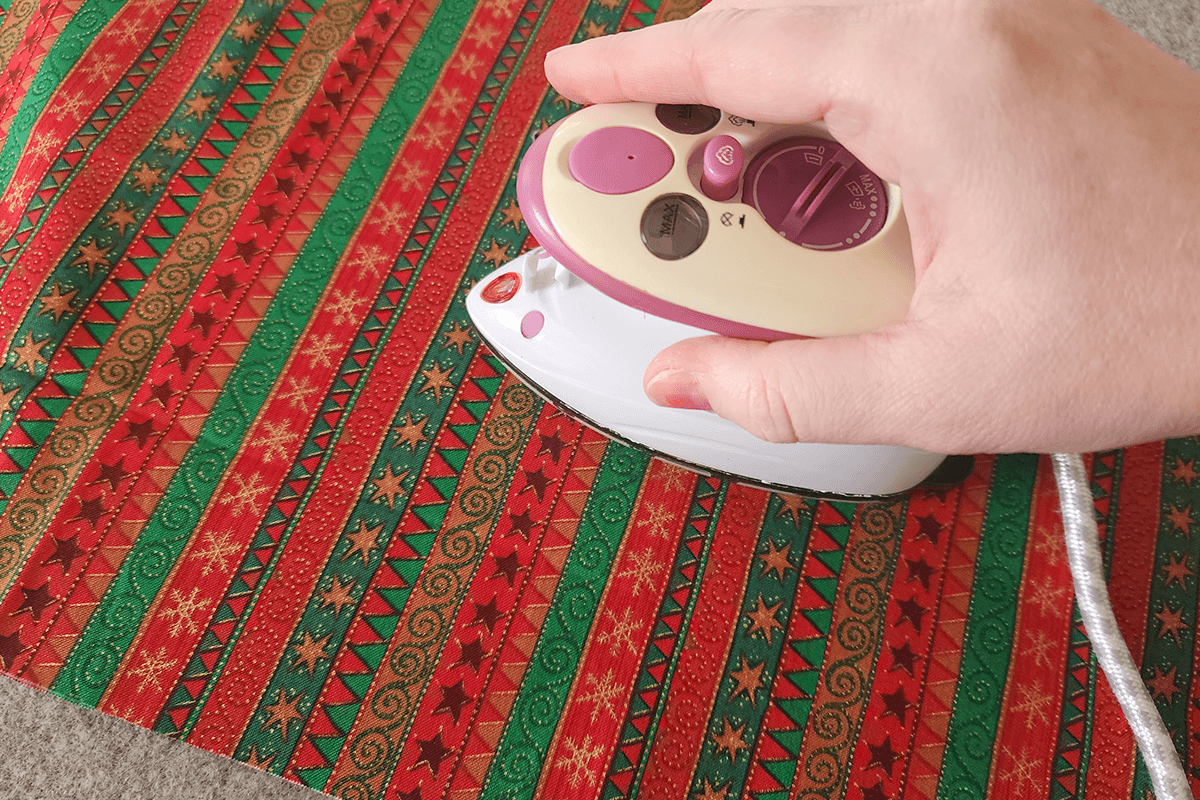
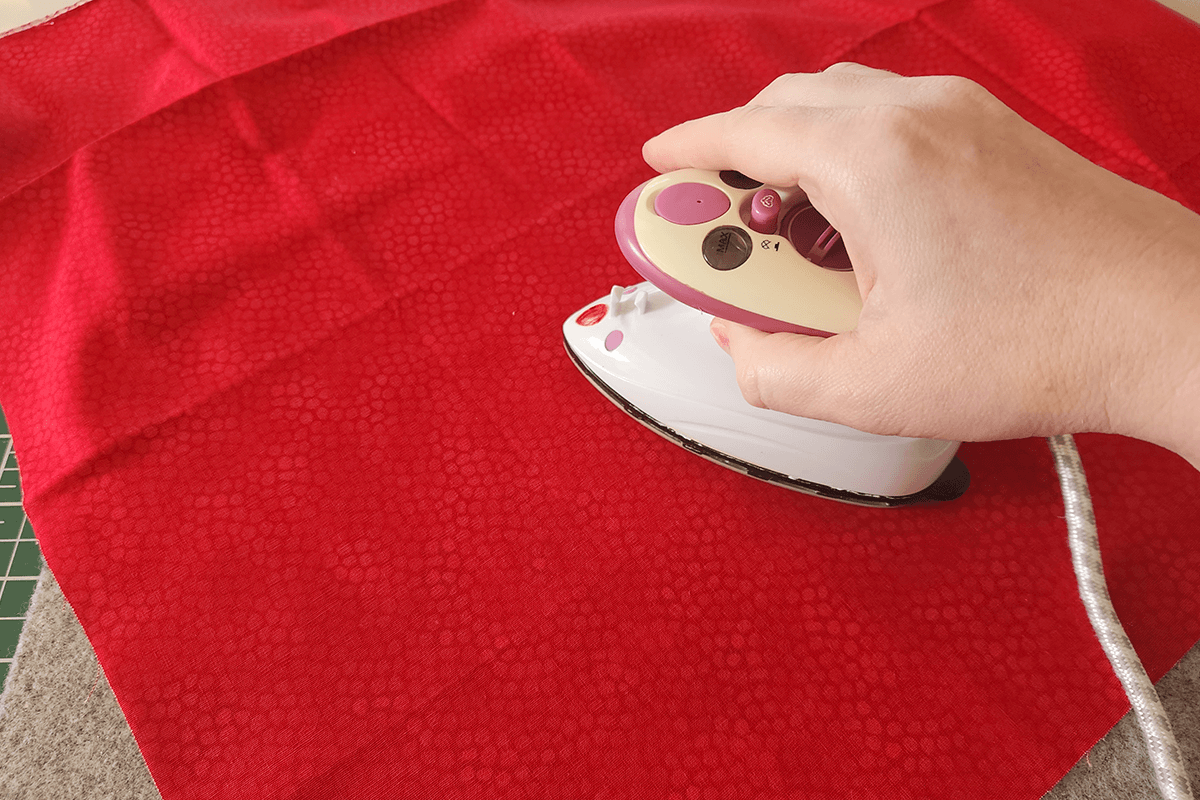
- Lightly spray the outer and lining fabrics with spray starch, then press using a mini iron or iron on a wool pressing mat to remove any creases and give the fabric a crisp finish before measuring and cutting.
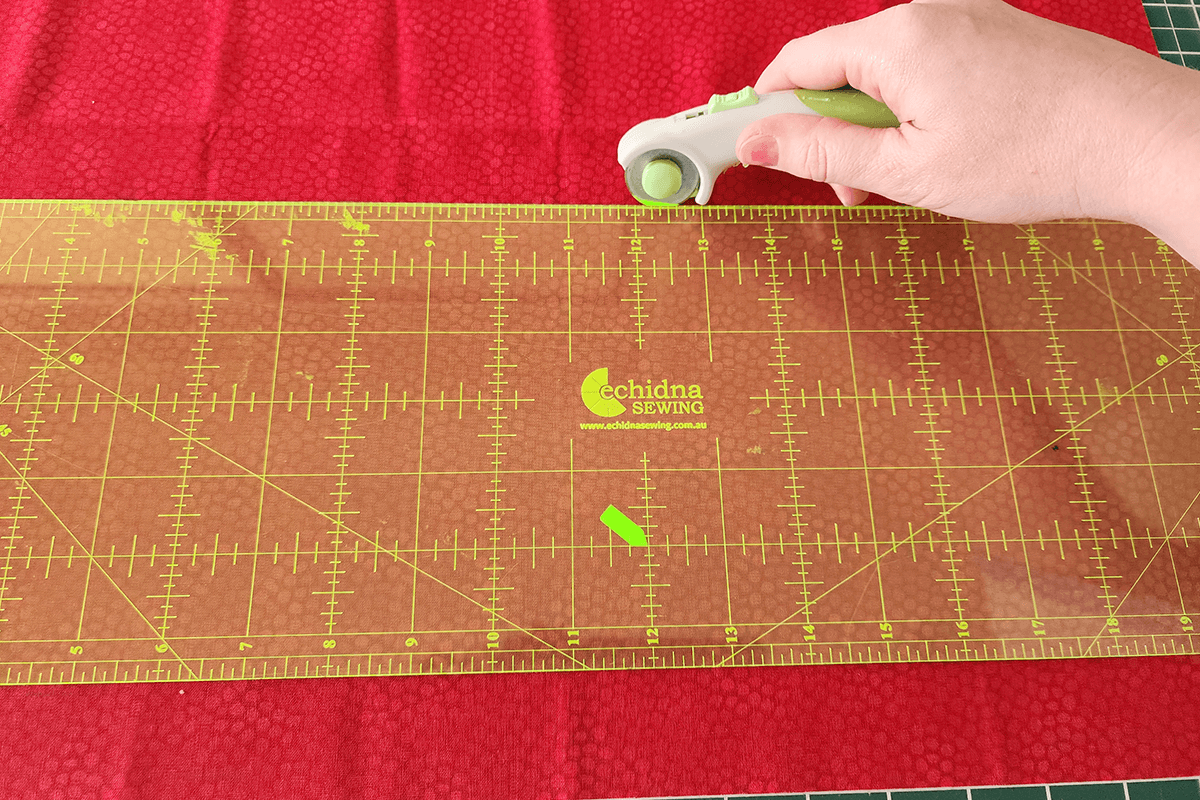
- Using a quilting ruler, rotary cutter and cutting mat, cut two pieces of fabric measuring 16" × 8" (40.5 × 20.5 cm), one Christmas print for the outer and one coordinating fabric for the lining.
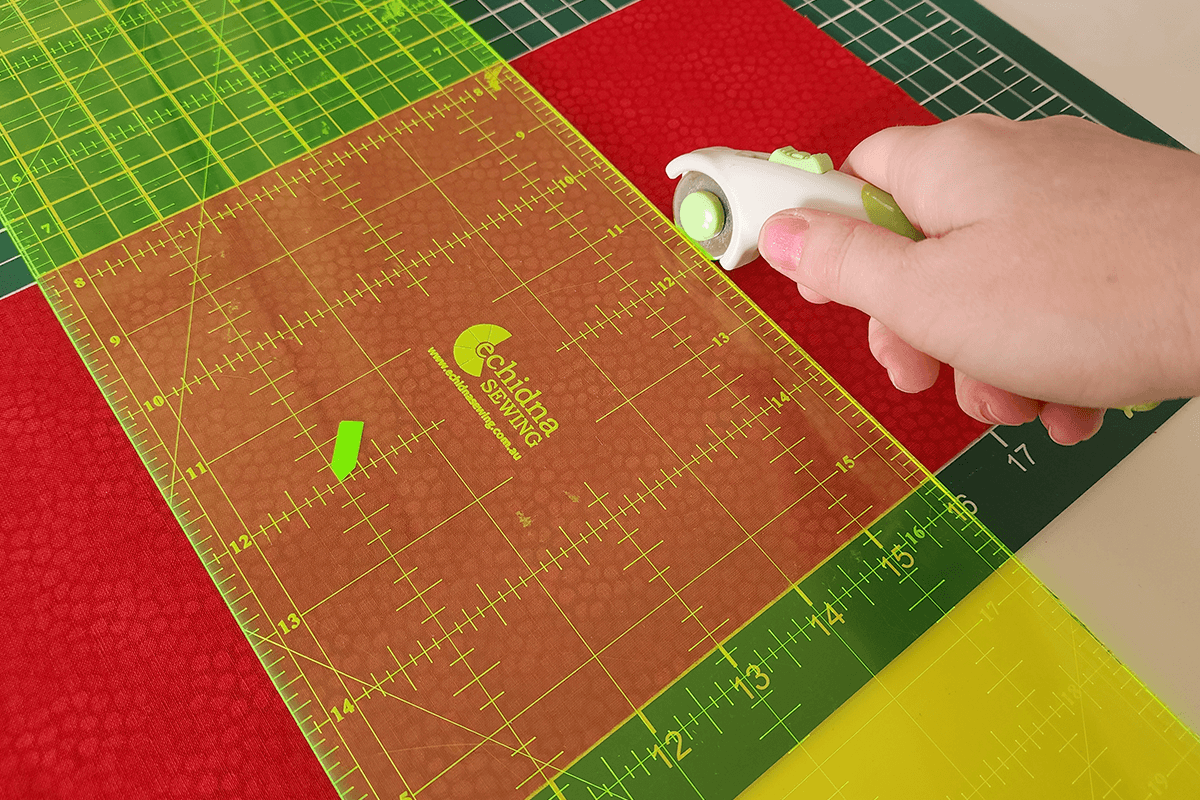
- Place the outer and lining fabric pieces right sides together directly on top of each other, carefully aligning all four edges.
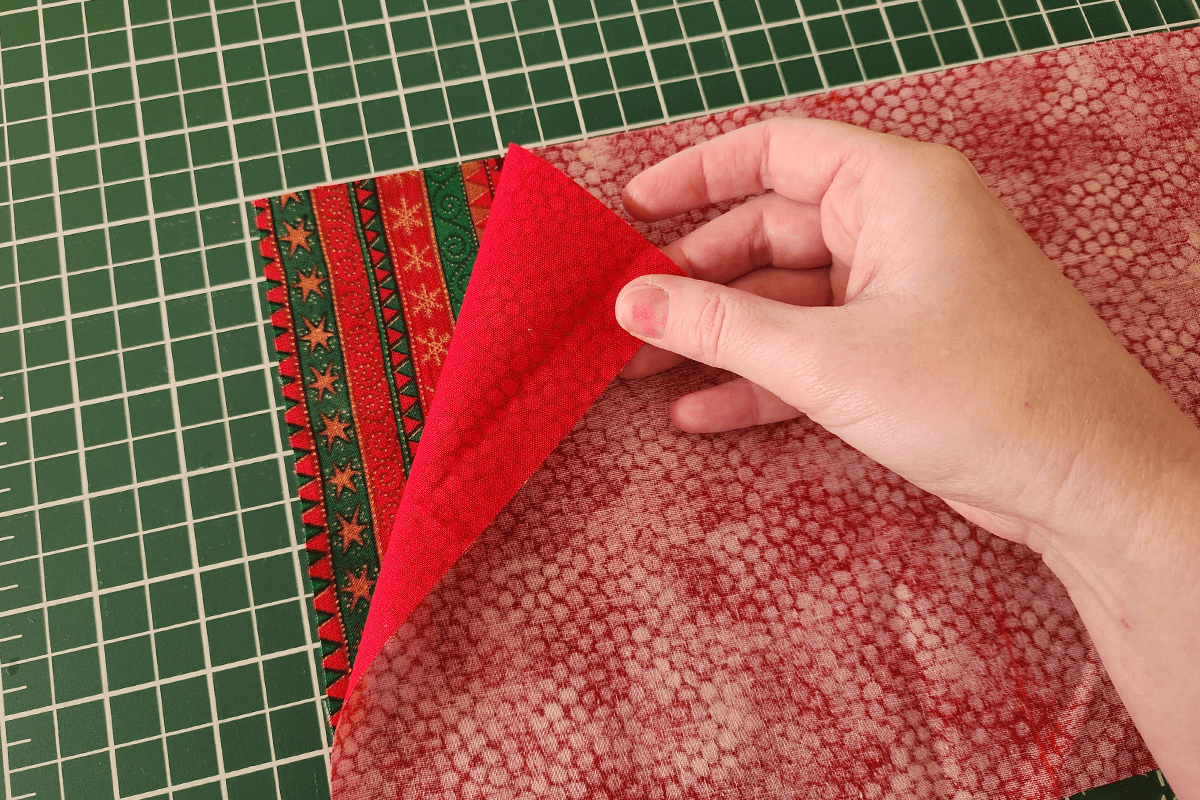
- Fold both pieces in half together so the short edges meet and finger press along the fold. This will allow both sides of the envelope points to be cut evenly and ensure the outer and lining remain exactly the same shape.
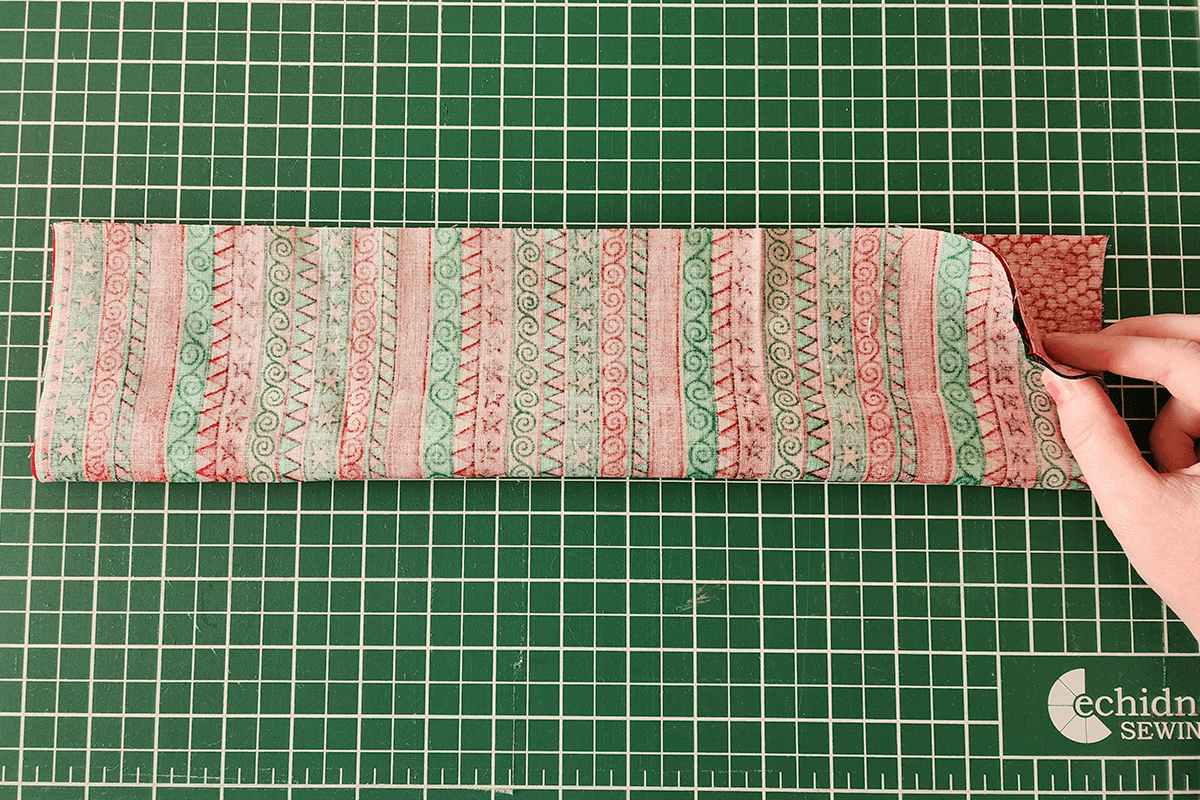
- Along one end of the folded fabric, measure 3" (7.5 cm) from the edge and make a mark.
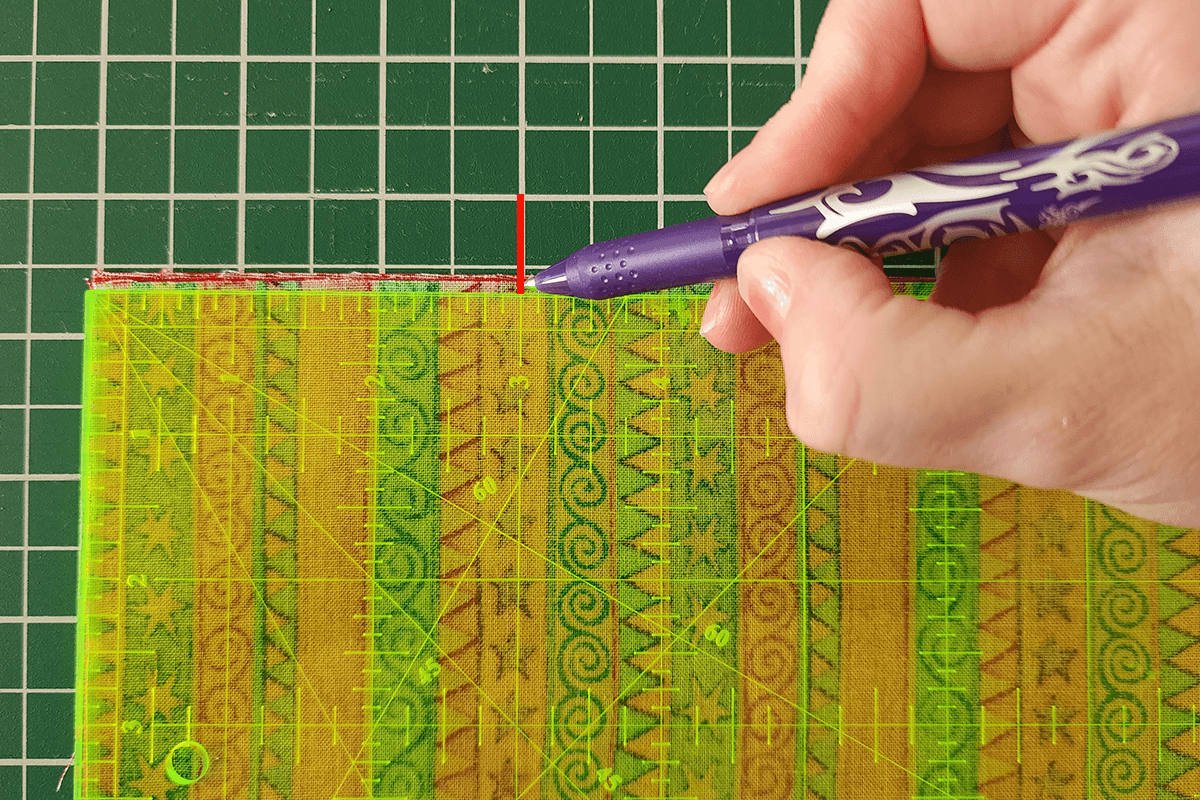
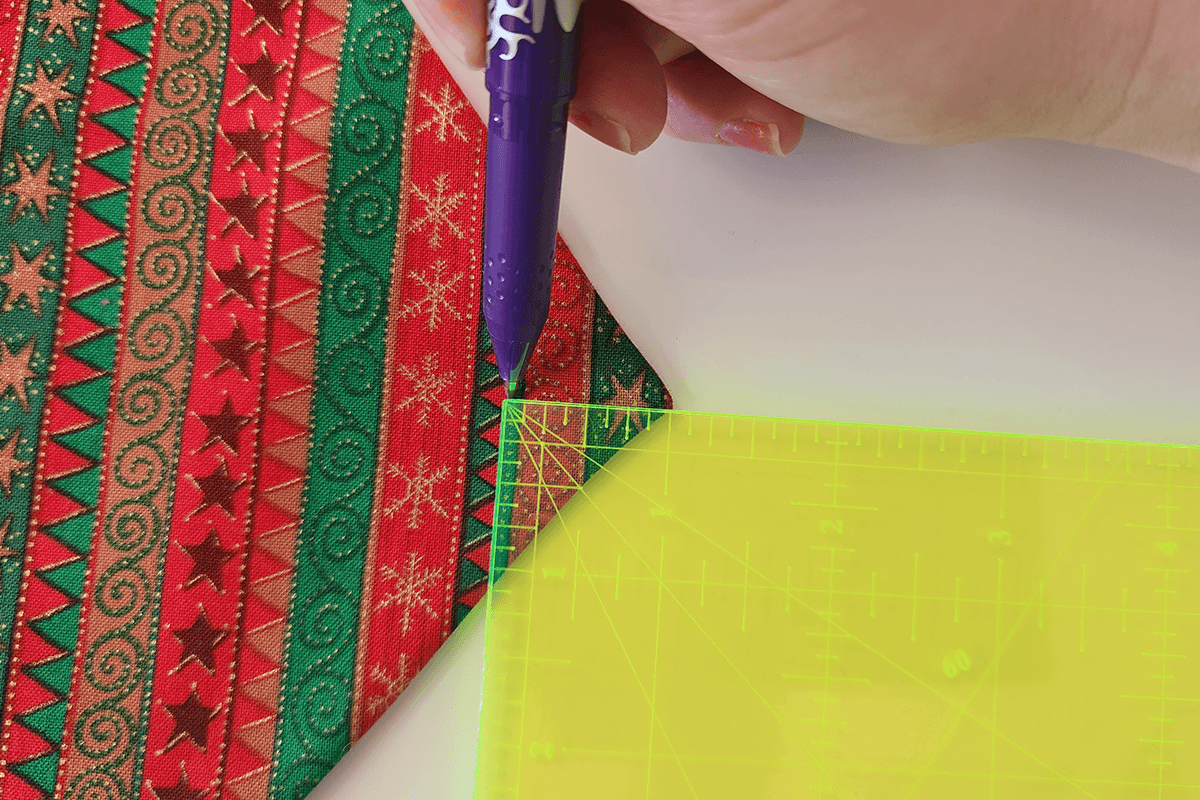
- Using a quilting ruler and fabric marker, draw a diagonal line from the 3" (7.5 cm) mark to the centre folded corner.
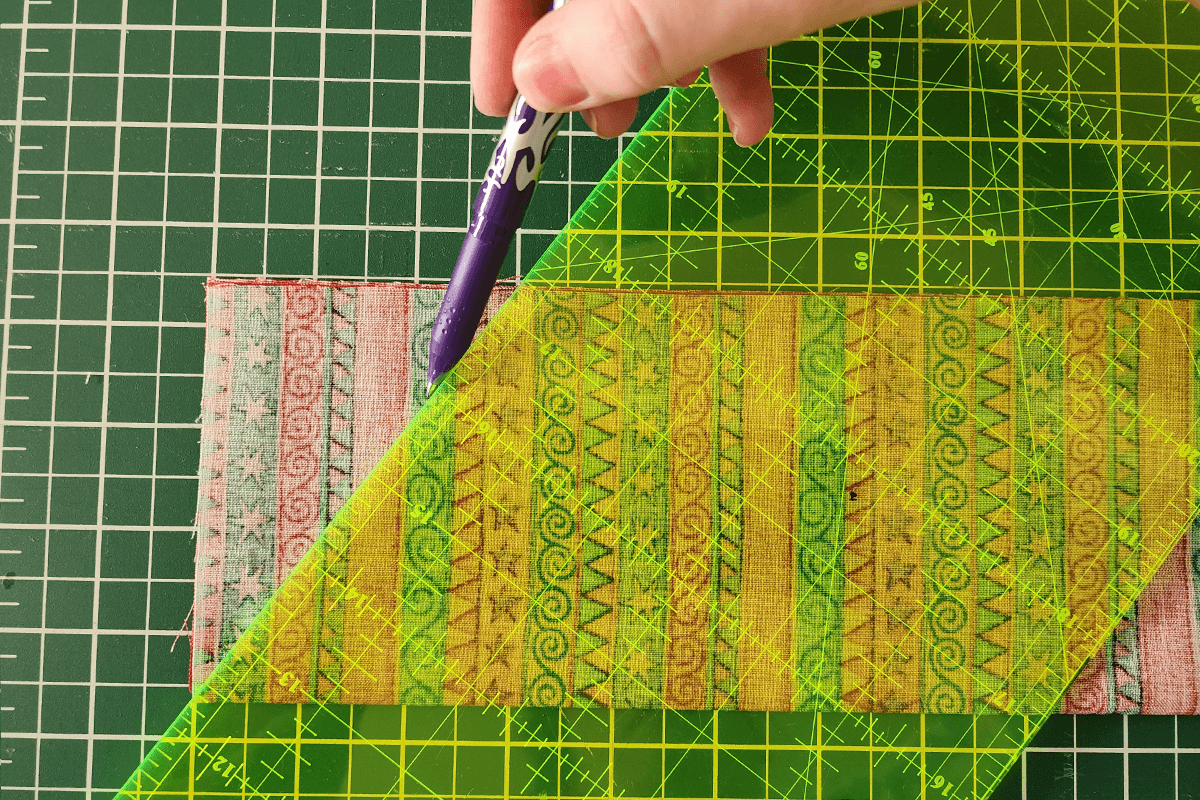
- Repeat at the opposite end. Measure 3" (7.5 cm) from the right edge and make a mark.
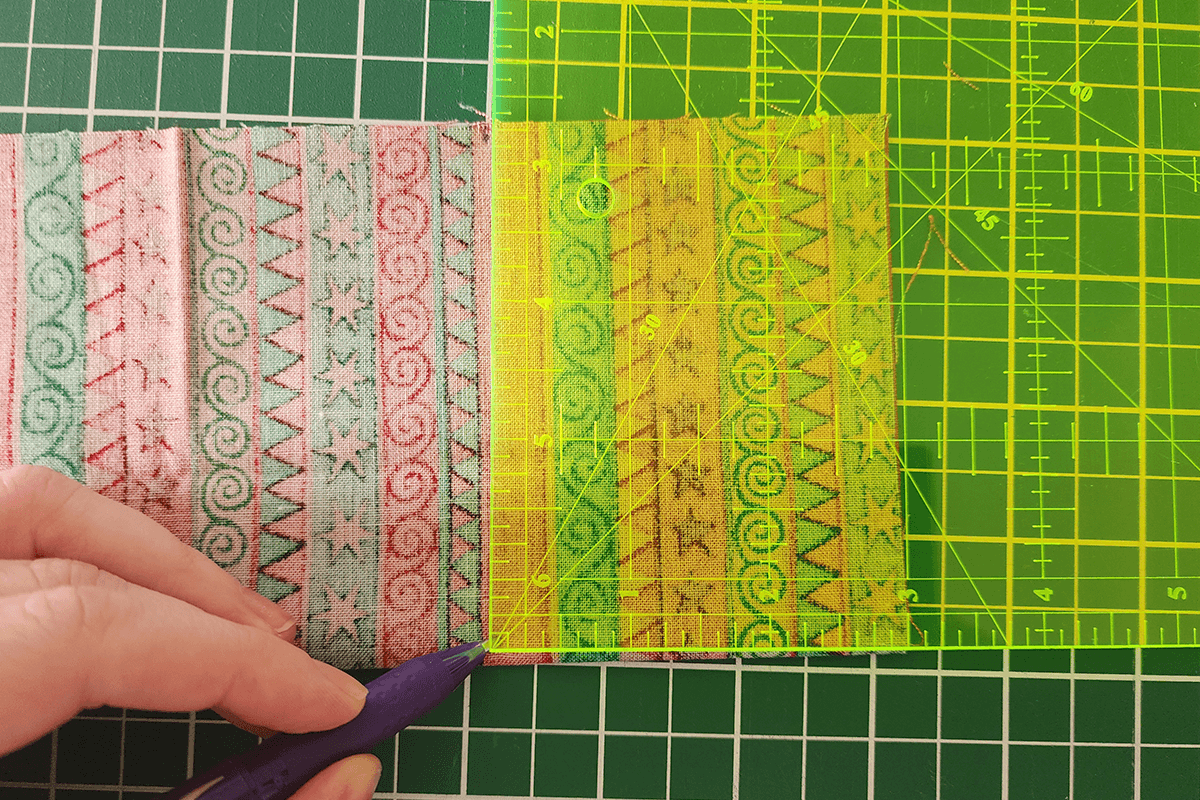
- Using a quilting ruler and fabric marker, draw a diagonal line from the 3" (7.5 cm) mark to the top right corner. Ensure both diagonal lines are going in the same direction.
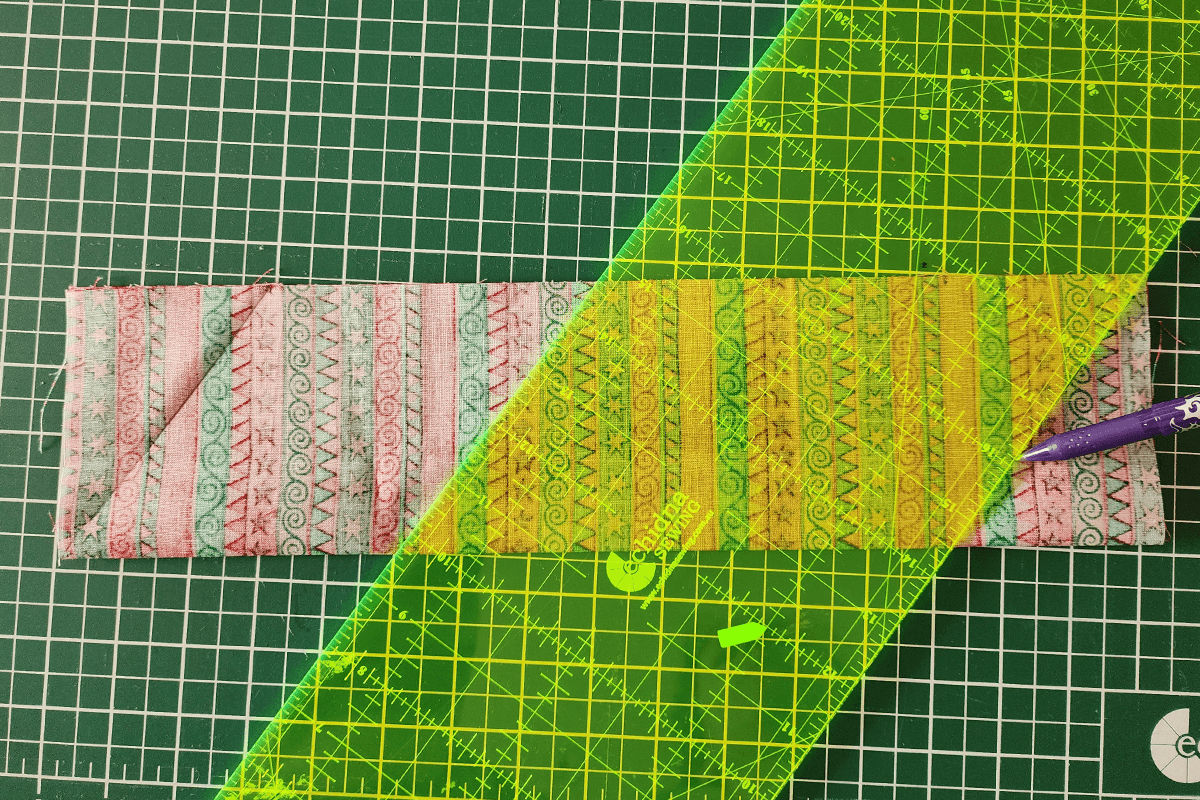
- Cut along both marked diagonal lines through both layers of fabric.
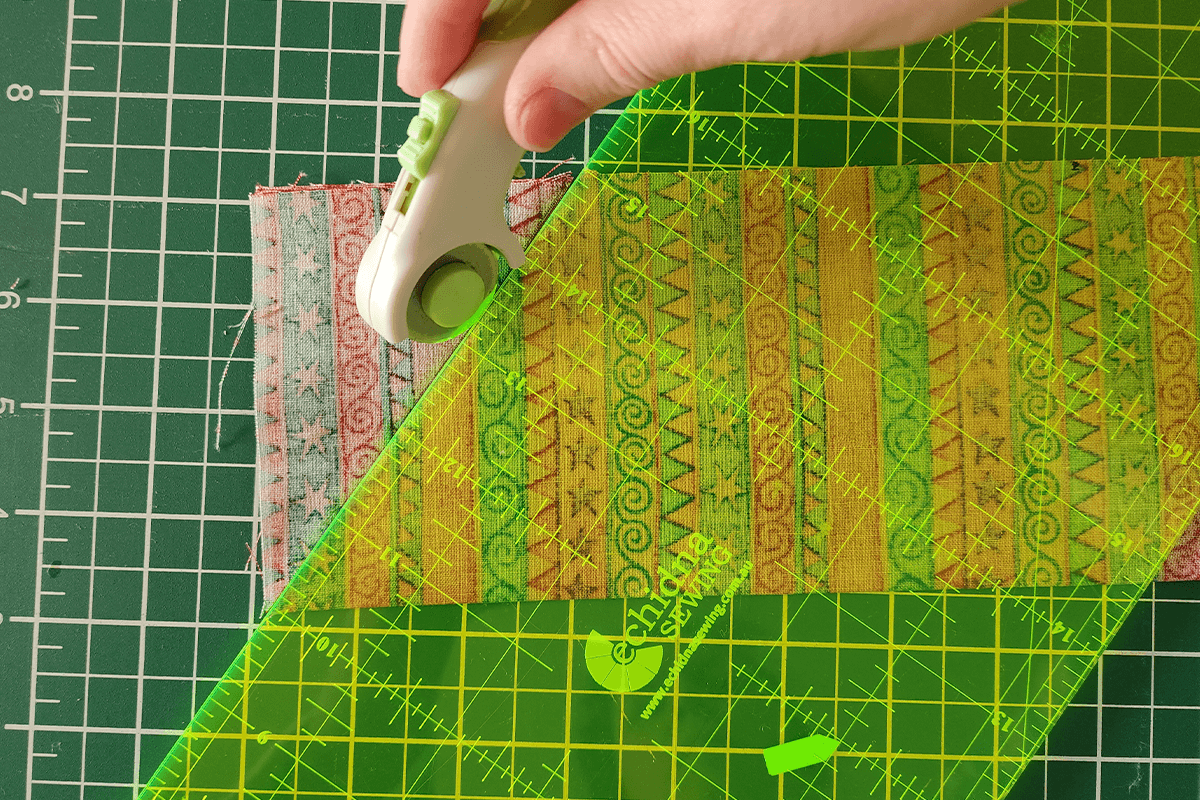
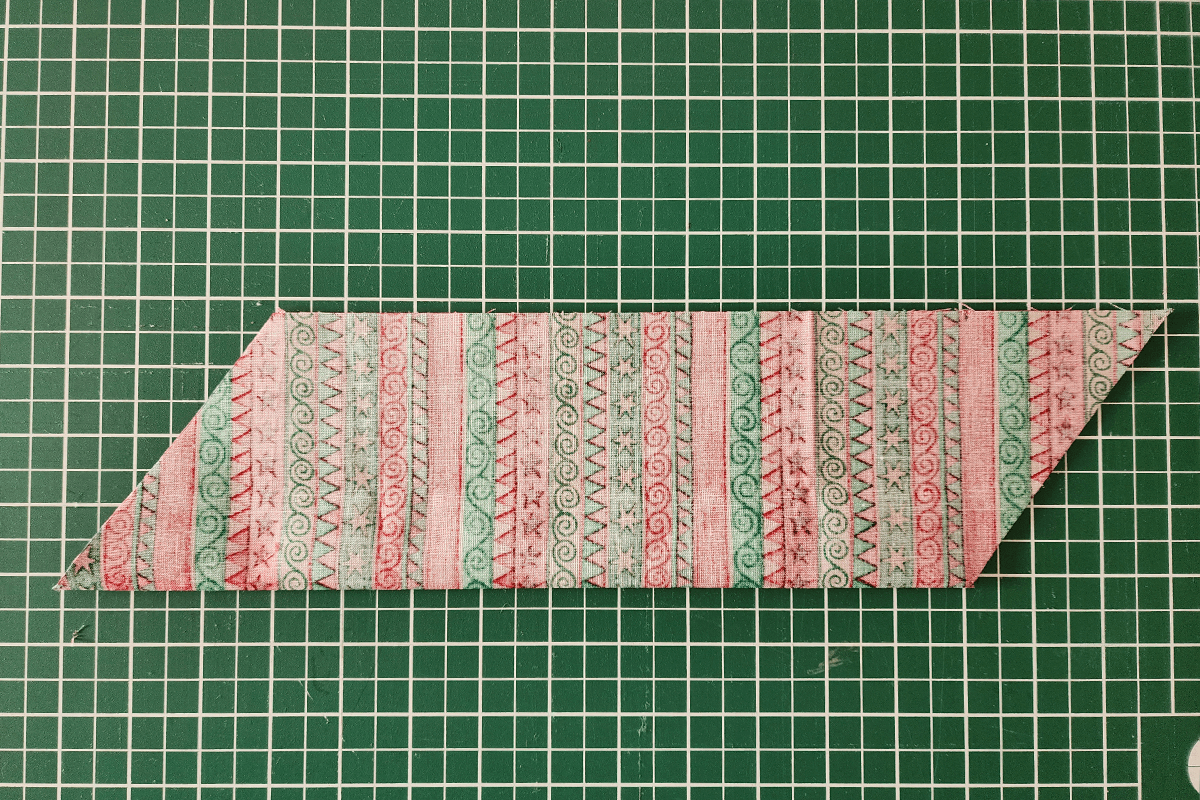
- Once both diagonal sections have been removed, the folded fabric should form a parallelogram shape, as shown below.
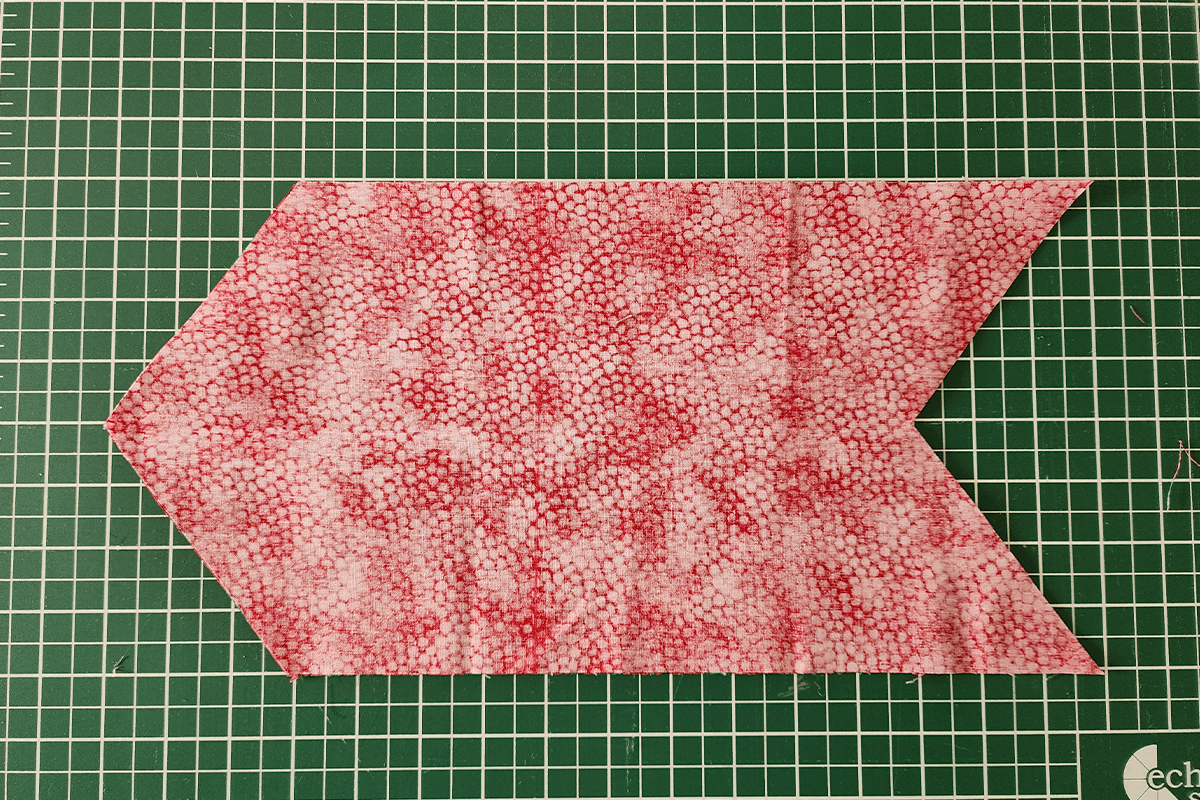
- Unfold the fabrics. You should now have the envelope shape, with a pointed flap at one end and an inverted point at the opposite end.
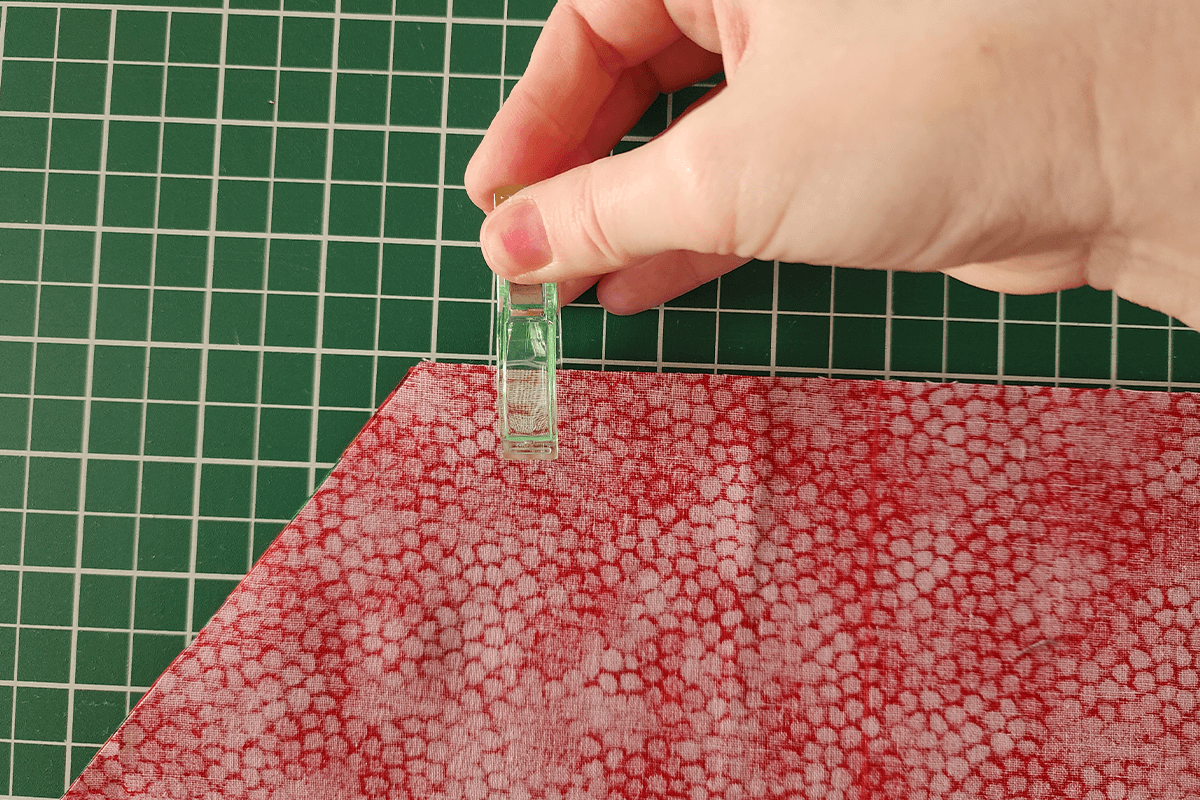
- Keeping the two fabric pieces right sides together, pin or clip around the perimeter.
- Set your sewing machine to a straight stitch with a 2.5 mm stitch length.
- Starting along the middle of the right-hand straight edge, sew around the perimeter using a ¼" (6 mm) seam allowance, leaving a 3" (7.5 cm) opening along this edge for turning. Positioning the opening towards the centre will allow it to be hidden inside the envelope when the lower section is folded up to form the pocket. Remember to backstitch at the beginning and end of your stitching to secure the threads.
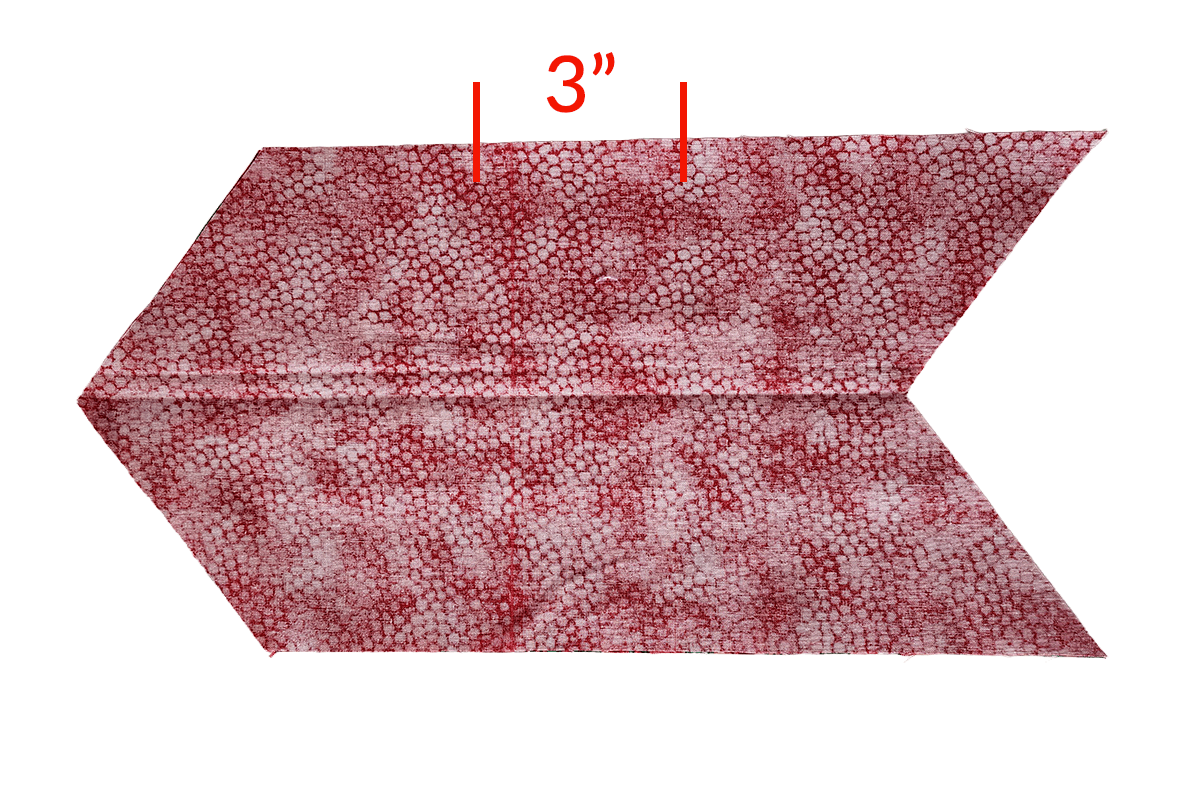
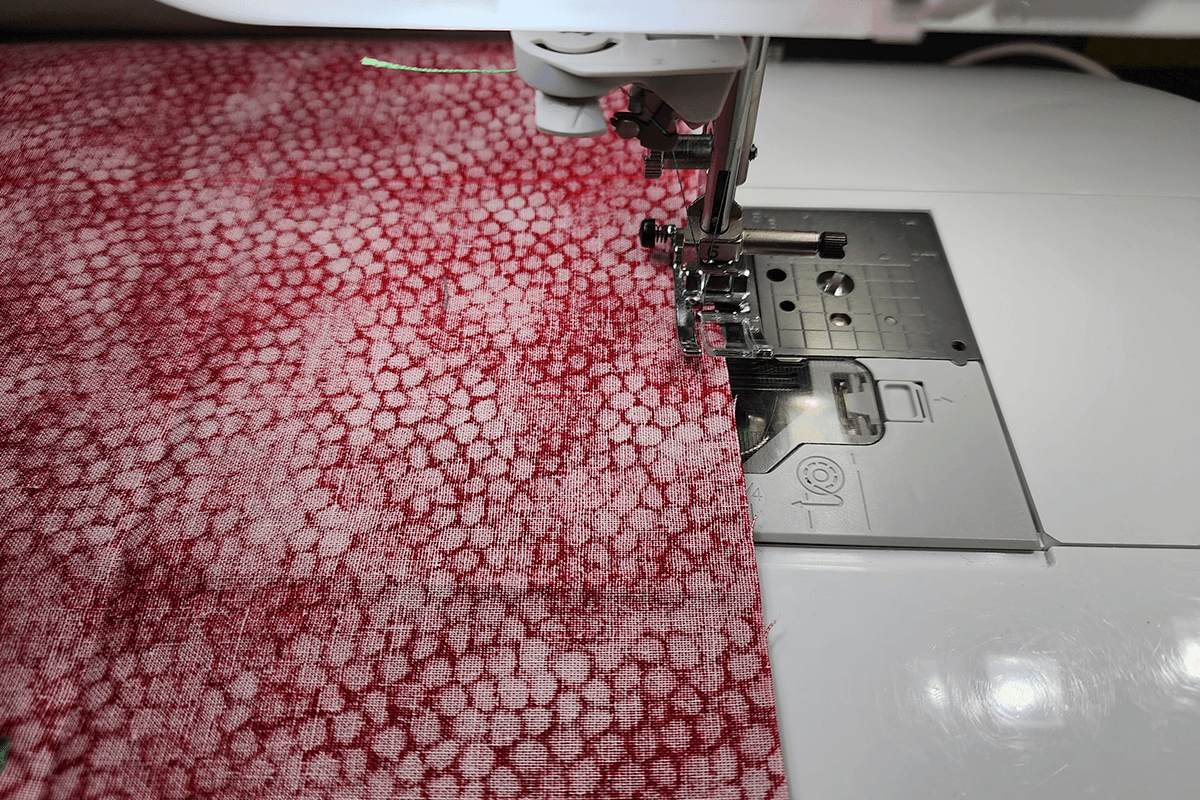
Tip: When you reach each pointed corner, stop with the needle down in the fabric and raise the presser foot. Turn the fabric to align the next edge, lower the presser foot, then continue sewing. Keeping the needle down will help hold the fabric in position while you turn.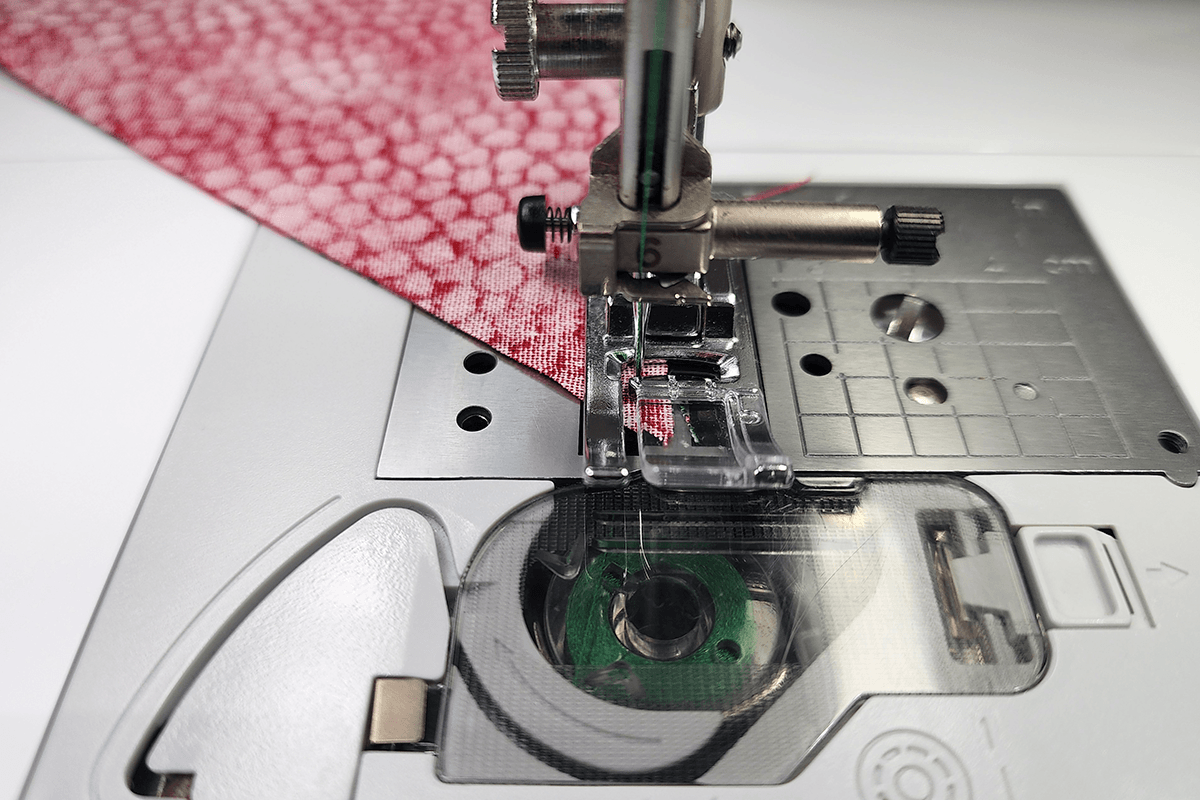
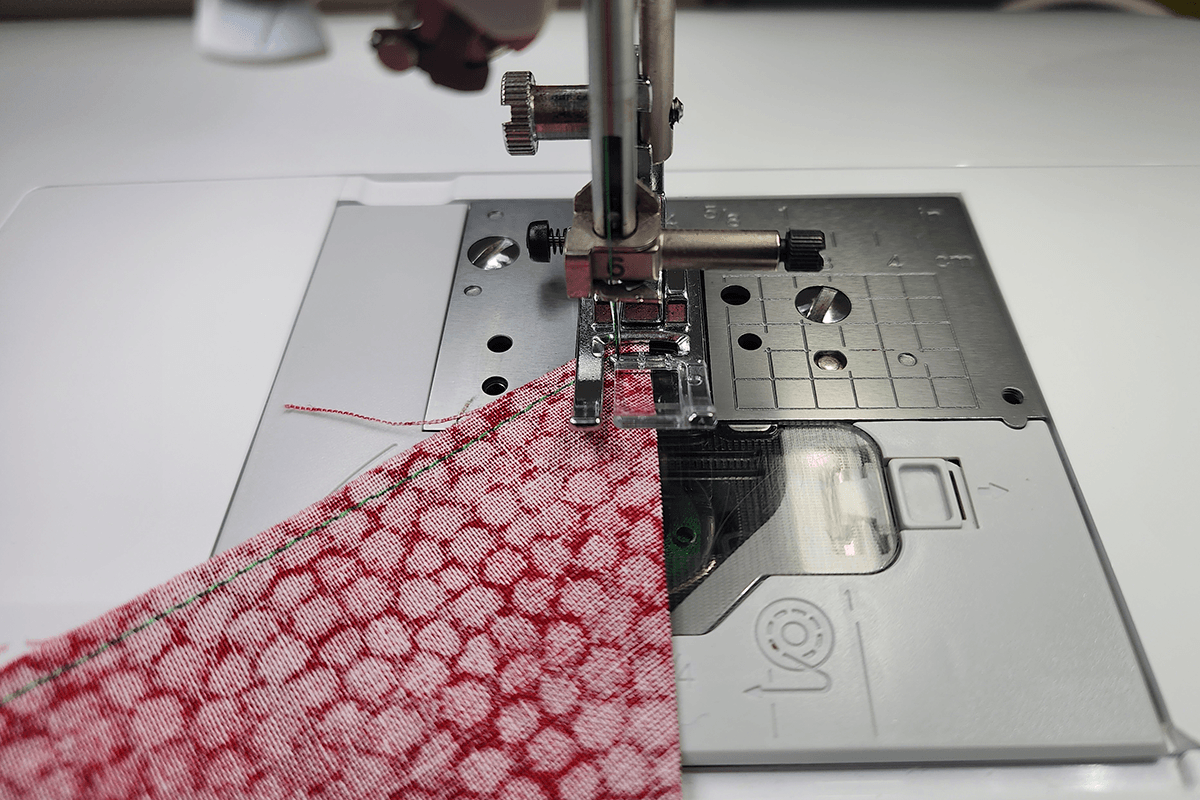
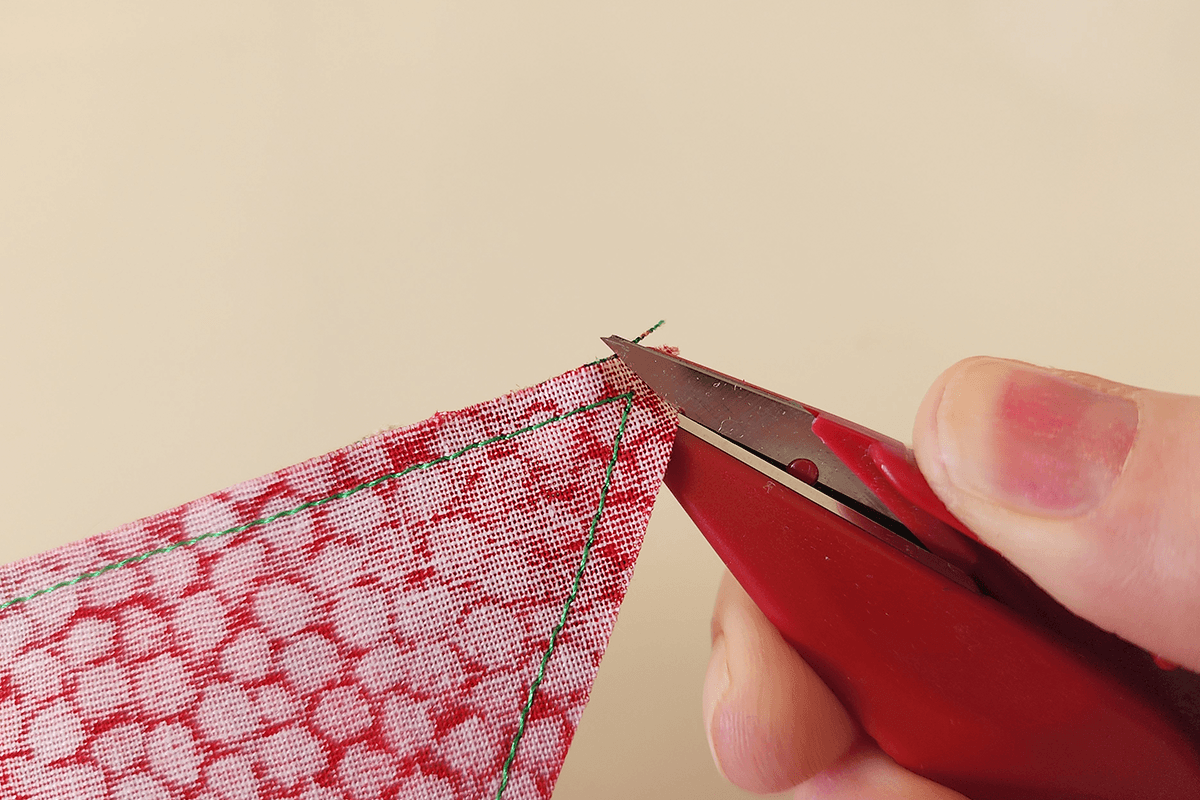
- Using thread snips, carefully trim and clip the seam allowance around the pointed corners, taking care not to cut through the stitching. This will reduce bulk and help the points sit neatly once turned.
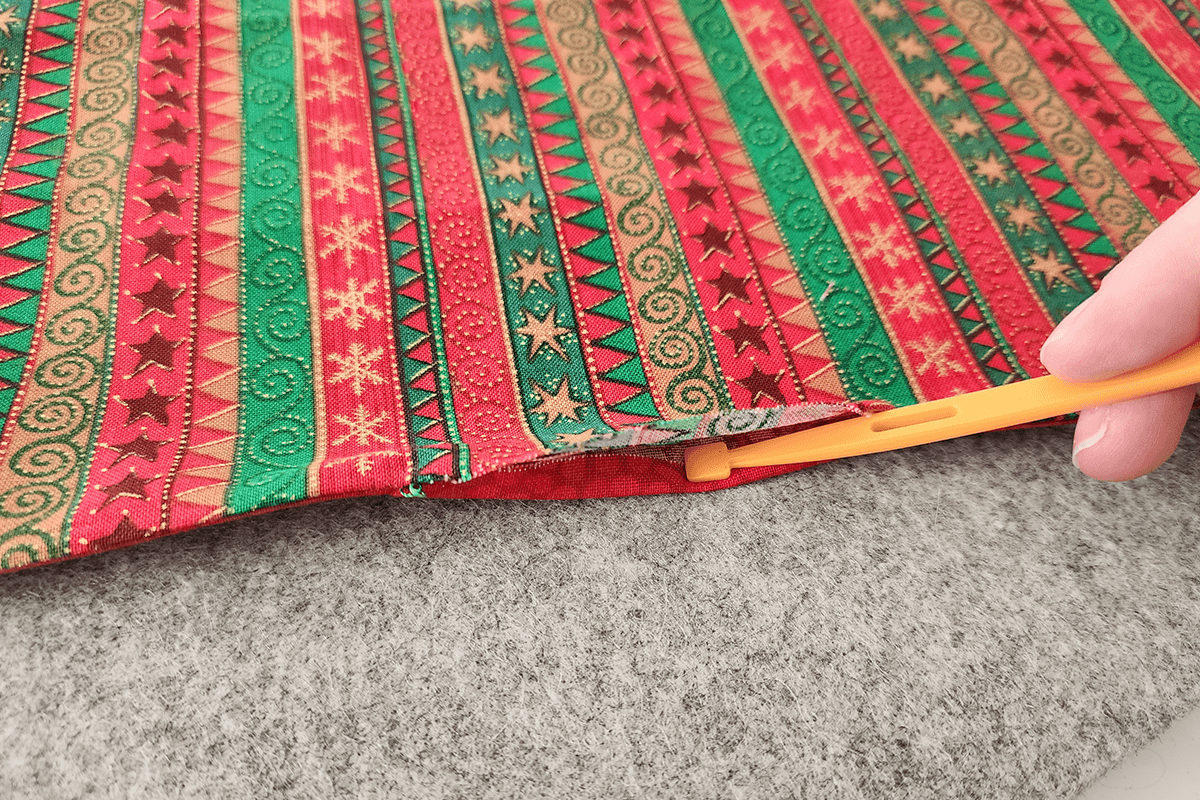
- Turn the envelope right side out through the opening. Carefully push out the points and edges using a point turner or other blunt tool.
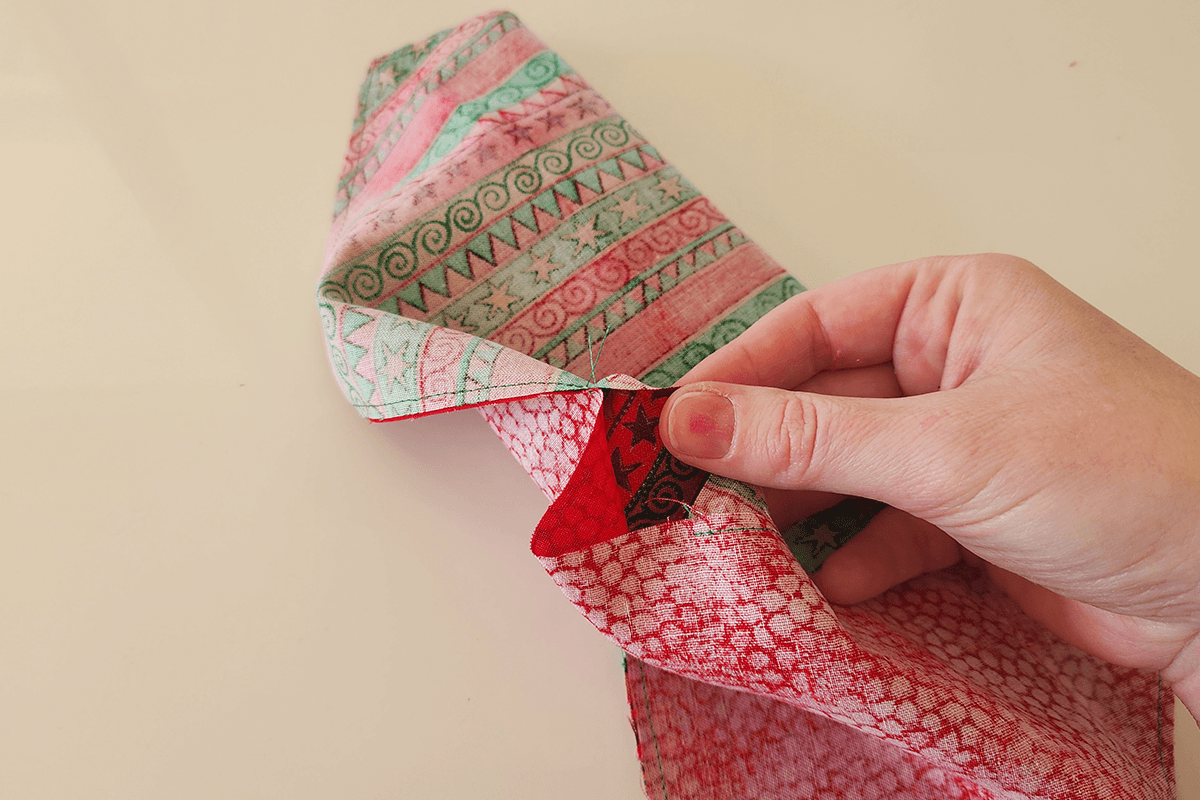
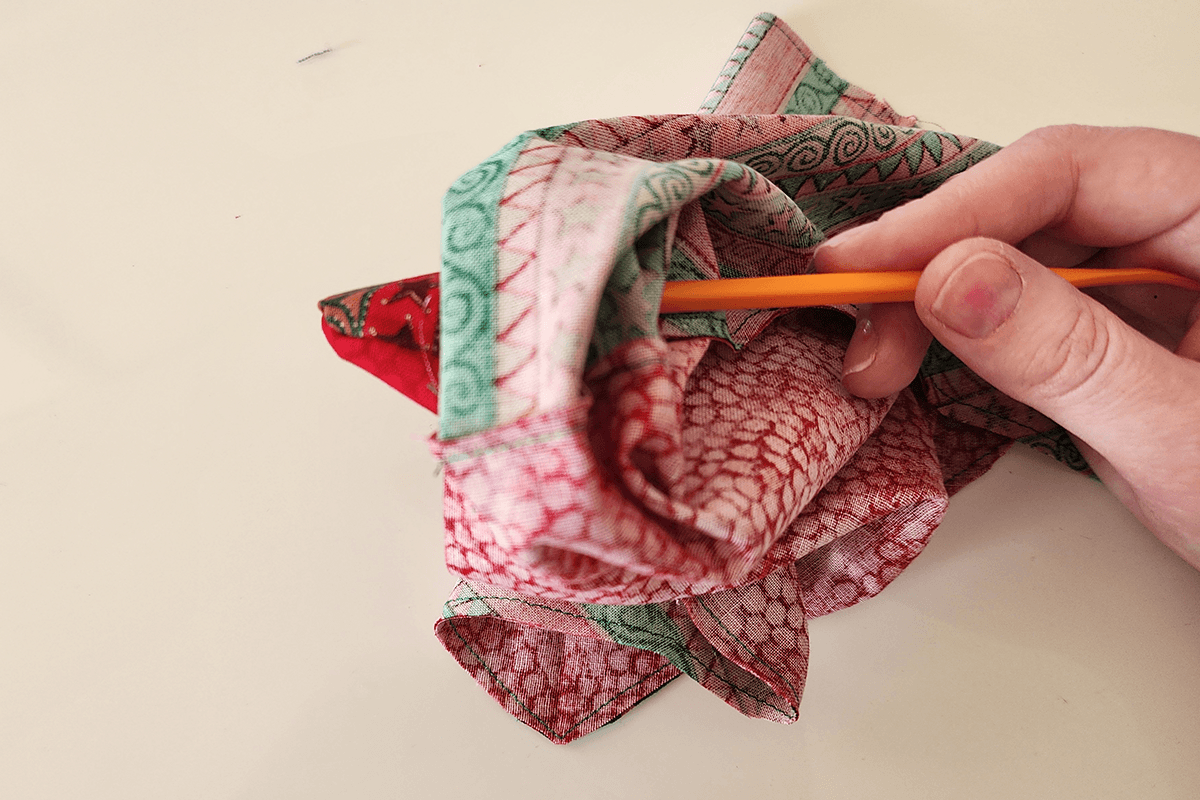
- Once turned, your envelope shape should look like this.
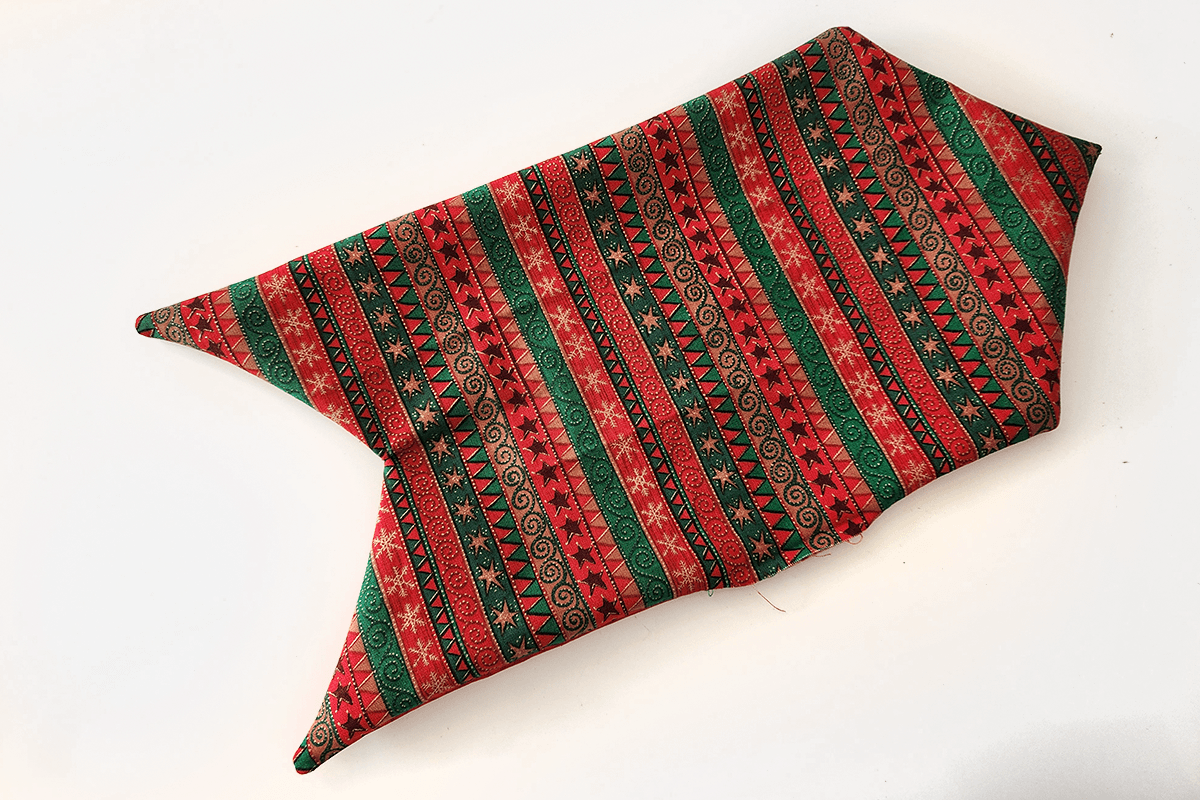
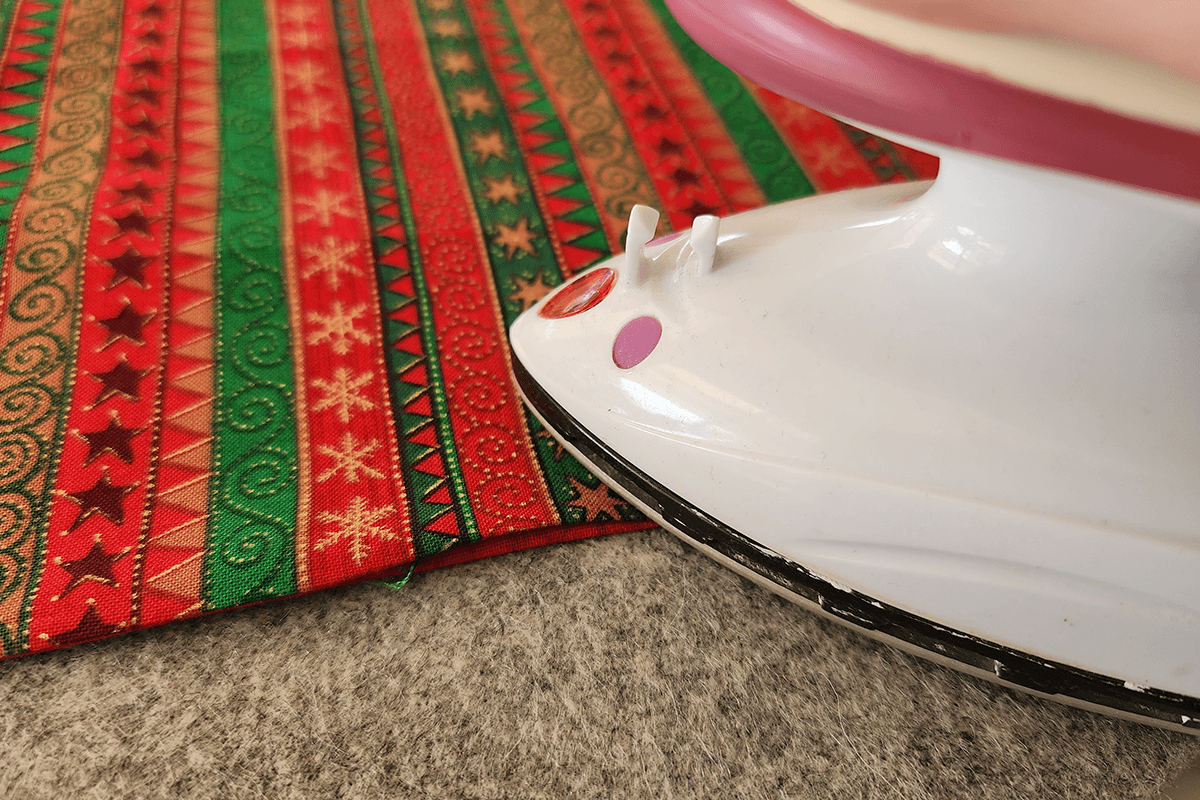
- Press the entire envelope flat. Pay particular attention to the edges, points and turning opening.
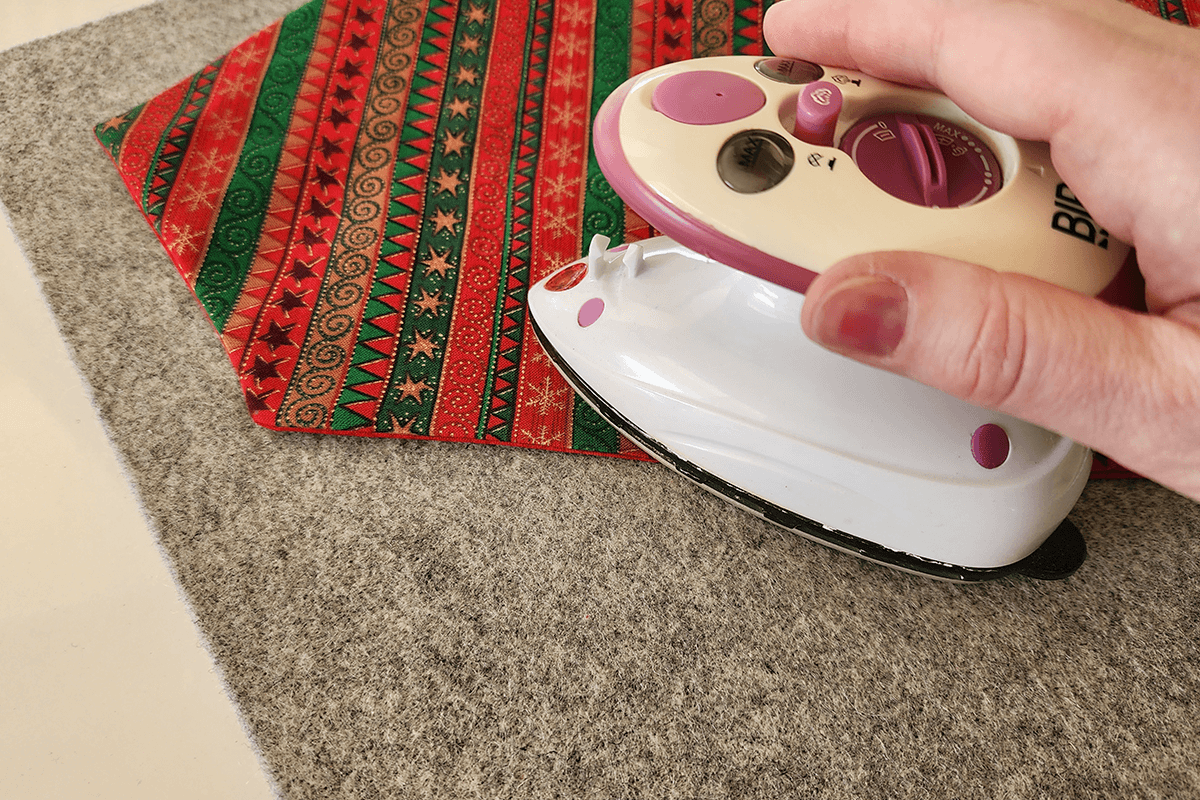
- Fold the raw edges of the turning opening towards the inside by approximately ¼" (6 mm), making sure they align neatly with the sewn edge.
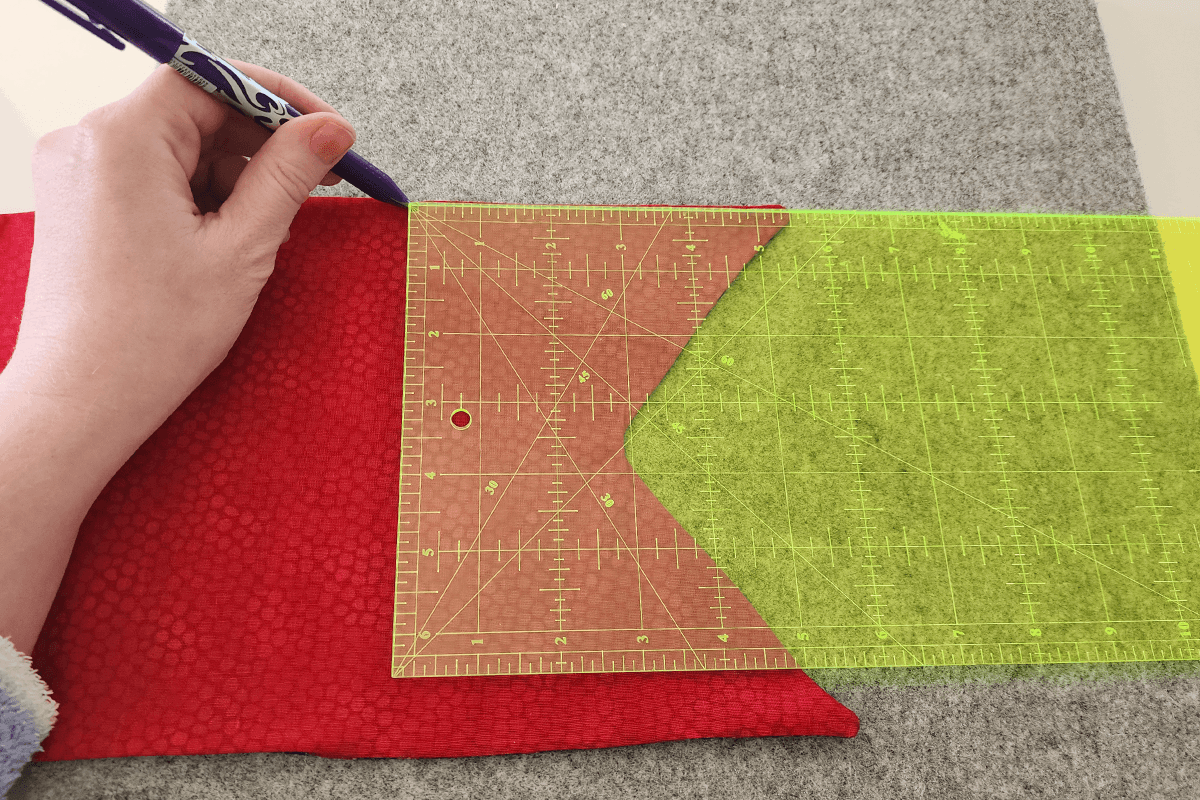
- With the lining facing upwards, measure 5½" (14 cm) up from the bottom point.
- Fold the lower section upwards at the 5½" (14 cm) mark to form the envelope pocket, aligning the sides evenly.
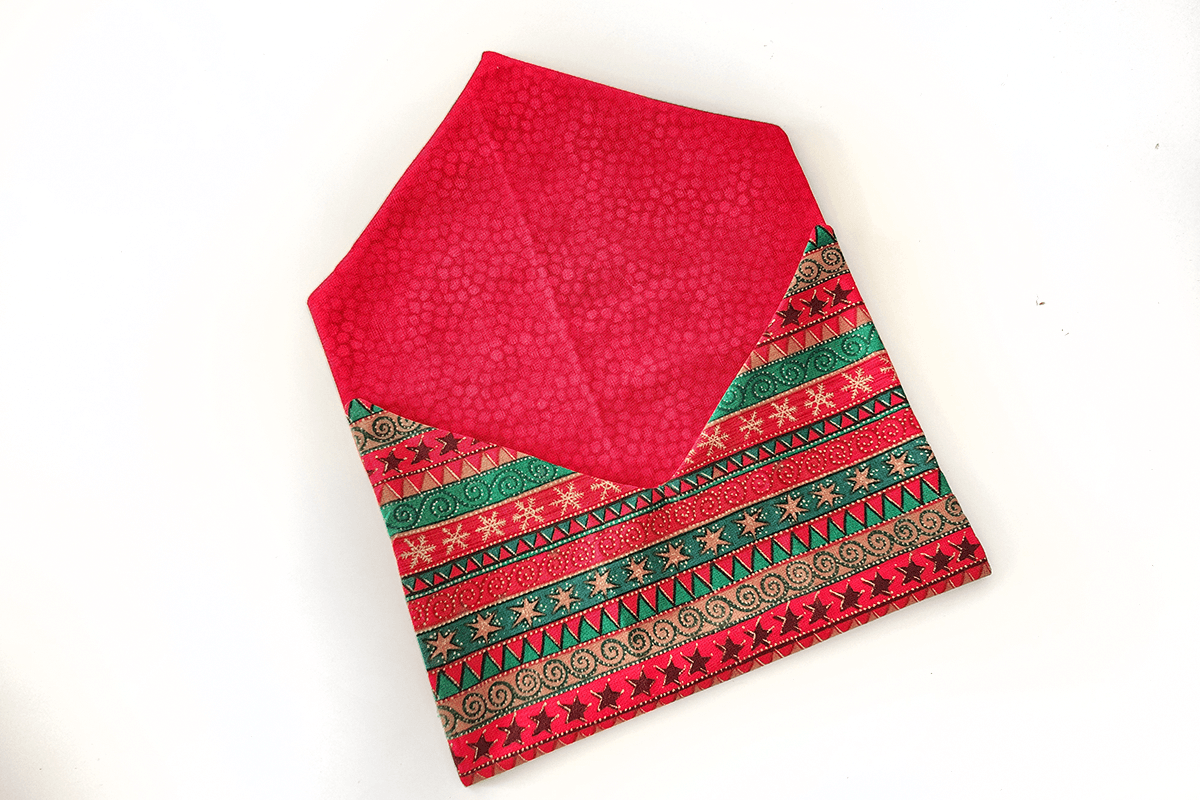
- Pin or clip the folded section in position.
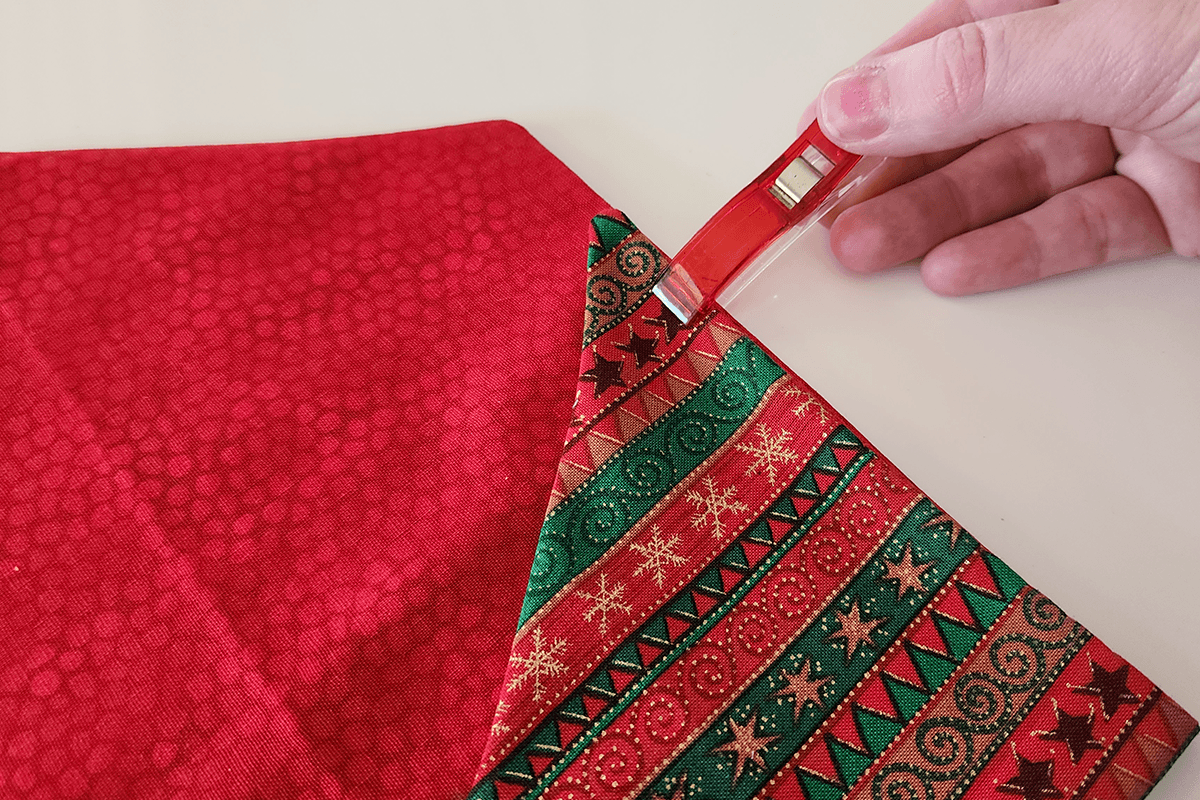
- Topstitch approximately ¼" (6 mm) from the edge, starting at the top of the folded section and sewing down one side of the pocket. Remember to backstitch at the beginning and end to secure the stitching.
This topstitching secures the folded pocket and closes the turning opening.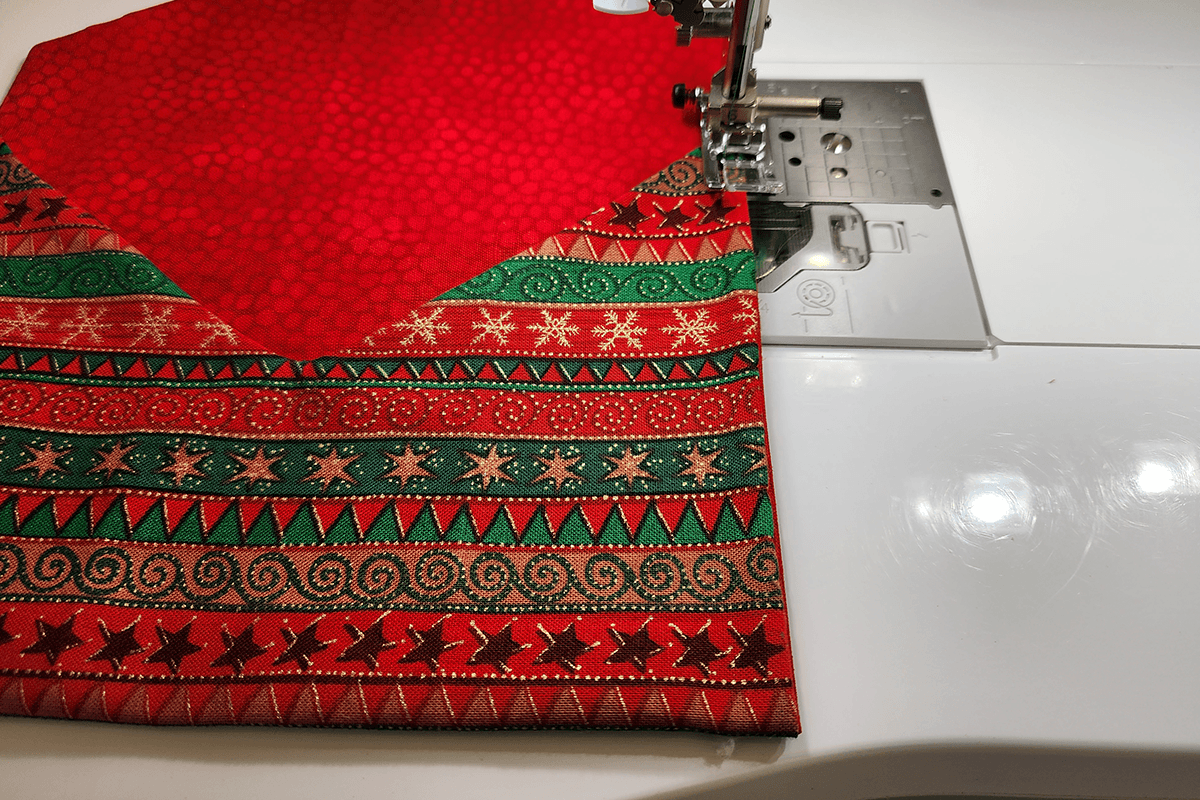
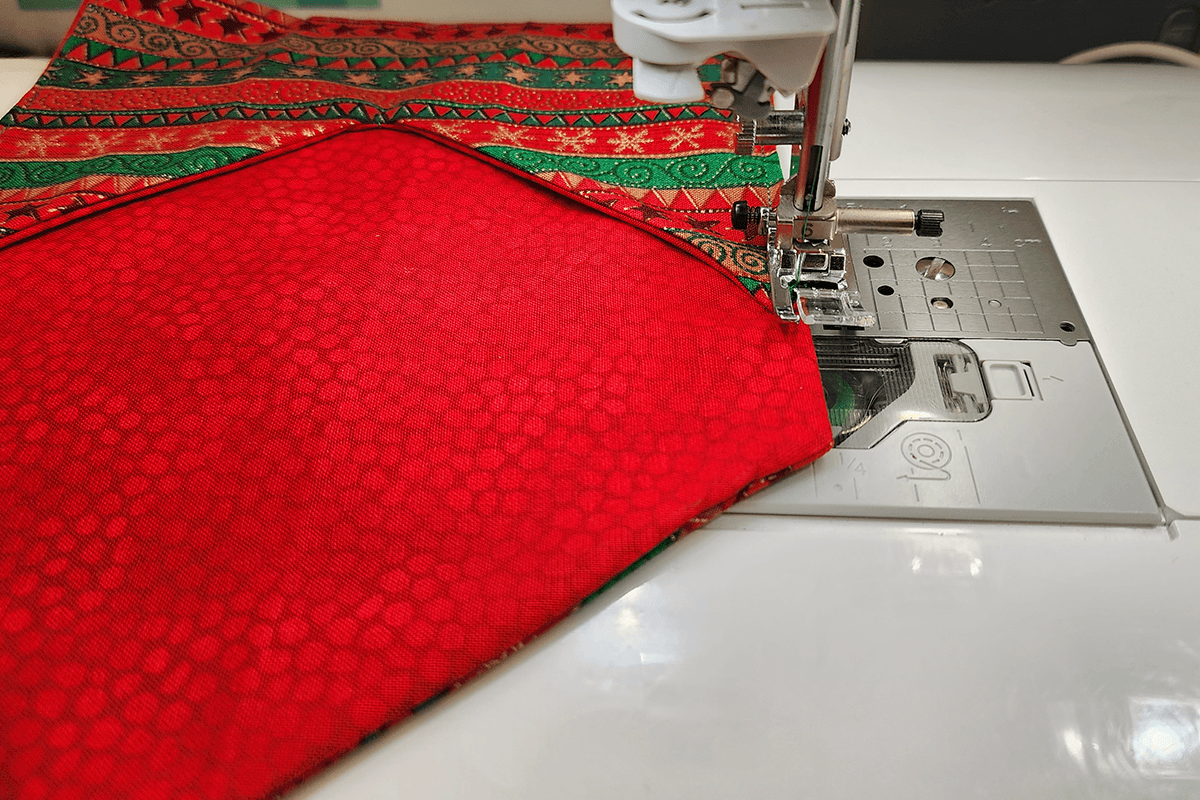
- Repeat the topstitching on the opposite side of the pocket.
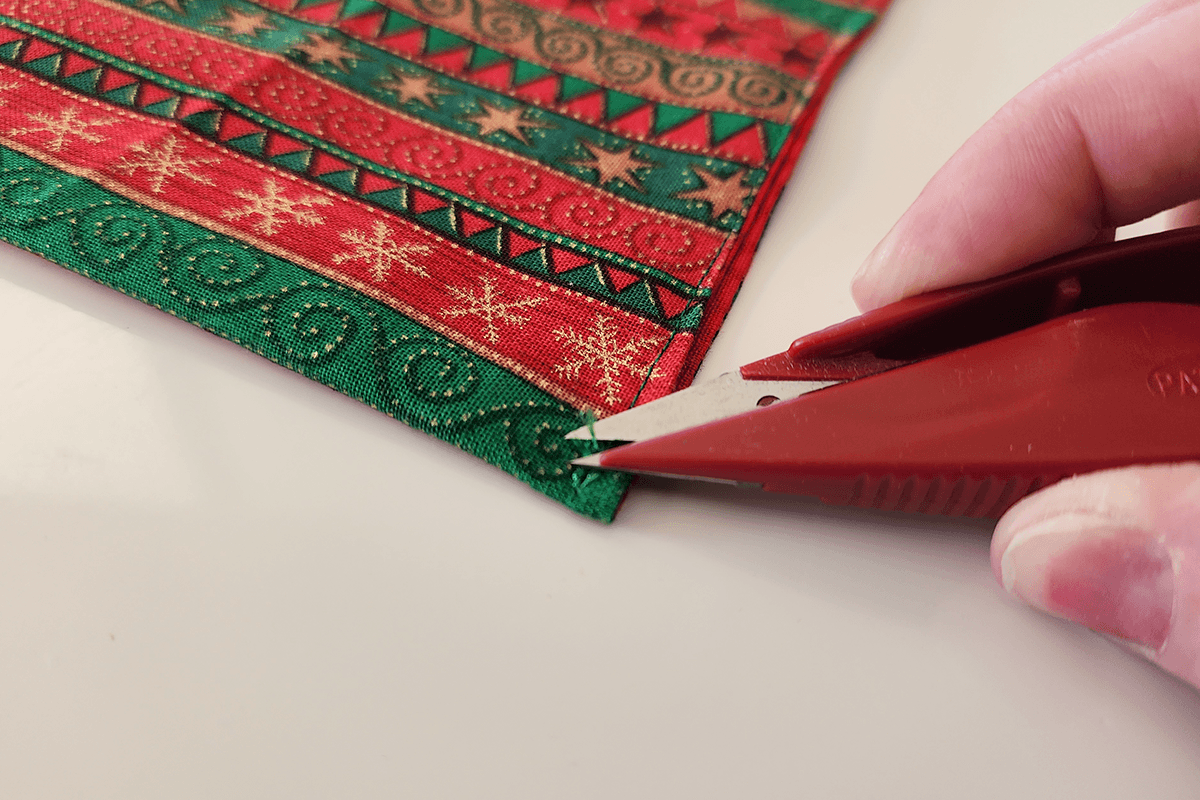
- Trim all thread tails.
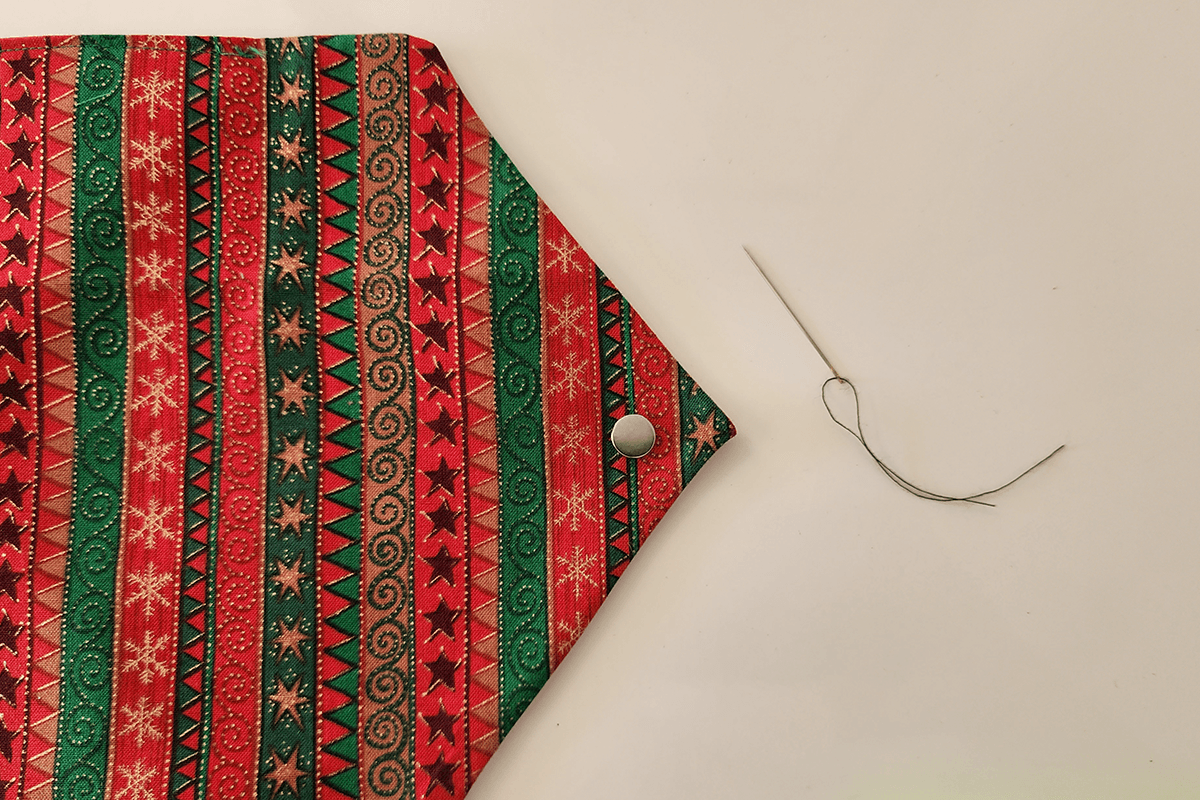
- Sew a button securely near the point of the envelope flap on the outer fabric side, using a hand sewing needle and matching thread.
- With the outer fabric facing upwards, close the flap and measure approximately 1" (2.5 cm) down from the point, then sew the second button securely onto the front of the envelope.
- Insert your 5" × 7" Christmas card.
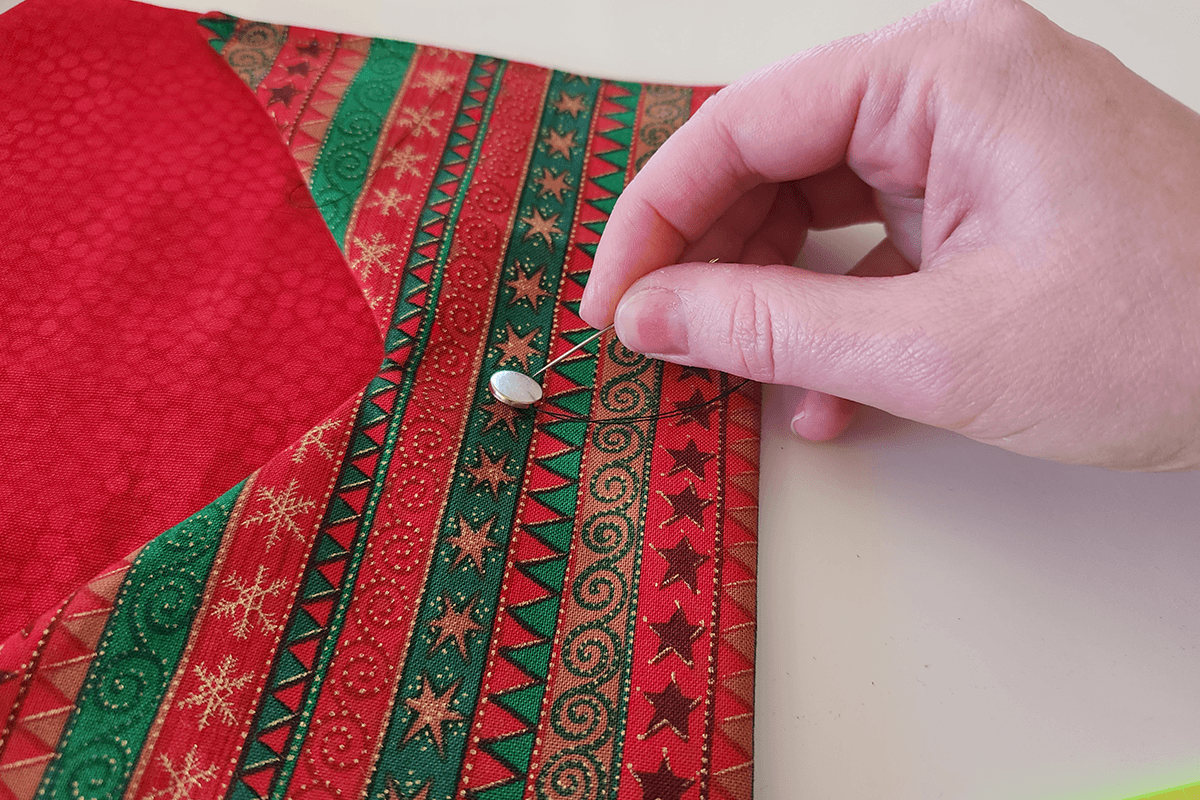
- Wrap the twine around both buttons in a figure-eight pattern to hold the envelope closed.
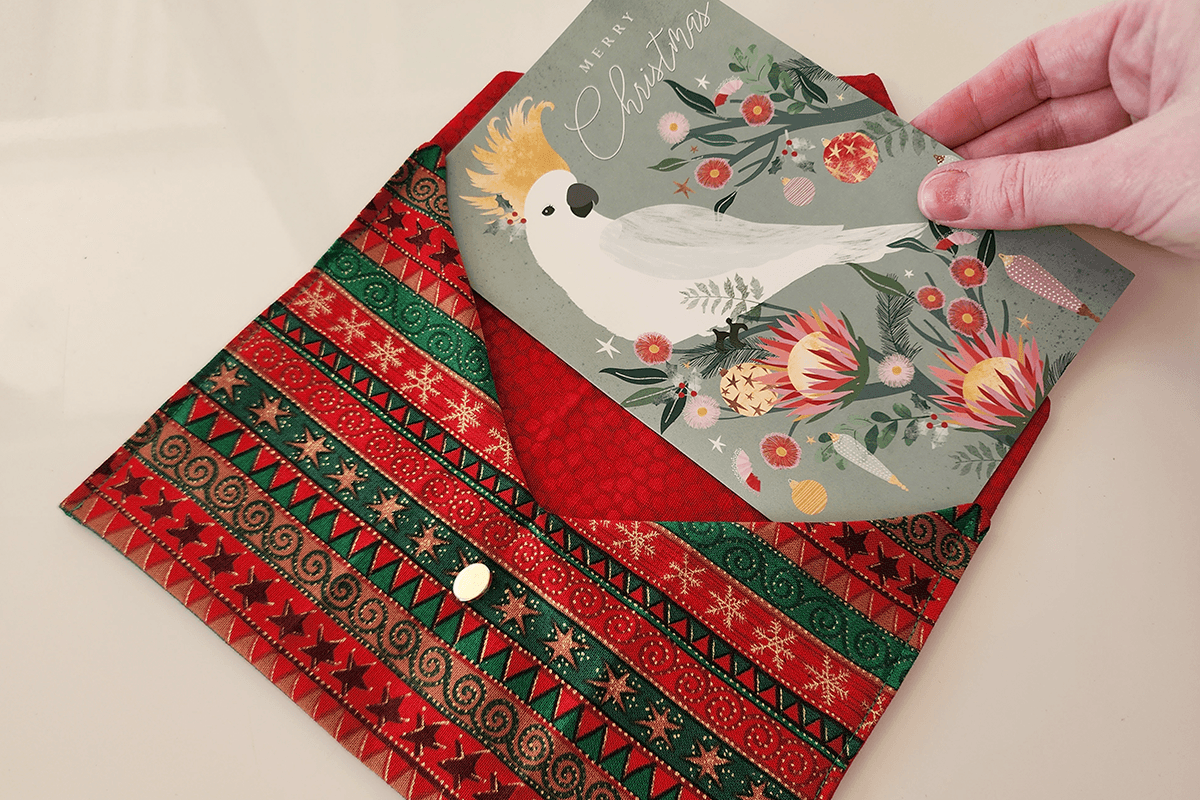
- Your handmade fabric Christmas card envelope is now ready to give to someone special!
Optional Fabric Postage Stamp
Add a fun postage-inspired finishing touch to your fabric envelope using a small Christmas fabric motif and felt. This is also a great way to use up small fabric scraps from other projects.
What You Will Need
- Small Fabric Scrap with Christmas Motif
- Felt
- Fusible Medium Softaway/Tearaway Stabilizer
- Matching Sewing Thread
- Rotary Cutter
- Pinking Shears
- Quilting Ruler
- Mini Iron
- Fabric Marker
- Pins or Sewing Clips
- Hand Needle
Instructions
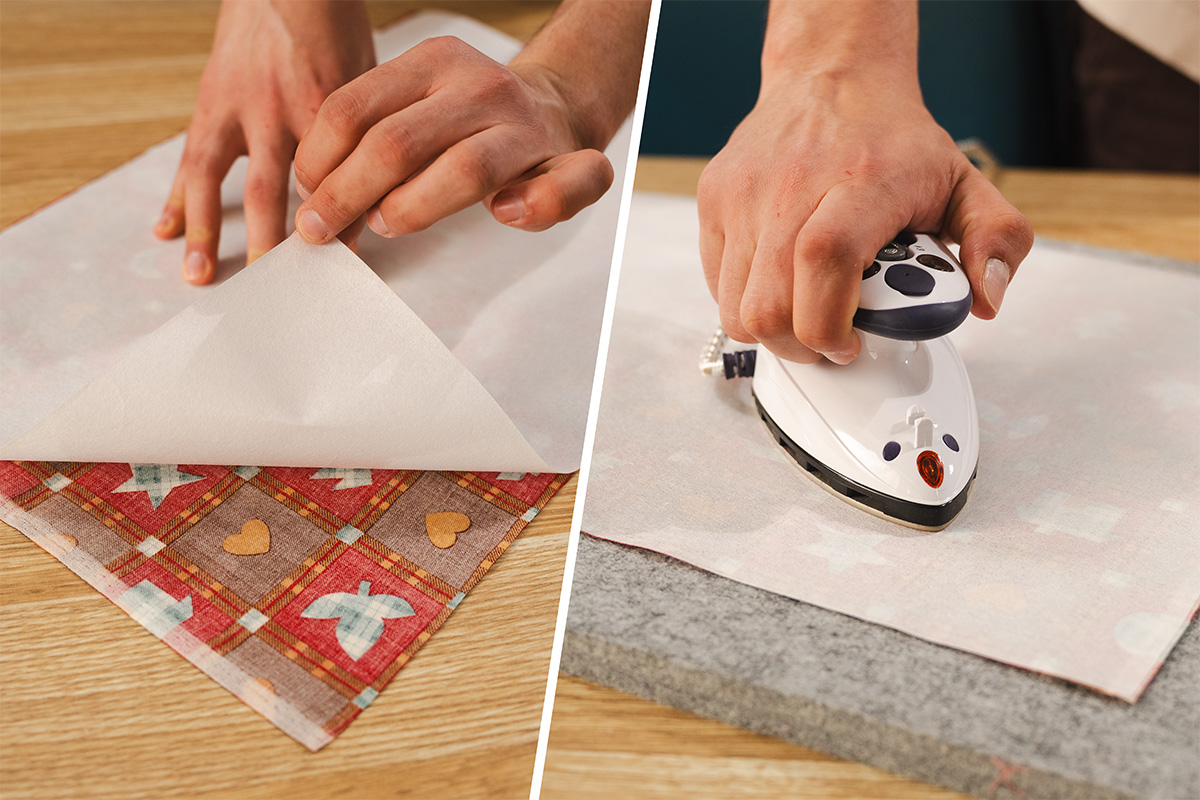
- Apply a piece of fusible tearaway stabiliser to the wrong side of your Christmas-themed fabric and press.
- Choose a small motif or image from the fabric for the centre of your postage stamp. Regardless of the shape of the motif, cut the fabric into a square or rectangle, leaving enough fabric around the image so the motif sits neatly centred within the piece.
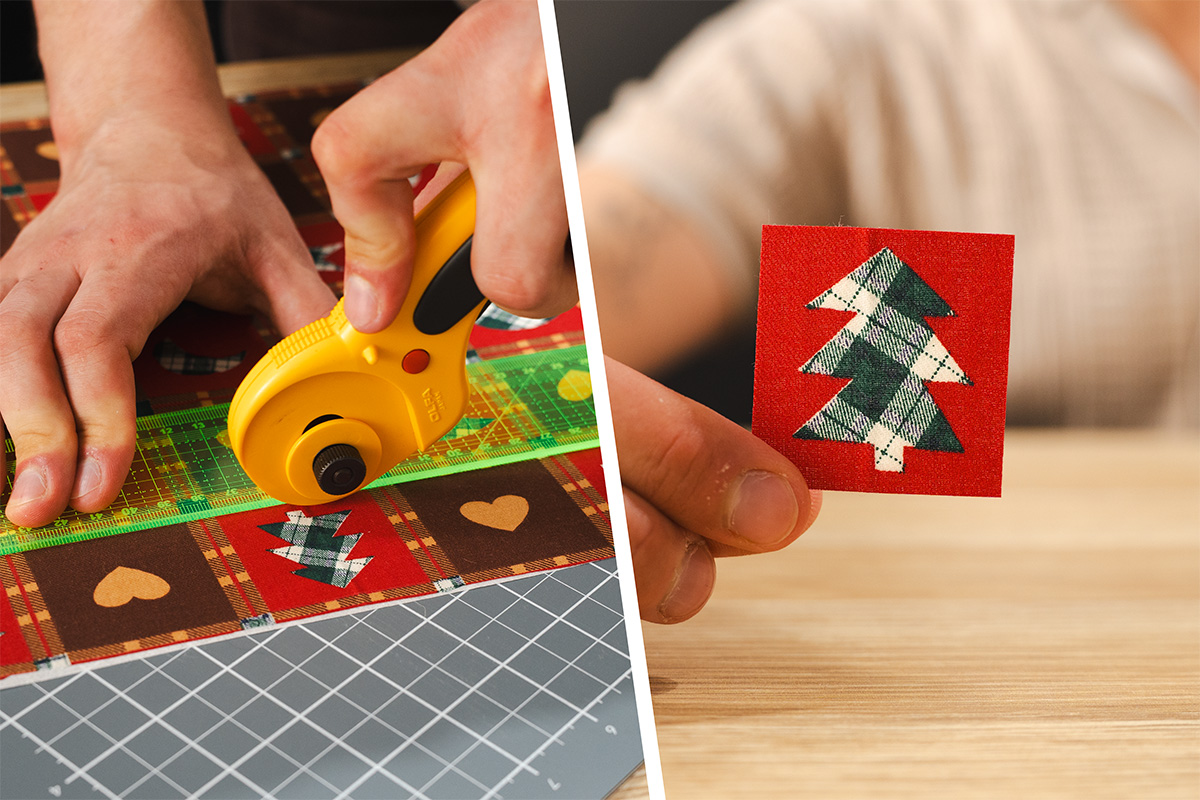
Tip: Look through your fabric scraps for small individual motifs such as Santa, reindeer, Christmas trees, presents or other festive designs. - Cut a piece of felt approximately 2" (5 cm) wider and taller than the fabric motif. The additional felt makes the piece easier to handle while stitching and will be trimmed to size later.
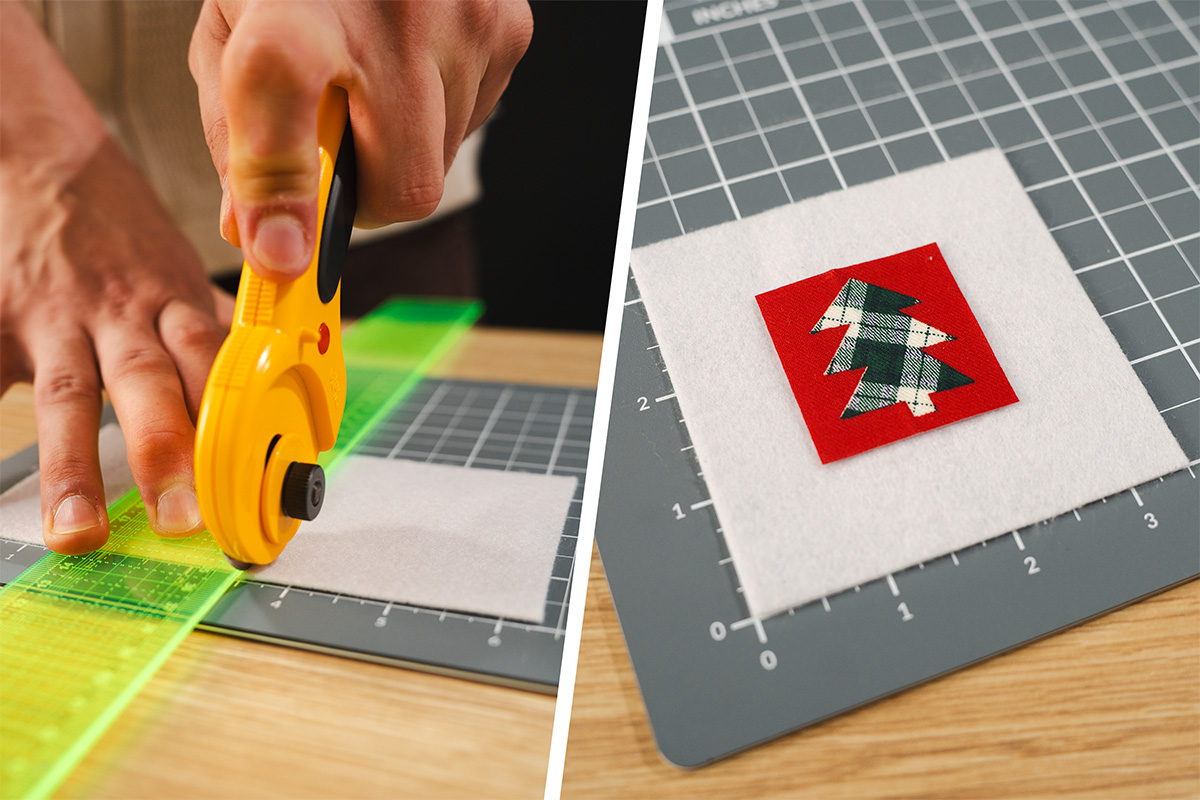
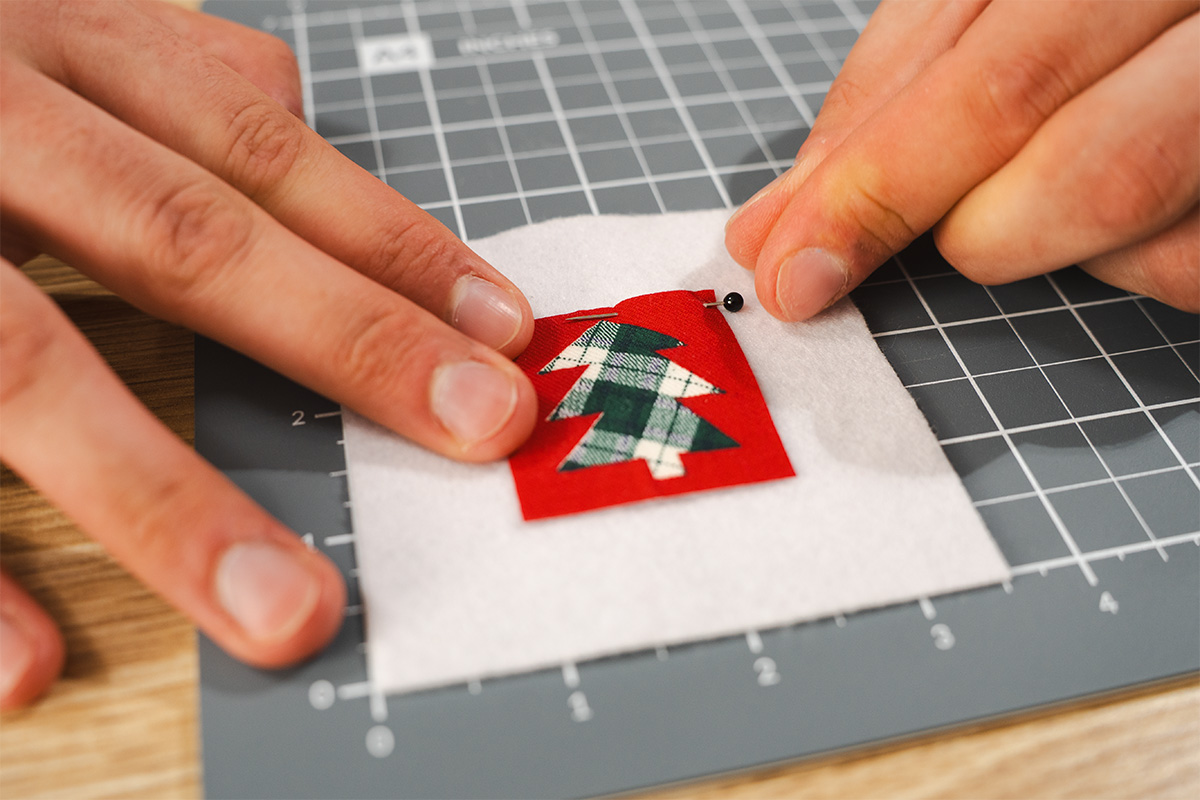
- Centre the fabric motif on top of the felt and pin or clip it in position.
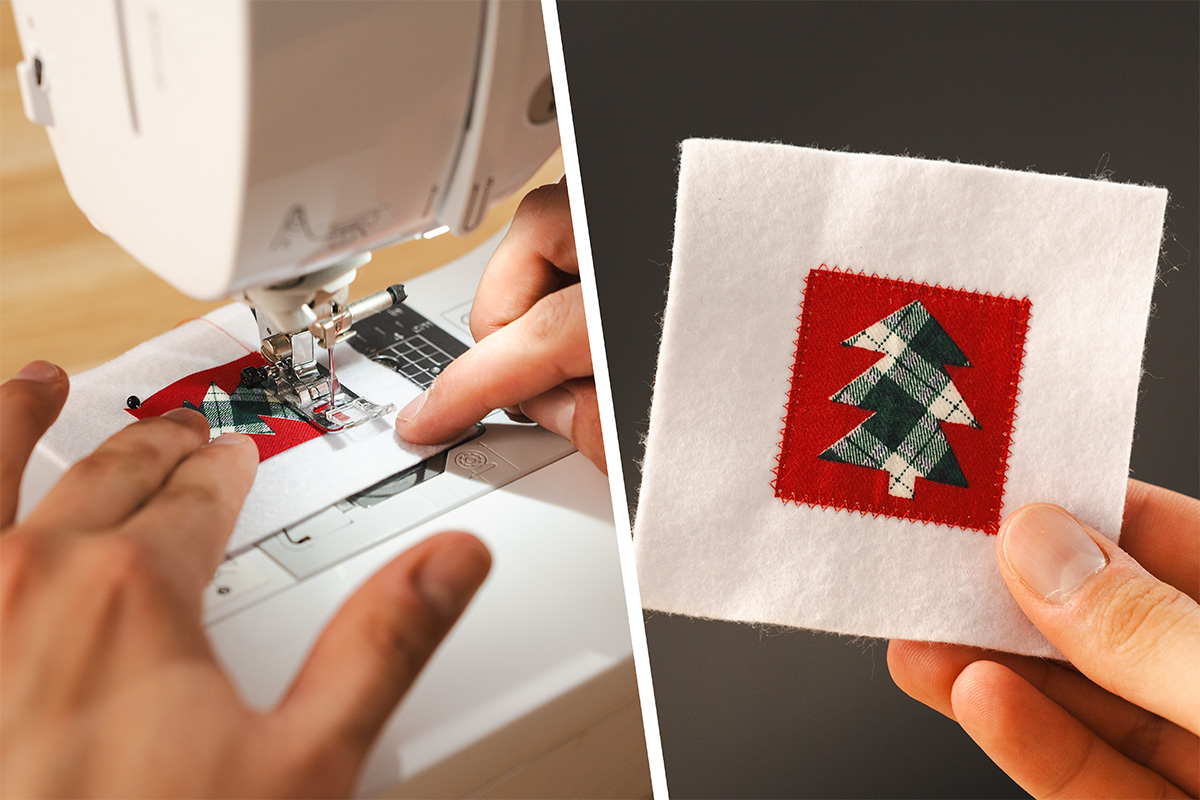
- Set your sewing machine to a zigzag stitch approximately 2.5 mm wide and 1.5 mm long. Stitch around all four edges of the fabric motif, keeping the zigzag centred over the raw edge so one side of the stitch falls on the fabric and the other falls onto the felt.
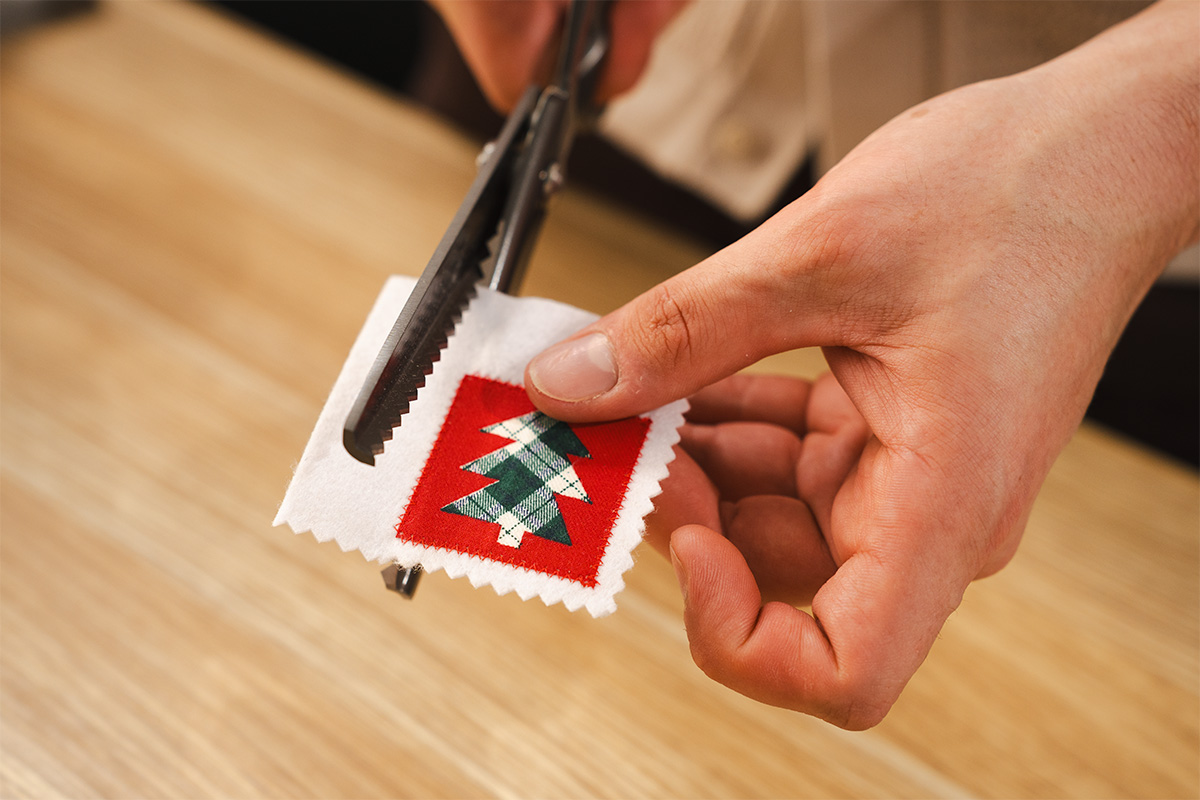
- Using pinking shears, trim the felt around all four sides of the fabric motif, leaving an even border to create the decorative zigzag edge of a postage stamp.
- Position the completed fabric postage stamp towards the upper right corner on the outer front of the finished envelope and pin or clip it in place.
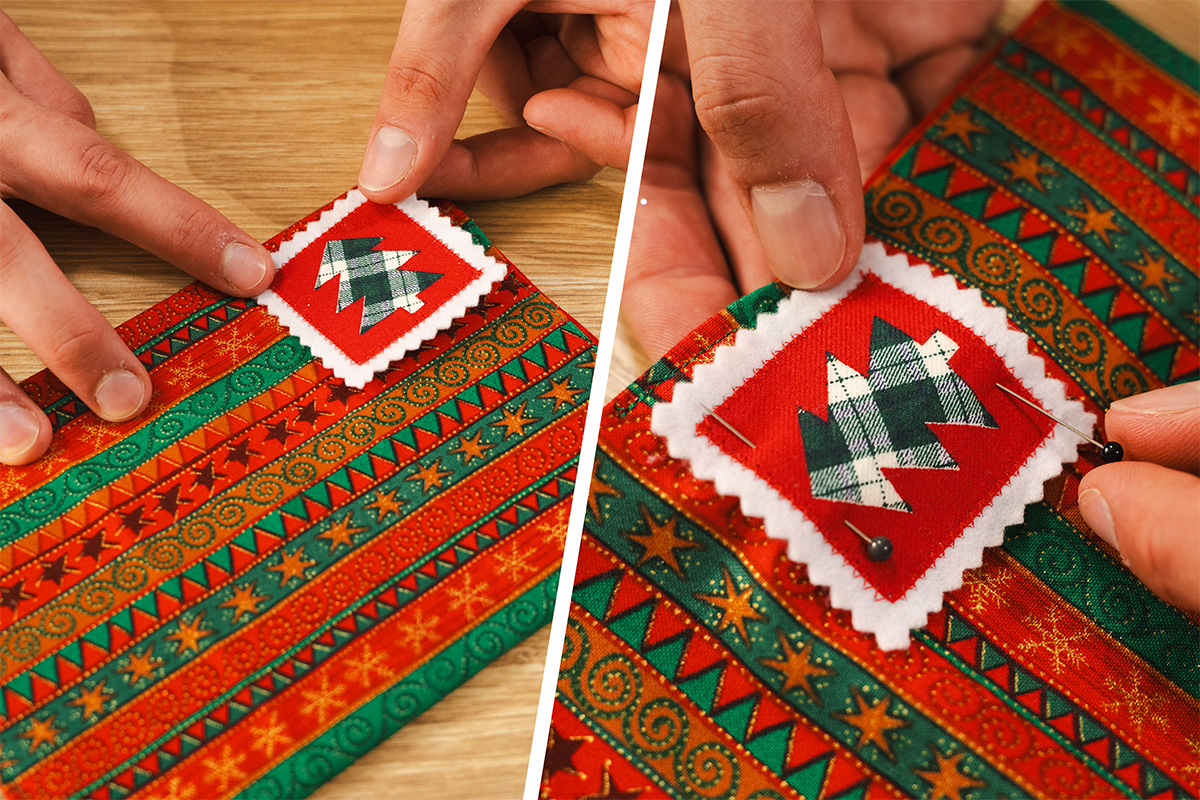
- Open the envelope and move the back of the pocket out of the way. Using a hand sewing needle and matching thread, stitch around the felt just inside the pinked edge to secure the postage stamp to the envelope. Take care to stitch through the front layer of the envelope only so you don't. accidentally sew the pocket closed
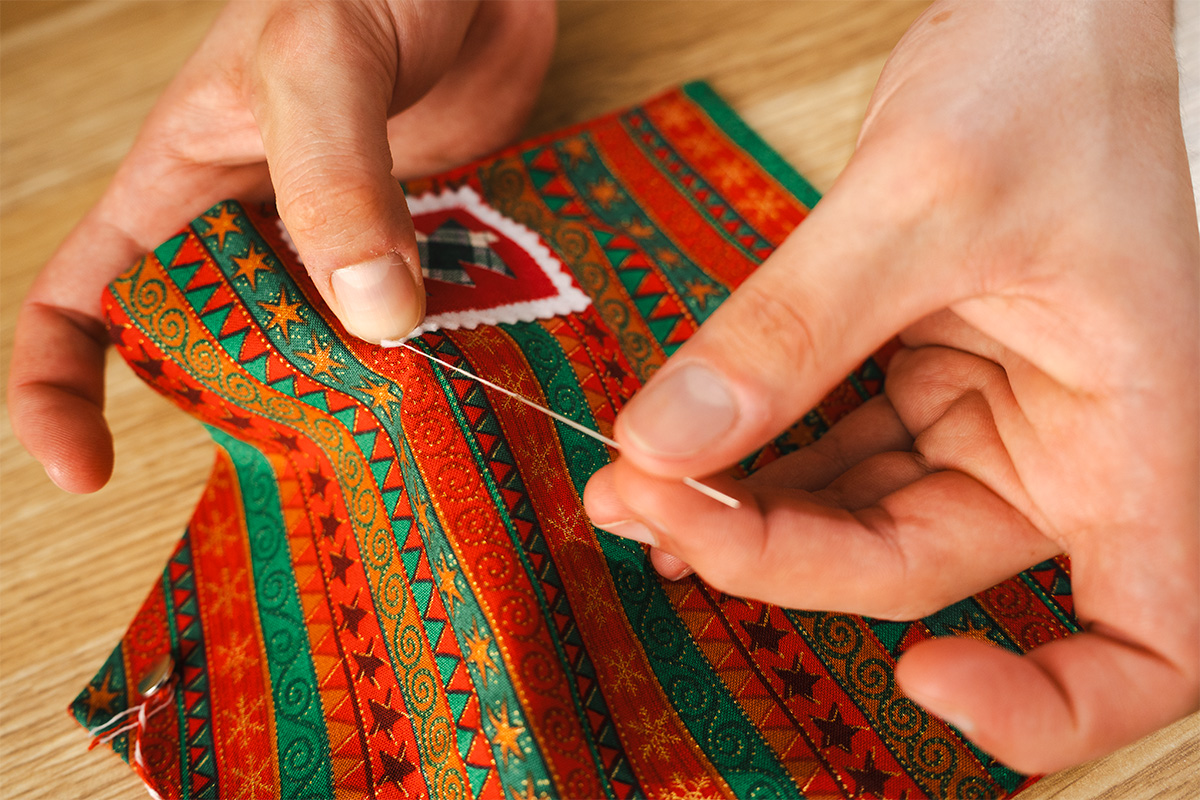
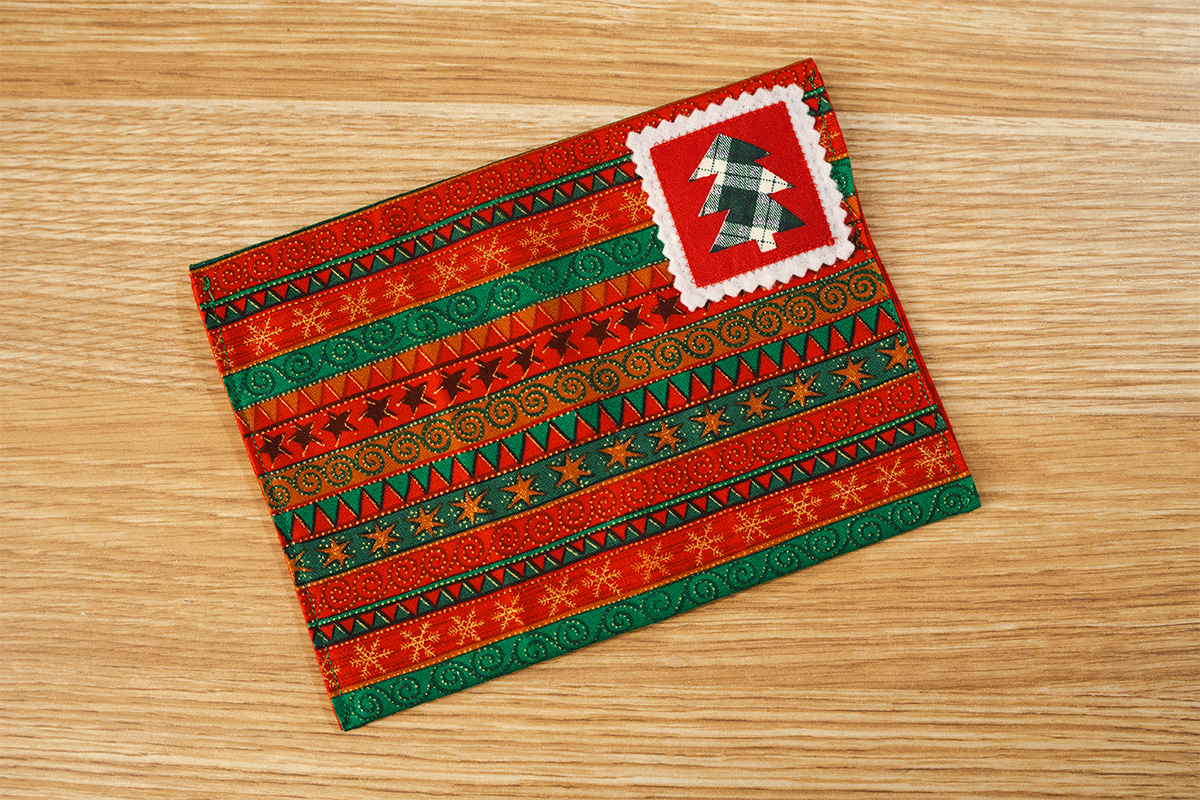
- Secure your stitching on the inside of the pocket and trim any loose thread tails. Your fabric postage stamp is now complete.
Free Embroidery Designs
We're excited to offer our free Echidna designs available for download. These free designs are perfect for those at a beginner or an advanced level. Add these designs to your stash and create incredible embroidery!
View all free designs >
Sewing, Quilting and Embroidery Machines
Interested in learning how to sew, quilt or embroider? Take a look at the innovative Brother machines available for purchase at Echidna Sewing. Wherever possible we will beat any deal and you will always receive ongoing service and support!
Find out more >
Learn to Sew or Embroider with Echidna Sewing
Come along to our fun-filled classes to learn more about sewing, embroidery and crafting. Classes cater for all skill levels, whether you're just starting out or already have advanced knowledge.
Find out more >
Echidna project material/ fabric requirements are an indication only and can seem to be generous. This has been intentional. Should you make a cutting or embroidery mistake you will have sufficient fabric to rectify your error.