All Projects


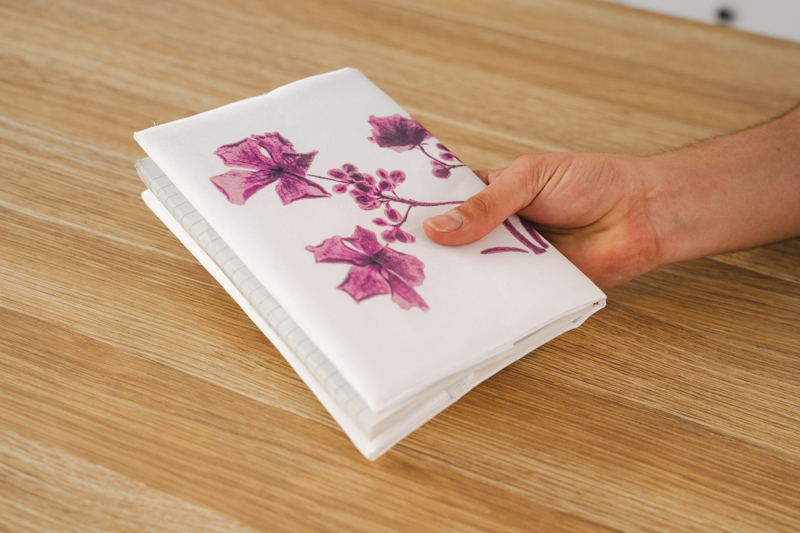
Dye Sublimation Fabric Book Cover
This Dye Sublimation Fabric Book Cover is a practical project that combines custom printing with simple sewing techniques. Using polyester twill and sublimation, you can achieve vibrant, permanent colour that won’t peel, crack or fade over time.
Designed to fit an A5 notebook when using an A4 sublimation printer, this project is beginner-friendly while still producing a polished, professional result. It’s perfect for journals, planners, gifts or even small business creations.
What you will need:
- Brother A4 Sublimation Printer
- A4 Dye Sublimation Paper
- Heat Resistant Tape
- Fusible See-Through Cutaway
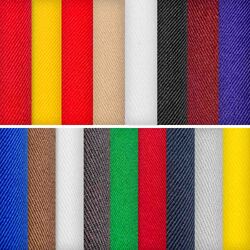
- White Twill Fabric (dye sublimation outer cover)
- Plain Fabric or Twill (lining)
- Matching Softlight Core spun Thread
- Fabric Clips
- Elastic
- Heatpress
- Mini Iron
- Fabric Scissors
- Wool Pressing Mat
- Ruler or Quilting Ruler
- Standard Foot
For more information on Essential Equipment for Dye Sublimation, take a look at our article →
Shop online:


Detailed instructions:
Measuring your book
In this project, we will be using an A5 book. This project is best suited to an A5 notebook, as we are using a Brother Dye Sublimation Printer and are limited to an A4 print size.
If you would like to create a larger cover, you may wish to explore a larger sublimation printer, such as an A3 Sawgrass printer.
It is important to measure your book carefully, as all books vary in size and spine thickness.
- Start by laying your book flat.
- Measuring the total length from the front cover edge, across the spine, to the back cover edge. Be sure to include the spine thickness in your length measurement.
- Then measure the height from top to bottom.
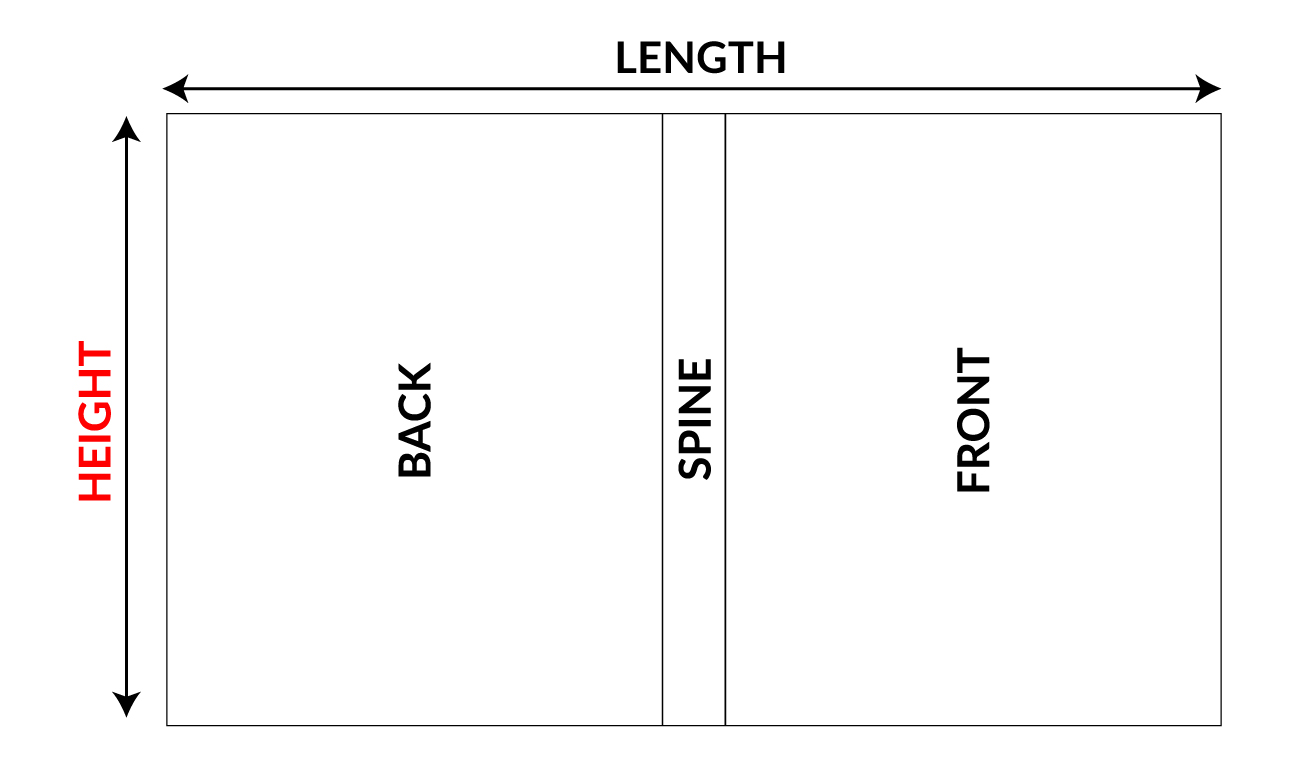
- Add 2.5cm (1”) onto each measurement (length and height) for seam allowance.
- Add 16.5cm (6.5”) to the length measurement - this will create the pockets your book will slide into.
Example
Final Length = Book Measurement + 2.5cm (1”) + 16.5cm (6.5”)
Final Height = Book Measurement + 2.5cm (1”)
Fabric Cutting
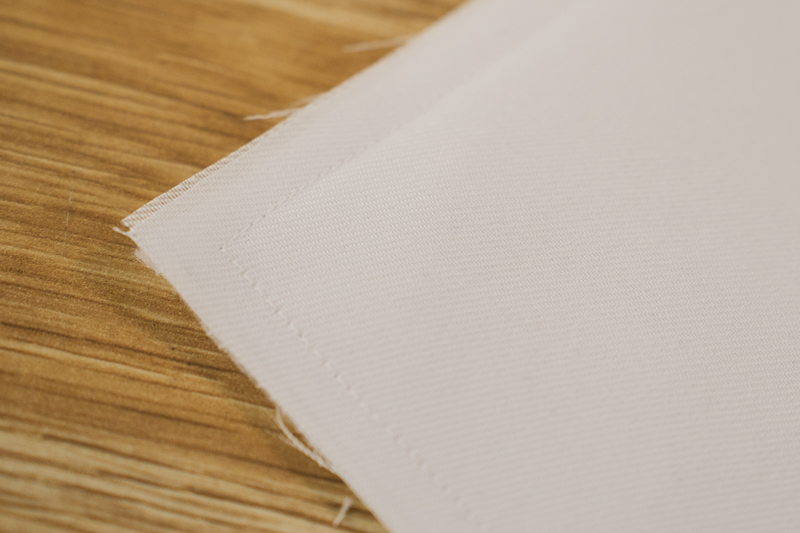
Ensure both your polyester twill and inner fabric are pressed before cutting.
Cut 1 of each of the following using the final measurements for your book (as per above)
- 1 x Polyester Twill (for dye sublimation outer cover)
- 1 x Plain Fabric (lining)
- 1 x Fusible See-Through Cutaway
Elastic Cutting
Cut a length of elastic 1.5cm (½”) longer than the final height of your book.
Printing your design
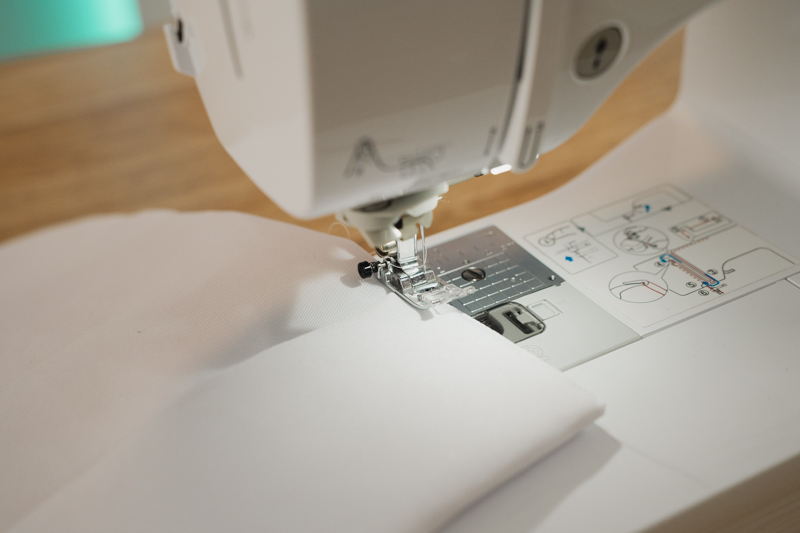
Choose the design you would like for your book cover and print your image using the Brother A4 Sublimation Printer. Ensure the design fills as much of the printable area as possible. This helps ensure the artwork covers the visible area of the book cover.
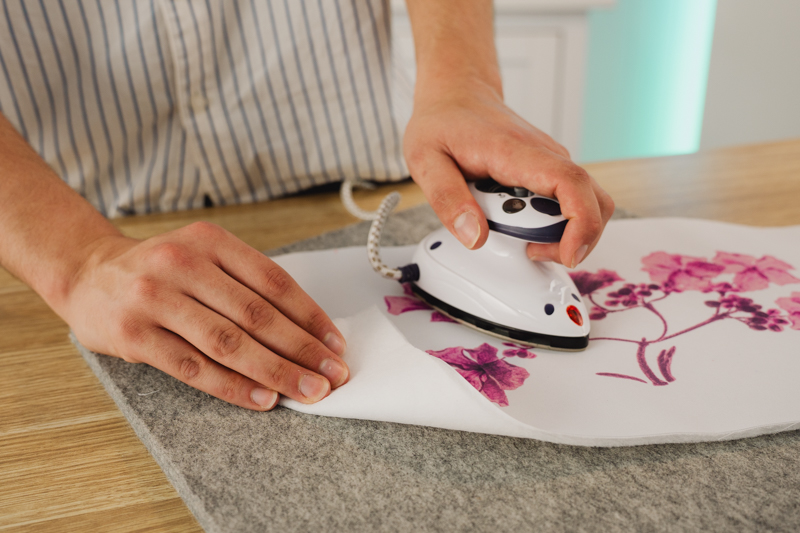
Using your heat press, press your sublimation print onto the polyester twill fabric. Be sure to position the design centrally on the twill, as the two ends will later be folded to create the pockets. It is not essential for these areas to contain artwork.
For more detailed instructions on printing and pressing your design, see our full guide here.
Sewing the Book Cover
- Iron the Fusible See-Through Cutaway onto the back of the twill (the side without the dye-sub image).
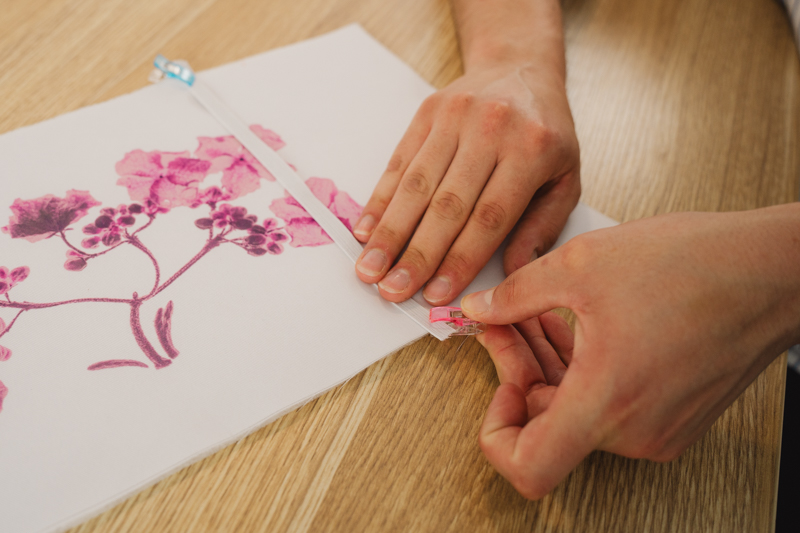
- Flip the twill over so the image is facing up. Measure 13cm (5”) from the left edge and position the elastic vertically. Clip in place.
- Secure the elastic by stitching back and forward over it three times using a straight stitch. Keep this stitching within the seam allowance so it will be hidden later.
- Place the second piece of fabric face down on top of the twill so the right sides are together.
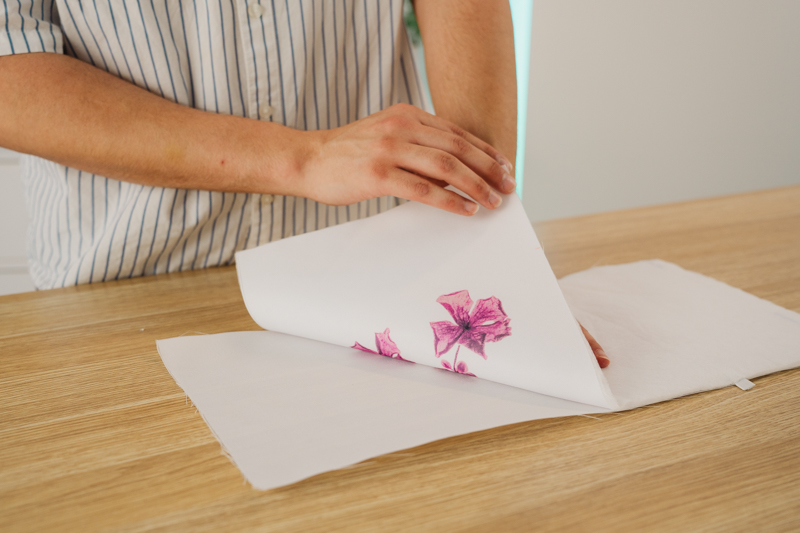
- Clip or pin around the edges to hold in place.
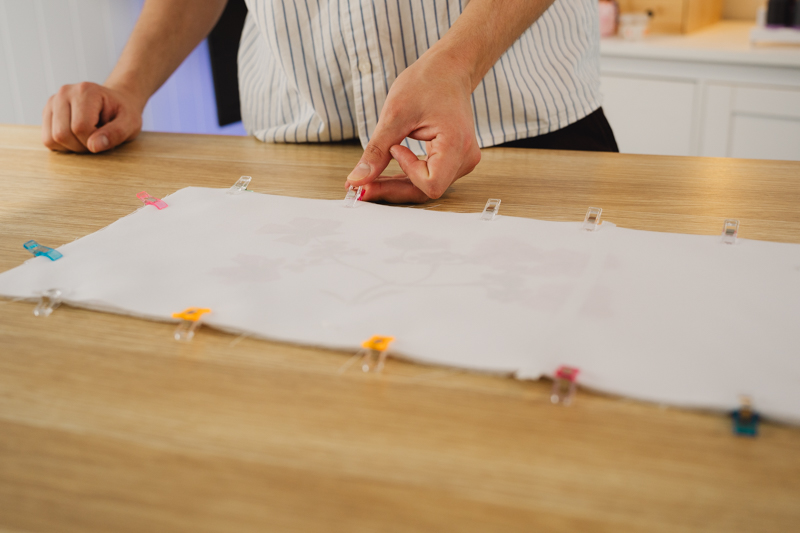
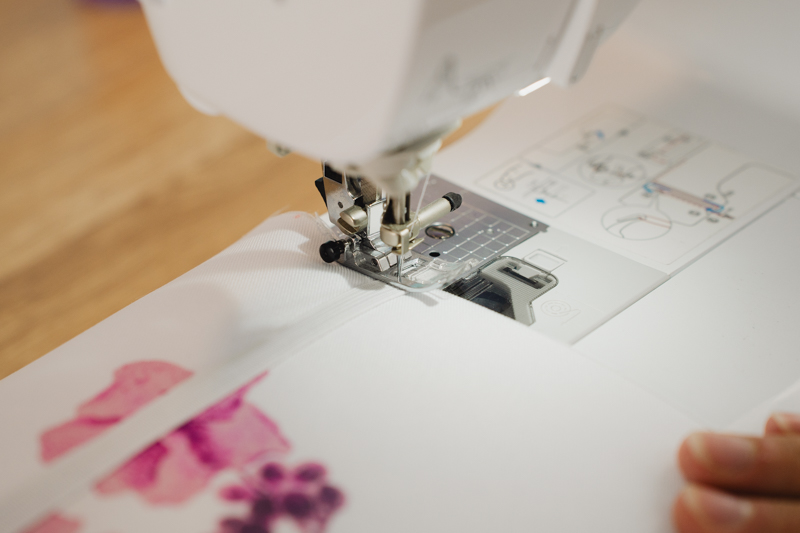
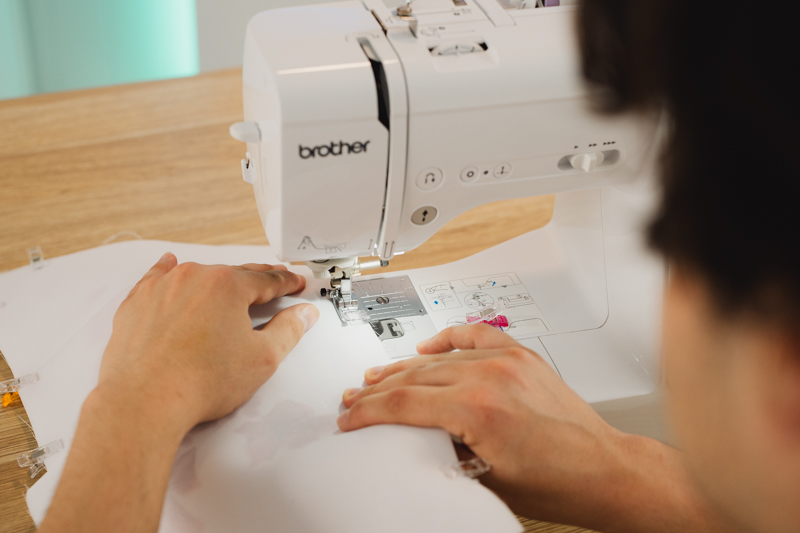
- Using a ¼” seam allowance, stitch around the entire edge of the project, leaving a 10cm (4”) opening along one long side for turning.
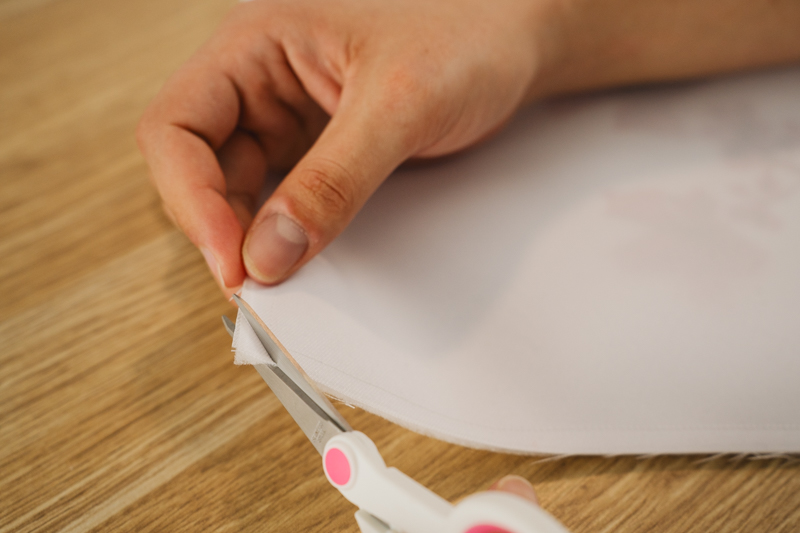
- Trim each of the four corners diagonally as close to the stitching line as possible (without cutting through the stitches). This reduces bulk and creates neat corners.
- Turn the project right side out through the 10cm (4”) opening. Press well using your mini iron and wool pressing mat.
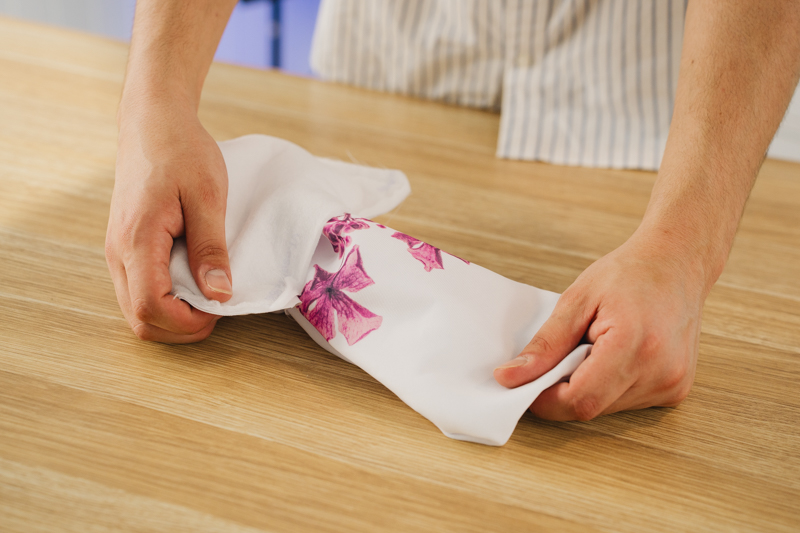
- Close the opening by stitching along the edge of the fabric.

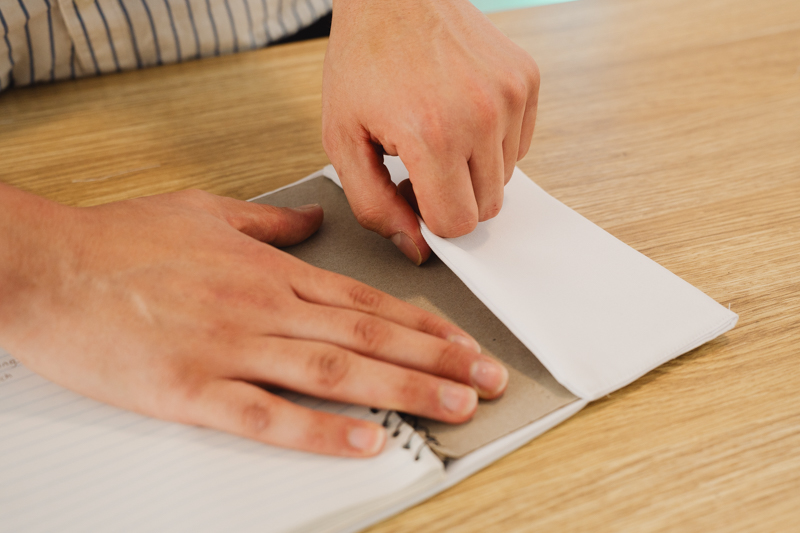
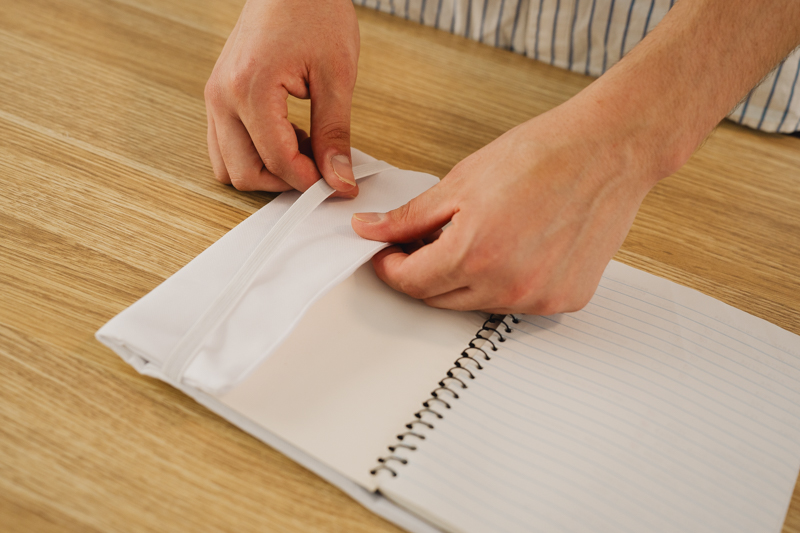
- Lay your fabric flat with the outside cover facing down. Fold one short side inward to create a pocket measuring 8cm (3”) deep. Clip in place.
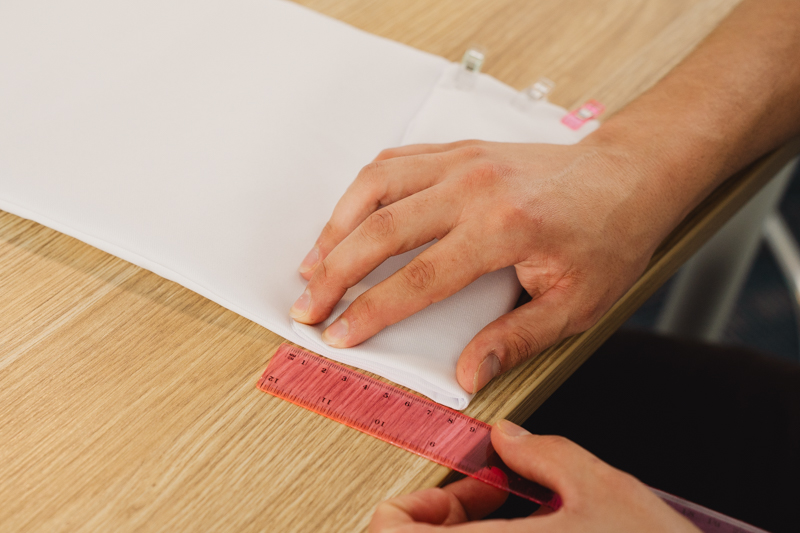
- Repeat on the opposite side.
- Stitch along the top and bottom of each pocket to secure in place. Repeat for both sides.
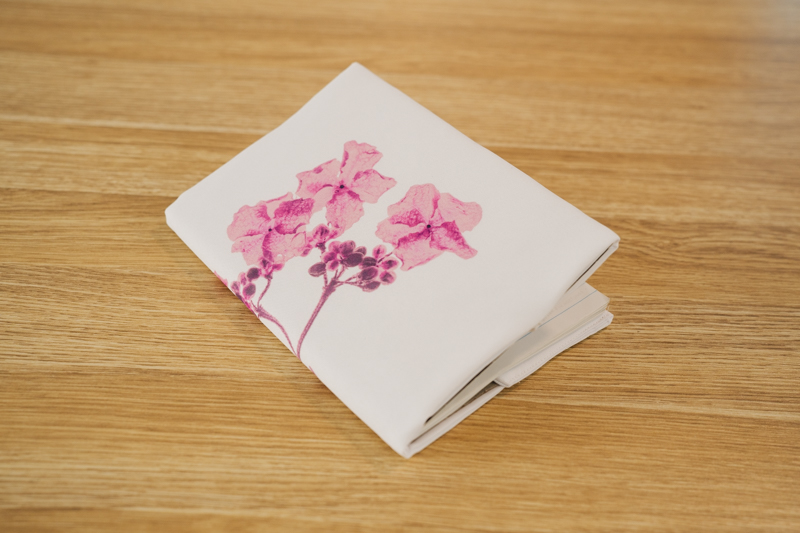
- Insert your book into the pockets.
- And you’re done!

Free Embroidery Designs
We're excited to offer our free Echidna designs available for download. These free designs are perfect for those at a beginner or an advanced level. Add these designs to your stash and create incredible embroidery!
View all free designs >
Sewing, Quilting and Embroidery Machines
Interested in learning how to sew, quilt or embroider? Take a look at the innovative Brother machines available for purchase at Echidna Sewing. Wherever possible we will beat any deal and you will always receive ongoing service and support!
Find out more >
Learn to Sew or Embroider with Echidna Sewing
Come along to our fun-filled classes to learn more about sewing, embroidery and crafting. Classes cater for all skill levels, whether you're just starting out or already have advanced knowledge.
Find out more >
Echidna project material/ fabric requirements are an indication only and can seem to be generous. This has been intentional. Should you make a cutting or embroidery mistake you will have sufficient fabric to rectify your error.


