All Projects
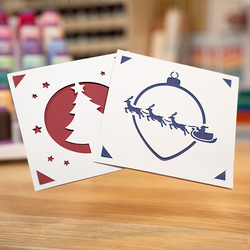
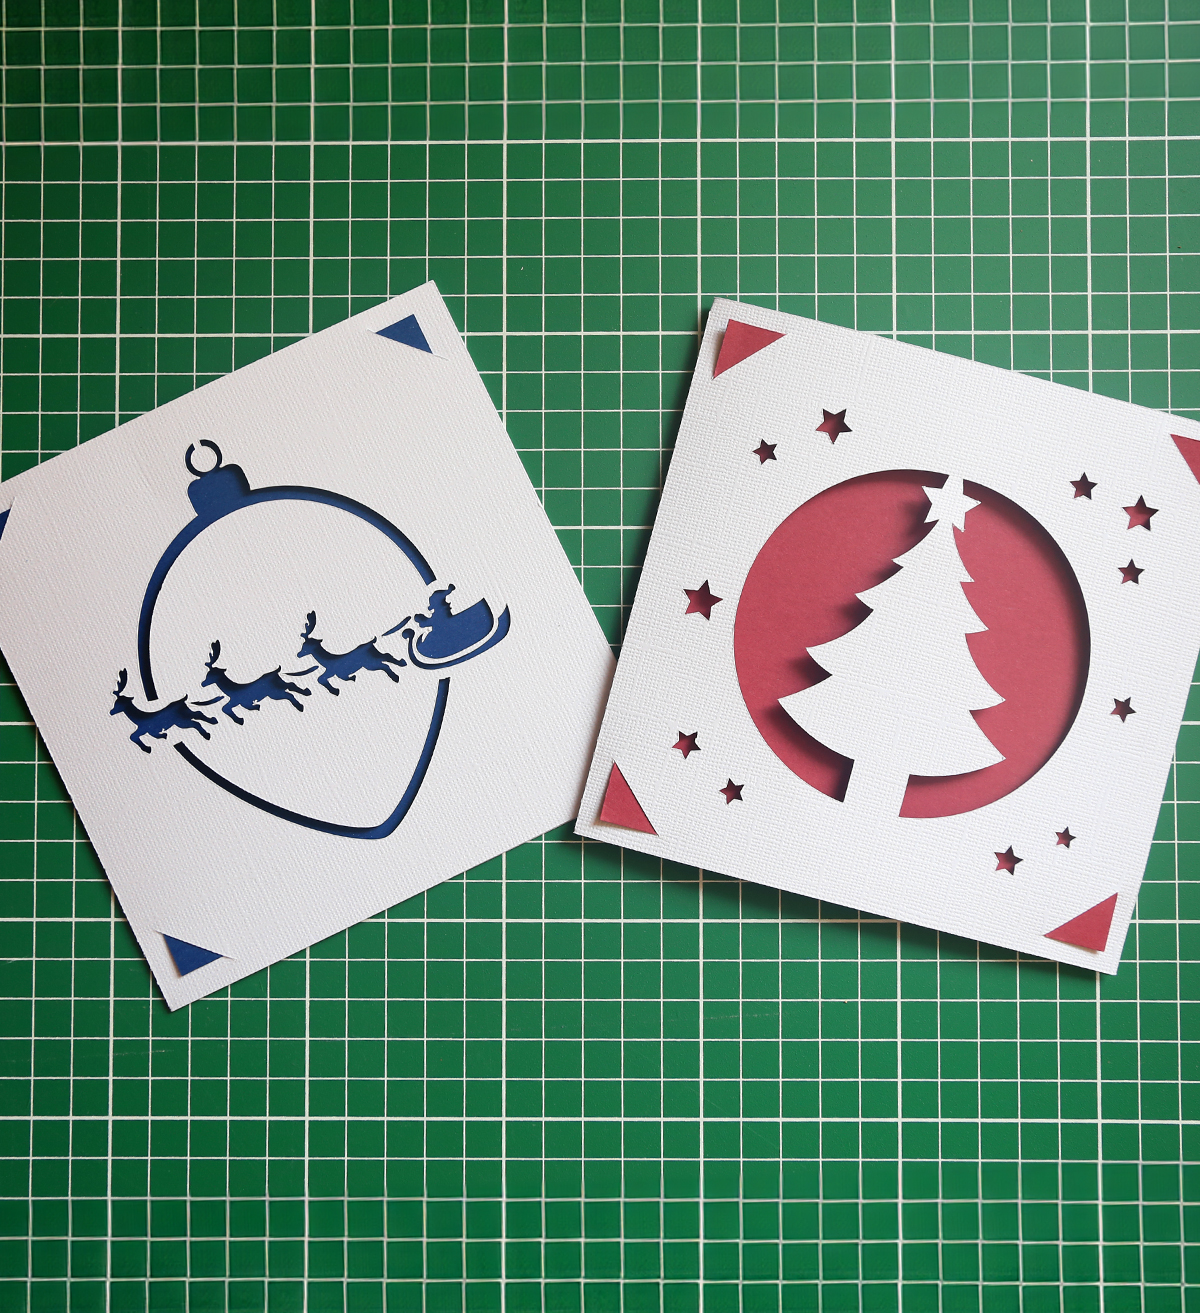
 Christmas Cards Artwork
 Blank Card and Inner Artwork

 Previous Next


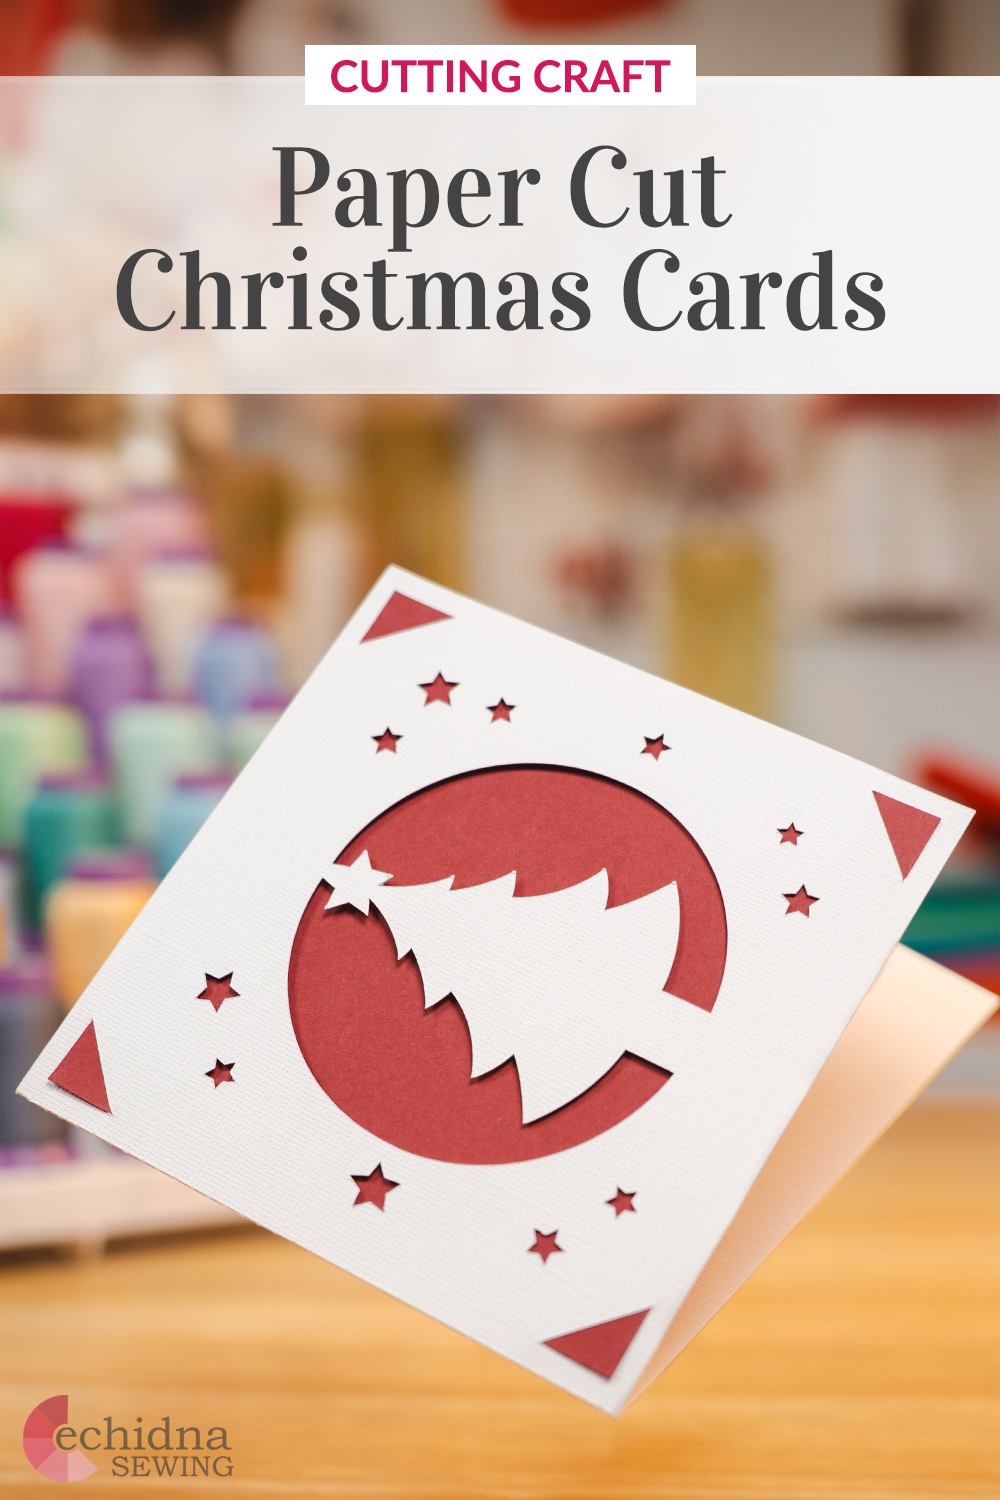
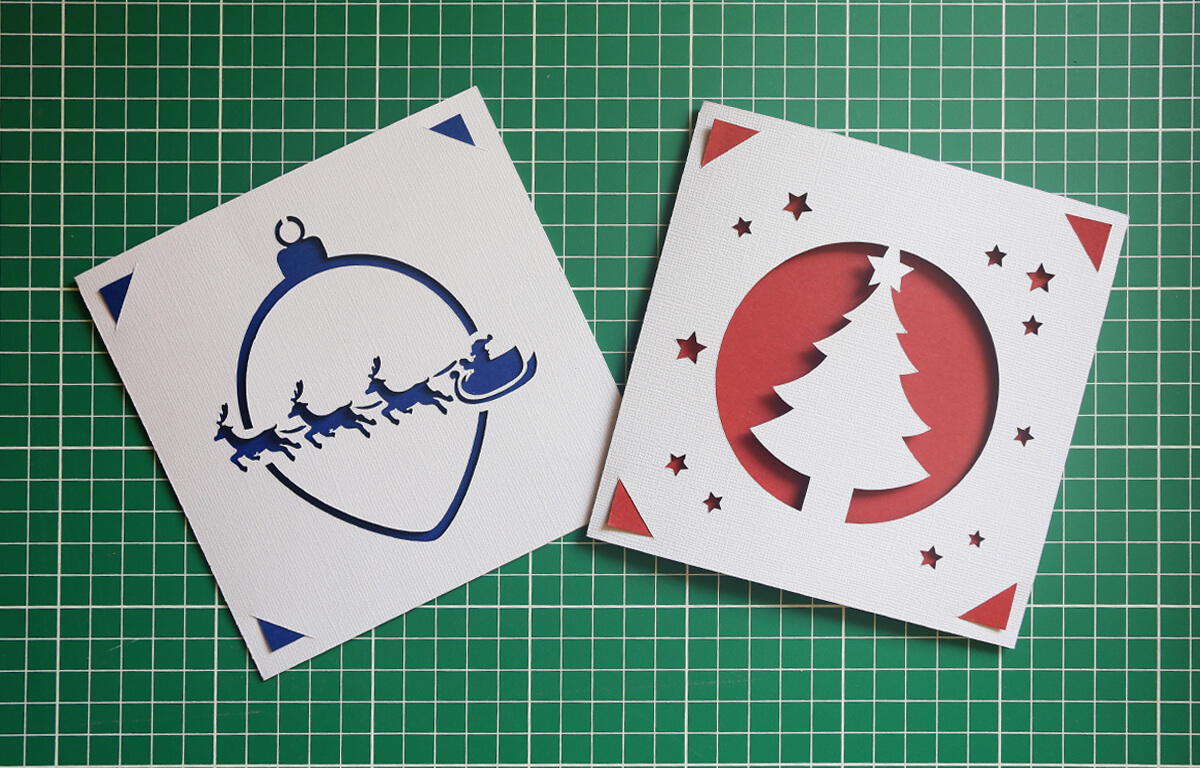
Paper Cut Christmas Card
Author: Nicole H Date Posted:10 November 2024
Looking to add a personalised touch to your Christmas greetings this year? Look no further than the world of paper cutting machines! Whether you own a ScanNcut or other cutting machine, it can help you create stunning paper cut Christmas cards that are sure to impress your loved ones. The best part? You won't even need any glue! We’ll show you how to use card inserts so you can assemble beautiful designs without the hassle of sticky adhesives.
Our free design files provided for this project will make a card size of 140mm x 140mm square to suit 160mm x 160mm envelopes.
Download the files for this project →
Free design files:
These include:
- SantaSleighCard (.svg)
- SantaSleighCard (.fcm)
- ChristmasTreeCard (.svg)
- ChristmasTreeCard (.fcm)
- BlankCard (.svg)
- BlankCard (.fcm)
- SquareInner (.svg)
- SquareInner (.fcm)
Christmas Cards ArtworkBlank Card and Inner ArtworkWhat you will need:
- Cutting machine (Brother ScanNCut, Cricut, Silhouette etc)
- Low tack mat or one suitable for paper
- 1 x White 12" x 12" Scrapbooking Cardstock or 2 x A4 Cardstock
- 1 x Maroon A4 Cardstock
- 1 x Navy A4 Cardstock
- 160mm x 160mm Envelopes
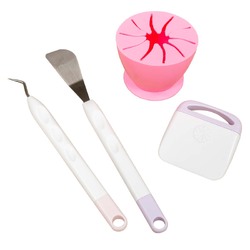
- Vinyl Spatula
- Washi Tape
- Design Files Download Now →
Shop Online:
Step overview:
Step one
Cut out the card shape from a piece of scrapbooking or A4 card.
Step two
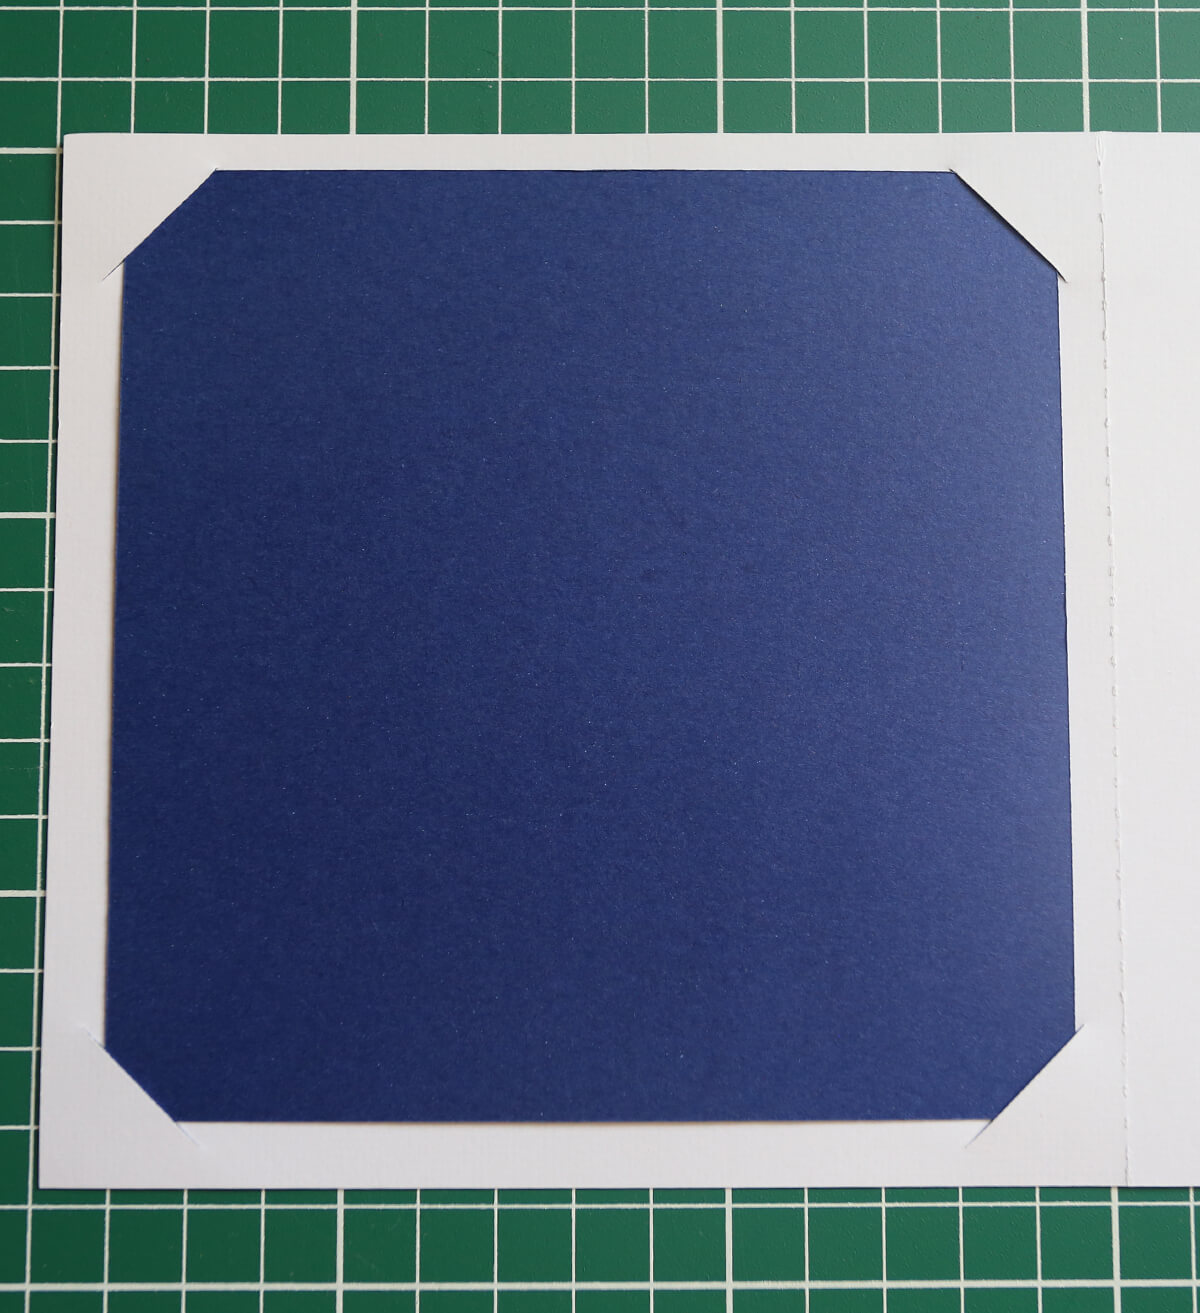
Cut out the card inner from a piece of coloured A4 card.
Step three
Insert the inner into the card shape by simply slotting the corners of the card into the angled cut outs.
Step four
Add your personalised message to the right hand side and close it up, ready to give to someone special this Christmas.
Detailed instructions:
- Download the .svg files and save them onto a USB to plug it directly into your cutting machine; alternatively you can load them in CanvasWorkspace and send them to your machine via Wifi.
- Install the Standard ScanNCut Blade into your ScanNCut by following the steps outlined in your machine's quick reference guide.
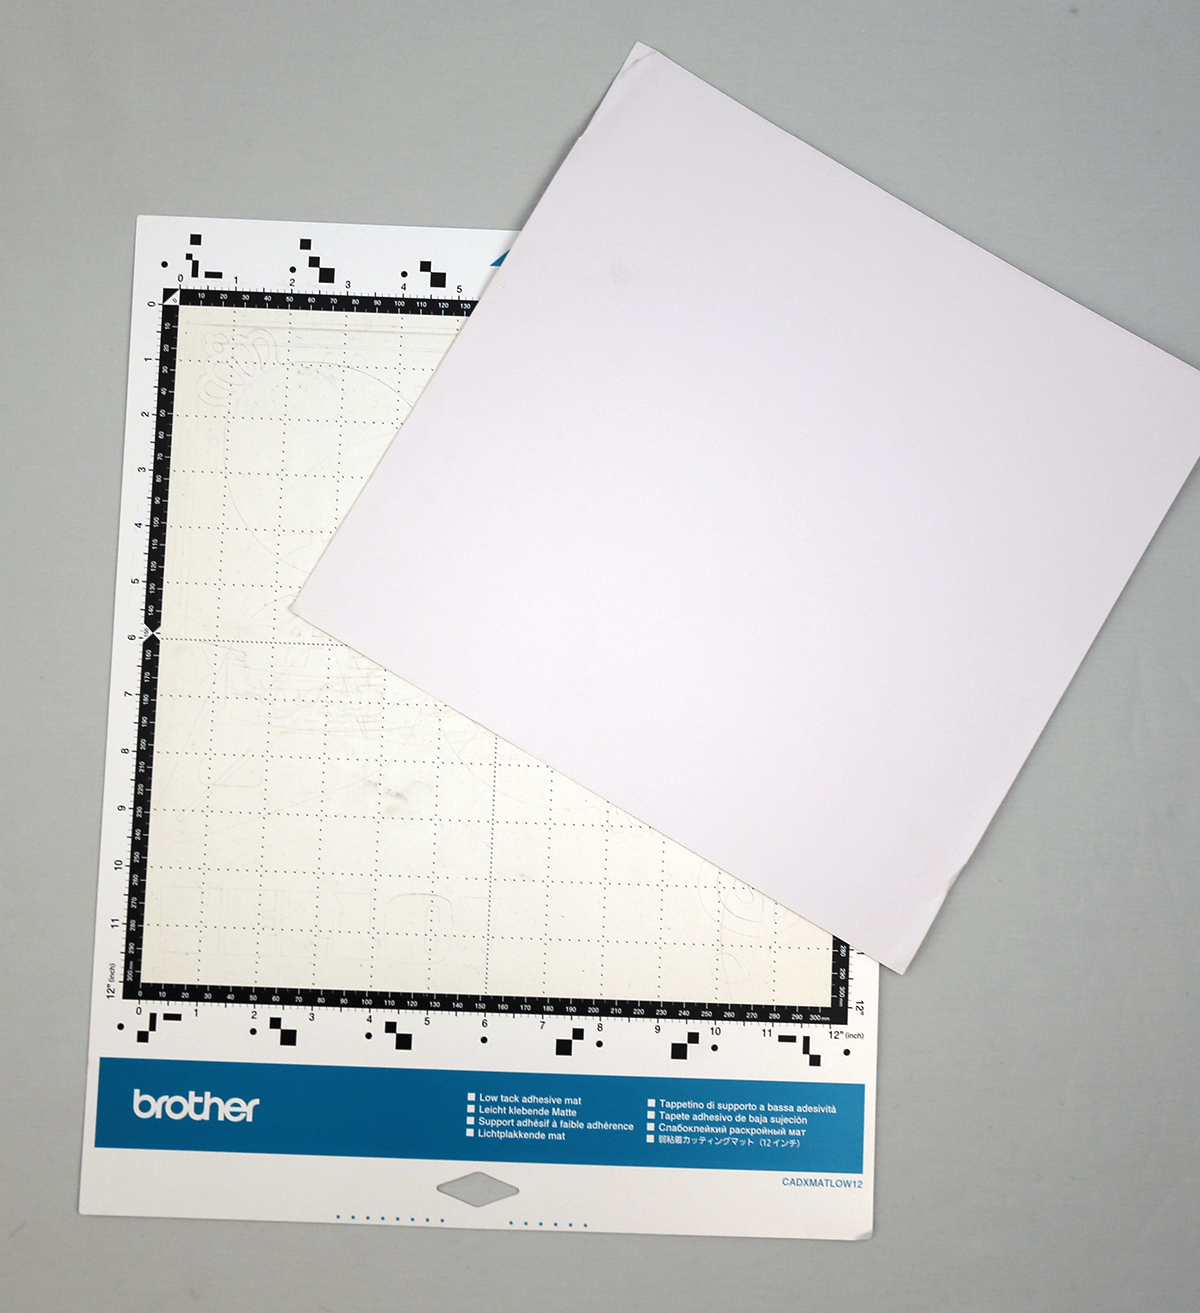
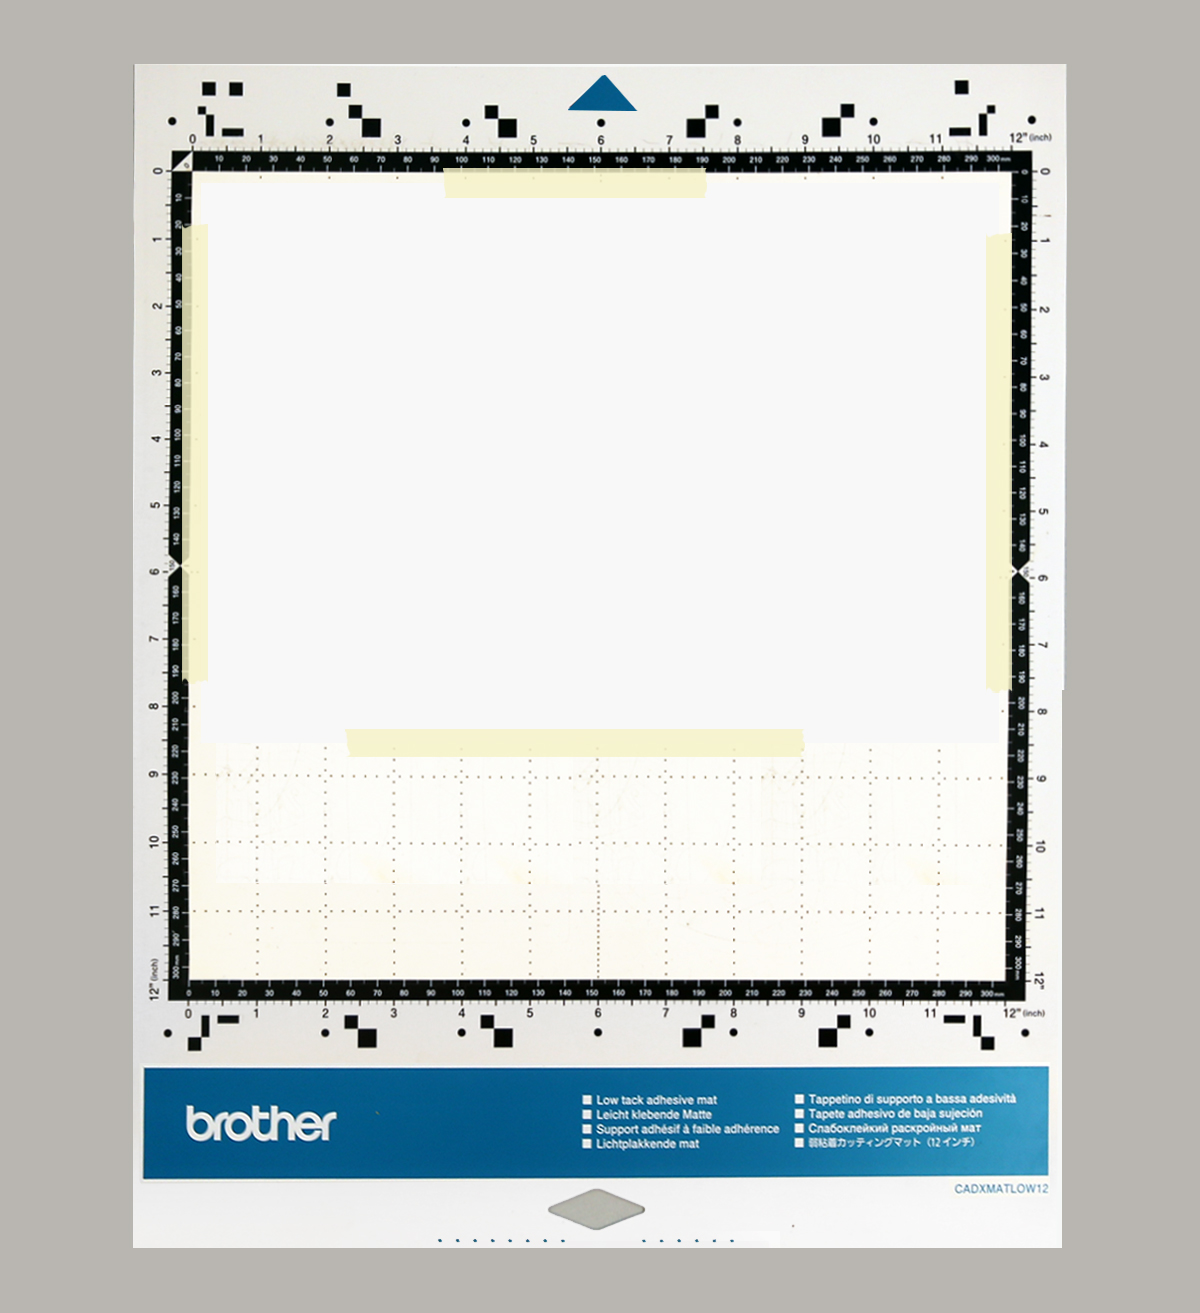
- Place the white scrapbooking card or A4 card onto a low tack adhesive mat, starting in the top left hand corner making sure it sticks well. Feel free to use a roller or scraper to secure the card in place if needed.
Tip: Using Washi tape can help keep the card stuck to your mat should it begin to lose its tack. However, it is important to note that the more fibrous your paper is the more likely it is to tear when you peel the tape off. Using high quality paper will minimise this risk.
- Load the mat into your machine.
- Load the SantaSleighCard.svg. (If you have a Brother ScanNCut do a quick scan of your mat to make sure the design is positioned correctly on top of the cardstock).
- Adjust your machine settings to allow for the cardstock thickness. (The SDX range of Brother ScanNCut will do this automatically if you if you have enabled this setting)
Tip: We suggest doing a test cut to ensure you have your settings correct for the medium you are using. Cutting a small hole in the corner of your mat is a lot less upsetting than cutting a large design straight through your mat.
- Proceed with cutting the design.
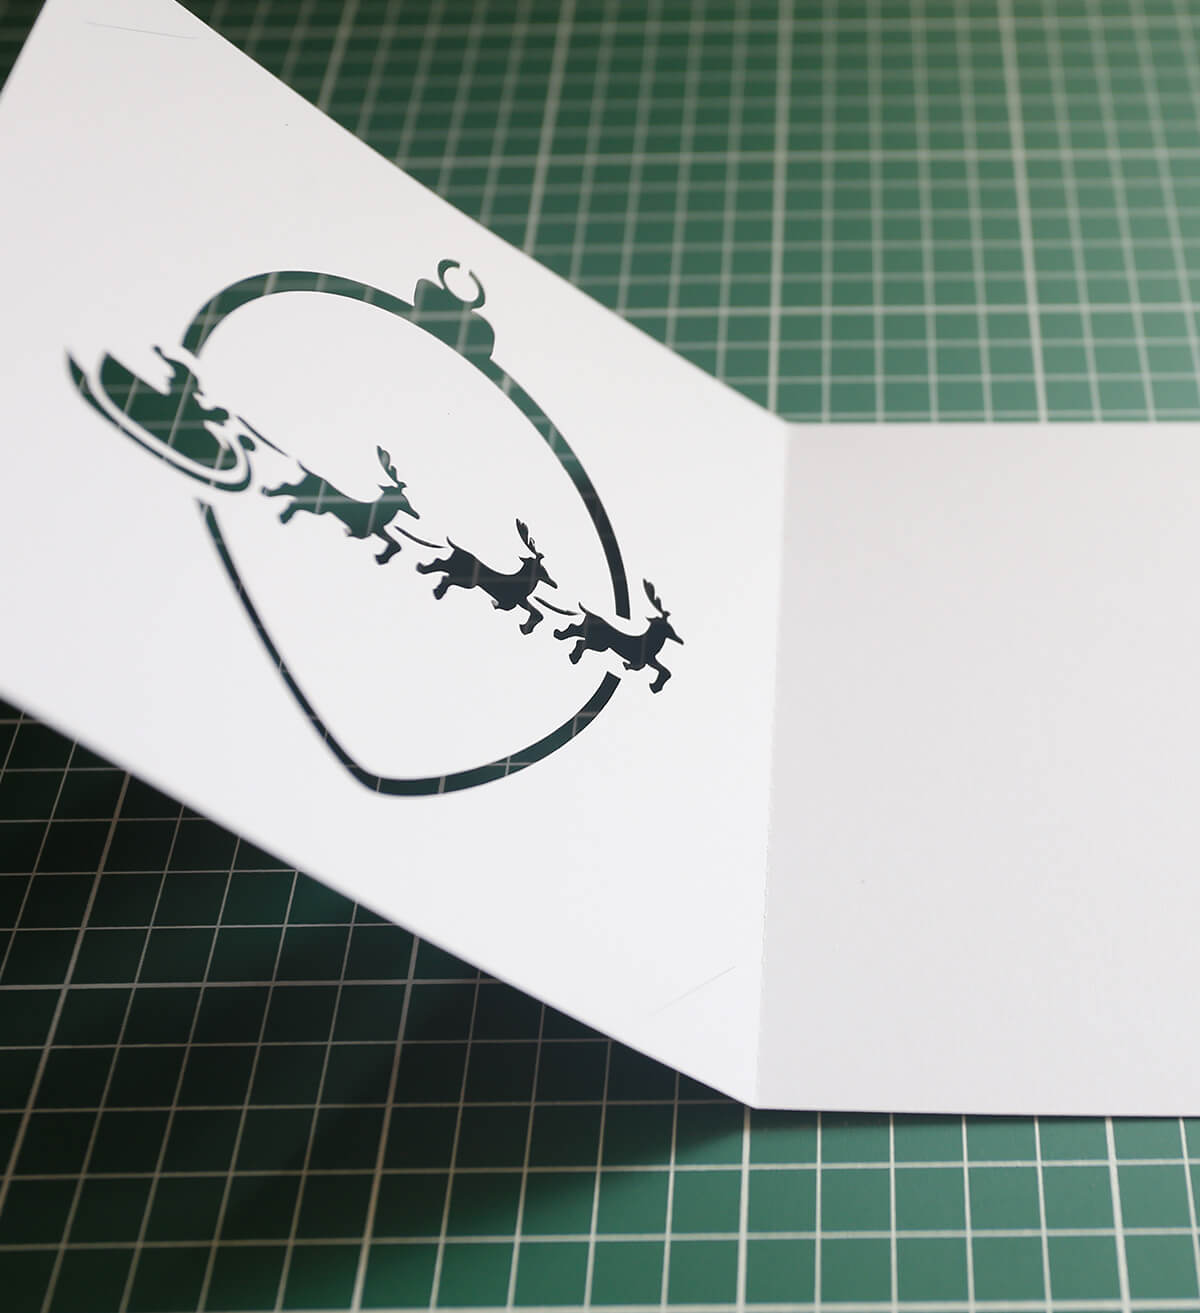
- Once the machine has finished cutting your design, unload the mat from the machine and gently remove the cut cardstock and any additional cut outs from the card.
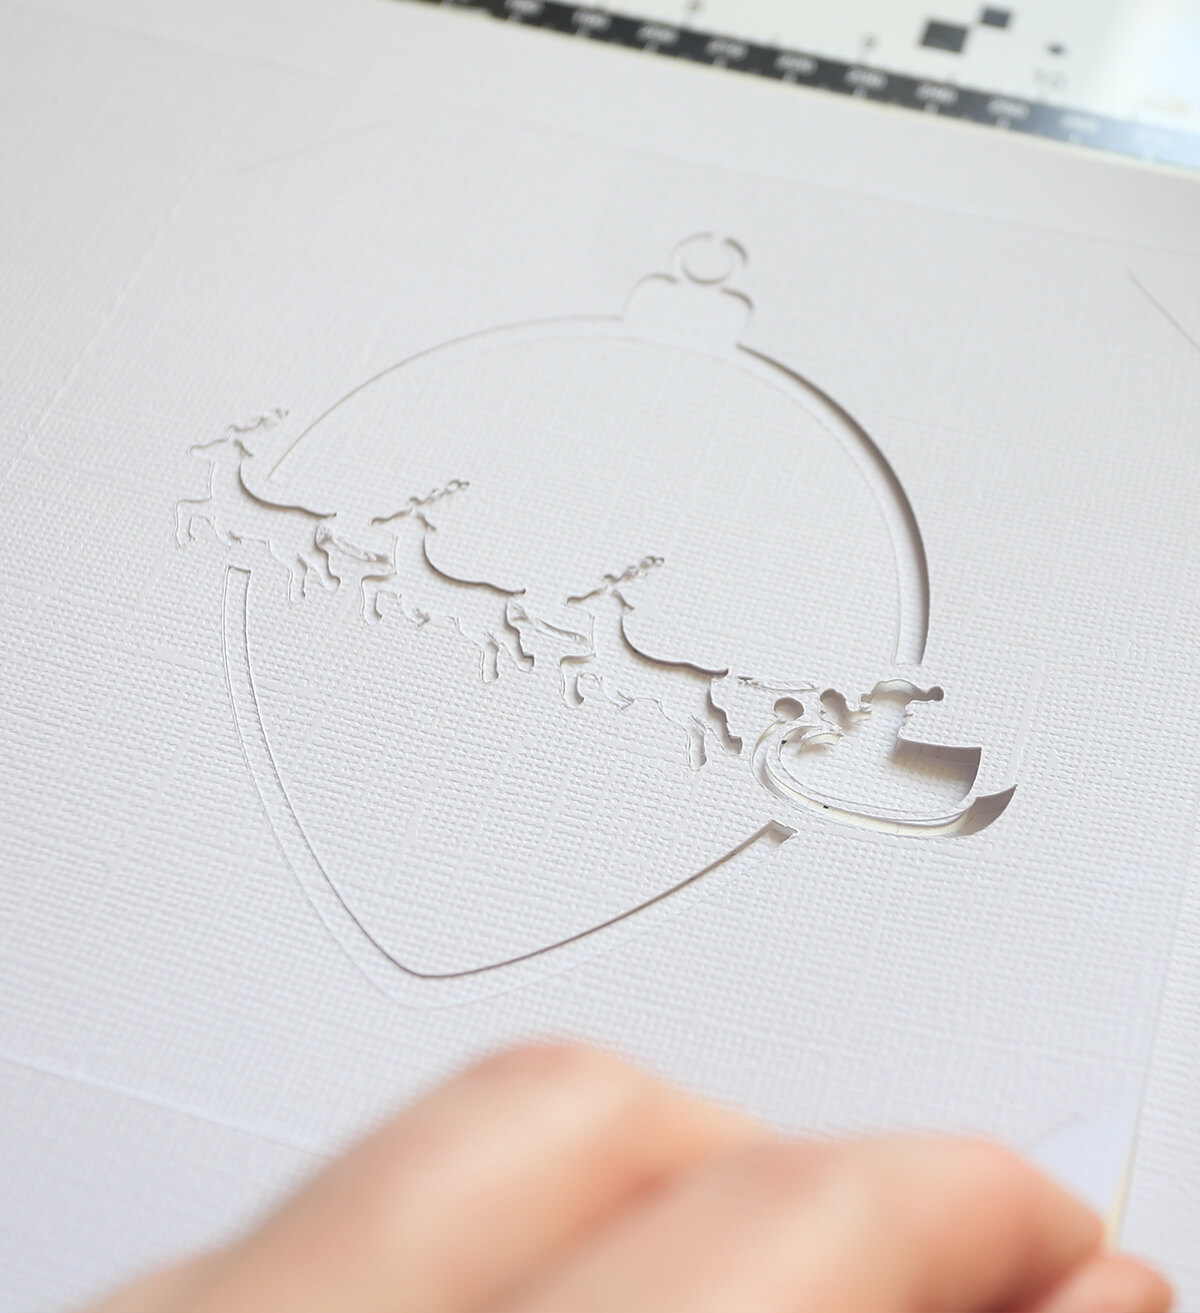
- Flip the card over and fold along the scored line. Set aside.
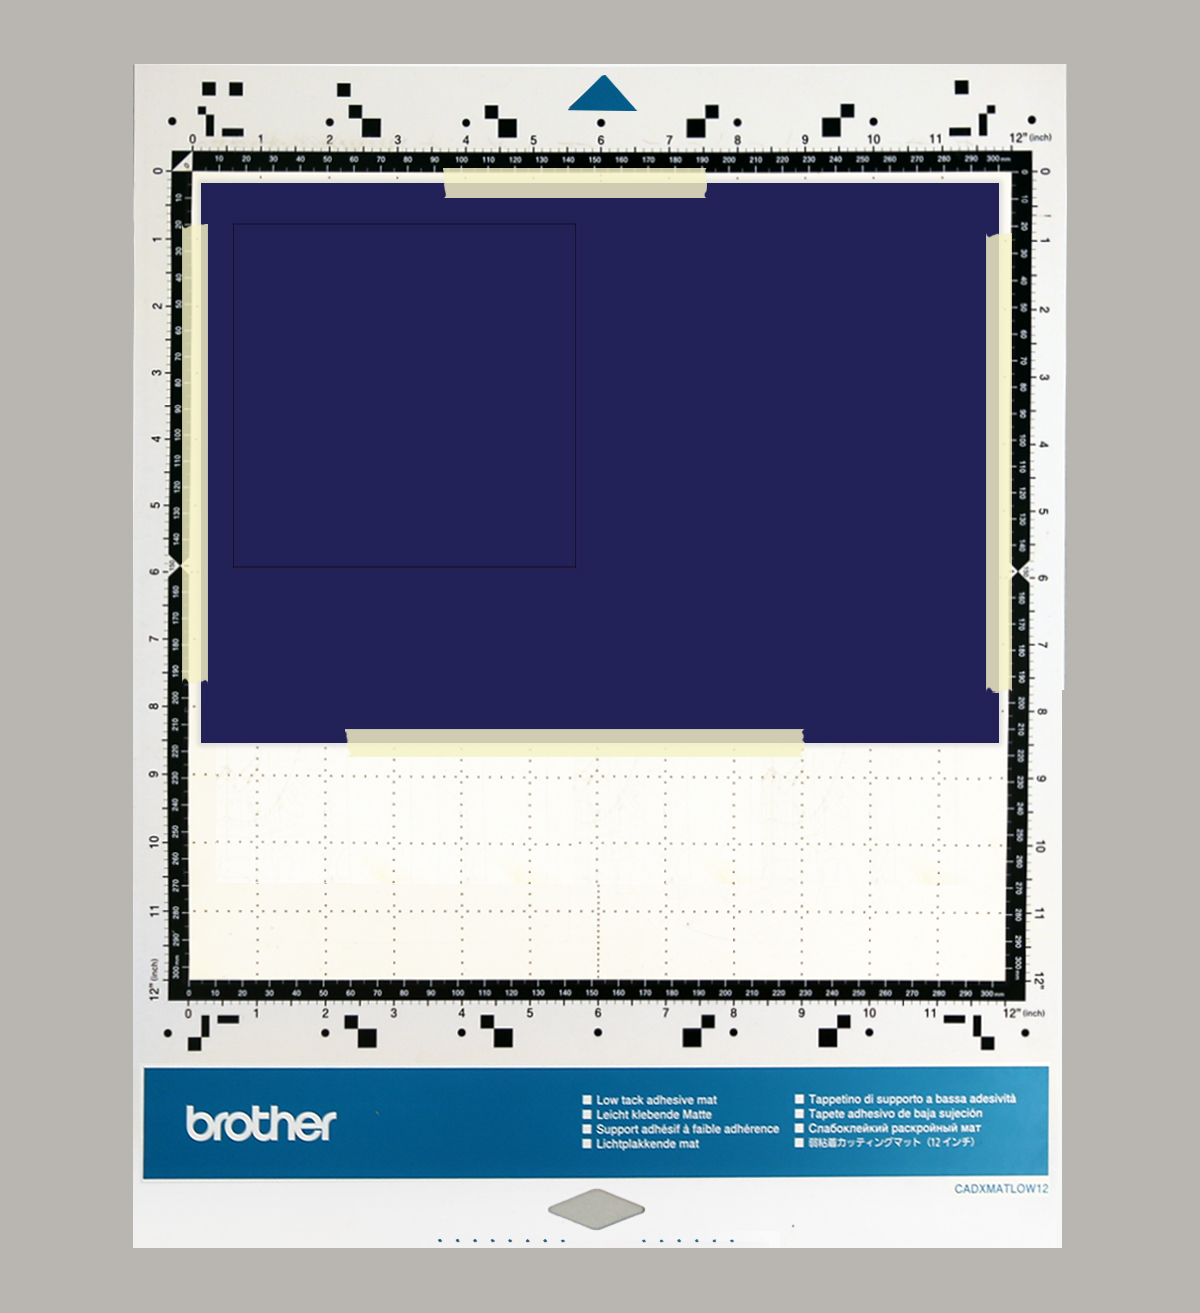
- Place the navy A4 cardstock onto a low tack adhesive mat, again starting in the top left hand corner making sure it sticks well.
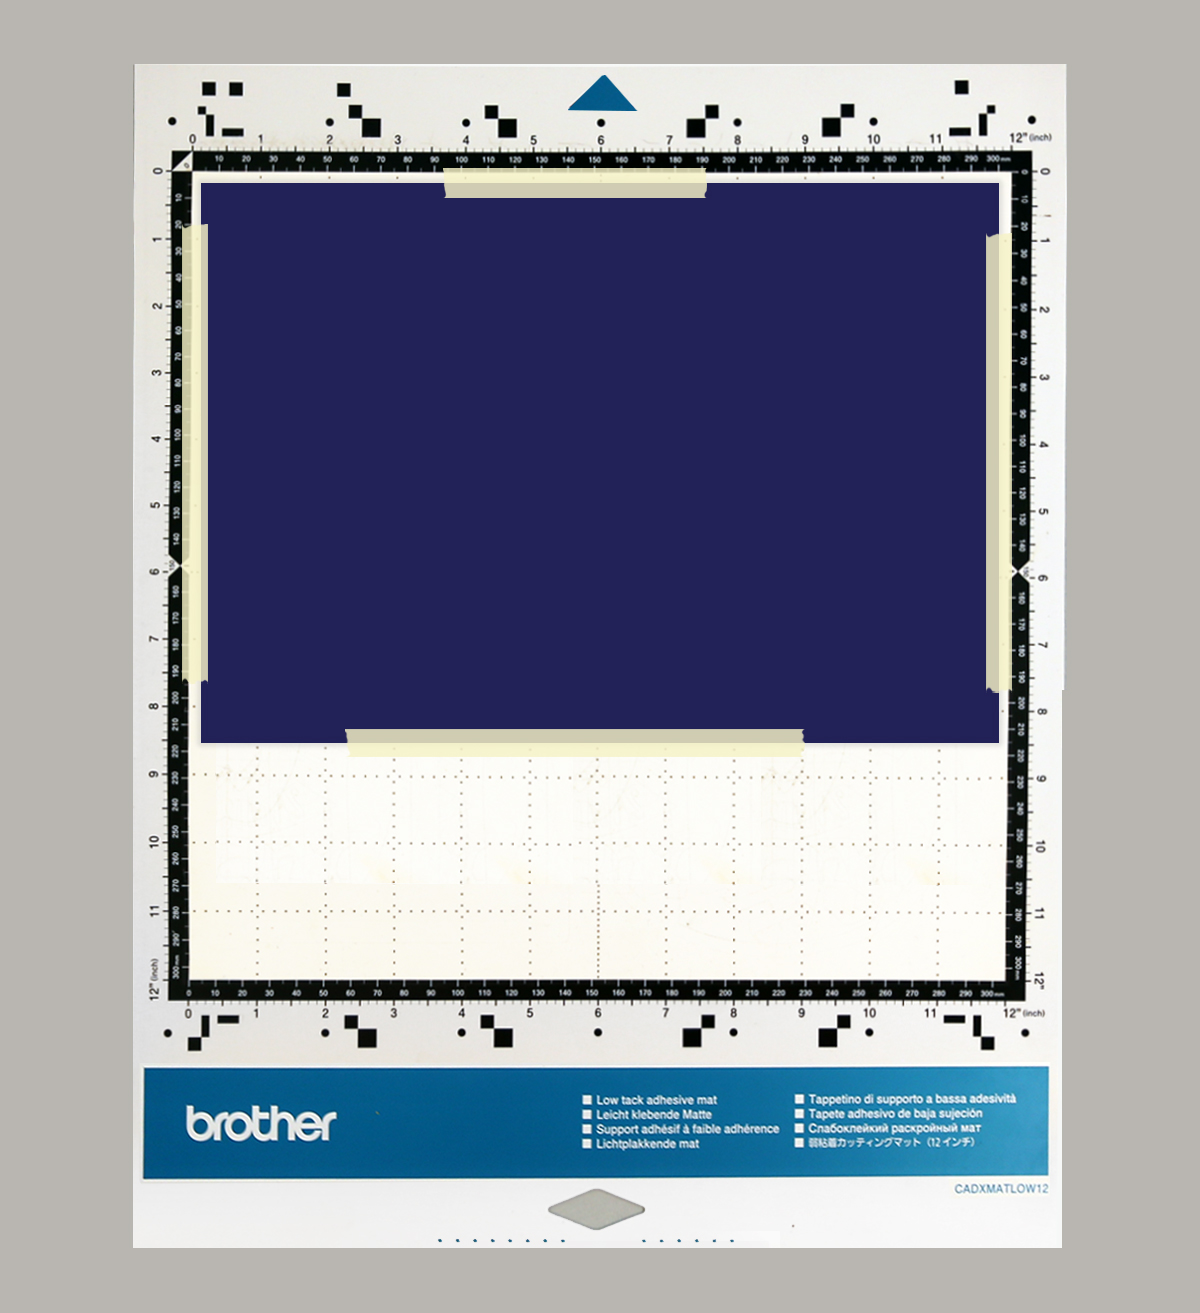
- Load the mat into your machine.
- Load the SquareInner.svg. (If you have a Brother ScanNCut do a quick scan of your mat to make sure the design is positioned correctly on top of the cardstock).
- Proceed with cutting the design.
- Once the machine has finished cutting your design, unload the mat from the machine and gently remove the cut cardstock.
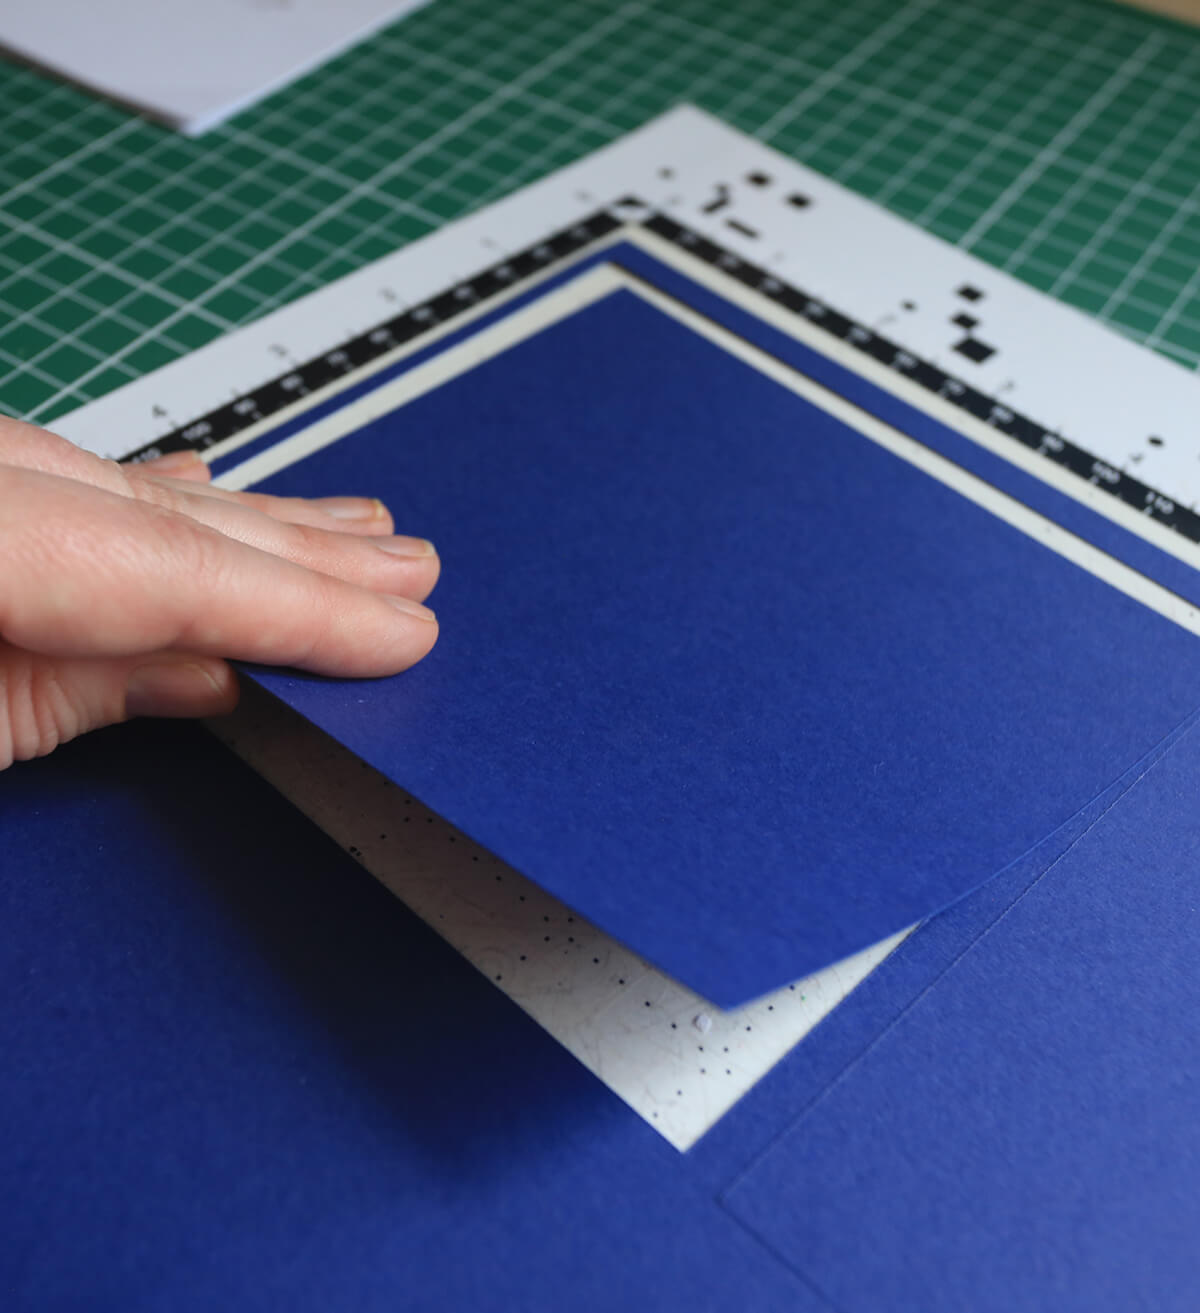
- Now open up the card you set aside and insert the inner by simply slotting the corners of the card into the angled cut outs.
- Add your personalised message to the right hand side and close it up, ready to give to someone special this Christmas. Repeat the same steps to complete the ChristmasTreeCard or try making your own using the blank card and adding your own design via CanvasWorksace.
Free Embroidery Designs
We're excited to offer our free Echidna designs available for download. These free designs are perfect for those at a beginner or an advanced level. Add these designs to your stash and create incredible embroidery!
View all free designs >
Sewing, Quilting and Embroidery Machines
Interested in learning how to sew, quilt or embroider? Take a look at the innovative Brother machines available for purchase at Echidna Sewing. Wherever possible we will beat any deal and you will always receive ongoing service and support!
Find out more >
Learn to Sew or Embroider with Echidna Sewing
Come along to our fun-filled classes to learn more about sewing, embroidery and crafting. Classes cater for all skill levels, whether you're just starting out or already have advanced knowledge.
Find out more >
Echidna project material/ fabric requirements are an indication only and can seem to be generous. This has been intentional. Should you make a cutting or embroidery mistake you will have sufficient fabric to rectify your error.


