All Projects
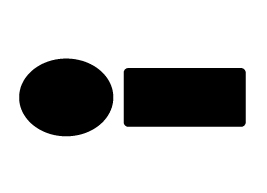
 Round and Rectangle Marker Shape
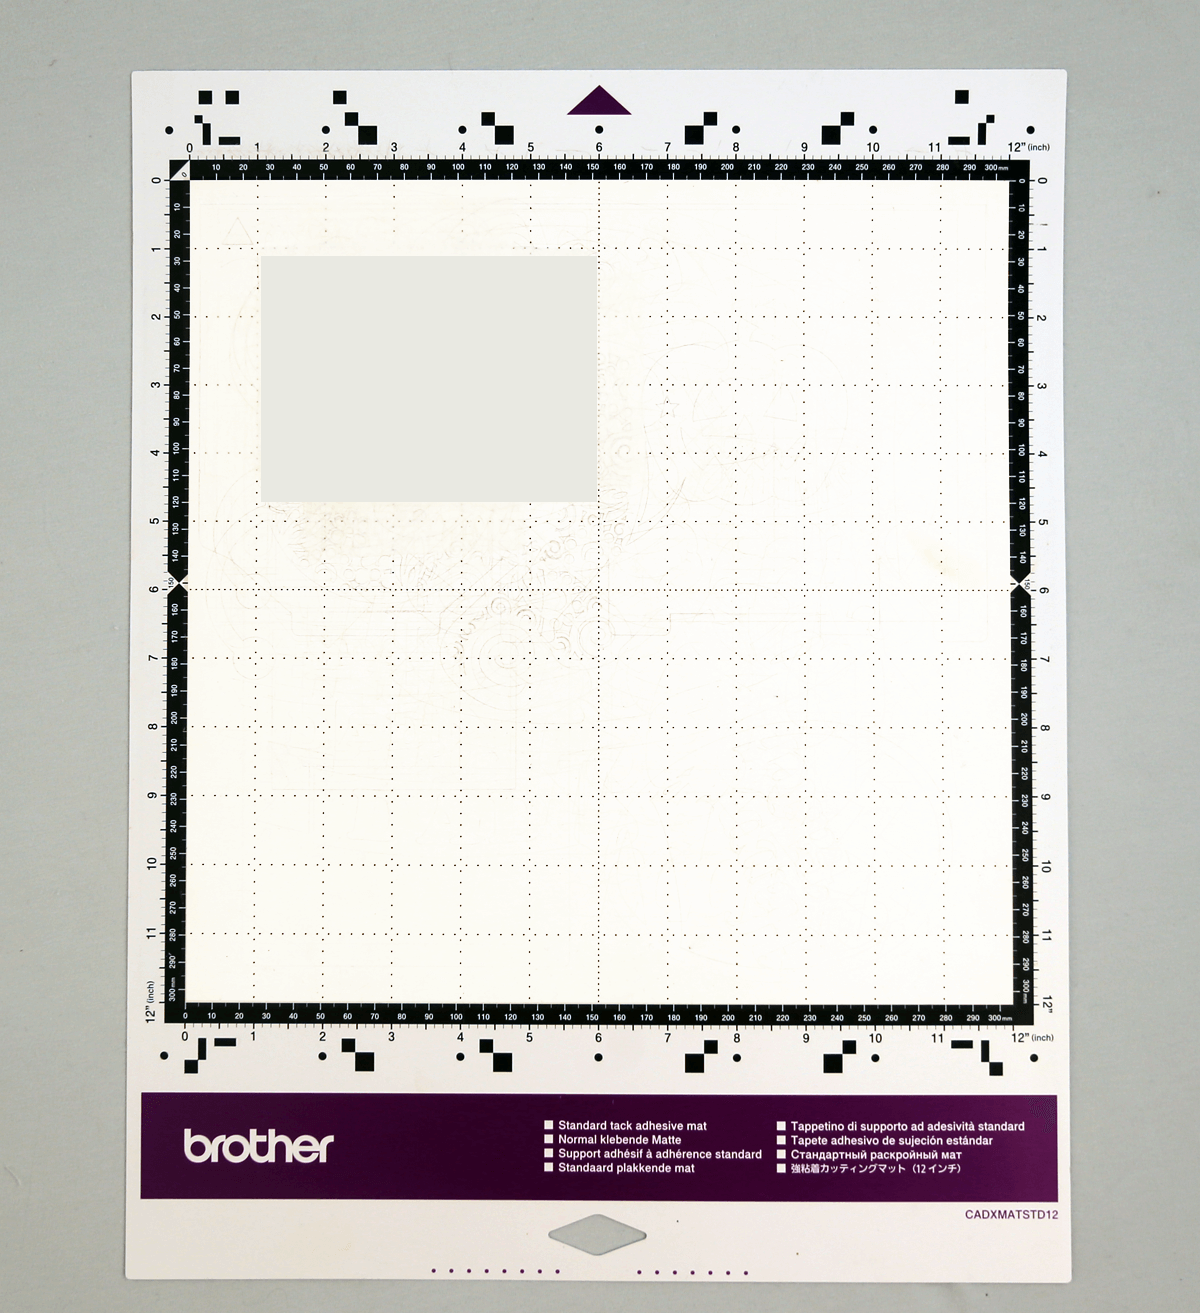
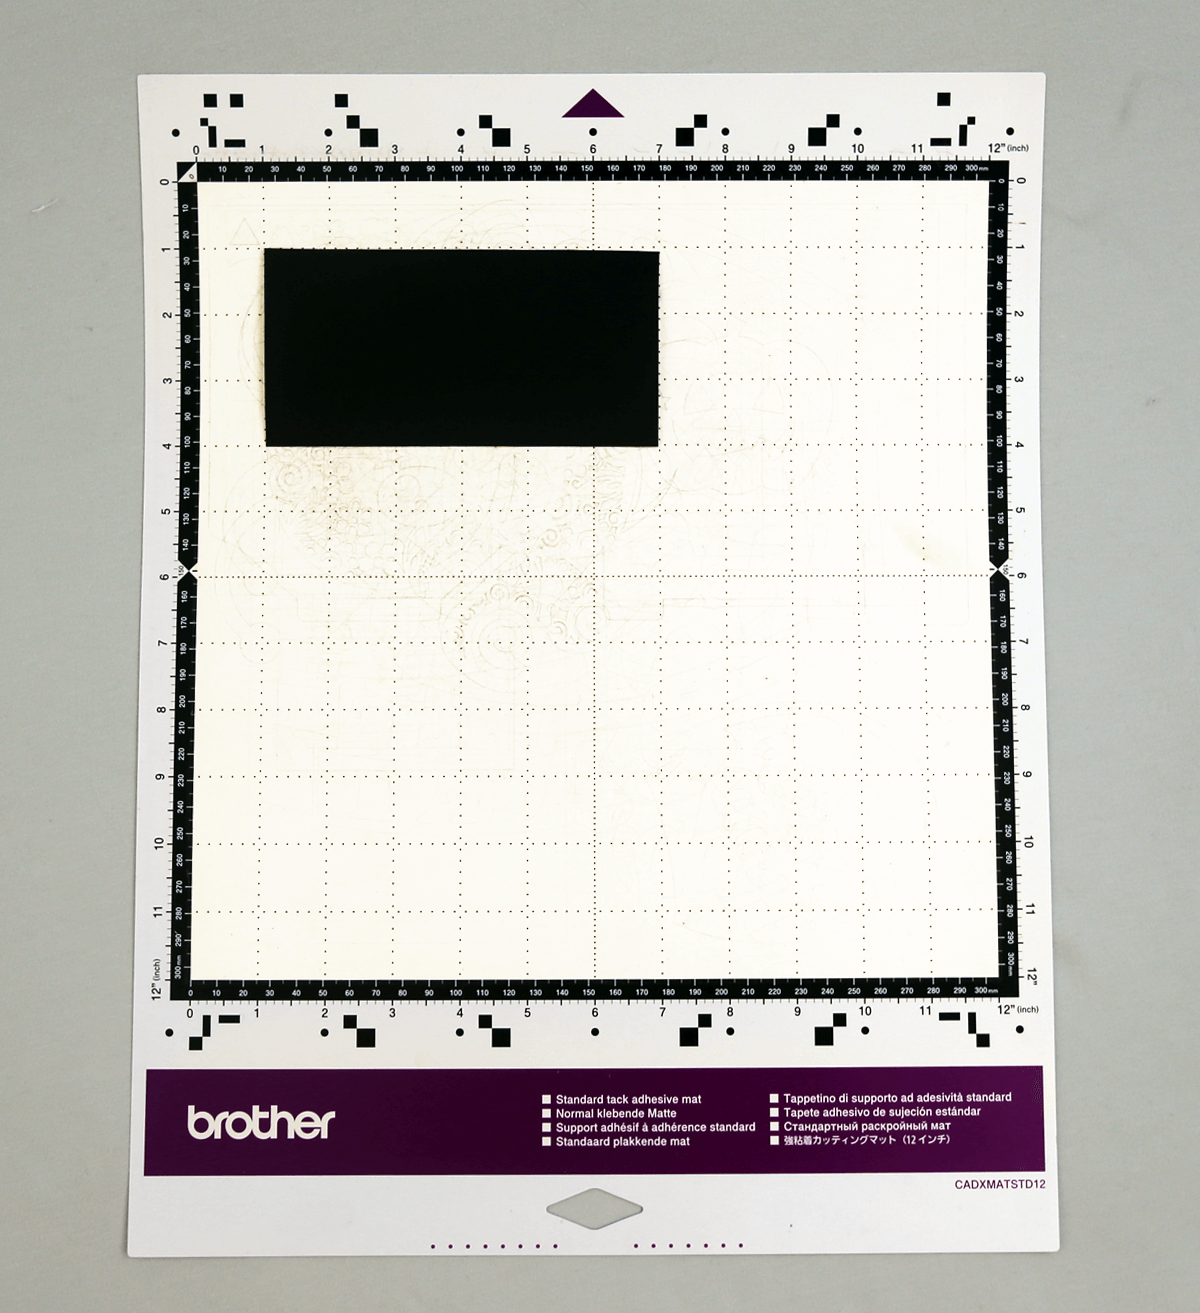
 Round and Rectangle Blackboard


 Previous Next


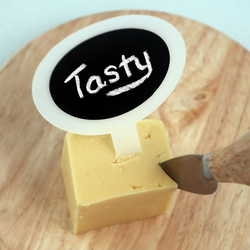
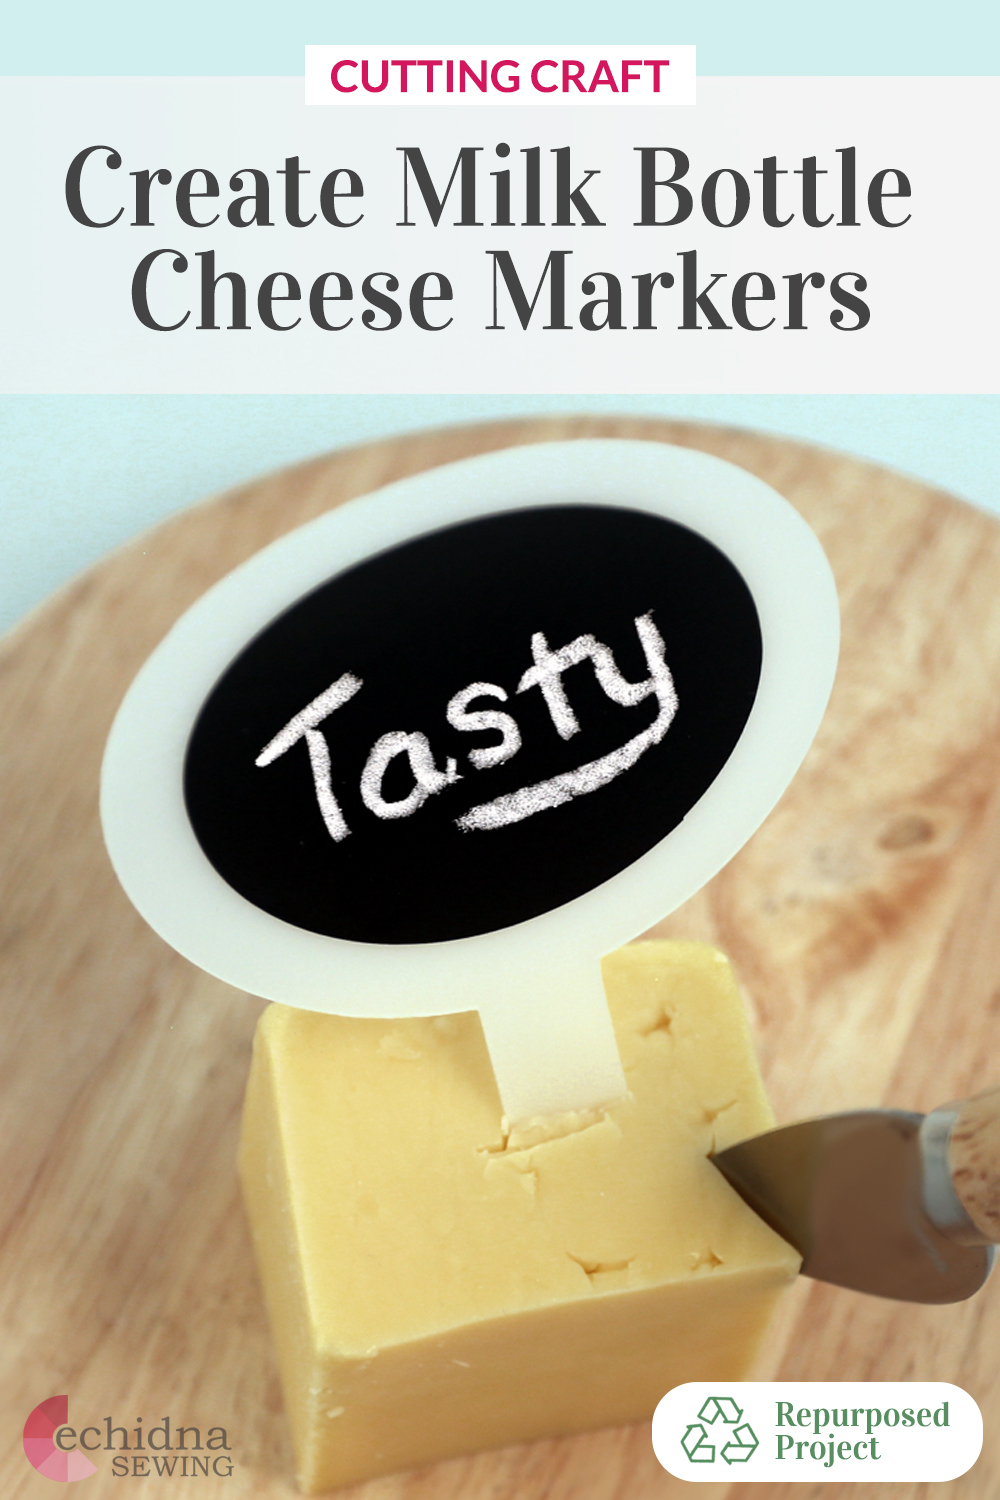
Milk Bottle Cheese Markers
Author: Nicole H Date Posted:15 May 2023
If you're a cheese lover, you know that presentation is key when it comes to serving up a delicious cheese platter. And what better way to make your cheese board stand out than with some cute and creative cheese markers? But rather than buying expensive markers from the store, you can easily make your own!
With just a few simple materials and a cutting machine, you can transform old milk bottles and blackboard vinyl into charming cheese markers that are sure to impress your guests. Best of all, the blackboard surface means you can easily label your cheese varieties with some chalk, making it easy for everyone to identify their favorites.
So why not put your crafting skills to the test and give these DIY cheese markers a try? Your taste buds (and your guests) will thank you!
Download the files for this project →
Free design files:
These include:
- Round Marker Shape (.svg)
- Round Blackboard (.svg)
- Rectangle Marker Shape (.svg)
- Rectangle Blackboard (.svg)
Round and Rectangle Marker ShapeRound and Rectangle Blackboard What you will need:
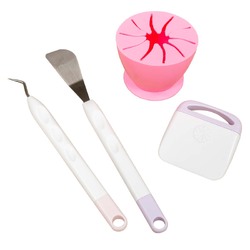
- Cutting machine (Brother ScanNCut, Cricut, Silhouette etc)
- 3L Plastic Milk Bottle
- Blackboard Self Adhesive Vinyl
- Transfer tape
- Scraper
- Weeding tools
- Scissors
- Masking tape
- Design files Download here →
Shop online:

IMPORTANT NOTE: Make sure you check the maximum media thickness that your cutting machine will allow and ensure that the milk bottle medium does not exceed this.
Step overview:
Step one
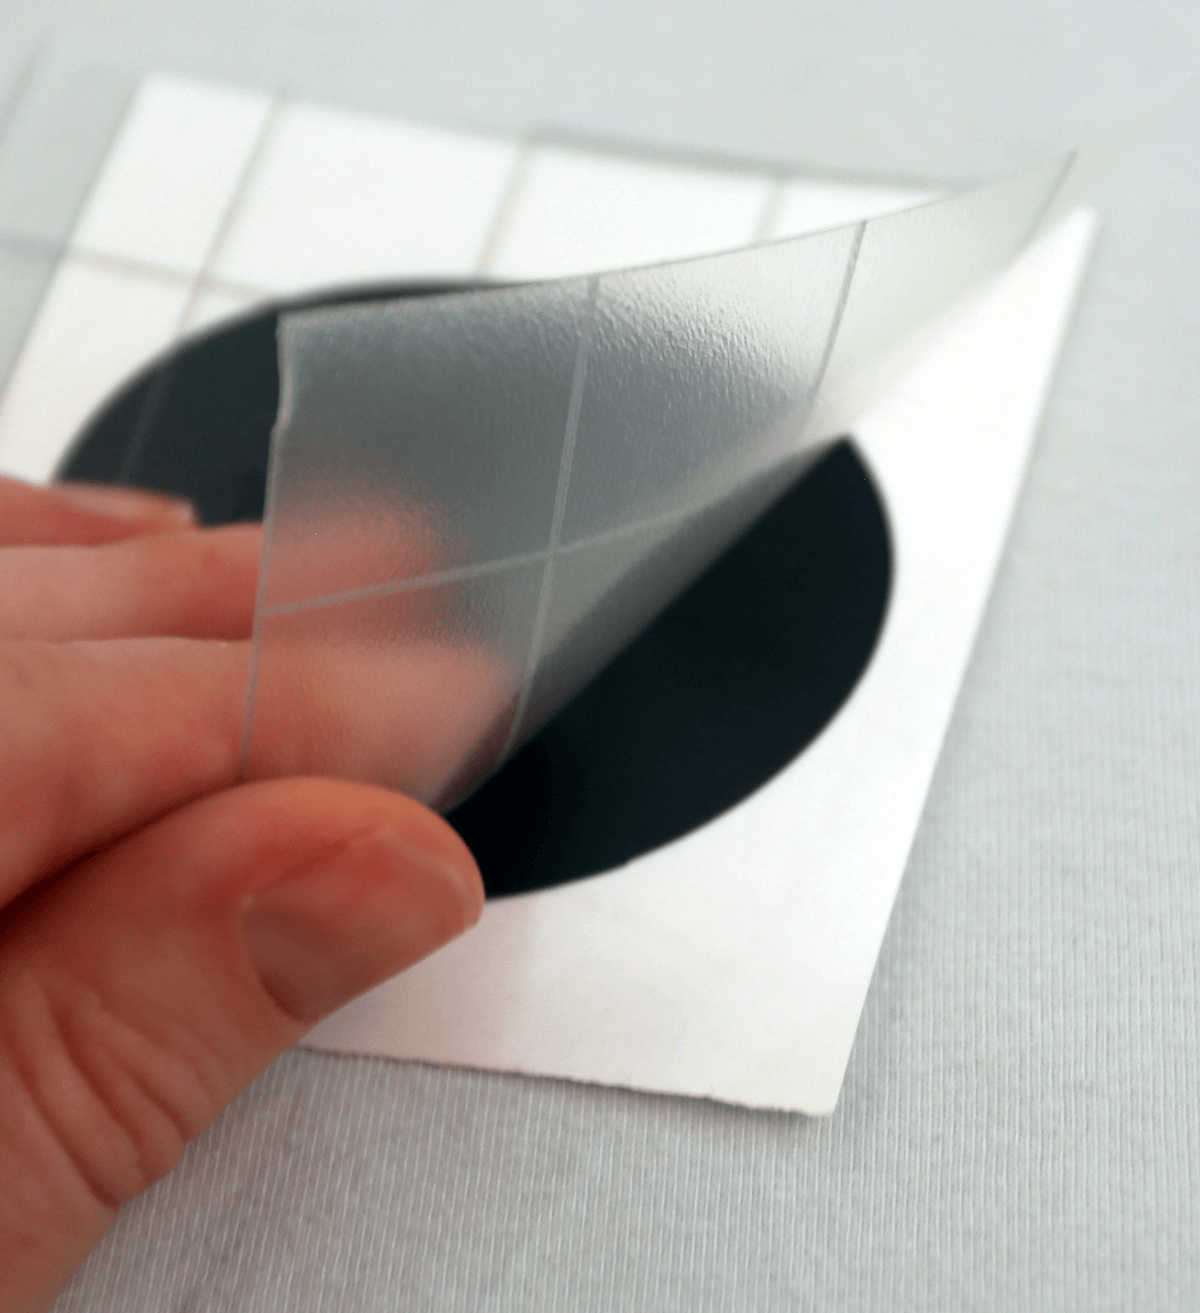
Wash and cut out the flat part of your milk bottle and place it on your machine mat. Use masking tape to hold the plastic firmly in place.
Step two
Cut out Marker Shape from the milk bottle. Make sure your machine allows cutting of the thicker medium.
Step three
Cut out the blackboard shapes from a piece of blackboard self adhesive vinyl. Once completed, unload the mat from the machine and gently remove vinyl from your mat. Ensure you set your machine to the vinyl or half cut option.
Step four
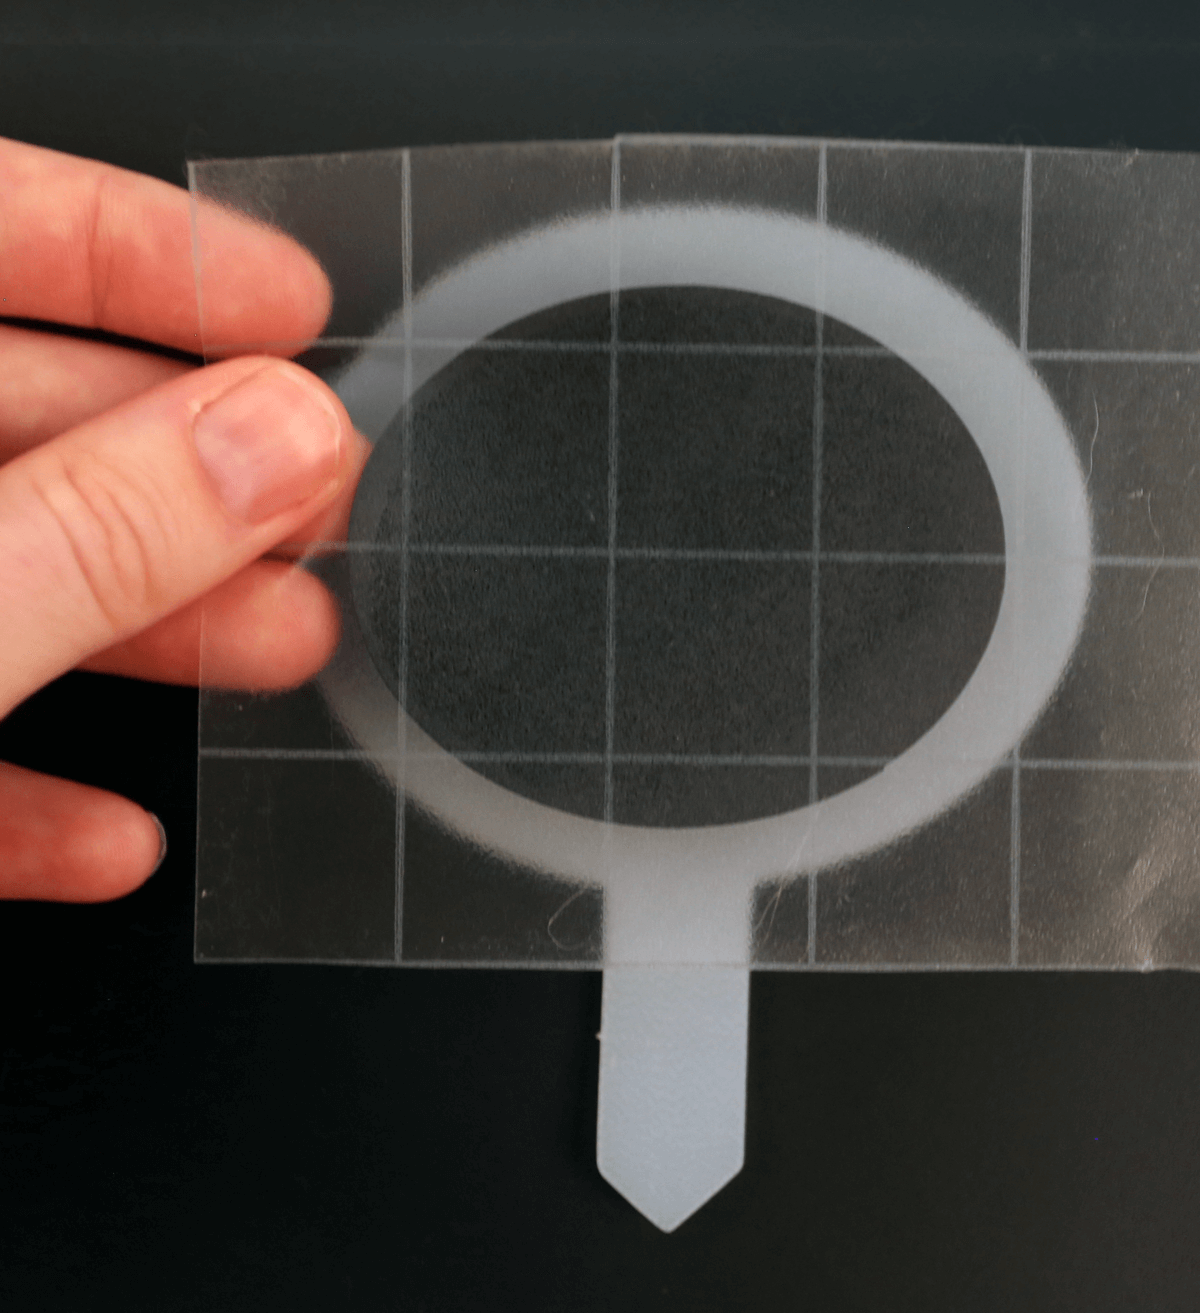
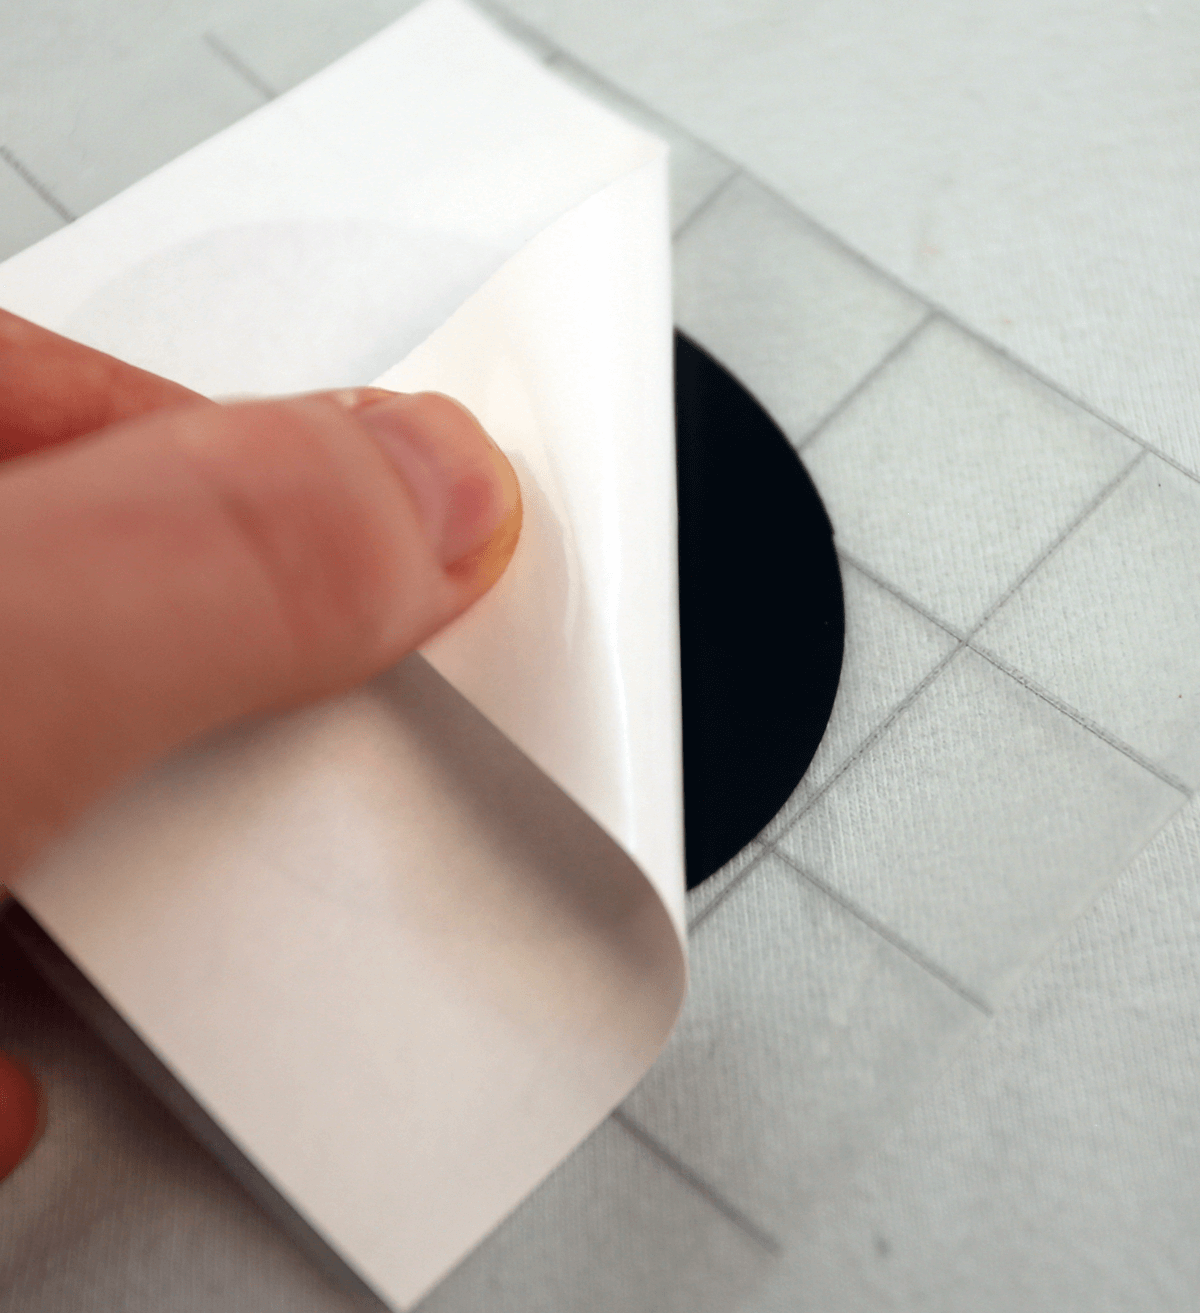
Starting from one corner of the media, peel away the unwanted blackboard layer and cover it with Transfer tape.
Step five
Move the blackboard sticker to the desired surface and press down to force the adhesive to tack. Slowly peel away the transfer tape to reveal the applied sticker.
Step six
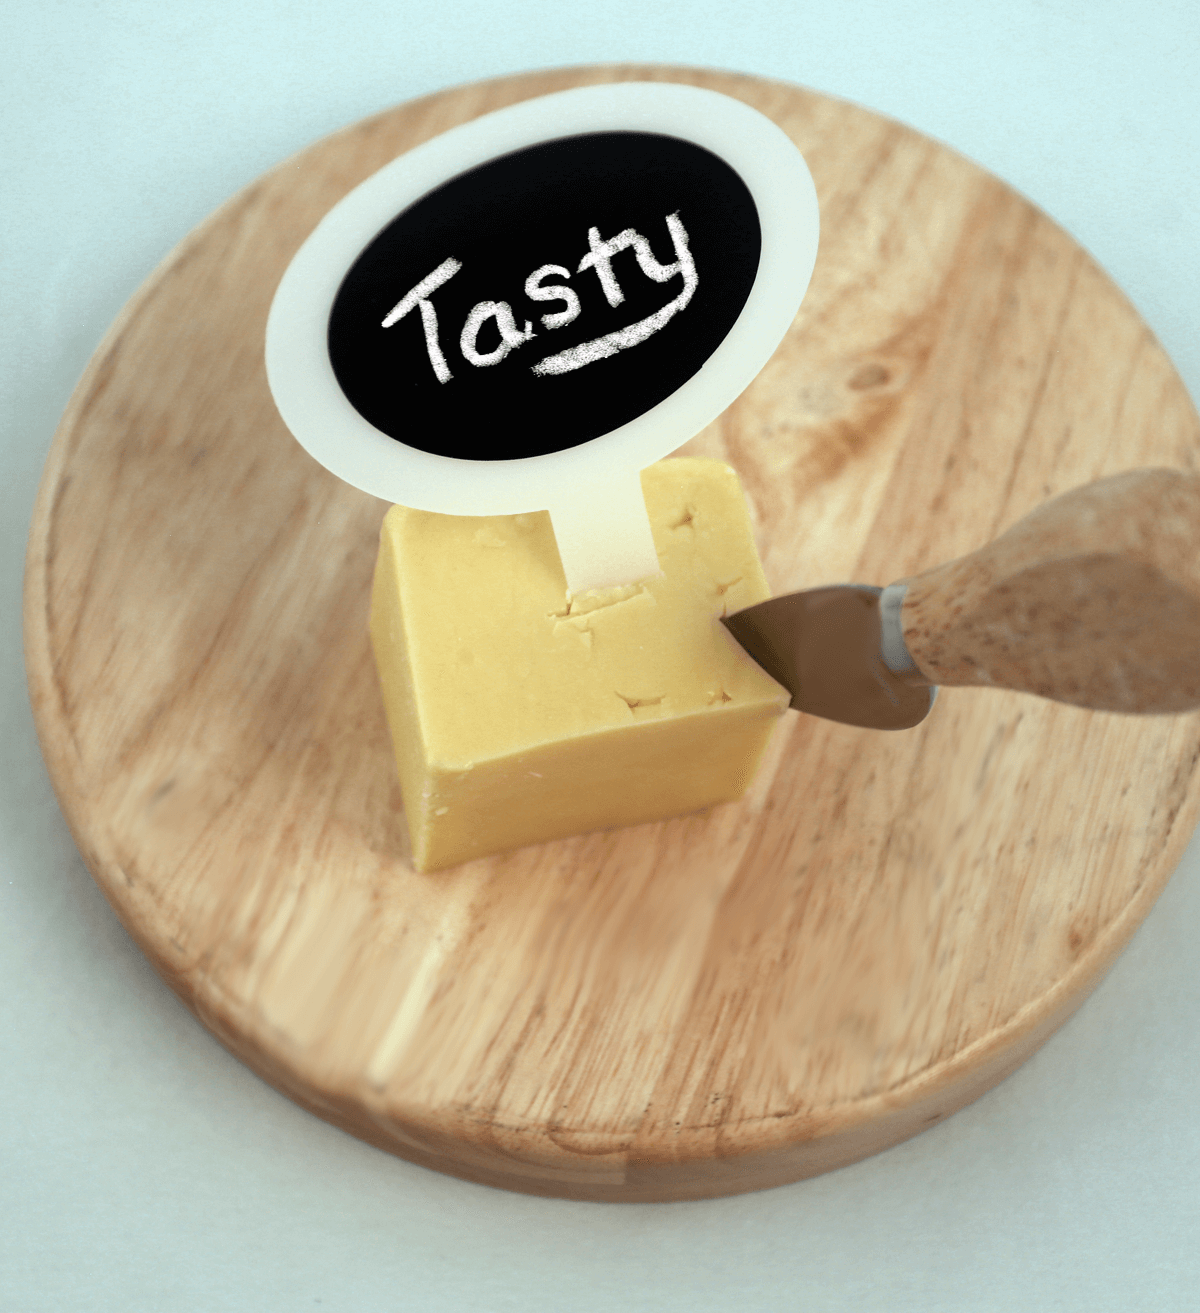
Using some chalk, write on the blackboard to help you identify the type of cheese.
Step seven
Repeat the steps to create as many cheese markers as needed and insert the corresponding cheese marker into the appropriate cheese and add it to your platter.
Learn about cutting adhesive vinyl using the ScanNCut
We have put together step by step instructions on how to cut and apply adhesive vinyl using your Brother ScanNCut.
Detailed instructions:
Cheese Marker Shape
- Download the .svg files and save these onto a USB and plug it directly into your cutting machine.
- Rinse your milk bottle and remove the stickers from both sides.
- Using some scissors, carefully cut out a rectangle of the flattest part of the bottle. This is usually where the label was located. Be aware that some brands may have an indent in the mould, this should be avoided where possible as the machine will be unable to detect the indent when cutting. Repeat on both sides of the bottle. You should be able to get a piece approx 12cm x 9cm from each side.
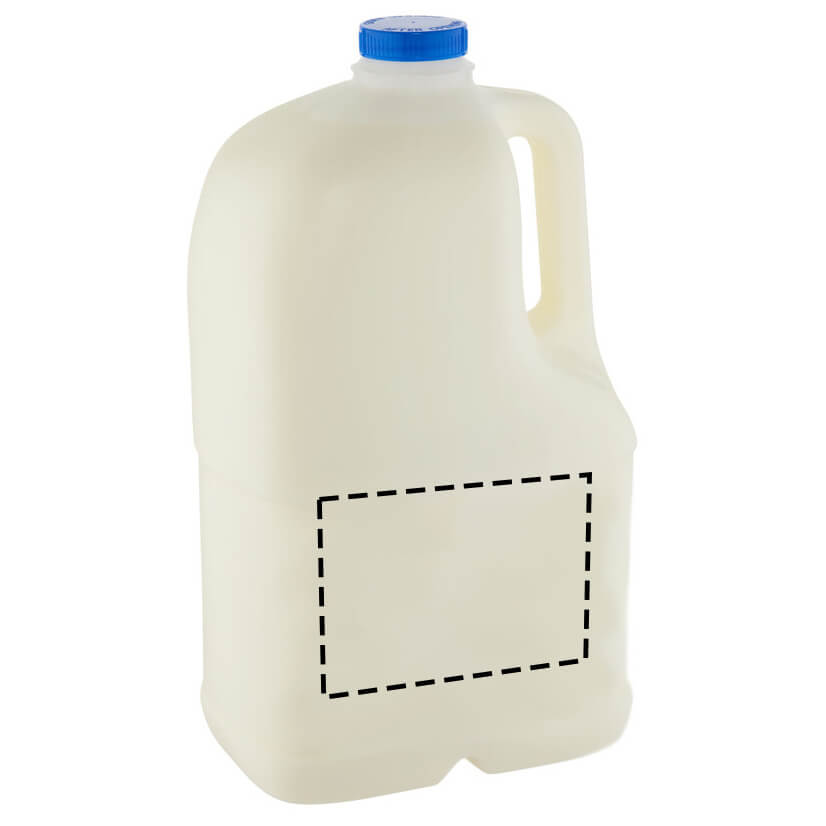
- Place the piece of cut plastic on your machine mat. Use masking tape to hold the plastic firmly in place. This will also help to keep the plastic as flat as possible and reduce any chance of movement.
- Load the mat into your machine.
- Load the RoundMarkerShape.svg. (If you have a Brother ScanNCut do a quick scan of your mat to make sure the design is positioned correctly on top of the plastic).
- Adjust your machine settings to be suitable for cutting the thicker medium. (The SDX range of Brother ScanNCut will do this automatically if you have enabled this setting). Note that some machines will go over the design multiple times to cut through the plastic.
Tip: We suggest doing a test cut to ensure you have your settings correct for the medium you are using. Cutting a small hole in the corner of your mat is a lot less upsetting than cutting a large design straight through your mat.
- Proceed with cutting the design.
- Once the machine has finished cutting your design, unload the mat from the machine and gently remove the cut plastic.
- Peel the cut out from the plastic. You will now have one round cheese marker, set aside.
- Repeat the above steps to create as many cheese markers as required.
Blackboard stickers
- Place a piece of blackboard vinyl onto your machine mat, making sure it is large enough for the required design. Ensure the media is stuck to the mat the correct way up, using a brayer/roller may be helpful.
- Load the RoundBlackboard .svg file. (If you have a Brother ScanNCut do a quick scan of your mat to make sure the design is positioned correctly on top of the vinyl)
- Adjust your machine settings to be suitable for cutting vinyl. For ScanNCut users you will need to enable the half-cut option.
Tip: We suggest doing a test cut to ensure you have your settings correct for the medium you are using. Cutting a small hole in the corner of your mat is a lot less upsetting than cutting a large design straight through your mat.
- Proceed with cutting the design.
- Once the cutting is complete, unload the mat from the machine and gently peel the vinyl sheet off as a whole.
- Starting from one corner of the media, peel the coloured layer away from the backing (also known as ‘weeding’). Using a weeding tool, spatula and hook set, tweezers or fine scissors may be helpful to get you started.
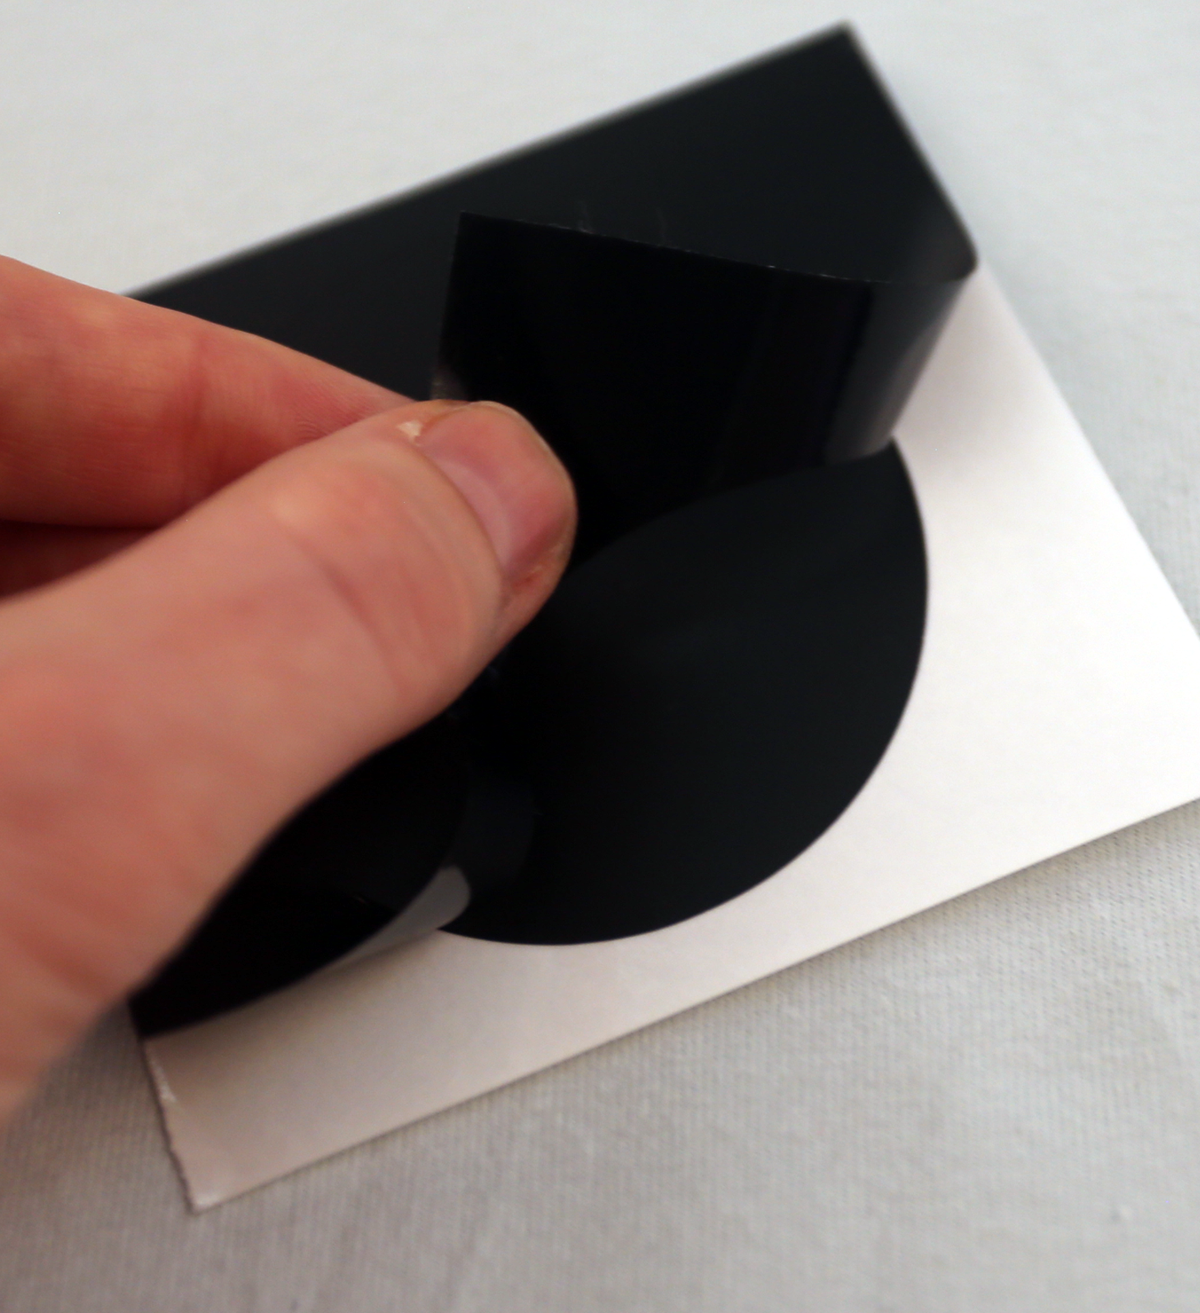
- To remove the vinyl from its backing, cut a piece of Transfer Tape large enough to cover your design.
- Peel off the grid side of the Transfer Tape. Grid Transfer Tape is perfect as it will allow you to get the shape straight.
- Place the transfer tape over the cut-out vinyl ensuring all the vinyl is covered. Gently rub the transfer tape whilst on the vinyl. A scraper can be helpful when doing this.
- Gently start peeling off the vinyl backing. The vinyl should lift off with the tape. If not, lay the tape down again and press firmly. You want your design to stick to the tape so you may need to give it a rub as you go.
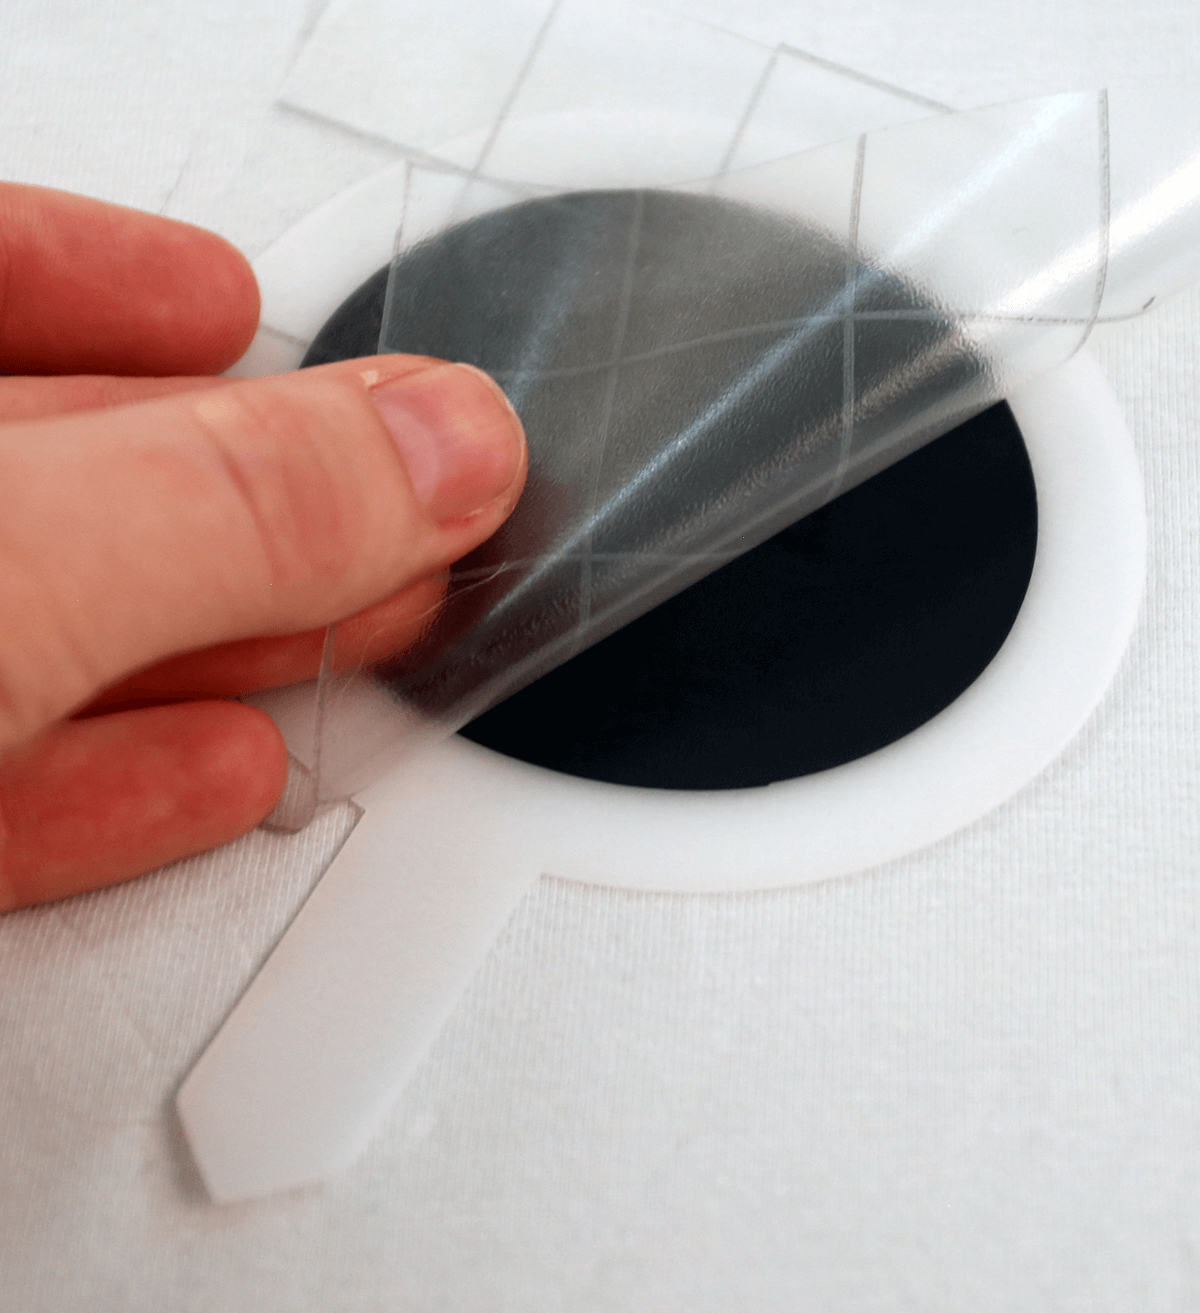
- This then exposes the adhesive side of the vinyl. Quickly move the vinyl to the round end of the plastic marker, center, and press down over the vinyl very firmly to force the adhesive to tack. The vinyl's own adhesive is much stronger than the transfer tape, so once the vinyl is applied the tape can be peeled away to reveal the applied vinyl.
- Peel off the transfer tape to reveal your shape.
- Using some chalk, write on the blackboard to help you identify the type of cheese.
- Repeat the above steps to create the remaining blackboard stickers for your cheese markers.
- Insert the corresponding cheese marker into the appropriate cheese and add it to your platter. Once you're finished, simply wipe off the chalk so that they are ready to use again next time.
Free Embroidery Designs
We're excited to offer our free Echidna designs available for download. These free designs are perfect for those at a beginner or an advanced level. Add these designs to your stash and create incredible embroidery!
View all free designs >
Sewing, Quilting and Embroidery Machines
Interested in learning how to sew, quilt or embroider? Take a look at the innovative Brother machines available for purchase at Echidna Sewing. Wherever possible we will beat any deal and you will always receive ongoing service and support!
Find out more >
Learn to Sew or Embroider with Echidna Sewing
Come along to our fun-filled classes to learn more about sewing, embroidery and crafting. Classes cater for all skill levels, whether you're just starting out or already have advanced knowledge.
Find out more >
Echidna project material/ fabric requirements are an indication only and can seem to be generous. This has been intentional. Should you make a cutting or embroidery mistake you will have sufficient fabric to rectify your error.

