All Projects


 Previous Next
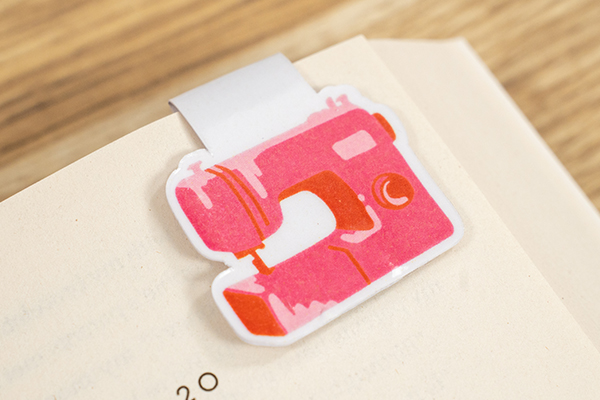
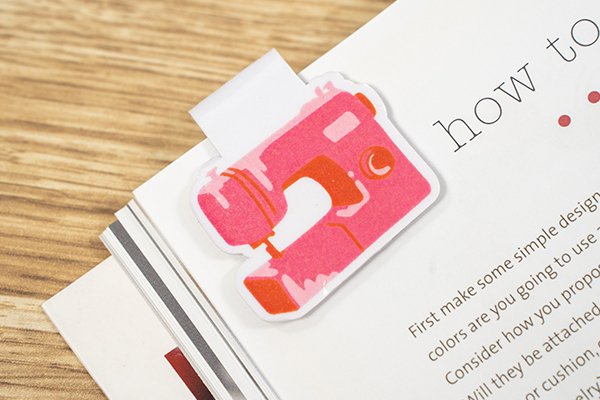


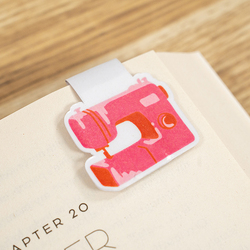
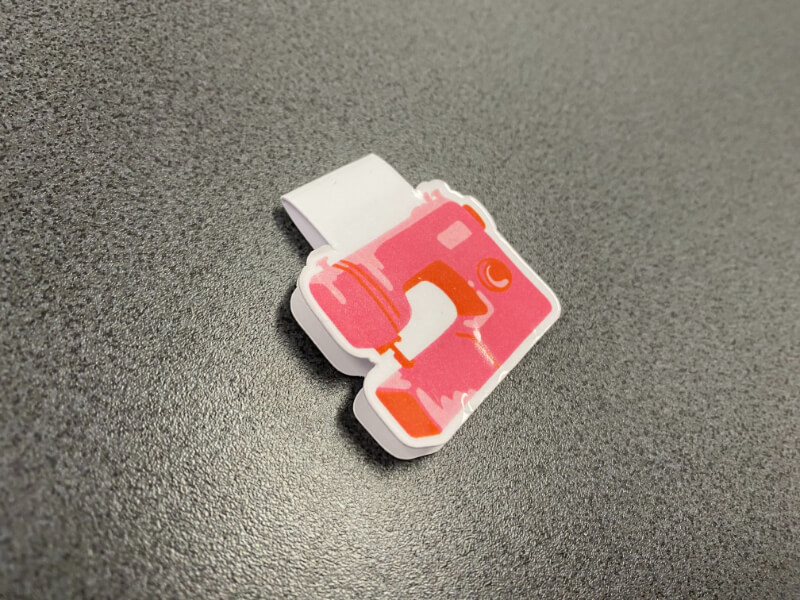
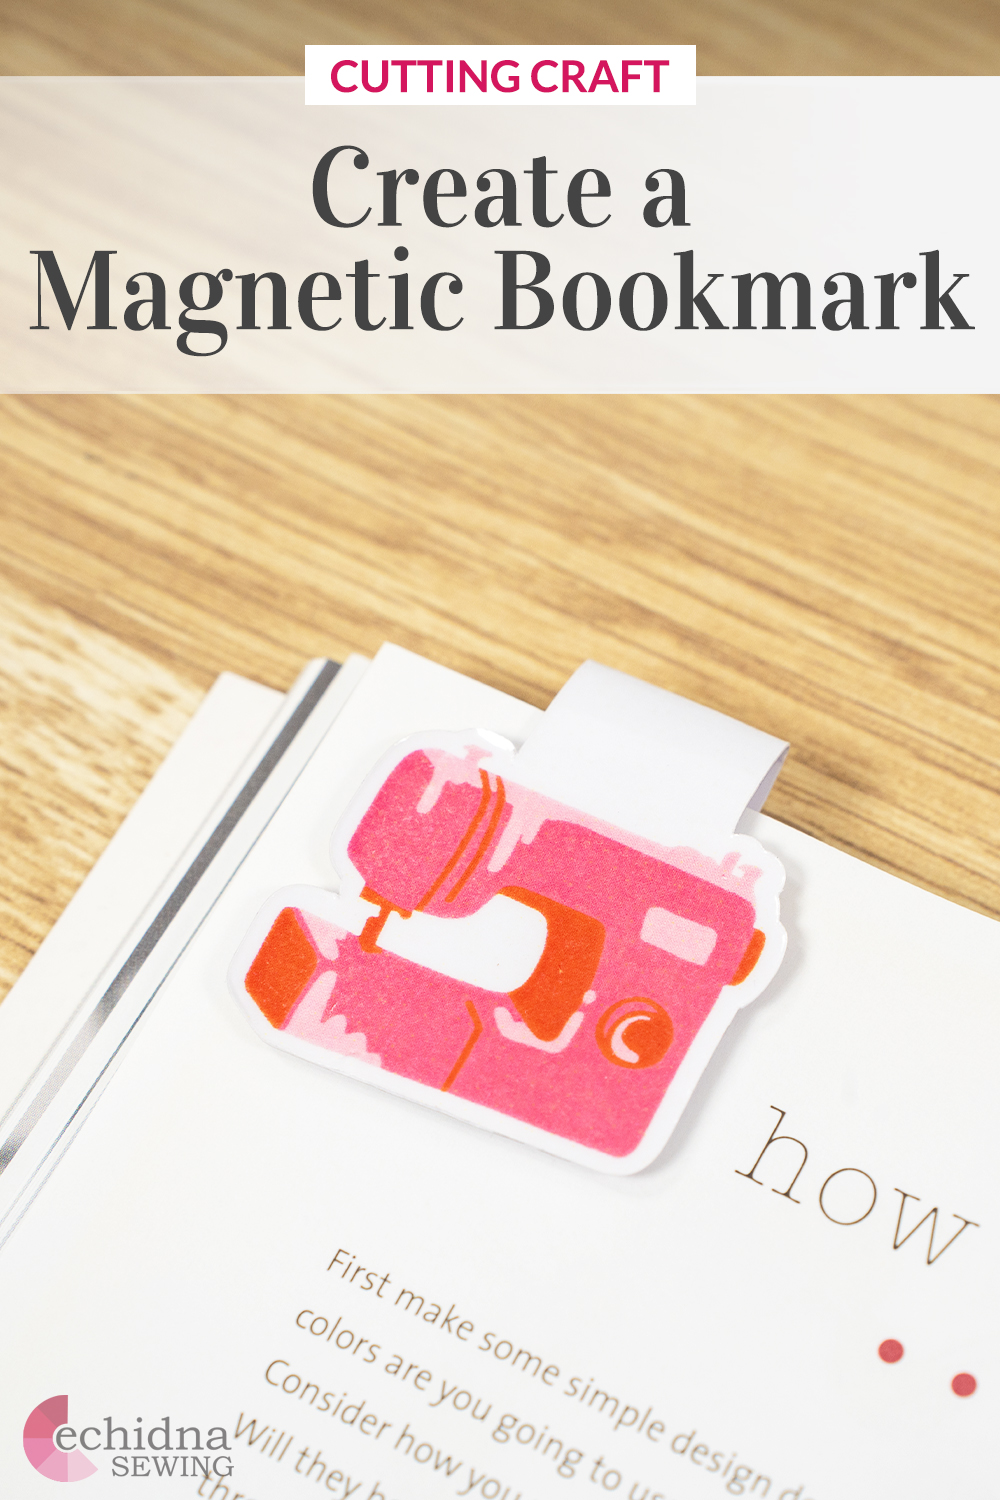
Magnetic Bookmarks
Author: Brittany Gagel Date Posted:10 May 2025
If you’re an avid bookworm, diary user, or are always studying, these cute magnetic bookmarks are the perfect project for you! Mark your page when reading with this magnetic bookmark design, which makes it easy to lock your page without causing any damage or creases to your book.
Magnetic bookmarks can be decorated with cartoons, and cute icons, or can even be personalised with your favourite photos like your kids, pets, or friends.
This project is great for those at intermediate to advanced skill level.
Download the free design for this project →
Free design:
- Sewing Machine (.jpg)
Please keep in mind: As these bookmarks are double-sided, the design you use will be reversed.
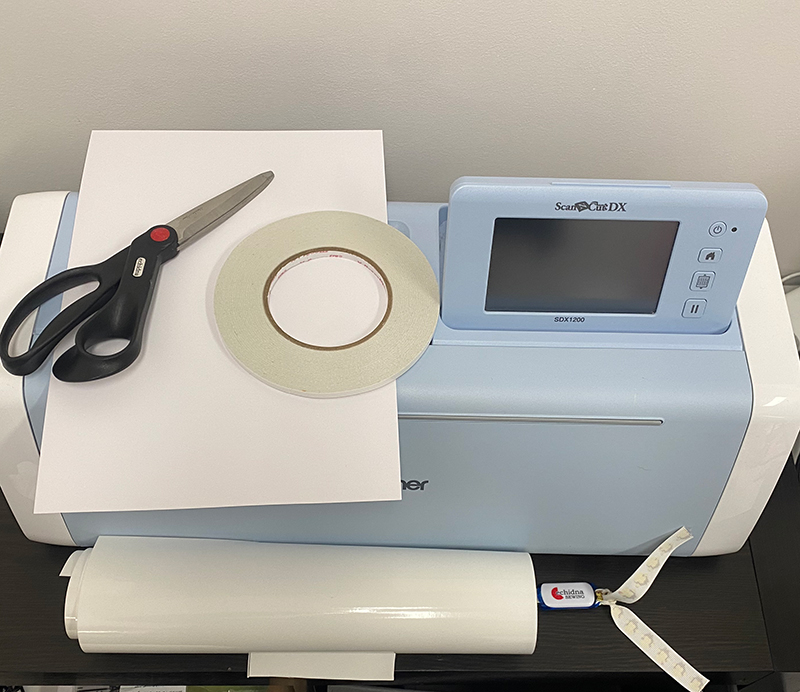
What you will need:
- Printer (any Inkjet printer that prints on paper or card)
- Paper or card
- Access to CanvasWorkspace (Desktop version)
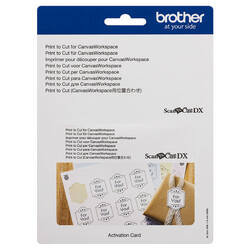
- Print to Cut for CanvasWorkspace
- Cutting machine
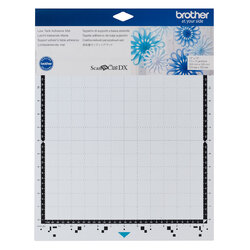
- 12" x 12" Low tack mat
- Any promotional fridge magnets (old calendars) or adhesive magnetic tape
- Scissors
- Clear vinyl/Overlaminate
- Design of your choice - Download our free design →
- Double-sided tape
Please note: Brother Print to Cut for CanvasWorkspace is required to complete this project. The desktop version of CanvasWorkspace is to be used.
If your chosen design/image is more complex, you will need Enhanced Image Tracing for ScanNCut.
Shop online:

Step overview:
Step one
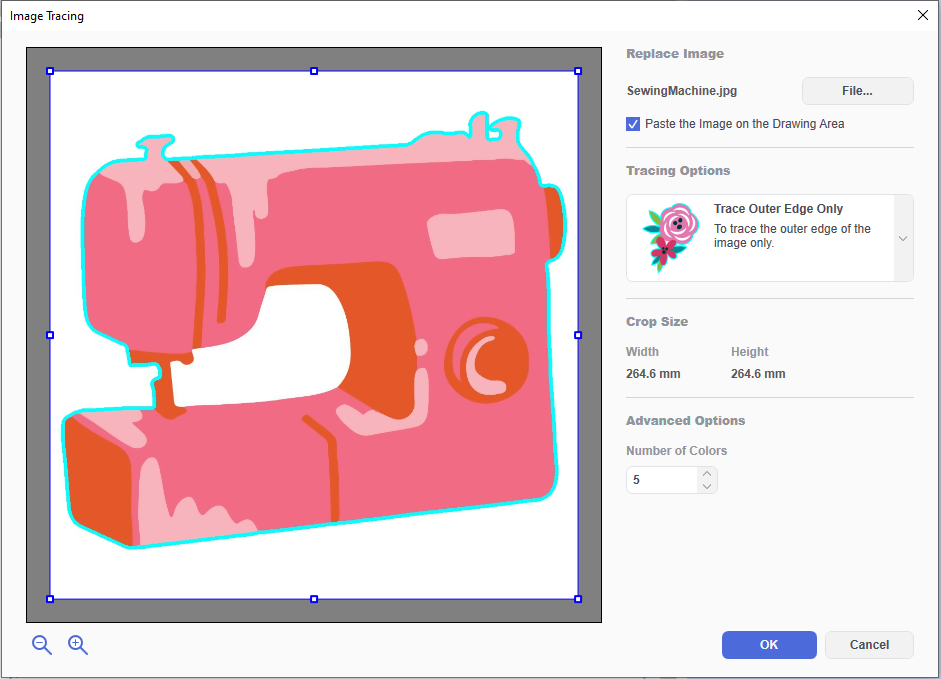
Create a new artboard in CanvasWorkspace (A4) and import your design through Image Tracing.
Step two
Resize your image to the desired size.
Step three
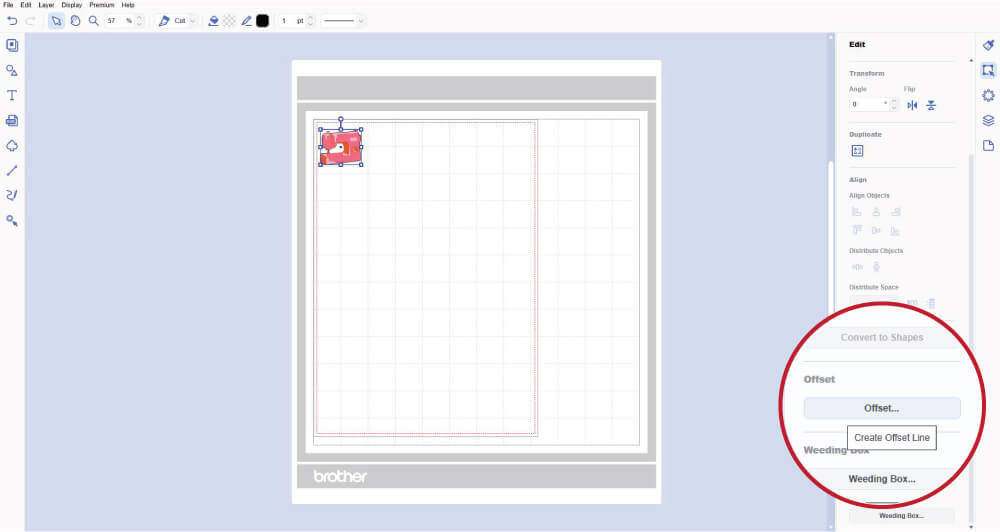
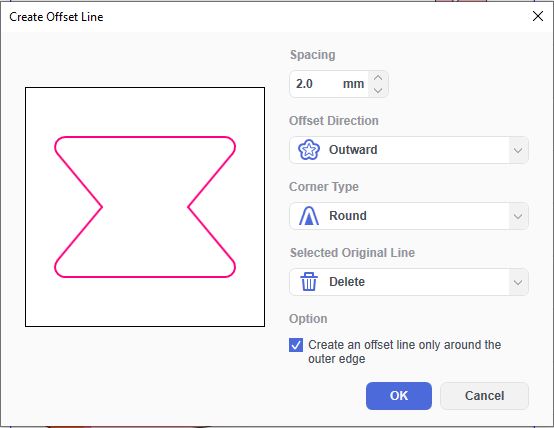
Select the cut line and create an offset cut line via Edit > Create Offset Line. Or just click the 'Offset' button in the right-hand side menu.
Step four
In the Offset Line Settings, change the spacing to 2-3mm and ensure the Selected Original Line option is set to 'Delete'.
Step five
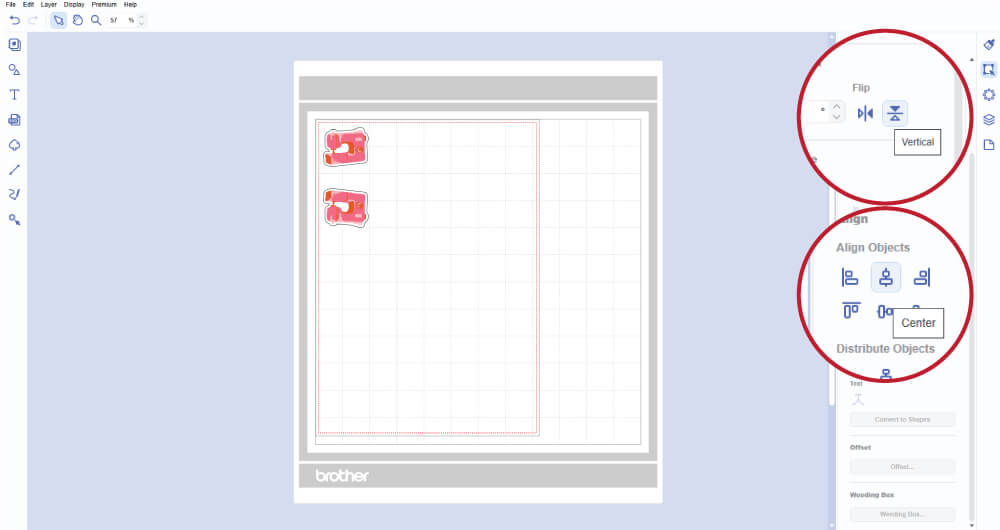
Group all layers and duplicate the image. Flip one of the images vertically and centre align them.
Step six
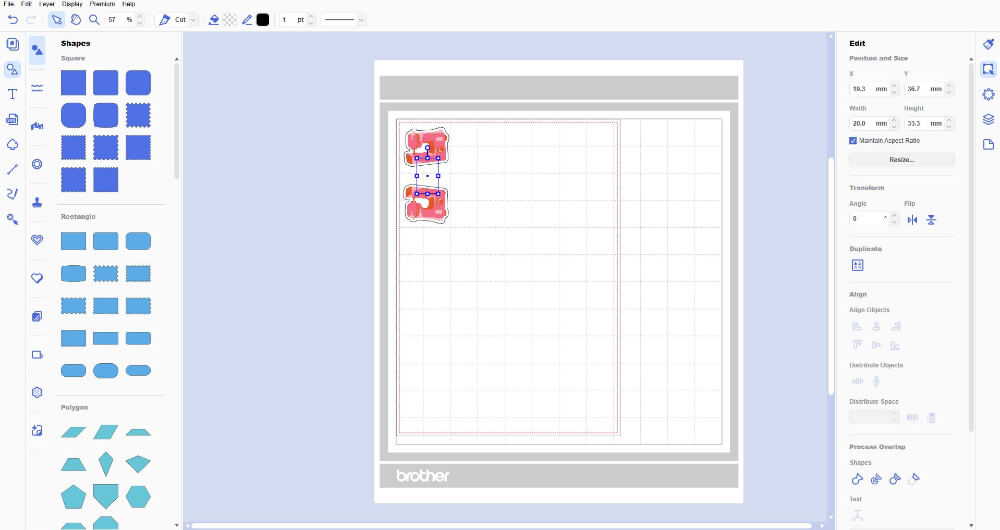
Create a rectangle with both ends overlapping the images and size to 20mm wide.
Step seven
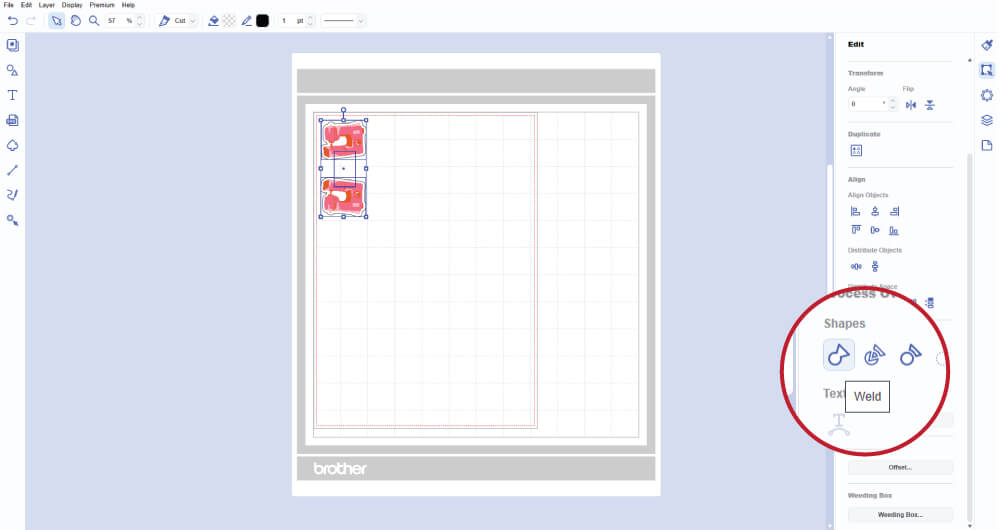
Ungroup the images that you grouped earlier, select all cut lines and click 'Weld'.
Step eight
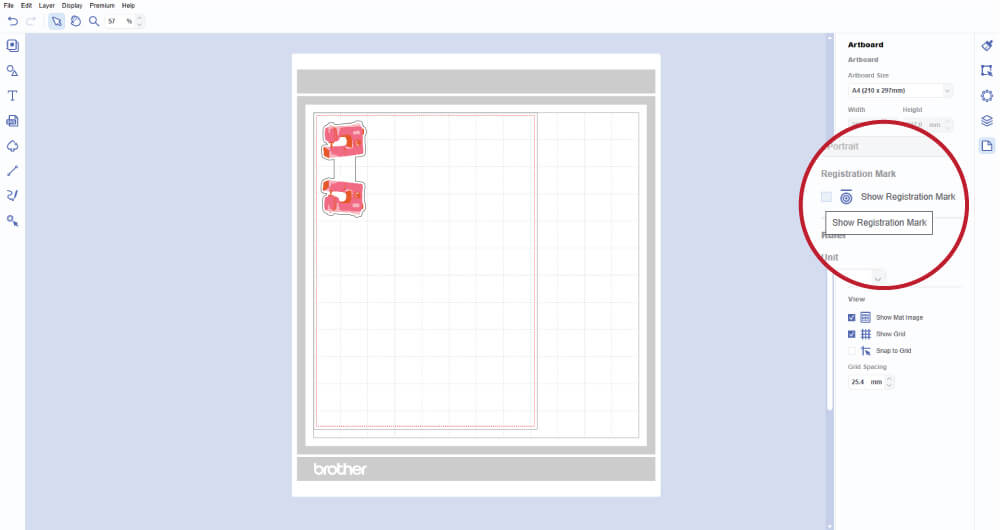
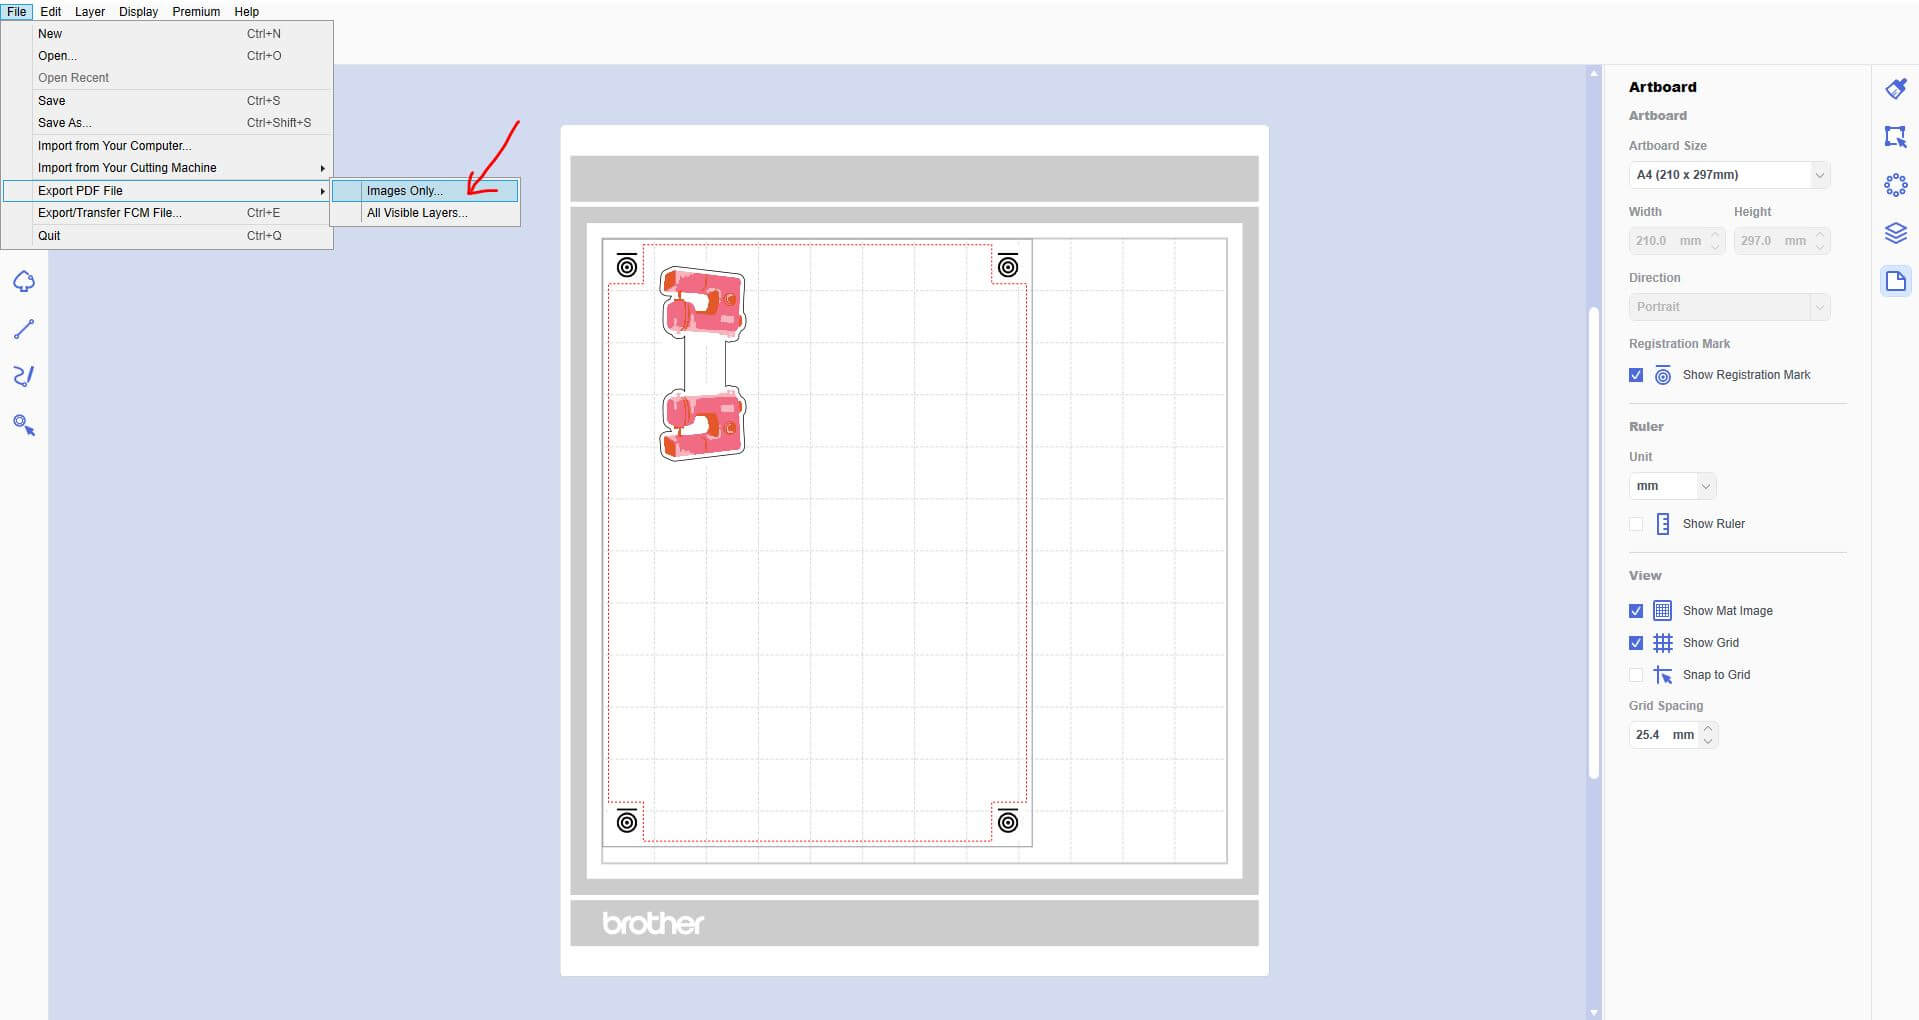
Turn registration marks on under the 'Artboard' menu. Please note: You must have the Brother ScanNCut Print to Cut function to access this.
Step nine
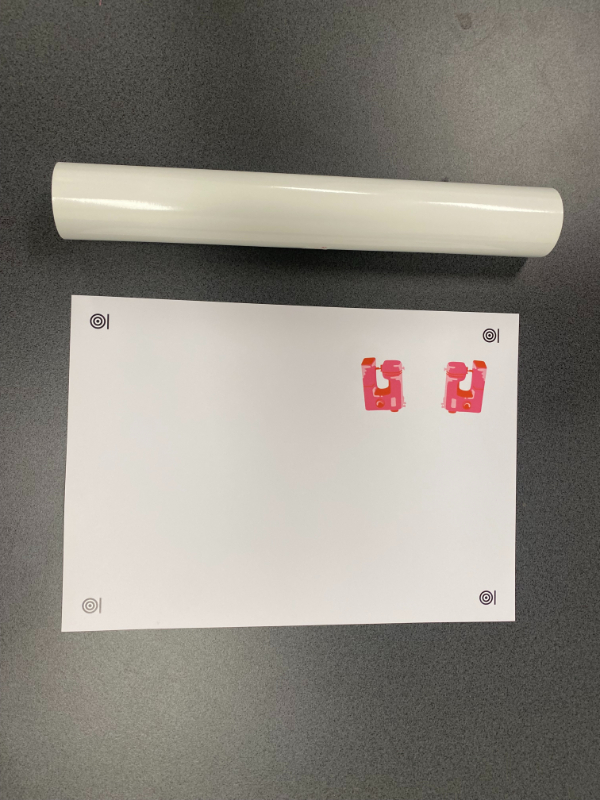
Export your file as an FCM file, and export a PDF file (Images Only). Save the FCM file to your USB. Print the PDF on paper or card.
Step ten
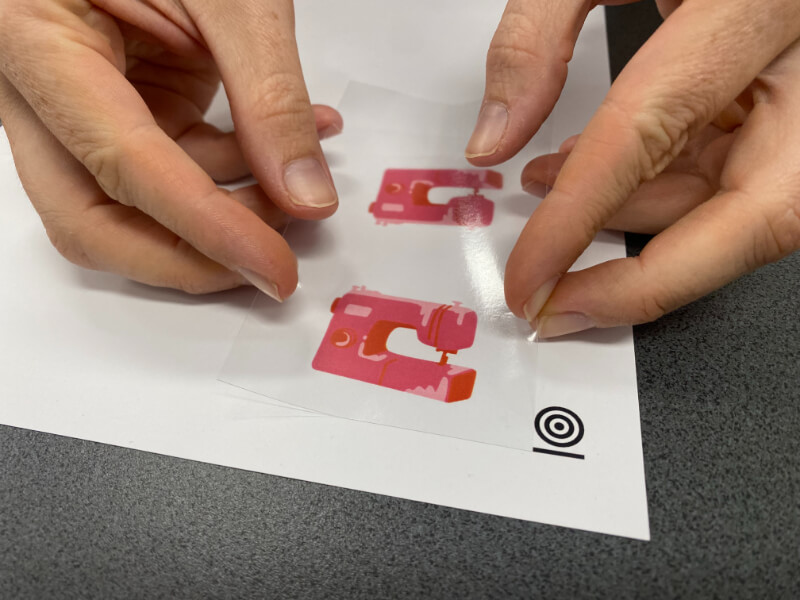
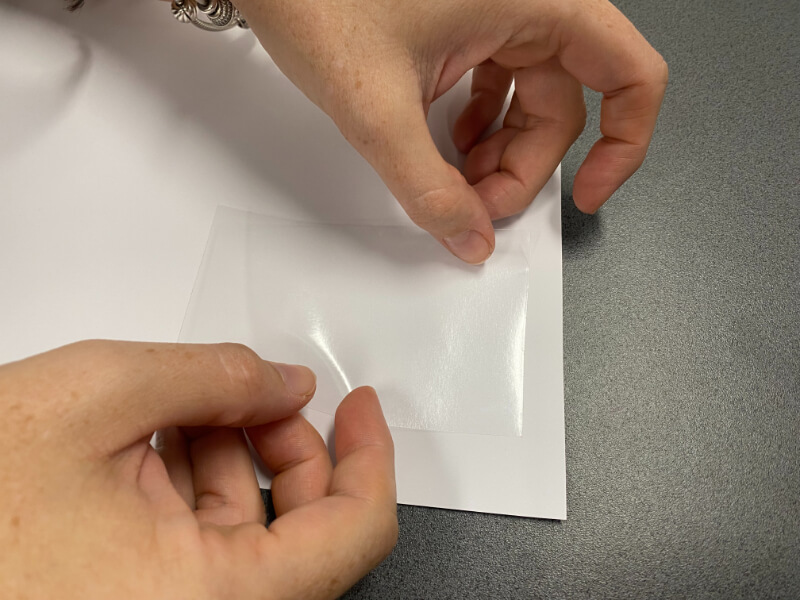
Laminate the PDF with overlaminate gloss or vinyl, ensuring it covers your design. You must laminate both the front and back.
Step eleven
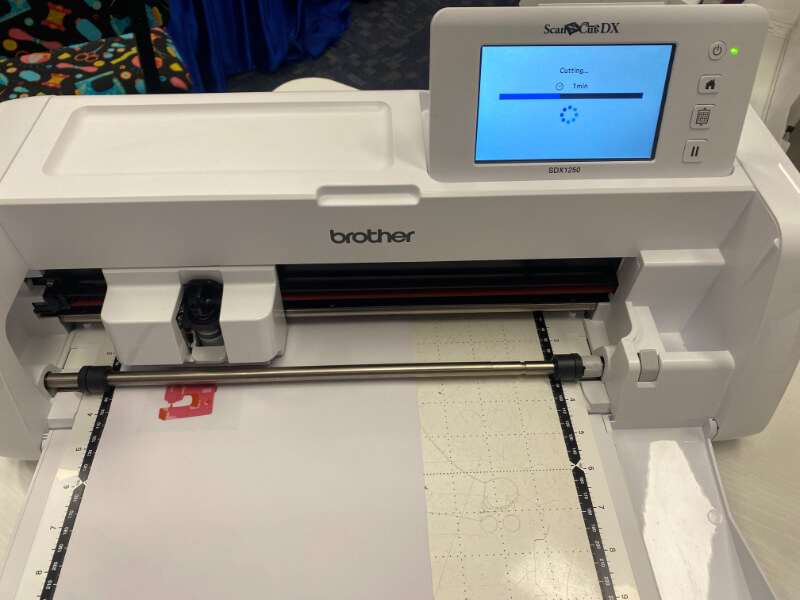
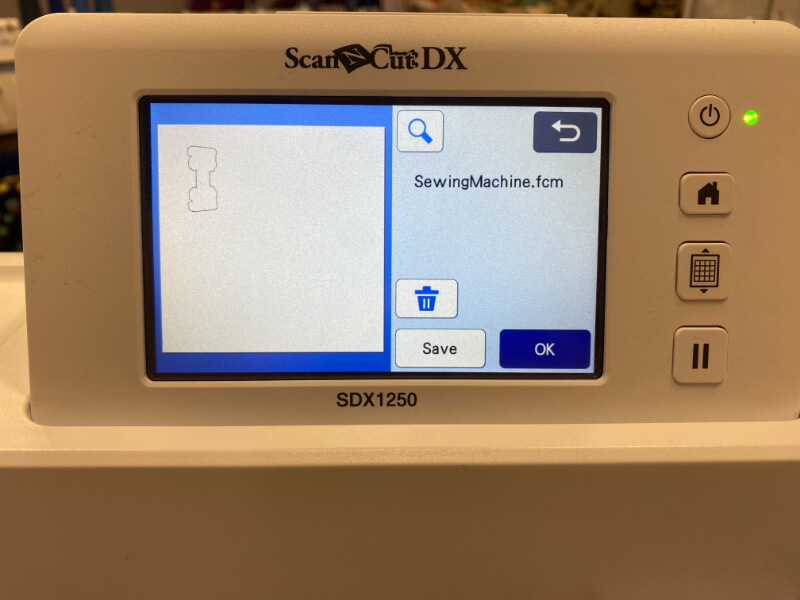
Insert your USB into your cutting machine and select your file. Load the printed paper/card into your machine using a Low Tack Mat. Proceed to cut out your design. Tip: Perform a test cut to ensure your settings are correct.
Step twelve
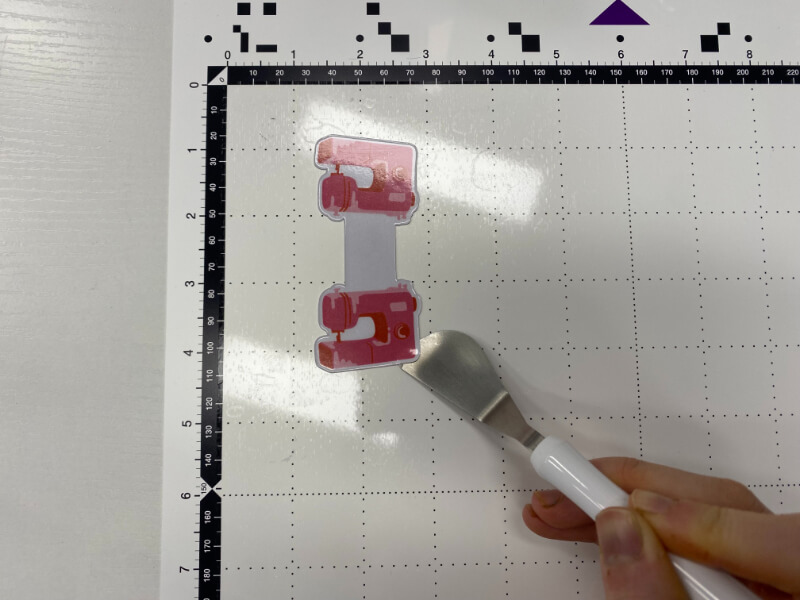
Remove your cutout design from your mat.
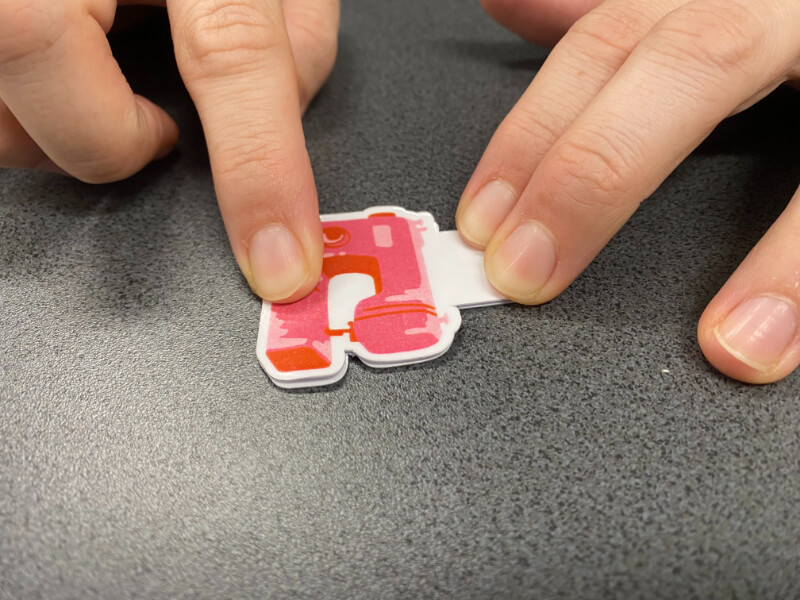
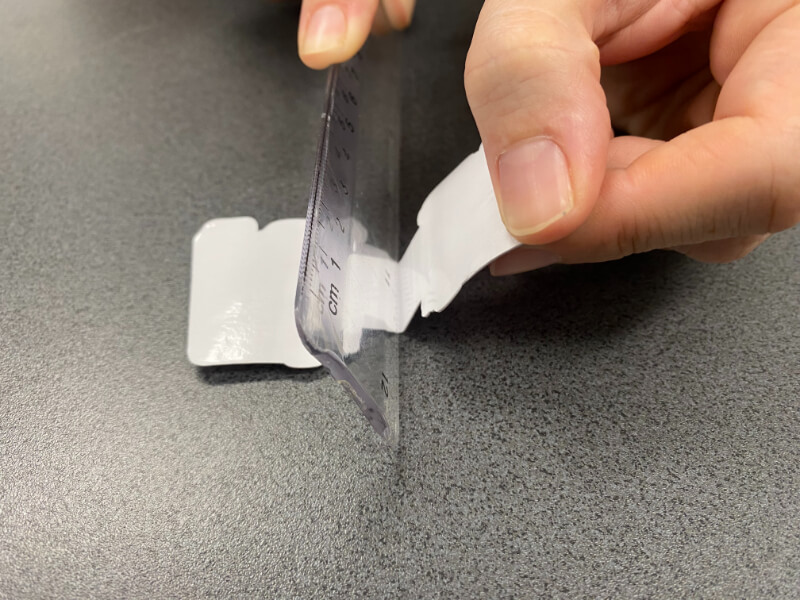
Step thirteen
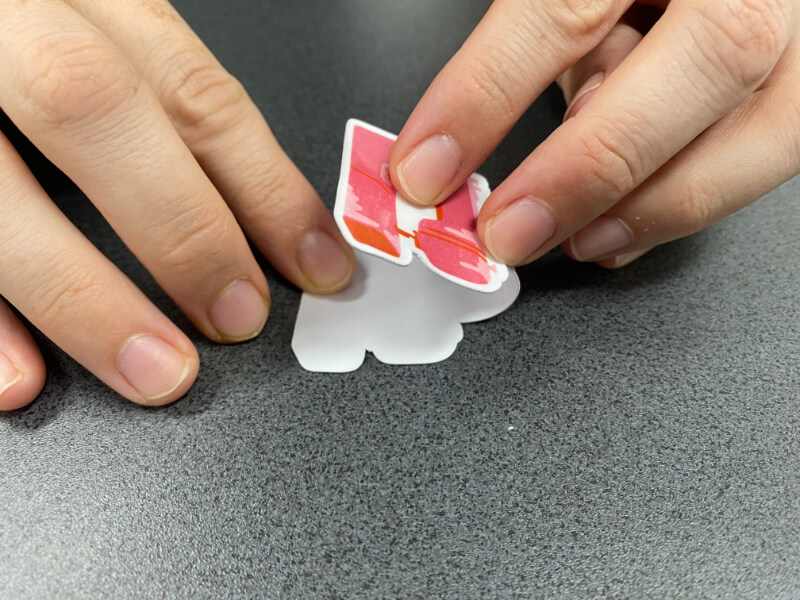
Fold your bookmark with the design showing on the outside, lining up the shapes. Use a ruler to indent the folded crease even further if needed.
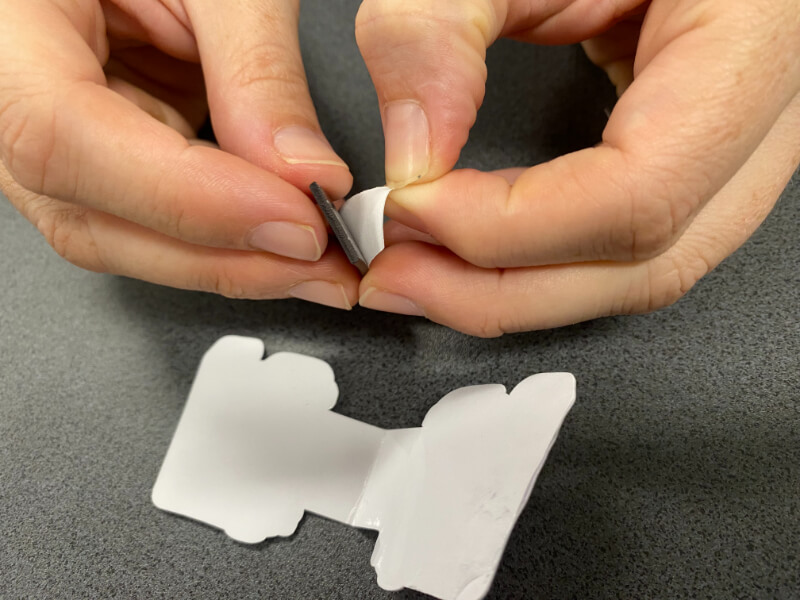
Step fourteen
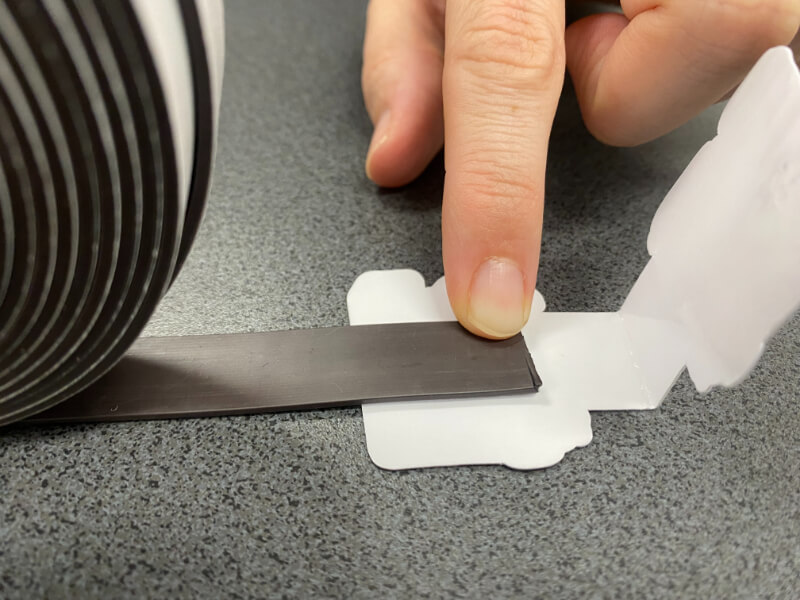
Measure how much magnet you will need to adhere on the inside of the bookmark, on both sides. Cut out two pieces the same size.
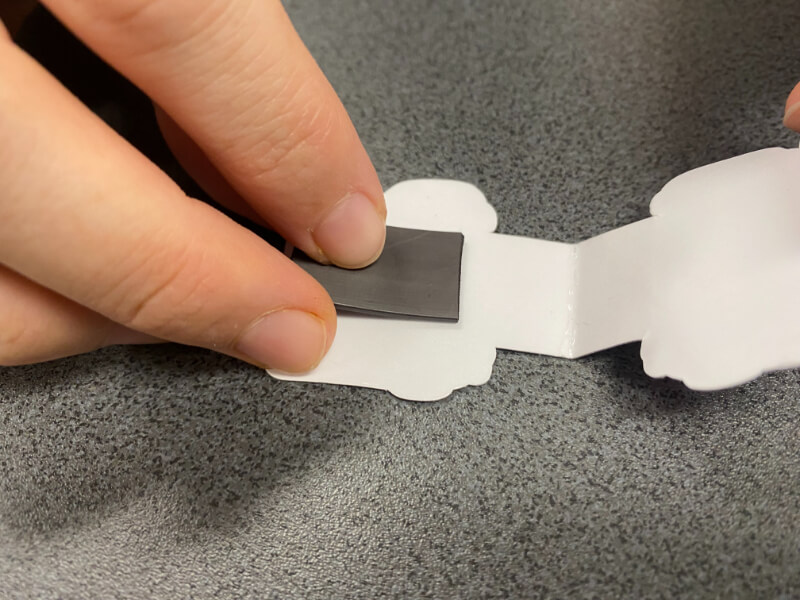
Step fifteen
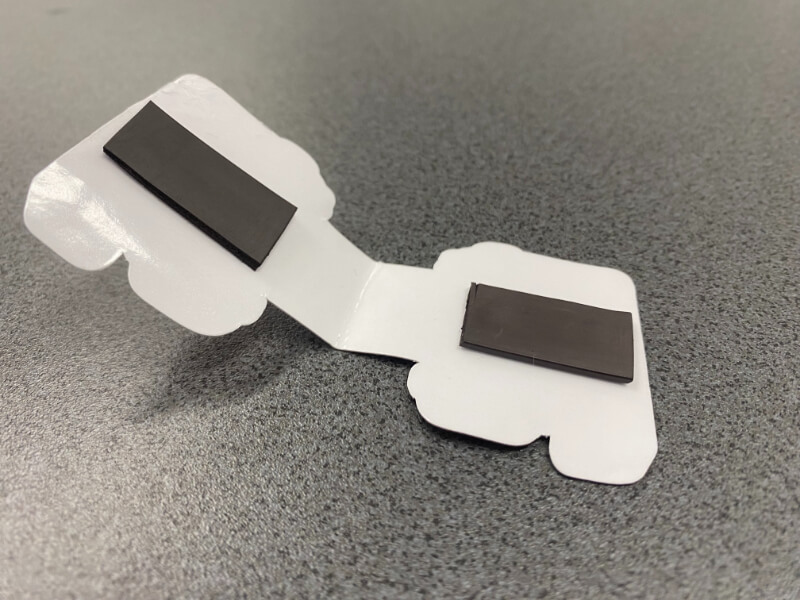
Adhere the magnets to either side. If you are using old fridge magnets, simply add two strips of double-sided to the non-magnetic side and adhere to the bookmark.
Step sixteen
Your bookmark will now magnetise and is ready to use!
Detailed instructions:
- Open up Canvas Workspace and start a new project. Ensure your artboard is A4 size.

- Select image tracing.

- Insert your chosen image. It can be a .png or .jpg file, a transparent or white background works best.
- Trace the outer edge only or choose enhanced image tracing depending on the complexity of the image.
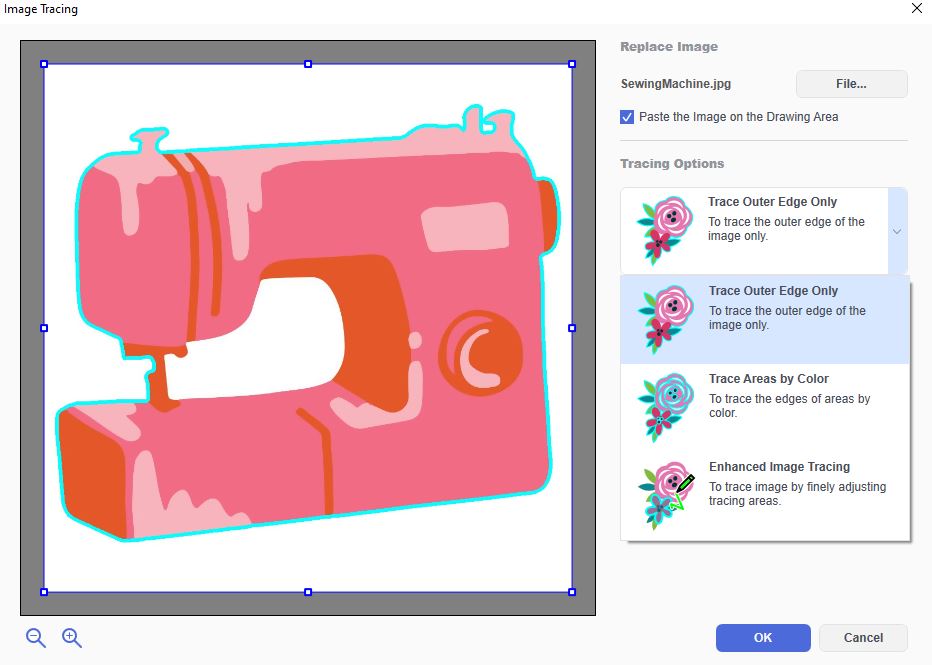
- Tick ‘Paste the Image on the Drawing Area’.
- Define area if necessary with enhanced image tracing.
- Press ok.
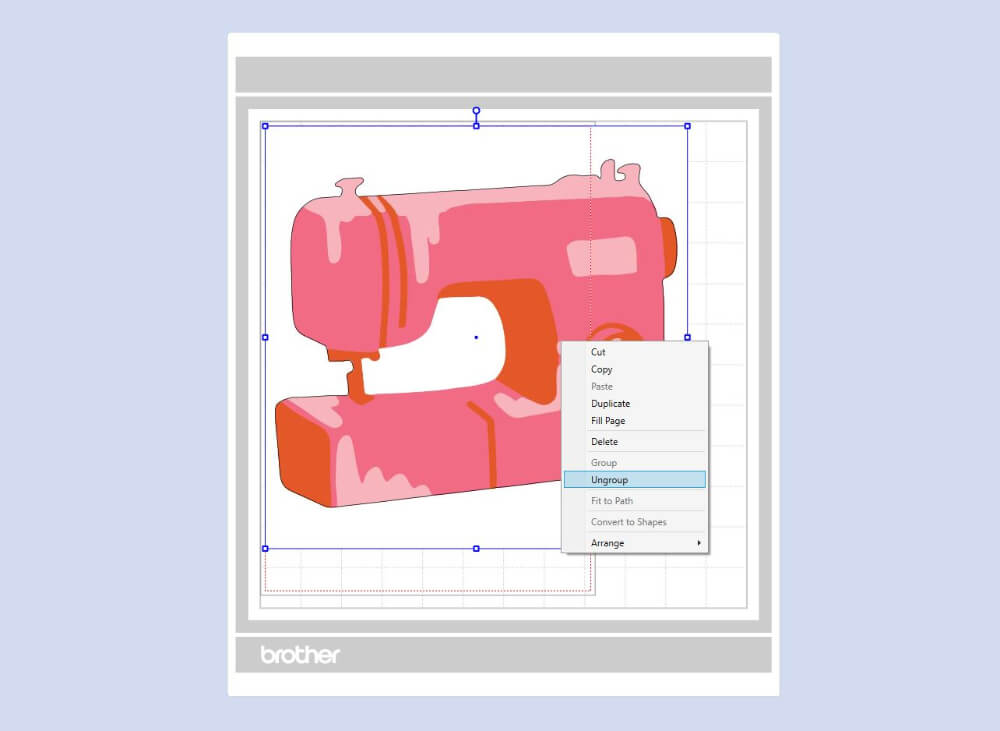
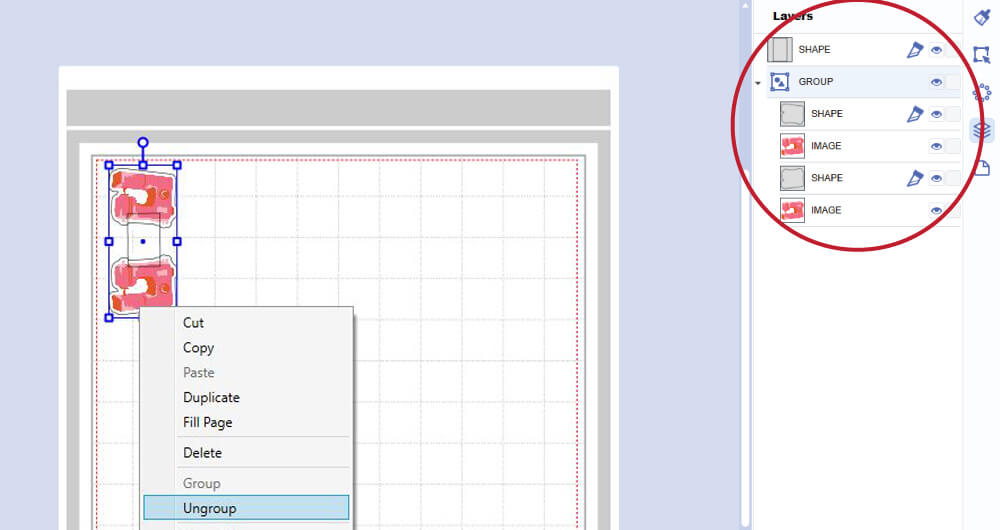
- The first thing to do once your image has been brought in, is to ungroup. Simply highlight all layers and right-click, select 'Ungroup'.
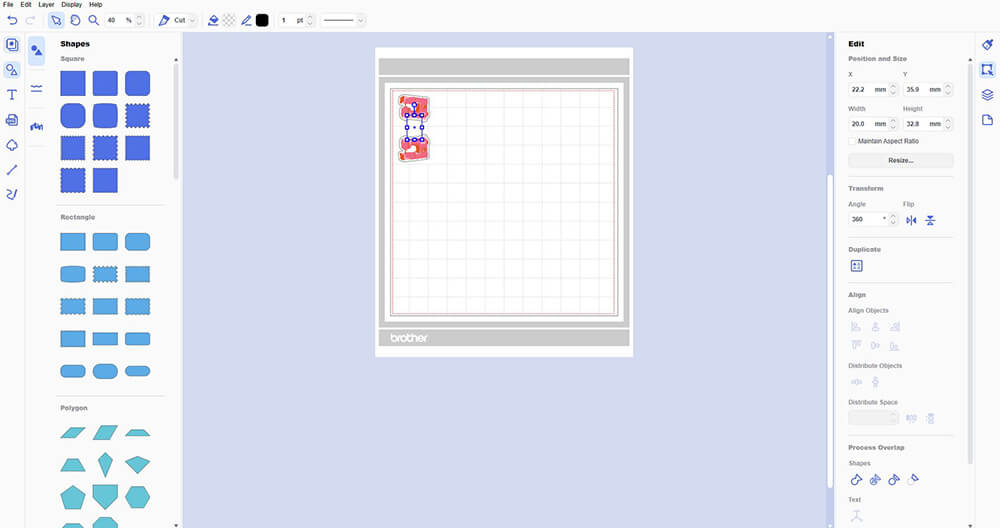
- Resize your image to your desired size. Make sure you select both the image and cut line. We have resized ours to 40mm (width) x 40mm (height).
- Select cut line only.
- Create an offset cut line by clicking 'Offset' under the Edit menu on the righthand side. You can also find it under the top tabs Edit > Create Offset Line.
- Under the Offset Line settings, change the spacing as desired, we have set ours to 2.0mm. Change the “Selected Original Line” option to “Delete”. This will delete the original cut line. Press ok.
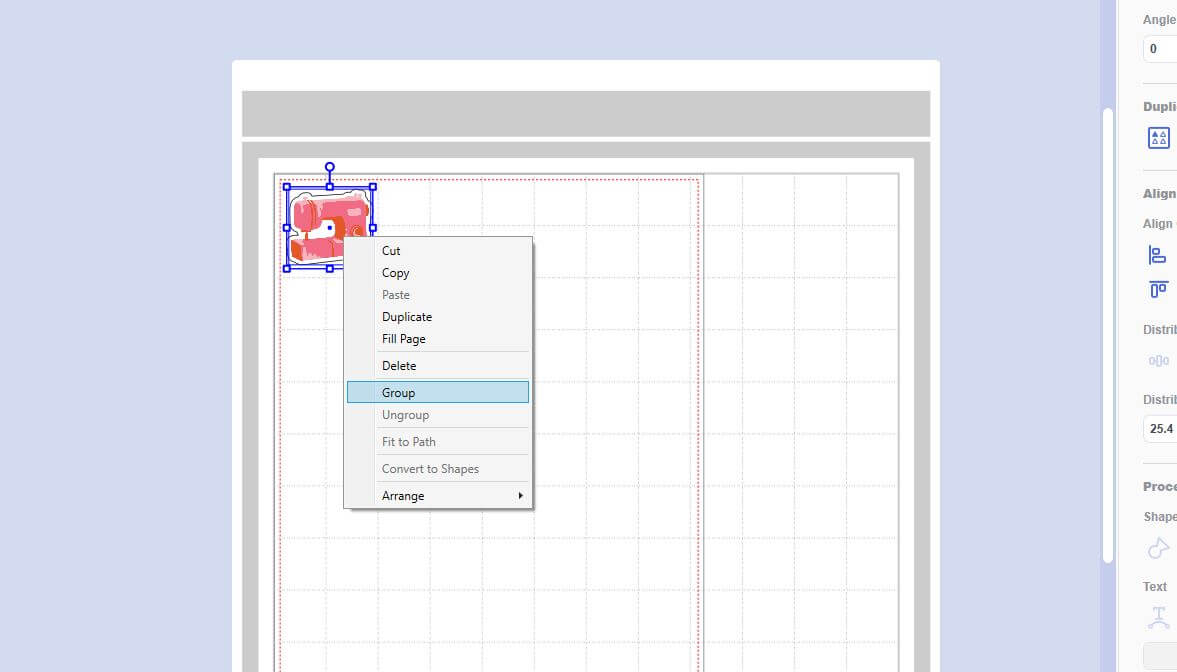
- Regroup the image by highlighting all layers including the cut line, right-click and select ‘Group’. To ensure you have all layers selected, you can view your layers under the 'Layers' menu on the righthand side.
- Duplicate image. Right-click on the image and select ‘Duplicate’.

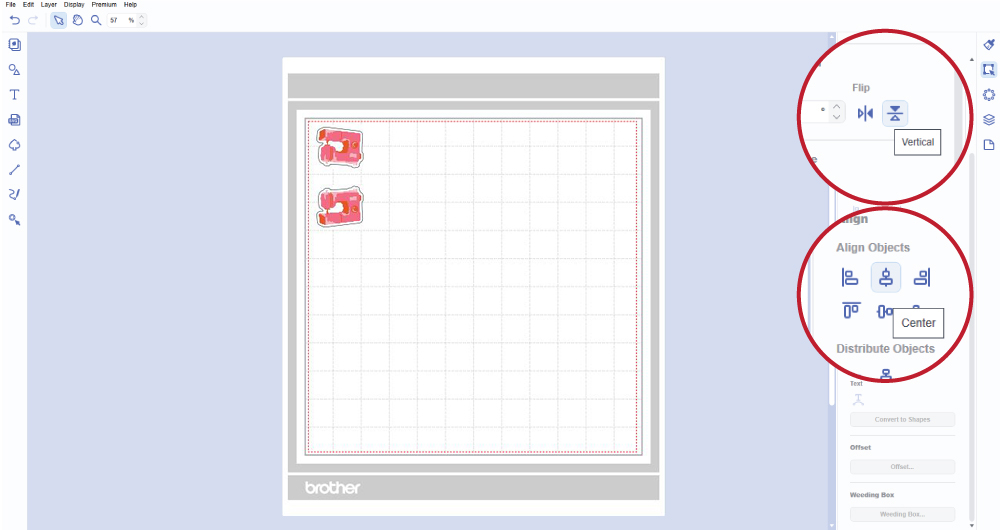
- Flip one of the images vertically so the top of the images are facing towards each other and centre align them. Note: One of the images will be reversed.
- Add a rectangle between the images, making sure the ends and corners just overlap the tops of your images. Size your rectangle to approximately 20mm (2cm) wide. This can be larger if your images are a much larger size.
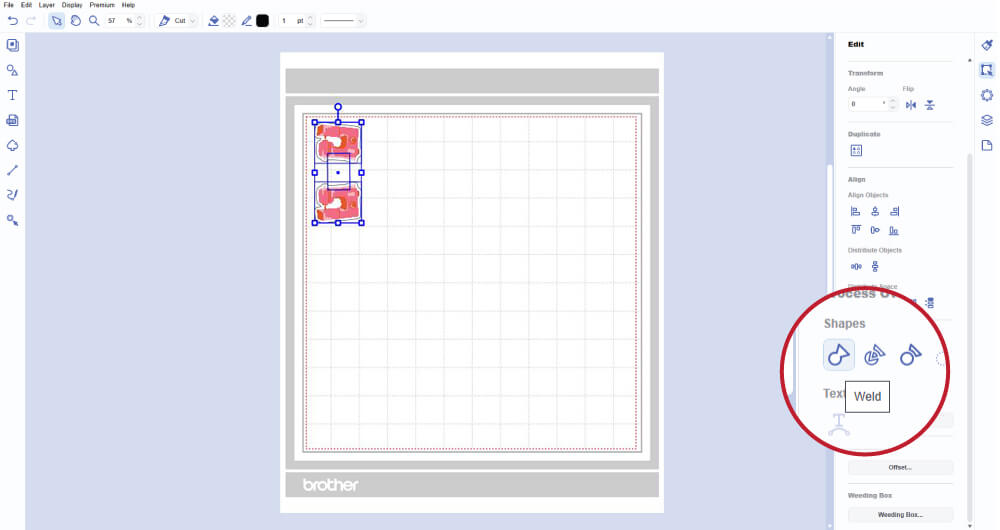
- Highlight all layers of your two images, excluding the rectangle you just created, and ungroup.
- If you are happy with the alignment of your images and rectangle, then select all cut lines including the rectangle (ensuring you do not select the image), and click ‘Weld’.
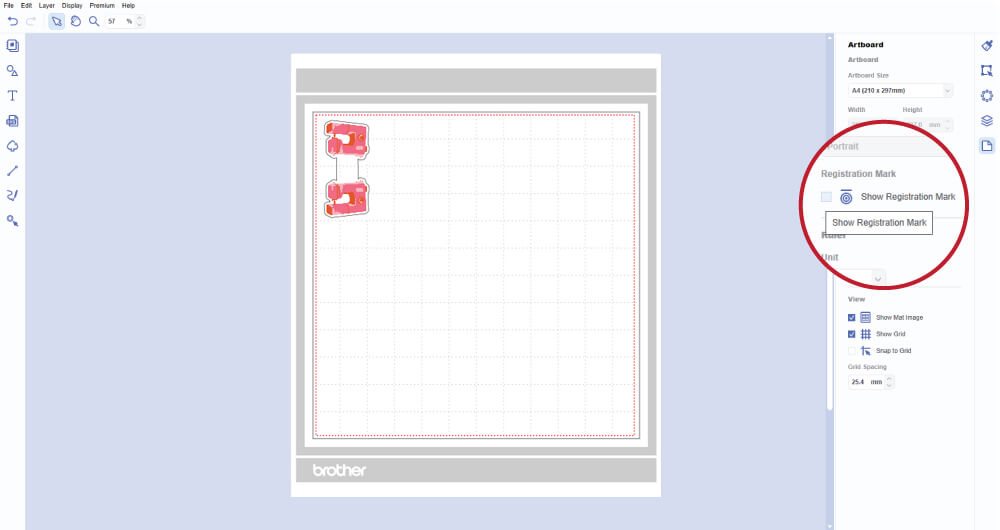
- On the right-hand side menu under ‘Artboard’, tick the “Show Registration Mark” box. Please note: You must have the Brother ScanNCut Print to Cut function to access this.
- Export your file as an FCM file. Click on File > Export/Transfer FCM File. Save it to your USB or export directly to your machine.
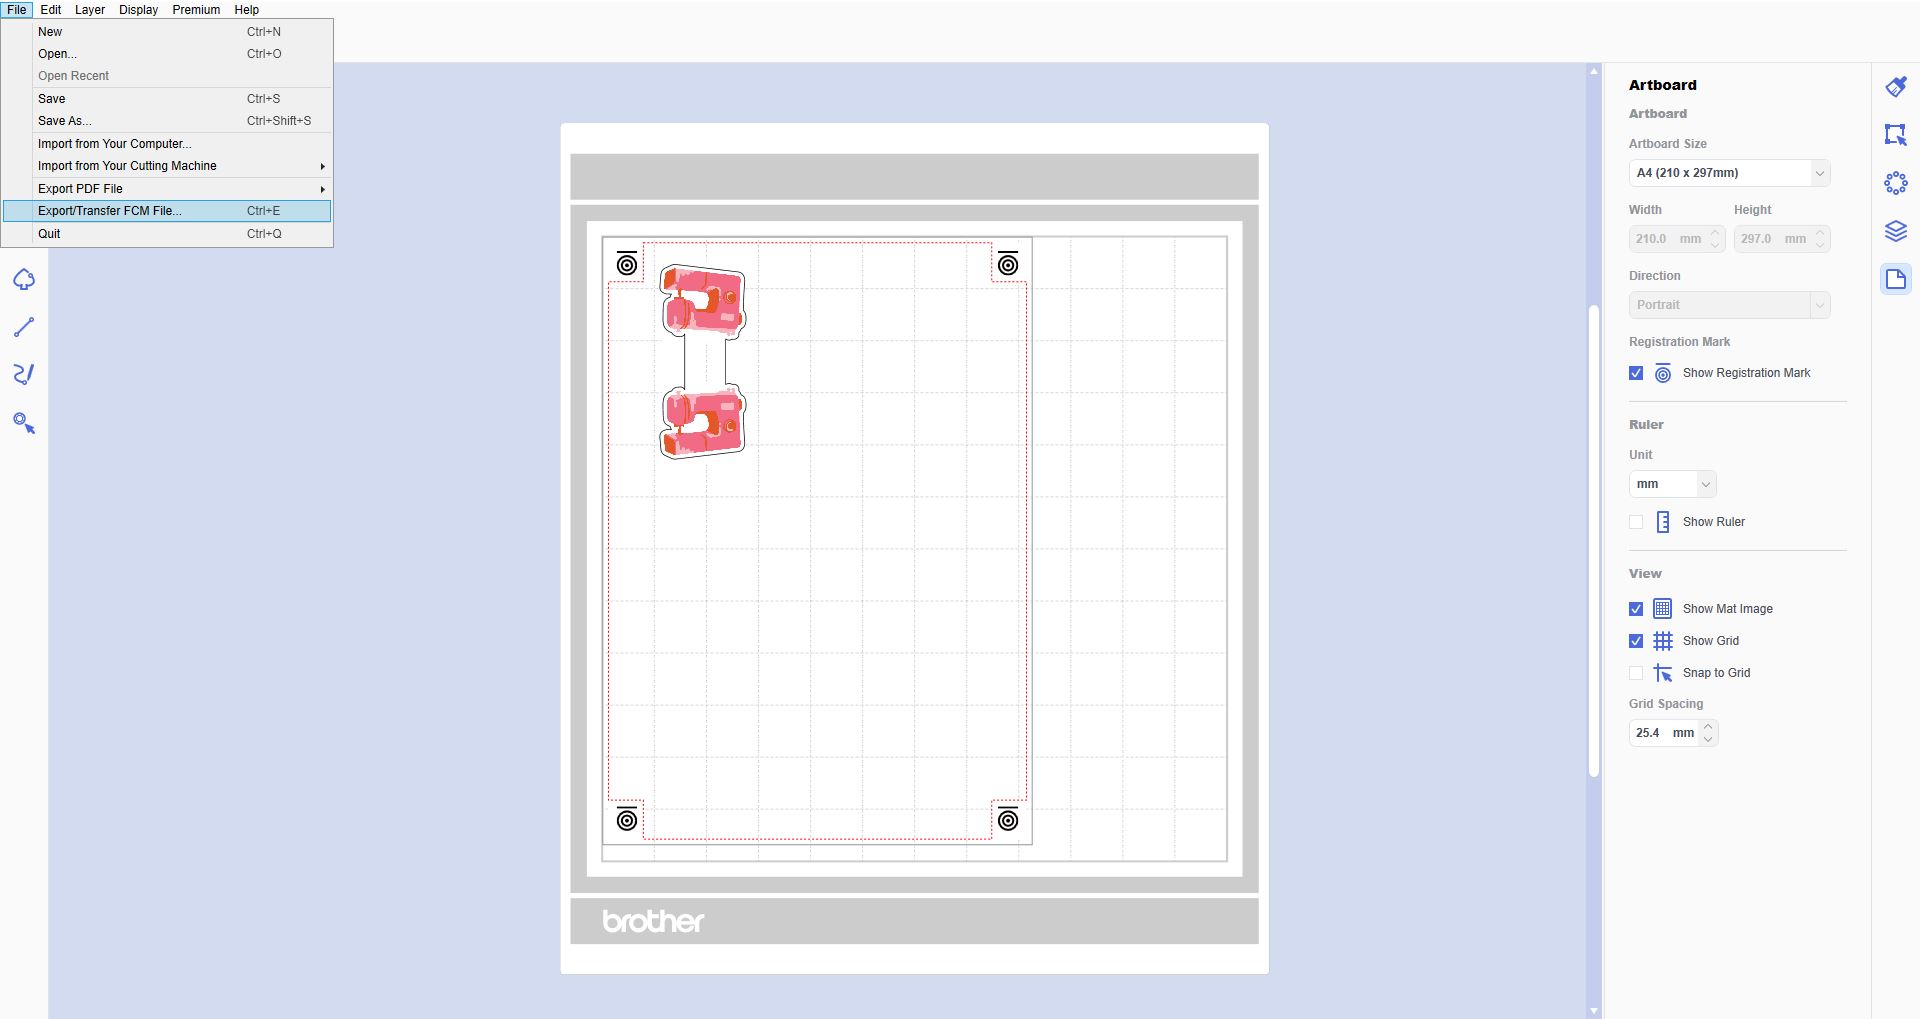
- Export the file as a PDF. Click File > Export PDF File > Images Only (This ensures you will not have any black lines showing when you cut it out). Print your PDF on paper or card once you have saved it.
- Laminate your printed PDF on both sides with overlaminate gloss, matt, or glitter. We used Gloss Overlaminate Vinyl. Cut out a piece to fit over your printed image, or if you are printing a bulk amount of bookmarks, you can cover the entire A4 page. Make sure you laminate both the front and back of the page.
- It’s time to cut out your bookmark on your cutting machine. We used a Brother ScanNCut SDX1200. Insert your USB and select your cutting file.
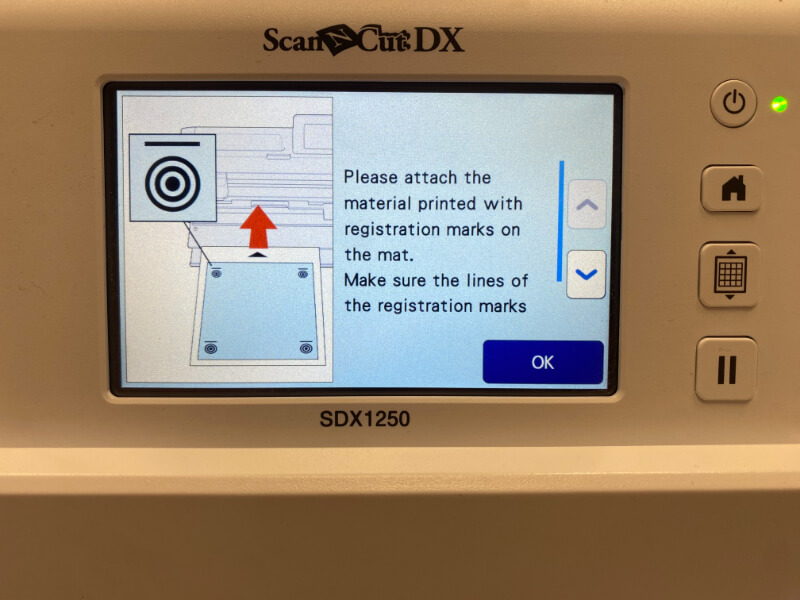
- Your machine will ask you to load your printout with registration marks so it can connect the design file with the printed design. We recommend using a Low Tack Mat to ensure your paper/card does not stick too much. If your mat has lost its tackiness, you can use Echidna Washi Tape to hold it down, or simply spray 505 adhesive on the paper/material. Do not spray it directly on the mat.
- Once you have loaded your mat into the machine, proceed to cut your design. Tip: We recommend always doing a test cut to ensure the settings are correct.
- Peel away the excess paper that has been cut and gently lift off your cutout laminated design. Use a spatula to lift the cutout if needed.
- The next step is to fold your bookmark. Fold it in half so the design is facing outwards. Try to match up the shape, and press the folded crease. You can also use a ruler or scoring tool to indent the crease further on the inside of the bookmark, as shown in the image below.
- Now that your bookmark is folded, we need to add the magnets. Using whatever magnets you have, measure how much you will need to cover a reasonable surface inside the bookmark. Cut out two pieces of the magnet the same size.
- You will then need to adhere the magnet to the bookmark. If you are using an adhesive magnet, simply peel away the backing and stick it in the desired position. If you are using old fridge magnets or a sheet of magnet, cut two strips of double-sided tape and place them on the back of the magnet. Position it as desired and press down to adhere.
- Repeat the last step with the other side of the bookmark.
- Your bookmark will now magnetize and is ready to use to mark your page on your next book!
Free Embroidery Designs
We're excited to offer our free Echidna designs available for download. These free designs are perfect for those at a beginner or an advanced level. Add these designs to your stash and create incredible embroidery!
View all free designs >
Sewing, Quilting and Embroidery Machines
Interested in learning how to sew, quilt or embroider? Take a look at the innovative Brother machines available for purchase at Echidna Sewing. Wherever possible we will beat any deal and you will always receive ongoing service and support!
Find out more >
Learn to Sew or Embroider with Echidna Sewing
Come along to our fun-filled classes to learn more about sewing, embroidery and crafting. Classes cater for all skill levels, whether you're just starting out or already have advanced knowledge.
Find out more >
Echidna project material/ fabric requirements are an indication only and can seem to be generous. This has been intentional. Should you make a cutting or embroidery mistake you will have sufficient fabric to rectify your error.

