All Projects


Custom HTV Cap/Hat
Author: Nicole H
Transform a plain cap into a personalised accessory using heat transfer vinyl! This project works on most cap styles, as long as there’s a suitable flat or slightly curved area for applying HTV. We’ve provided the ready-to-cut design, so all you need to do is load it into your cutting machine and follow along.
In this tutorial, we’ll guide you step-by-step through cutting, weeding, and applying the design to your cap for a clean, professional finish. It’s a quick and fun project—perfect for gifts, events, small business branding, or simply adding your own creative touch. By the end, you’ll have a stylish custom cap made entirely by you!
Free Design Files:
These include:
- Sun And Sea with Text (svg,cwprj,fcm)
- Sun And Sea without Text (svg,cwprj,fcm)
What you will need:
- Cutting Machine (Brother ScanNCut, Cricut, Silhouette etc)
- Heat Transfer Vinyl (HTV) in your preferred colour/finish (e.g. white, black, metallic)
- Cap/Hat (We've used a polycotton A Frame Cap as this has a larger soft front surface for the HTV to stick too)
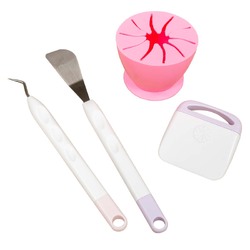
- Weeding Tools
- Mini Iron
- Protective Heat-Resistant Sheet (to protect the vinyl)
- Heat-Resistant Tape
- Small Towel
- Design files Download now →
Shop Online:


Detailed instructions:
- Download the project files and save these onto a USB to plug directly into your cutting machine. For this project we have used a Brother ScanNCut, however the steps are essentially the same on any cutting machine.
- Place your HTV sheet in the top left-hand corner of the cutting mat, shiny carrier sheetside down. A brayer can help secure it firmly. Masking tape can help tape it down if your mat is starting to lose its tack.
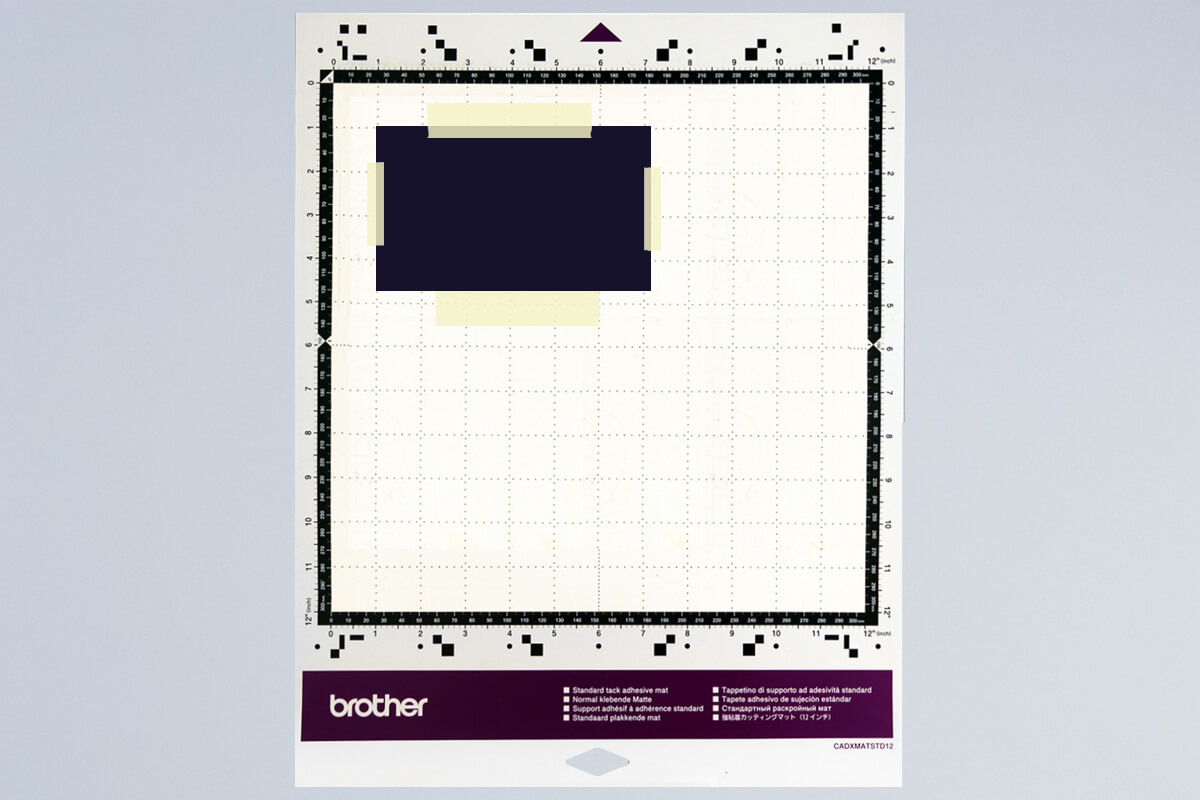
- Load the mat into your machine, holding it level as it feeds in.
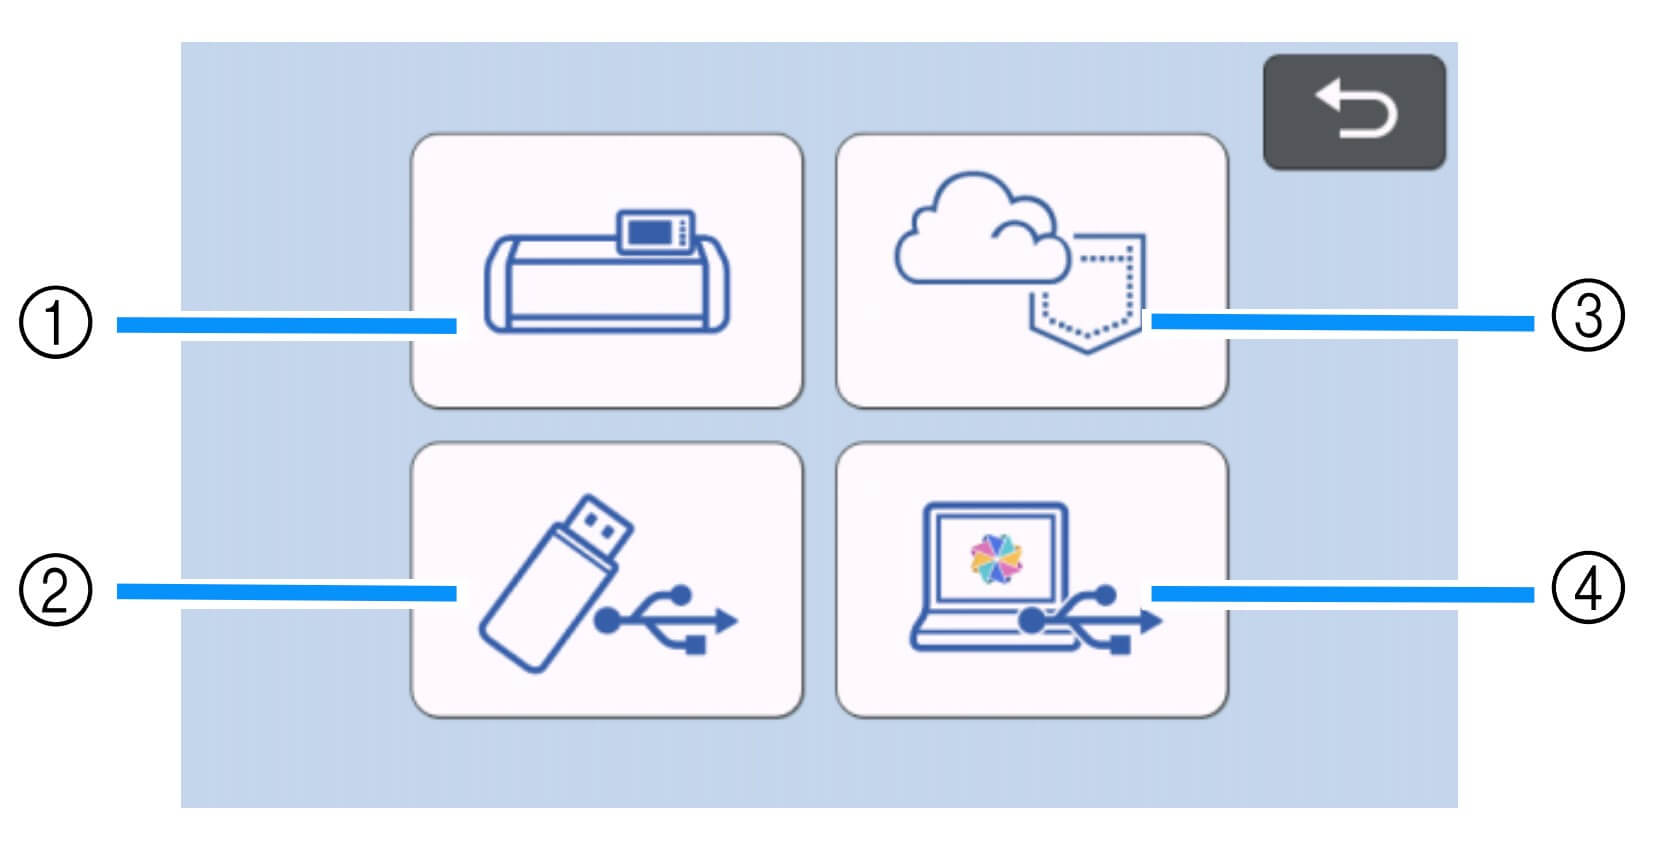
- Load the design from the USB (2). If you are sending from CanvasWorkspace via Wifi select (3).
- Select your design and mirror it before cutting (important for HTV).
- Scan the mat to check placement of the design on the HTV and adjust if needed.
- Run a test cut to check your settings.
SDX Settings: Use the Half Cut function for HTV, which cuts the vinyl layer but leaves the clear carrier intact. Adjust Cut Pressure if needed depending on HTV thickness. - Send the design to cut.
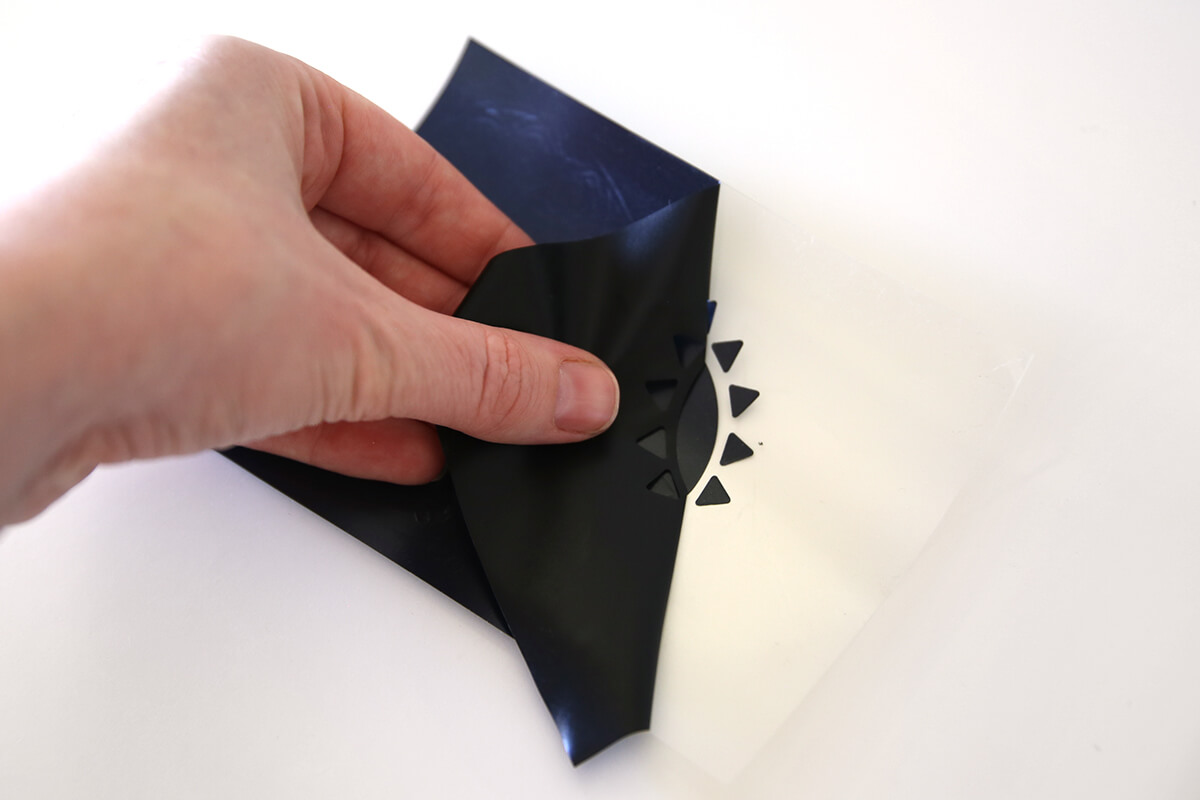
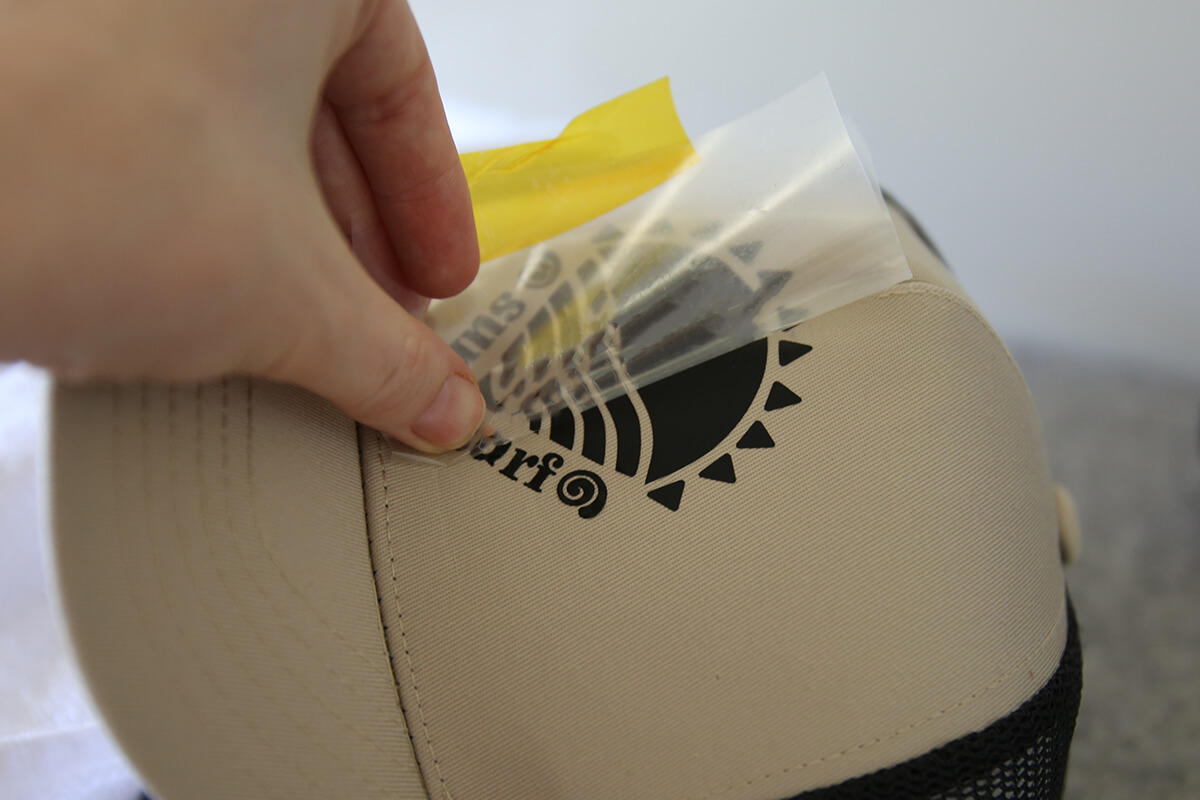
- Once finished, unload the mat and peel away the HTV sheet.
- Starting at one corner, weed away the unwanted vinyl.
- Use a weeding tool for small details.
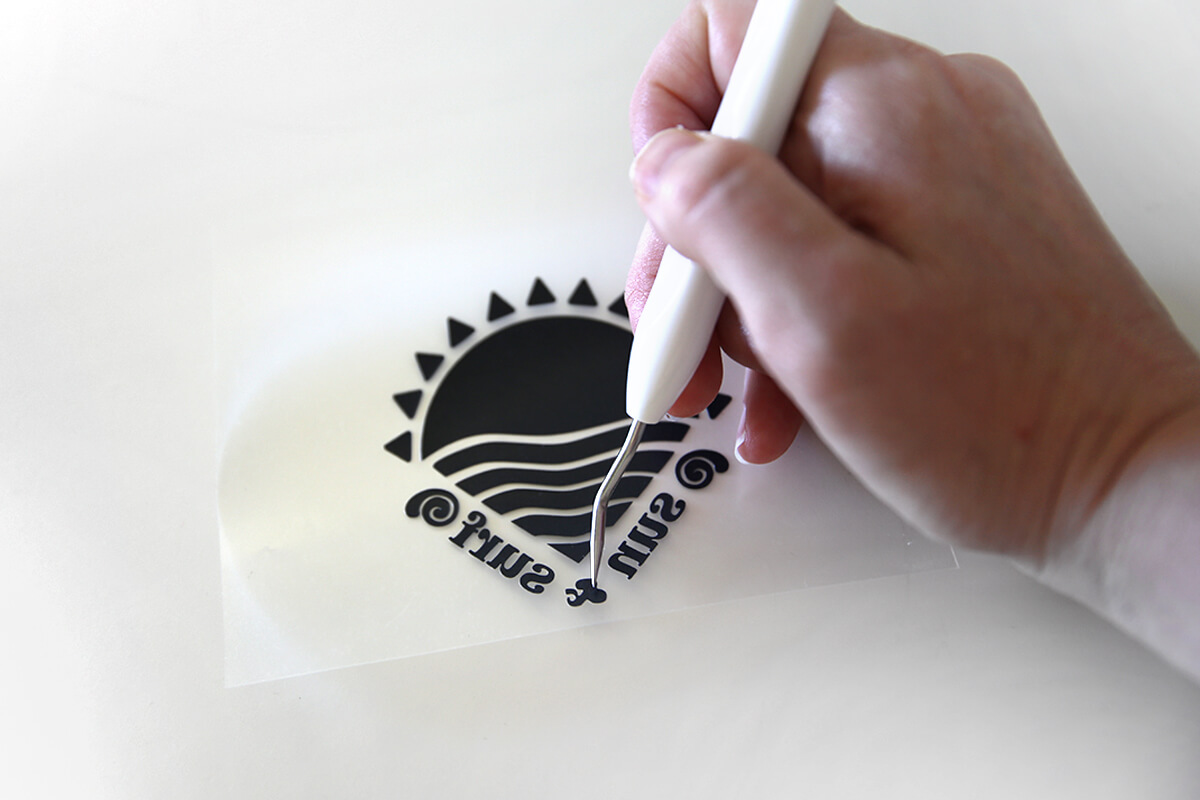
- You should be left with your design on the clear carrier sheet, ready to apply.
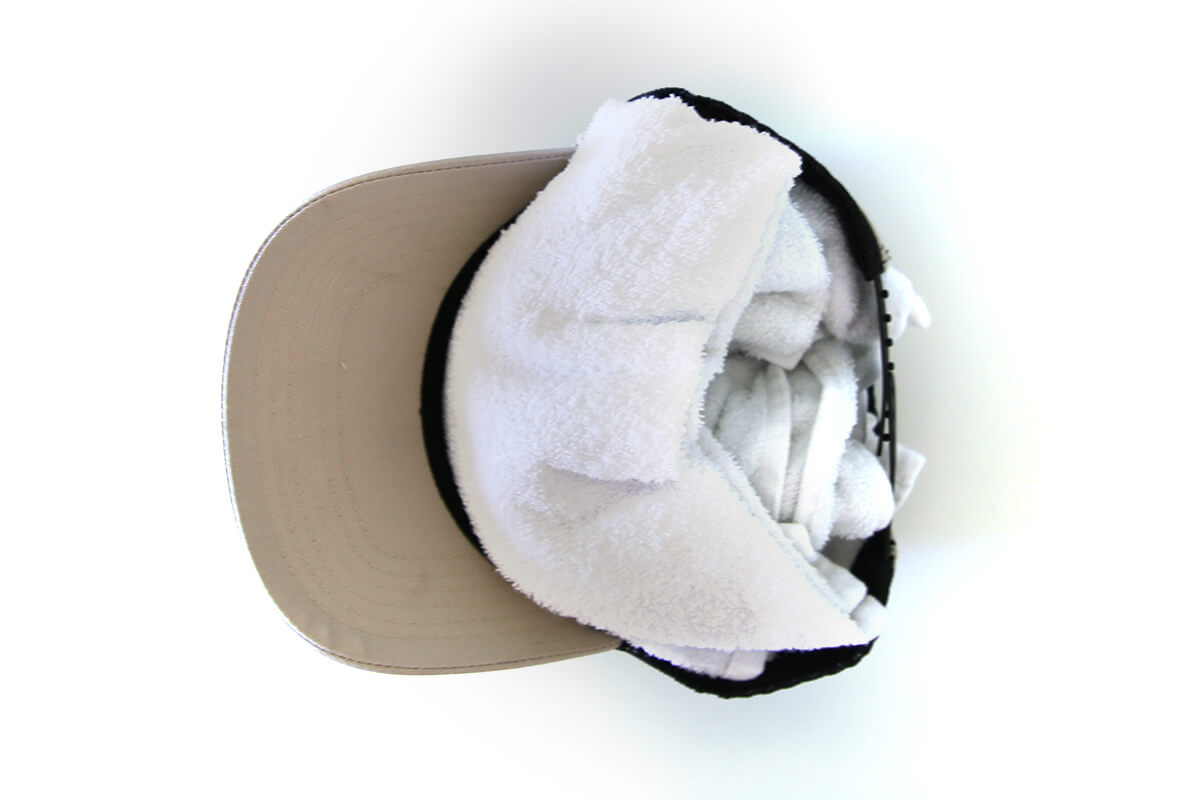
- Roll a small towel up and place it inside of the hat, this gives it some support when we are pressing the HTV on.
- Position your design on the front of the hat to audition where it will go.
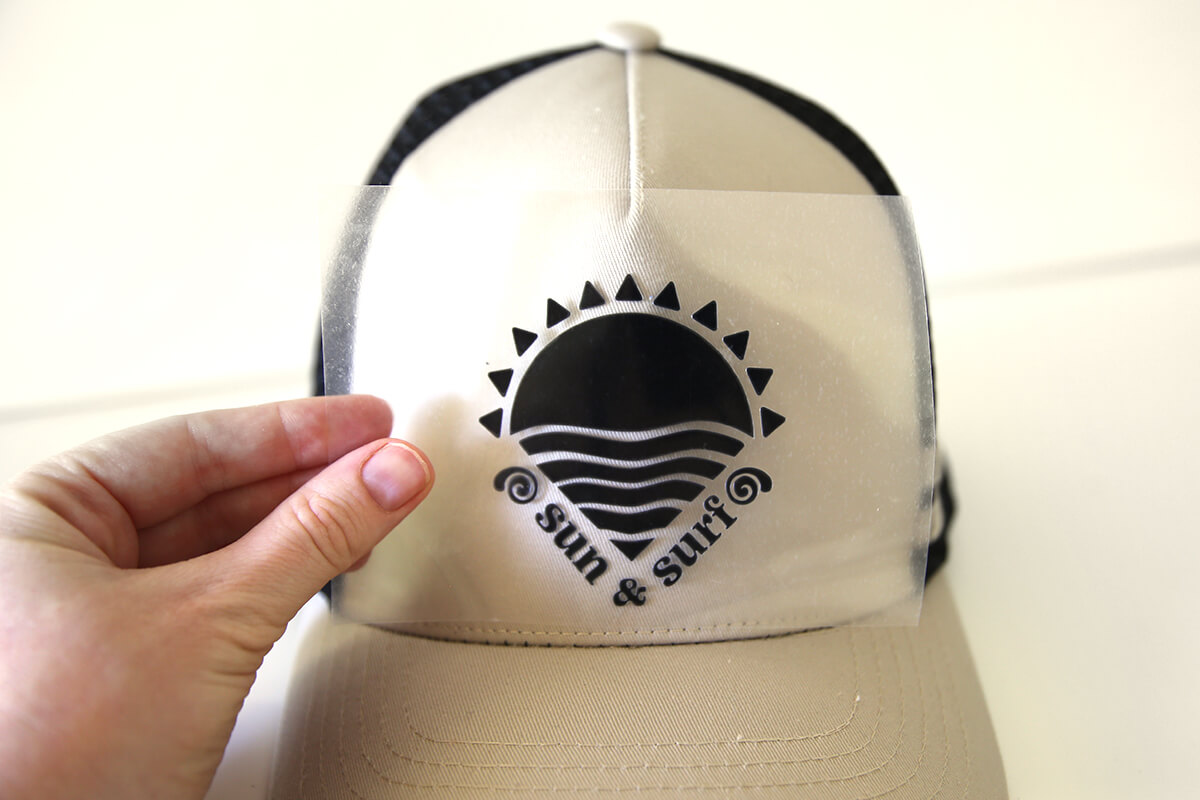
- Apply heat resistant tape on either side to hold the carrier sheet in place.
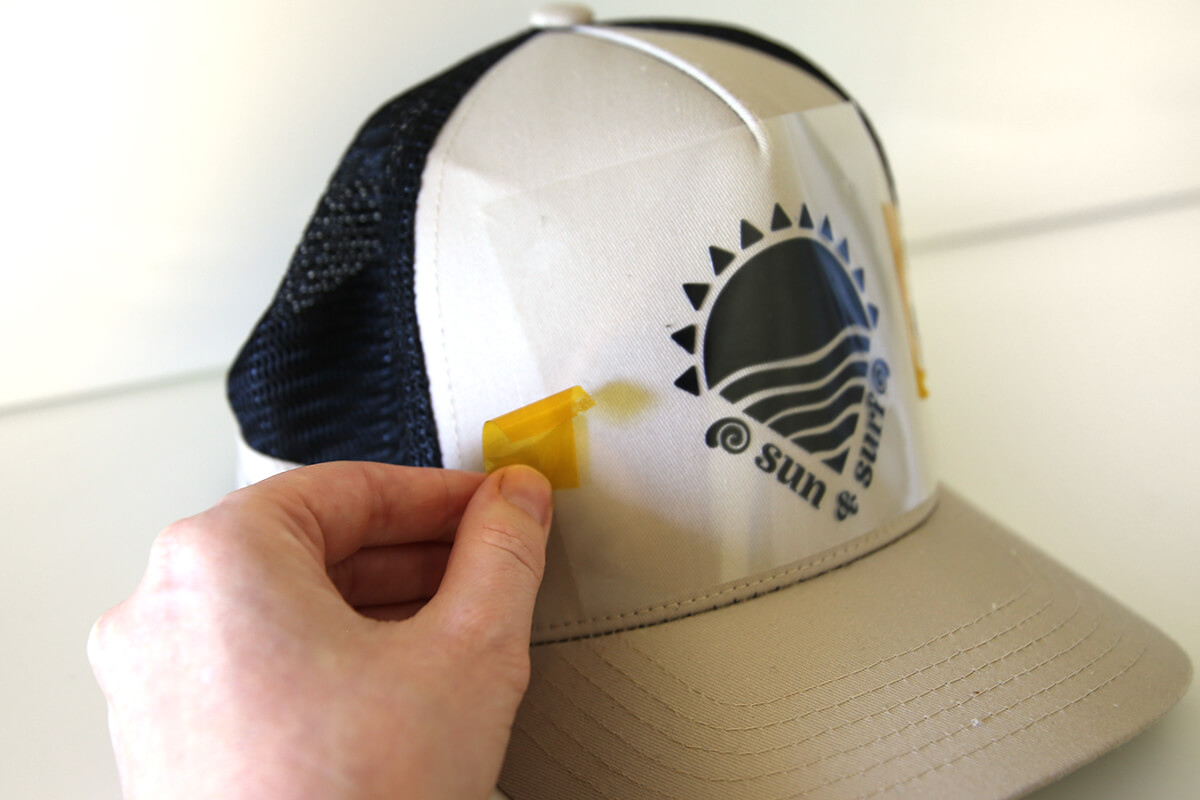
- Cover with a Protective Heat-Resistant Sheet, and press for the required time.

- Once your design is pressed and cooled, gently peel away the carrier sheet to reveal your finished hat.
- And that’s it! Your customised HTV cap is ready to wear. With the included design and a few simple steps, you’ve created a personalised accessory that looks professionally finished. We hope this project inspires you to keep experimenting with HTV on more cap styles and everyday items. Happy crafting!

Free Embroidery Designs
We're excited to offer our free Echidna designs available for download. These free designs are perfect for those at a beginner or an advanced level. Add these designs to your stash and create incredible embroidery!
View all free designs >
Sewing, Quilting and Embroidery Machines
Interested in learning how to sew, quilt or embroider? Take a look at the innovative Brother machines available for purchase at Echidna Sewing. Wherever possible we will beat any deal and you will always receive ongoing service and support!
Find out more >
Learn to Sew or Embroider with Echidna Sewing
Come along to our fun-filled classes to learn more about sewing, embroidery and crafting. Classes cater for all skill levels, whether you're just starting out or already have advanced knowledge.
Find out more >
Echidna project material/ fabric requirements are an indication only and can seem to be generous. This has been intentional. Should you make a cutting or embroidery mistake you will have sufficient fabric to rectify your error.


