All Articles
Sewing Machine Applique - How To
Machine applique is a fun and creative technique used to attach pieces of fabric to a larger piece of fabric to create a pattern or picture. It is a fantastic way to really get crafty and the results are gorgeous. Follow our simple instructions below to create your own machine applique.
If you'd like to find out more about the different types of applique, check out our 'What is Applique?' article →
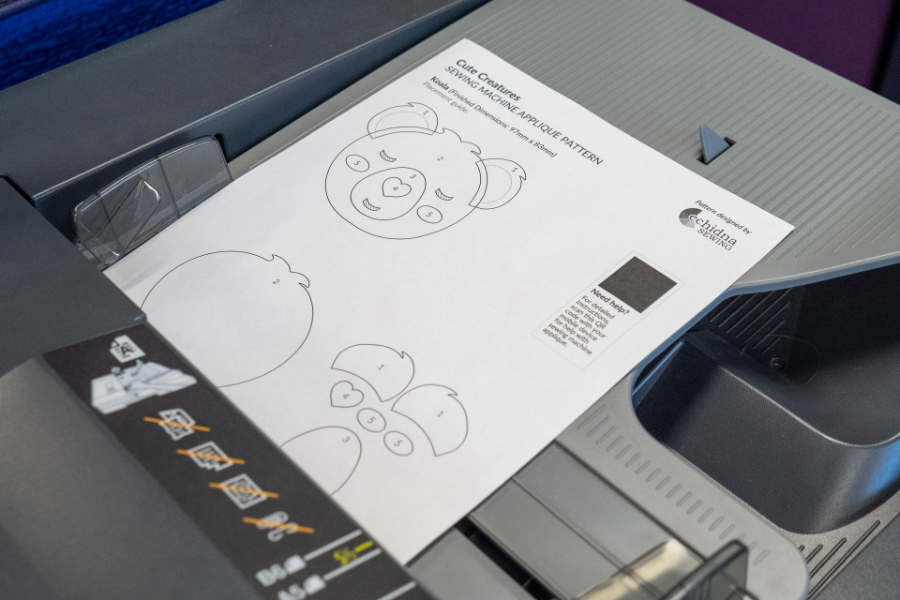
- Print out the desired applique template sheet.
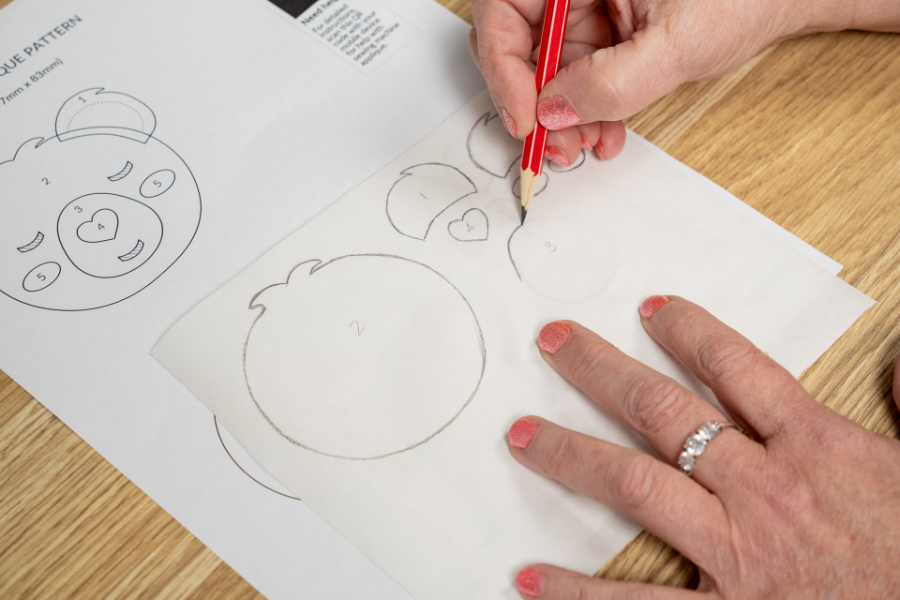
- Place fusible webbing paper side up over the applique design, and trace the outline onto the paper side. Using a Lightbox can be very handy for this process.
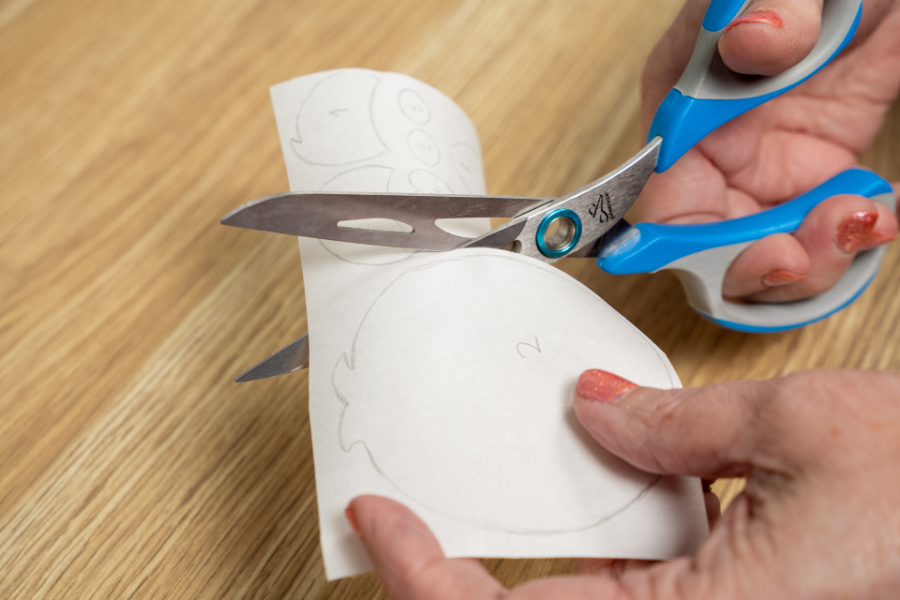
- Cut out the shape about 3mm from the line you have drawn.
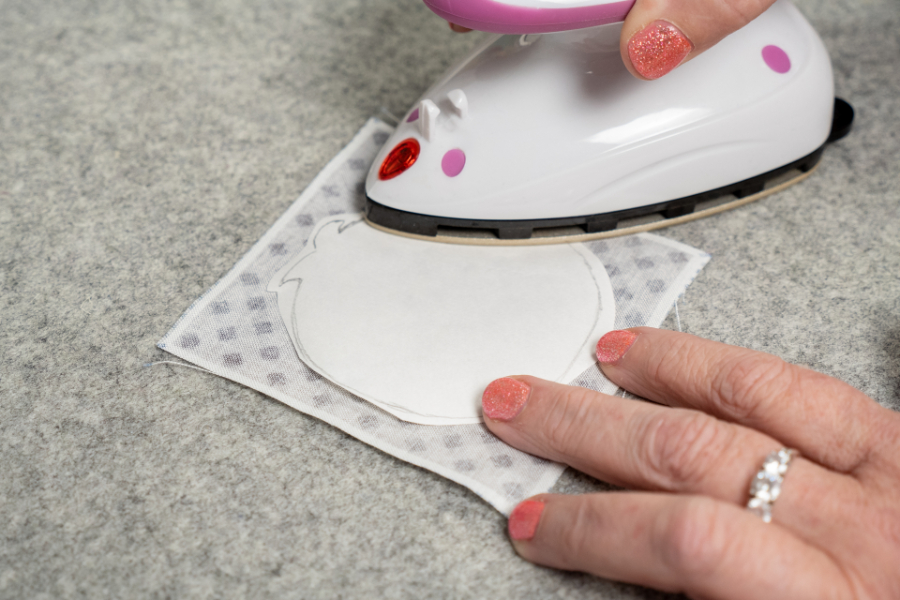
- Adhere your fusible web to the wrong side of your fabric with an iron.
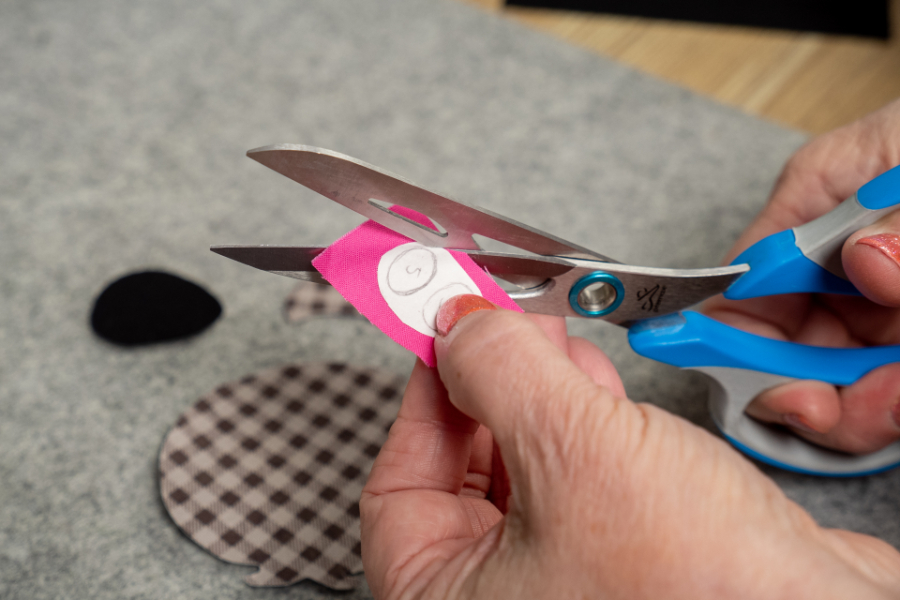
- Cut around the shape on the outline as neatly as possible.

- Peel the fusible web paper off of your fabric. If the glue lifts up, just iron again until it comes away cleanly.
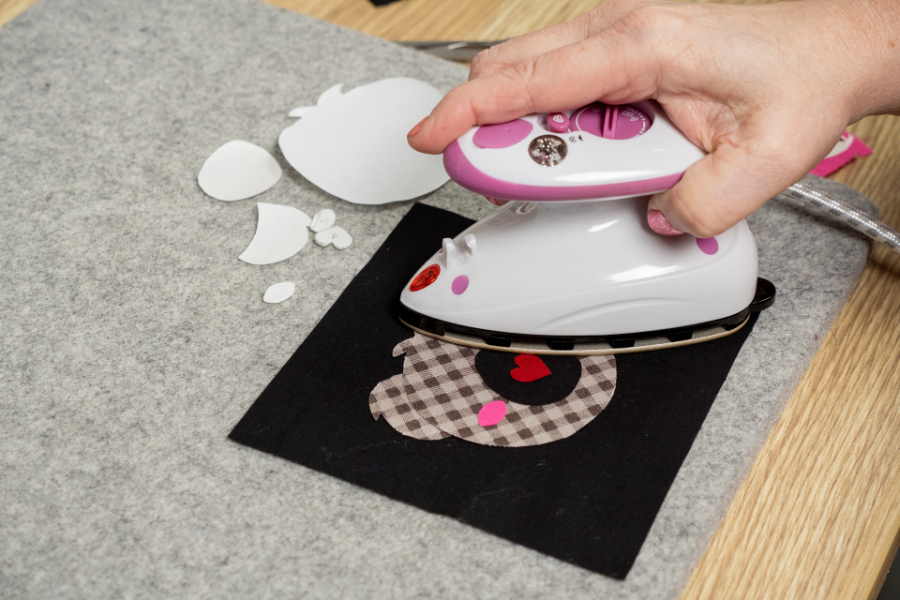
- With your iron, adhere your cut-outs (right side facing up) to the background fabric of your choice.
- Choose a colour thread that matches your fabric for a seamless look.
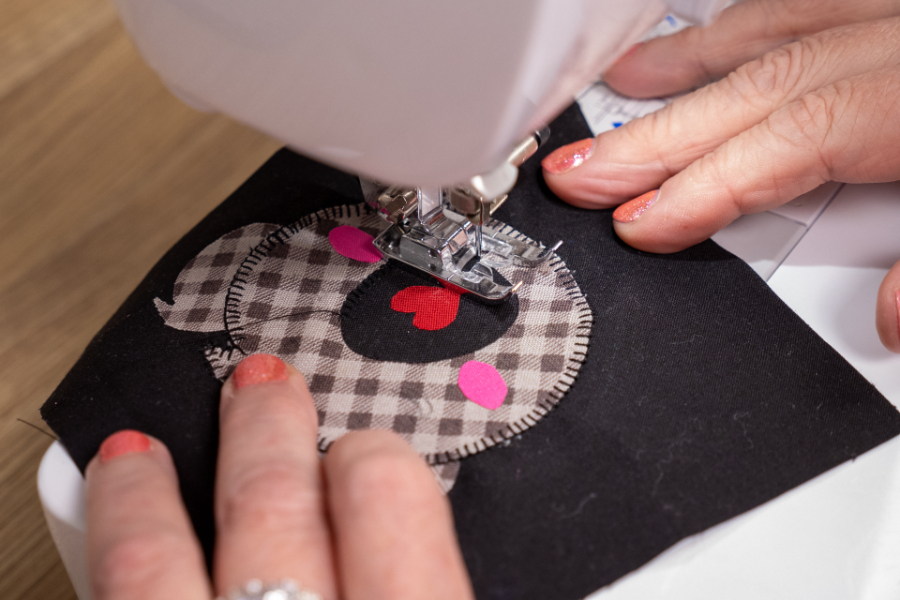
- Start up your sewing machine, and away you go! You’ll want to use a blanket stitch or satin stitch to stitch down your shapes. Remember, it’s always worth doing a test first to achieve your preferred stitch width and length.
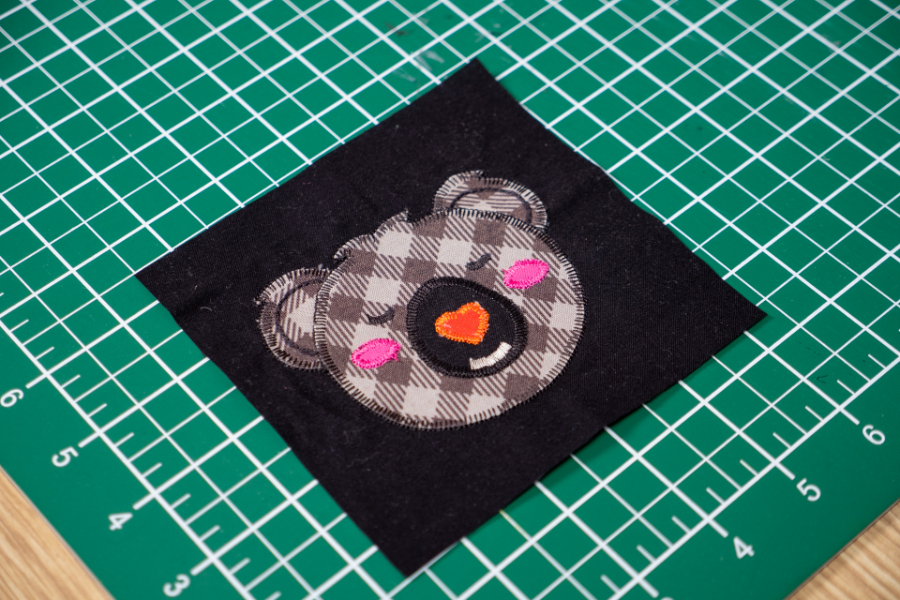
- All done and you have a lovely applique creation!