All Articles

How to Upload & Print from Artspira
Date Posted:28 January 2026
In this guide, you’ll learn how to upload your artwork, size it correctly, and print using the Artspira app. We’ll walk you through starting a new project, adding and resizing shapes to fit your blank, uploading your image, and printing your final design. You can also duplicate and tile your layout to print multiple designs on one page.
We recommend this method as good practice—especially if you plan to tile the same job—so you don’t end up with overlapping designs or excess image areas to crop later.
Please Note: Artspira is regularly updated, so these instructions are accurate at the time of writing but may differ slightly over time.
It is assumed that you already have the artwork saved to the device that has Artspira installed. If you are using artwork provided by Echidna, log in to your Echidna account and download the files directly from our website to your device.
Tip: Click on the images to see a larger version!
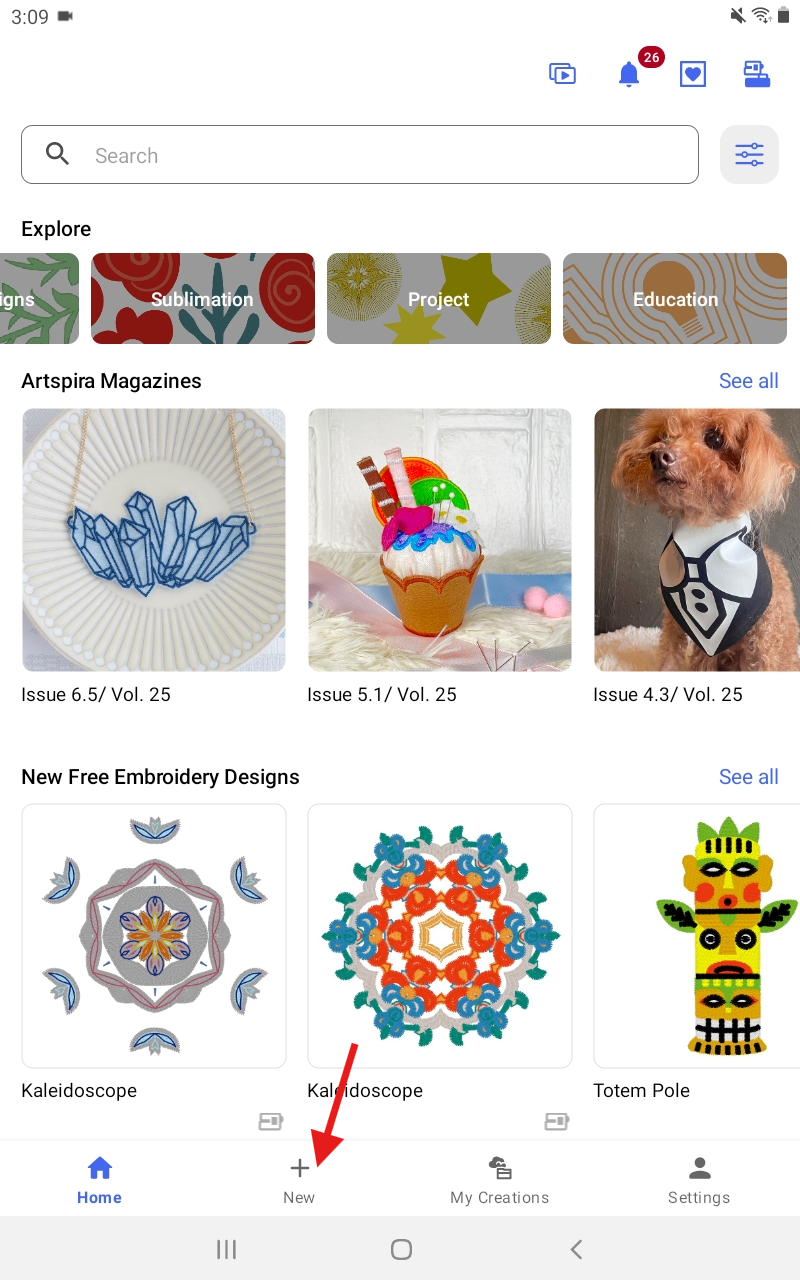
Step 1: Open Artspira & Start a New Project
- Launch the Artspira app on your device.
- At the bottom of the screen, tap the + New button.
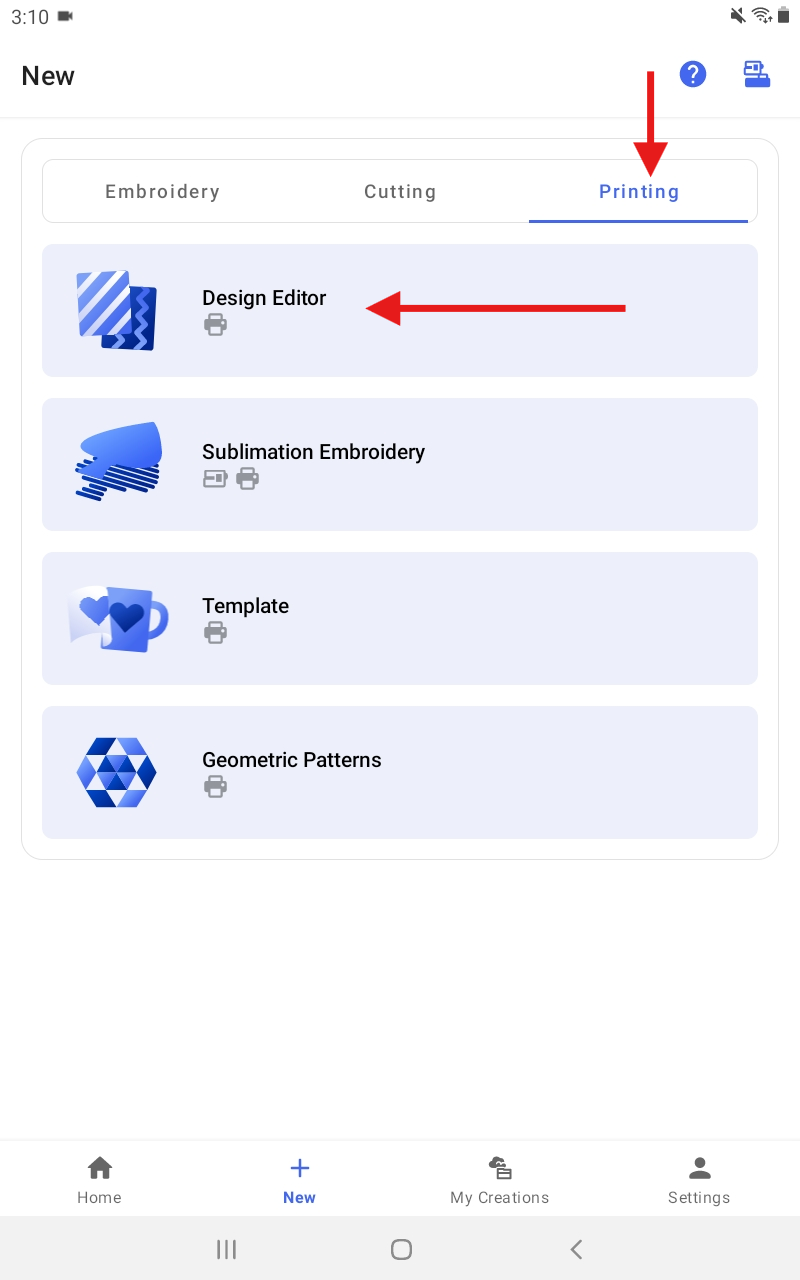
Step 2: Select the Printing Tab
- Swipe or tap across the top tabs and choose Printing.
- Tap Design Editor to start building your sublimation layout.
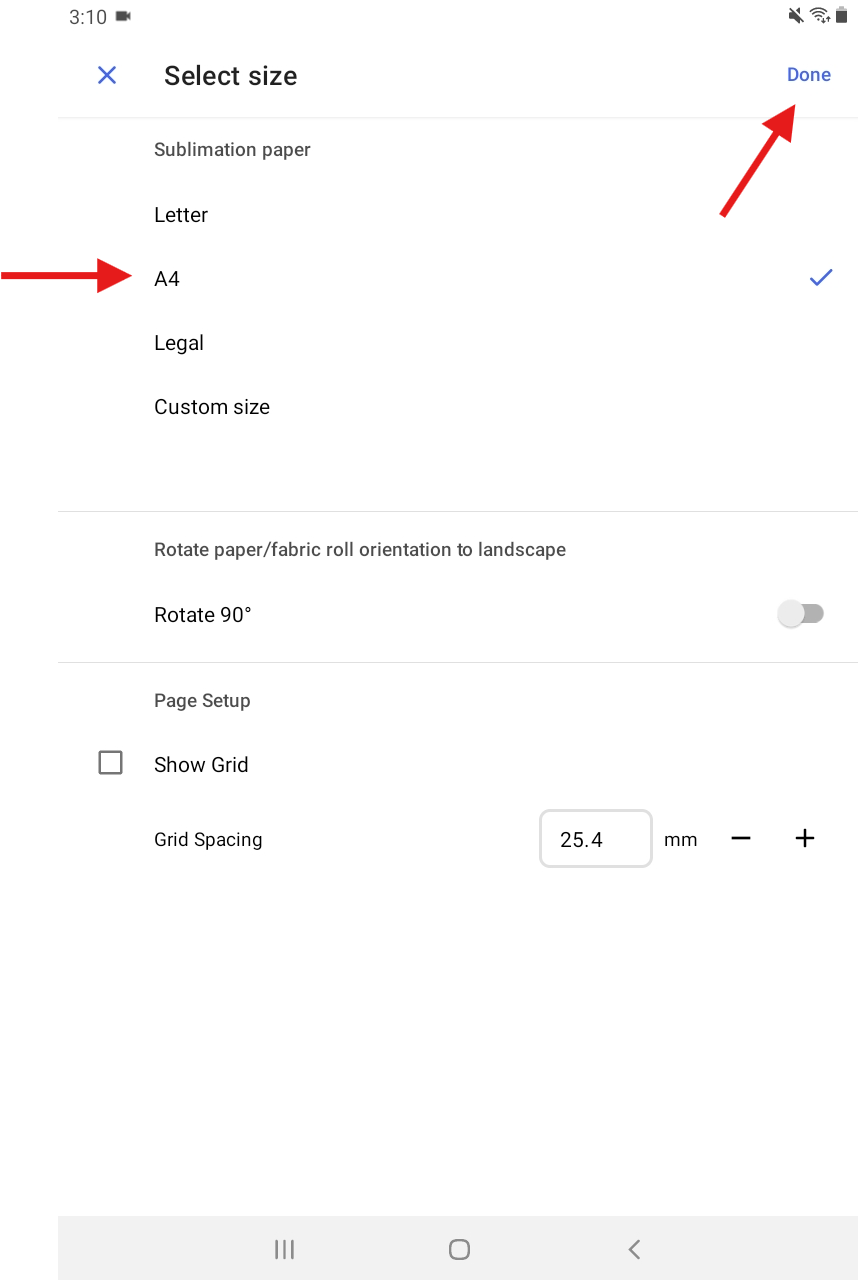
Step 3: Choose Your Paper Size
- Under the paper settings, select the paper size you’ll be printing on.
- Leave the other settings at their default values.
- Tap Done.
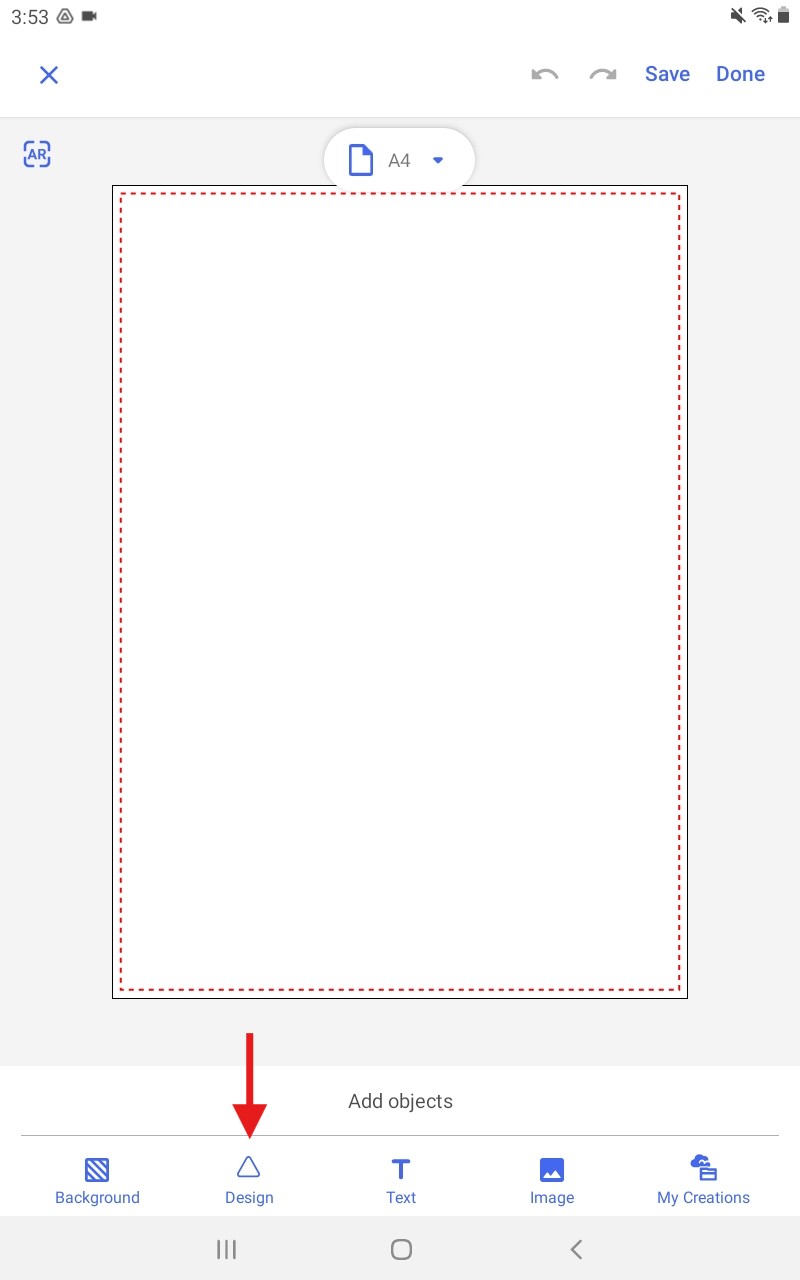
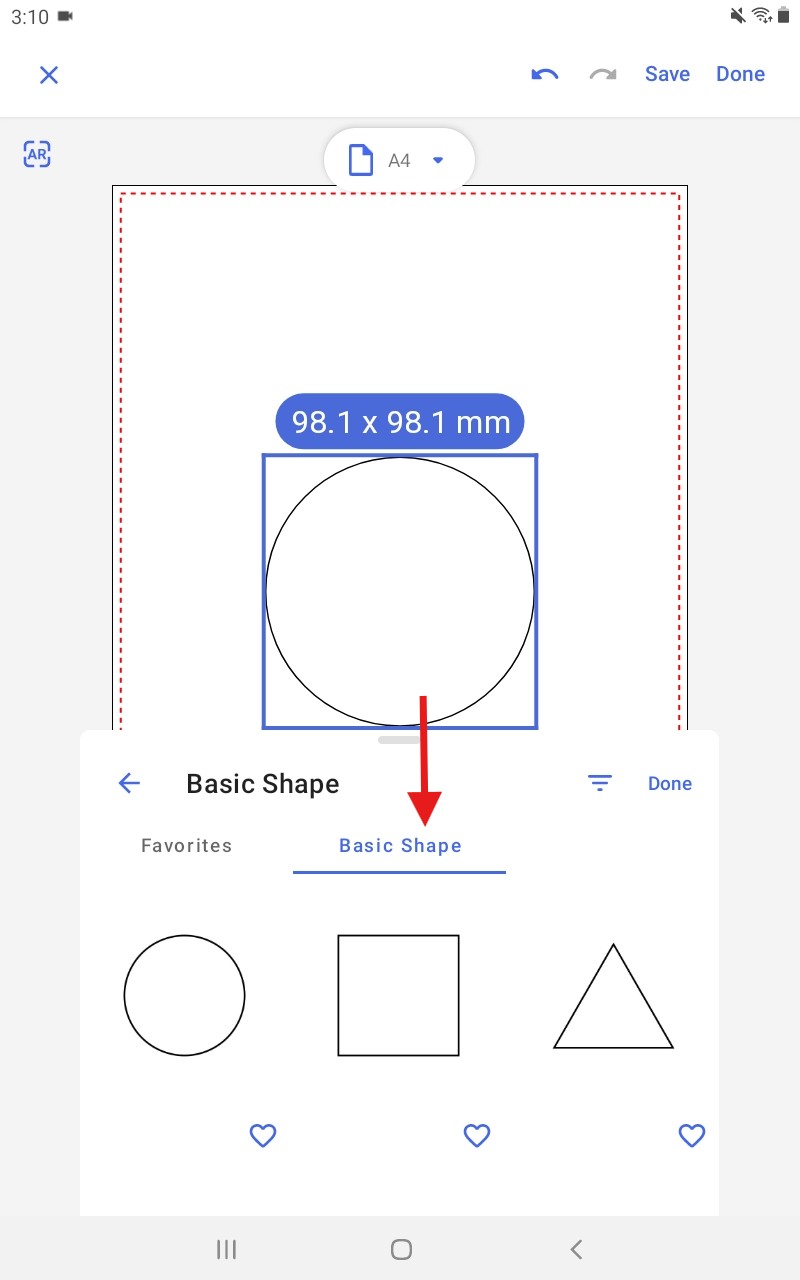
Step 4: Add a Basic Shape
- At the bottom of the screen, under Add Objects, choose Design.
- Choose Basic Shape and then select the Basic Shape tab, scroll down and select a shape that best represents your blank (e.g. circle, square, rectangle).
- Tap Done to confirm and add the shape to your canvas.
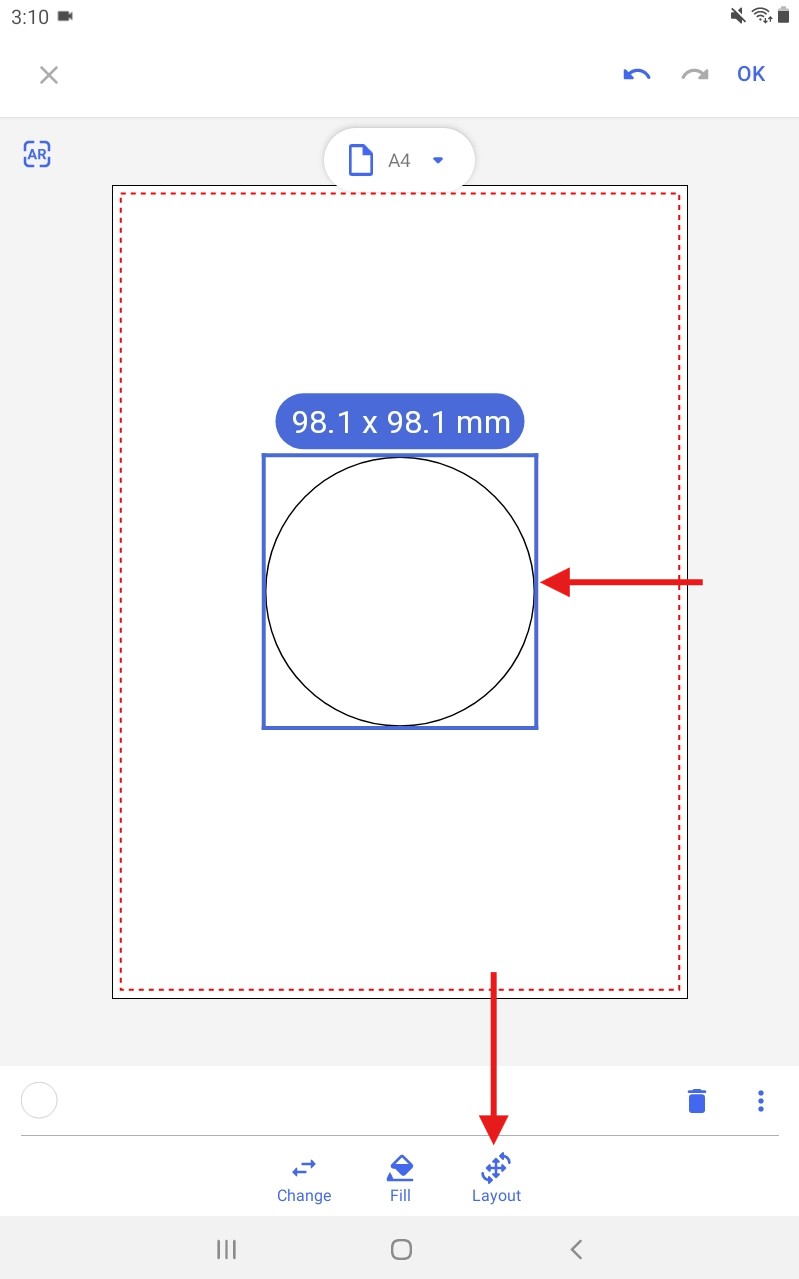
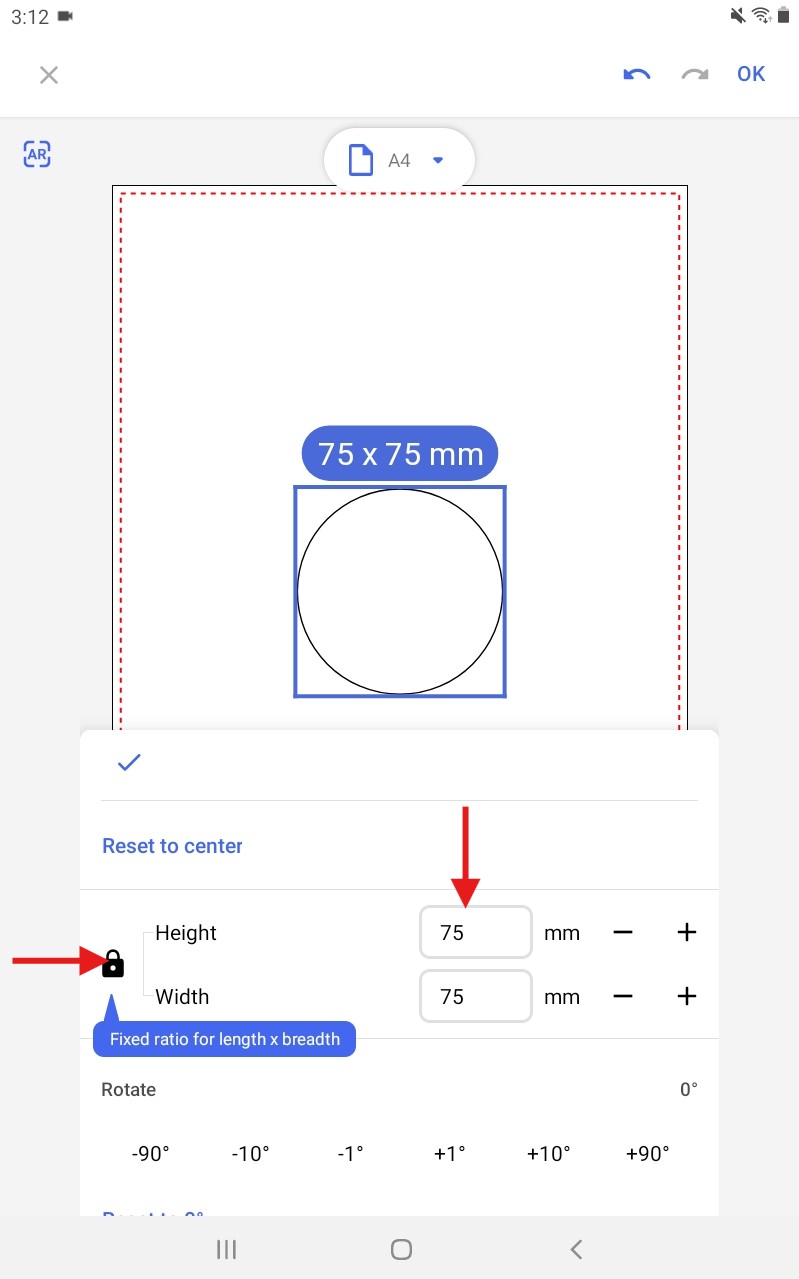
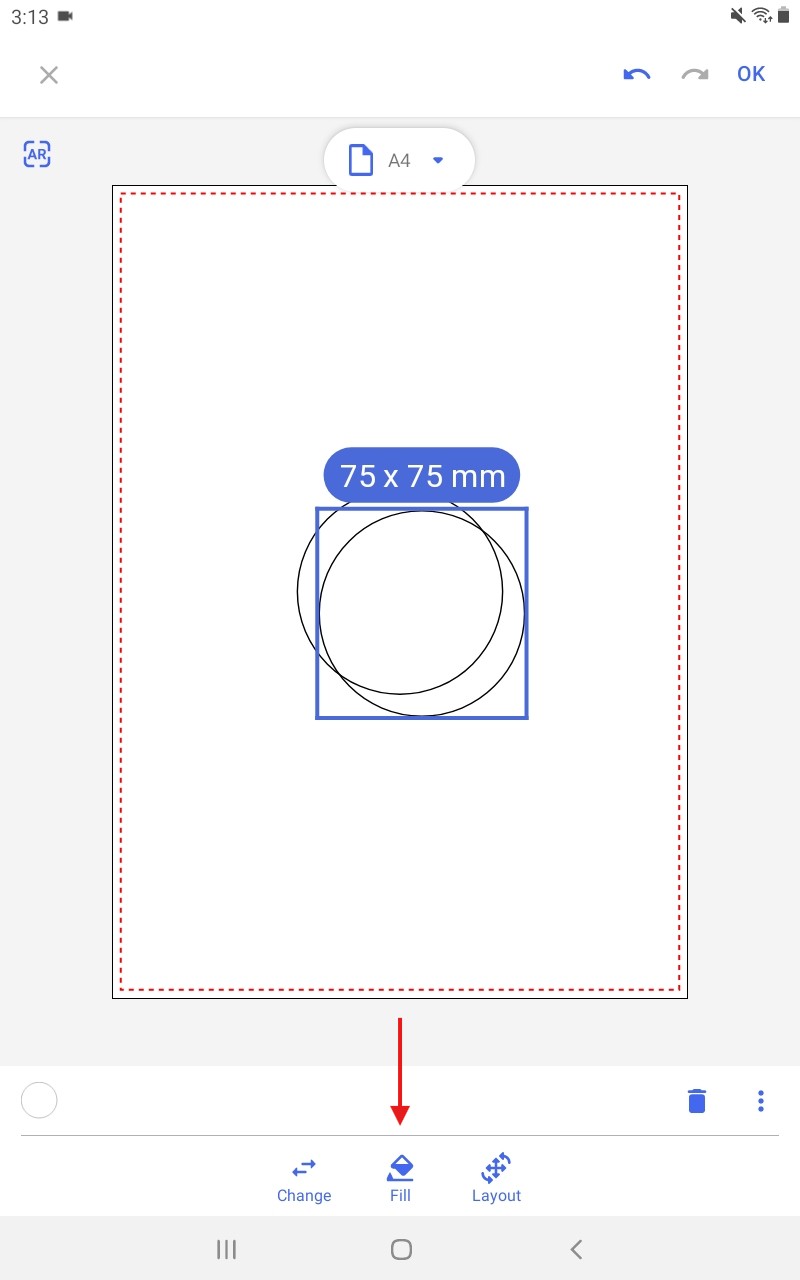
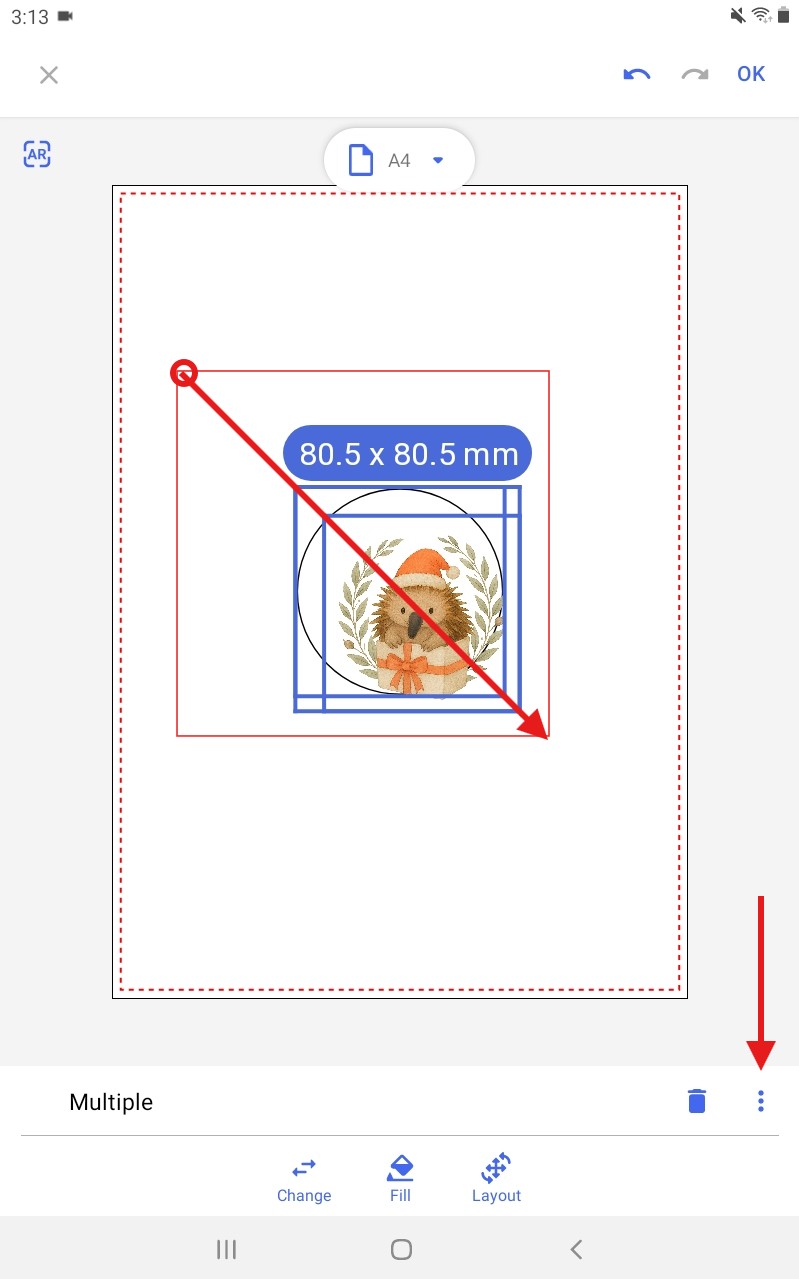
Step 5: Resize the Shape to Add Bleed
Measure the height and width of your blank using a ruler or tape measure. To ensure full coverage and avoid white edges, add a 5mm bleed on each side.
Example: If your blank is 70mm x 70mm, resize your shape to be 5mm larger in both width and height, making it 75mm x 75mm.
To resize:
- Tap the shape to select it.
- Tap Layout.
- Scroll down to Height and Width.
- Untick the Lock Aspect Ratio icon if the length and width are different.
- Enter the new measurements.
- Tap the ✔ tick icon/Done in the top-left corner of the popup to apply your changes.
This shape now acts as your artwork boundary.
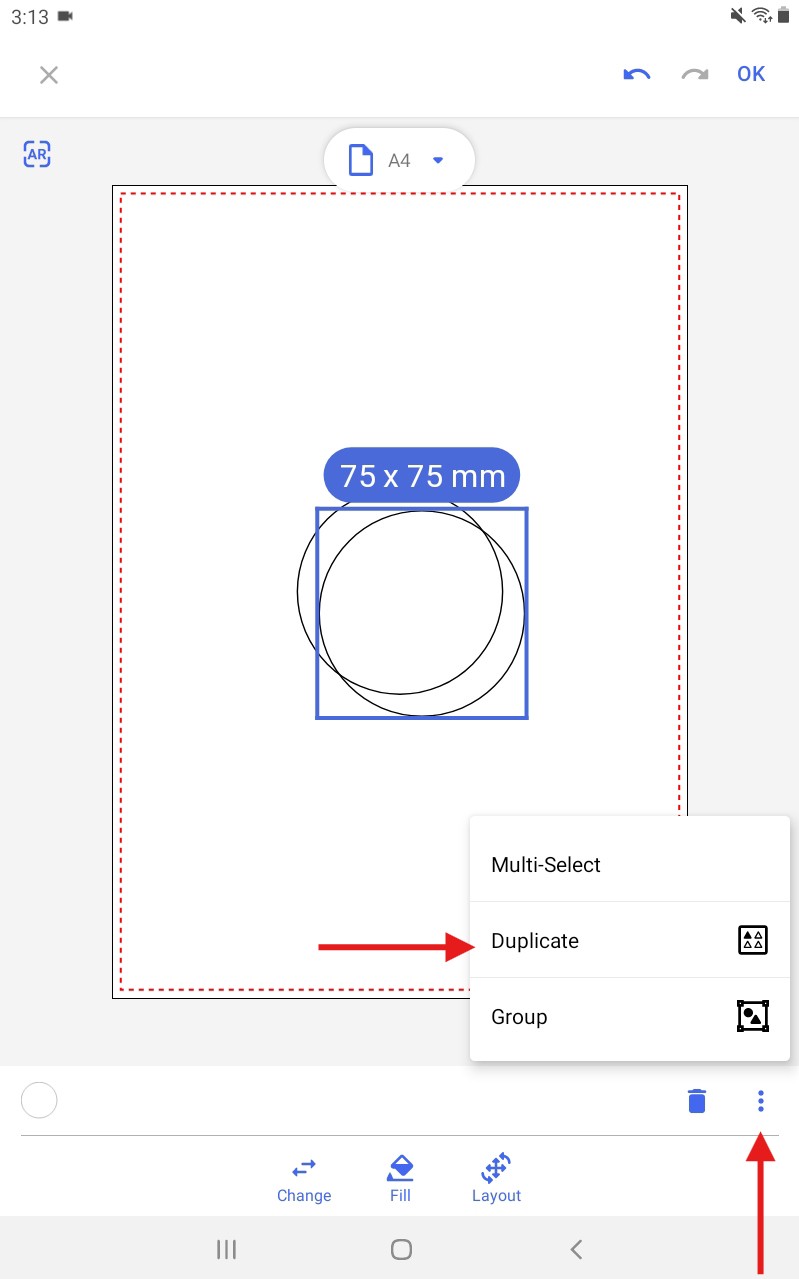
Step 6: Duplicate the Shape
We duplicate the shape so we can apply artwork independently while keeping consistent sizing.
- Tap the shape.
- Tap the three vertical dots in the bottom-right corner.
- Select Duplicate.
- For this example, enter “2” (you’ll now have two shapes).
- Tap the ✔ tick icon/Done to apply.
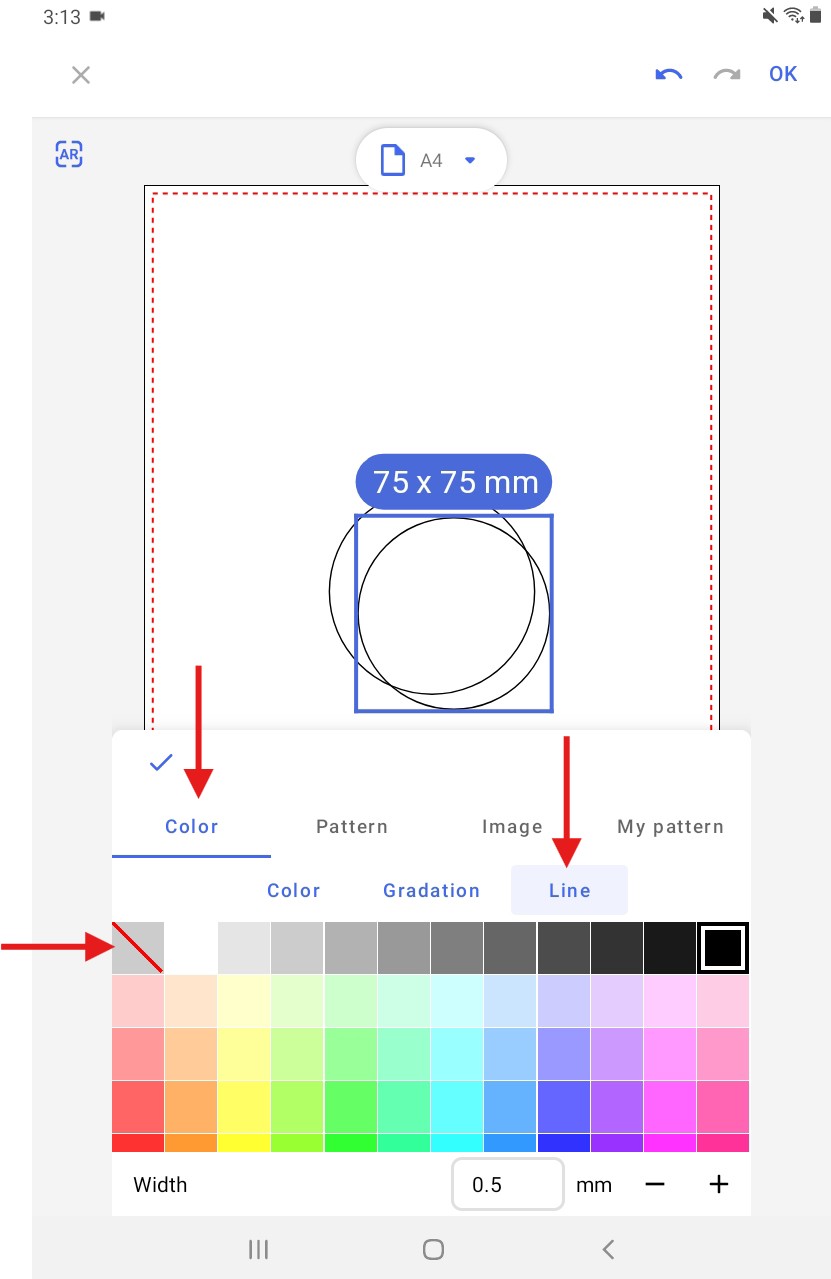
Step 7: Remove Border, Add Your Artwork & Resize
Firstly, let’s remove the border from the top shape. This prevents a visible outline from being printed around your artwork, which can transfer onto your blank if the sizing isn’t exact.
- Select the top shape.
- Tap Fill at the bottom.
- Under the Color tab.
- Select the Line sub-tab, choose the transparent option (swatch with red line).
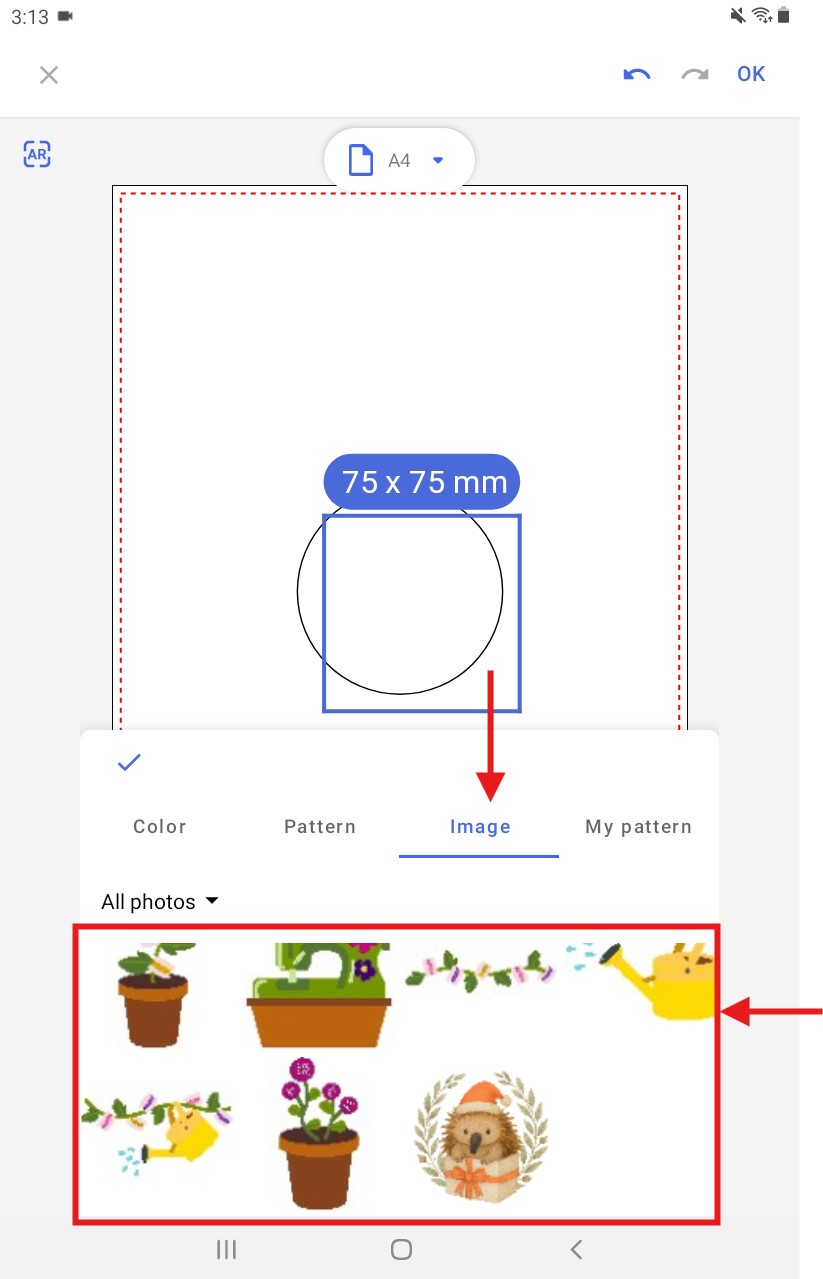
Now to add your image:
- Still under Fill settings, switch to the Image tab.
- Choose your image folder.
- Select your image.
- Tap the ✔ tick icon/Done to apply.
(Optional) Resize or Reposition the Image
- Tap and drag to position your image inside the shape.
- Or use the settings under Layout to rotate, flip or resize (refer to Step 5) the design as needed.
Tip: Use the shape with the outline as your boundary guideline.
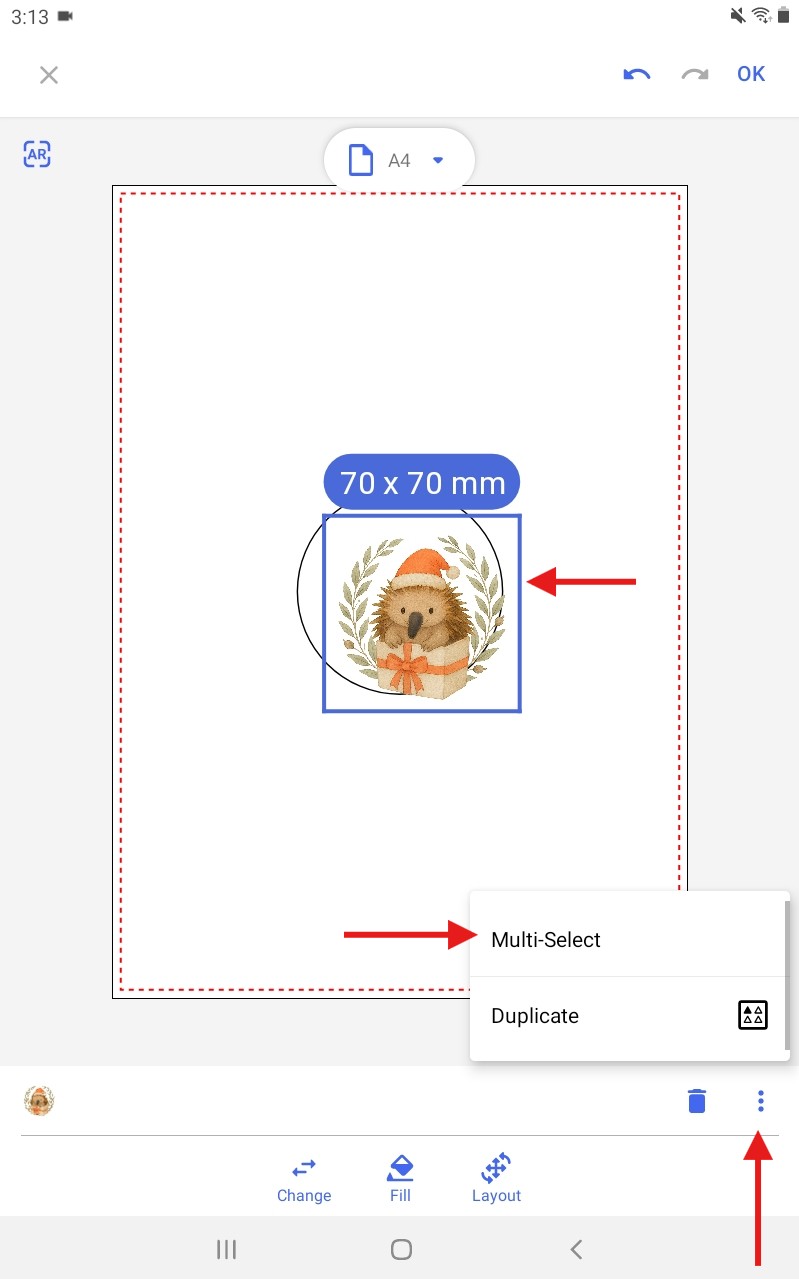
Step 8: Group the Two Shapes
Select and Group
- Tap one of the shapes.
- Tap the three vertical dots in the bottom-right corner.
- Choose Multi-Select.
- Tap and drag your finger around both shapes to select them, then tap Done, you now have the two shapes selected.
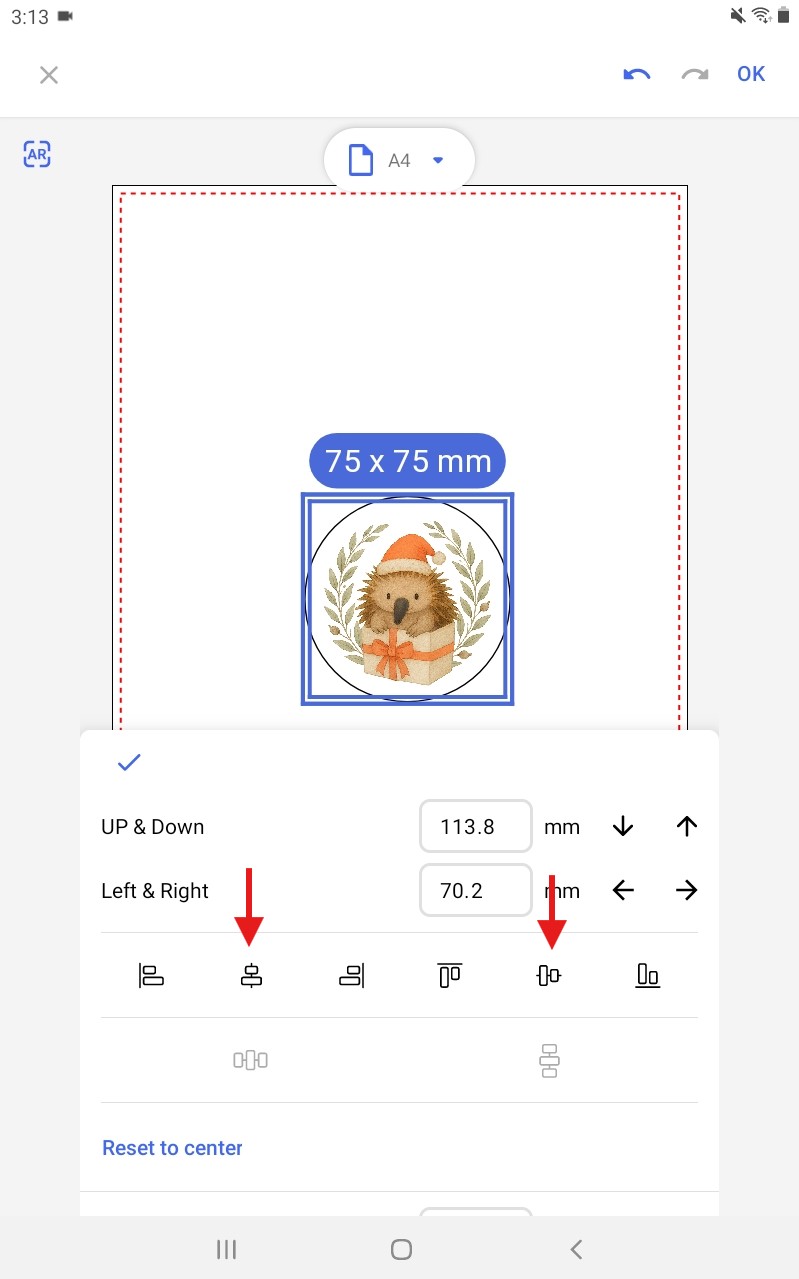
Centre Align (Optional)
- While the two shapes are selected tap Layout.
- Scroll down to alignment icons and click the centre horizontally and the centre vertically icons.
- Tap the ✔ tick icon/Done to apply changes.
Select and Group Cont.
- Whilst you still have the two shapes selected tap the three vertical dots again → select Group
- Your objects should now be grouped.
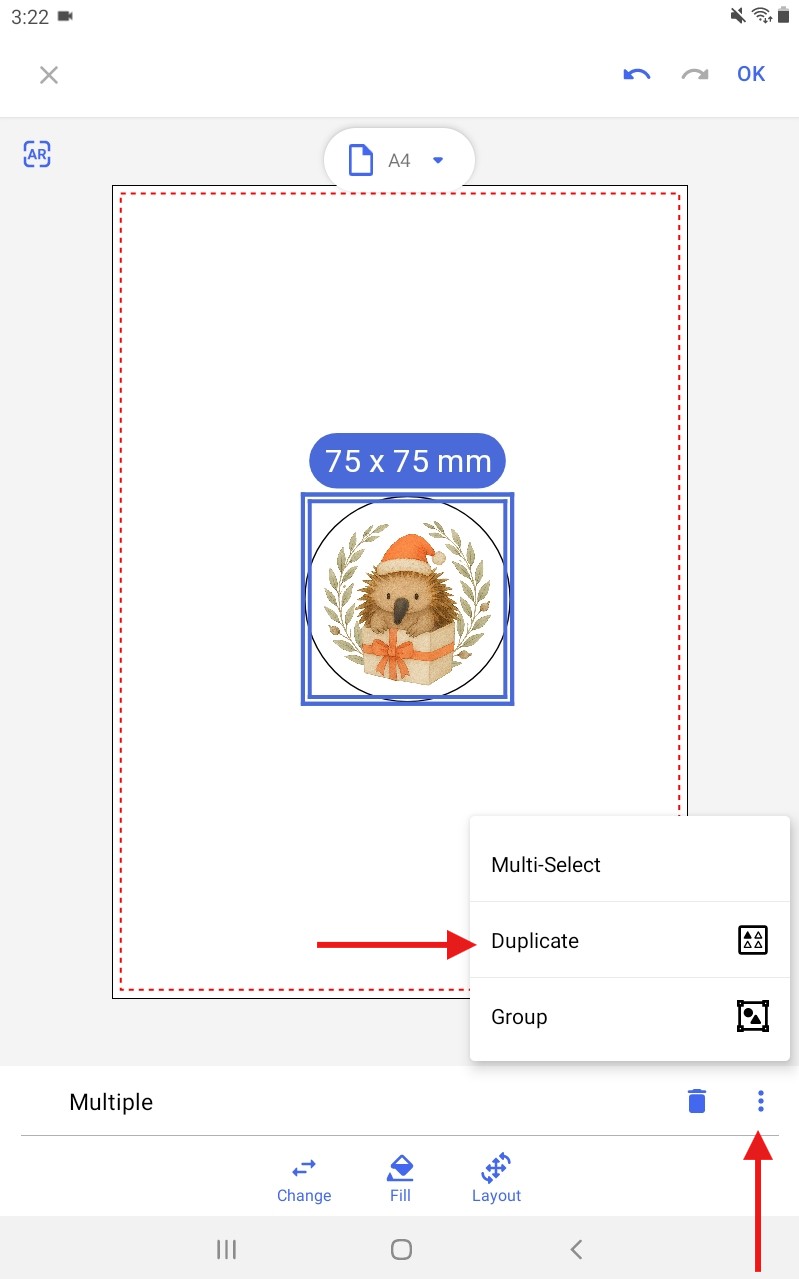
Step 9: Tile Your Design (Optional)
To print multiple of the same design on one page:
- Select the grouped shapes.
- Tap the three vertical dots in the bottom-right corner.
- Select Duplicate.
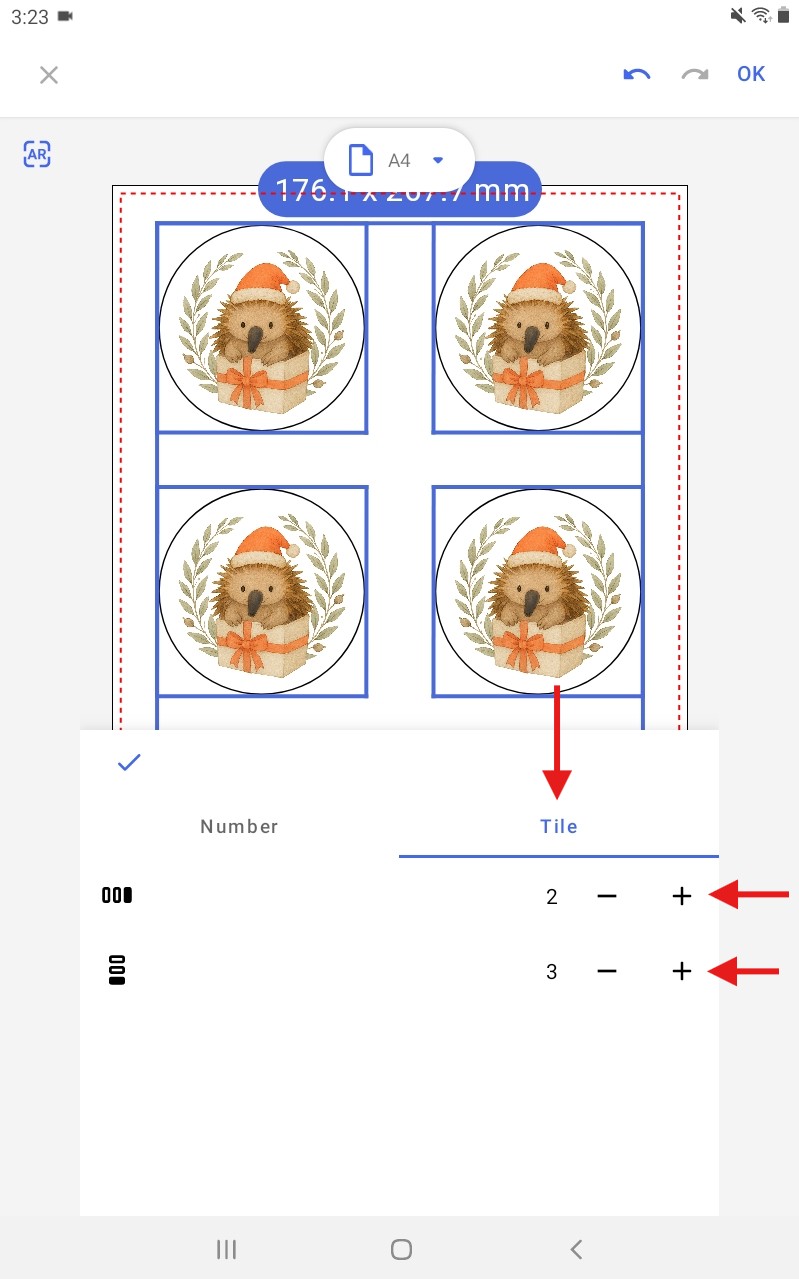
- Tap the Tile tab.
- Use the horizontal and vertical options to tile across the page.
- If the layout won’t fit, Artspira will display an error.
- Tap the ✔ tick icon/Done to apply.
Tip: If you want each tile to have a different image, ungroup them, then update the image within each shape.
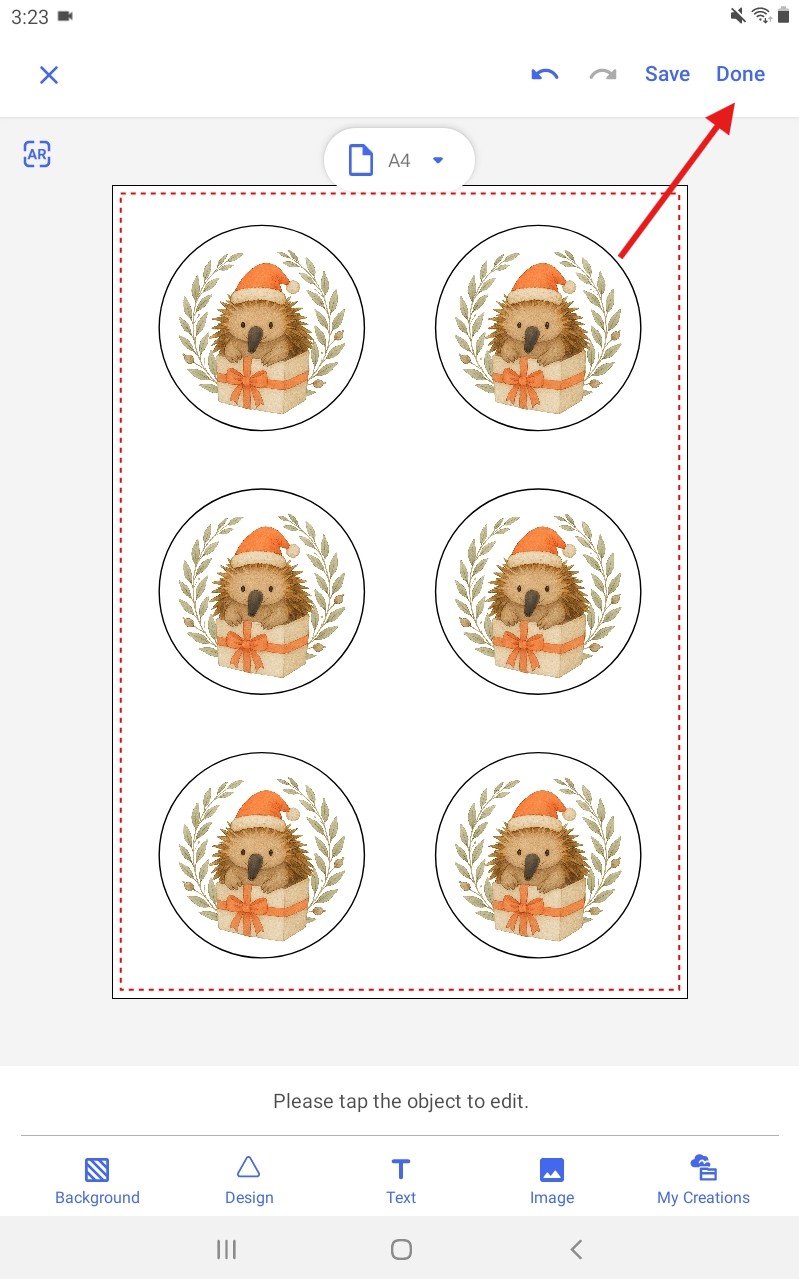
Step 10: Print Your Design
- Tap Done in the top-right corner.
- Save your project if prompted.
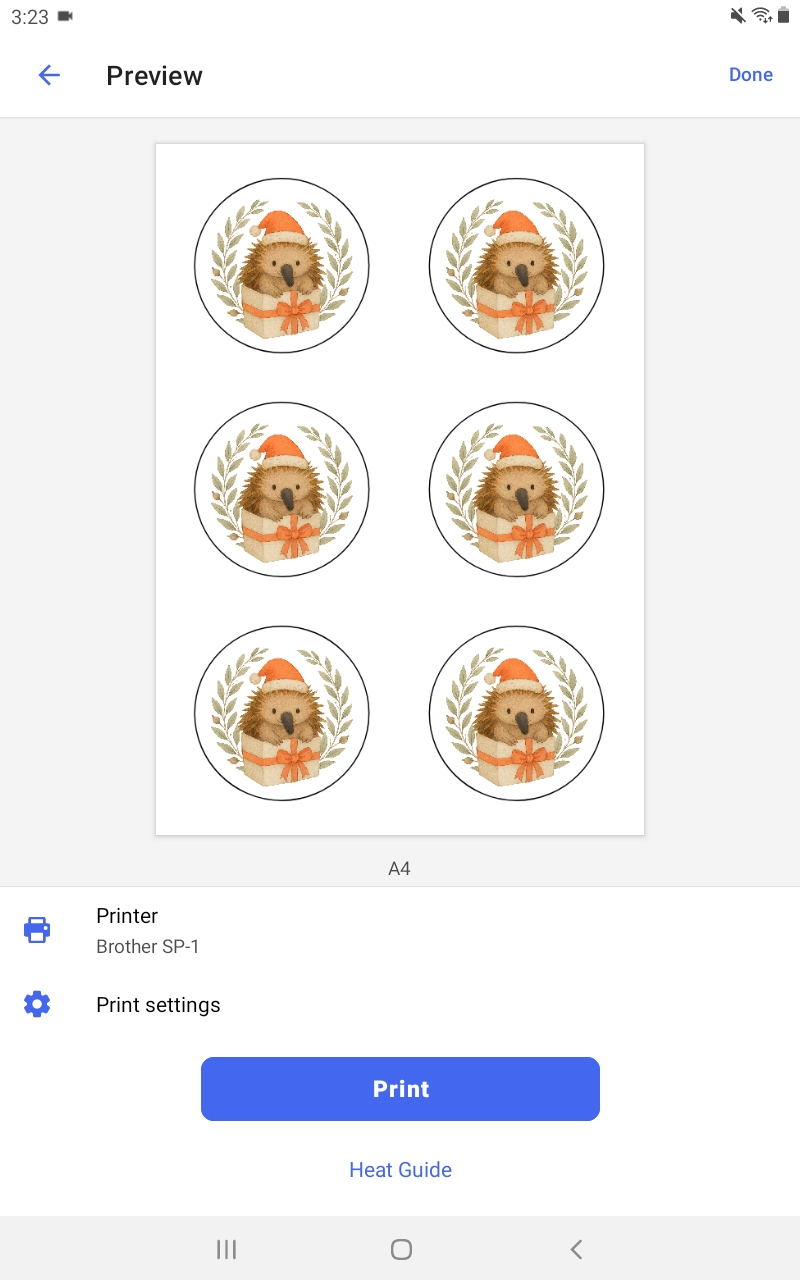
- You’ll be taken to the Preview screen.
- Select your printer and adjust print settings as needed.
- Tap Print.
Article Updated: July 2025


