All Articles

What Makes a Good Embroidery Design?
Not all embroidery files are created equal.
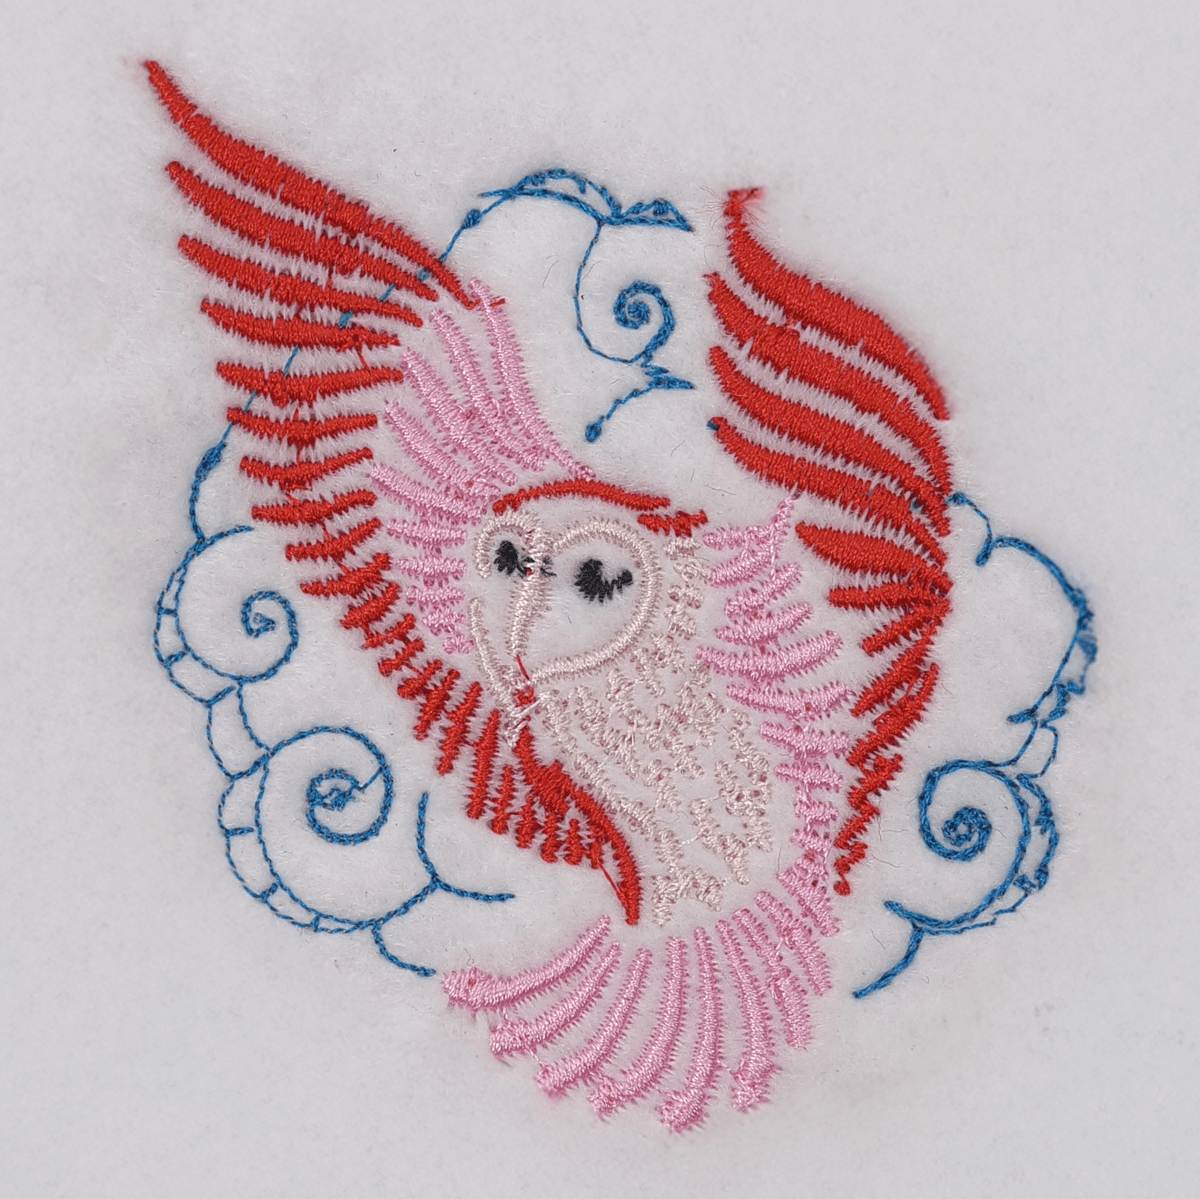
Two designs can look identical on a computer screen but stitch out completely differently on fabric. One may run smoothly and produce clean, professional results, while the other may cause thread breaks, distortion, gaps, or excessive trims.
The difference is usually the digitizing.
Good digitizing is about far more than simply converting artwork into stitches. It involves making deliberate decisions about how those stitches will interact with fabric, thread, stabiliser, and the embroidery machine itself.
Here are some of the key elements that separate a well-digitized design from a poor one.
Choosing the Right Stitch Types
Different areas of a design require different stitch types.
For example:
- Satin stitches are commonly used for lettering and borders.
- Fill stitches are used to cover larger areas.
- Run stitches are often used for outlines and fine details.
Using the wrong stitch type can make a design appear bulky, uneven, or difficult to sew. Good digitizing selects stitch types that suit both the artwork and the finished size of the design.
Stitch Density
Density refers to how closely stitches are placed together.
If stitches are too far apart, gaps may appear and the fabric can show through. If they are too close together, the design can become stiff, bulky, or prone to thread breaks.
Finding the right balance is one of the most important parts of digitizing and often varies depending on the fabric being embroidered.
Underlay Stitches
Underlay is a layer of stitching hidden beneath the visible embroidery.
Although it cannot usually be seen in the finished design, underlay performs several important functions:
- Stabilises the fabric
- Supports top stitches
- Improves coverage
- Helps create cleaner edges
Many embroidery problems can be traced back to inadequate or incorrect underlay.
Pull Compensation
As stitches are sewn, fabric naturally shifts and compresses.
Without compensation, shapes that appear correct on screen may stitch out smaller, narrower, or distorted on fabric.
Pull compensation adjusts stitch objects to account for this movement, helping circles remain round, columns remain even, and lettering remain legible after stitching.
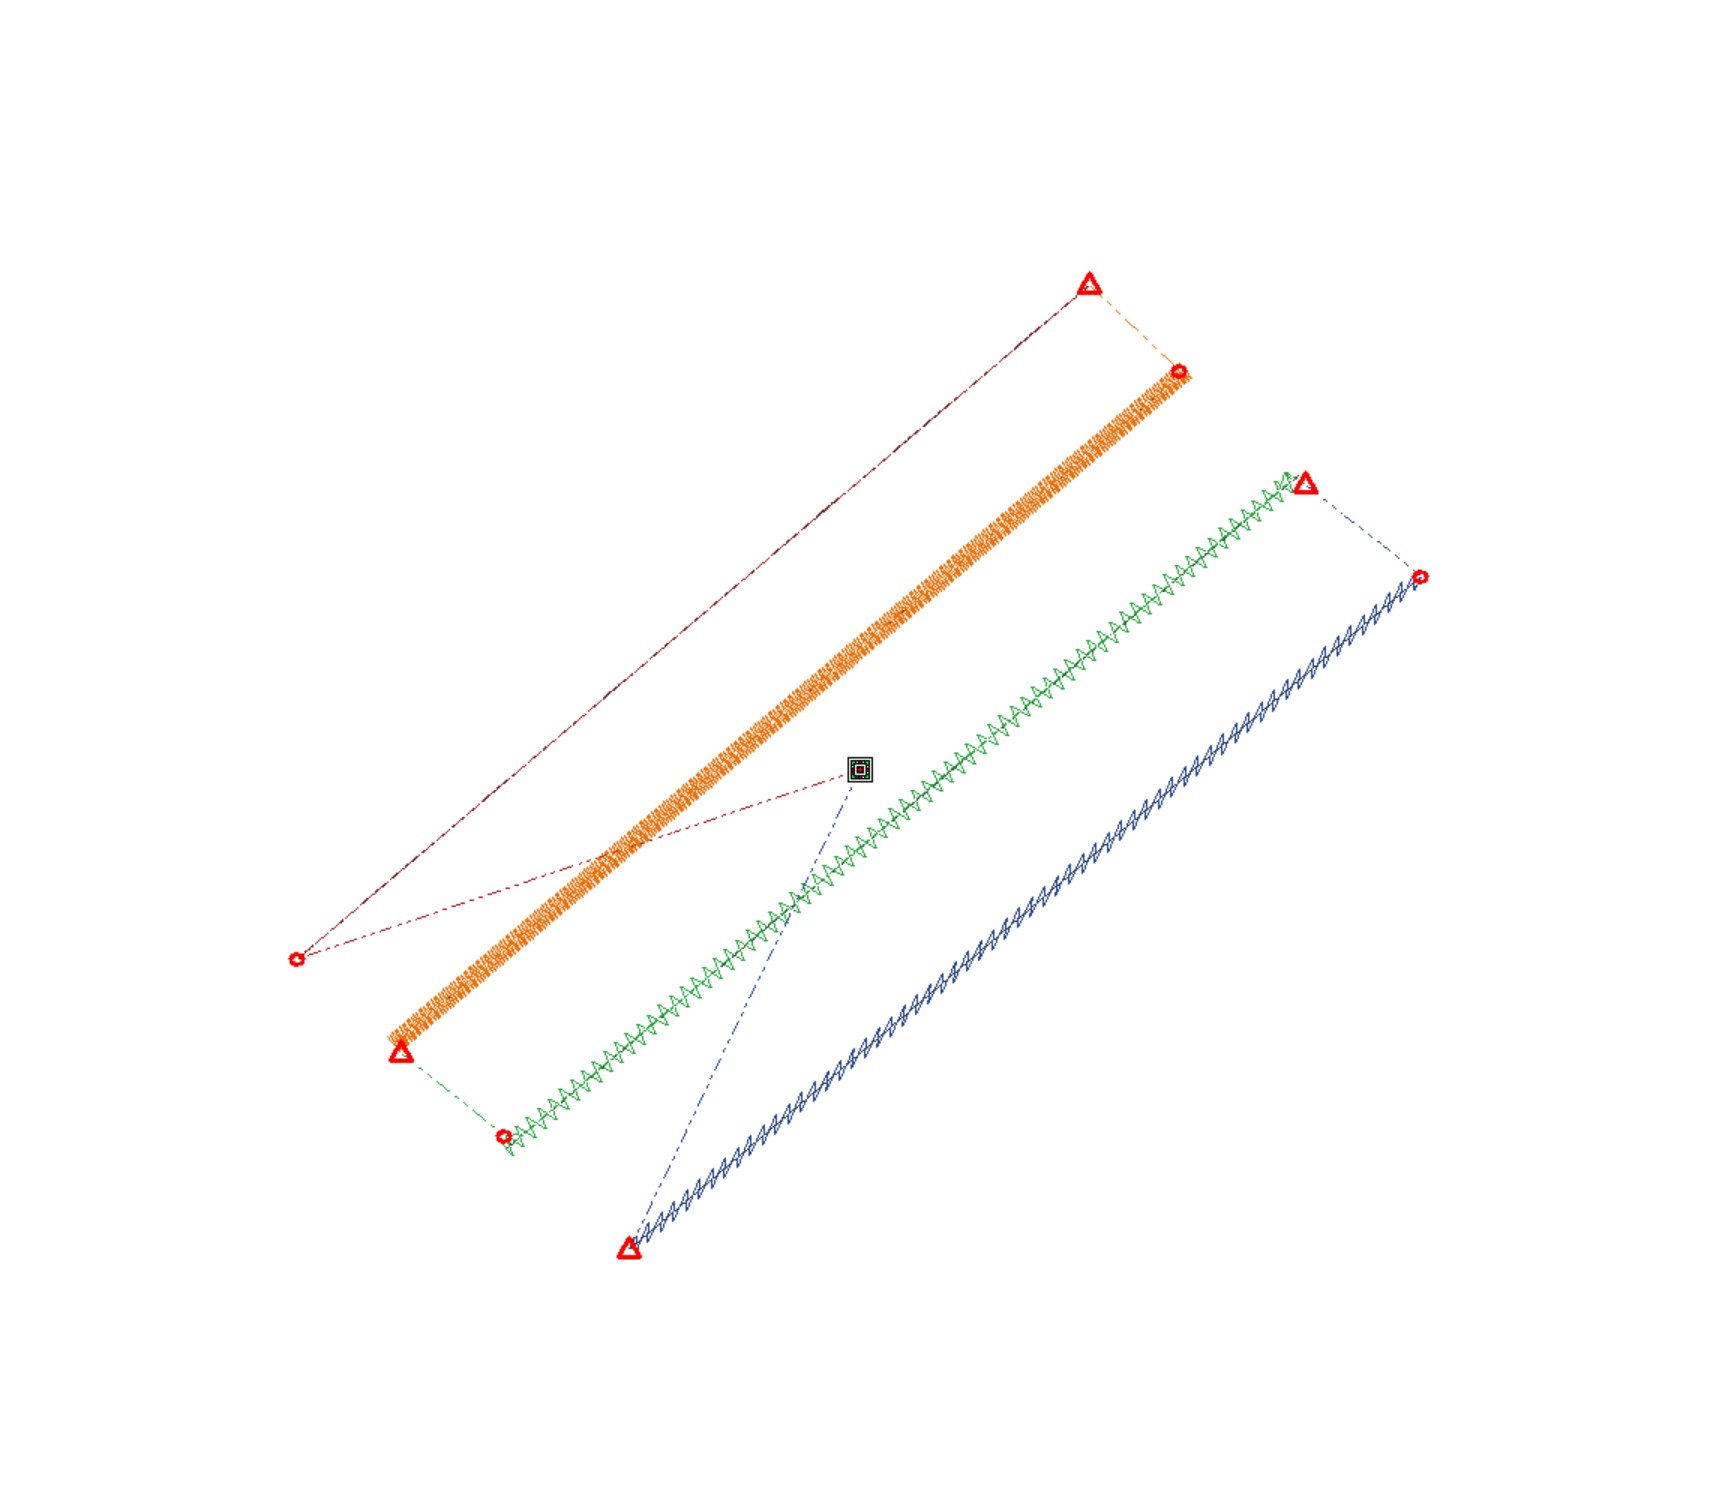
Efficient Stitch Sequencing
The order in which a machine sews a design matters.
Good stitch sequencing reduces:
- Unnecessary trims
- Excessive jump stitches
- Machine run time
- Thread waste
A well-sequenced design often runs more smoothly and produces a cleaner finished result.
Testing and Refinement
Even experienced digitizers rarely create a perfect design on the first attempt.
Most professional designs go through testing and adjustments before being released. This process helps identify issues such as distortion, poor coverage, design registration problems, or inefficient stitch paths.
Testing allows the design to be refined so it performs reliably in real-world conditions.
Common Digitizing Mistakes
Poor digitizing often results in:
- Gaps between objects
- Bulky stitching
- Excessive stitch counts
- Distorted shapes
- Poor lettering quality
- Frequent thread breaks
- Unnecessary trims and jump stitches
These issues are often caused by the digitizing itself rather than the embroidery machine.
A good embroidery design is much more than artwork converted into stitches.
Factors such as stitch type selection, density, underlay, pull compensation, sequencing, and testing all play an important role in how a design performs on fabric.
Understanding these concepts helps explain why some embroidery files sew beautifully while others can be frustrating to work with.
The better the digitizing, the better the embroidery result is likely to be.