All Articles
Understanding Density in Machine Embroidery Designs
Density is an important part of every machine embroidery design. It affects how well a design covers the fabric, how soft or stiff the finished embroidery feels and how smoothly the design stitches.
You don't need to digitize your own designs to understand density. Knowing the basics can help you choose suitable designs, recognise potential problems and troubleshoot embroidery that isn't stitching as expected.
What Is Embroidery Density?
Embroidery density refers to how closely stitches are positioned together within an area of a design.
In satin and fill stitches, rows of stitching are placed alongside one another to create coverage.
- Higher density means the stitches are packed more closely together.
- Lower density means there is more space between the rows of stitching.
Density is determined when the embroidery design is digitized, although some embroidery software allows it to be adjusted later.
How Is Density Measured?
Many embroidery programs measure density by the distance between rows of stitching, usually in millimetres.
This can seem a little backwards because the smaller the spacing, the higher the density.
For example, rows spaced 0.40 mm apart are more densely stitched than rows spaced 0.80 mm apart.
Different software can display density differently, so as an embroiderer, knowing the exact numbers isn't usually as important as understanding what density does to your finished embroidery.
Density Isn't the Same as Stitch Count
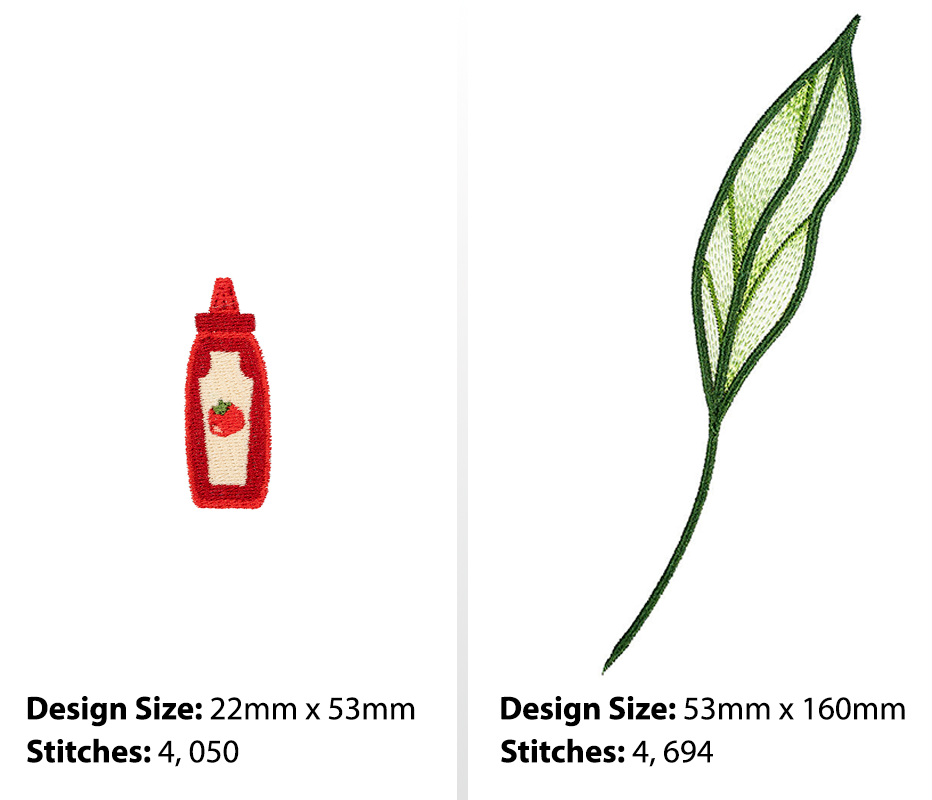
A design with a high stitch count isn't necessarily too dense.
A large or detailed design may contain many thousands of stitches simply because of its size. Density is about how closely those stitches are packed into a particular area.
What Happens If a Design Is Too Dense?
Too many stitches packed into a small area can make embroidery difficult for the fabric and machine to handle.
You may experience:
- thread or needle breaks
- puckering or distortion
- stiff, heavy embroidery
- fabric damage
- excessive thread build-up
- difficulty stitching through heavily embroidered areas
More density doesn't always mean better coverage. Eventually, adding more stitches simply adds bulk and stress without improving the finished result.
Good coverage also relies on more than density alone. Underlay can also help support the top stitching and improve coverage without unnecessarily packing more stitches into the design. Learn more in our Understanding Underlay in Machine Embroidery Designs guide.
Can Density Be Too Low?
Yes, but lower density isn't necessarily a problem.
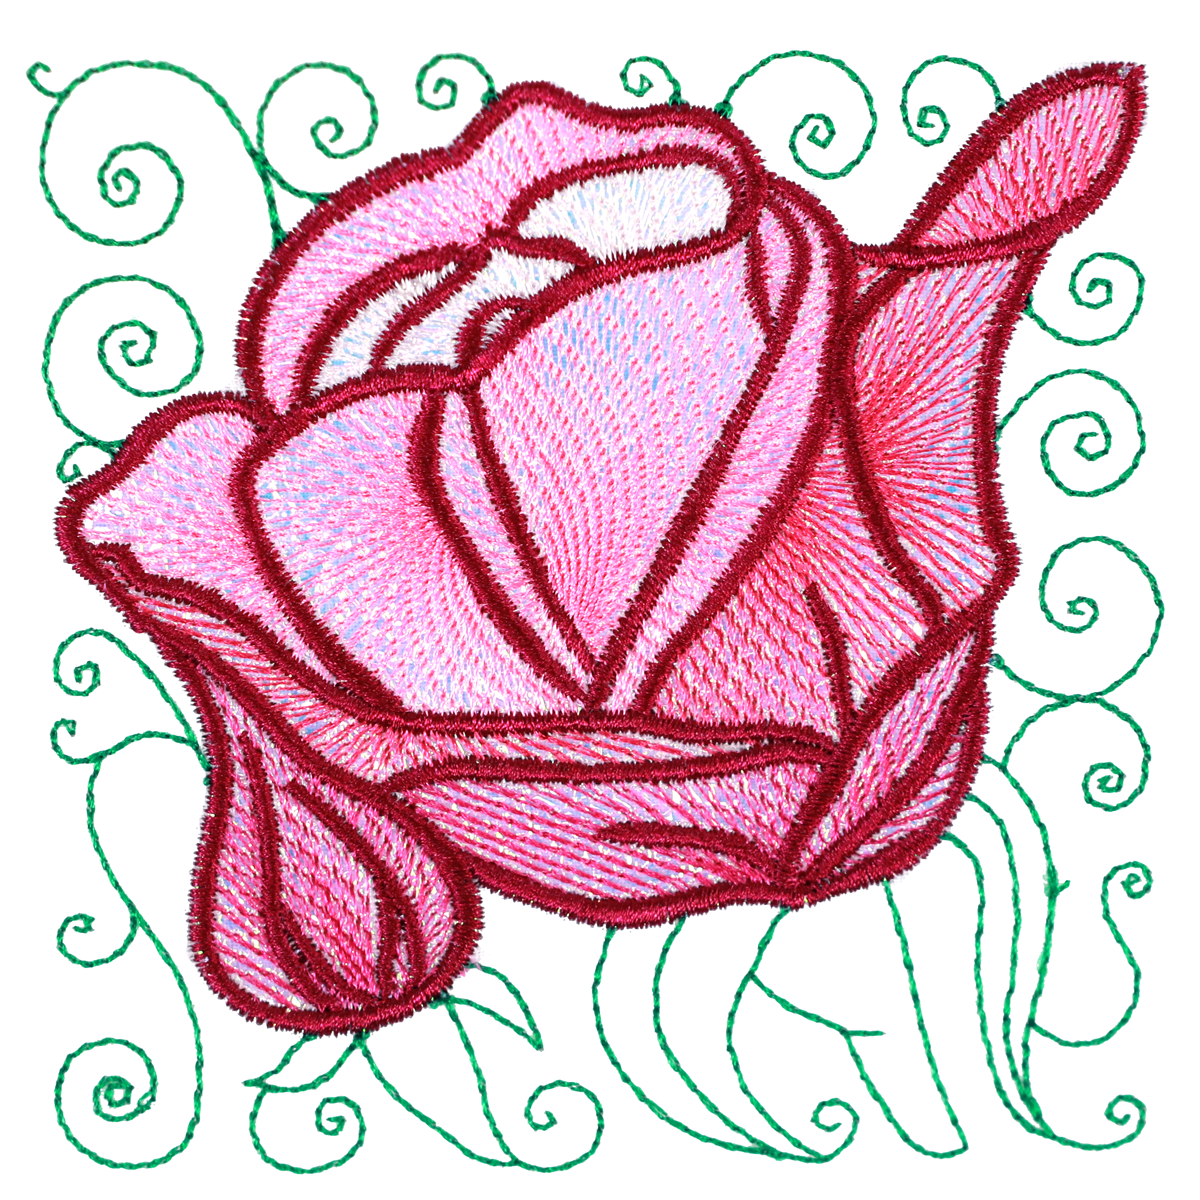
If stitches are spaced too far apart for the intended design, the fabric may show through and the embroidery can appear thin.
However, digitizers also deliberately use lower densities to create shading, backgrounds, texture, colour blending and softer areas of embroidery. Speciality techniques such as Opal Film (Mylar) embroidery also use more open stitching so the material beneath can remain visible.
Not every part of a design needs completely solid coverage.
Density and Resizing Designs
Be particularly careful when resizing embroidery designs.
If a design is made significantly smaller without recalculating its stitches, the same number of stitches may be squeezed into a much smaller area. This can result in excessive density and very short stitches.
Making a design significantly larger can create the opposite problem, leaving the stitching too open.
If you regularly resize embroidery designs, use embroidery software that can properly recalculate the stitches and spacing as the design is resized. This helps maintain appropriate density rather than simply stretching or compressing the existing stitches.
What Can You Do About Density Problems?
If you're using a purchased or ready-made embroidery design, you may have limited control over how it was originally digitized.
If a design is causing problems:
- Try stitching it at its original size if it has been resized.
- Make sure the design is suitable for the fabric you're using.
- Check that your fabric is correctly stabilised.
- Test unfamiliar designs before stitching onto your final project.
- Look for areas where several layers of embroidery are being stitched over one another.
Can Software Help With Density Problems?
Embroidery software can help identify and correct density problems in existing designs. Embrilliance Density Repair Kit is designed specifically for this purpose and can help remove unnecessary stitches and reduce excessive density without requiring you to digitize the design from scratch.
It's important to remember, however, that stabilizer can't completely fix a design that has simply been digitized with too many stitches.
Finding the Right Balance
There is no single perfect density for every embroidery design or fabric.
Good embroidery uses enough stitching to achieve the intended coverage without unnecessarily packing thread into the fabric. The right result depends on the design, fabric, thread, stabilizer and the effect the digitizer is trying to achieve.
As an embroiderer, you don't need to become an expert in density settings. Understanding the basic principle can help you recognise when the design itself may be contributing to an embroidery problem, rather than automatically assuming the problem is your machine, tension or stabilizer.
Density Help & Resources
Want to learn more about adjusting density? We've provided links to density information and instructions for some popular embroidery software and tools.