All Projects
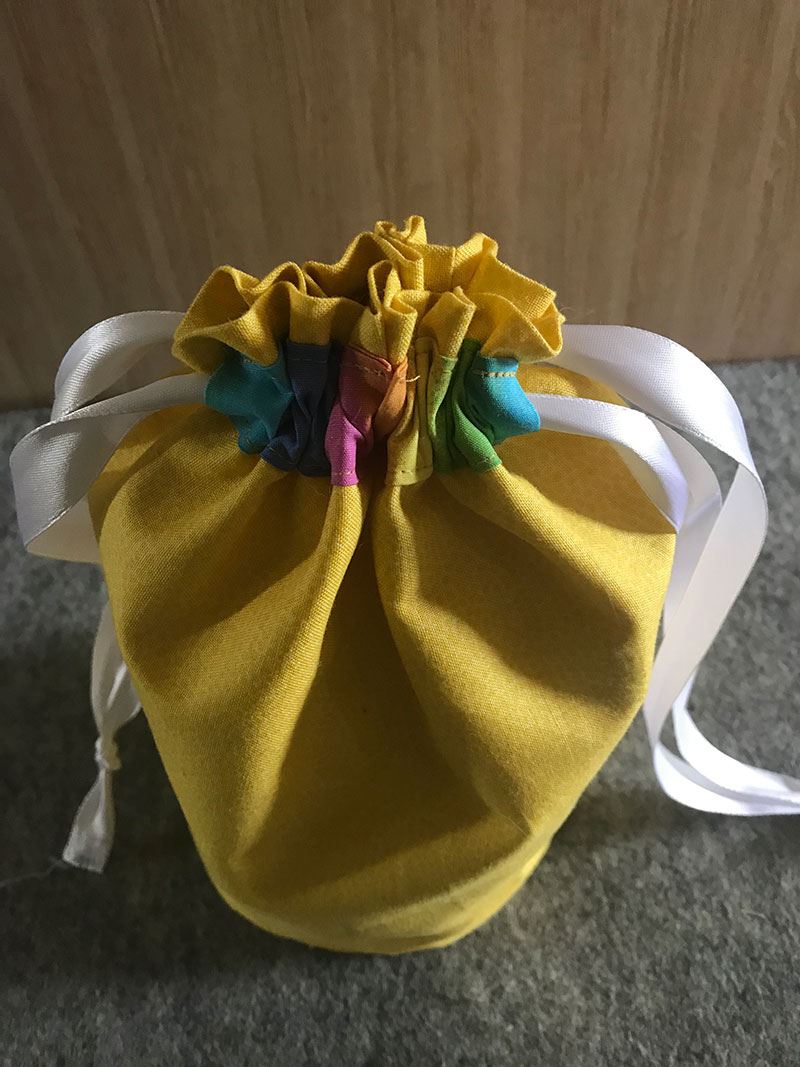


Drawstring Toiletry Bag
Create your very own toiletry bag, or give a handmade gift to someone special. This project is fun and simple to create and is great for sewists of any level, from beginner to advanced.
This toiletry bag is perfect for holding your belongings like a toothbrush & toothpaste, hairbrush, soap, deodorant and more. It can also be used for storing other items like collectables, knick knacks and jewellery.
MATERIALS NEEDED
- 1 x fat quarter (20” x 20” square)
- 1 x piece of contrast fabric (size: 7 ½” x 14”)
- Piecing thread
- 2 x pieces of 30” long ribbon (drawstring)
- Blue Pen
- Patchwork ruler & cutter
- Base pattern - Download now →
CUTTING INSTRUCTIONS
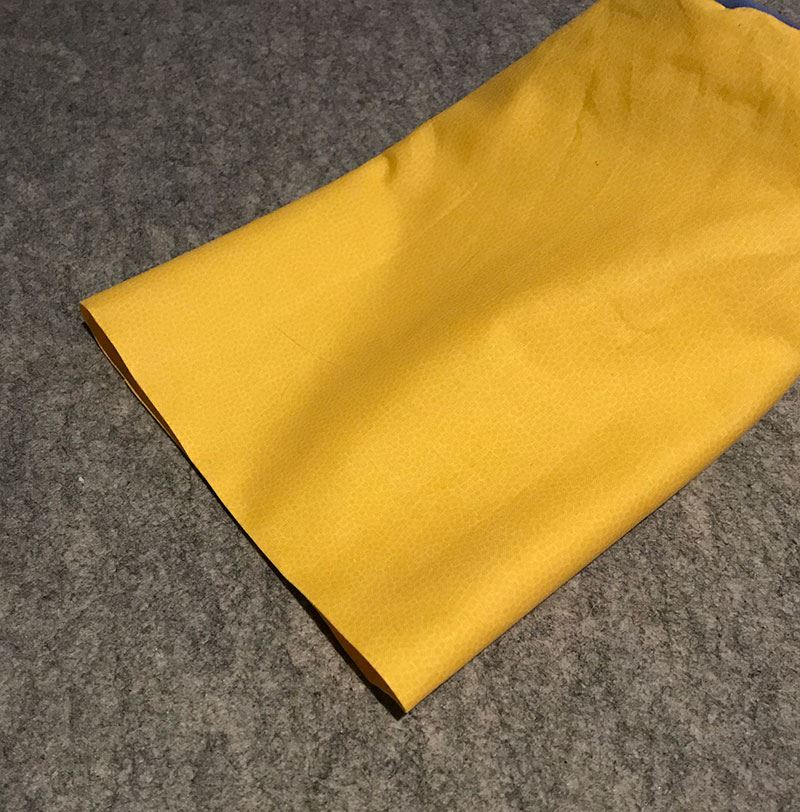
1. Cut the fat quarter down to a rectangle sized 17” x 20”
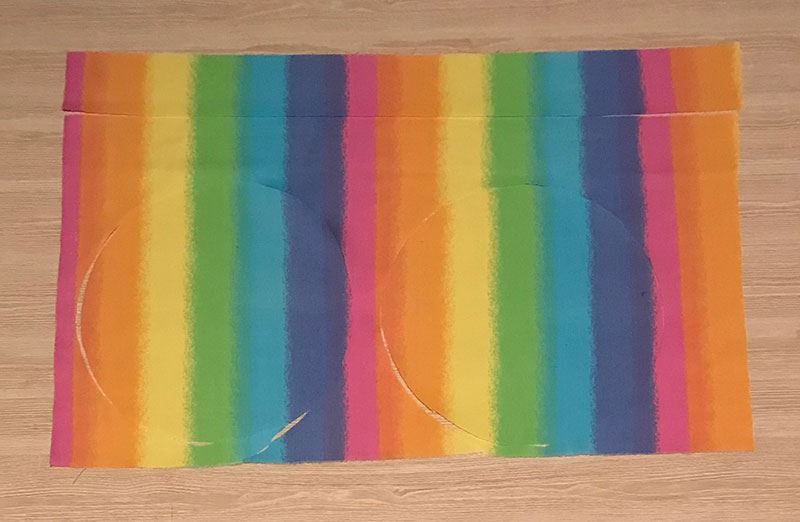
2. Cut the circle shape from the paper pattern sheet.
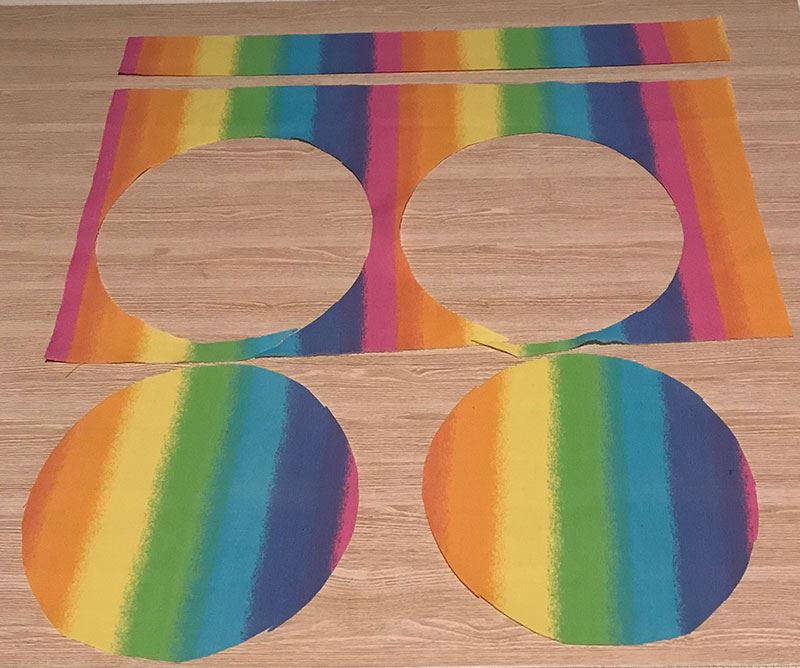
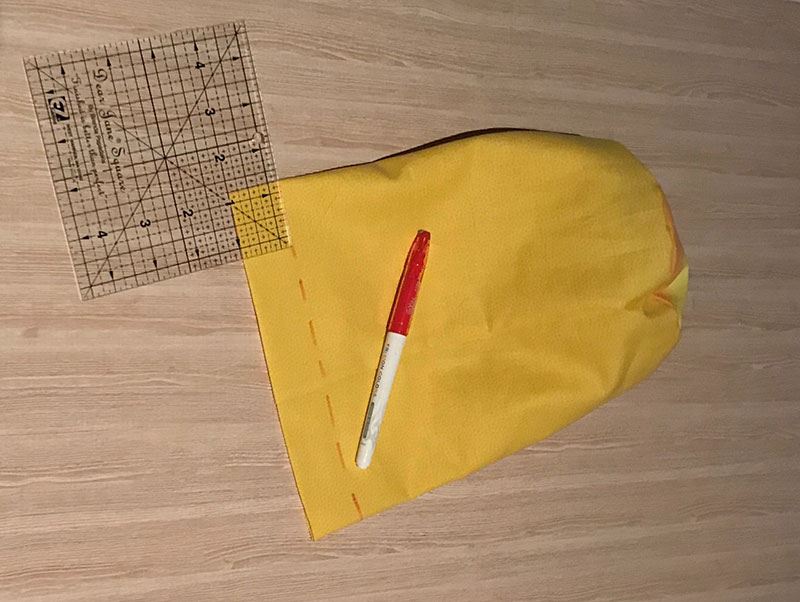
3. Fold the contrast fabric in half and cut a circle (it will cut 2 x circles), positioning it
towards the bottom of the fabric (as shown below).
4. From the remaining contrast fabric cut a 1 ½” strip along the length.
TOILETRY BAG CONSTRUCTION
General machine information
Stitch - Straight stitch
Stitch length - 2.0
Foot - Regular sewing foot and ¼"
¼" seam used for construction
Use 'pivot function' if your machine has it. This makes it easier when inserting the circles.
STITCHING INSTRUCTIONS
1. Fold the main fabric in half lengthwise. Using a ¼” seam, sew 1” along from one end of the fabric, reverse then stop.
2. Leave a 2” gap and begin sewing along the remaining seam, reverse at the beginning and end of the seam.
3. Take one of the circles and with right sides together pin to one end of the “cylinder”.
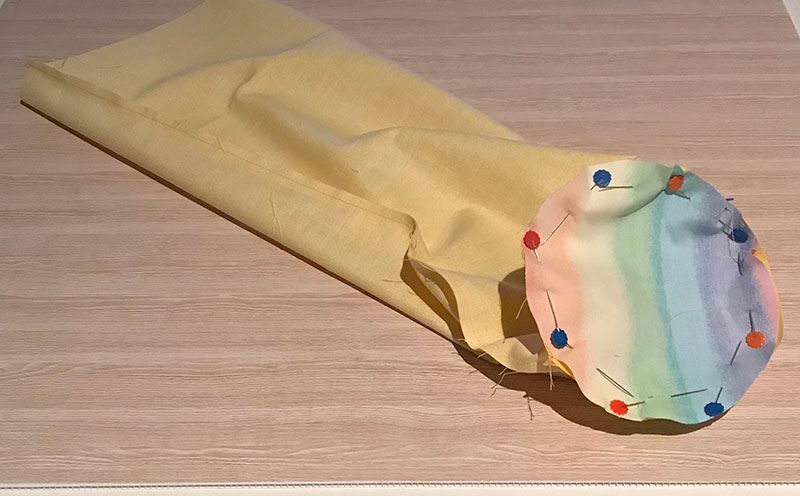
4. Activate pivot function on your machine if you have it, and using your ¼” piecing foot sew around the circle.
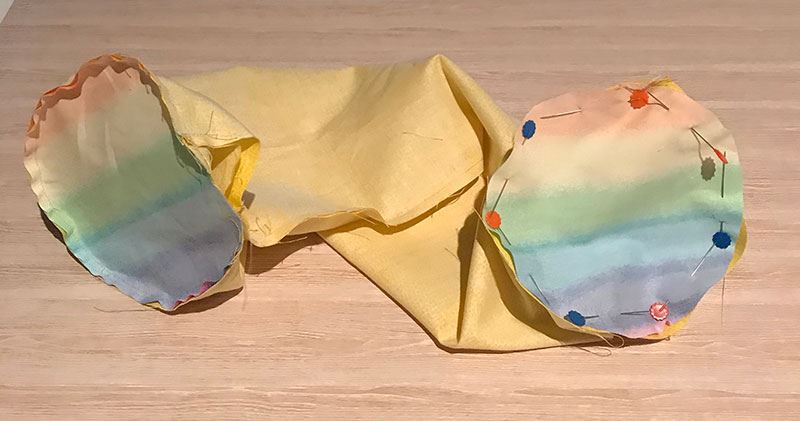
5. Repeat inserting the second circle at the other end of the cylinder. Clip knotches ½ inch apart into your seam allowance around your circles once you have finished.
6. Pull fabric through the 2” gap to turn the fabric to the right side.
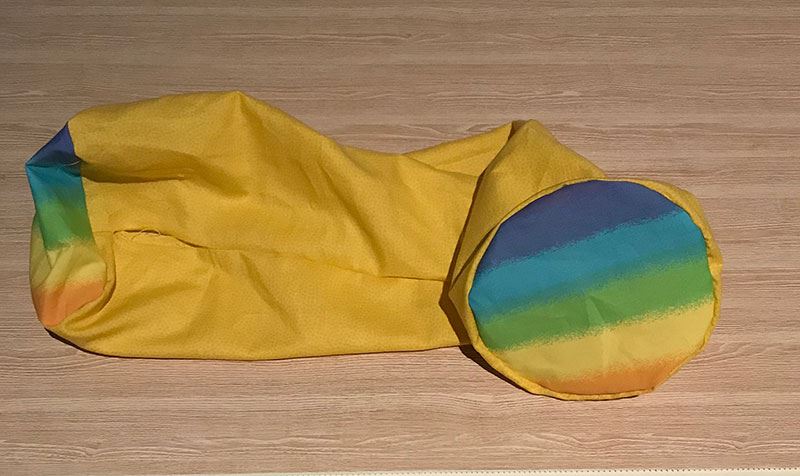
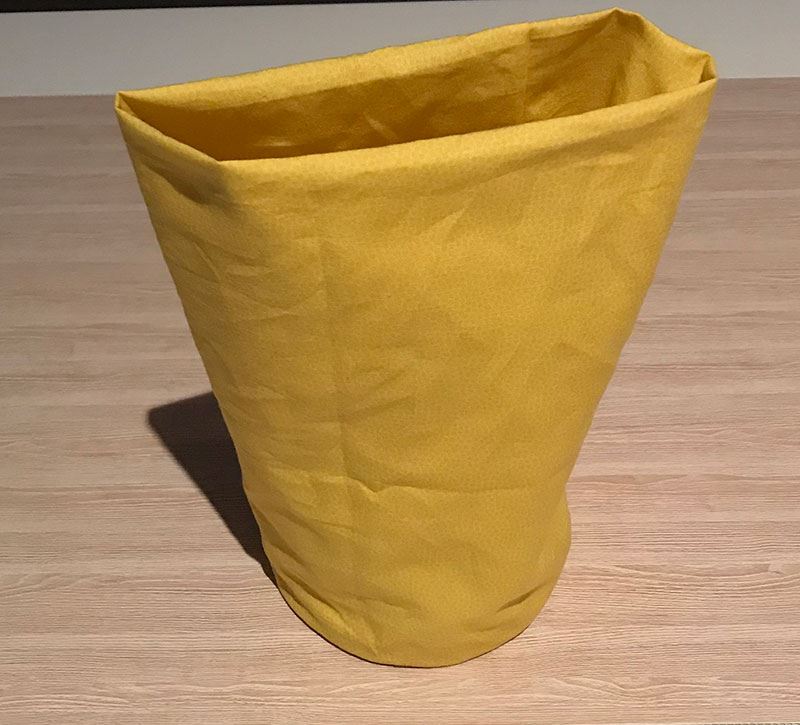
7. Push one circle down on top of the second circle (wrong sides together) to create the toiletry bag. Iron the rim of the bag to create a straight pressed edge.
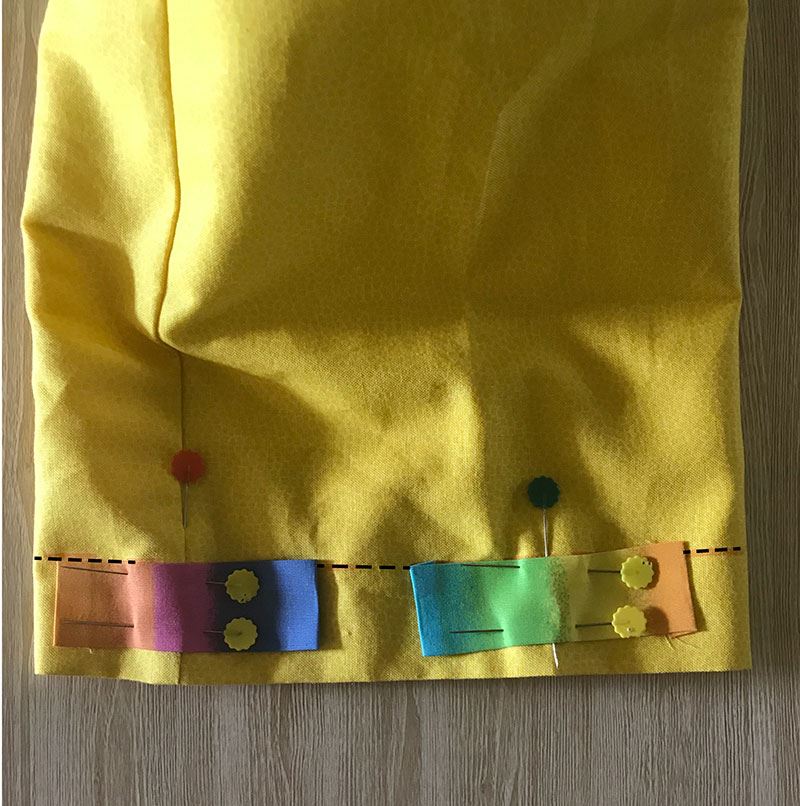
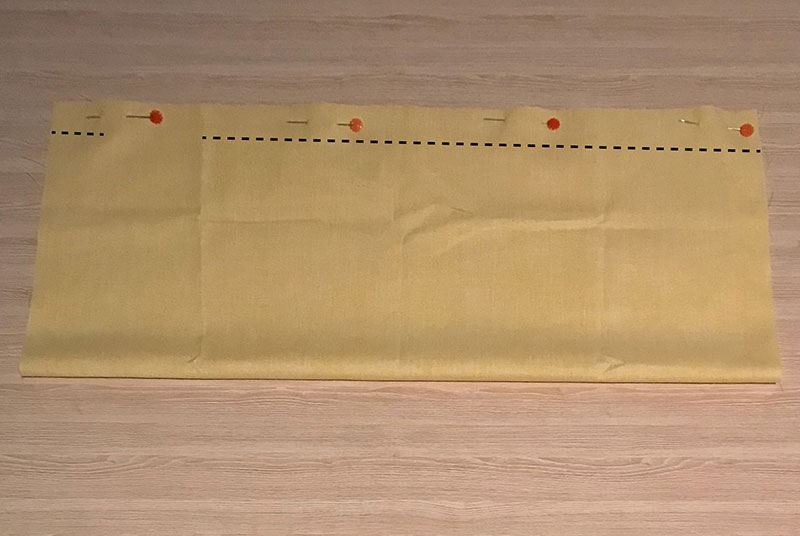
8. Using your fabric marker (Blue pen) of choice, measure 1” down from the top of the pressed seam. Mark the fabric with a dashed line, set bag aside.
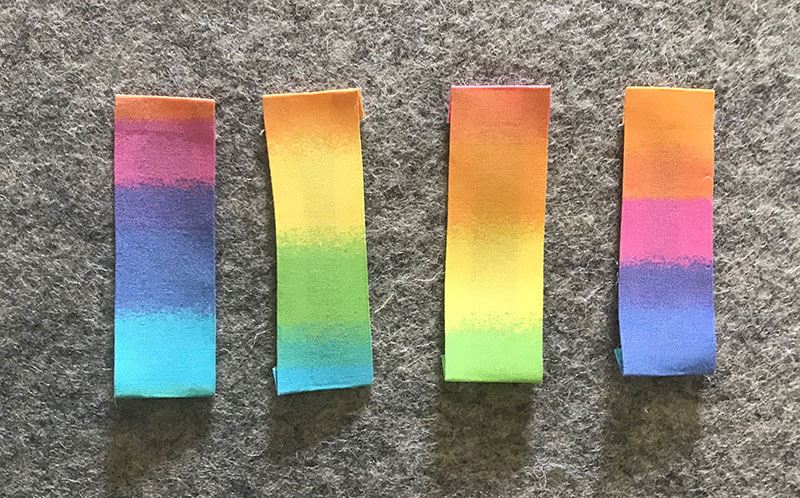
9. To make the tubing for the ribbon, take the 1 ½” piece of contrast fabric and fold in half and cut - yields 2 x pieces. Fold in half again and cut - yields 4 x pieces.
10. Press ¼” seam along each side and end of the four pieces then set aside.
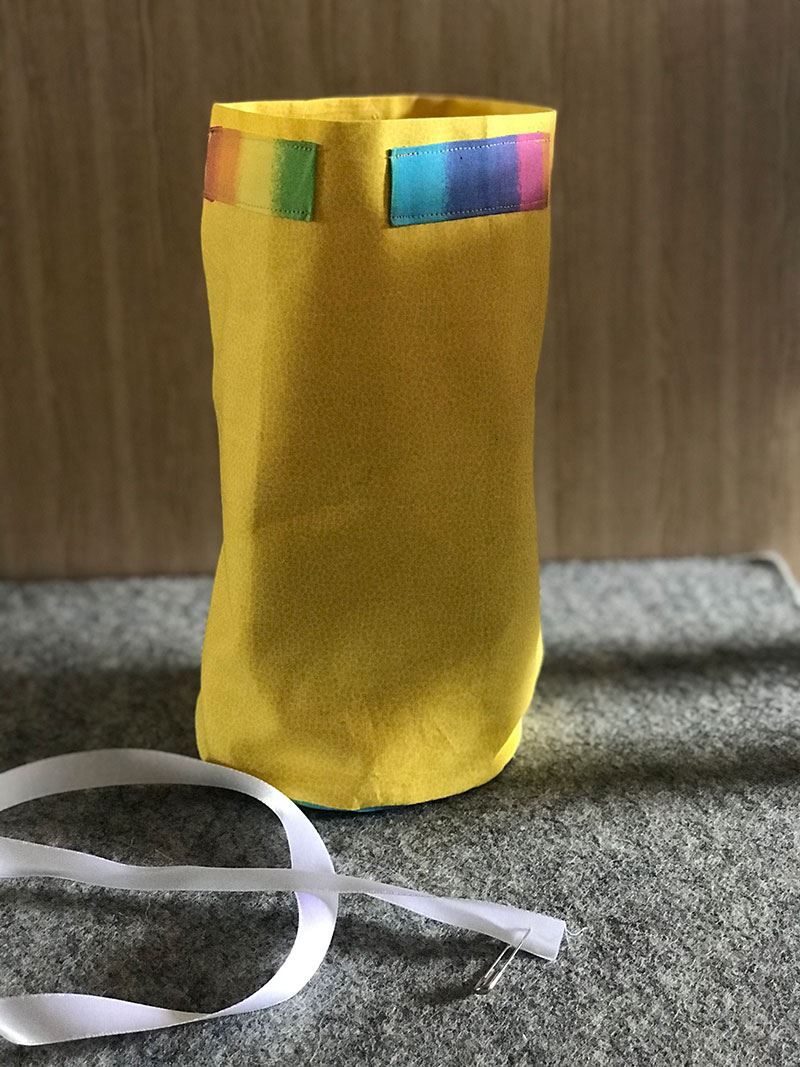
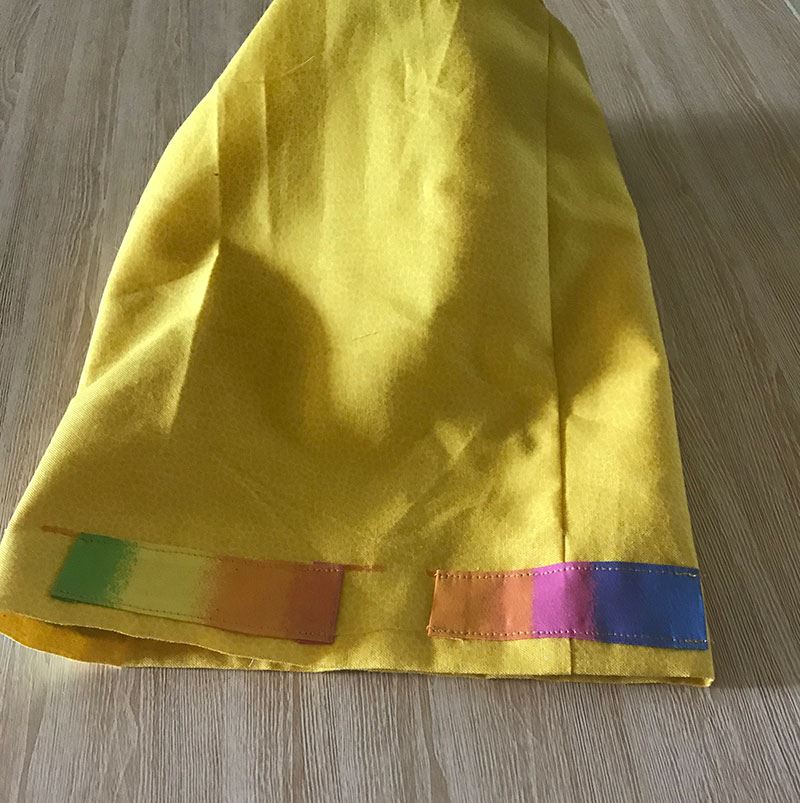
11. Take the bag and place the ribbon tubes evenly around the top of the bag with one edge on the dashed line.
12. Stitch in place along the top and bottom of tubing.
13. Remove markings on top of bag, iron.
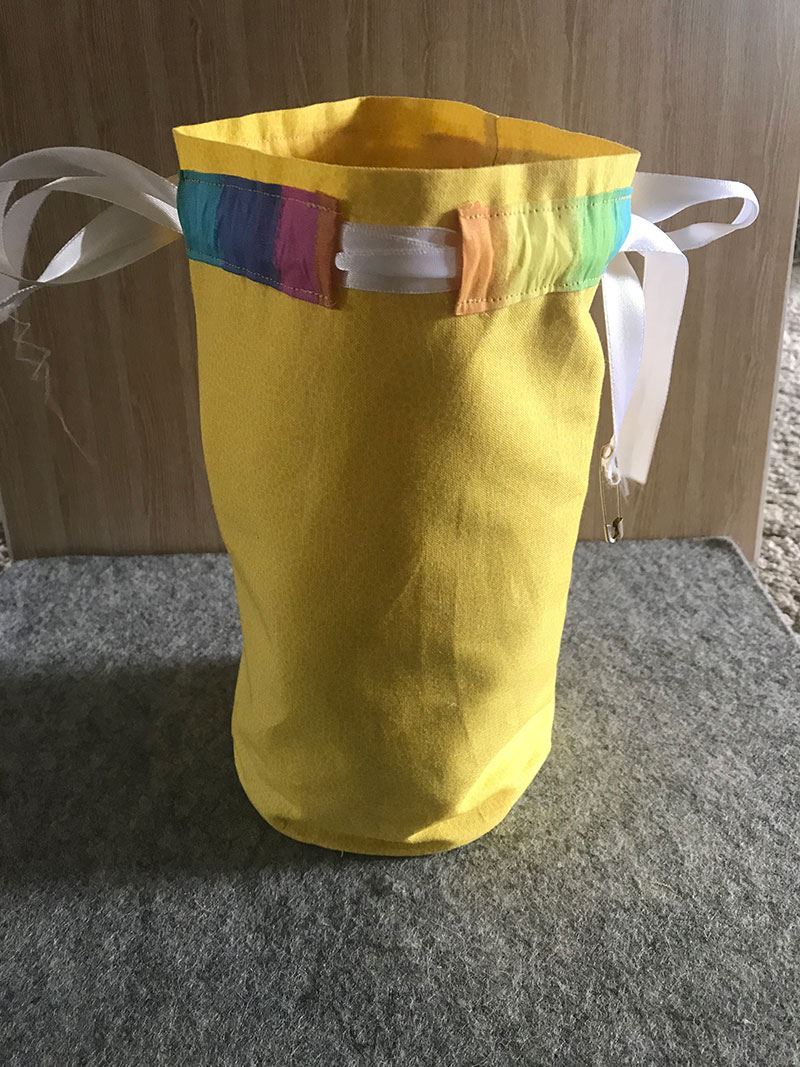
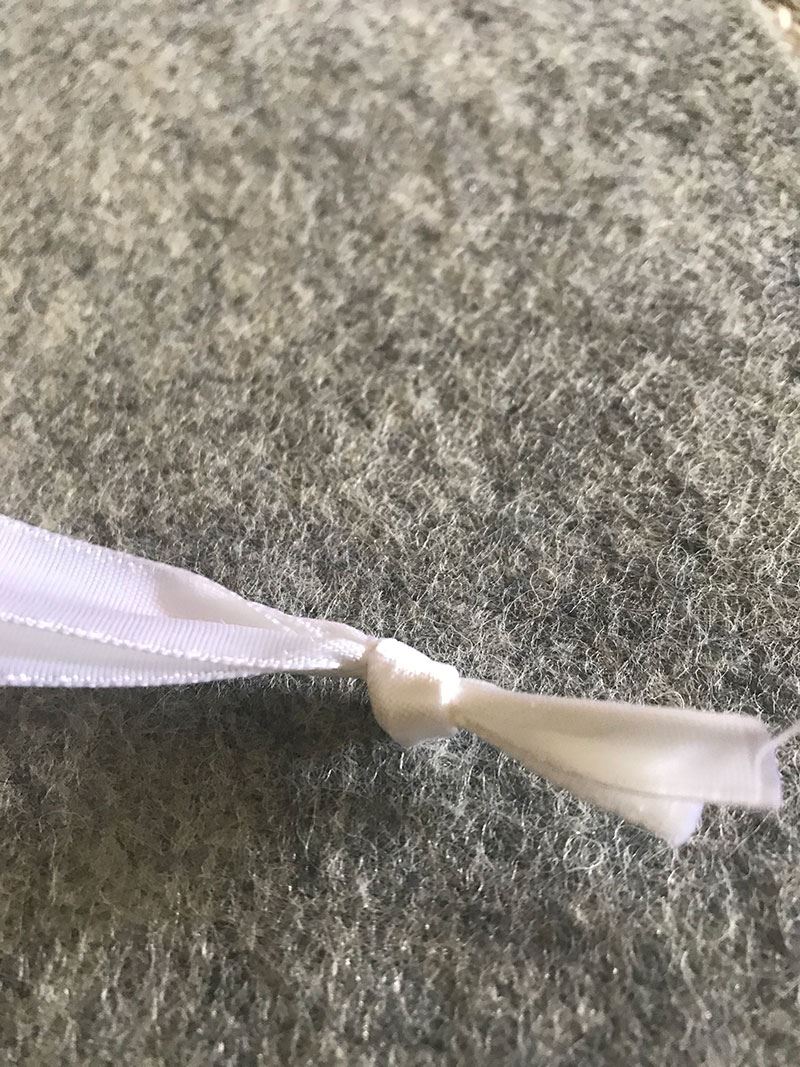
14. Thread each piece of ribbon through the tubing then tie a knot on the end to secure each ribbon.
Your toiletry bag is complete!
DONATE SOME TO A CHARITY
These toiletry bags can also be donated to charity. If you want to contribute to a great cause, the charities listed below accept handmade toiletry bags. Just send your creations in to the mailing address provided.
Are you a charity that would accept this item? Contact us to have your details added here.
Queensland
A Better Life for Foster Kids
PO Box 1138
Sale VIC 3850
Australia
These bags can also be filled with toiletry items before being donated. If you choose to fill your bag, the charity suggests items like soap, deodorant, toothbrush, toothpaste, face cloth and the like.
Victoria
Backpacks 4 VIC Kids
86 Camms Road
Cranbourne VIC 3977
Australia
Free Embroidery Designs
We're excited to offer our free Echidna designs available for download. These free designs are perfect for those at a beginner or an advanced level. Add these designs to your stash and create incredible embroidery!
View all free designs >
Sewing, Quilting and Embroidery Machines
Interested in learning how to sew, quilt or embroider? Take a look at the innovative Brother machines available for purchase at Echidna Sewing. Wherever possible we will beat any deal and you will always receive ongoing service and support!
Find out more >
Learn to Sew or Embroider with Echidna Sewing
Come along to our fun-filled classes to learn more about sewing, embroidery and crafting. Classes cater for all skill levels, whether you're just starting out or already have advanced knowledge.
Find out more >
Echidna project material/ fabric requirements are an indication only and can seem to be generous. This has been intentional. Should you make a cutting or embroidery mistake you will have sufficient fabric to rectify your error.


