All Projects


Scrunchies
Date Posted:27 December 2021
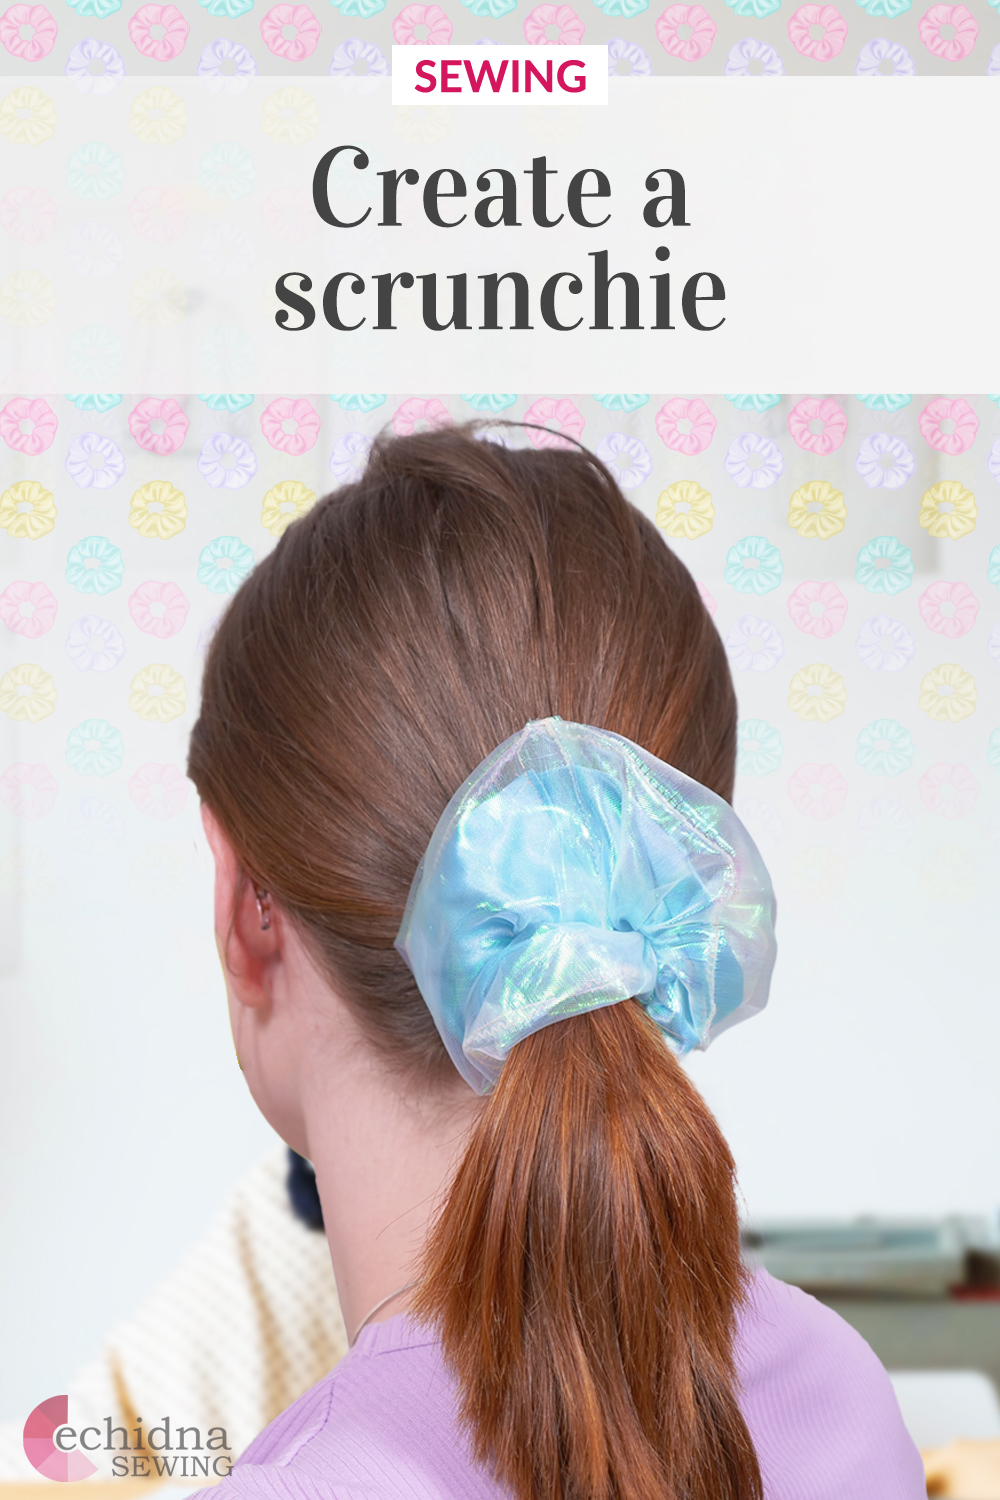
With the comeback of the scrunchie in 2021, it’s likely you will have seen these adorable hair accessories on your social media feed at some point. Scrunchies are one of the easiest and sweetest projects around. They are an essential staple for your hair, or even as a fashion statement worn around the wrist!
Scrunchies are great for beginners as well as advanced sewists. Those that are more experienced can also put their own spin on these scrunchies, such as adding zips, or adding layers, etc. This project covers a basic scrunchie tutorial, but also has an option to add a second layer of sheer or tulle.
Machines Used
- Brother NV50S Sewing Machine
What you'll need:
- Sewing machine
- Cotton thread (in your colour choice)
- Good quality scissors (or a rotary cutter)
- Pins or small clips and measuring tape
- Fabric (of your design colour/pattern)
- Elastic (width is up to you but I like to use 6-8mm)
- Iron & ironing board
- Optional A second fabric of tulle or sheer fabric, to make a double layer scrunchie
Tip:
Don't have an overlocker? Use a built-in zig zag stitch on your machine to finish off the edges to stop the fabric from fraying.
Step Overview
The steps below are just an overview of the project instructions and must be used in conjunction with the tutorial video. Print these steps out to have beside you when watching the video as a reminder.
- Cut one rectangle that measures 60cm x 15cm from your main fabric.
If you are creating a dual layer scrunchie, please read on. If not, please skip to step 3. - Cut one rectangle that measures 60cm x 20cm from your tulle fabric.
- Fold your main fabric rectangle in half lengthways and pin or clip to secure.
- Turn over one end of your rectangle and iron or clip to secure.
- Sew with a straight stitch and a 1.5cm seam allowance.
- Trim down the seam allowance to ½ cm.
- Zig-zag stitch the edge to prevent fraying.
- Repeat for tulle layer (dual scrunchie only).
- Turn all the tubes right side out.
- Measure your elastic size around your wrist, adding 5cm for safety.
If you are creating a single layer scrunchie, please skip to step 12. - Feed your main fabric tube through the tulle fabric tube with a safety pin.
- Feed the elastic through the main fabric tube using a safety pin.
- Tie off elastic at the ends, making sure you have approximately 2.5cm tails. Trim elastic ends.
- Insert the raw end of the main fabric into the enclosed end and pin to secure.
- Sew ends together with a straight stitch and as close to the edge as possible.
- Repeat steps 14 and 15 with the tulle layer (for dual scrunchie).
- Fluff out your scrunchie, and you’re done!
- Done!
Don’t forget to show us your finished projects on Instagram or Facebook #echidnasewing #madebyme
DONATE SOME TO A CHARITY
These scrunchies can also be donated to charity. If you want to contribute to a great cause, the charities listed below accept handmade scrunchies. Just send your creations in to the mailing address provided.
Are you a charity that would accept this item? Contact us to have your details added here.
Queensland
Free Embroidery Designs
We're excited to offer our free Echidna designs available for download. These free designs are perfect for those at a beginner or an advanced level. Add these designs to your stash and create incredible embroidery!
View all free designs >
Sewing, Quilting and Embroidery Machines
Interested in learning how to sew, quilt or embroider? Take a look at the innovative Brother machines available for purchase at Echidna Sewing. Wherever possible we will beat any deal and you will always receive ongoing service and support!
Find out more >
Learn to Sew or Embroider with Echidna Sewing
Come along to our fun-filled classes to learn more about sewing, embroidery and crafting. Classes cater for all skill levels, whether you're just starting out or already have advanced knowledge.
Find out more >
Echidna project material/ fabric requirements are an indication only and can seem to be generous. This has been intentional. Should you make a cutting or embroidery mistake you will have sufficient fabric to rectify your error.

