All Projects
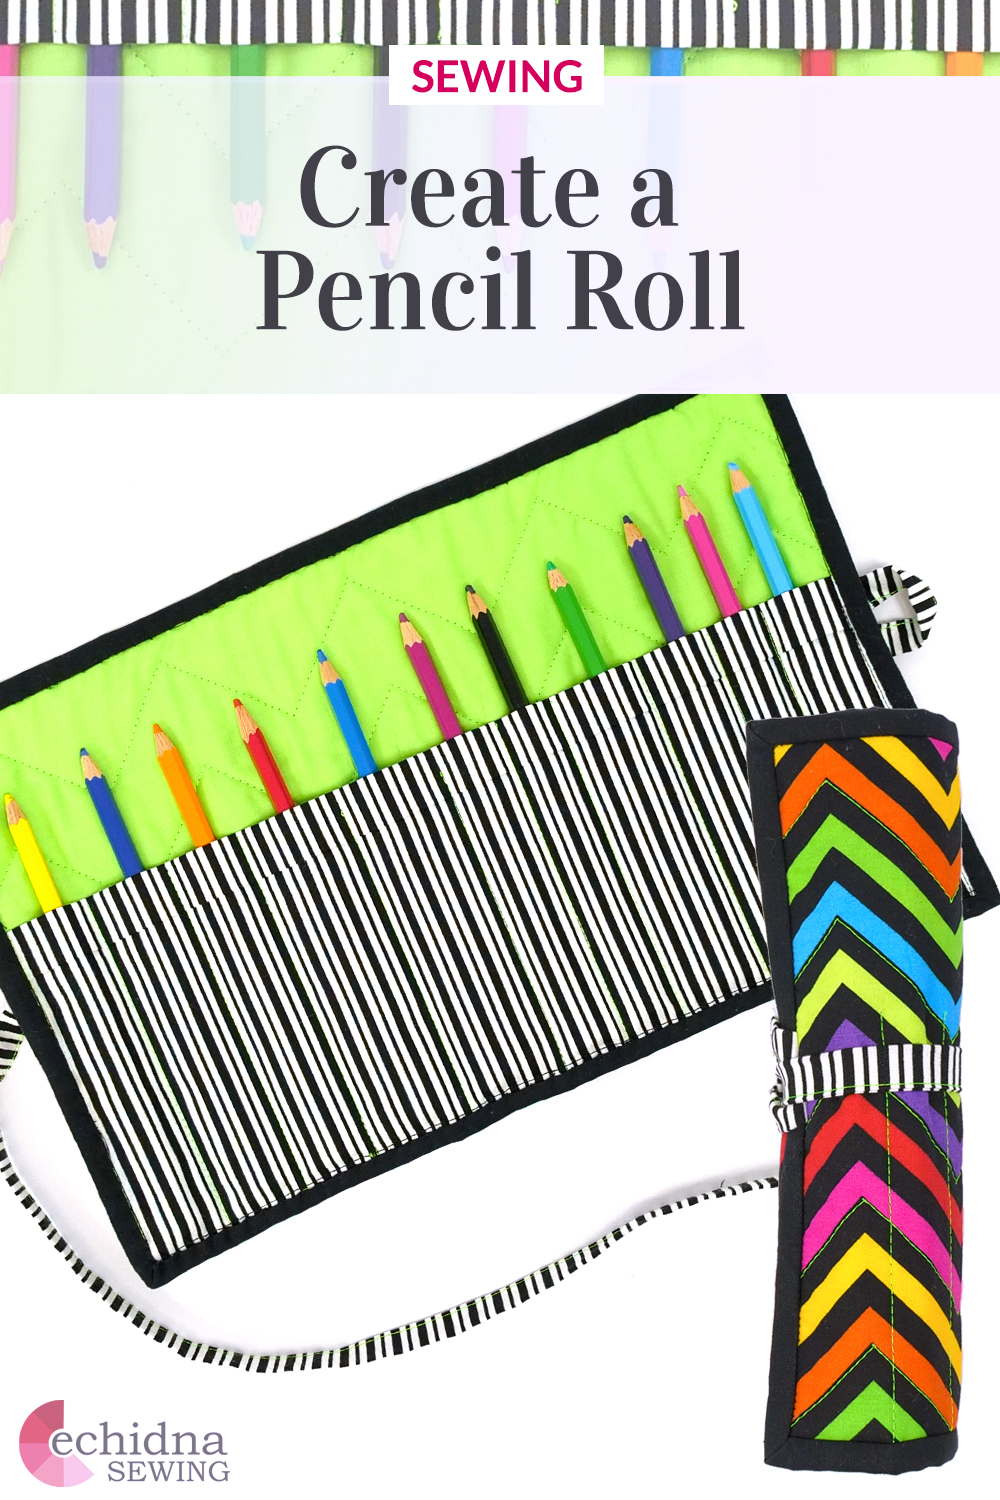


Roll Up Pencil Case
This tutorial will show you how to create a roll-up pencil case for the kids to store their pens and pencils. It's the perfect back to school project and is a great way to keep their stationery neat and tidy. With the fabric of your choice, we'll show you how to create this fun and useful gadget using sewing only.
Requirements:
- Sewing machine
- Walking foot
Fabric & Batting
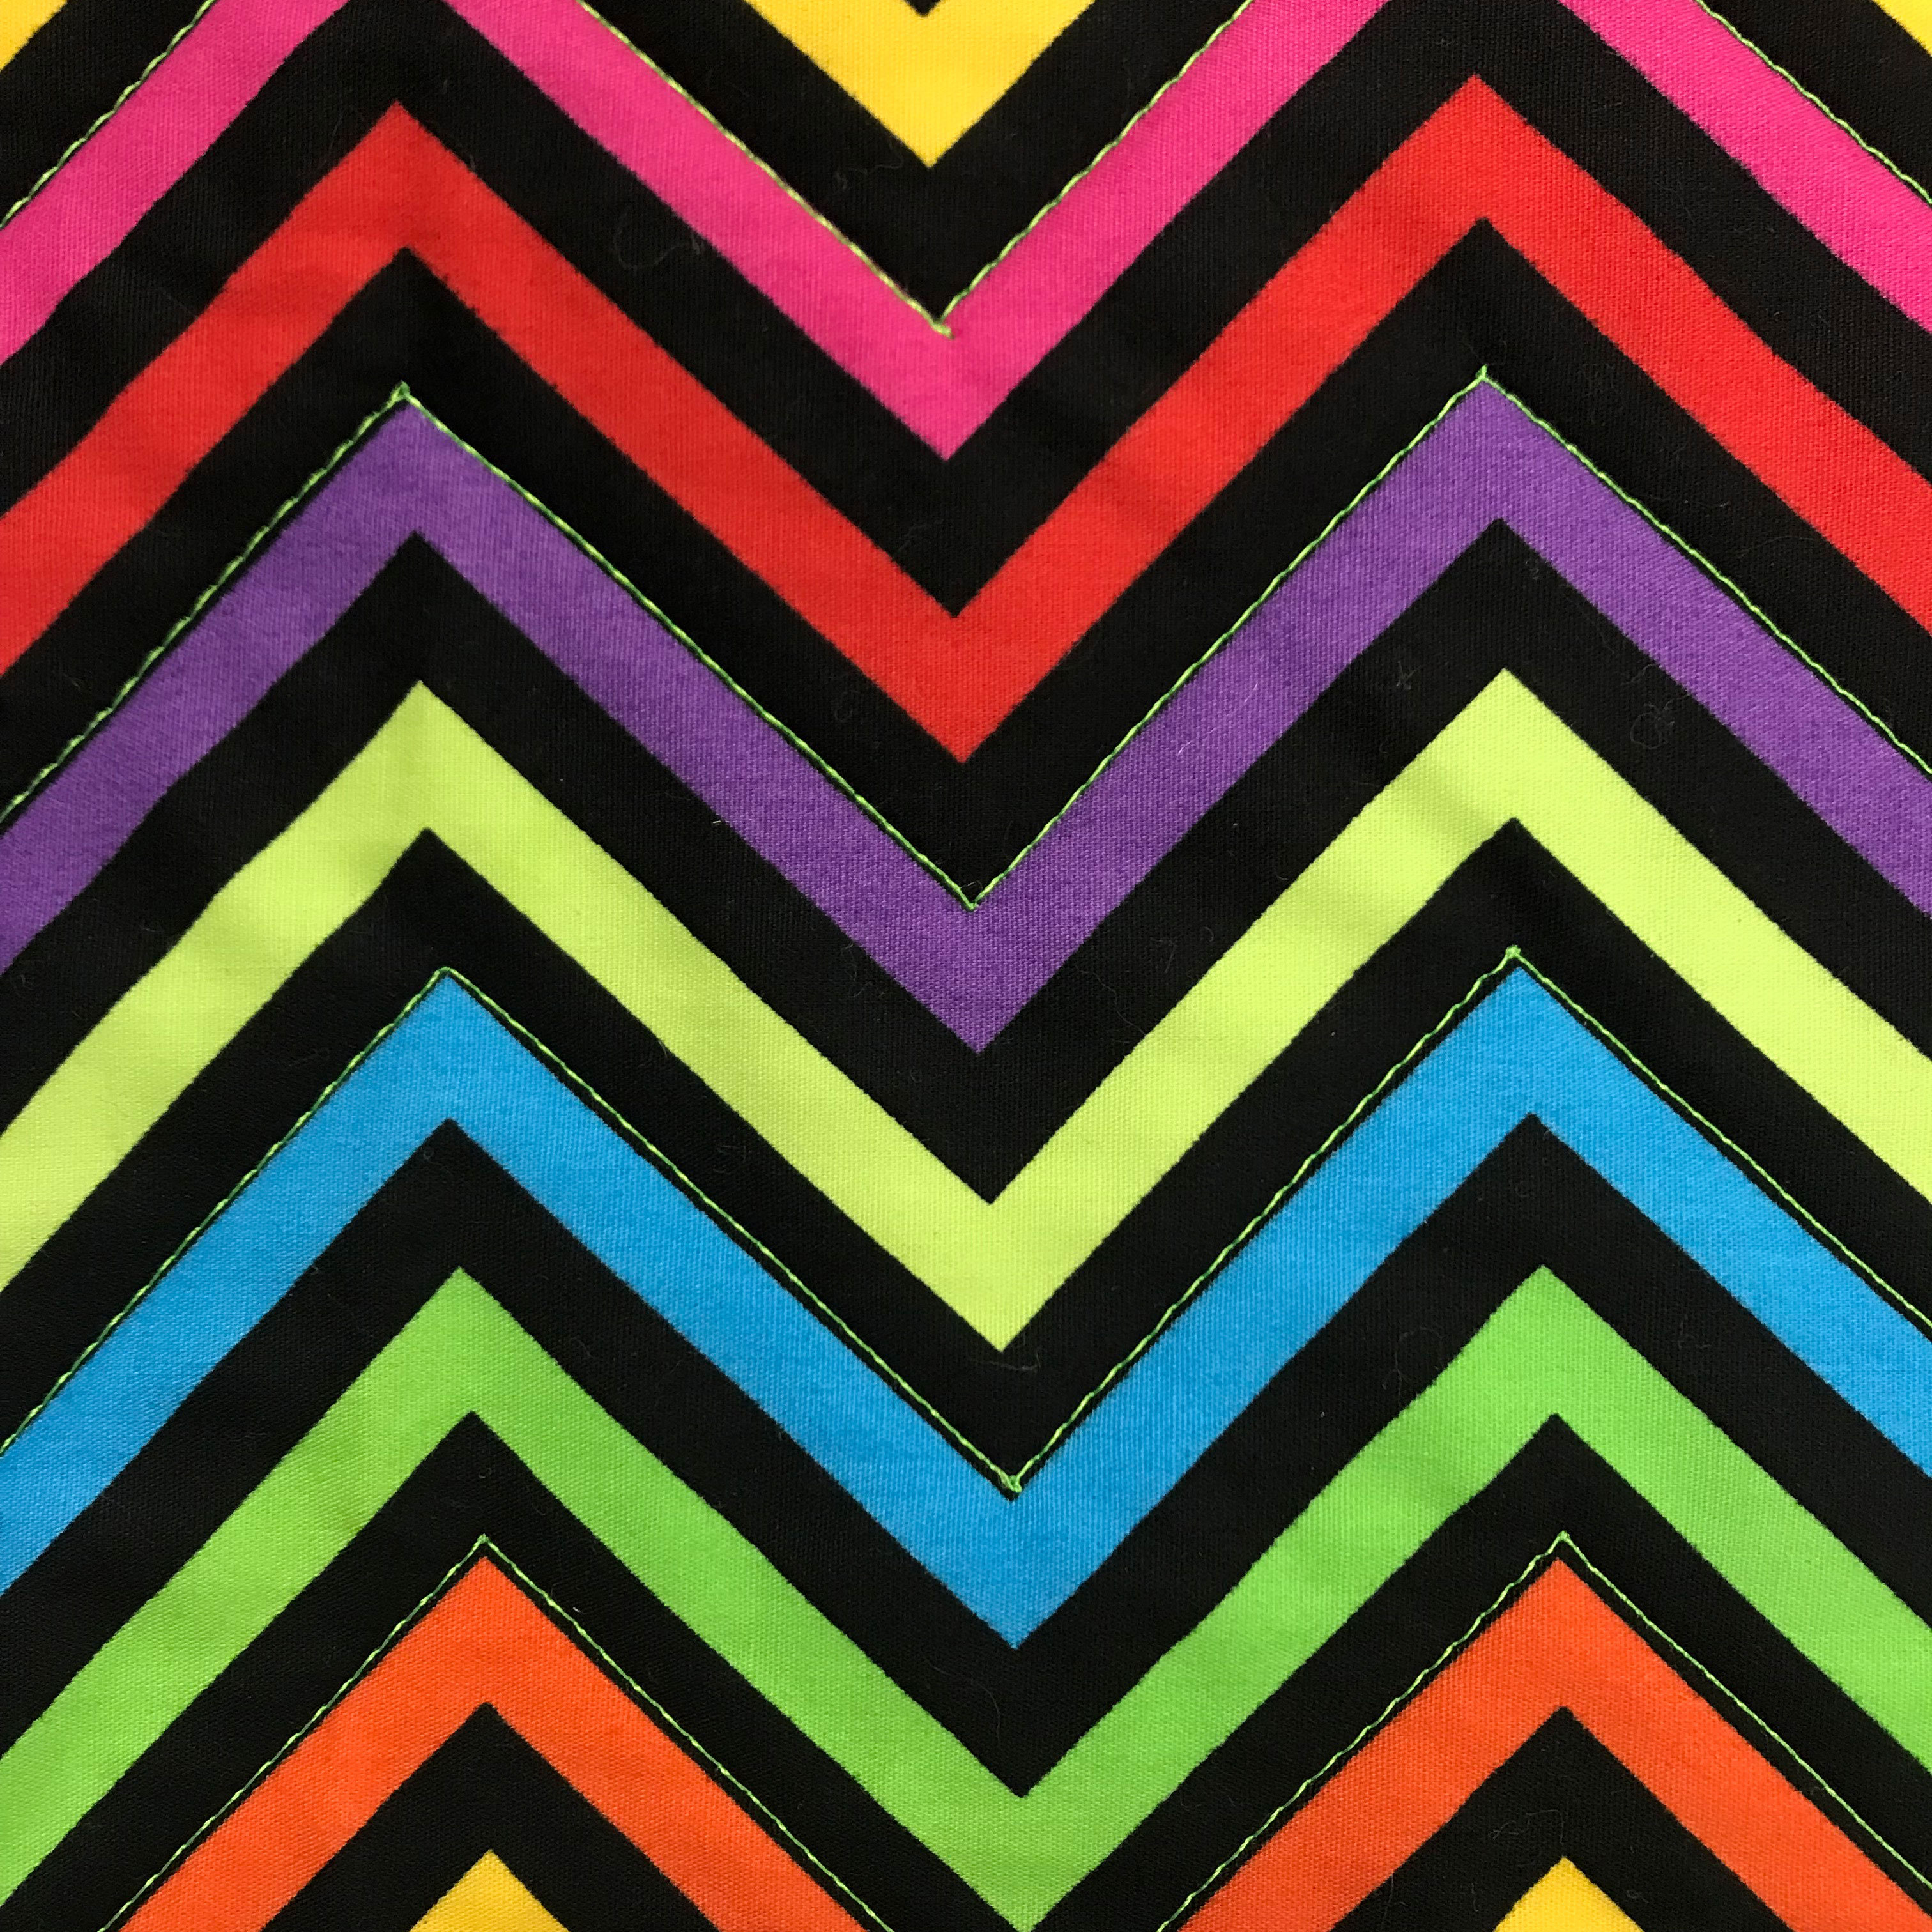
- 1 x Fat quarter (FQ) patterned fabric (Zig Zag pattern)
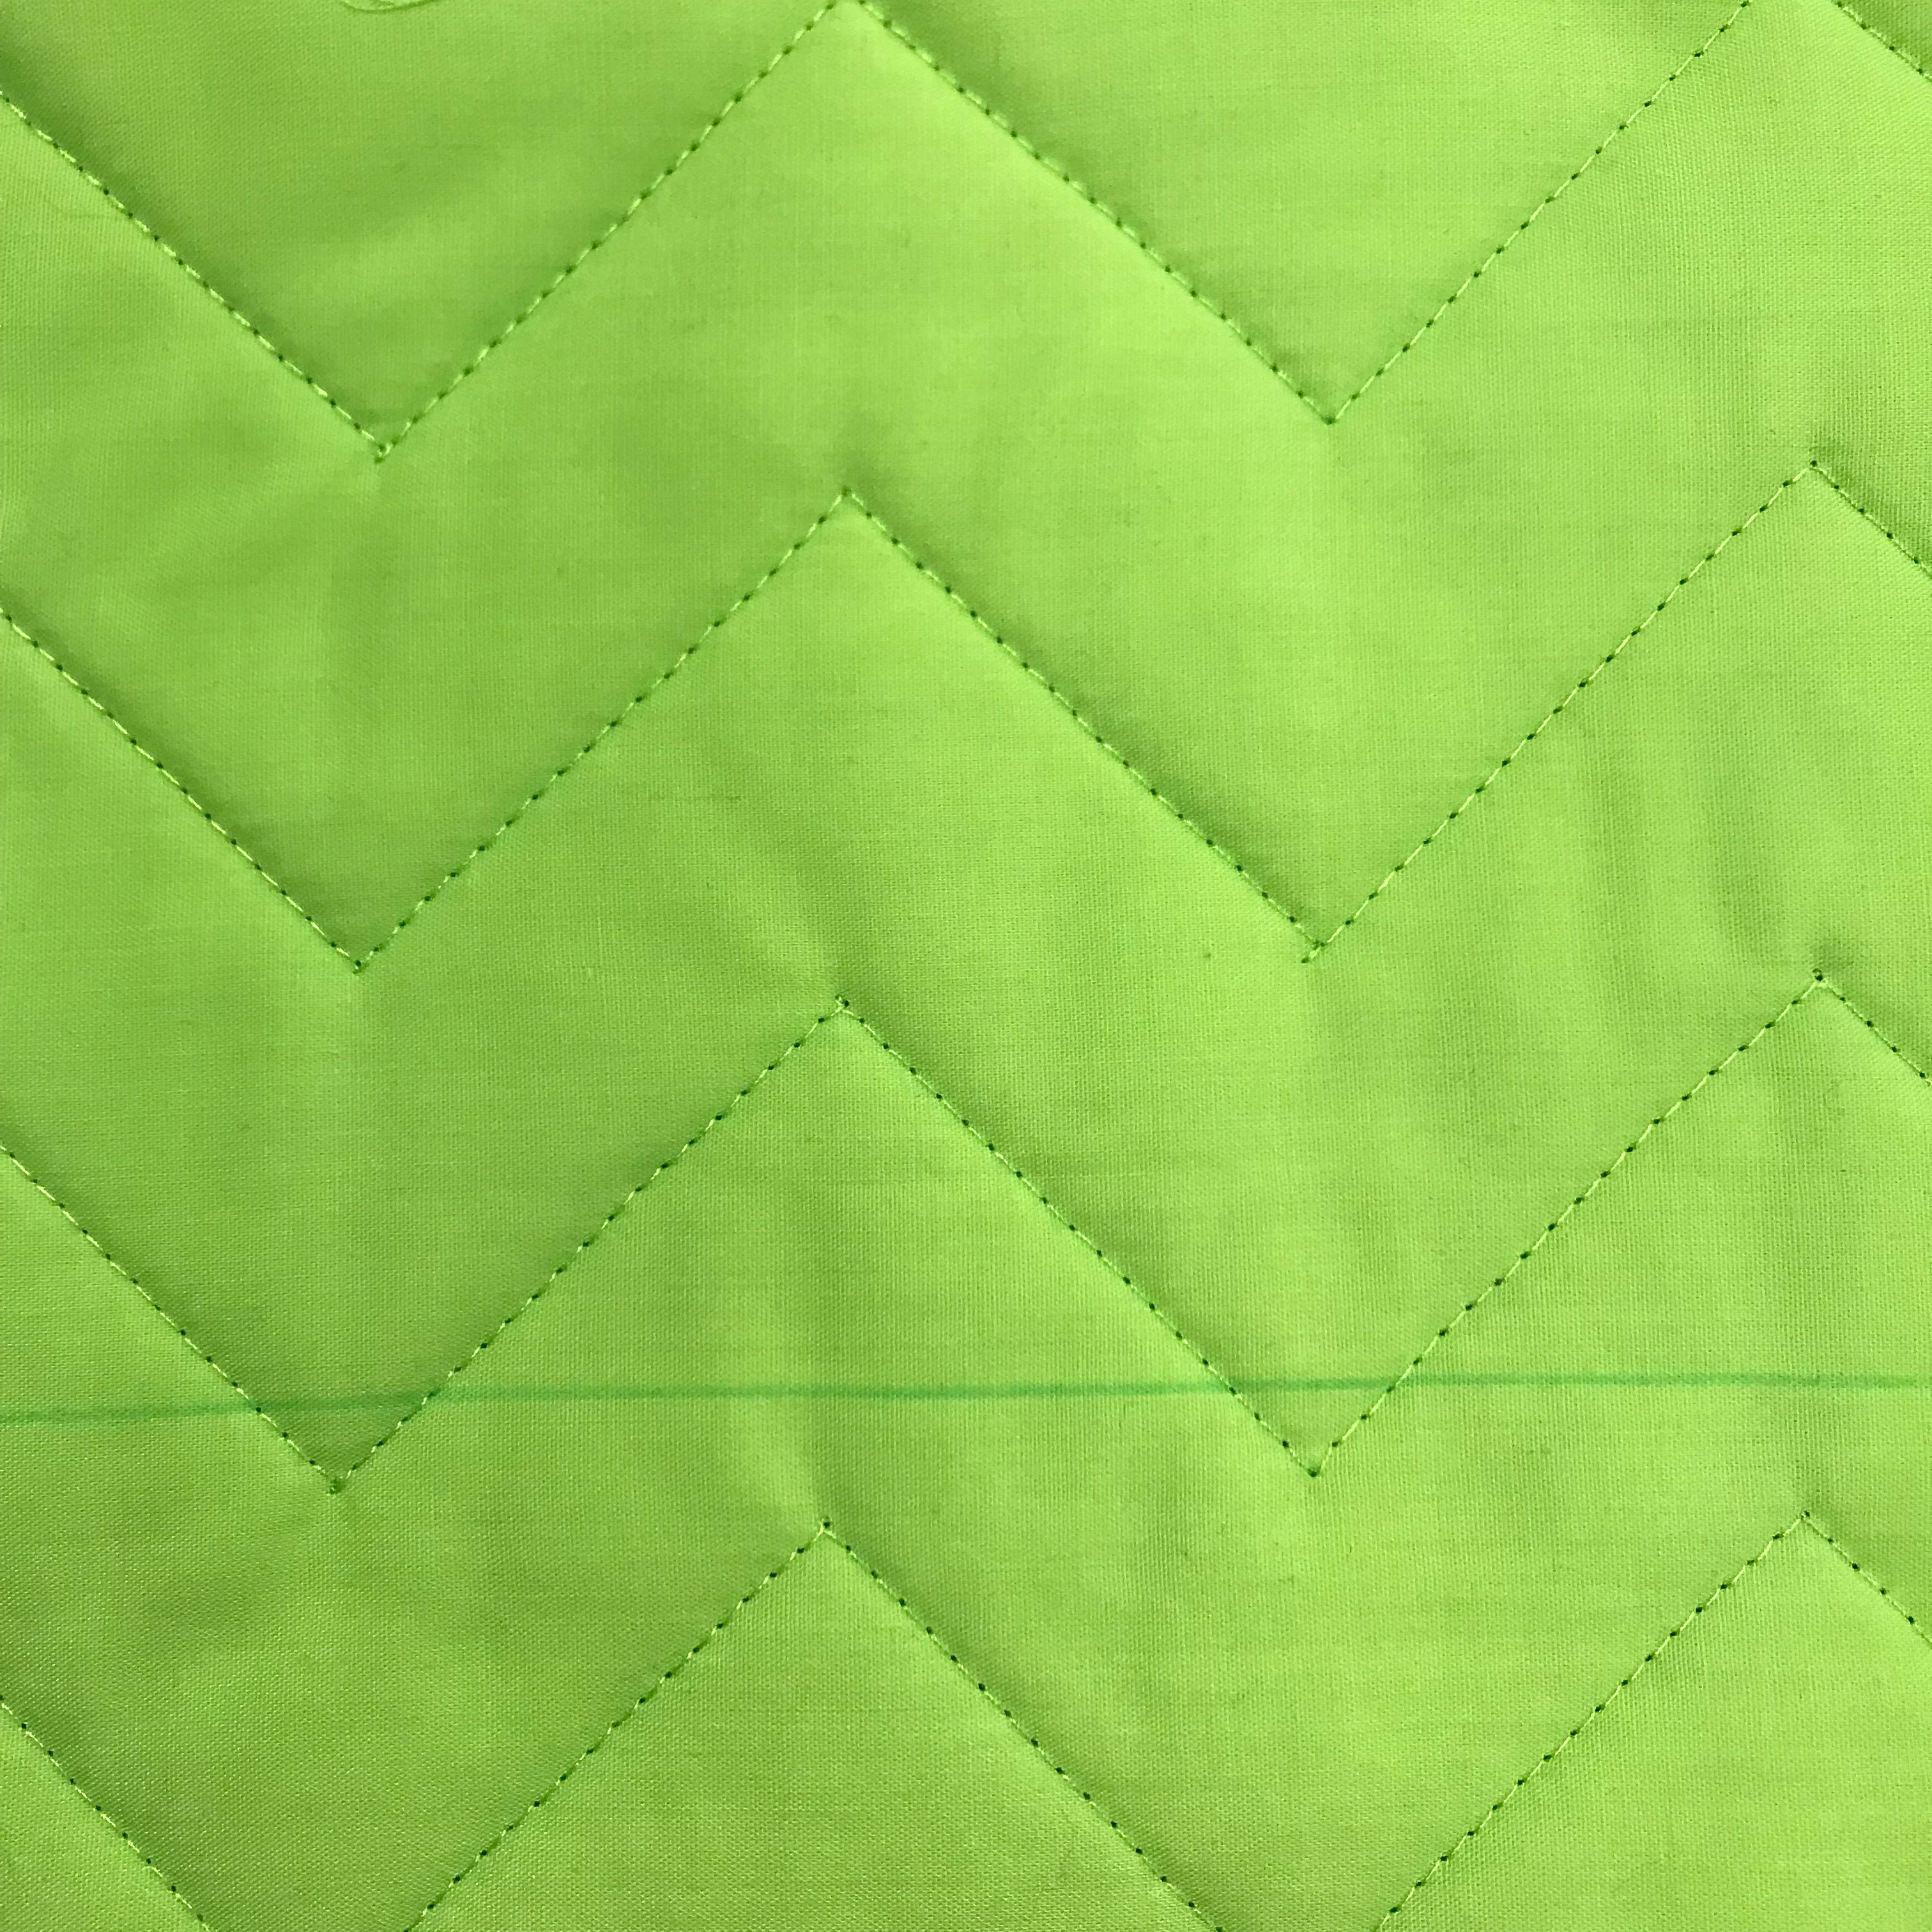
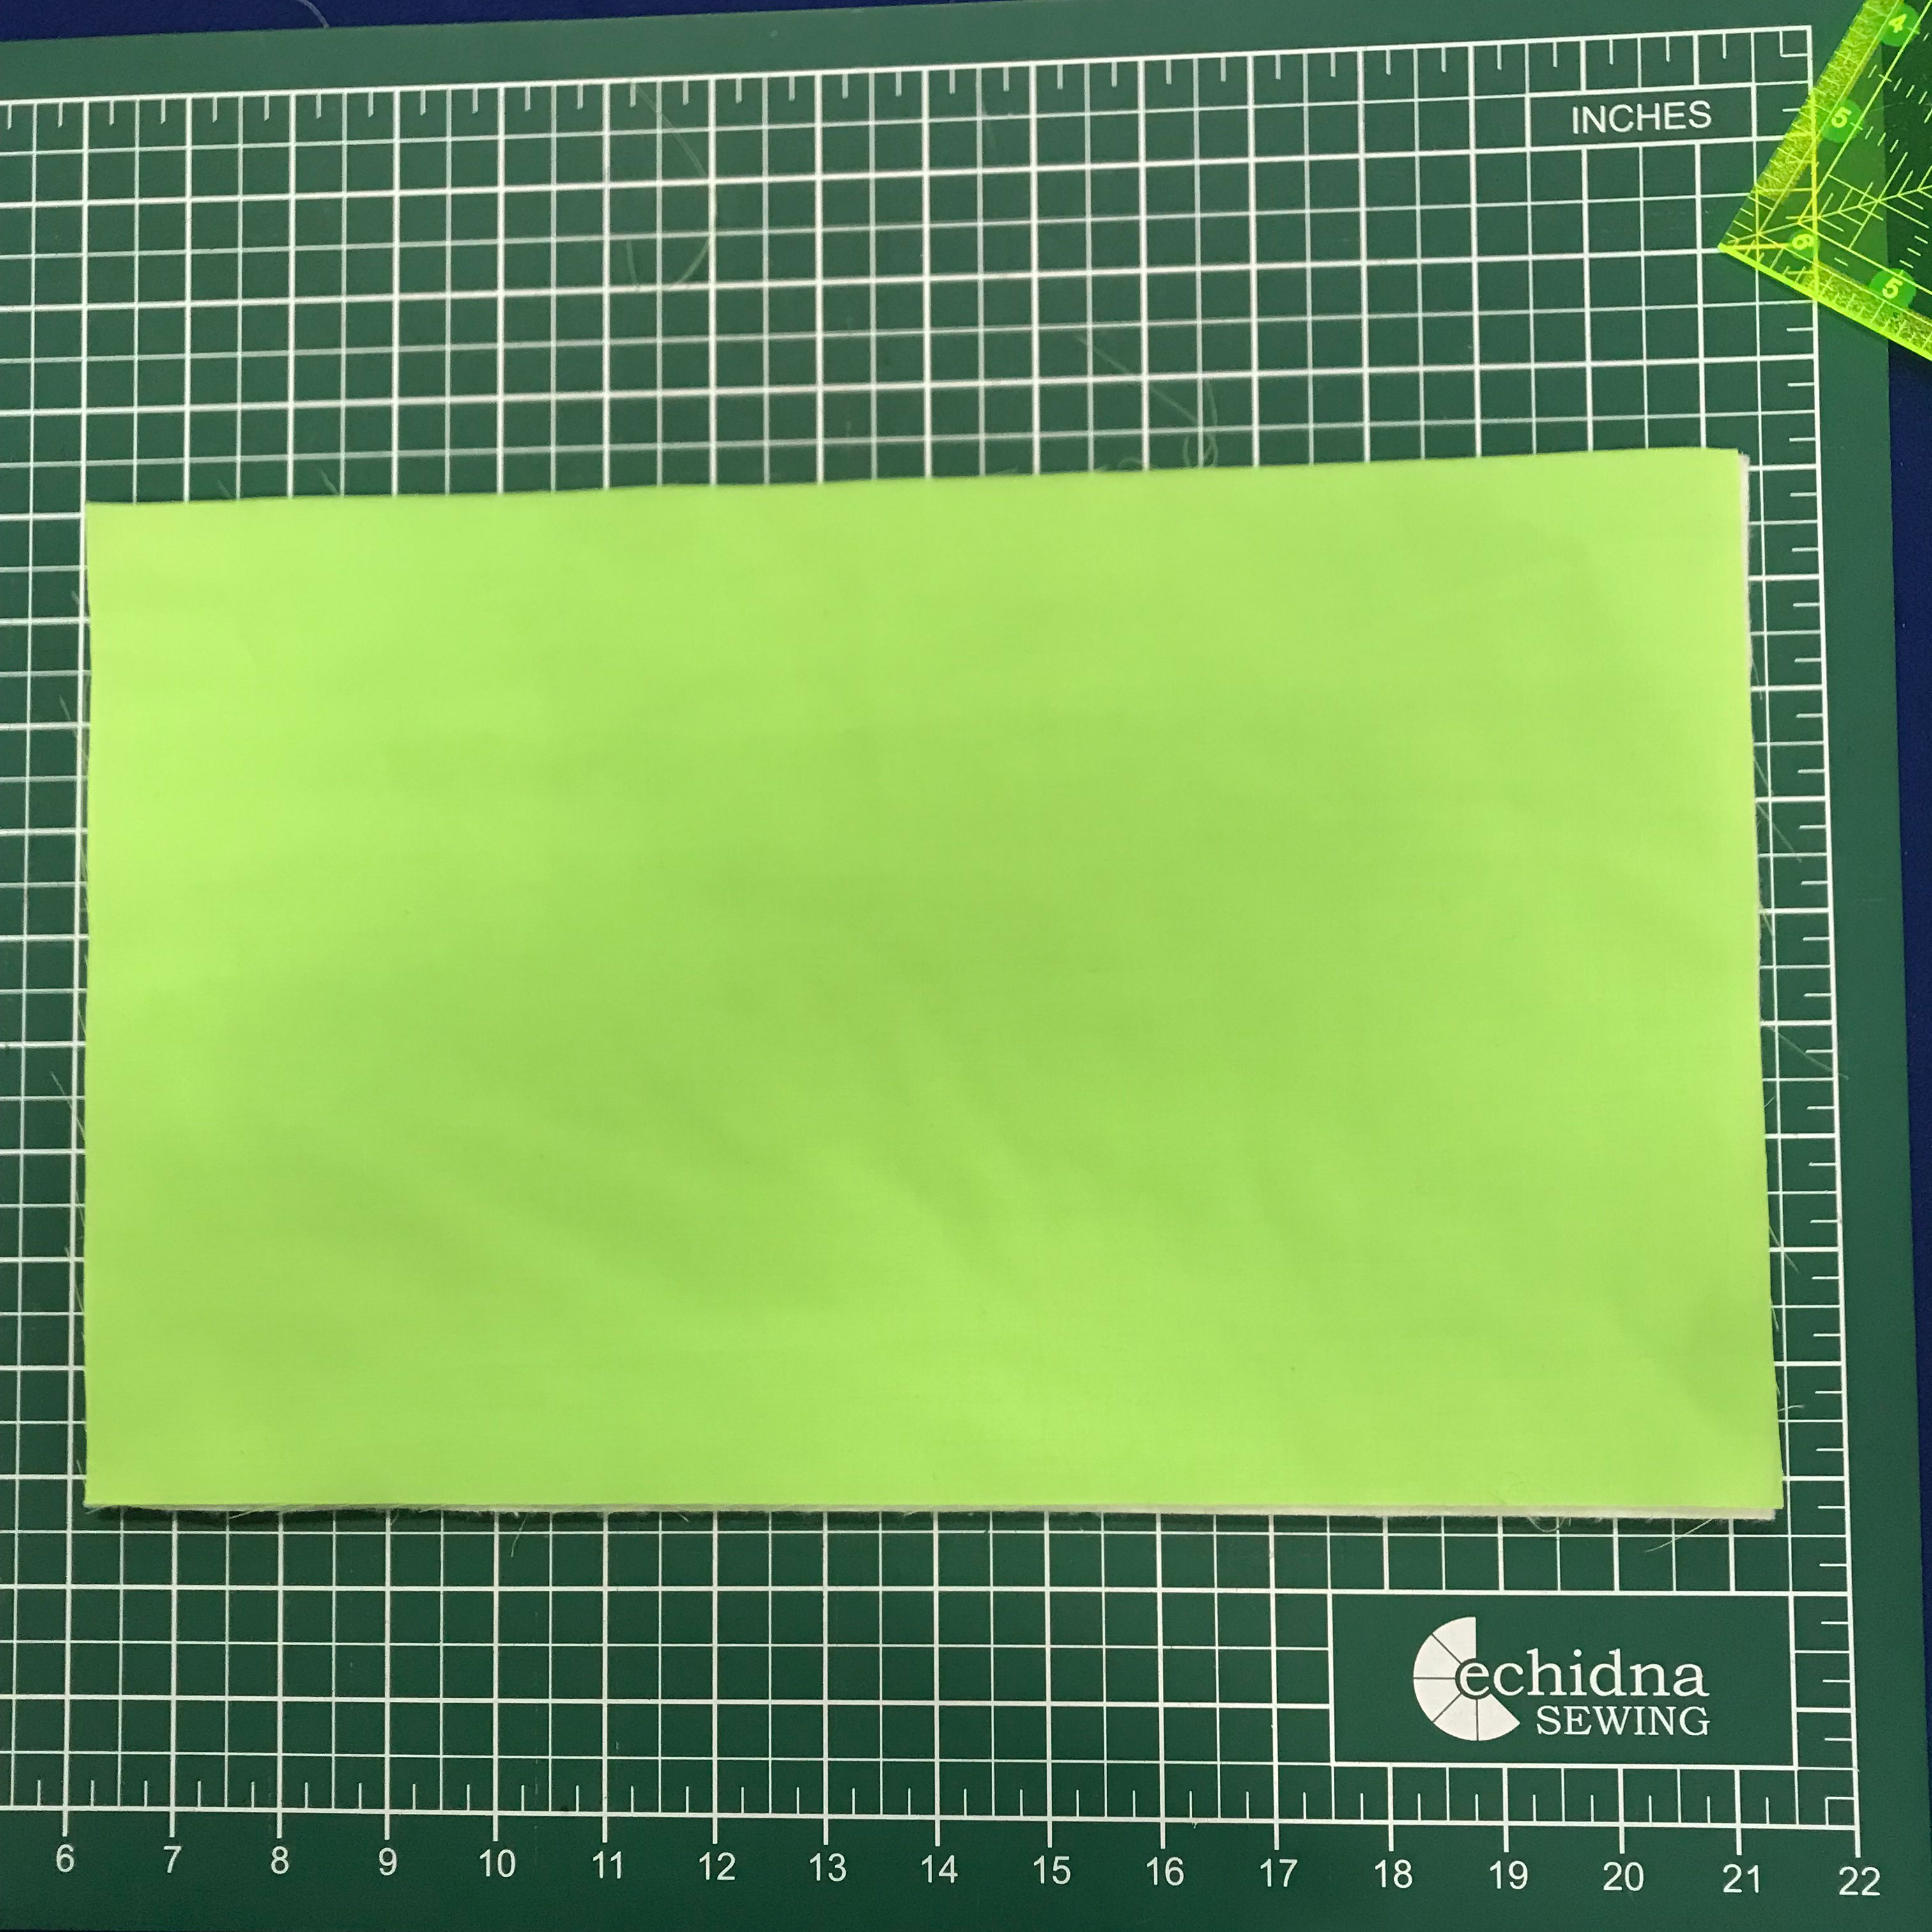
- 1 x FQ plain fabric (Lime fabric)
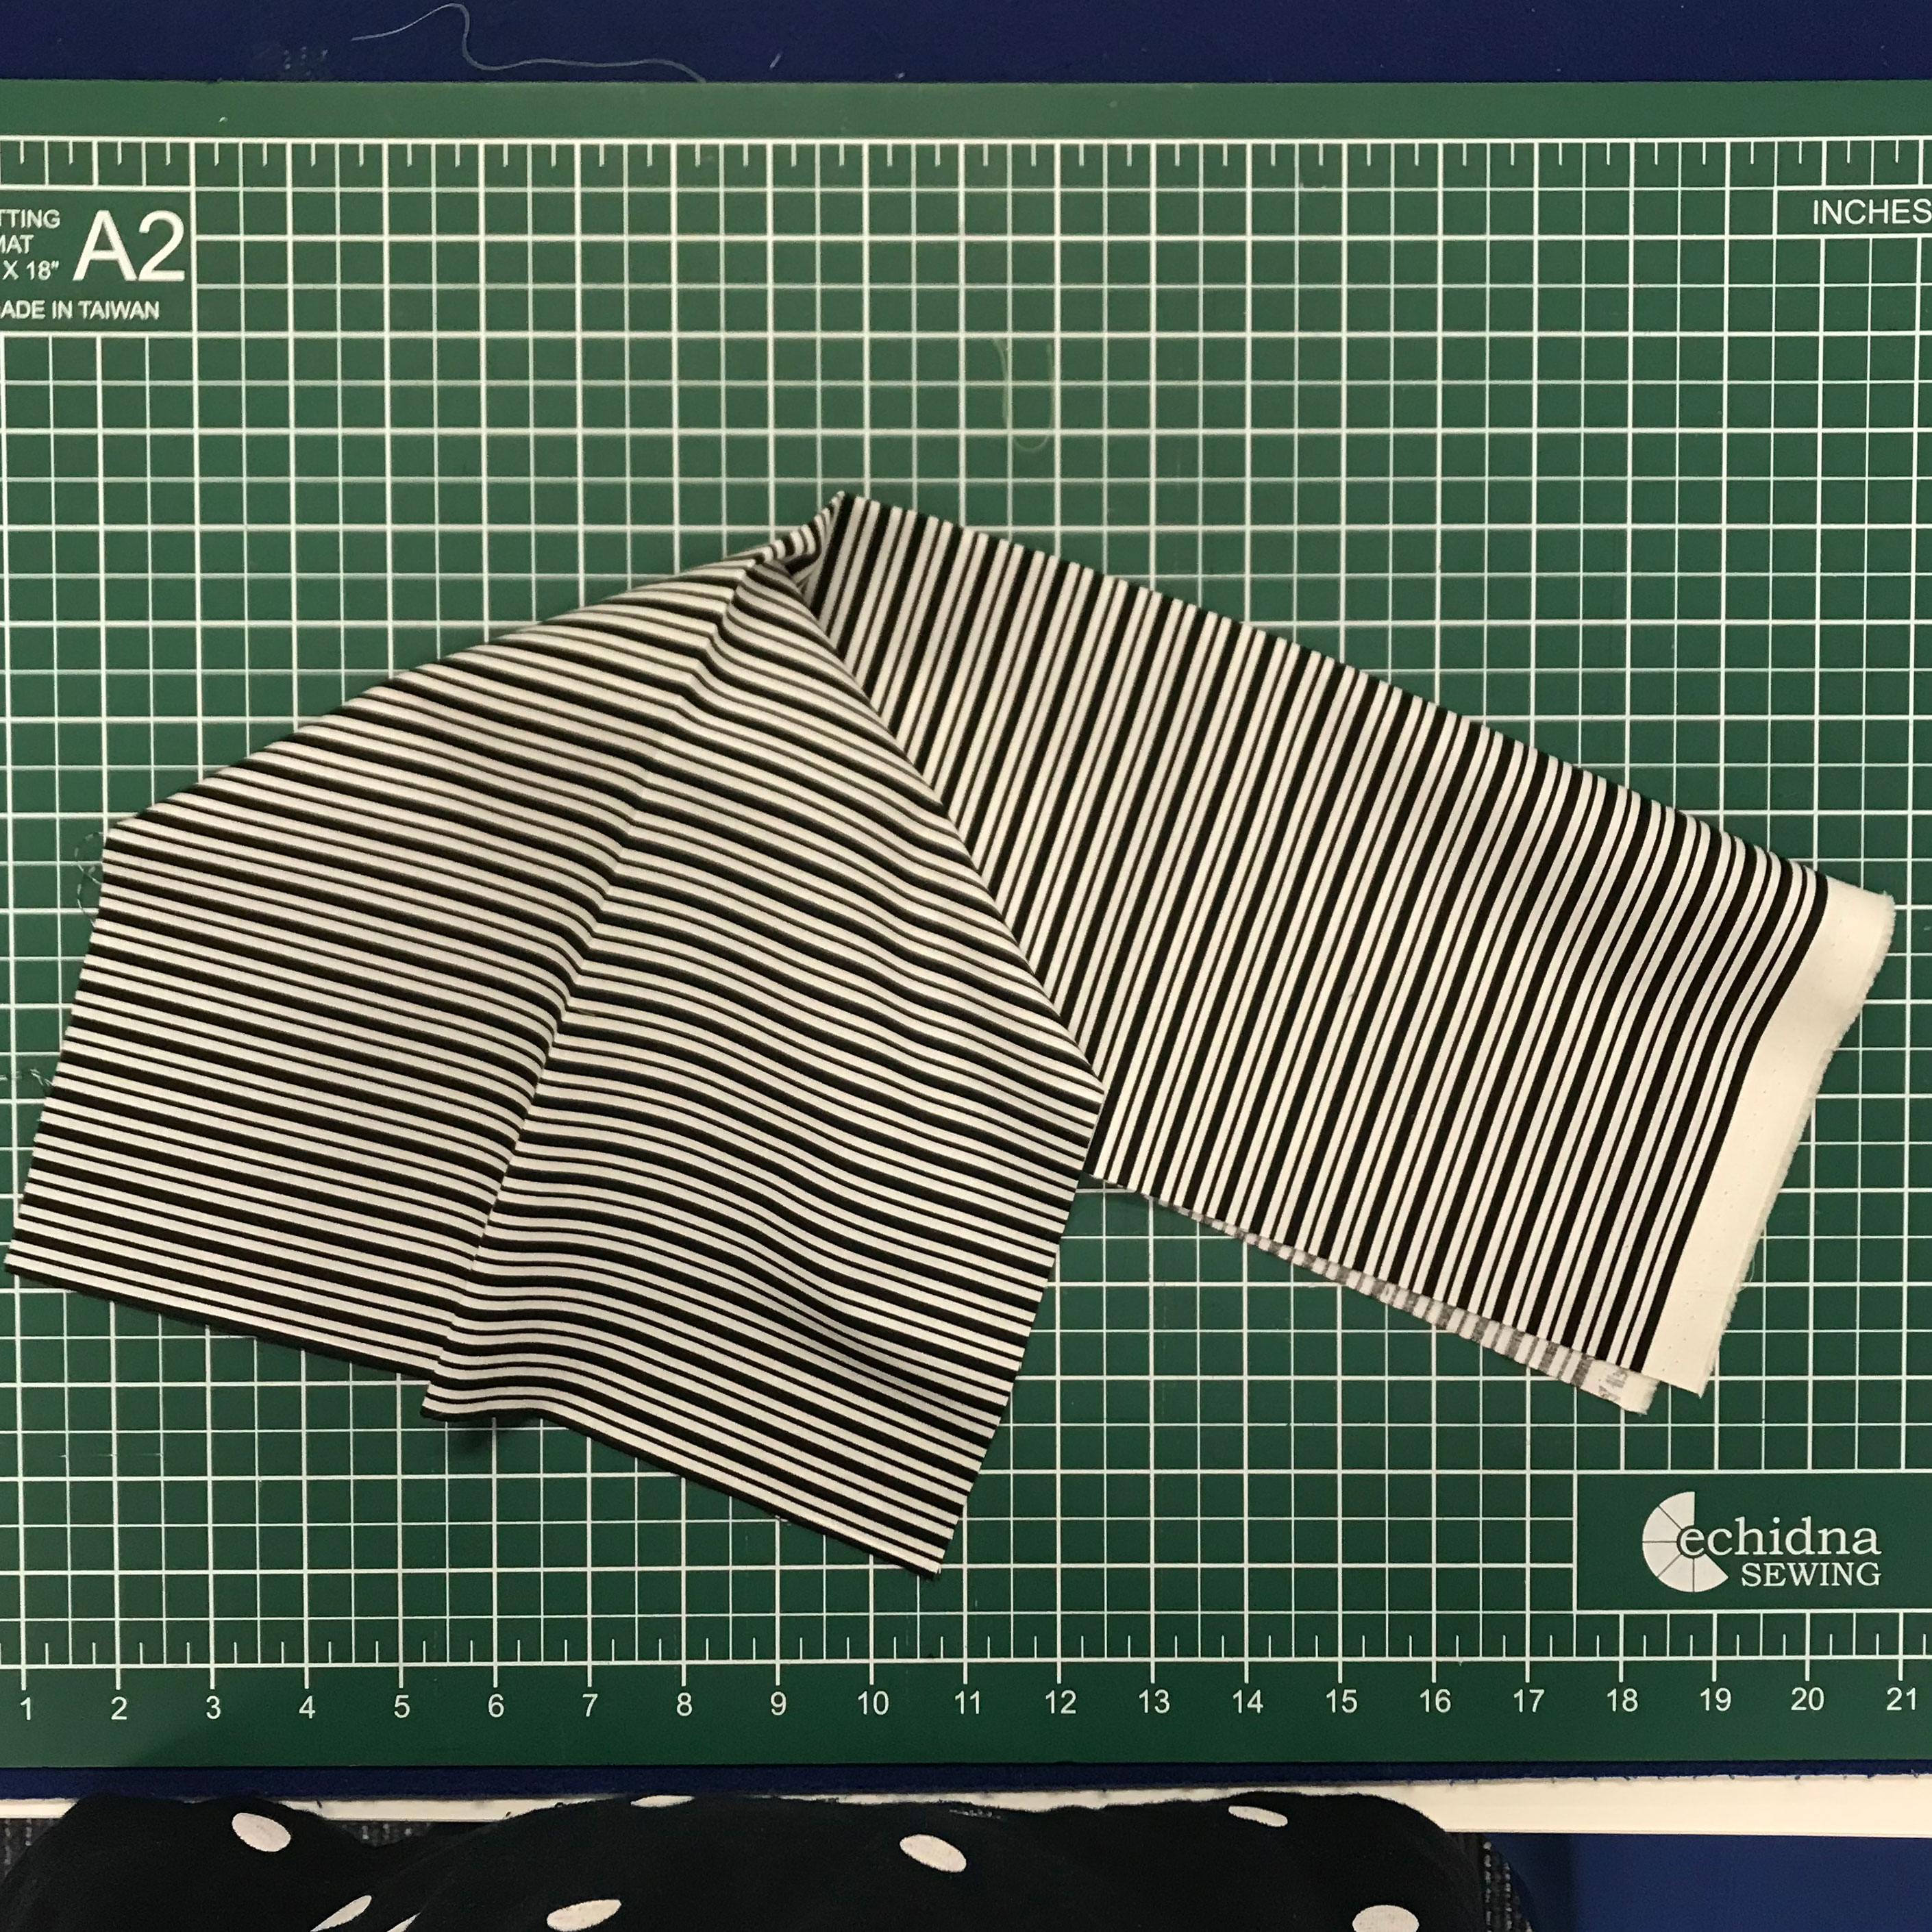
- 1 x FQ stripes (pocket, loop, ties)
- 20cm plain black fabric (binding)
- Battilizer - offcuts if possible 9” x 15”
General accessories used
- Hemingworth Thread 1273 (quilting & topstitching)
- Bobbin wound with embroidery thread to match top thread
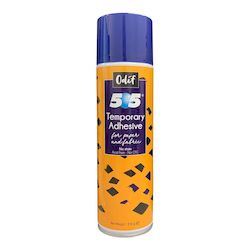
- 505 Spray
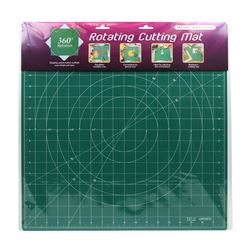
- Rotating cutting mat
- Rotary Cutter
- Black Rasant - binding
Method
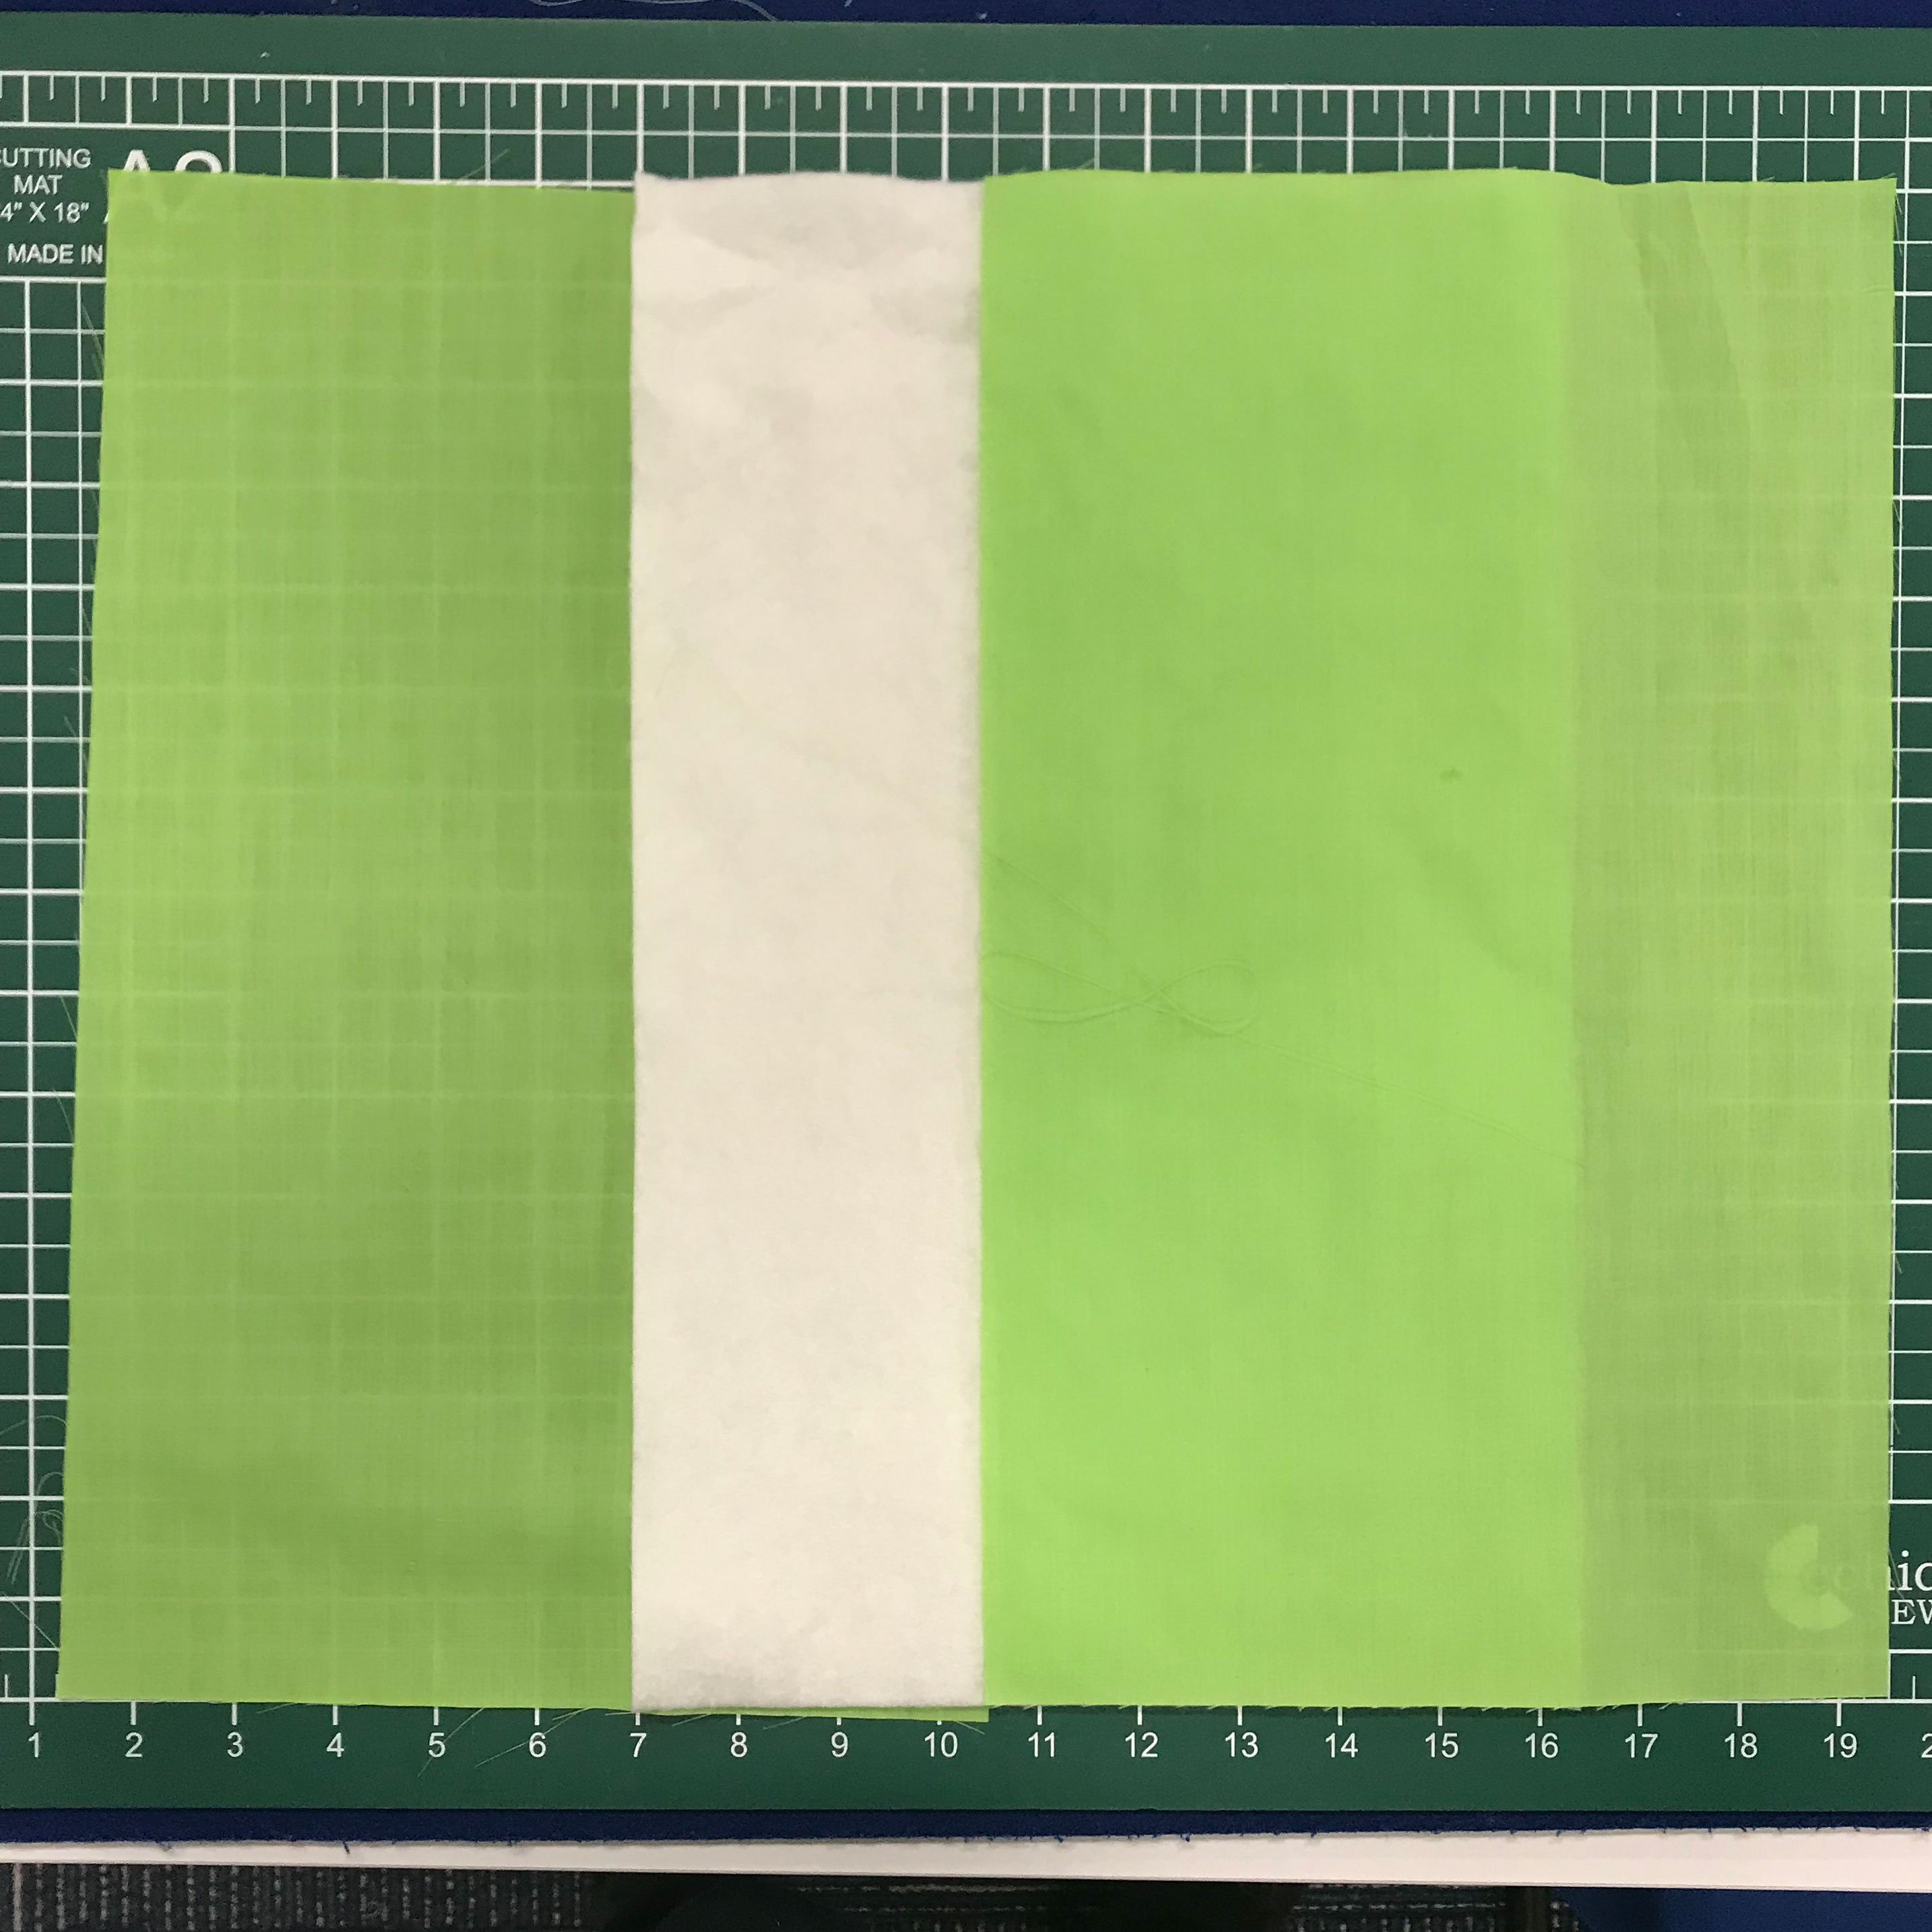
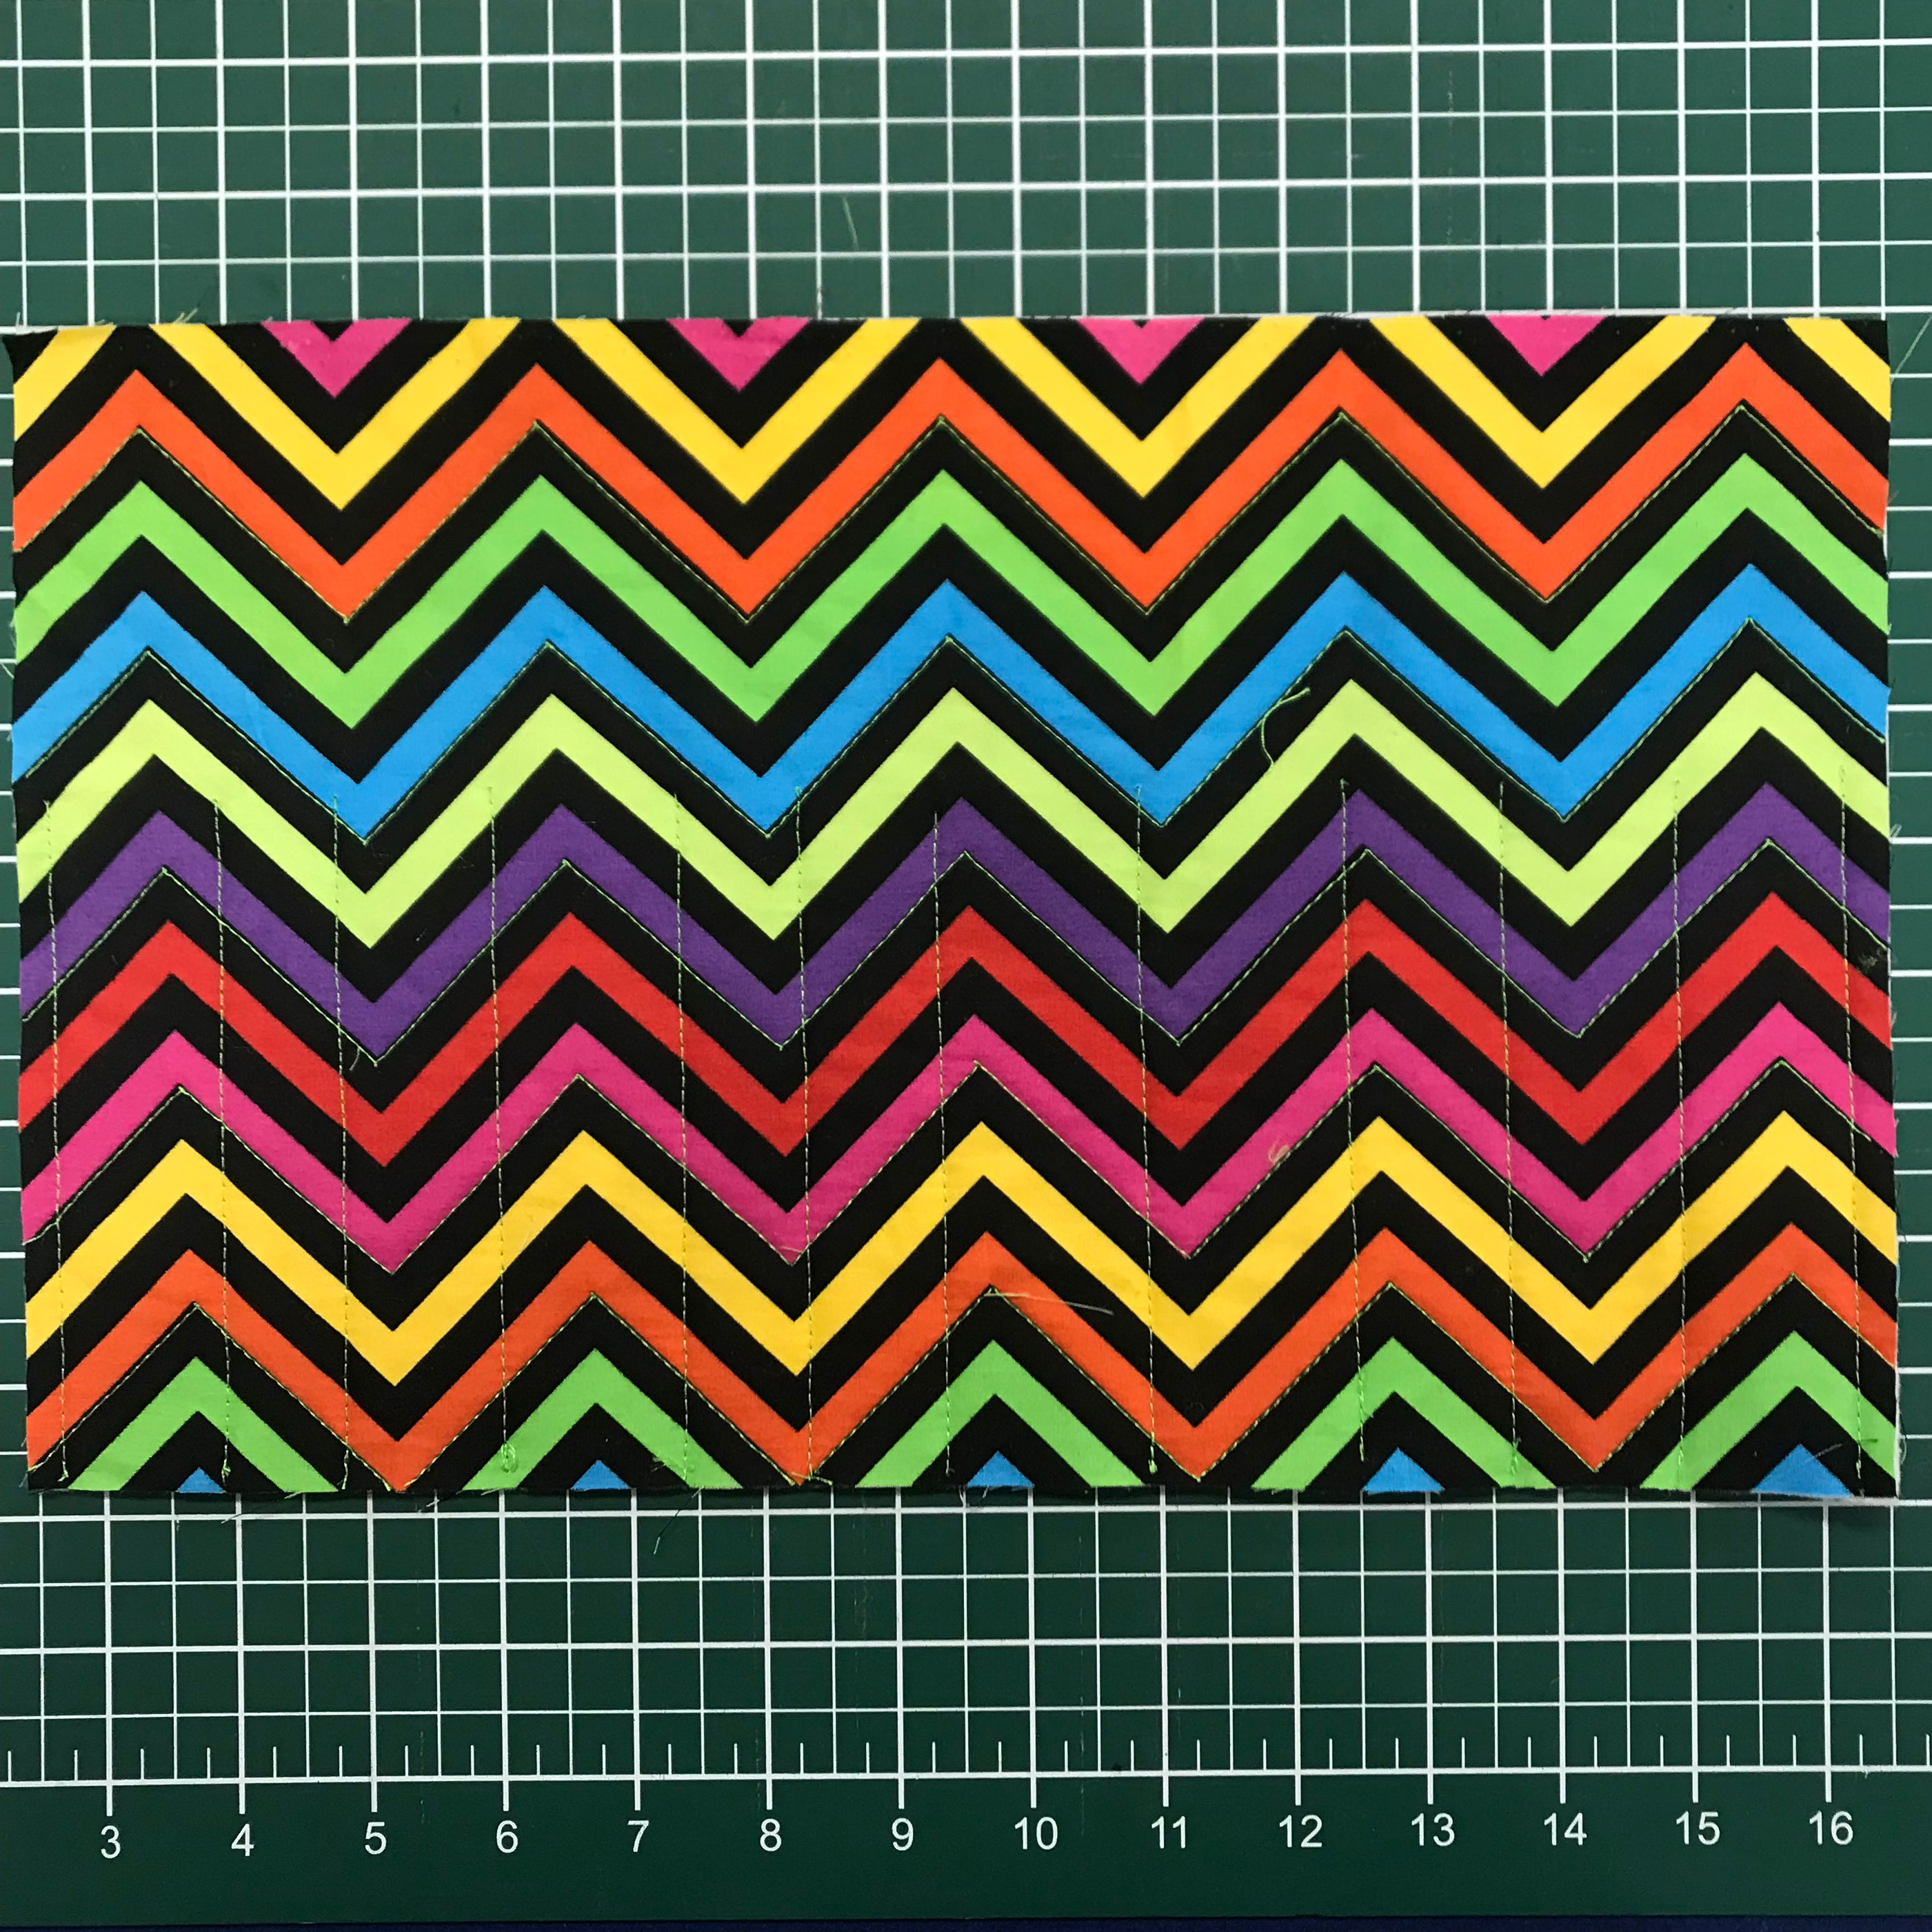
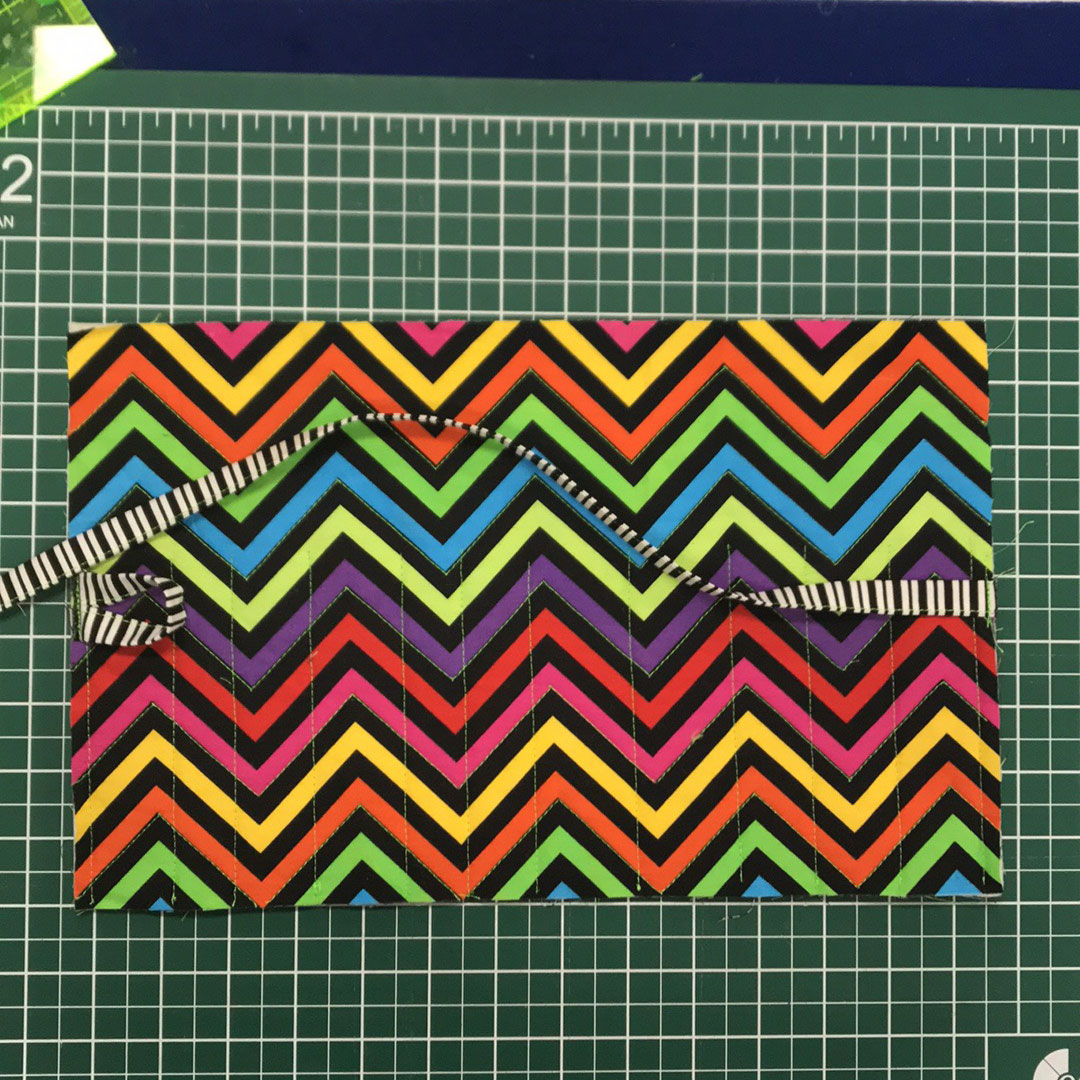
1. With your rotary cutter and ruler cut the patterned fabric, plain fabric and Battilizer to measure 9” x 15”.
2. Using 505 spray, baste the three layers together to create a quilt sandwich.
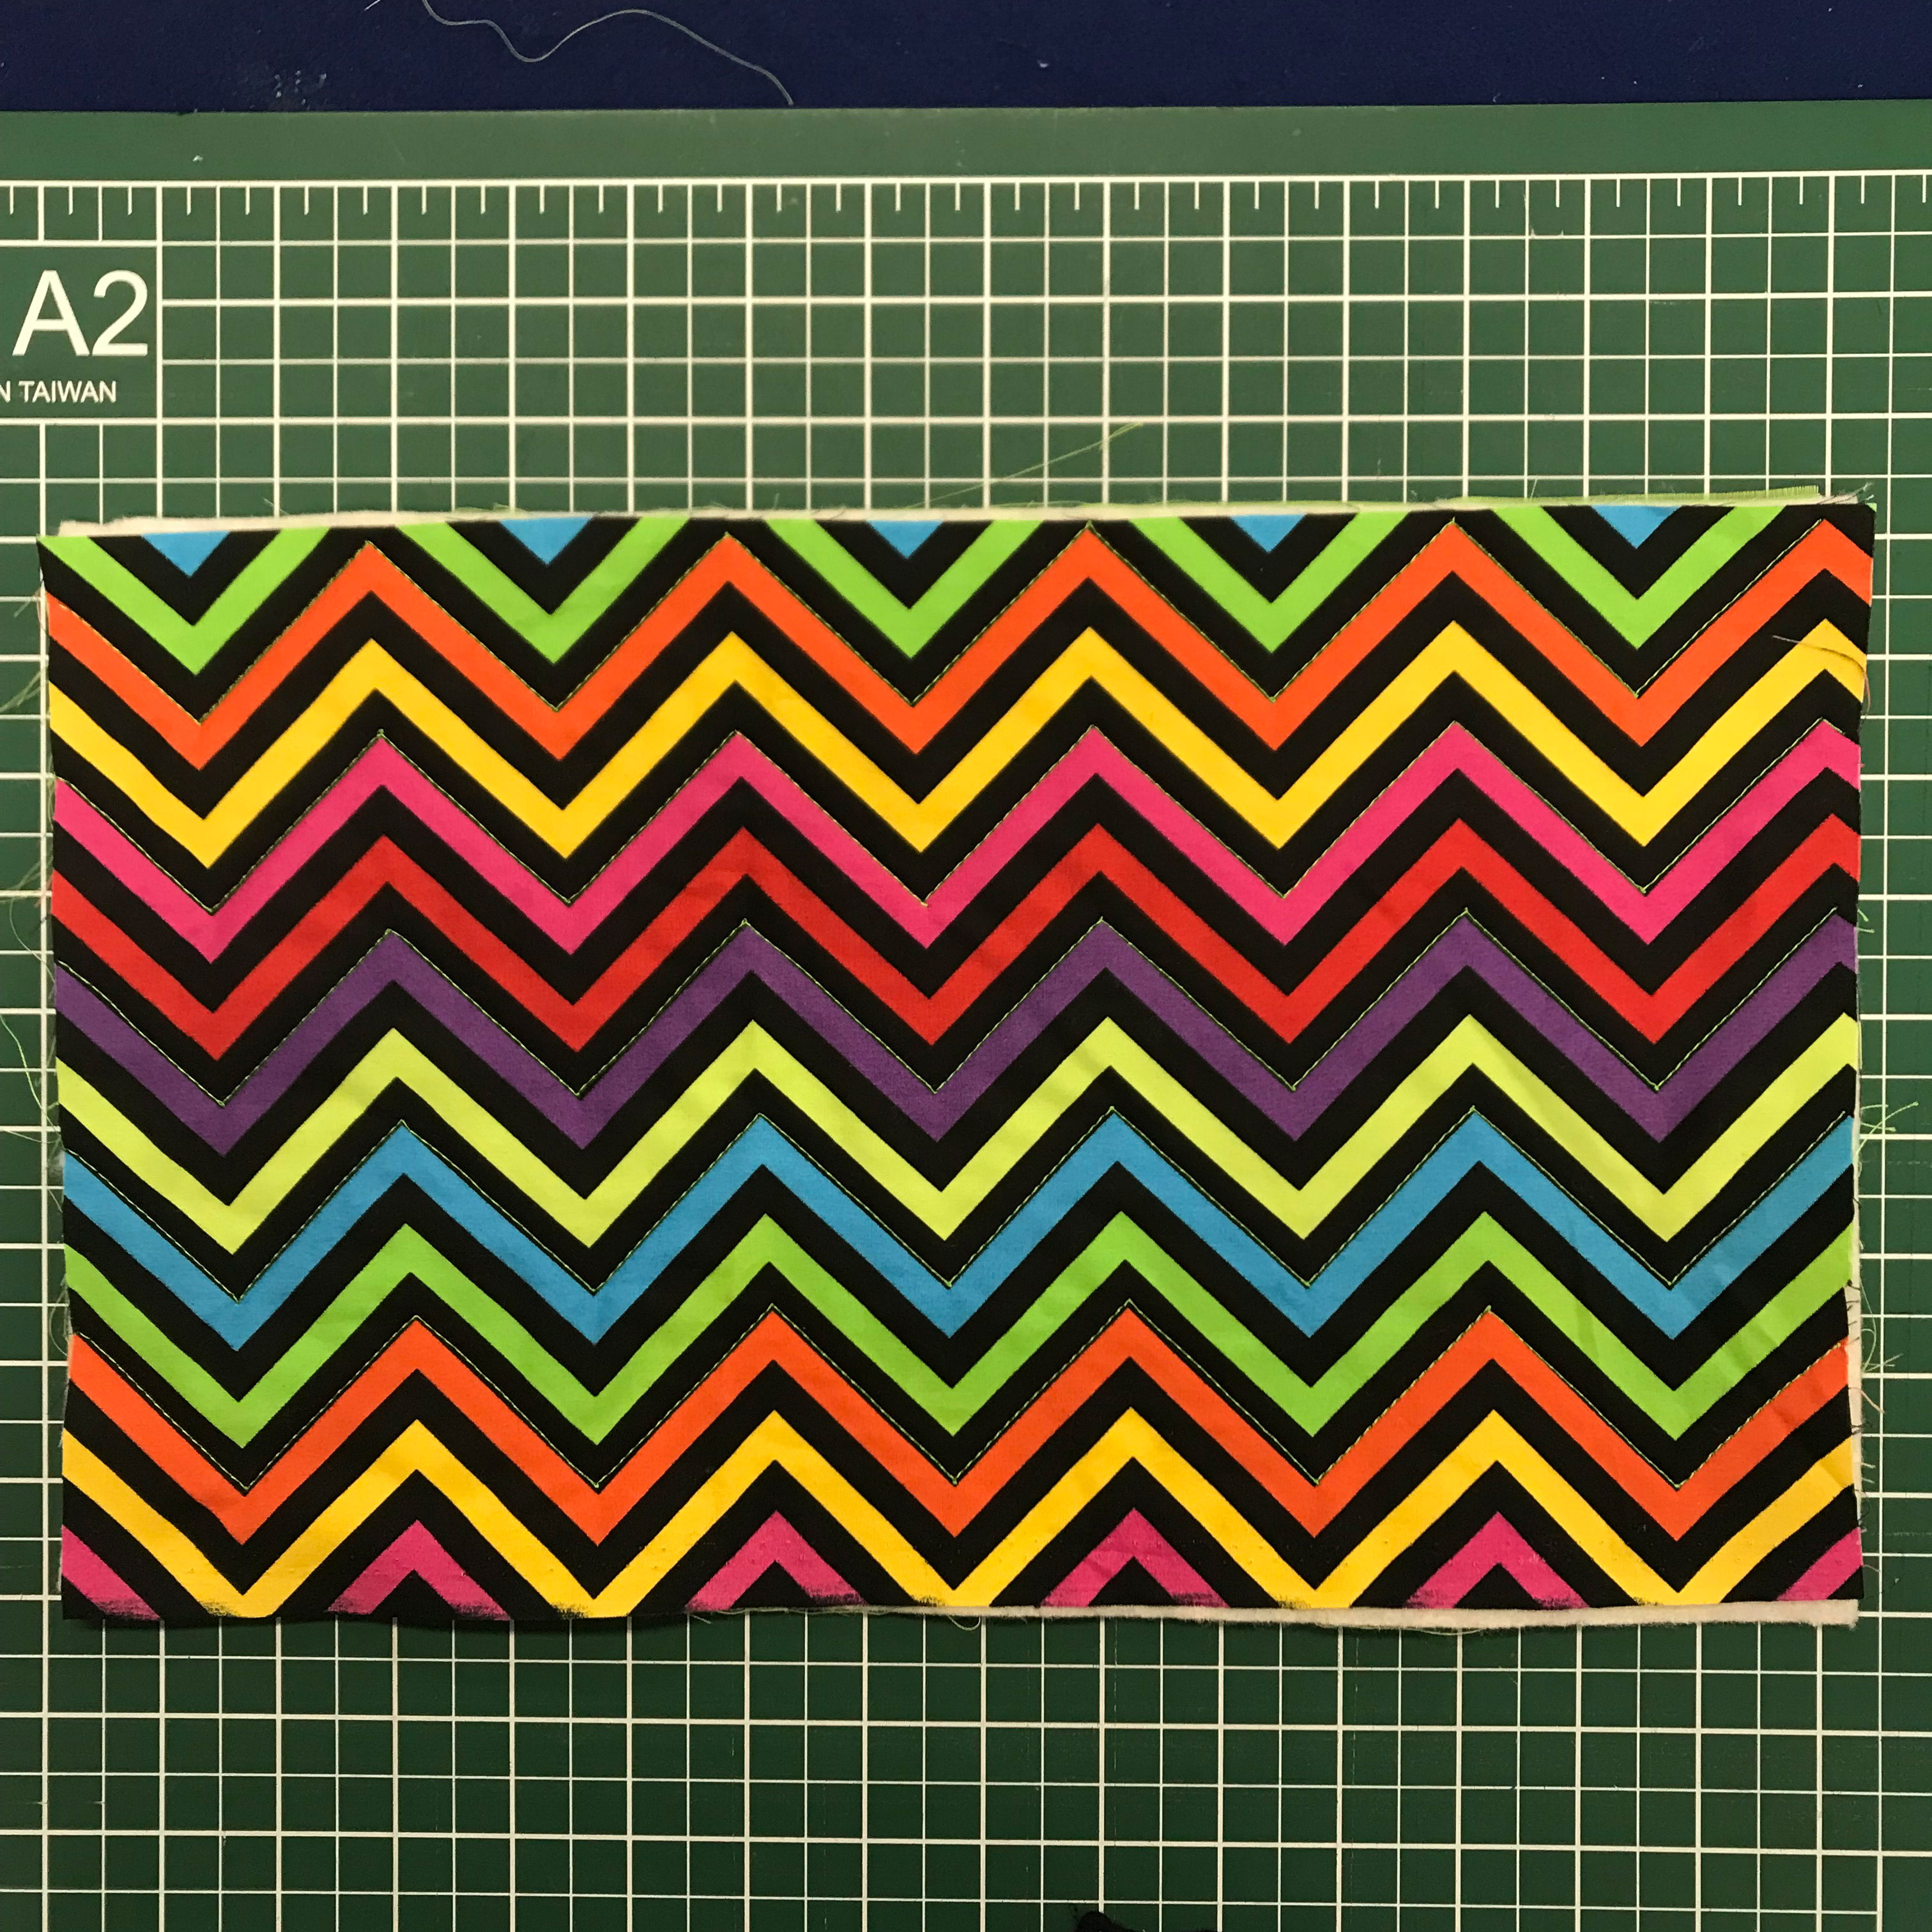
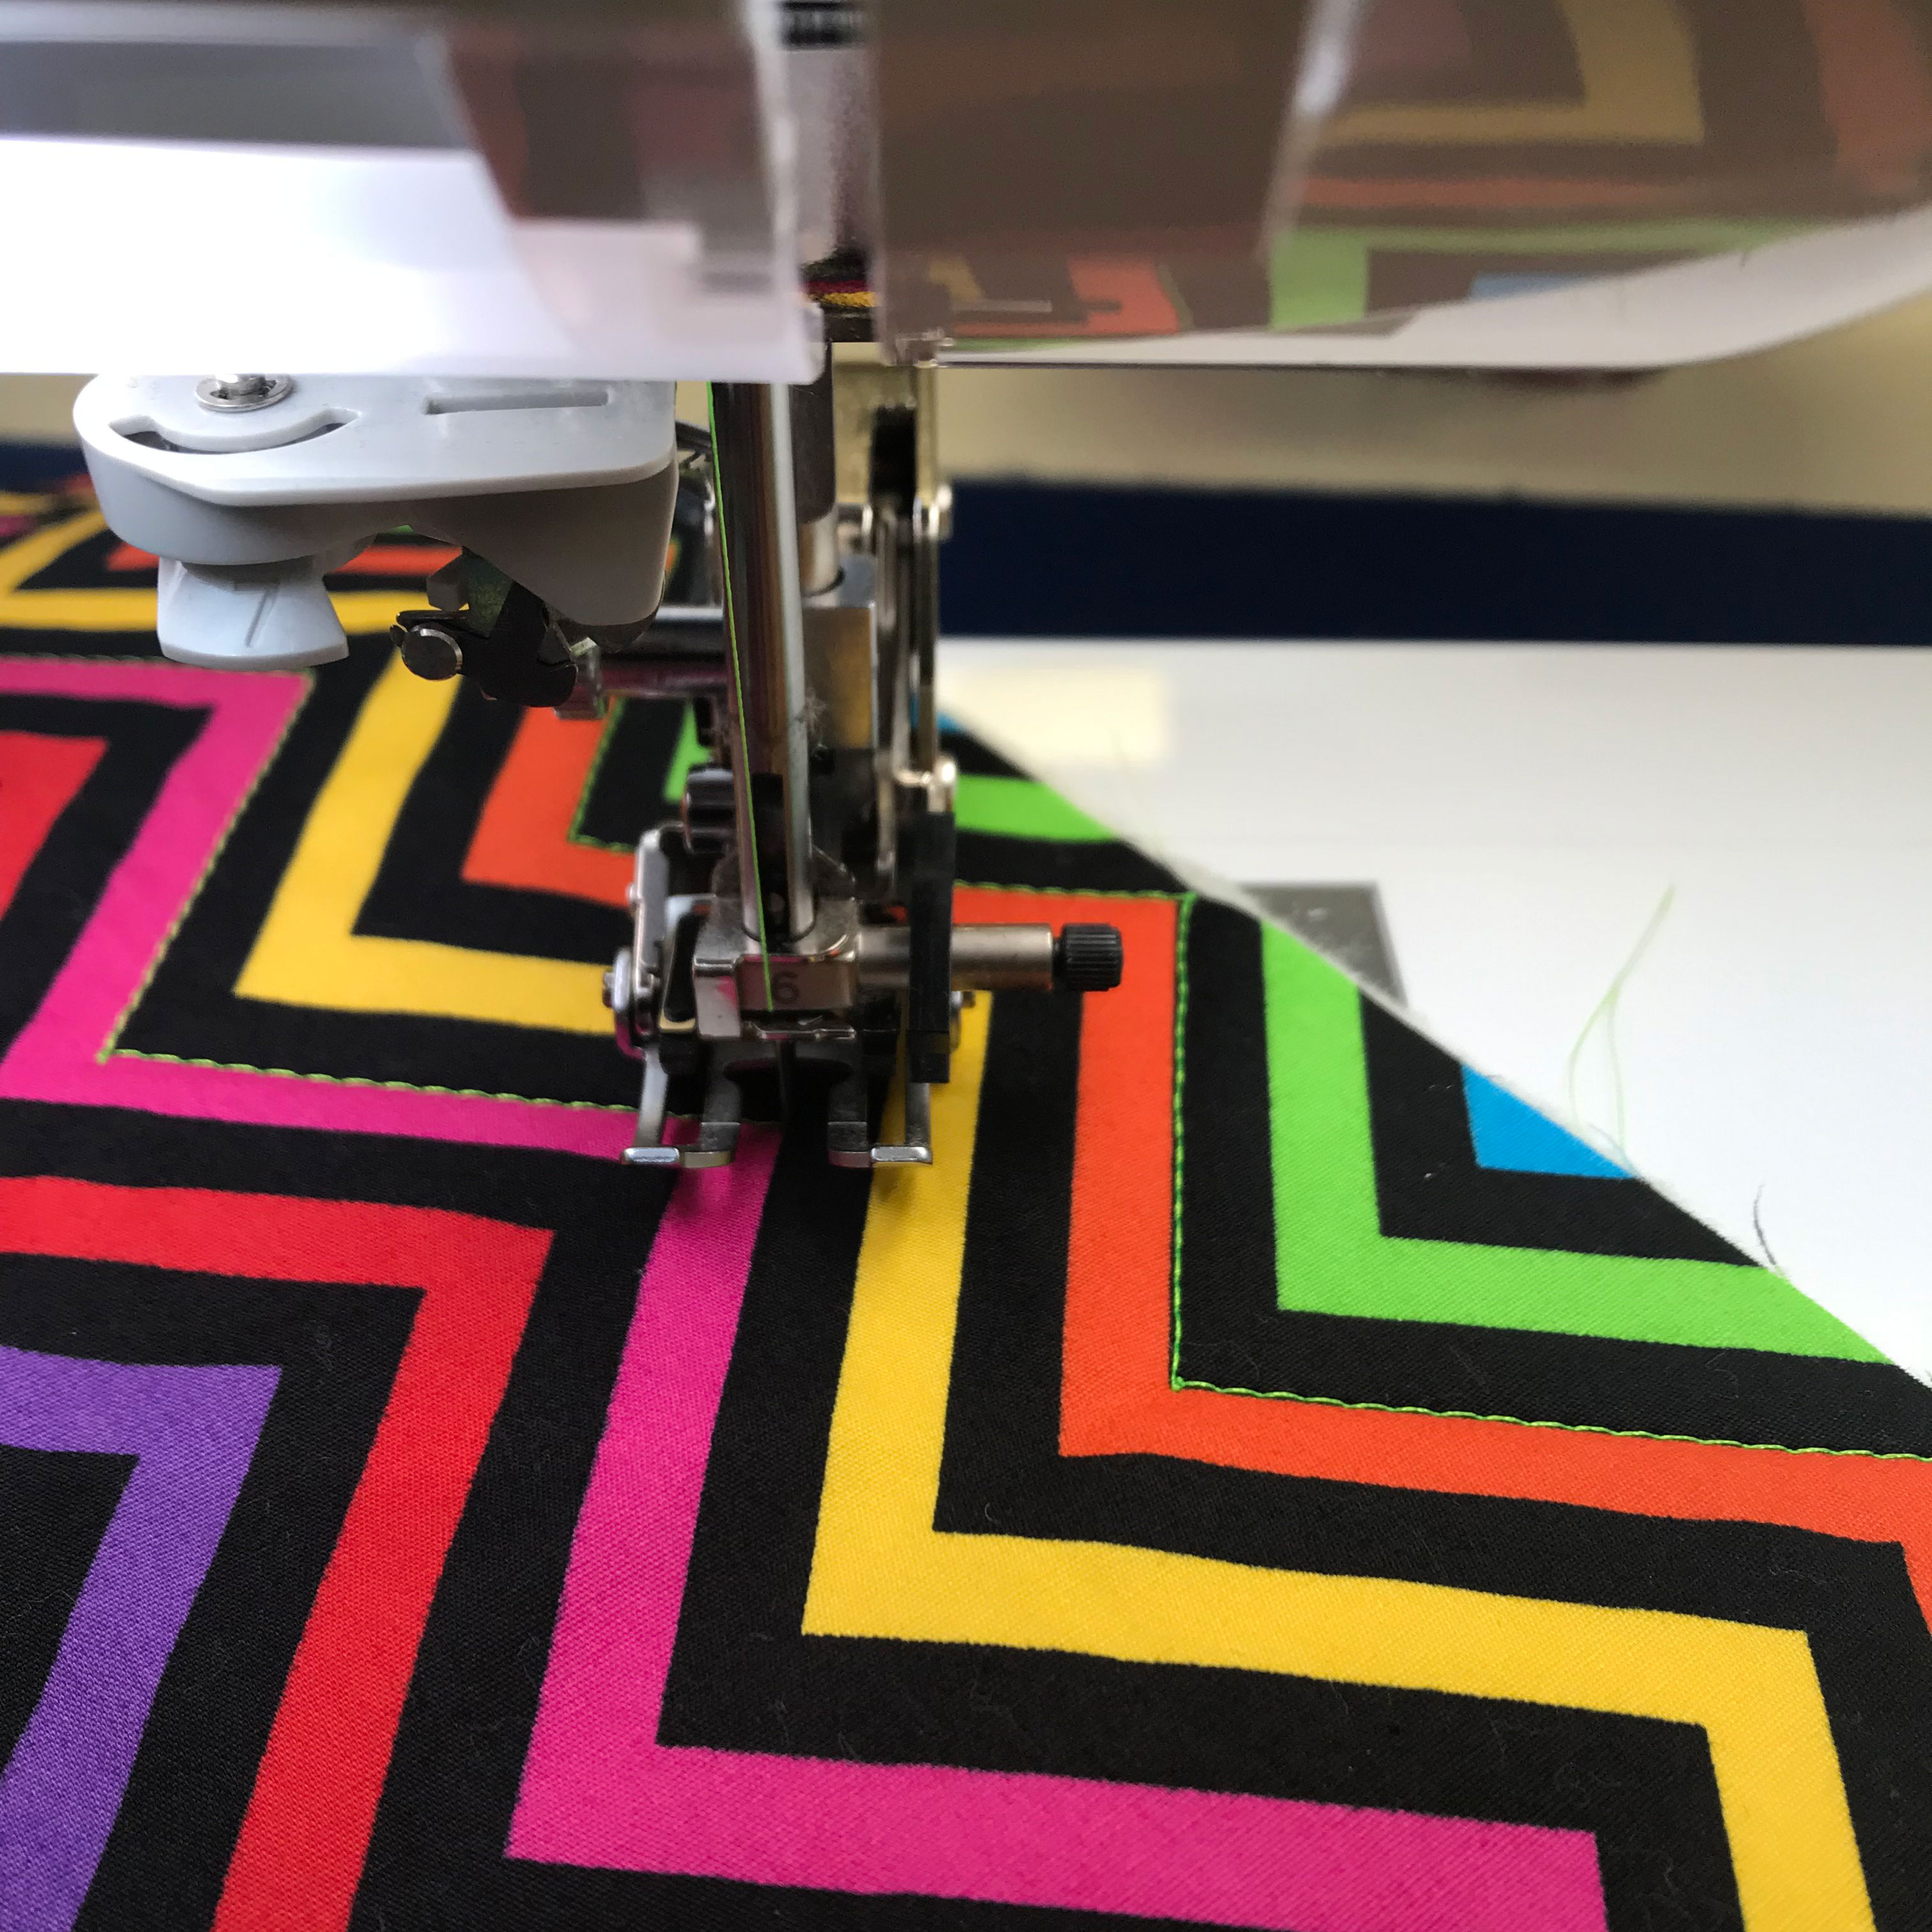
3. Attach your walking foot and quilt as desired.
4. Square up the rectangle to measure 8 ¾” x 14”.
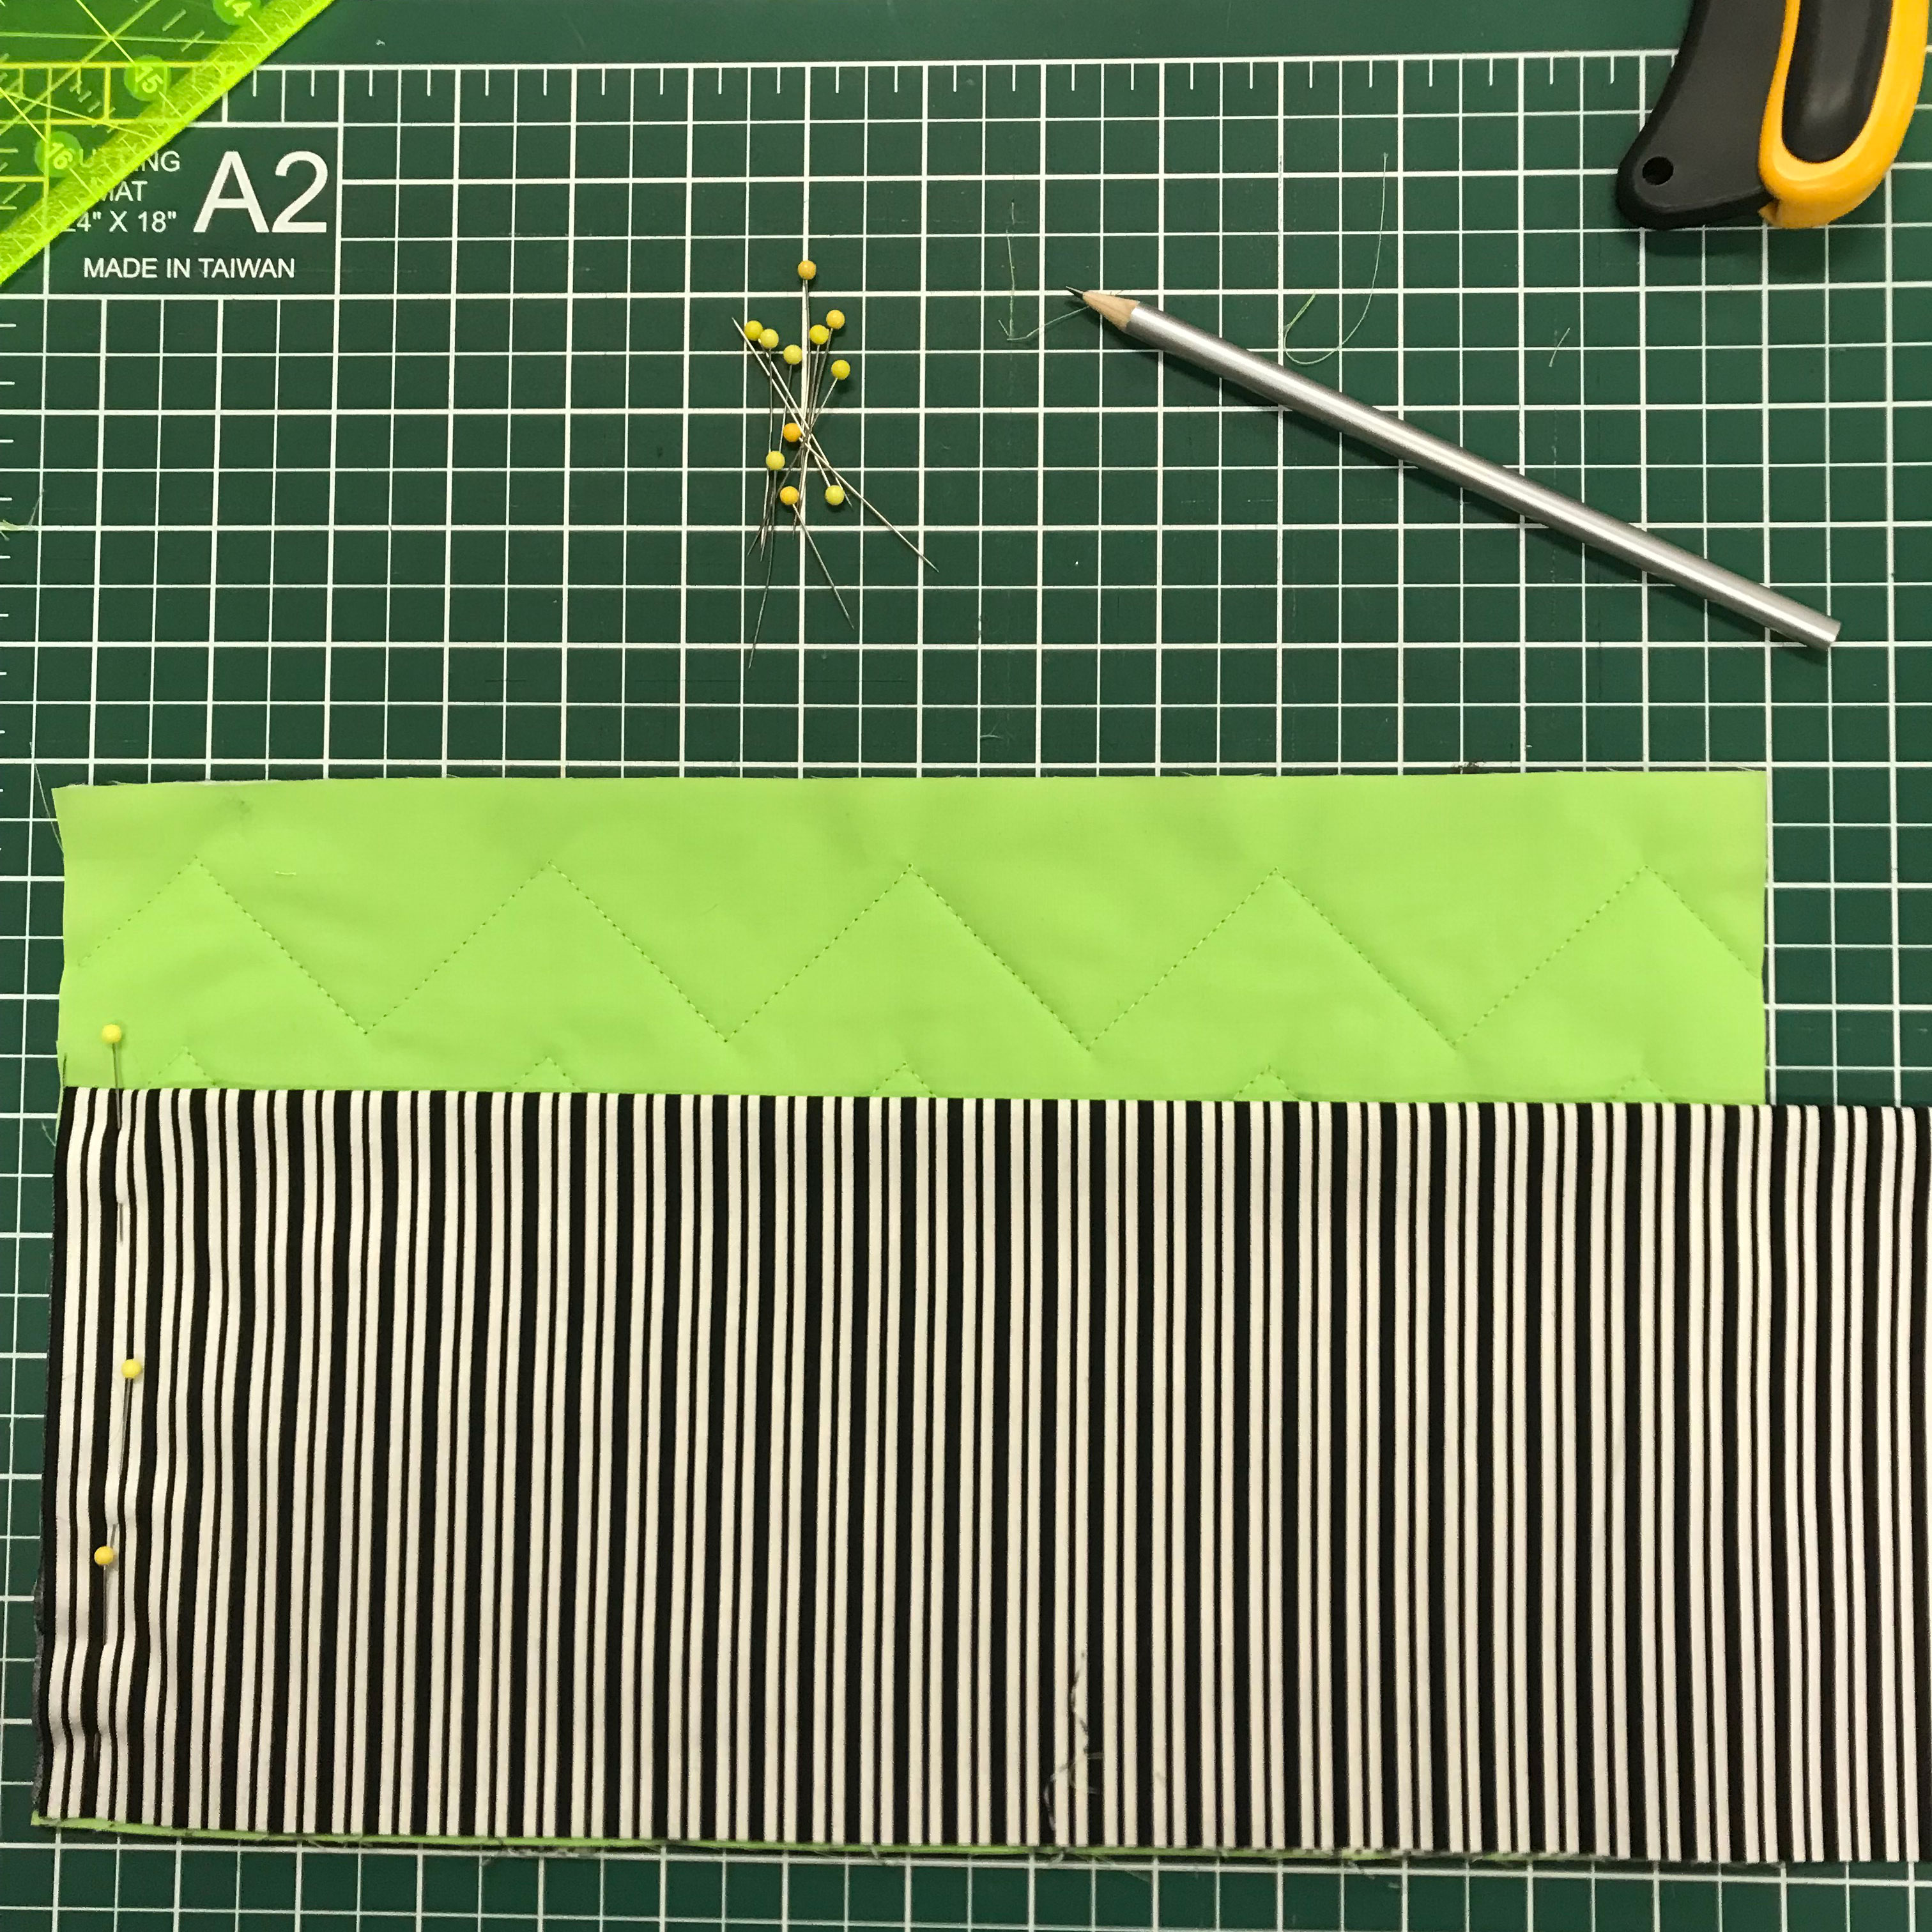
5. Cut the striped FQ down to measure 12” x width of the fabric. Fold in half lengthwise and iron.
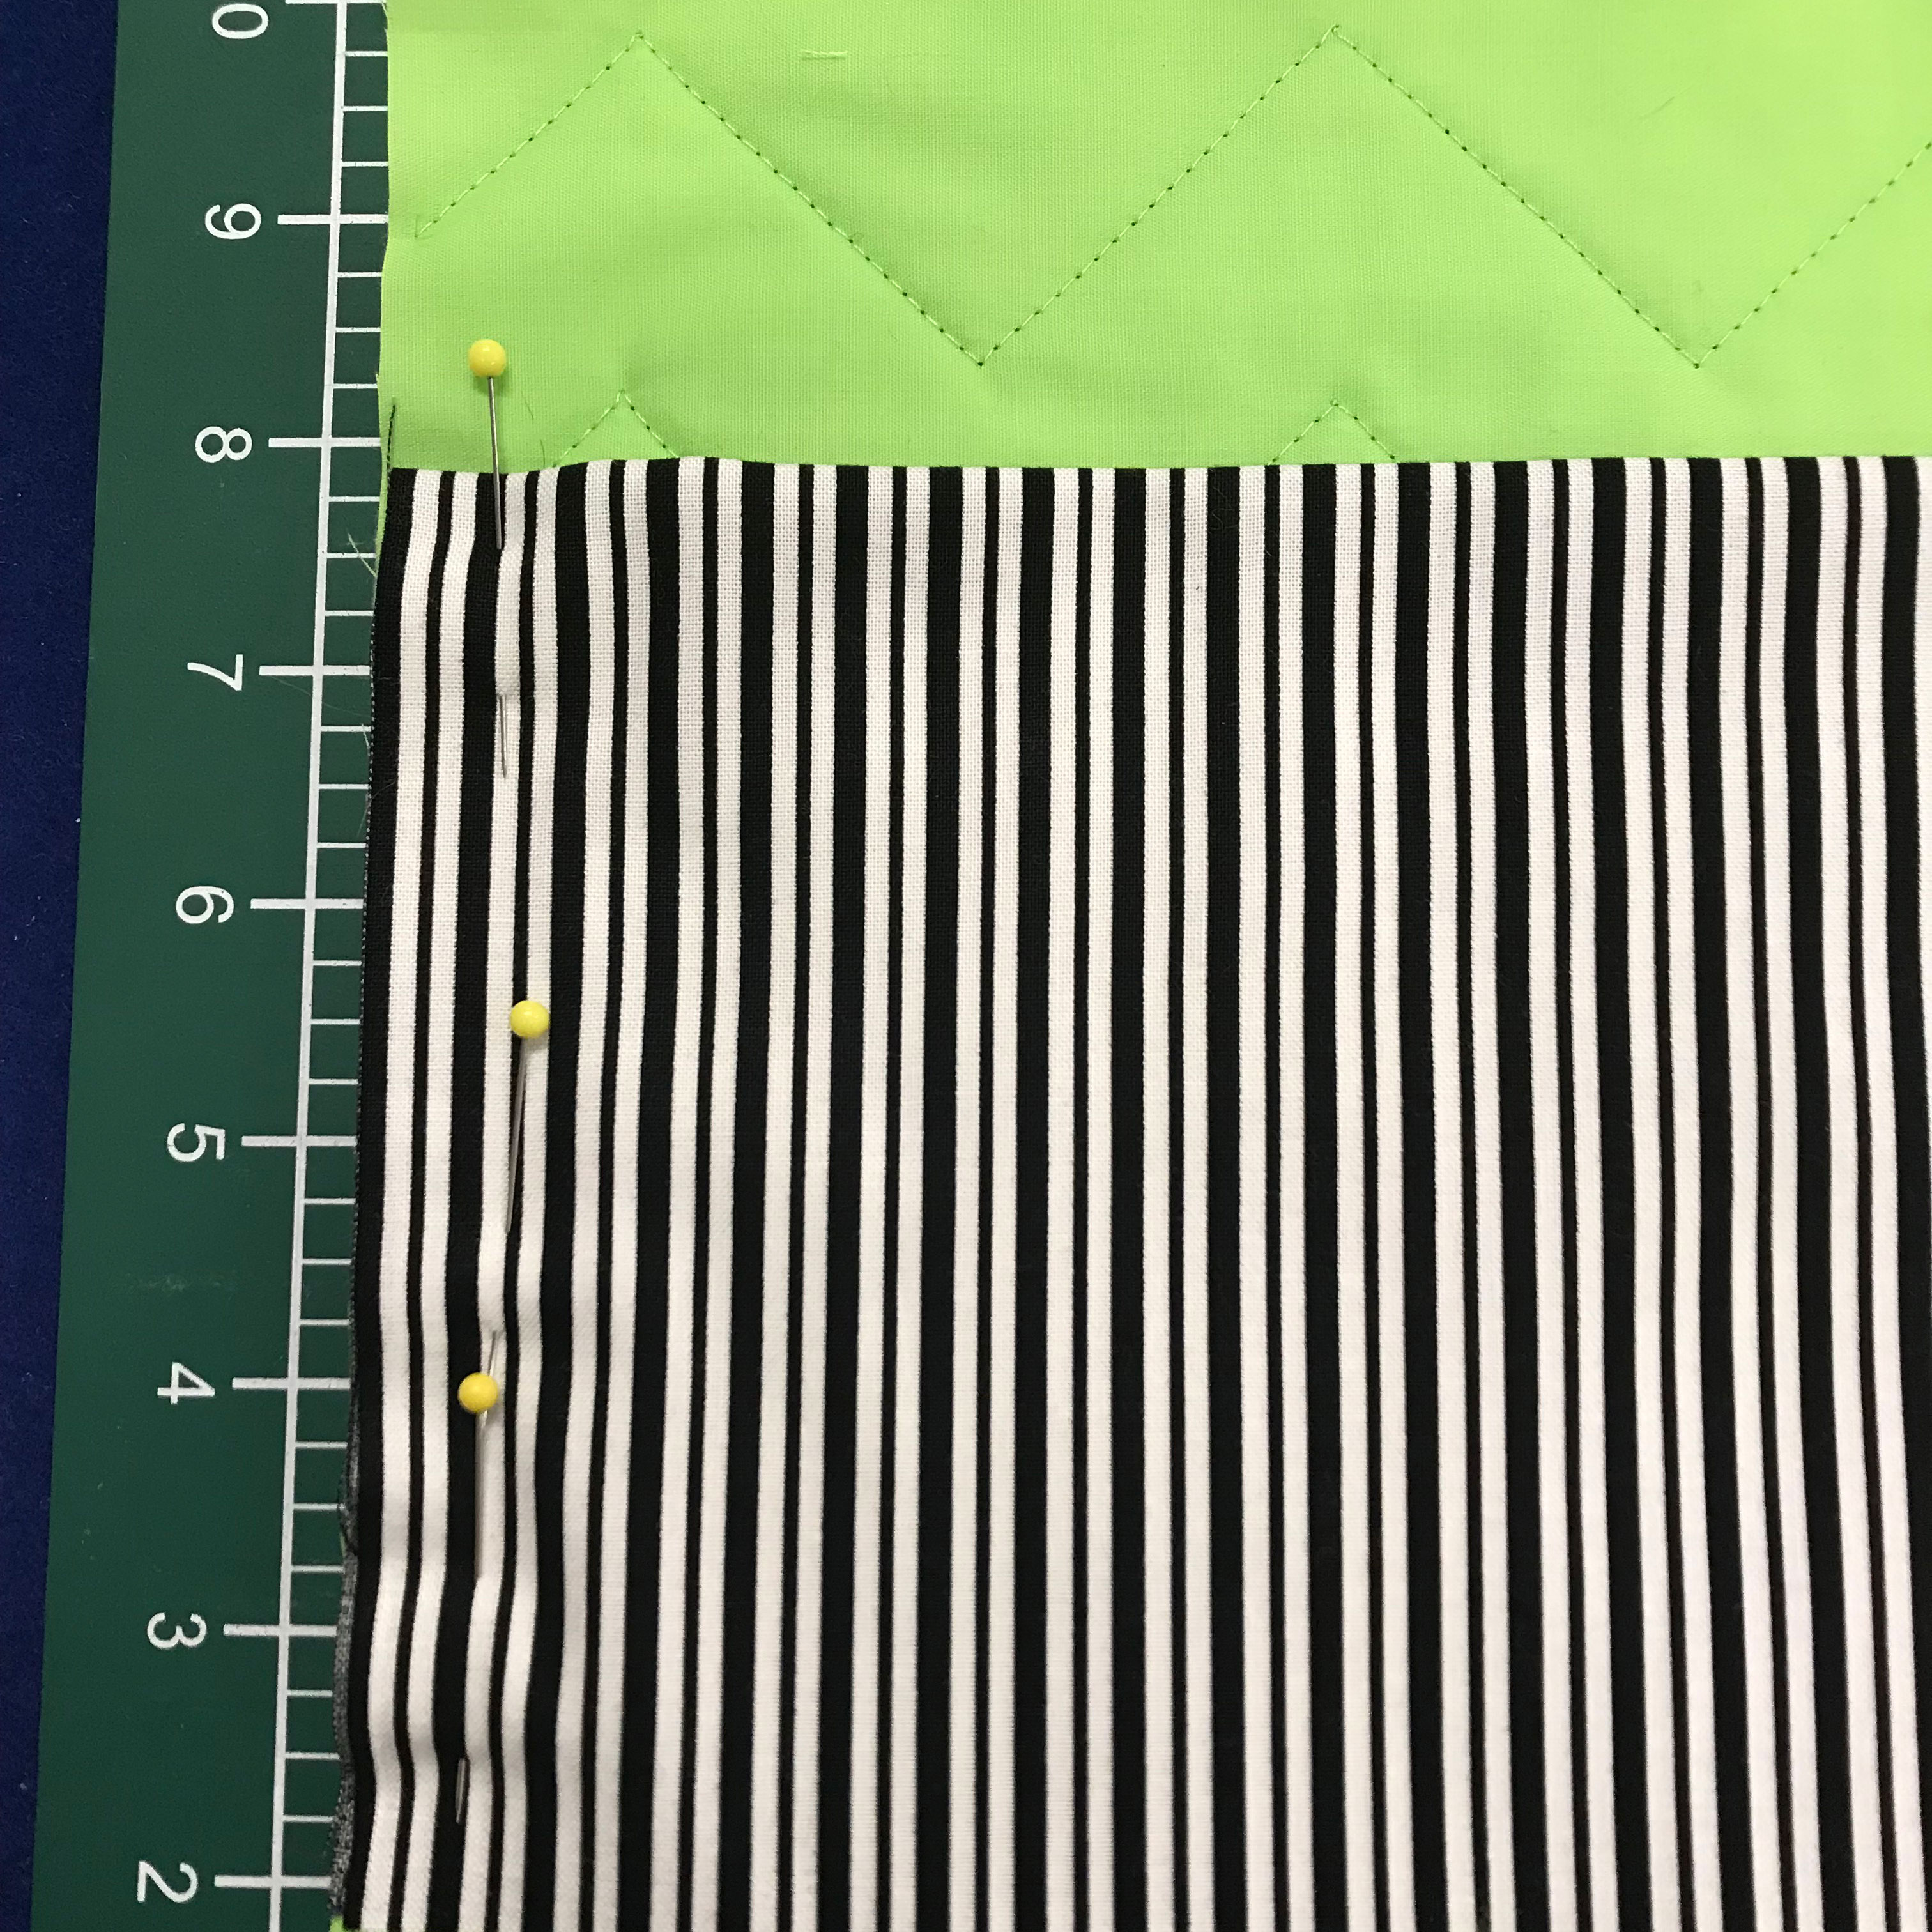
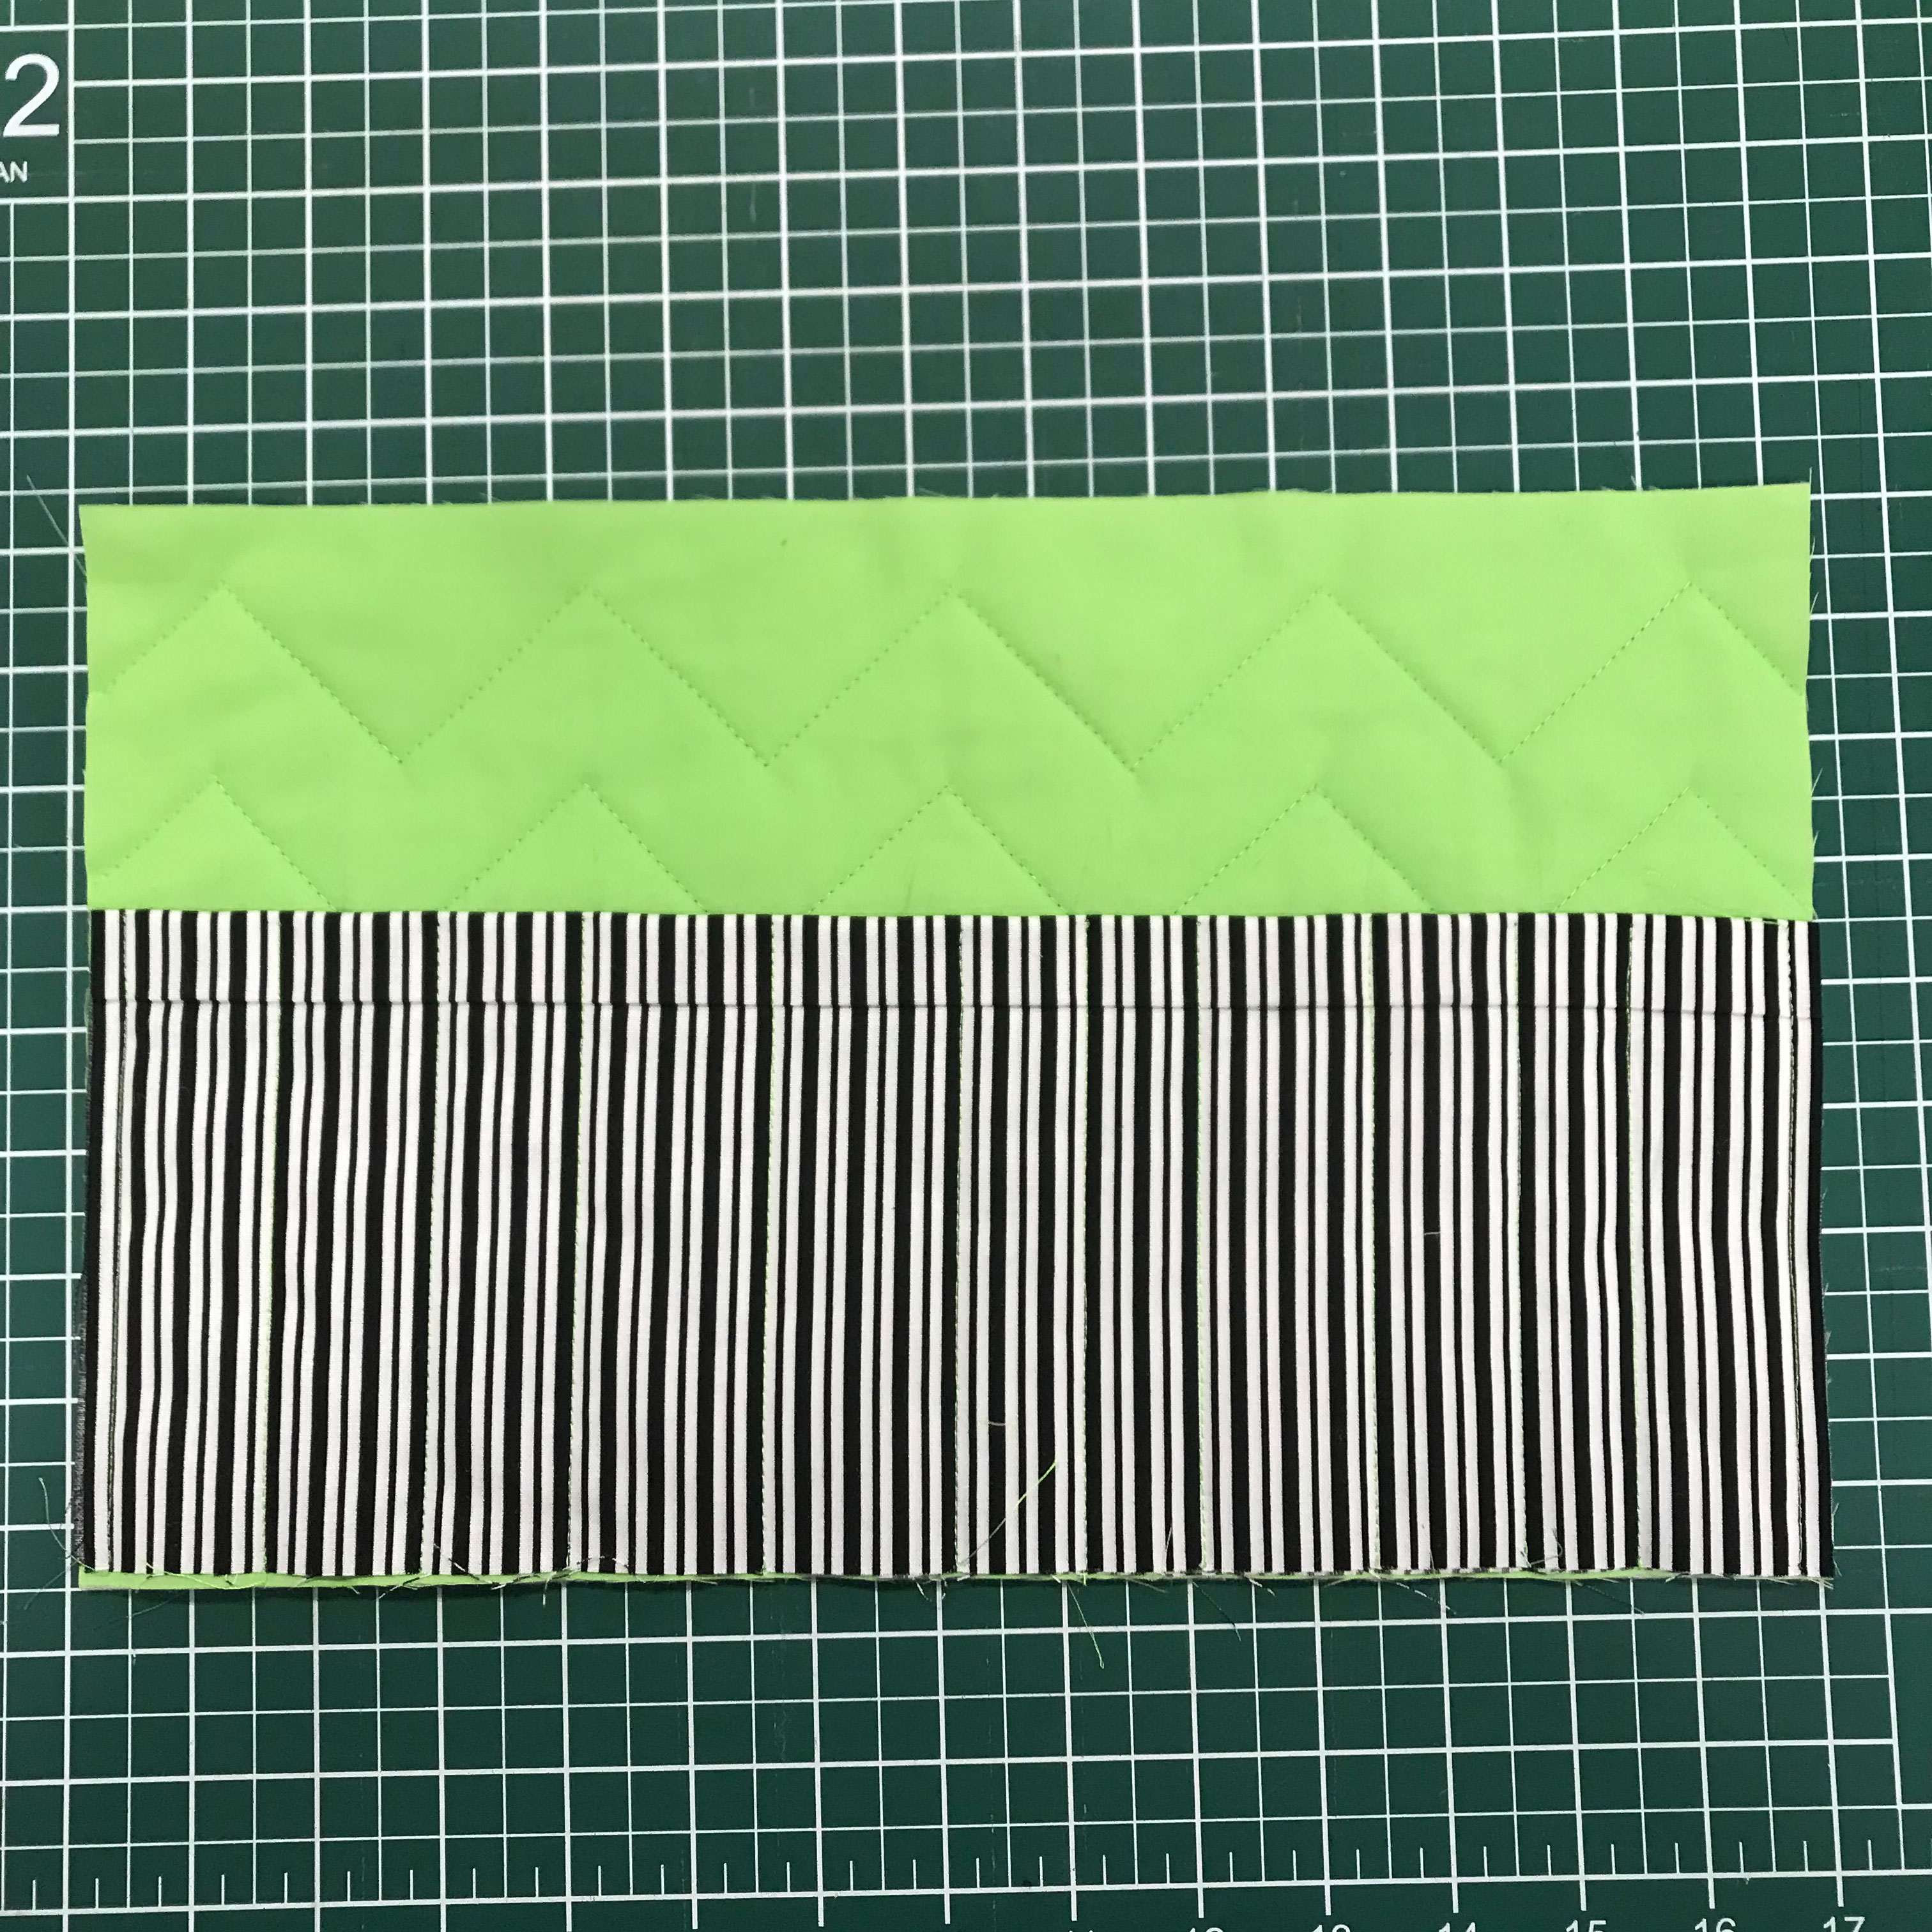
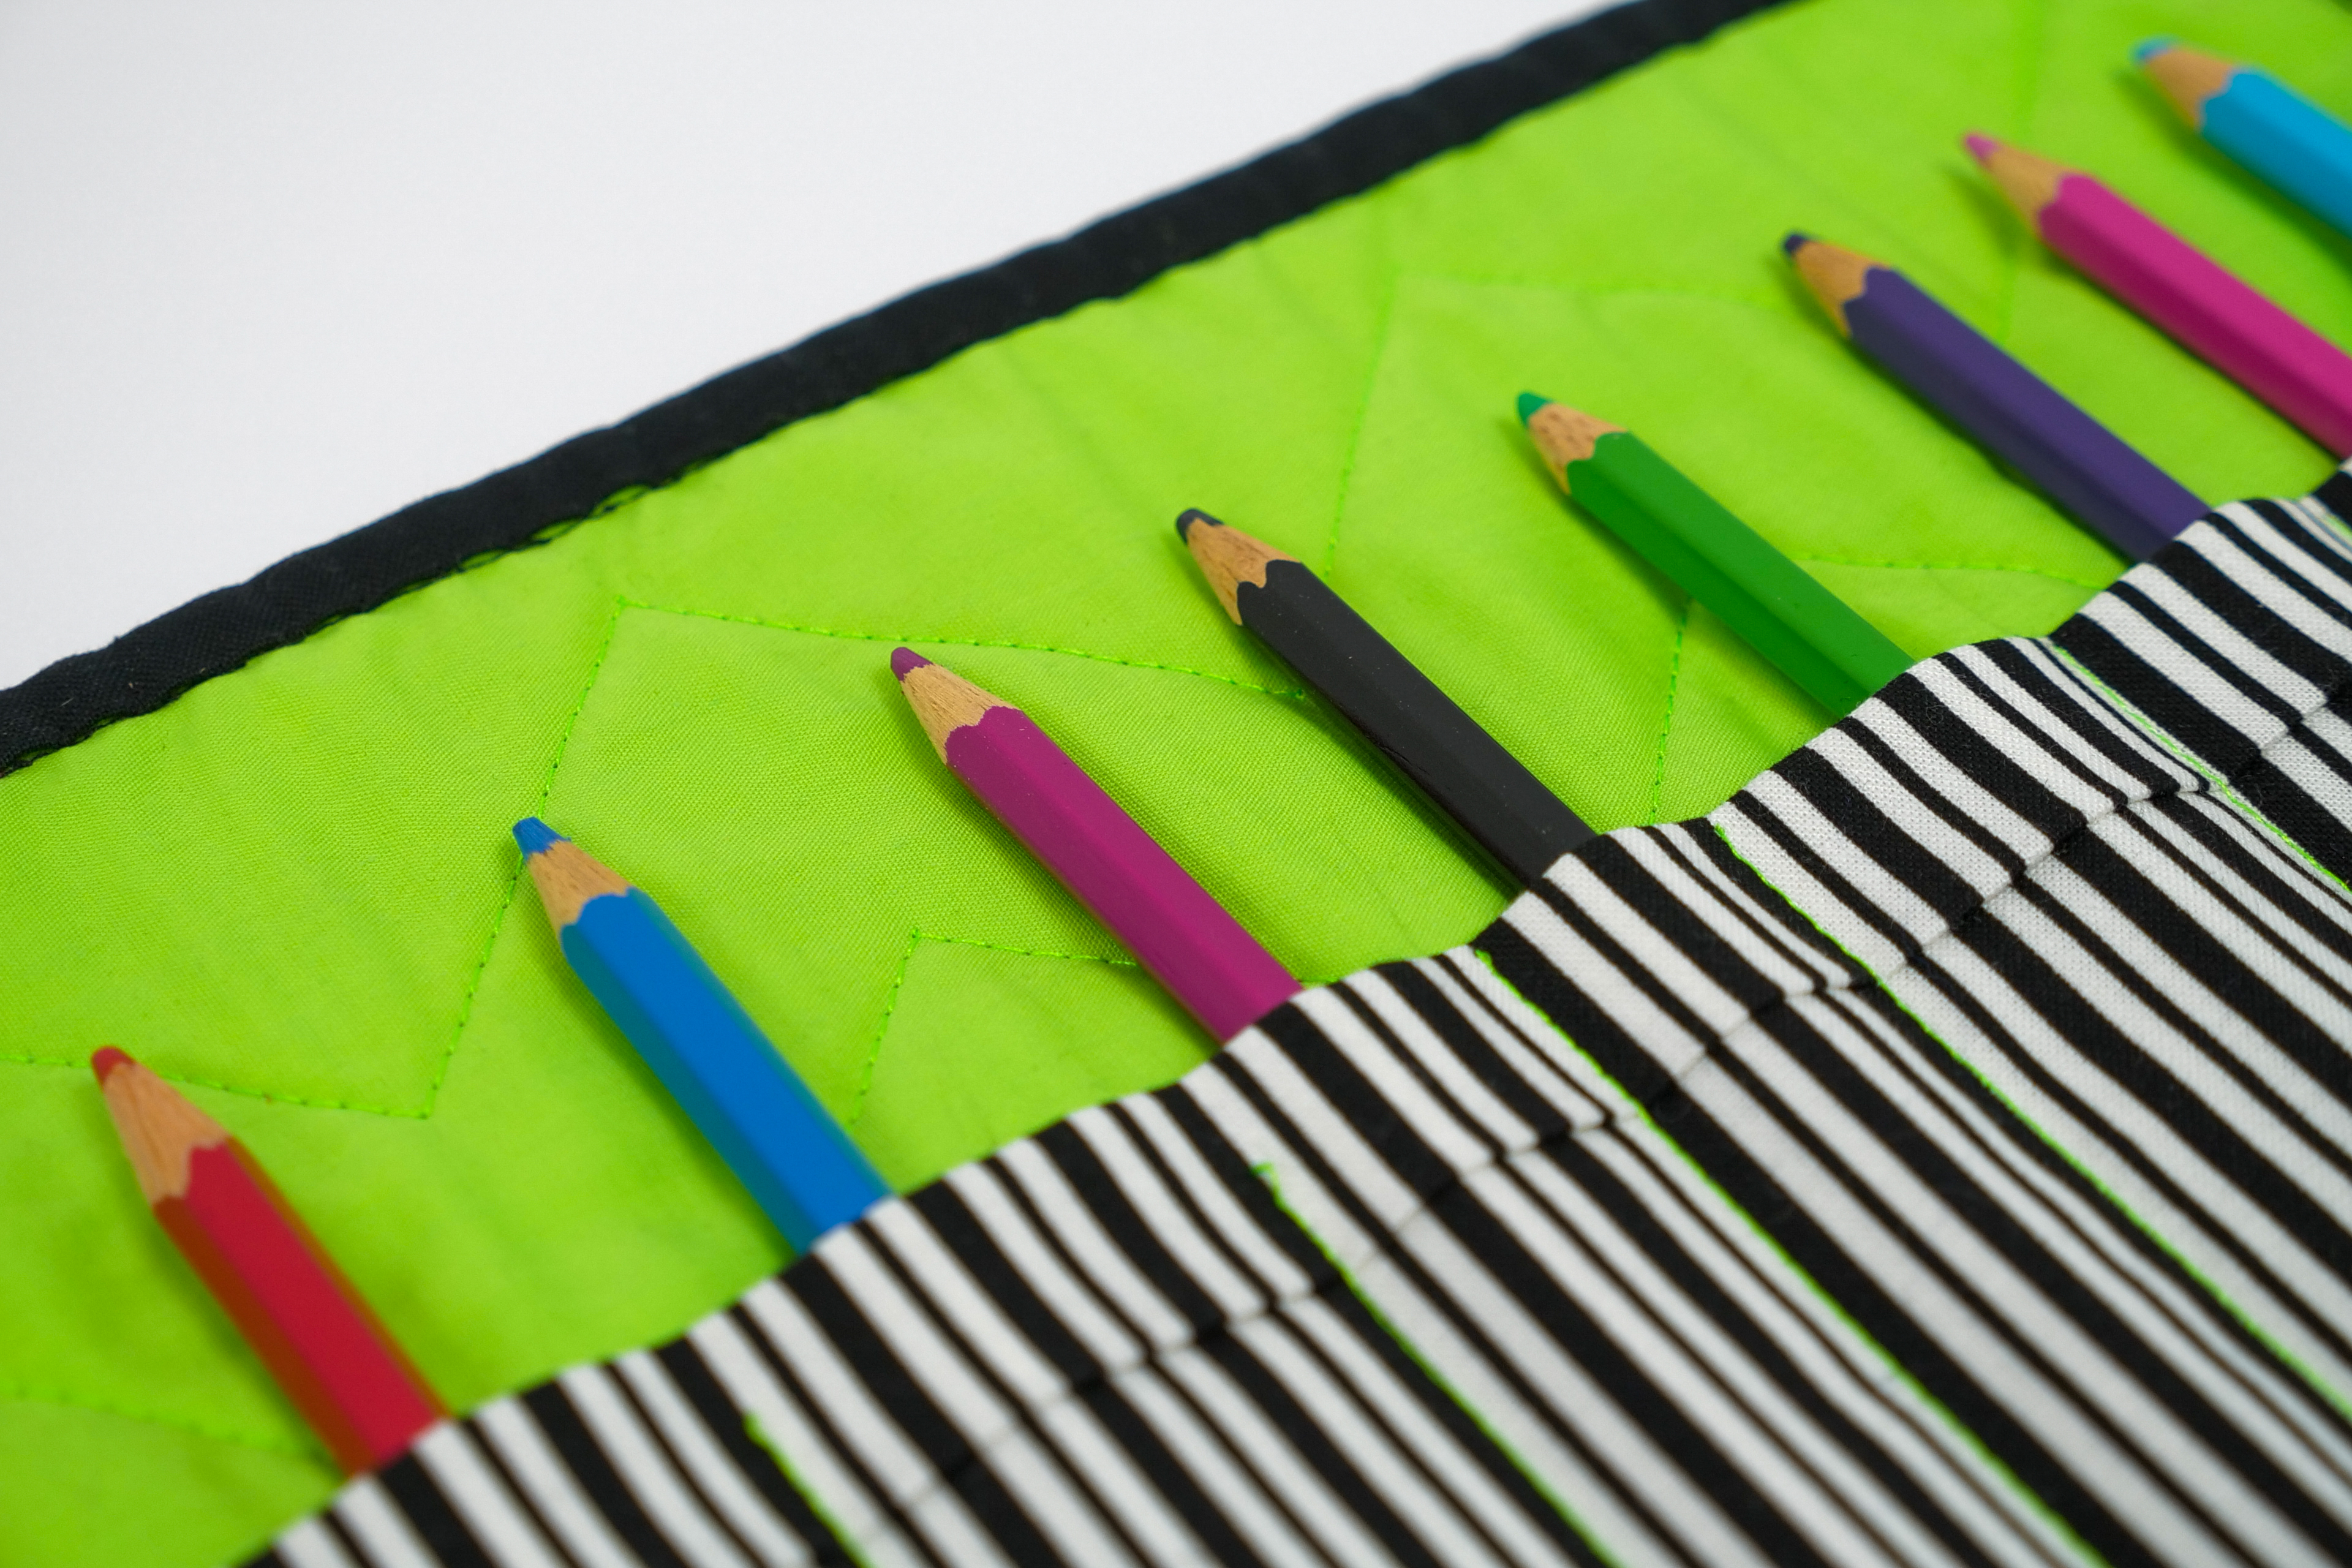
6. To create the pencil roll “pocket” place the striped fabric on the inside (plain fabric) of the rectangle and align the edges so they are flush with the side and bottom of the pencil roll.
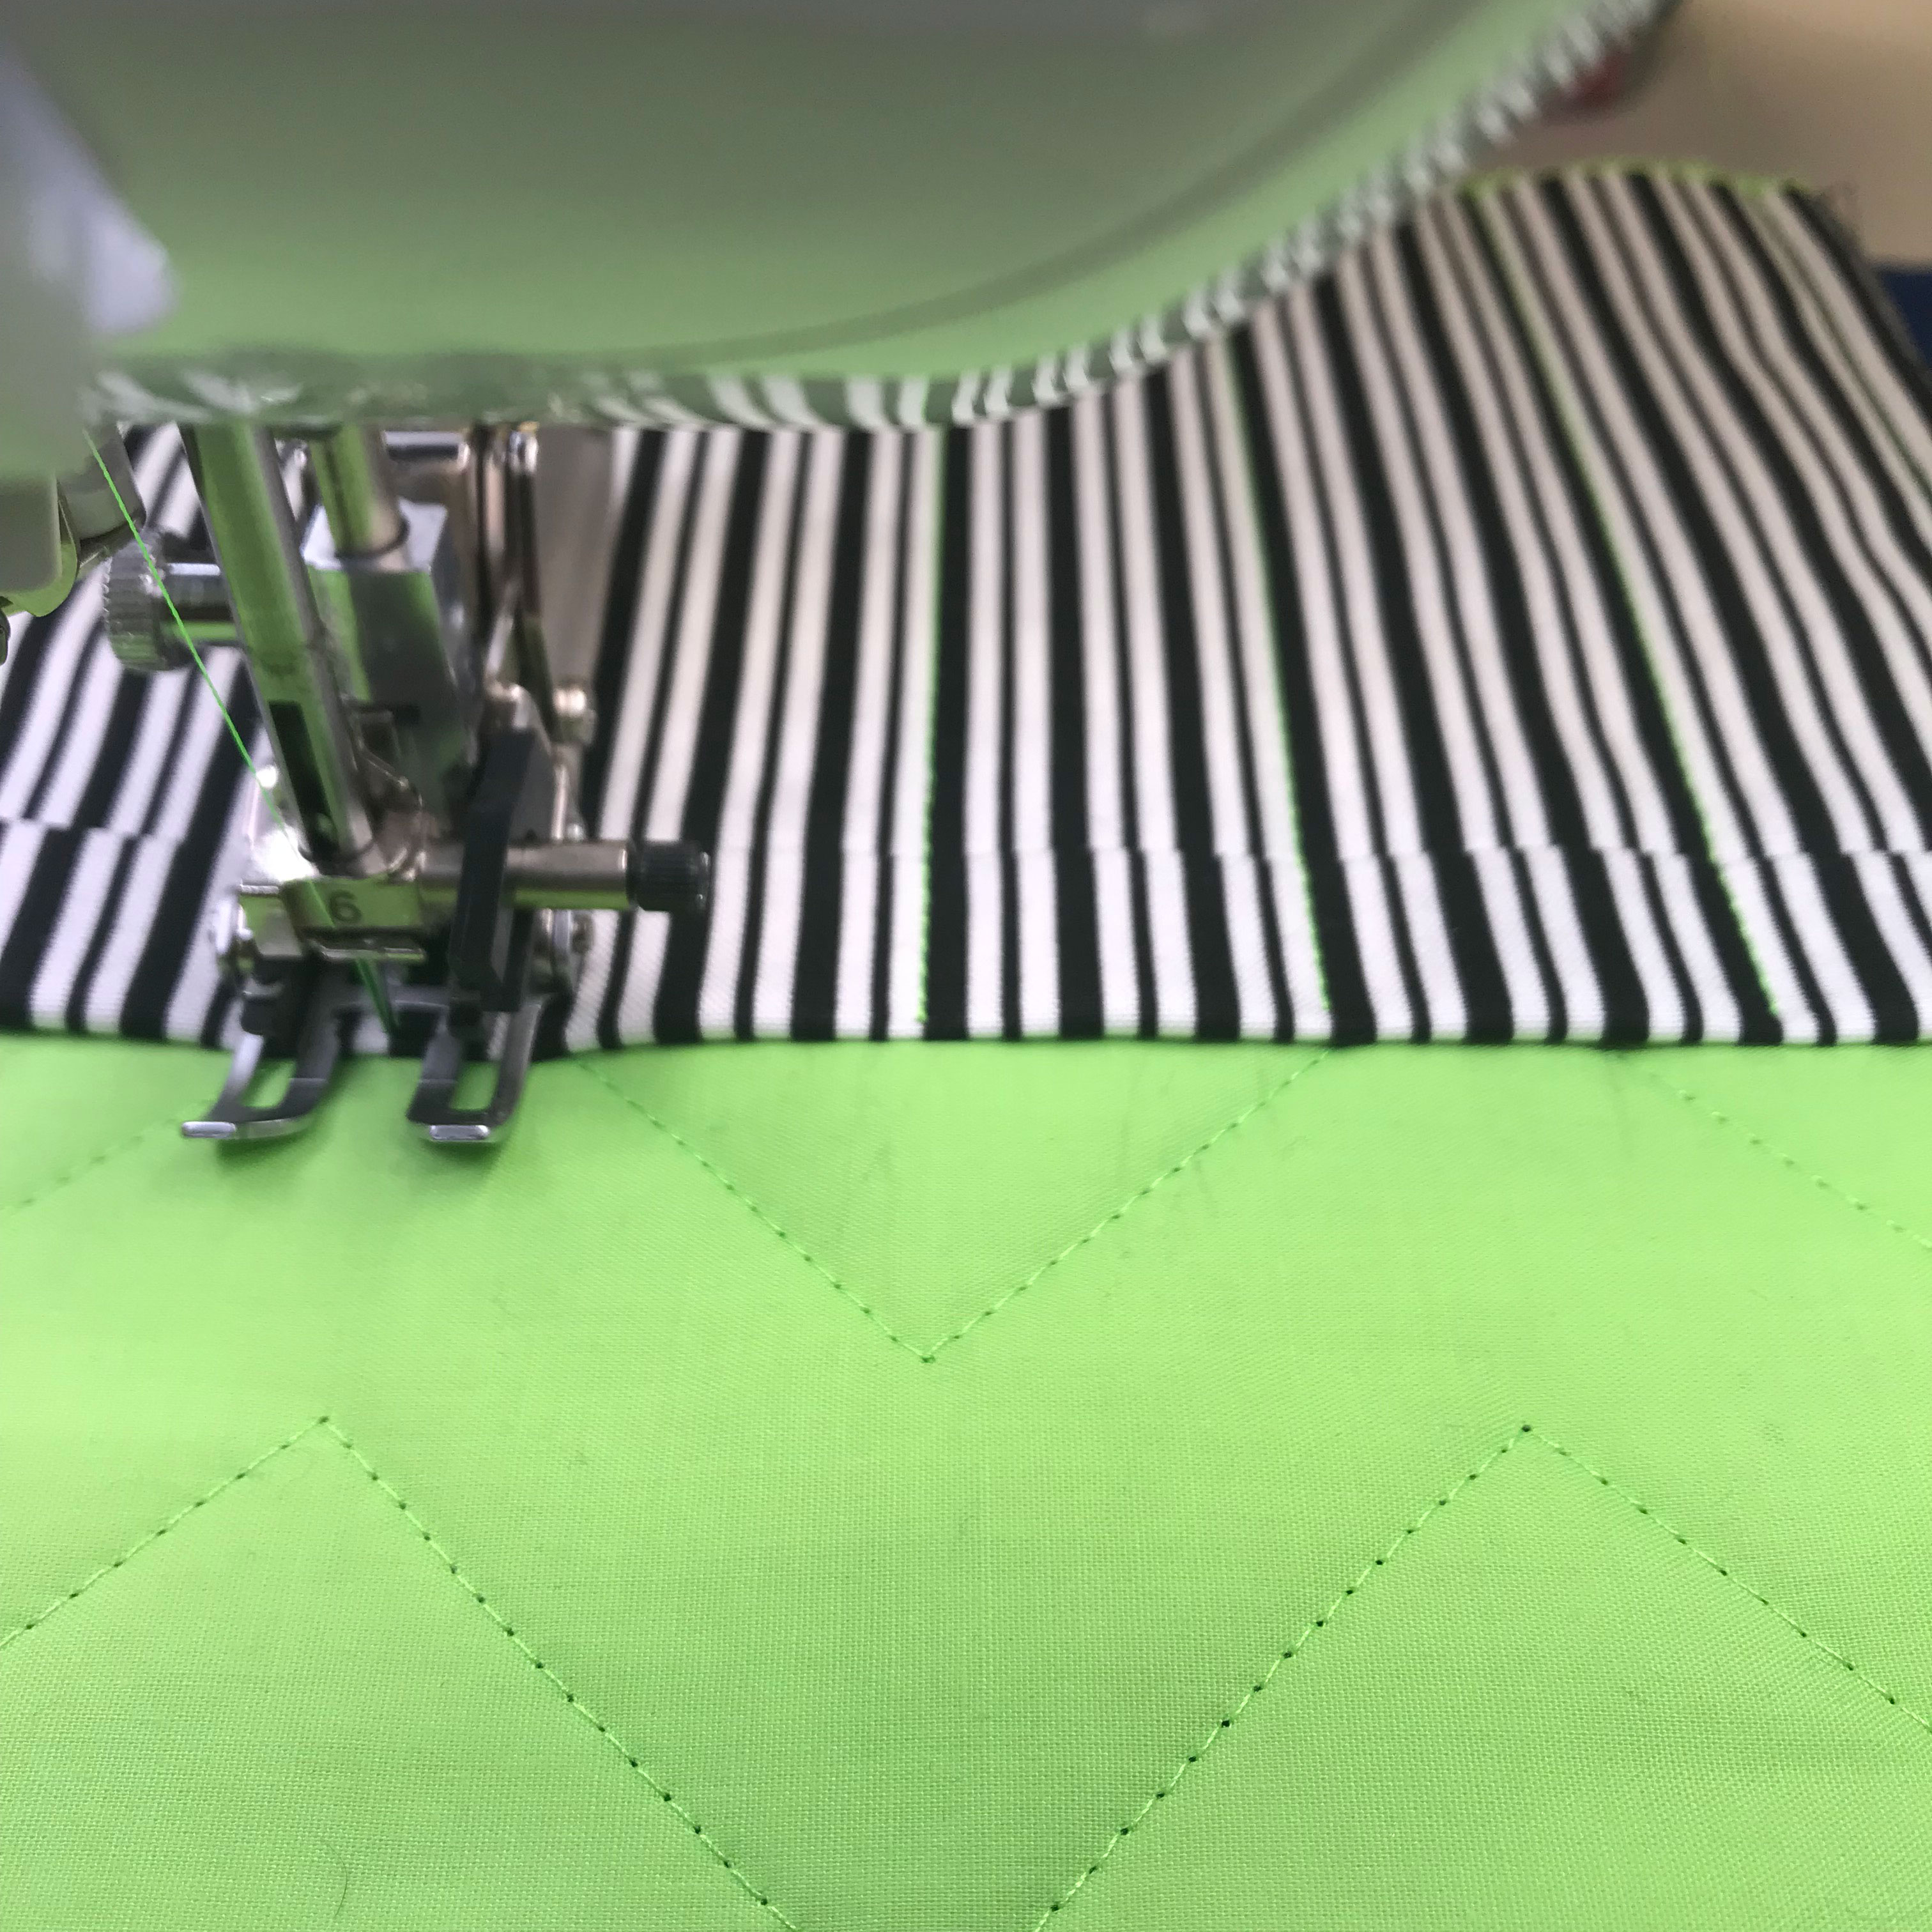
7. Stitch down the striped fabric at various intervals using a Walking Foot and the thread used for quilting.
8. Cut a 2” strip from leftover fabric from one of the Fat Quarters, we used the stripe. Fold in half and iron, fold in half again and iron the raw edges into the centre of the strip.
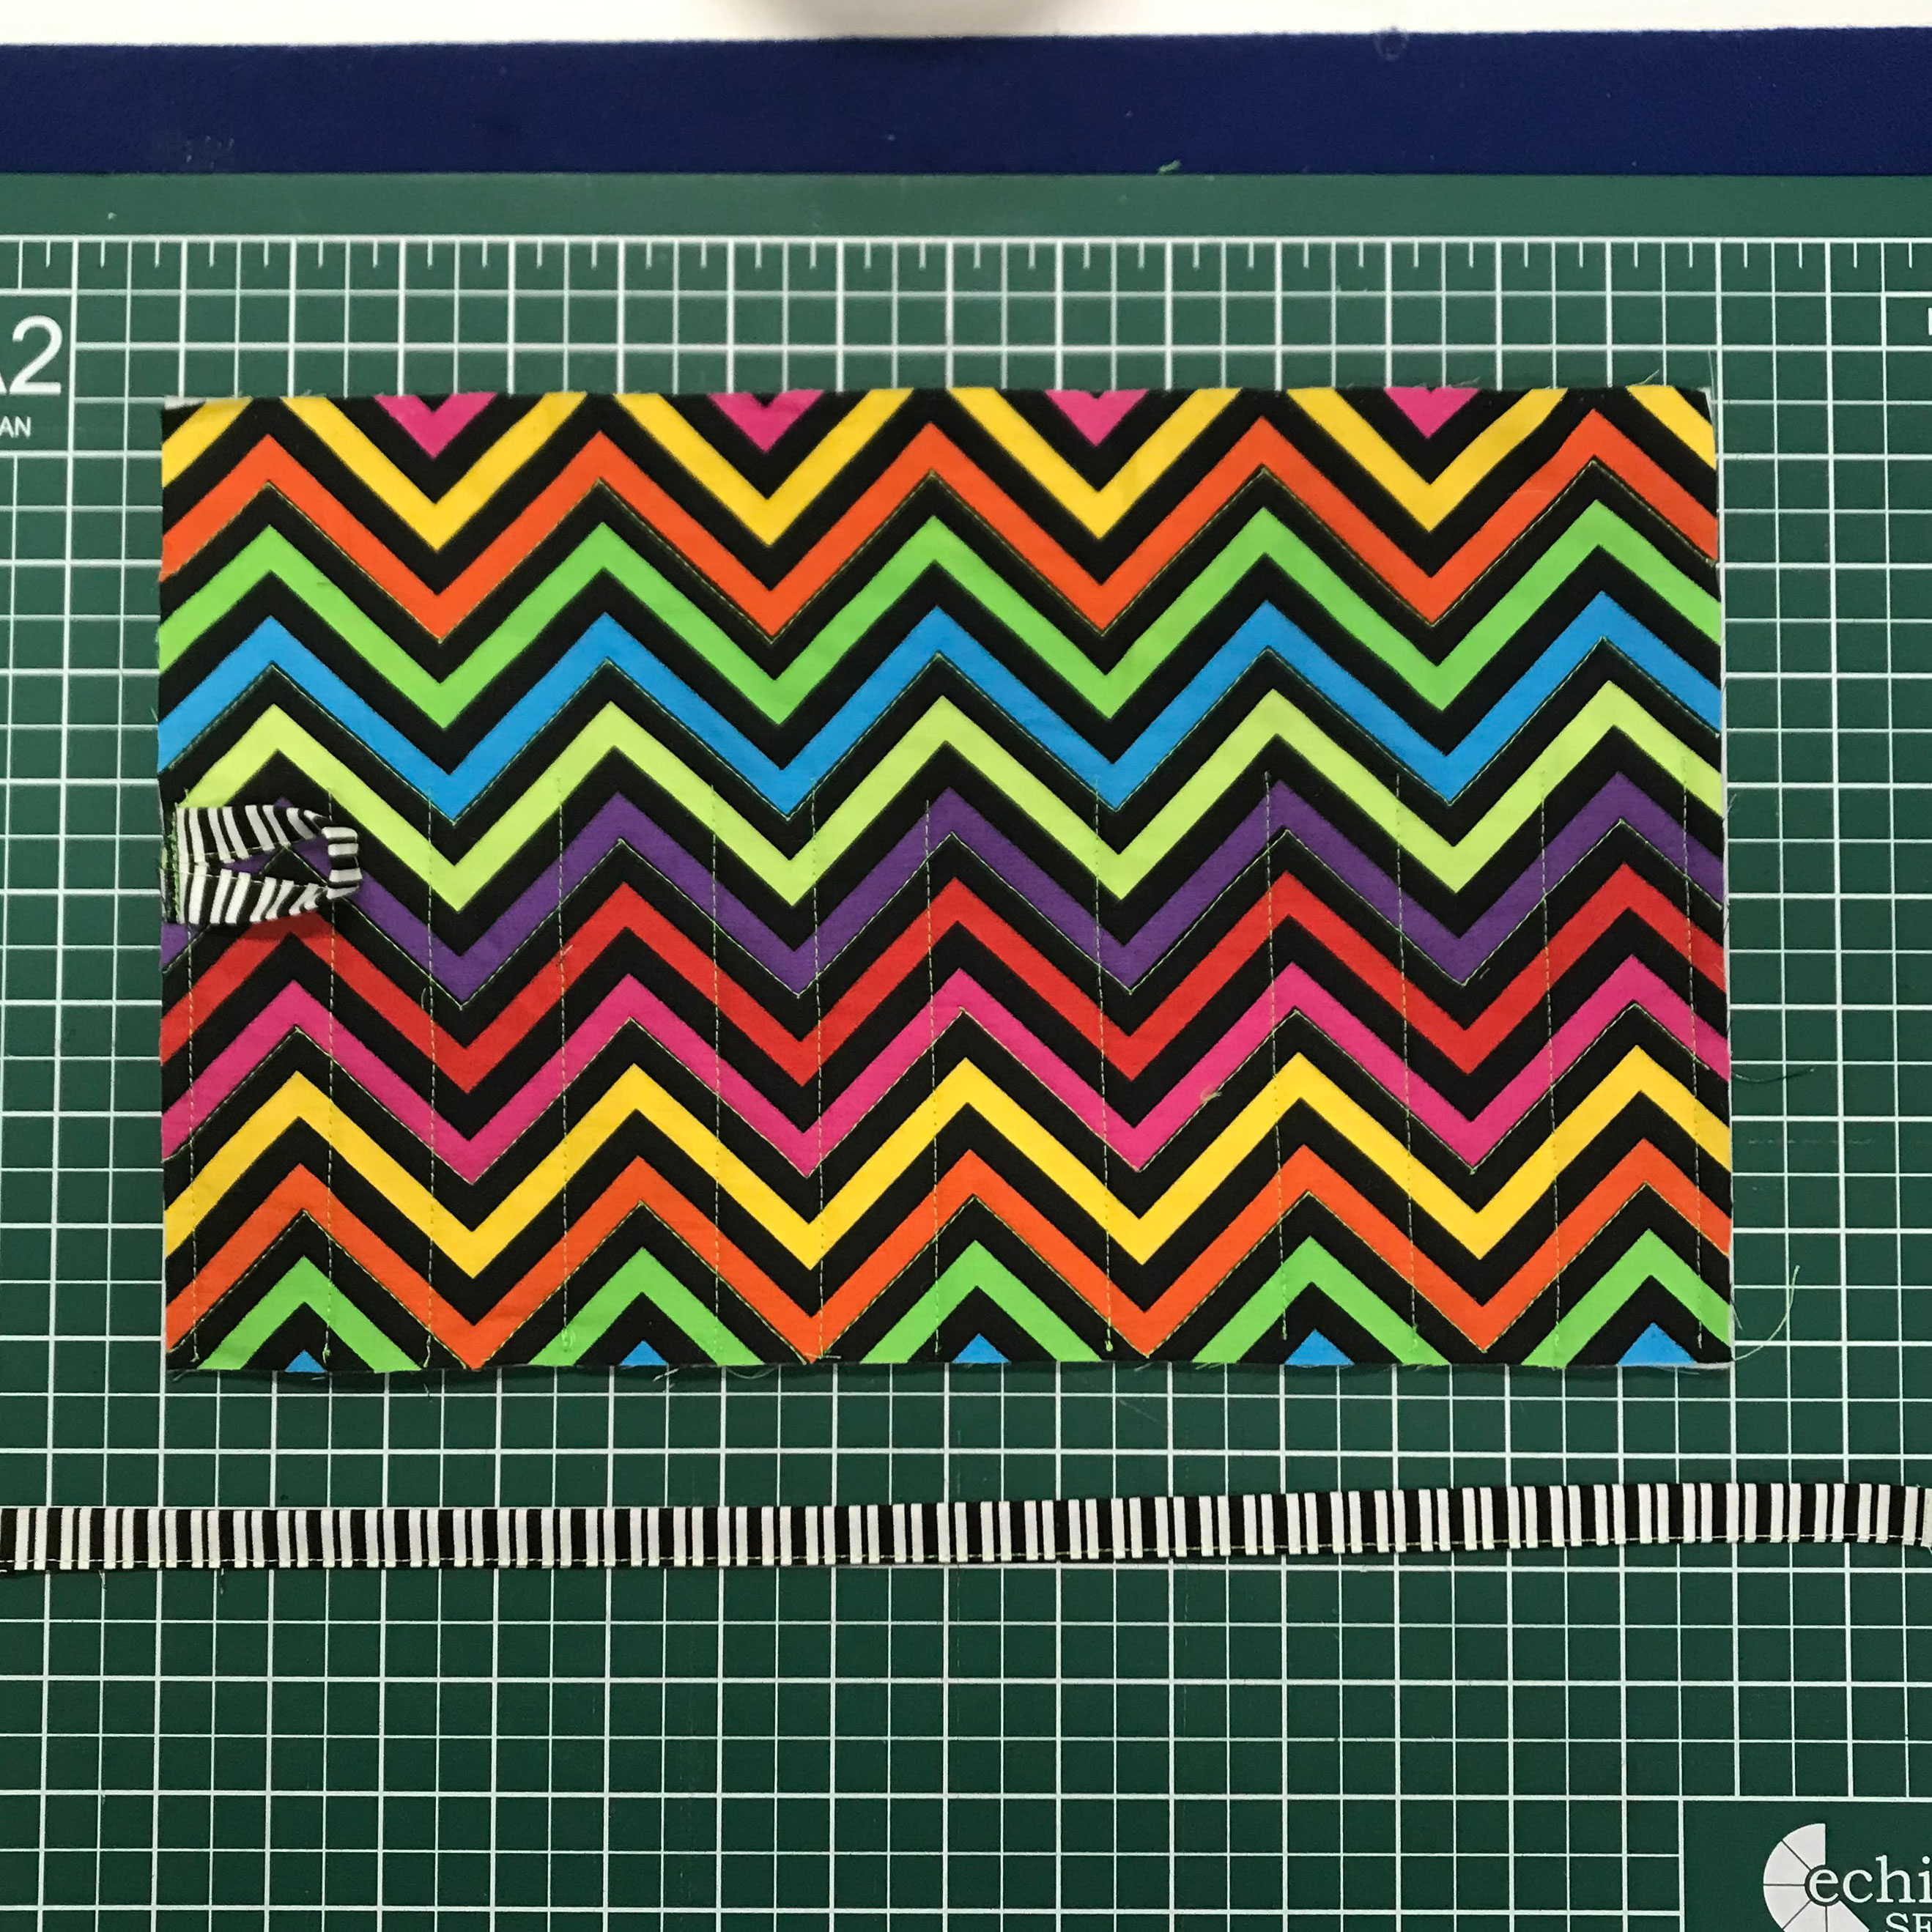
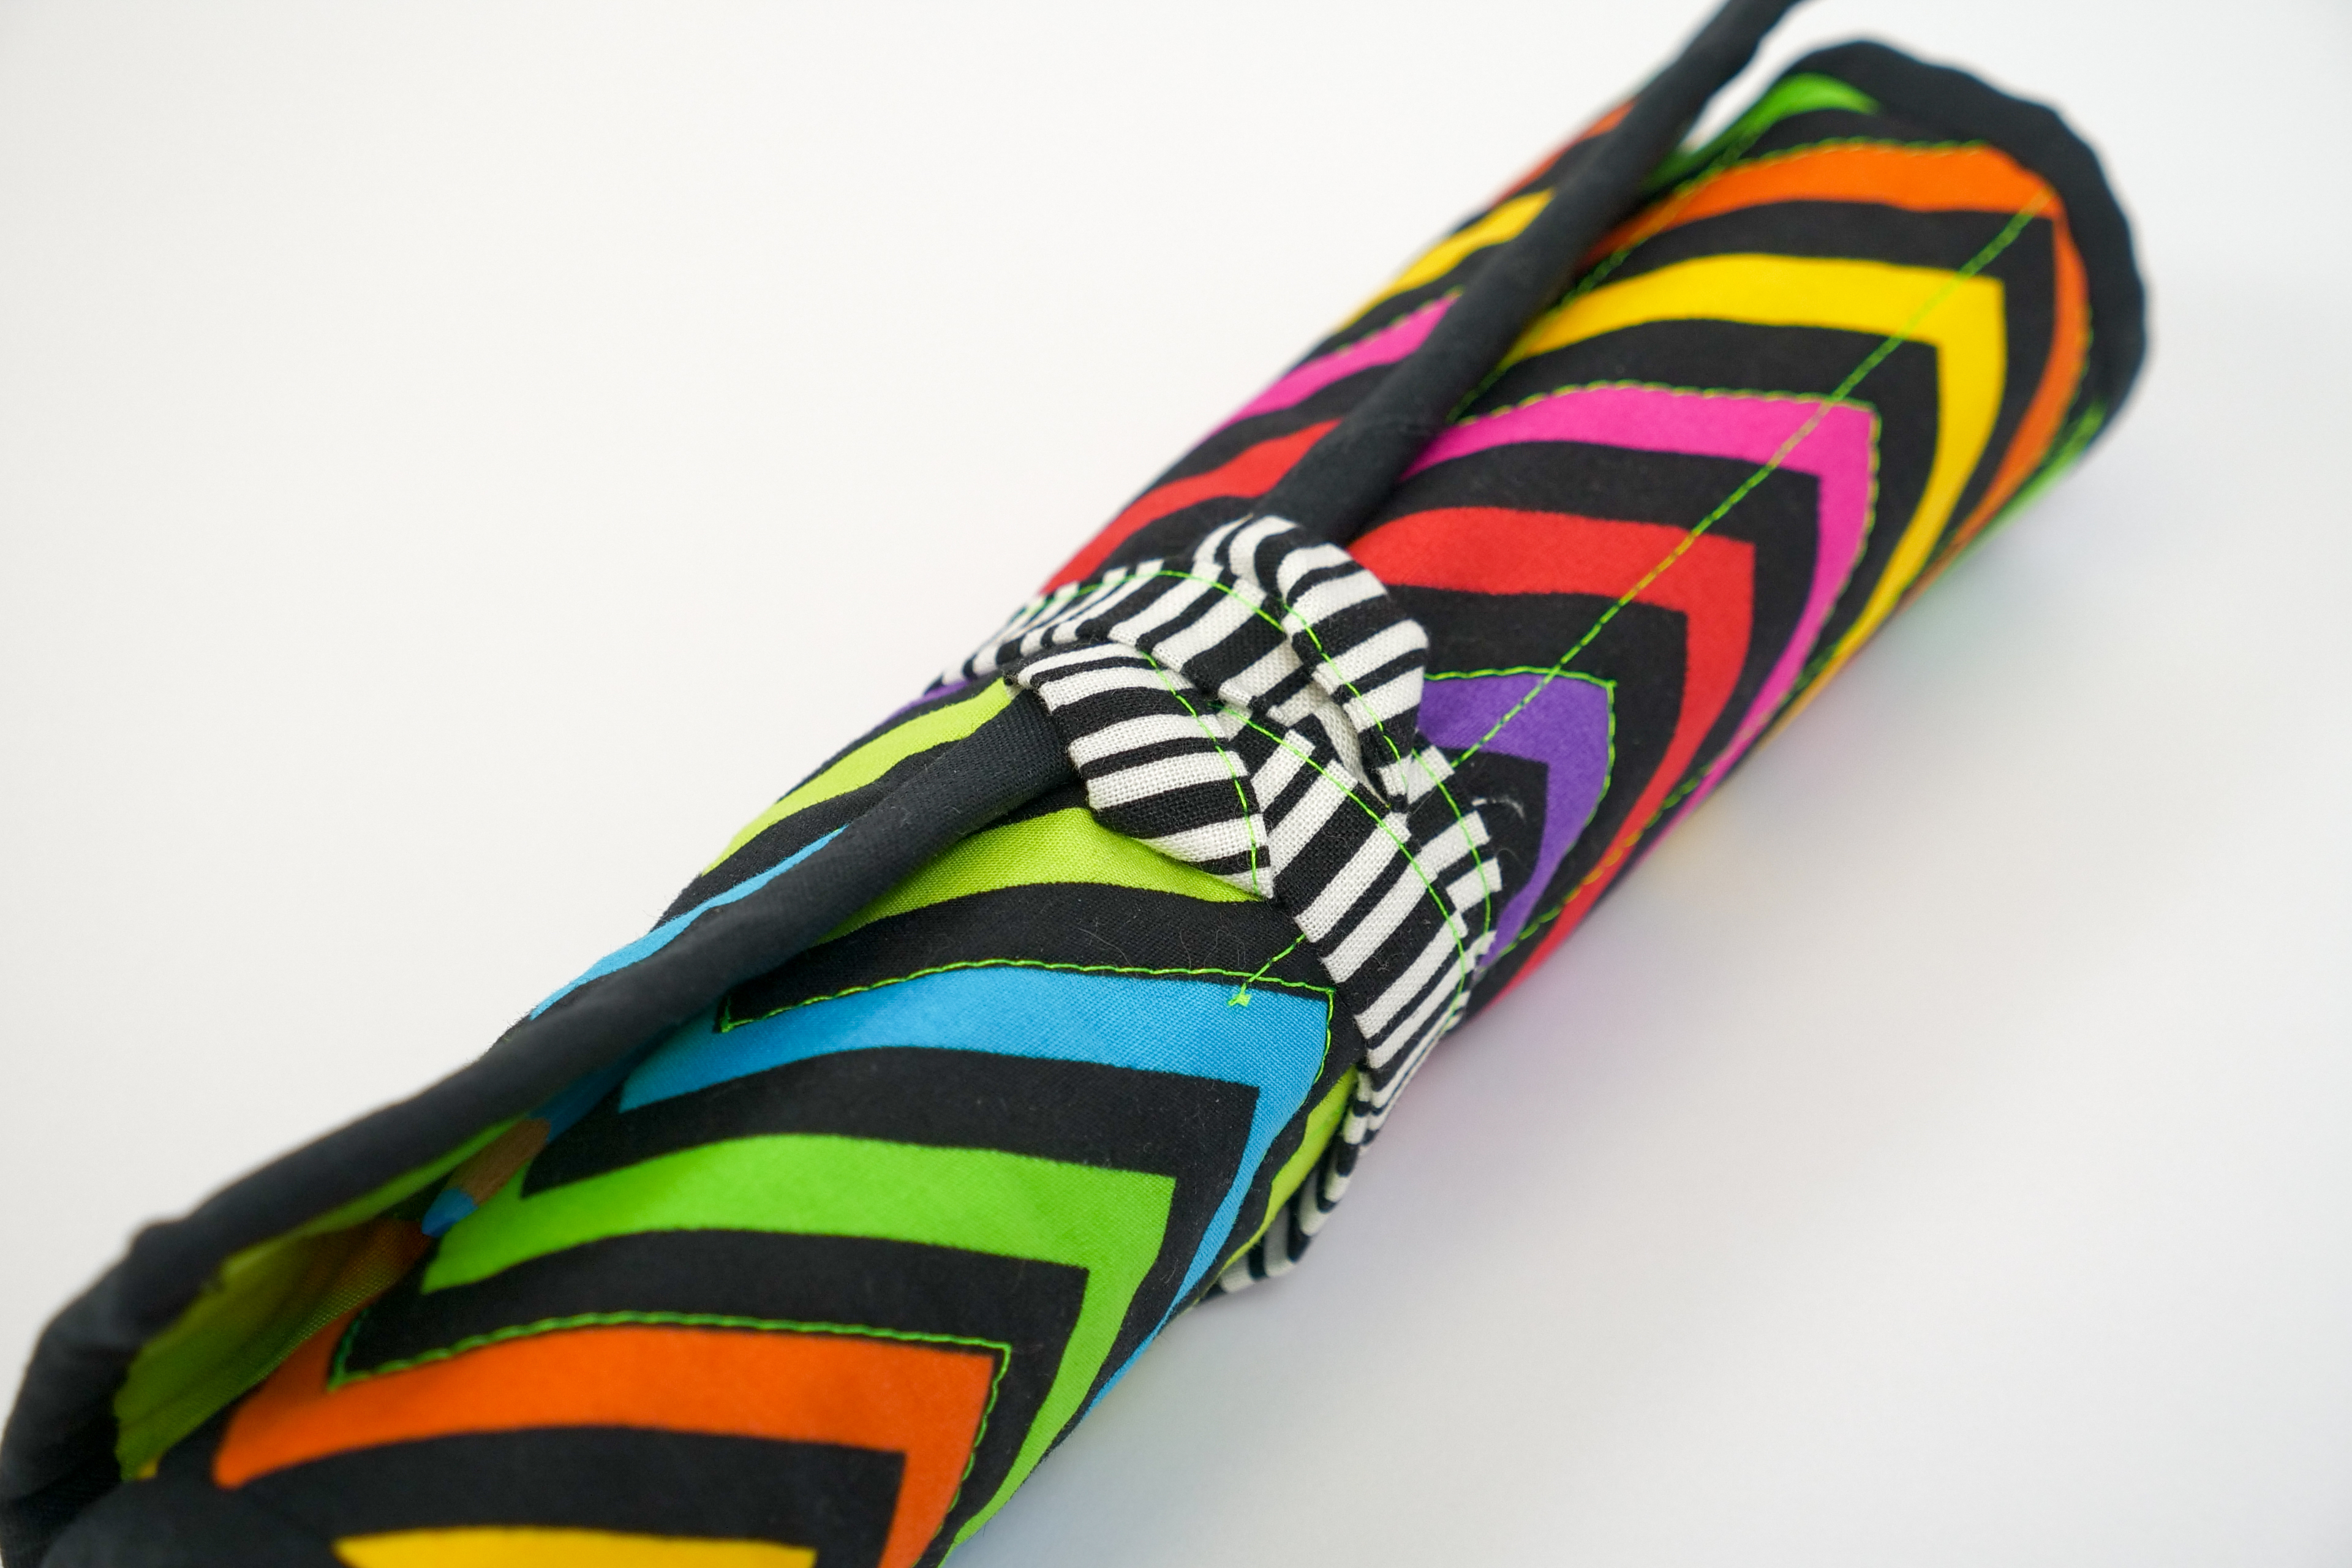
9. Create a loop by cutting 1 x 4” piece of fabric from the strip, stitch the open side together to close. Place the loop on the left side of the pencil roll in the centre of the rectangle, stitch in place.
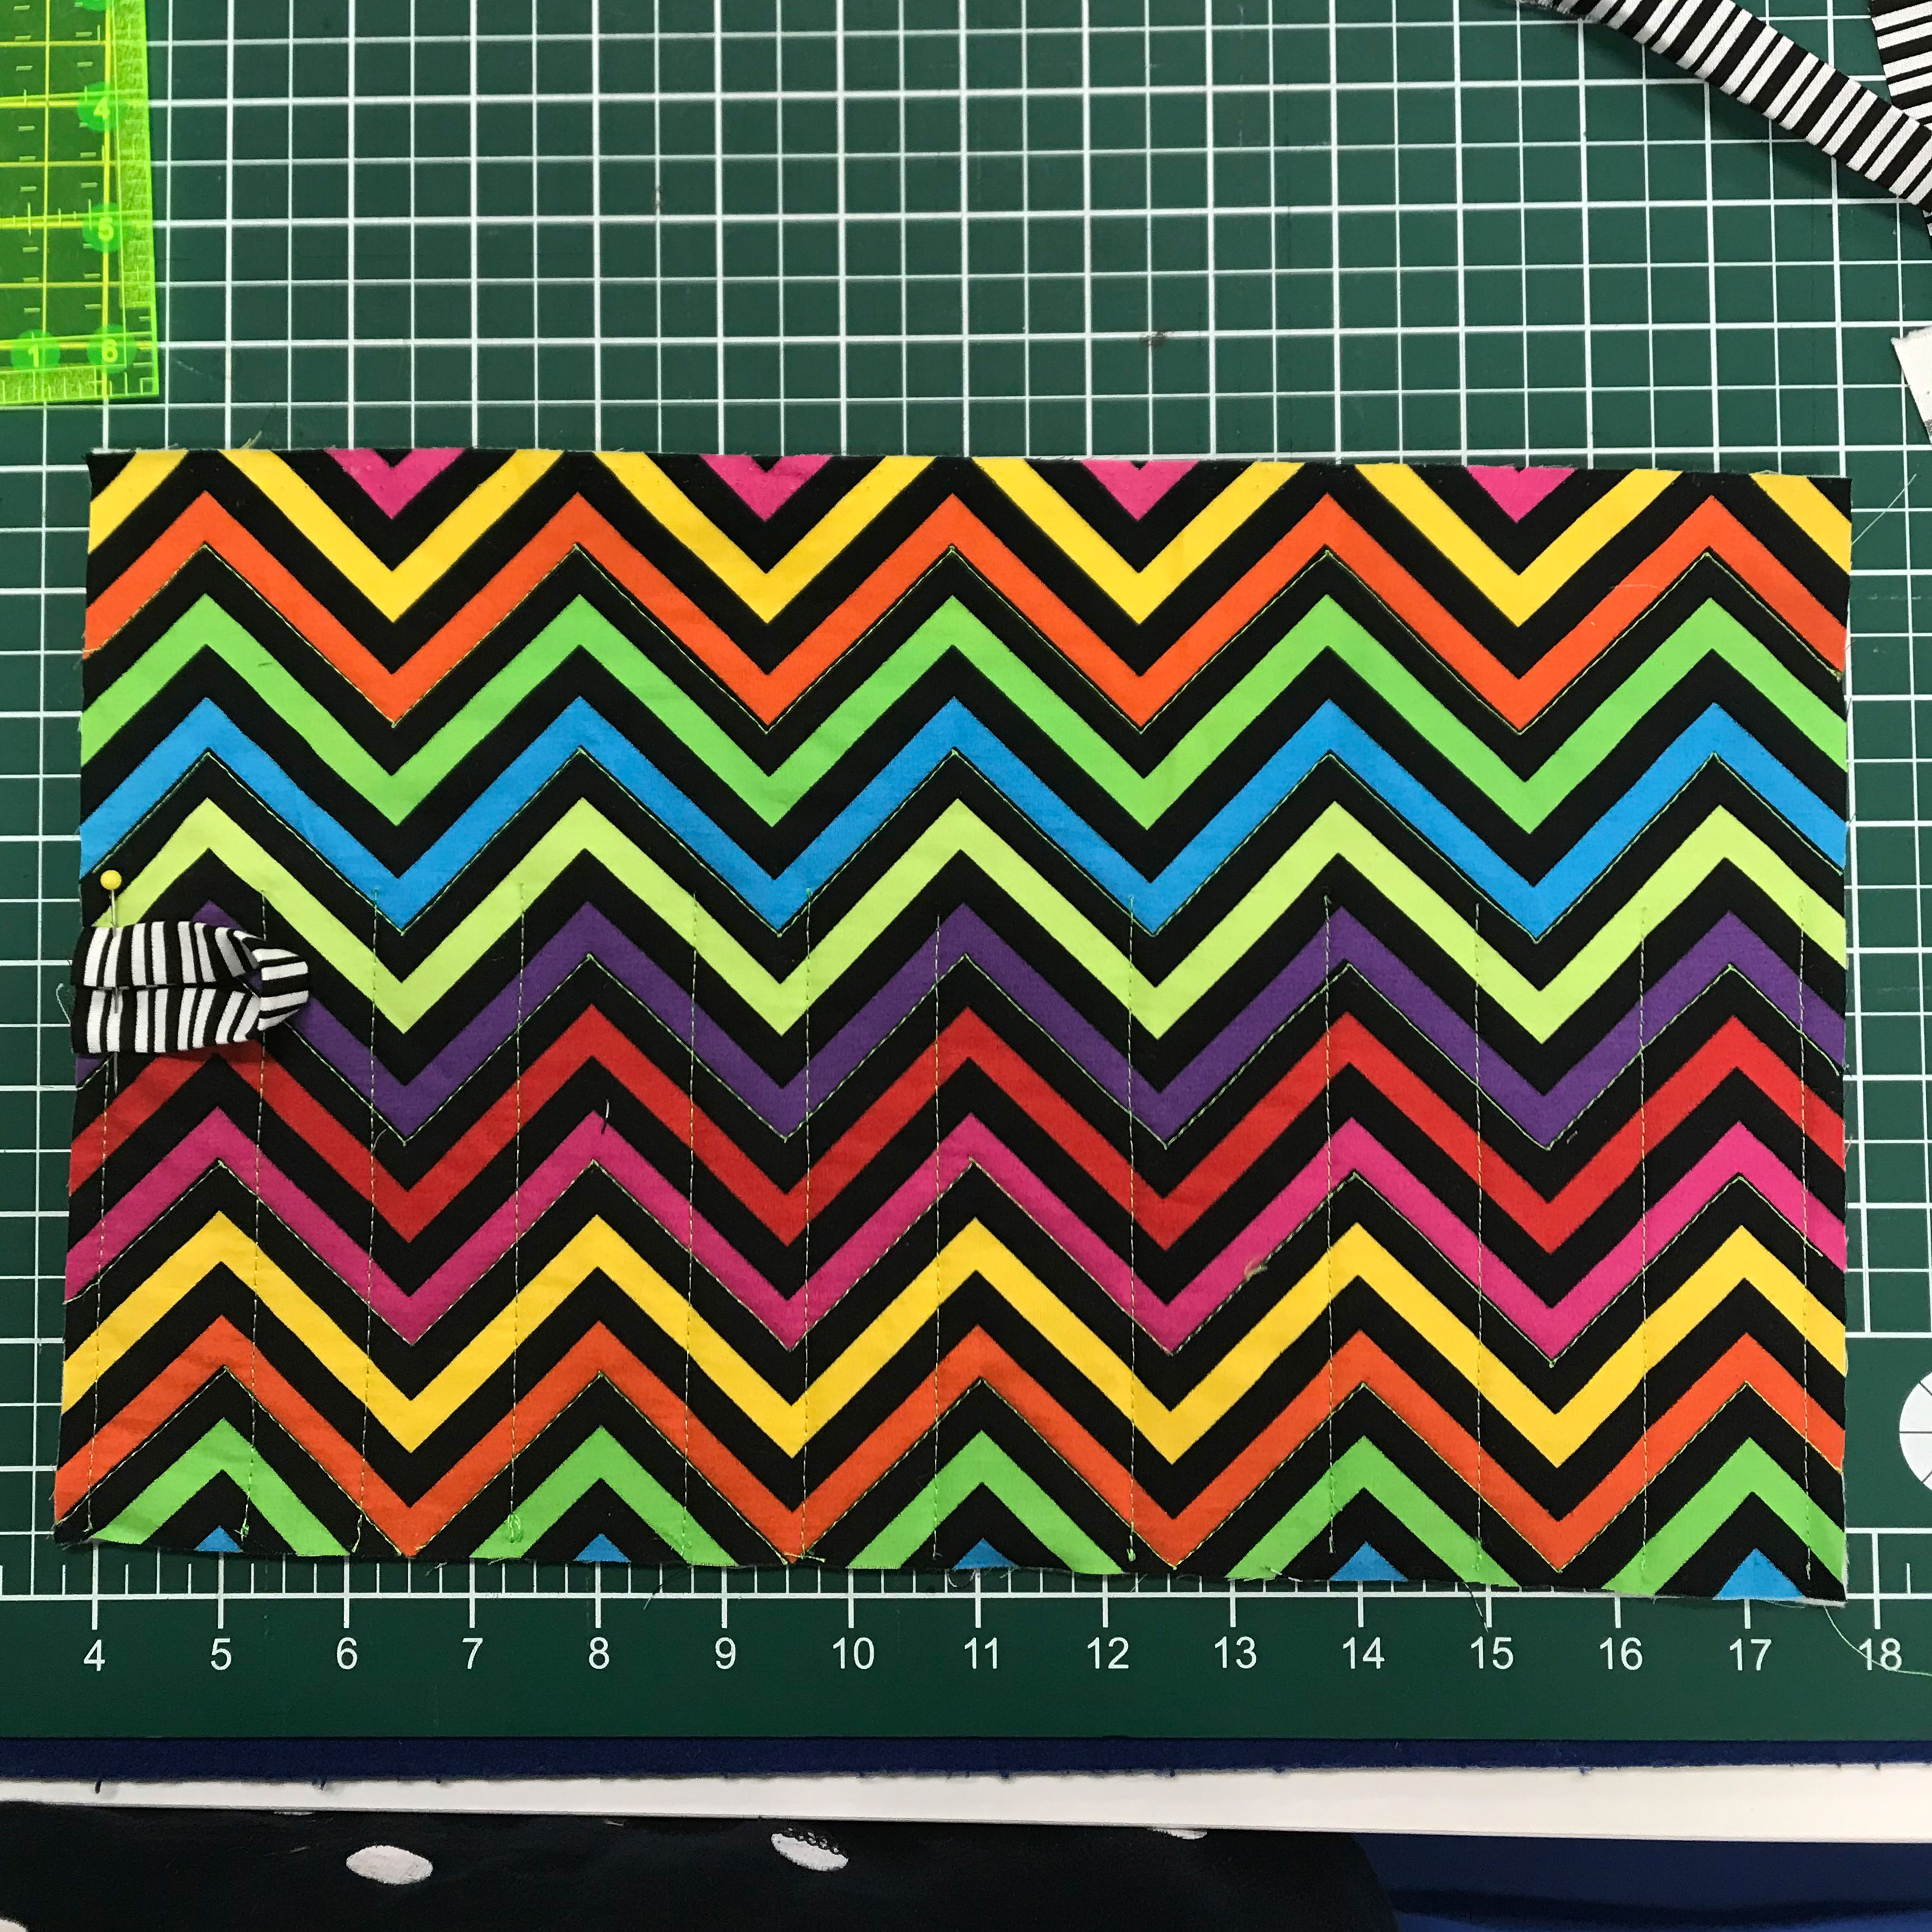
10. To create the tie, fold and iron one end of the strip into the inside of the tie and stitch the end and open side together to close. Centre the tie on the opposite side of the loop and stitch in place.
11. Cut 2 x 2 ½” strips of the black binding fabric. Join the strips together on the bias to make one continuous strip then attach using your preferred method.
12. Fill with pencils and the Pencil Roll is complete!
DONATE SOME TO A CHARITY
These pencil rolls can also be donated to charity. If you want to contribute to a great cause, the charities listed below accept handmade pencil rolls. Just send your creations in to the mailing address provided.
Are you a charity that would accept this item? Contact us to have your details added here.
Queensland
Victoria
Backpacks 4 VIC Kids
86 Camms Road
Cranbourne VIC 3977
Australia

Free Embroidery Designs
We're excited to offer our free Echidna designs available for download. These free designs are perfect for those at a beginner or an advanced level. Add these designs to your stash and create incredible embroidery!
View all free designs >
Sewing, Quilting and Embroidery Machines
Interested in learning how to sew, quilt or embroider? Take a look at the innovative Brother machines available for purchase at Echidna Sewing. Wherever possible we will beat any deal and you will always receive ongoing service and support!
Find out more >
Learn to Sew or Embroider with Echidna Sewing
Come along to our fun-filled classes to learn more about sewing, embroidery and crafting. Classes cater for all skill levels, whether you're just starting out or already have advanced knowledge.
Find out more >
Echidna project material/ fabric requirements are an indication only and can seem to be generous. This has been intentional. Should you make a cutting or embroidery mistake you will have sufficient fabric to rectify your error.
Comments (1)
Great project. Perfect for a last minute gift for
By: Rachel on 14 August 2022A good project for an afternoon.

