All Projects

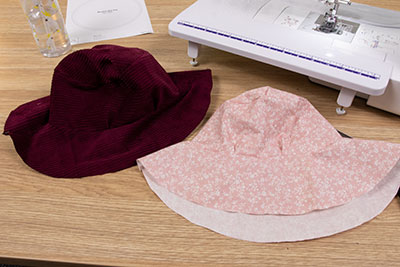


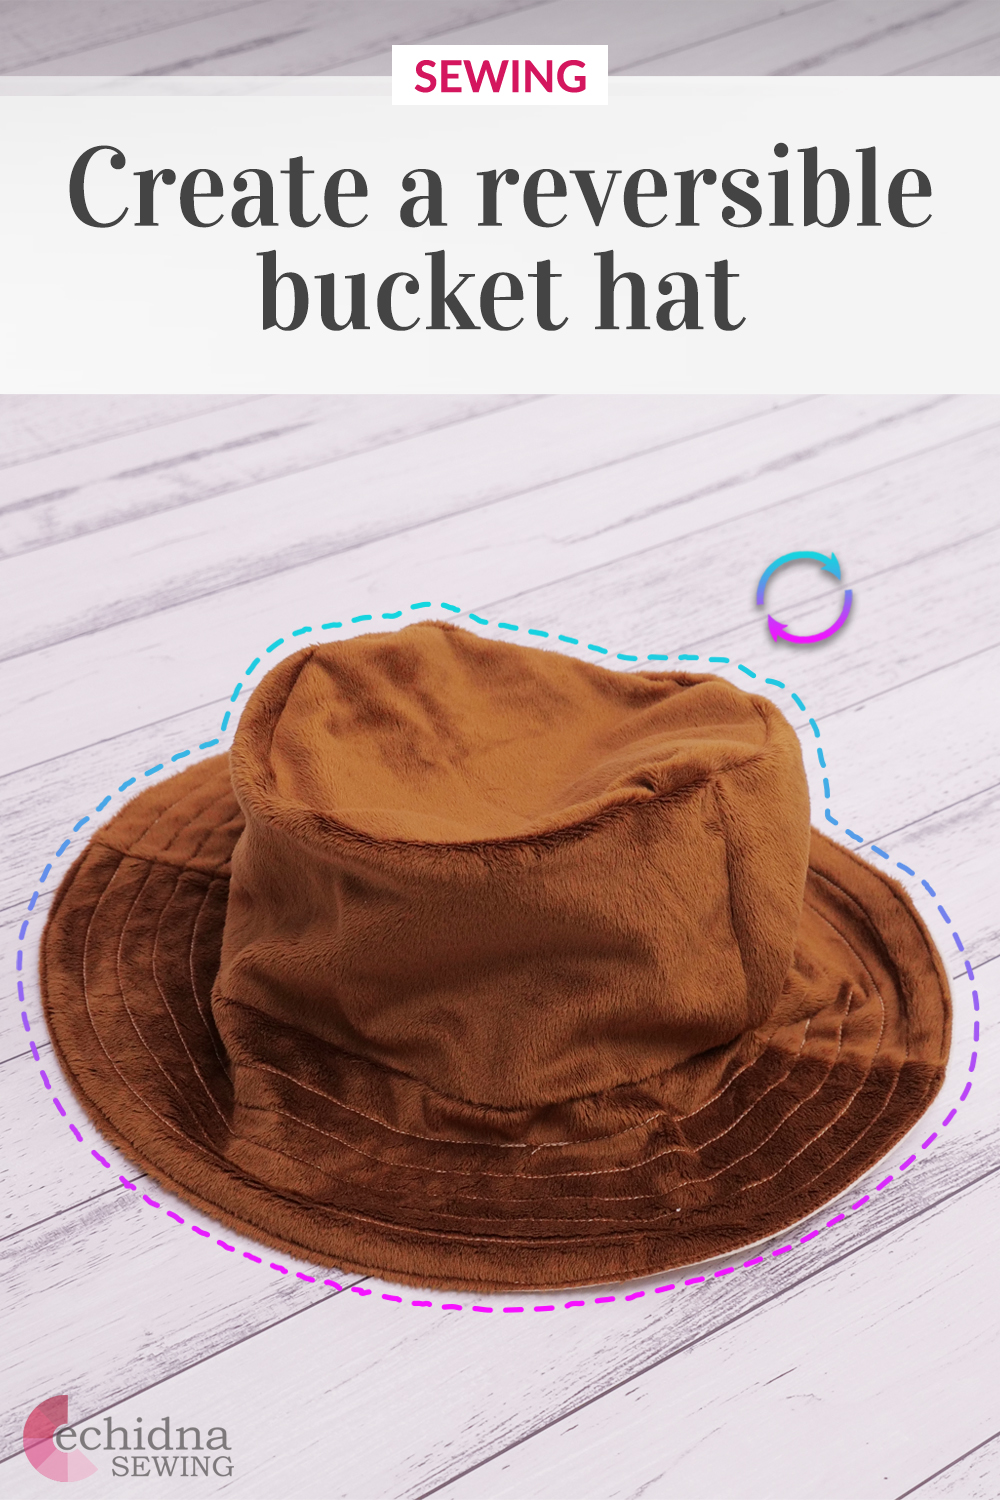
Reversible Bucket Hat
Date Posted:1 August 2025
Keep yourself sun safe or complete a trendy outfit and create our Reversible Bucket Hat project! Get creative and make your hat unique choosing your own funky fabrics or adding embroidery.
Machines Used
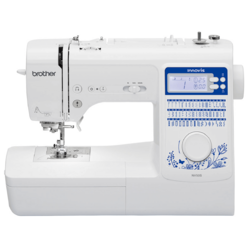
- Brother NV50S Sewing Machine
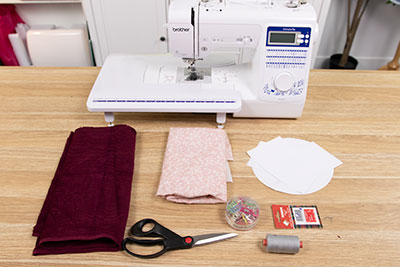
What you'll need:
- Sewing machine
- Cotton thread (in your colour choice)
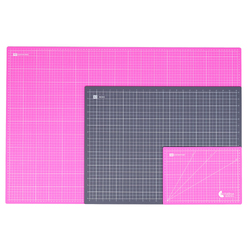
- Good quality scissors (or a rotary cutter + mat)
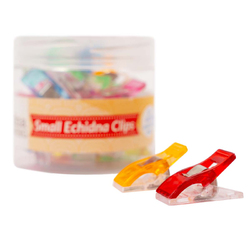
- Pins, clips or weights for cutting fabric pieces out
- Fabric 1 - for one side of the hat
- Fabric 2 - for the second side of the hat
- Iron
- Pencil/tailors chalk
- Overlocker (optional)
- Bucket Hat pattern
Tip: Don't have an overlocker? Use a built-in zig zag stitch on your machine to finish off the edges to stop the fabric from fraying.
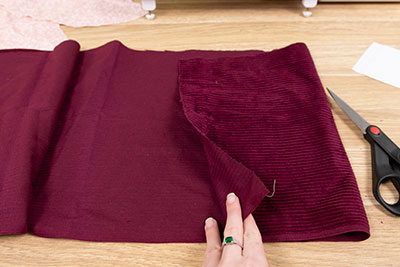
We like to use denim or corduroy for our second fabric as it provides a bit of stiffness and shape to the hat. On the other side, you can use essentially any patterned or plain cotton fabric. If you decide to make your hat out of mink, velvet or faux fur, it’s probably best to do both sides in that same fabric. Optional: If you want to add embroidery onto your reversible bucket hat, make sure you add your embroidery to the respective side of the hat, BEFORE you sew the two hat pieces together.
Instructions:
1. Start by making sure you have your pattern pieces printed to the appropriate scale, otherwise your hat may be a little too big or a little too small. Cut your pattern pieces out and lay out your fabric 1.
2. Firstly, the top part of the hat only needs one piece cut out, so place your pattern piece onto a single sided piece of fabric 1. Pin the pattern down (or use weights) and use your scissors (or rotary cutter) to cut the piece out. Unpin and place aside.
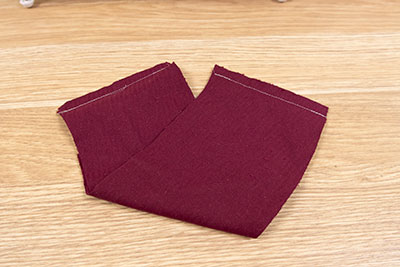
3. Now, fold over your fabric 1 so it becomes double sided. Place your brim pattern piece on the fold, pin and cut 2 brim pieces out. Do the same for the crown pattern piece, pin on the fold, and cut two crown pieces out.
4. Repeat steps 1-3 with your fabric 2. If you are not doing the reversible bucket hat, skip this step.
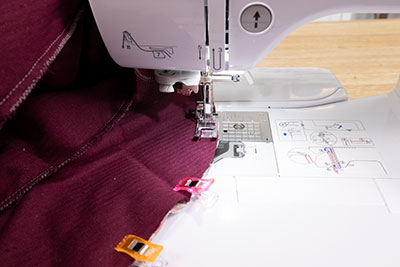
5. Pin your crown pieces together - right sides together, and sew the short edges together. Repeat for fabric 2. Optional: overlock the seams you just sewed.
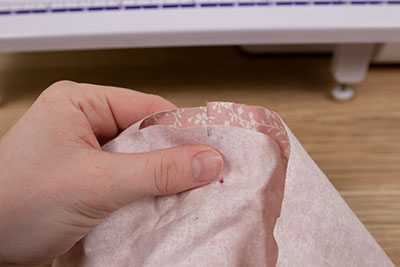
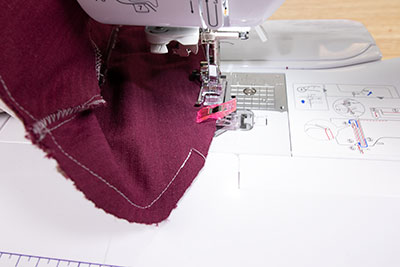
6. Pin your fabric 1 crown piece to your fabric 1 top piece. Align the mid-points of the top piece, with the seams of the crown pieces. We recommend doing this by folding the top piece in half and marking the mid way points with a pencil or some tailor's chalk. Then, match up those four points around the top piece with the crown piece. This step is best done slowly, using small pins to pin every little bit of fabric together as if not done carefully the fabric won’t match up. Note:If you find that your top piece is a little big for the crown pieces, either cut down the circumference of the top piece, or fold over the fabric and sew a small dart-like fold into the crown.
Sew the crown piece to your top piece. Repeat for fabric 2.
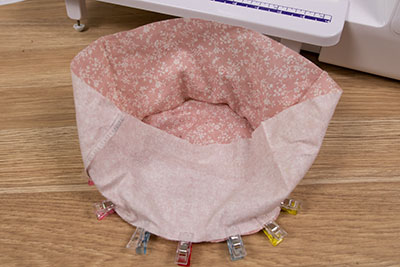
7. Pin your fabric 1 Brim pieces together, right sides together, and sew the short sides together. Repeat for fabric 2. Optional: Serge seams you just sewed.
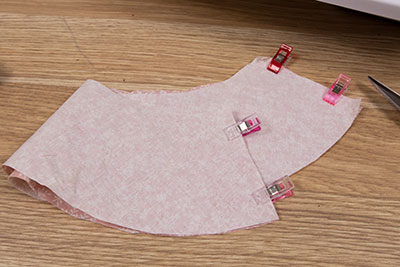
8. Pin your fabric 1 brim piece to your fabric 1 crown + top piece, matching up seams. Sew. Repeat for fabric 2.
9. Optional:This is the stage where you can add your own embroidery or beading.
10. Serge all sewn seams (or use a tight zig-zag stitch if you don’t have an overlocker/serger). Do this for both individual hats. If you’re not doing the reversible, only do it for the one. Then, turn up the edge of the brim and hem around the edge. Reversible hat instructions continue below. Non-reversible continues at step 13.
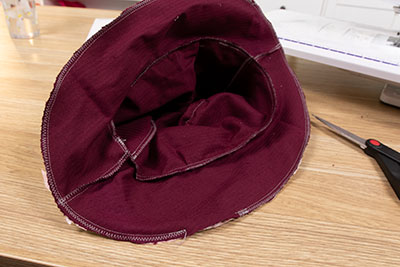
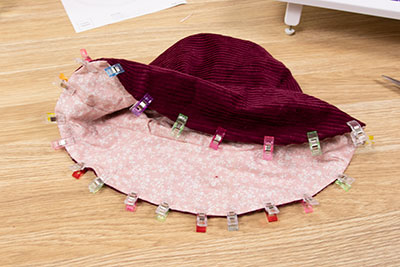
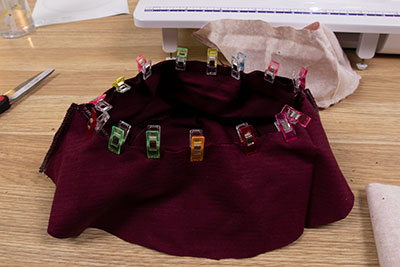
11. With right sides together, pin both hat pieces together matching up seams. Sew around 1.5cm from the outside of the brim. Important! Leave a small opening at the end of your project so you can turn it right way out. Overlock/serge edge.
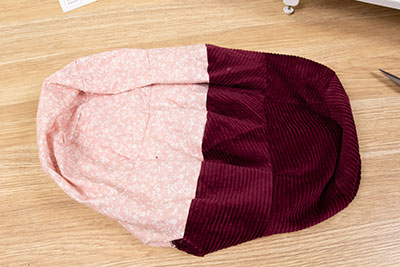
12. Turn the hat the right way out, smoothing out the seams and moulding the fabric together. Fold in the opening in the brim and pin. Press the brim flat with an iron (low setting).
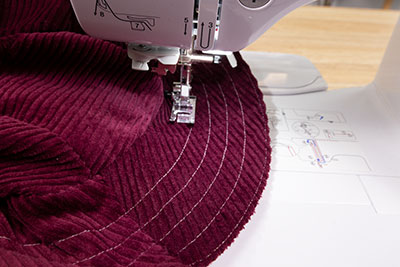
13. Pin your brim down so it doesn’t move when you do the next step. I’d pin the fabric together all the way around the brim. Starting from the outside, sew a straight line as close to the edge as possible all the way around the brim.
14. Move your needle to approx 1.5cm away from your last stitch line (towards the crown of the hat) and sew another straight line all the way around. Repeat this process until you get to the seam where the crown attaches to the brim. Sew one last round on the brim and crown seam. This solidifies the brim and makes it sturdy.

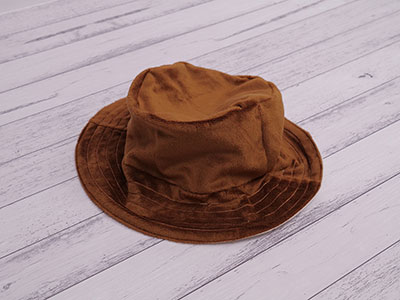
15. Trim any excess thread or singe the edges so it won’t fray away or unthread.
16. Done!
Don’t forget to show us your finished projects on Instagram or Facebook #echidnasewing #madebyme
DONATE SOME TO A CHARITY
These bucket hats can also be donated to charity. If you want to contribute to a great cause, the charities listed below accept handmade bucket hats. Just send your creations in to the mailing address provided.
Are you a charity that would accept this item? Contact us to have your details added here.
Queensland
South Australia
Barossa Wildlife Rescue
Address:
PO BOX 54
Freeling SA 5372


Free Embroidery Designs
We're excited to offer our free Echidna designs available for download. These free designs are perfect for those at a beginner or an advanced level. Add these designs to your stash and create incredible embroidery!
View all free designs >
Sewing, Quilting and Embroidery Machines
Interested in learning how to sew, quilt or embroider? Take a look at the innovative Brother machines available for purchase at Echidna Sewing. Wherever possible we will beat any deal and you will always receive ongoing service and support!
Find out more >
Learn to Sew or Embroider with Echidna Sewing
Come along to our fun-filled classes to learn more about sewing, embroidery and crafting. Classes cater for all skill levels, whether you're just starting out or already have advanced knowledge.
Find out more >
Echidna project material/ fabric requirements are an indication only and can seem to be generous. This has been intentional. Should you make a cutting or embroidery mistake you will have sufficient fabric to rectify your error.


