All Projects


Heat Packs
Date Posted:20 April 2022
Create a heat pack for yourself or someone else! A heat pack is great to have at home for a variety of uses like aching muscles or stiff joints on a cold day. This project is perfect for any level of sewist, from beginner to advanced.
We have included instructions for both a Heat Pack with Channels and a Heat Pack using an Outer Removable Cover.
This tutorial is for educational purposes only. Wheat/rice bags must be used with care. Always use 100% cotton fabric and dry, clean filling. Heat in short intervals (30–60 seconds at a time) and check temperature before applying to skin. Do not overheat. Microwaves vary in strength. Do not use on infants, young children, or anyone unable to remove the bag themselves. Discontinue use if you notice a burning smell or damage. Use at your own risk.
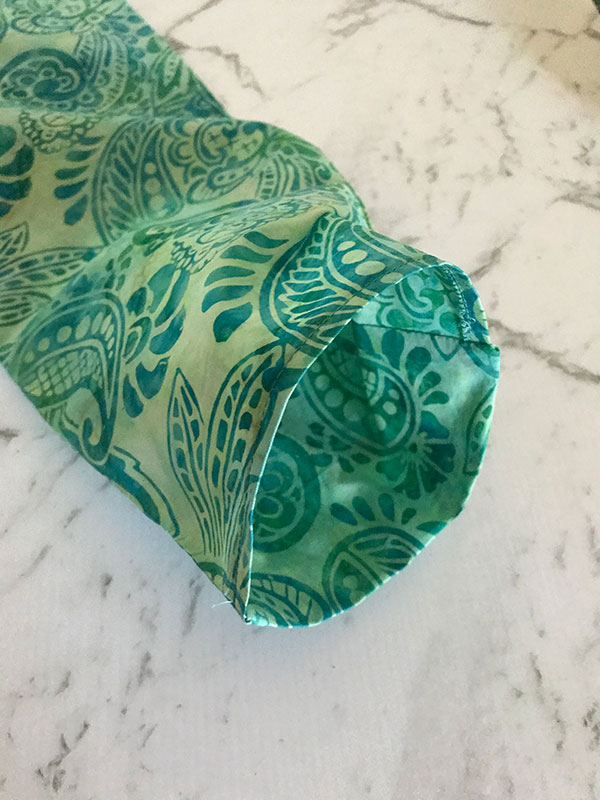
Heat Pack with Channels
MATERIALS NEEDED
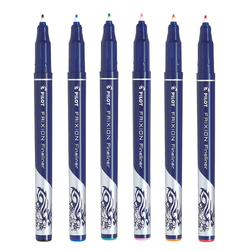
- 2 x pieces of 100% cotton fabric measuring 42cm x 16cm
- 100% cotton thread
- Microwave safe grain such as rice or wheat
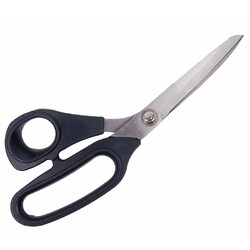
- Scissors
- Thread snips
- Steam iron
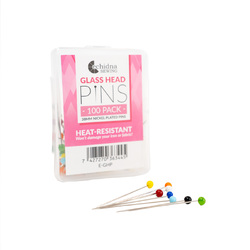
- Dressmaking pins
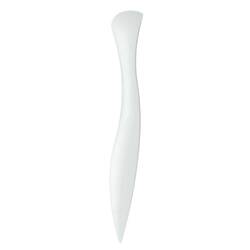
- Point turner or flathead screwdriver
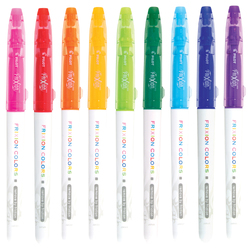
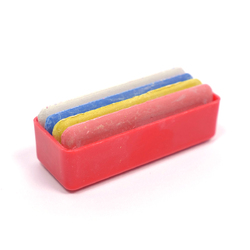
- Tailor's chalk or erasable fabric marker
- A4 piece of paper or plastic funnel
Please note: It is important to use 100% cotton fabric and thread, as polyester has the potential to warp, shrink, or even partially melt when heated.
Shop Online:


Step Overview
The steps below are just an overview of the project instructions and must be used in conjunction with the tutorial video. Print these steps out to have beside you when watching the video as a reminder.
Attaching the bag faces
- Place both pieces of cotton together with the right sides facing each other.
- Elect one of the shorter sides to have a 5cm gap located in the centre for pouring in our grain filling at a later stage. Mark the gap with chalk or marker.
- Pin together both pieces of fabric around the entire perimeter.
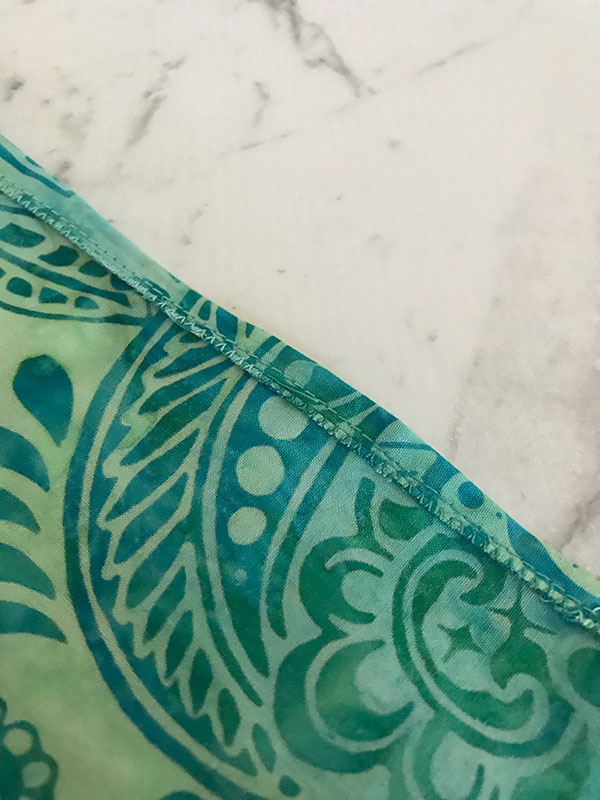
- Using a 1cm seam allowance, begin sewing at one end of the mark you have made for the gap, ensuring you begin with a backstitch. Continue sewing around the entire perimeter of the rectangle until you reach the second mark of the gap. Ensure you backstitch at the end as well.
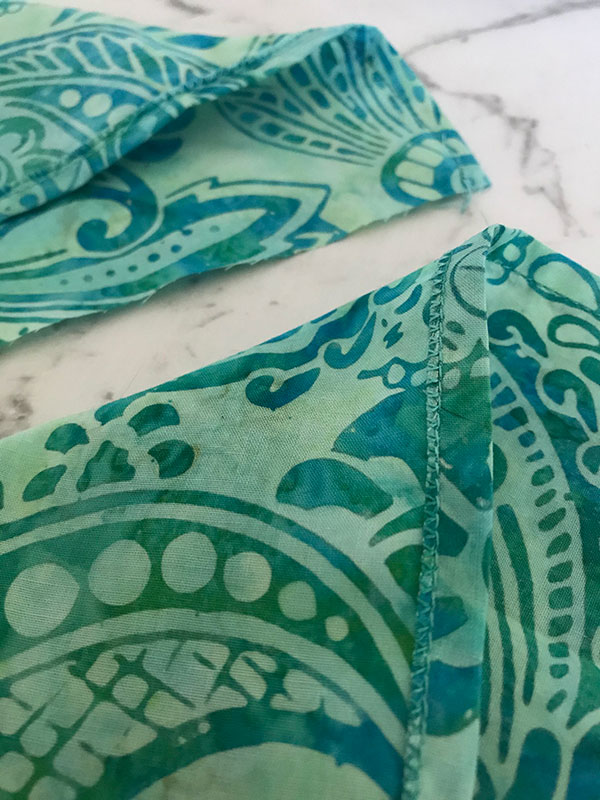
- Cut or clip the 4 right-angle corners of our rectangle, being careful not to cut too close or through the stitches, to reduce bulk when turning the wheat bag through.
- Turn the wheat bag right side out through the 5cm gap. Use a point turner or blunt tool like the tip of a flathead screwdriver to push the corners out so they sit neatly and don't look rounded or bulky.
- Roll all of the sewn edges back and forth between your fingers to move the seam to the edge of the fold so the bag turns out fully.
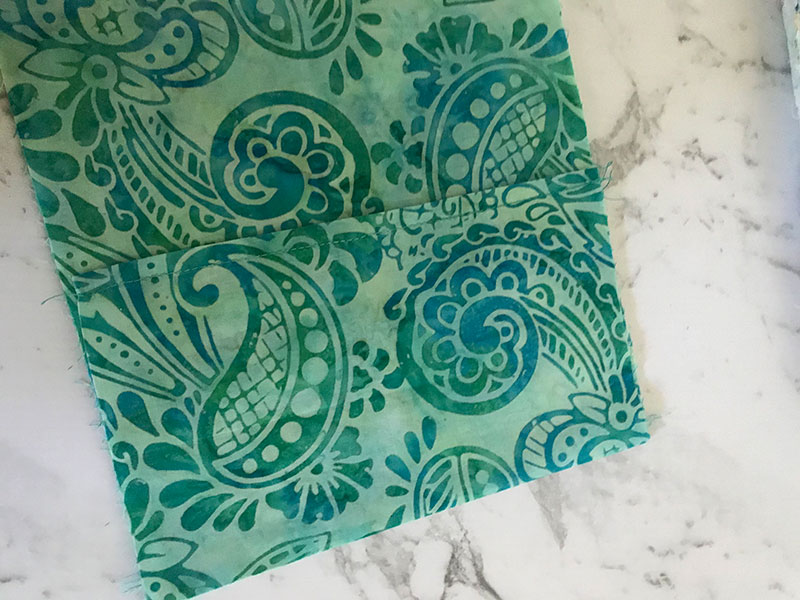
- Press the seams flat so the edges look crisp and the opening we have yet to sew closed has its seam allowance tucked under correctly.
- Align the fabric edge with the outside of your foot and topstitch around the perimeter of the bag except for where the gap is marked. Ensure you start and finish with a back tack.
Sewing distribution channels
Tip: Test your chalk first before using it as some chalk and fabric combinations do not always allow for the chalk to disappear entirely.
- Using your marker or chalk, mark a line dividing the rectangle wheat bag in half lengthways. We do this by folding it in half to create a crease and using an erasable pen to mark it.
- Mark an additional line 1cm above the halfway mark and another line 1cm below.
- Now mark 2 lines dividing the bag into thirds width ways. You can do this by folding either side of the wheat bag in until they line up to find the two 1/3 points.
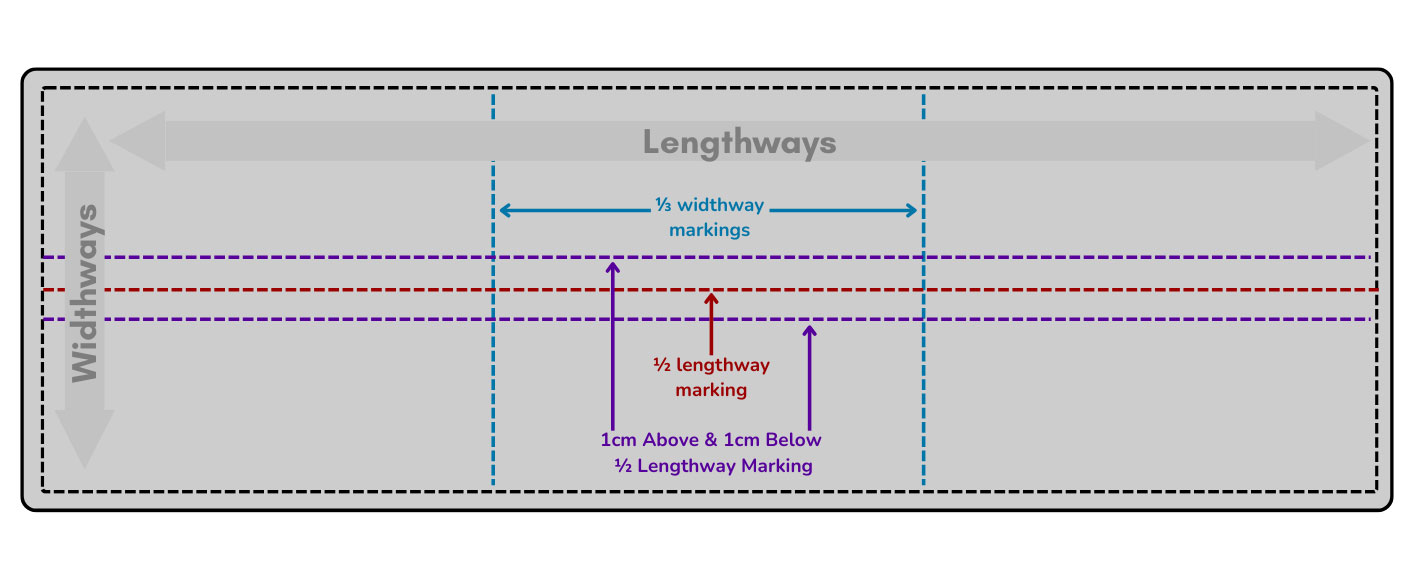
- Drop the needle down into the fabric where our top stitched seam meets the first 1/3 marking. Start with a backstitch and sew along the line down to where it meets the first line sitting 1cm above the halfway line.
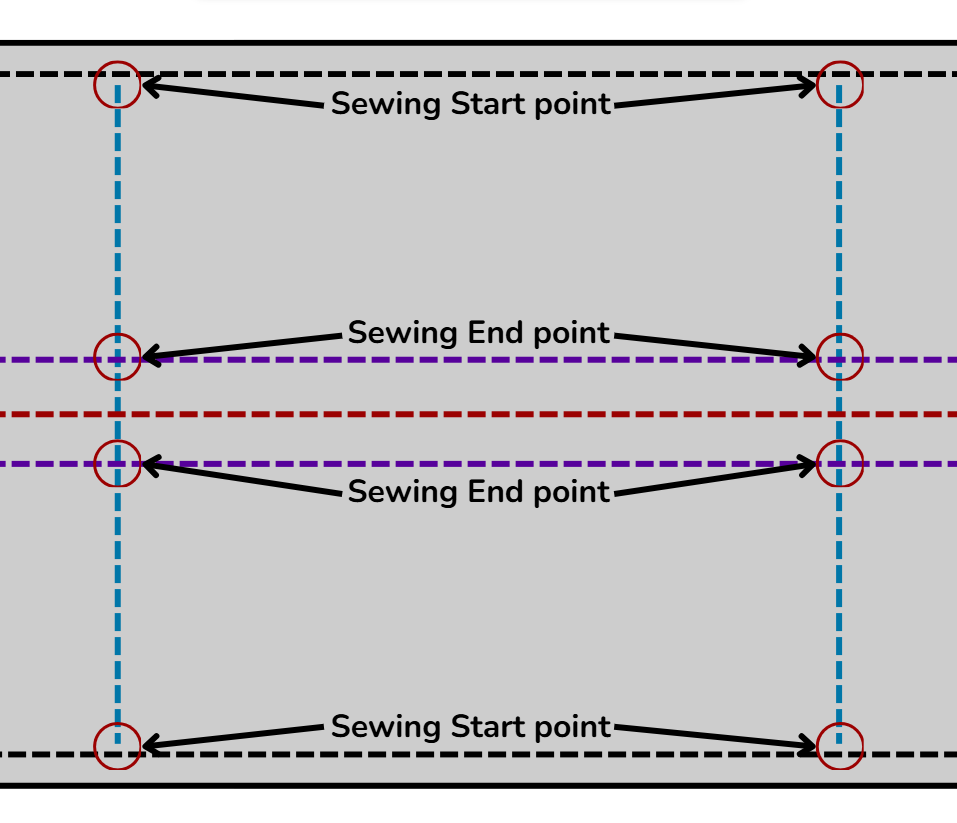
- Repeat this process for the 3 other channel lines on the bag. You should end up with 4 top stitched seams with a 2cm gap between them at the halfway point.
Filling & closing the bag
- Using the A4 piece of paper, fold one of the corners down into the centre and roll it inwards until a makeshift funnel forms.
- Insert the smaller end of the makeshift funnel into the gap in your wheat bag and begin filling it with the grain bit by bit. Take breaks to maneouver the grain as far down into the bag as you can. Continue pouring your grain until the bag is about 2/3 full.
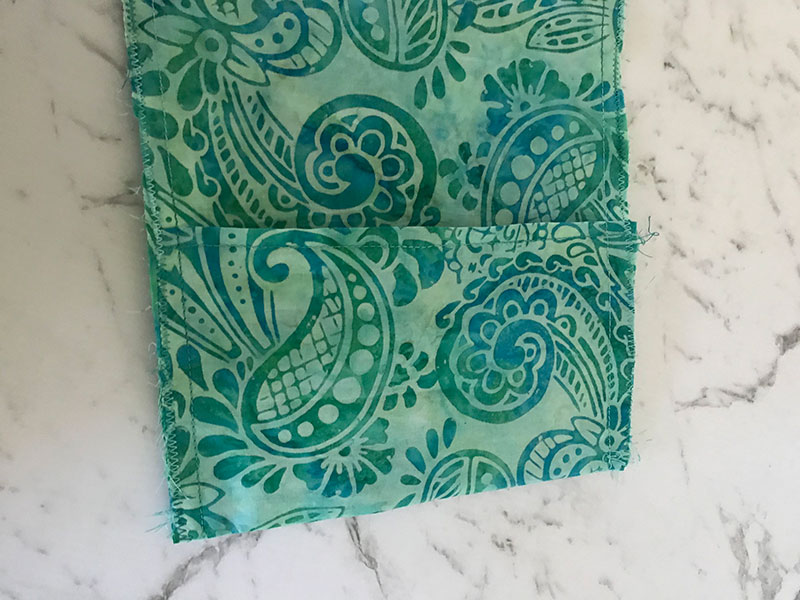
It is important not to overfill your wheat bag as adding too much grain can put stress on the seams. - Once the bag is 2/3 full of grain and it has been shuffled down, carefully sew the remaining gap closed by stitching using the same foot width measurement we used for our topstitching.
- Voila! You are now the proud owner of a homemade wheat bag!
Heat Pack with Outer Removable Cover
These instructions are for creating the inner and outer skins. You will need to fill the inner skin of the heat pack with wheat, or any appropriate filling for microwaving.
MATERIALS NEEDED
- 100% new cotton fabric
- Tape measure or ruler
- Rotary cutter or scissors
- Cutting mat (if you have one)
- Tailors chalk
Outer Removable Cover
- 2 x rectangular pieces of 100% cotton material - cut one to 17cm x 63cm and the other to 17cm x 53cm
- Cotton sewing thread
- Pins
Inner Skin
- 2 x rectangular pieces of 100% cotton material (plain, not patterned)- cut to 16cm x 53cm
- Cotton sewing thread
- Pins
INSTRUCTIONS
Notes:
An overlocker could be used to piece the bags together if you have one. If you do not have an overlocker please use the zigzag stitch to neaten all raw edges to reduce fraying. We have zigzagged close to the stitching line and trimmed the excess material in our samples.
Seams are 3/8” or 1cm. Use the same seam allowance on all seams when piecing the heat pack together.
Outer removable cover
- Neaten one end of each of the 17 x 53cm & 17 x 63cm pieces using your overlocker or zigzag stitch.
- Change to sewing machine or straight stitch. Fold over the neatened edge and stitch down. This creates a neat edge for the inner skin to be dropped into the outer bag!
- Iron each neatened edge.
- Place the 17cm x 53cm and the 17cm x 63cm pieces right sides together matching them at the base.
- Fold the 10cm excess from the top over the smaller (53cm) piece - iron.
- Sew around the three edges of the outer bag with the overlocker or sewing machine, ensuring the edges are neatened.
- Turn inside out and iron - it’s completed!
Inner bag
For the inner bag, we recommend using a plain fabric as this will be inside the outer removable cover.
- Neaten one end of each of the 16cm x 53cm pieces using your overlocker or zigzag stitch.
- Change to straight stitch. Fold over the neatened edge and stitch down. This creates a neat edge for the wheat to be poured into.
- Place the two 16cm x 53cm pieces right sides together and stitch along the three remaining sides using your overlocker (one step) or straight seam with neatened edges.
- Turn inside out and iron. The top is left open for the bag to be filled with wheat!
DONATE SOME TO A CHARITY
These heat packs can also be donated to charity. If you want to contribute to a great cause, the charities listed below accept handmade heat packs. Just send your creations in to the mailing address provided.
Are you a charity that would accept this item? Contact us to have your details added here.
Queensland
Zaeli Grace Inc
Attn: J. Murray
12 Hooper St
Birkdale QLD 4156
Australia
Free Embroidery Designs
We're excited to offer our free Echidna designs available for download. These free designs are perfect for those at a beginner or an advanced level. Add these designs to your stash and create incredible embroidery!
View all free designs >
Sewing, Quilting and Embroidery Machines
Interested in learning how to sew, quilt or embroider? Take a look at the innovative Brother machines available for purchase at Echidna Sewing. Wherever possible we will beat any deal and you will always receive ongoing service and support!
Find out more >
Learn to Sew or Embroider with Echidna Sewing
Come along to our fun-filled classes to learn more about sewing, embroidery and crafting. Classes cater for all skill levels, whether you're just starting out or already have advanced knowledge.
Find out more >
Echidna project material/ fabric requirements are an indication only and can seem to be generous. This has been intentional. Should you make a cutting or embroidery mistake you will have sufficient fabric to rectify your error.
Comments (1)
Overlocker thread is usually Polyester so sewer be
26 August 2022Made mini heat packs used cotton created instruction sheet using printer and cotton fabric and freezer paper BUT then decided to cover all seams using overlocker only after doing all of them did I realize my mistake. Overlocker thread is polyester I cursed at my eagerness to get it right: then I trimmed off overlocker stitching and used machine to zigzage to reinforce and cover edges too. Also would be handy to provide here an instruction label for people to print out on carding or fabric to go with heat pack if gifted. There is also printable cotton sheeting that has peel away backing sheet that comes off AFTER printing finished that could be possibly used for labels. Bags I did were part of charity sewing group project so had to get it right.


